Large Scale Central

Mik 2019: McGillicuddy's Building Supply - Jon R.

Jon Radder said:

I said I was staying away from the computer, didn’t I? I lied…

Still working on how the door will look - this is just a size test / placeholder.

I think that the key Stone should be the same as what your using for sills , with a head or the date …

Jon,

Is your project a real facade or a very fancy computer mock up. (http://www.largescalecentral.com/externals/tinymce/plugins/emoticons/img/smiley-tongue-out.gif). Just kidding. I am sure with your modeling talent that computer image will translate to an awesome facade

Devon Sinsley said:

Jon,

Is your project a real facade or a very fancy computer mock up. (http://www.largescalecentral.com/externals/tinymce/plugins/emoticons/img/smiley-tongue-out.gif). Just kidding. I am sure with your modeling talent that computer image will translate to an awesome facade

We are never sure are we? The year we did the cut stone blocks I got as far as doing a pencil sketch on the PVC that was to be the flat, but I wanted to use acrylic windows made on our CNC router. Spent many, many hours drawing that up. Ended up with a DNF because I couldn’t get router time and had no backup plan. At least this year it’s all on me.

As soon as I make a final decision on the entry man door and protruding details I will start the carving process. Really I will. And this just reminded me to walk back to my toolbox and pull out my Dremel router attachment and take it home!

I purchased this Dremel router handle around a year ago to try and repair an acrylic sign I was working on. The bits do not have bearings and the friction was melting the acrylic so it was a fail. Today I drug it out and played with the foam. Cuts like a dream. Pretty standard shapes in the basic bit set, but much smaller than full size routers…

Definitely will work to cut some of the detail I’m planning…

I also have an ancient Craftsmen router table that I bough used several years ago for $20. It has some application too. Need to see if there is a cove bit at work I can borrow…

A Full size print of Version 4 was set in place for more contemplation…

The print posted earlier is Version 5 with the added soldier course below the fascia, a door and two small windows. O this one, the printed window is an idea. If I can get the distortion corrected in Photoshop I might try printing it on clear or translucent vinyl and put that on clear acrylic for the windows. Back lit of course!

That is a neat tool Jon.

I have used a wood burner to score lines in foam before but I think your router setup will be more precise to use.

(http://www.largescalecentral.com/FileSharing/user_1209/Misc/Mik2019-26.jpg)

I think it looks great Jon … However I think it would look better with the key stone as shown …

I agree that the key stone needs to be stone, the same as whatever the rest of the door frame top is, not brick. Other than that it really will be cool. I love your use of photos. also. Gonna keep that in my bag of tricks for the indoor.

OK - You have me seriously considering that. Earlier I had rejected that idea because the inspiration prototype building did not have a stone arch and keystone, just brick with a brick keystone…

I took the liberty of changing part of the the arch to stone, but kept the brick keystone as I felt it worked into the optical illusion created by the tapered and angled bricks. I think that my changing the arch to stone then creates the need for a stone keystone detail. Maybe even with a year in raised letters!

Thanks for the input.

Rick Marty said:

Jon, love that photo effect of the shop crew on the inside, looks great.

Brick is not that hard. I use a special tip, that I made, on my soldering iron and hook the soldering iron to a plug that is controlled by a dimmer switch so I can control the heat better. Then just slide the special tip along a metal straight line and you have the horizontal courses. The vertical courses and special rows, ya a little more time consuming.

Though not closeups both of these buildings are made from pink insulation foam using the soldering iron method, on the left is obviously a stone structure and the one to the right is the brick. I thought they turned out OK.

Your fascades are awesome.

John, If you want really small bits, look to metal machining bits, usually carbide so they last forever, and all the really small sizes have a standard 1/8" shank, same as a dremel.

Dremel brand bits, are not the highest quality products. Made for the amateur market mostly.

Image result for geek on computerbricks …If some one said this would be fun … Bricks…

I have been trying to figure out what I want to do along my house bench work. I had always figured on some sort of “facade” but I really like what you have done Rick. With the building facades and painting it really looks nice and give a lot of bang for the buck.

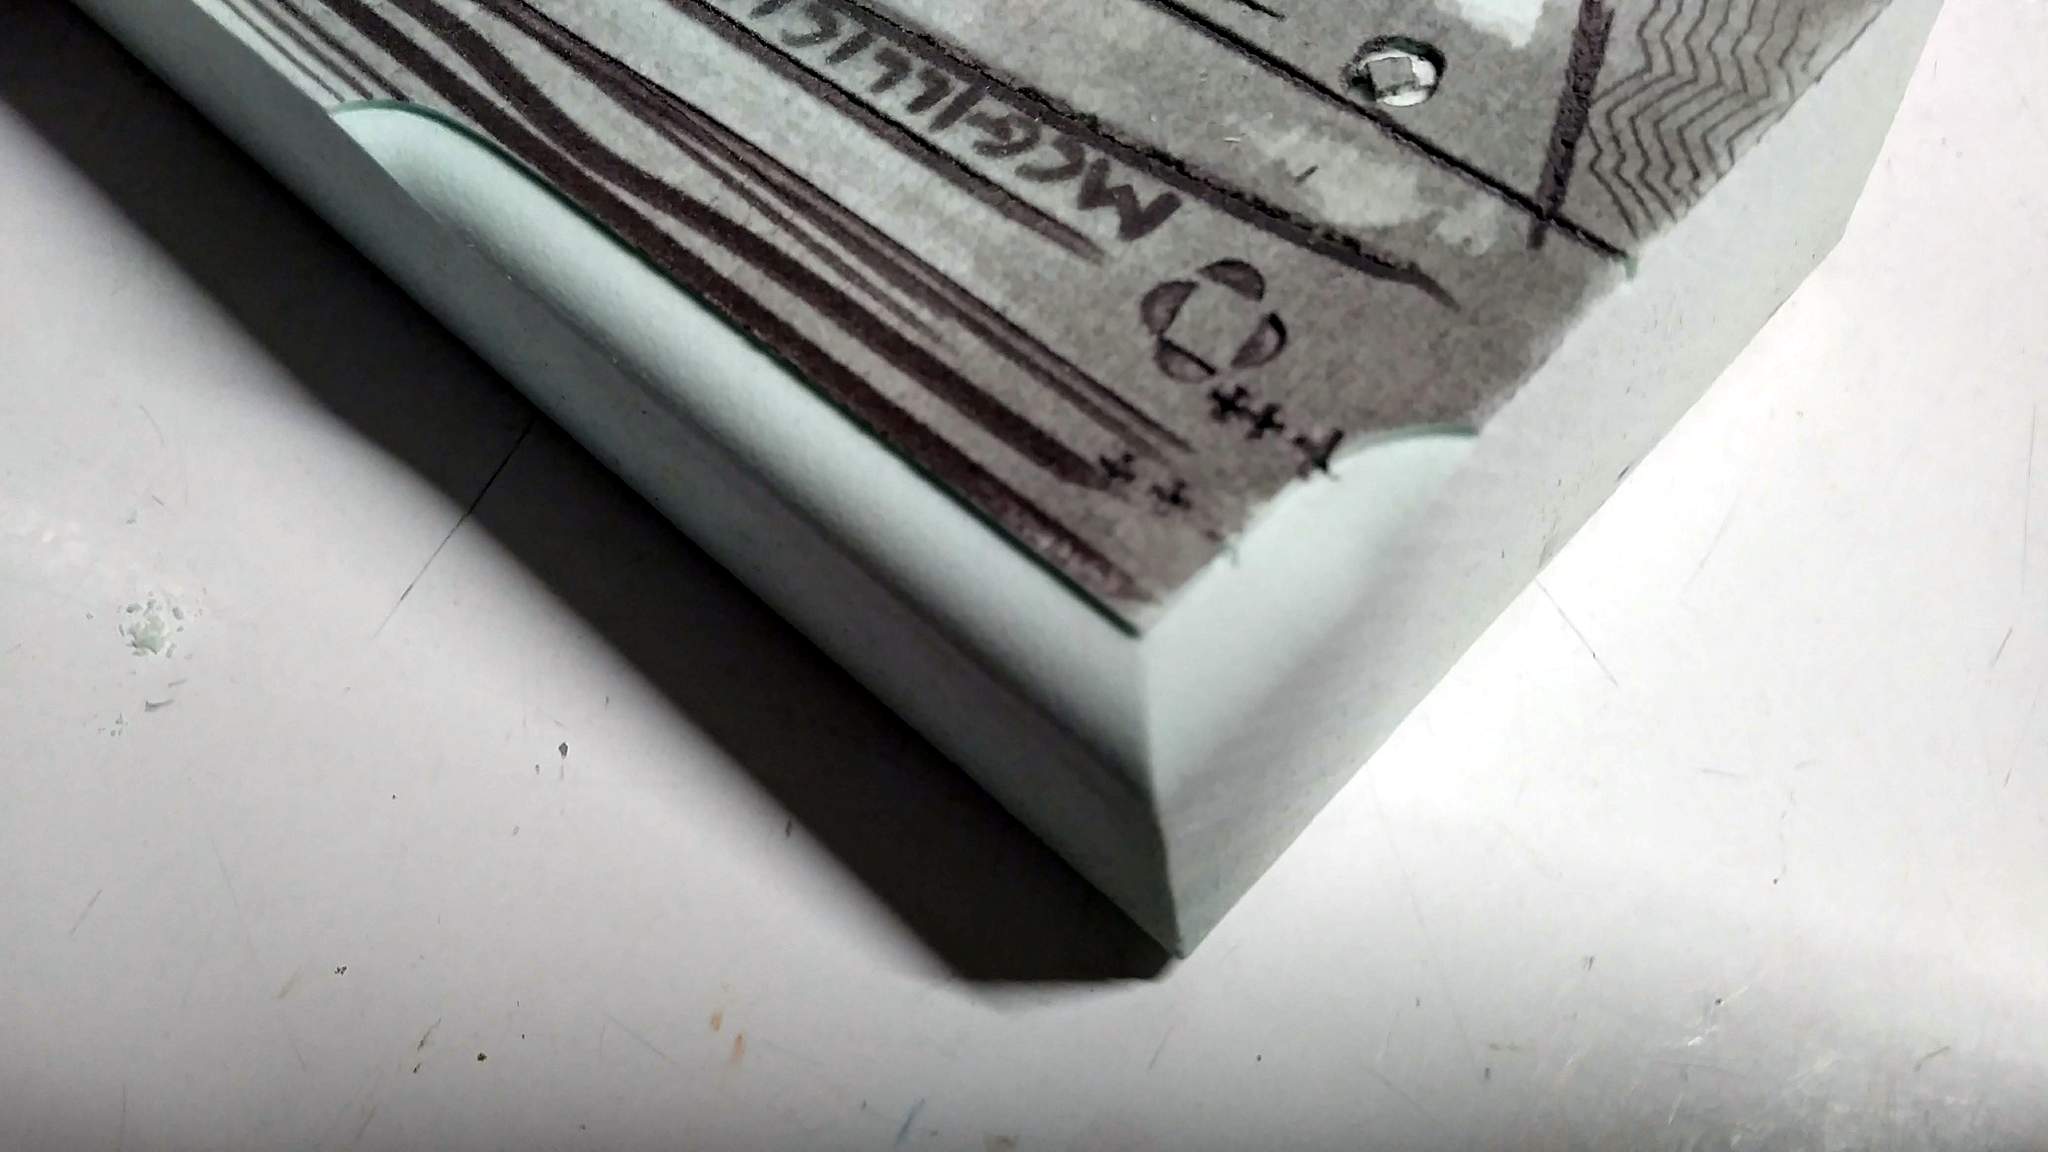
Rick Marty has been a source of inspiration to me for a long while. And Sean mentioned Ray Dunakin - You might see some of his painting ideas in this batch from the experimental kitchen. Testing window cutting. First the vinyl cut pattern is applied and the center removed…

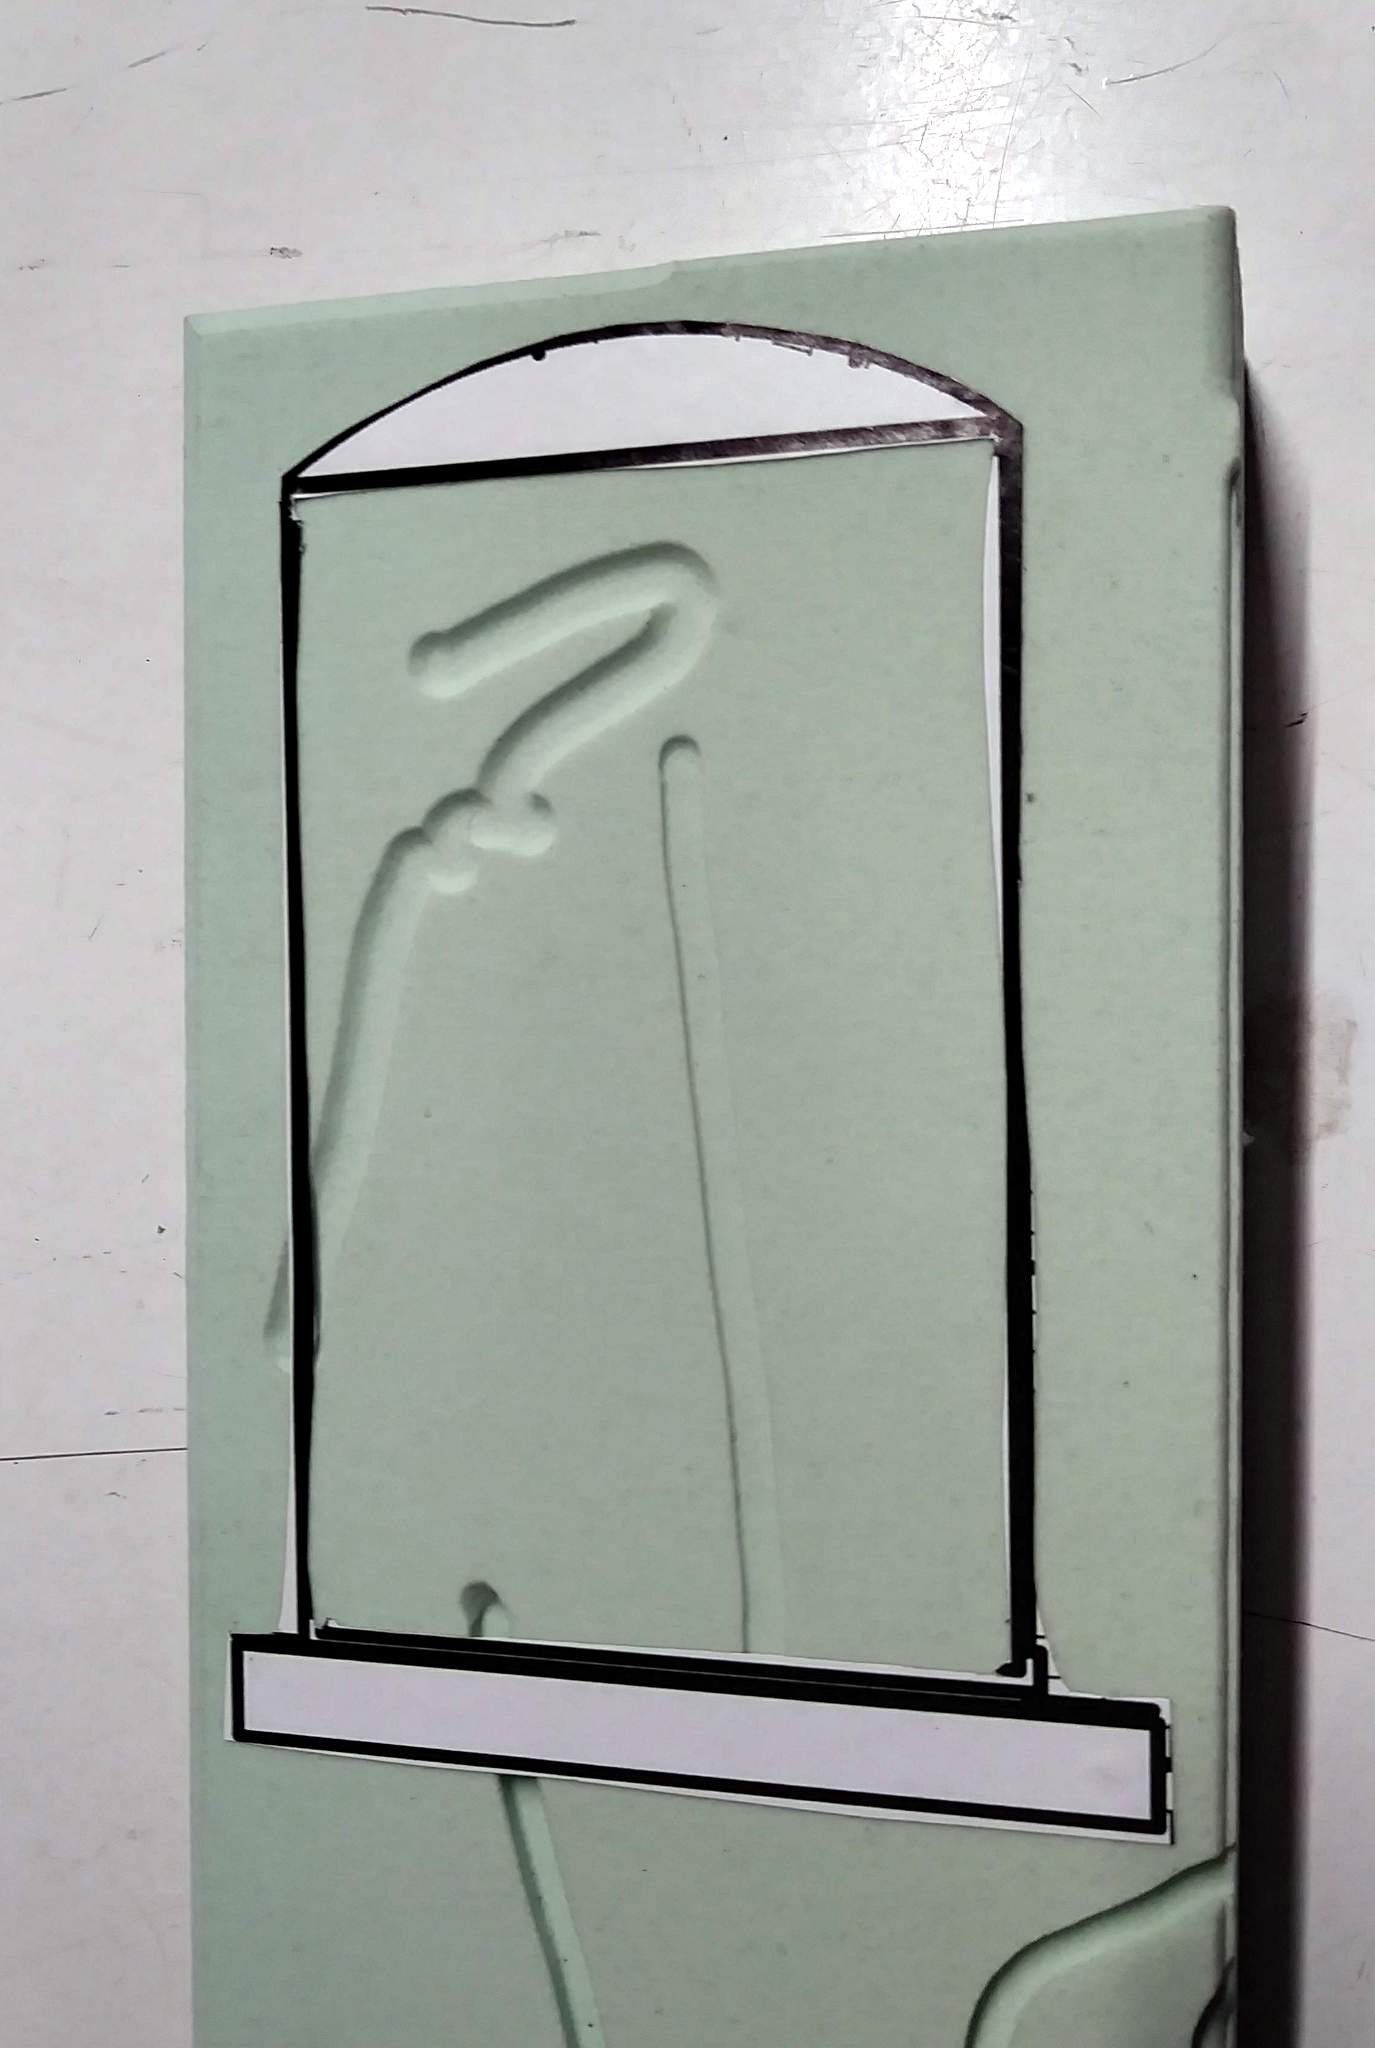
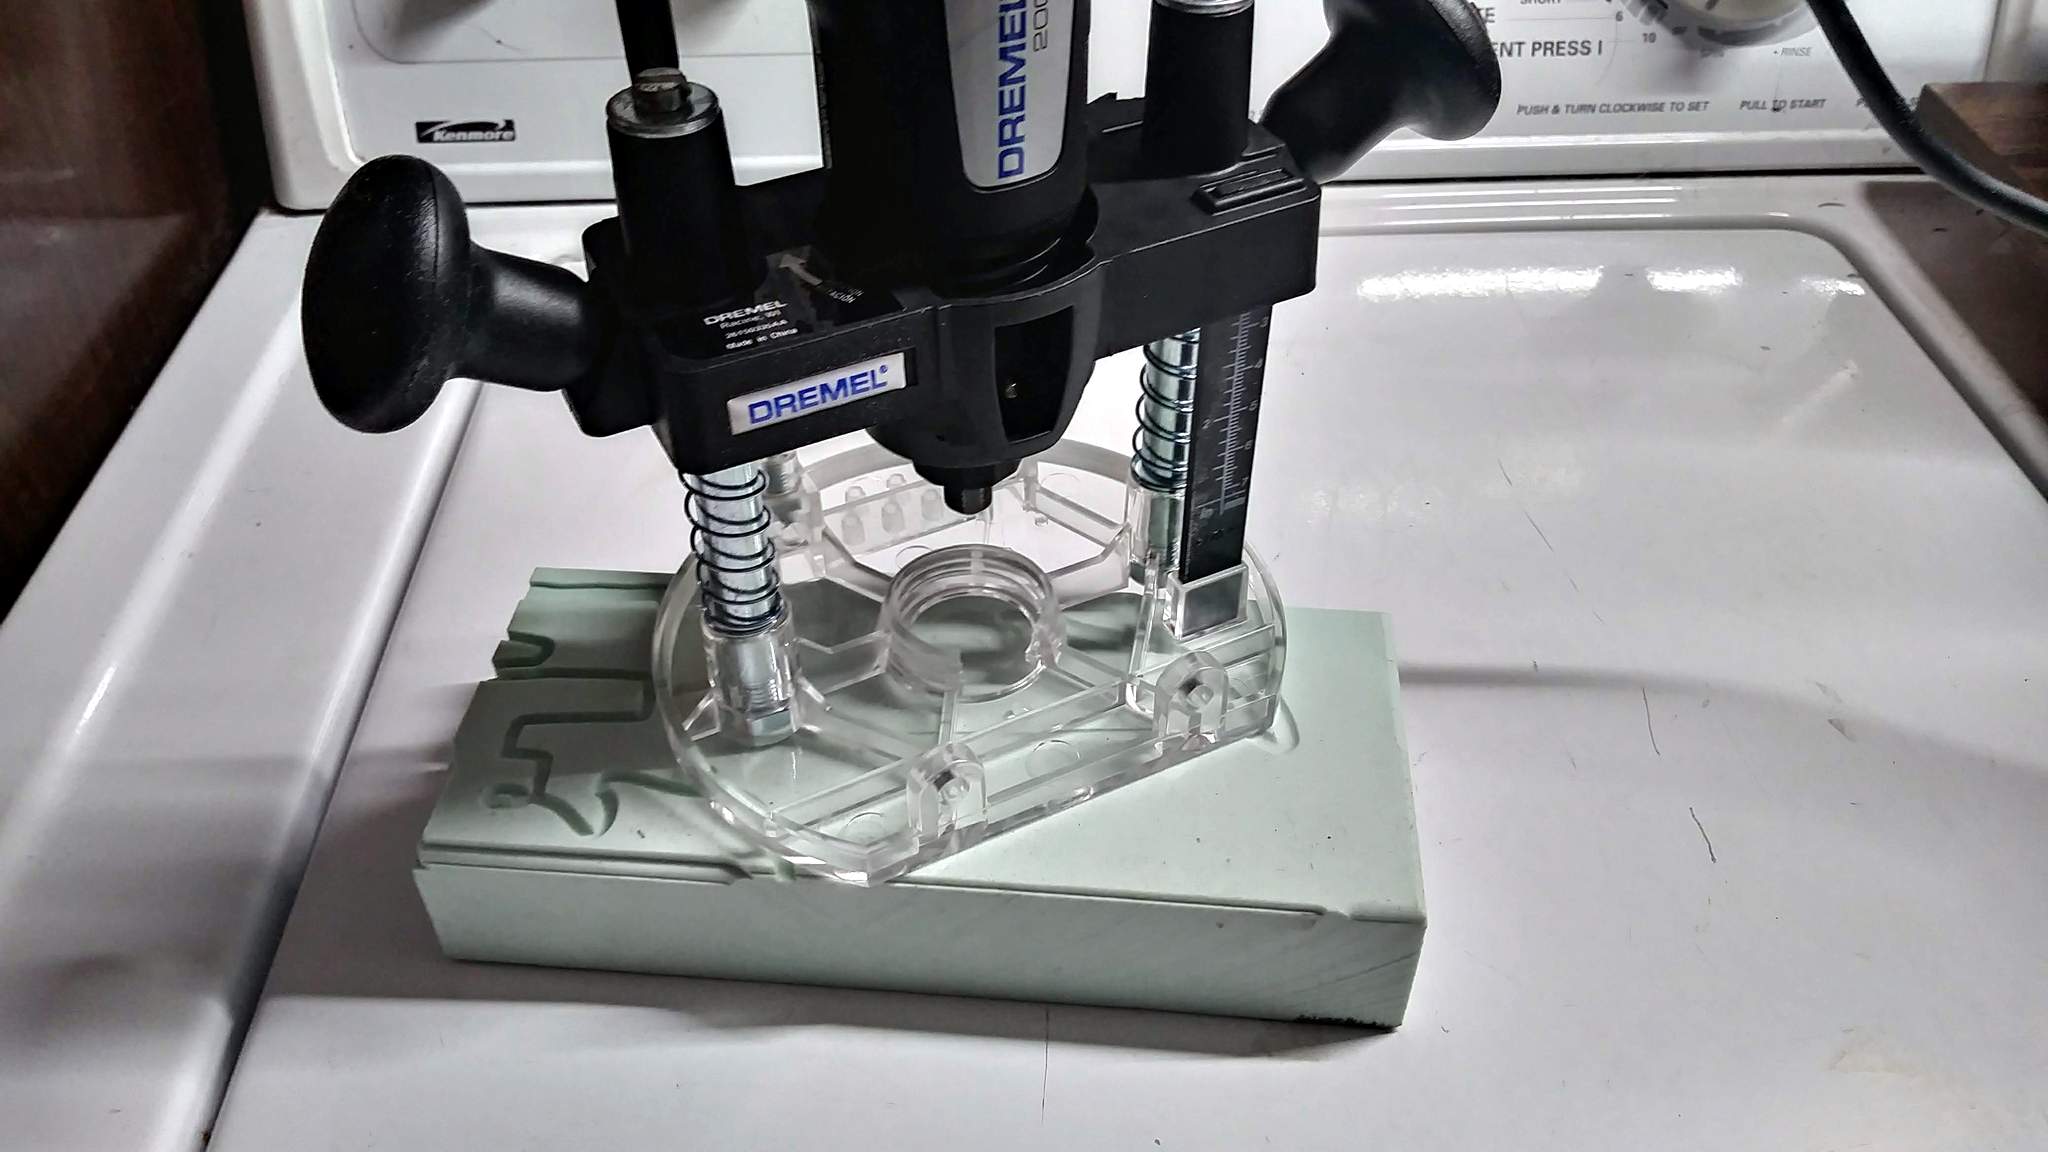
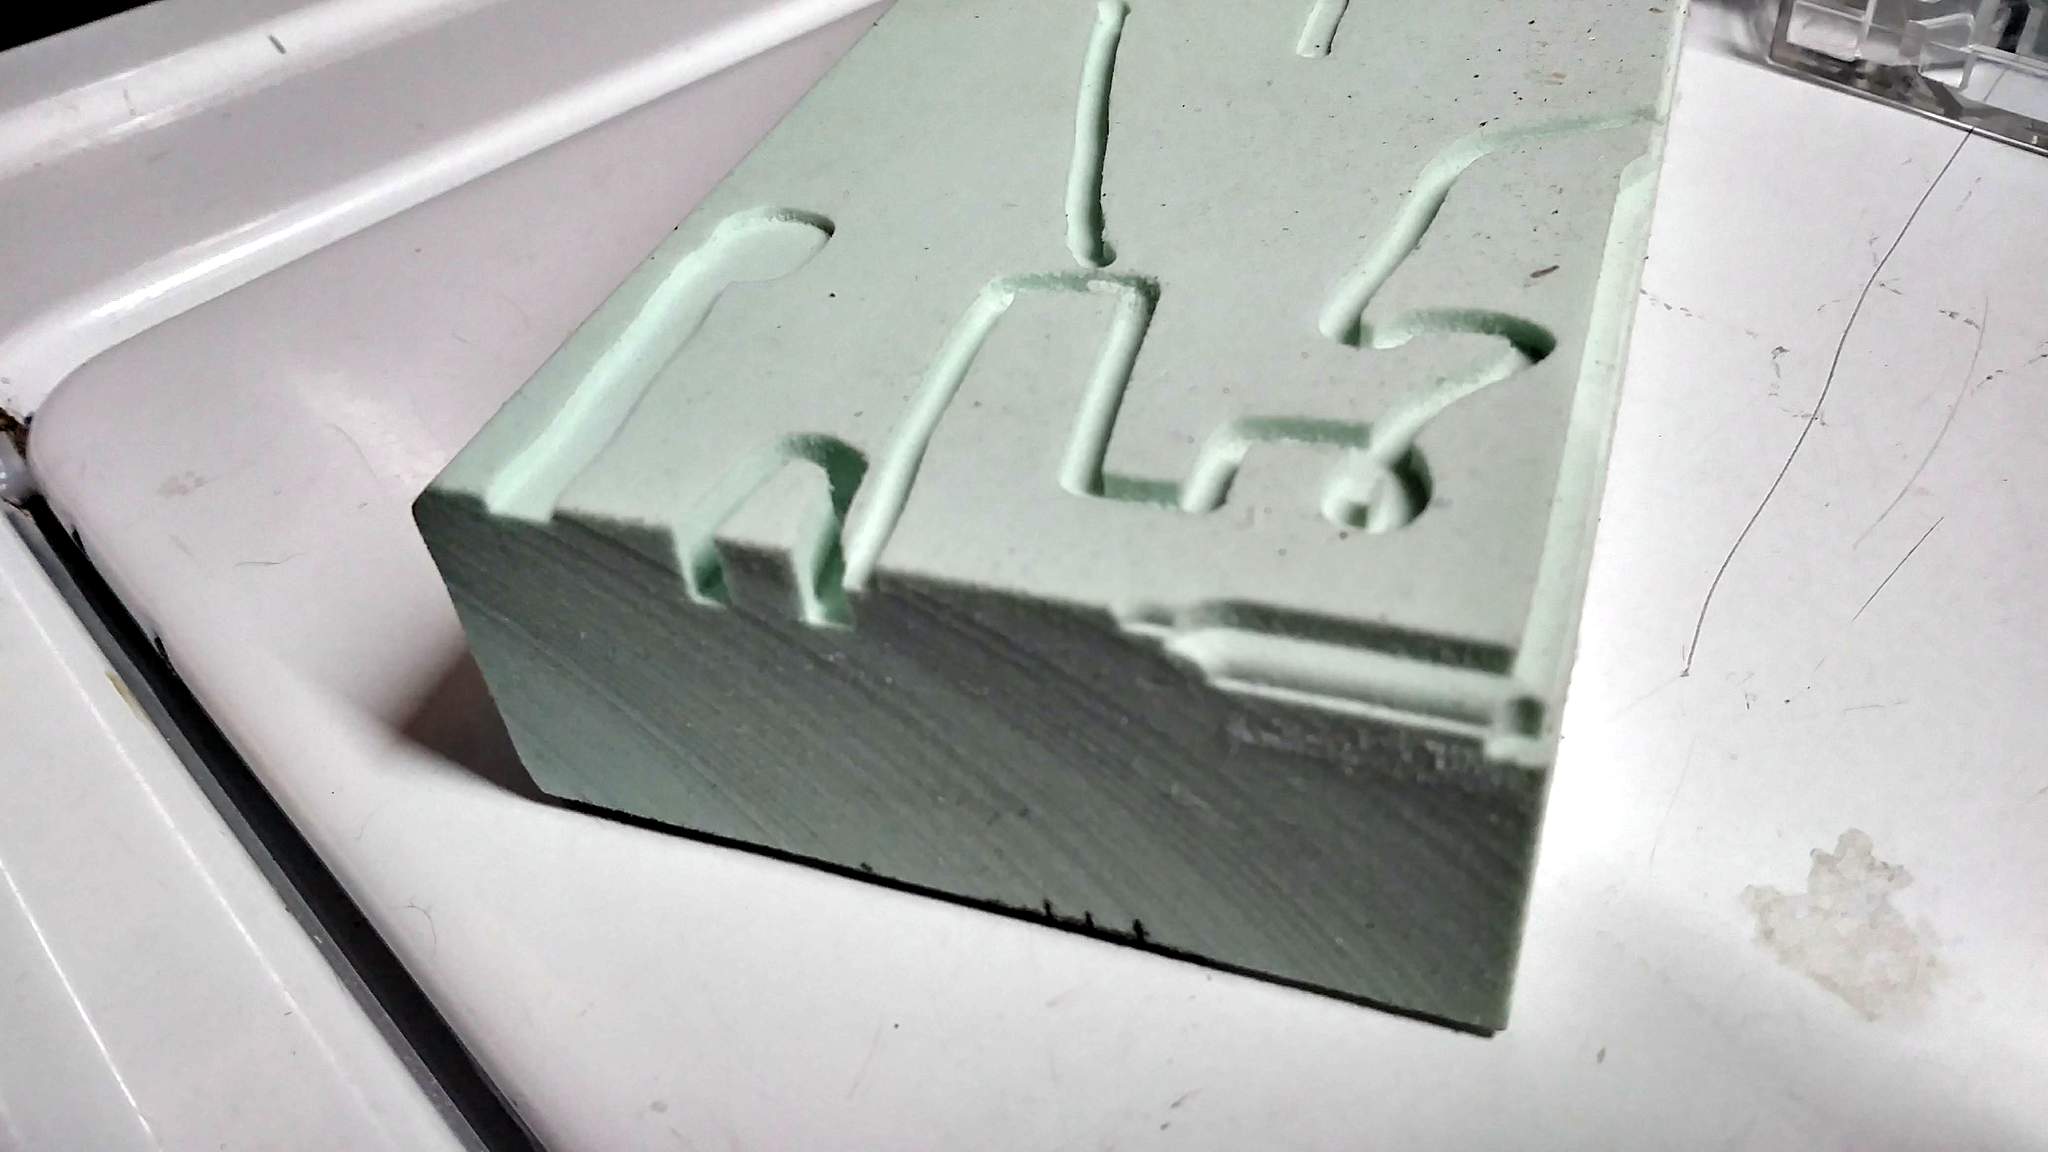
Used a jigsaw to cut inside the lines as best I could. Cleaned up a bit with files then ran the Dremel router around the hole to shape the inside edge. I got hung up in some of the bad cuts…

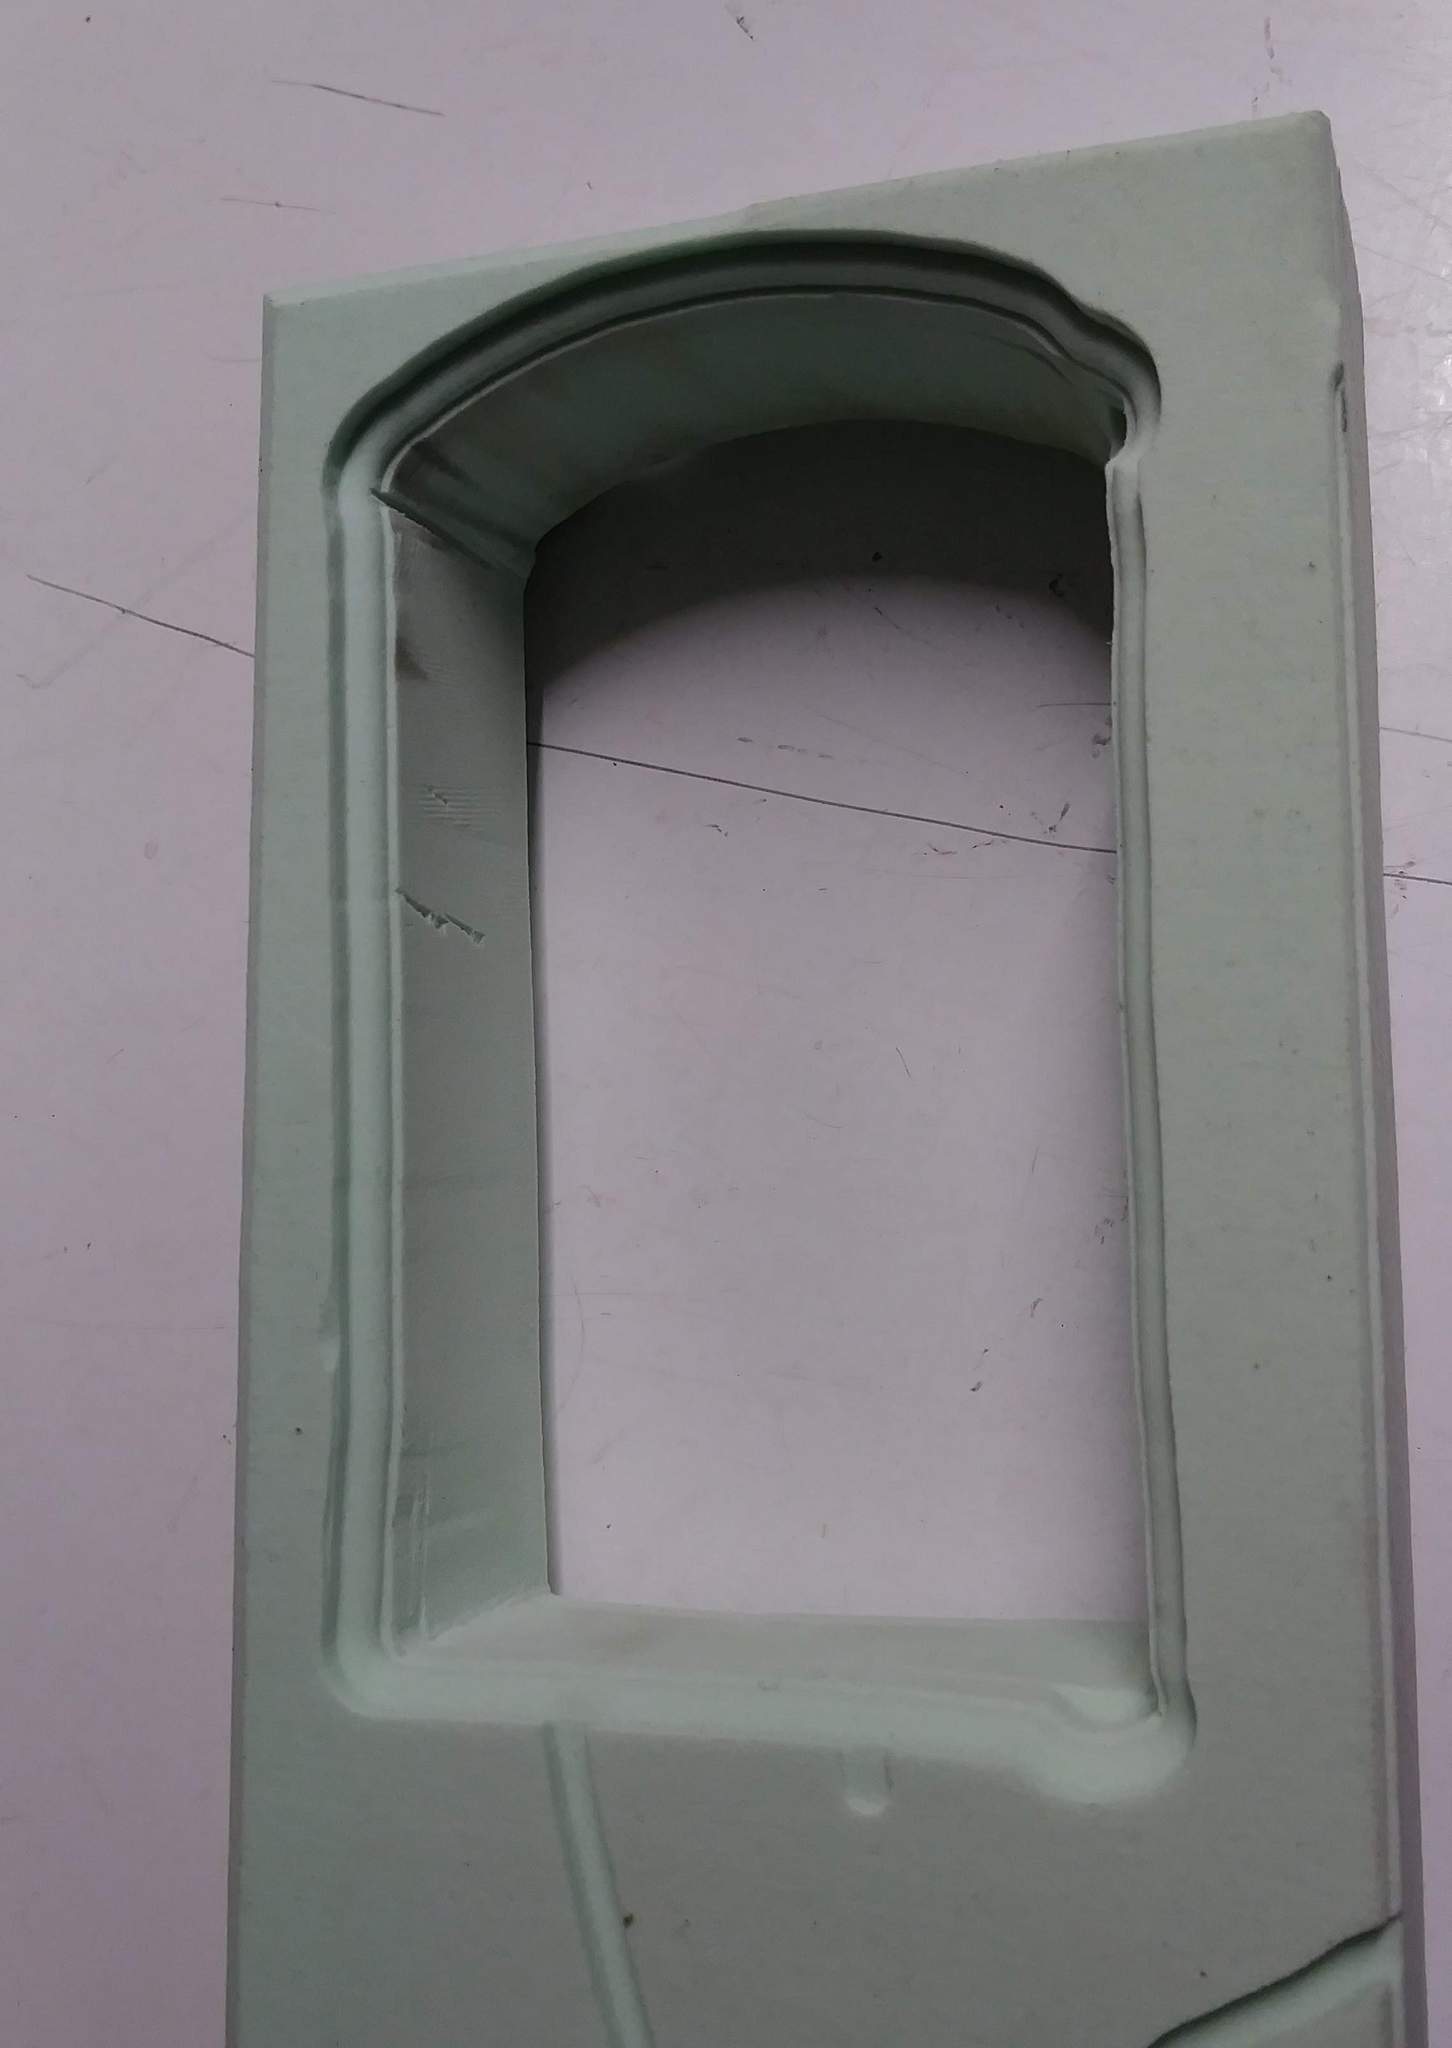
Did better on the other side…

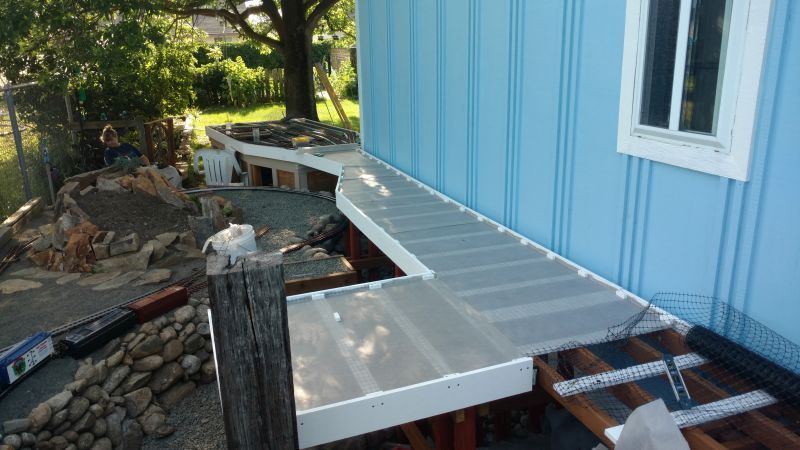
Paint and weather experiment…

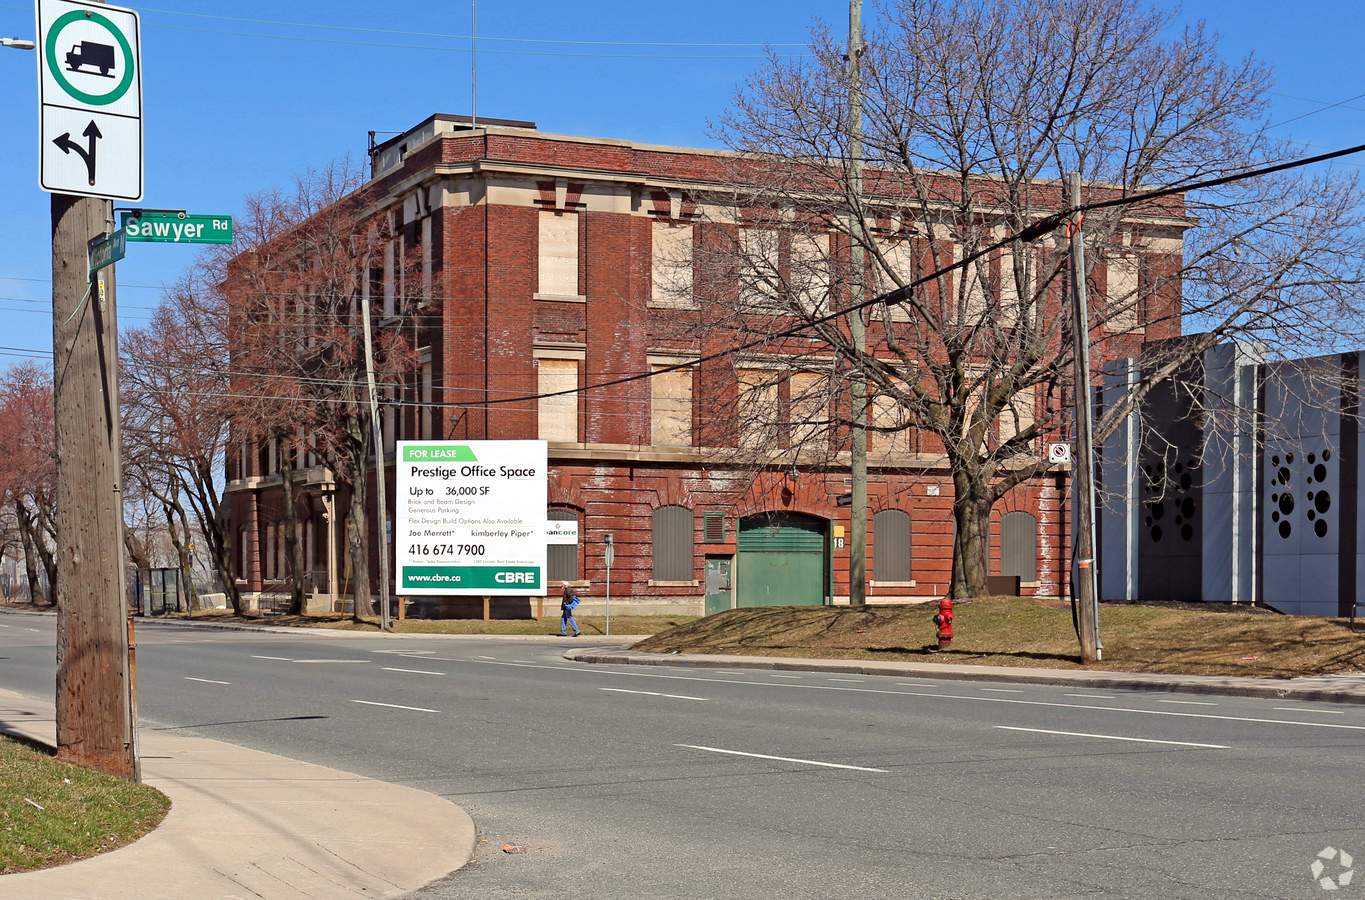
The plain color at left is acrylic house paint in a Red Brick color. The base color of the arch is another acrylic house paint in a dark grey. Over top a very stiff and dry brush streaked on gloss white acrylic. Over top a wash with India ink & denatured alcohol until the gloss dulled up. Brick was done with the gloss white as a base, then I attempted to pad roll the red brick color. First pass was great then I made the mistake of hitting it again which put on too much paint and a lot of it dripped into the cracks. A liberal India Ink Alcohol wash including some scrubbing with a paper towel until I liked the color. When it dried it was too glossy so I sprayed it with an acrylic matte clear, but even that looks too glossy to me. After the contest I might seek out a can of the Dead Flat I’ve heard tell of.

Quite unlikely I’ll have a finished project by the deadline as my timeline included finishing the drawing for printing tomorrow. It’s 9:30 on a TGIAF and after 4 cups of coffee I’m falling asleep so I probably won’t even open the drawing. I’ll still plug along and post as I go. The fun is in playing along and keeping busy in the workshop.

Jon, that last picture has a really good look to it, love the rustic look of the brickwork.

Rick

Jon,

And you are one of my inspirations for your architectural details. Id have never thought to router it. Nice work

Thanks! I failed to mention that I’m going for an early 20th century structure that has survived and still in use in present day. The B&W images are ghosts of what once was.

Jon,

I had been pondering foam for some time. This has been a great follow-along-at-home learning exercise for me. Now to source the stuff locally…

Eric

I’ll give you credit Jon, you have a lot more patience than I do. I’d slap a brick veneer on it and call it done…(https://www.largescalecentral.com/externals/tinymce/plugins/emoticons/img/smiley-wink.gif)

Ken Brunt said:

I’ll give you credit Jon, you have a lot more patience than I do. I’d slap a brick veneer on it and call it done…(https://www.largescalecentral.com/externals/tinymce/plugins/emoticons/img/smiley-wink.gif)

For outside I would do the same - 10 foot rule. But for inside this will another place to experiment with close-up photography like last years tunnel portal became. I’m shooting for lots of realism in a magnified view. The use of the B&W photos is a new experiment inspired by displays I have seen in museums. I really want to do photo inserts for the windows, but I also want a black and white photo inside a few inches back. I can’t have both the way I pictured them. That is the battle raging in my head at the moment!

Eric Mueller said:

Jon,

I had been pondering foam for some time. This has been a great follow-along-at-home learning exercise for me. Now to source the stuff locally…

Eric

The Pink or blue insulation foam is much easier to work with, but doesn’t carve or machine as nicely as this closed cell high density urethane. This stuff would be pricey to buy just for modeling unless you can find a sign shop that uses it (carved or sandblasted sign maker) and maybe will sell you the cut off pieces.