Large Scale Central

Making a new mine

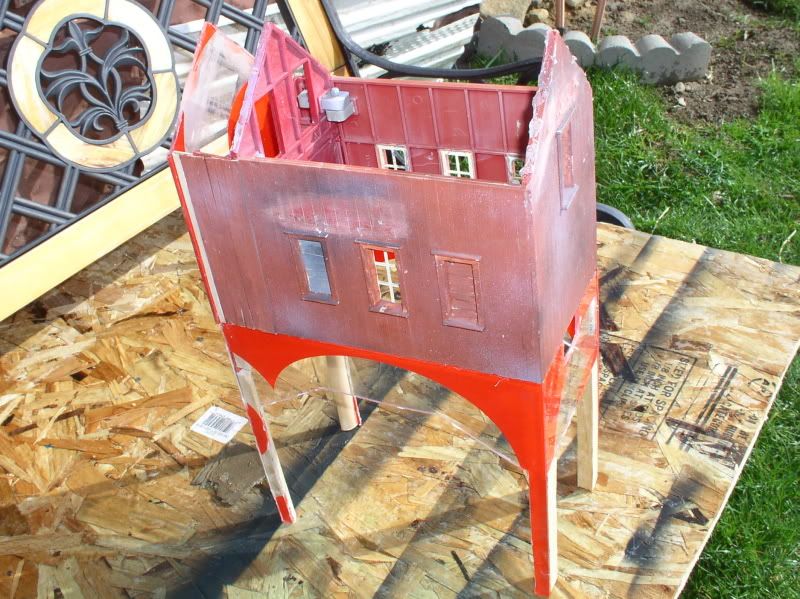
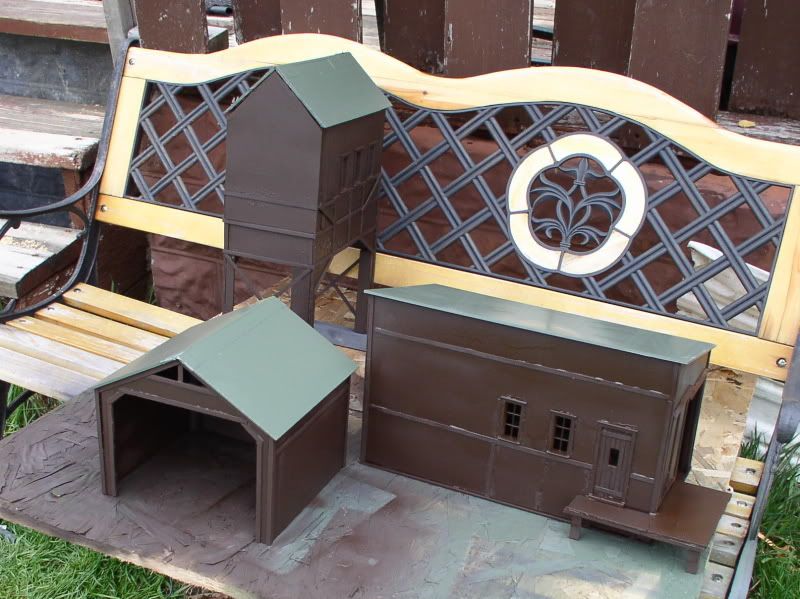
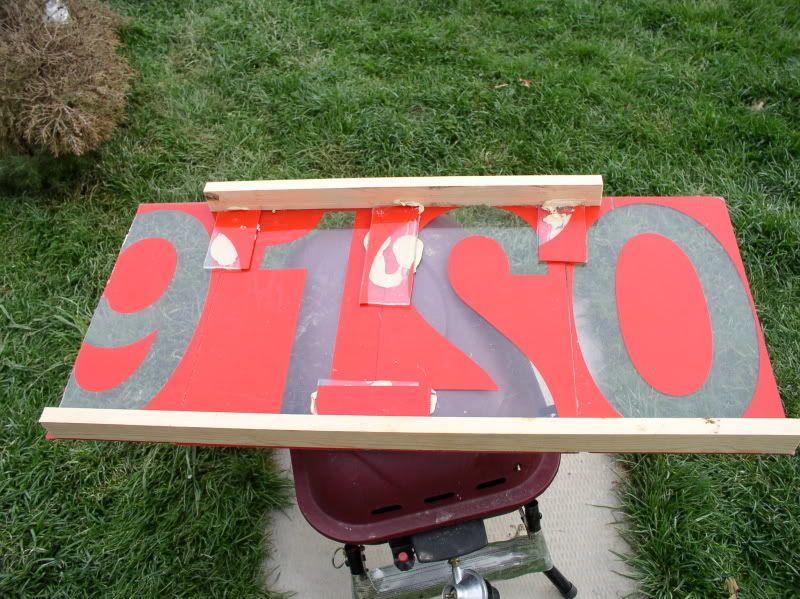
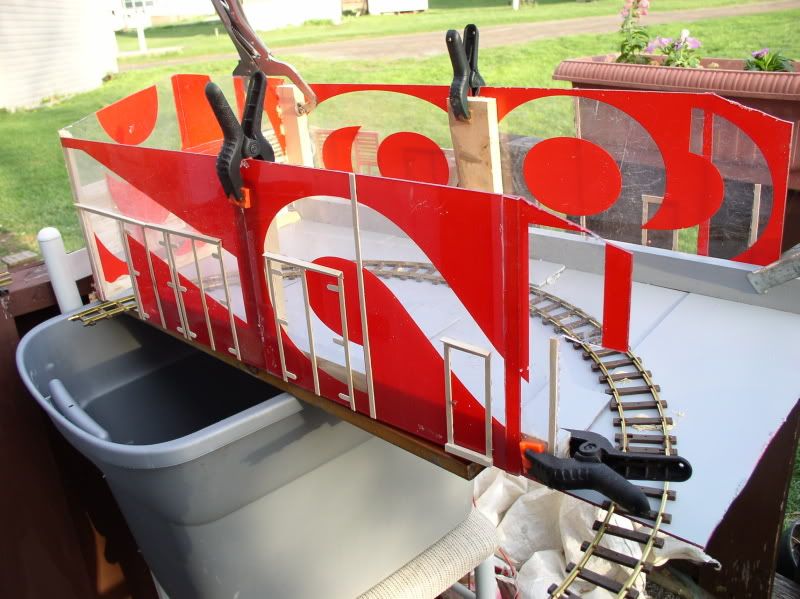
This is going to be a multi building complex before we’re finished, so bear with me - it might take a week or three. The first building is a remake of the old mine tipple. I made a new base to allow it to serve 2 tracks.

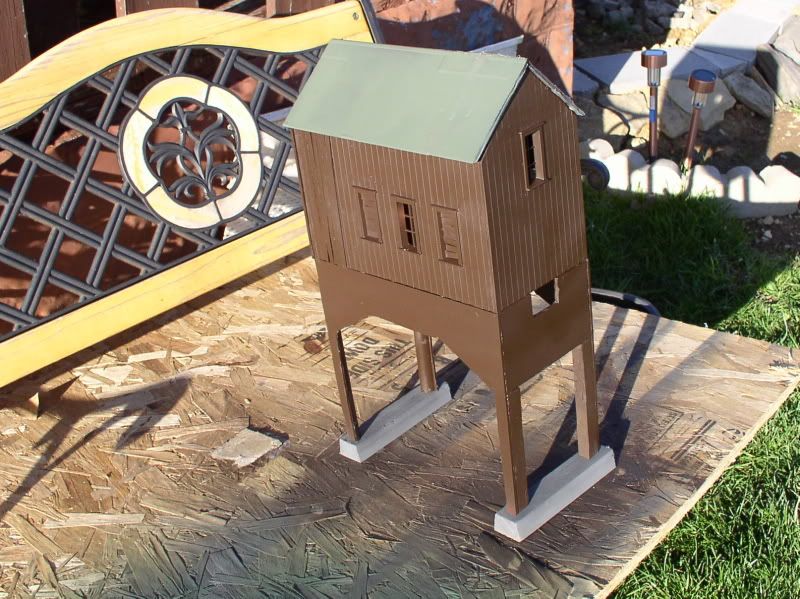
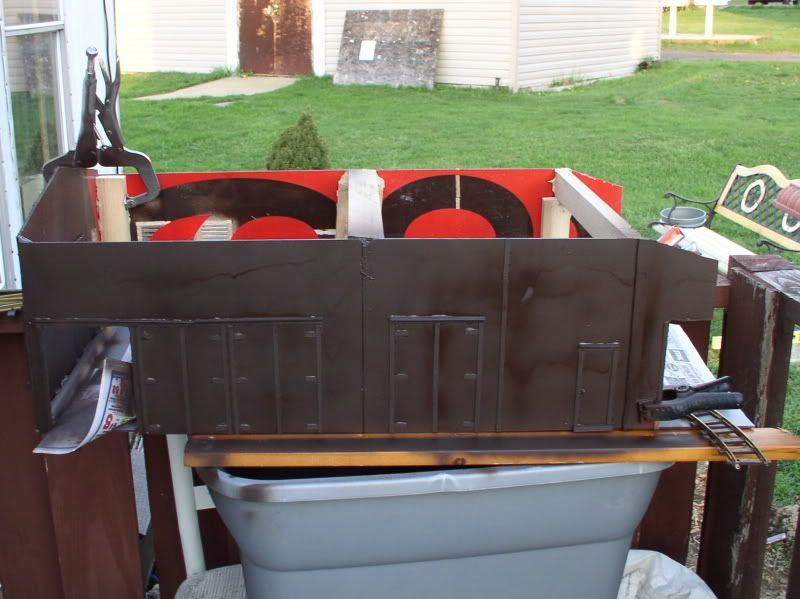
I painted it dark ultra flat brown. The roof is a satin ivy green… It looked OK, but not quite what I wanted

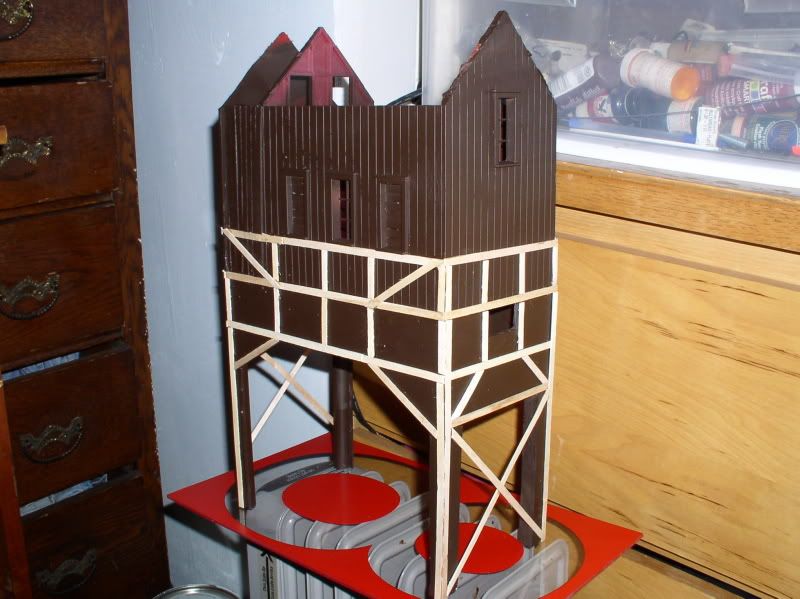
Out came the coffee stirrers… MUCH better - or it will be after I build the bony trestle and give it another coat of paint.

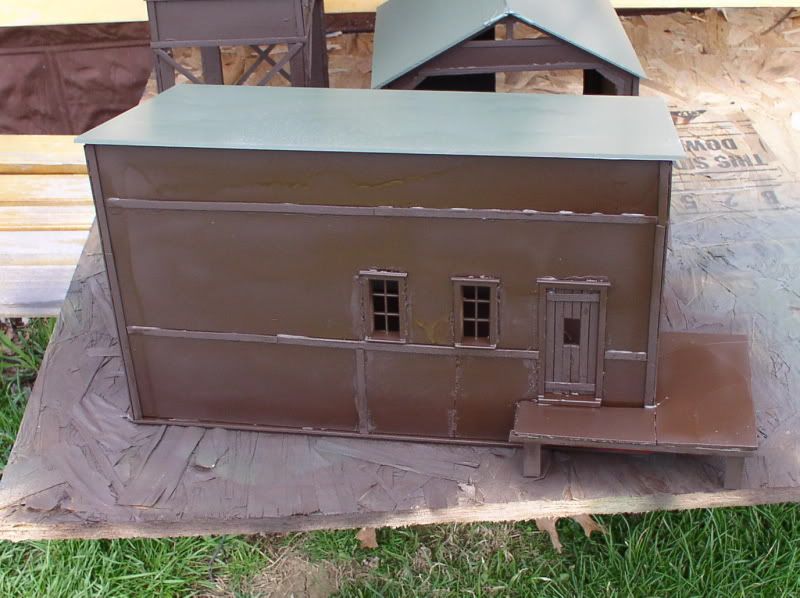
The tipple will connect to the next building on a lower level via a long covered incline. Unfortunately, I sheared off the drive in my B&D rotary tool, so I’ll have to buy a new one first…

Mik,
Looks like you’re off to a good start.
Did you get the decals and dry transfers I sent you?
Ralph

Ralph.Yes, thank you. Kim informed me yesterday that she forgot to mail yours last week… I’ll do it myself on Monday

Mik said:
Ralph.Yes, thank you. Kim informed me yesterday that she forgot to mail yours last week... I'll do it myself on Monday
No problem, Mik. I won't be home until late Tuesday anyway. Ralph

Building #2, the mine car dumper–

(http://i397.photobucket.com/albums/pp52/steamnut1917/mine/P3280001.jpg)

OK, so the building is empty. It’s where the dumper would be if I actually built one… This shack will connect to the other end of the above mentioned covered incline. It will have two 32mm tracks entering the front (loaded cars in, empties out) – Except the live track will actually exit the rear and into another building. It was too wet today to paint, but this building will also be the same brown/green combo as the tipple just as soon as it quits raining.

Looking good. Thats something I need to add to my layout as well.

Moving right along… today’s project was the machinery shed. The back half houses the steam engines that drive the ventilator for the mine, and the conveyor to the tipple. The front half is a maintenance building… In reality all it will actually do is hide part of the tram loop.I need to install a railing and 2 bay doors, but I haven’t yet decided what color the doors should be.

(http://i397.photobucket.com/albums/pp52/steamnut1917/mine/P3290001.jpg)

(http://i397.photobucket.com/albums/pp52/steamnut1917/mine/P3290002.jpg)

Our complex so far…

(http://i397.photobucket.com/albums/pp52/steamnut1917/mine/P3290003.jpg)

One more major structure to make. A boiler house. Plus a few sheds and, of course, the mine entrances…

You mean smokin right along :wink:
Ralph

Mik doesn’t p*ss around. He gets it done.
BTW Mik looking excellent.

Randy McDonald said:
Mik doesn’t p*ss around. He gets it done. …

One handed even. I sliced my hand up pretty good putting wall panels up on this thing… the roof still isn’t on it. Until tomorrow

(http://i397.photobucket.com/albums/pp52/steamnut1917/our%20new%20dump/P3270006.jpg)

I just want to know how much money Arrow really saves themselves by making these things out of razor thin tin and about 6" too short to stand in?

Mik I love the new train shed. That should hold a train or two. :slight_smile:

Mik said:

Randy McDonald said:
Mik doesn’t p*ss around. He gets it done. …

One handed even. I sliced my hand up pretty good putting wall panels up on this thing… the roof still isn’t on it. Until tomorrow

(http://i397.photobucket.com/albums/pp52/steamnut1917/our%20new%20dump/P3270006.jpg)

I just want to know how much money Arrow really saves themselves by making these things out of razor thin tin and about 6" too short to stand in?

Well, they get to sell a whole bunch of them when they rust away after a couple years…and ya have to get e new one…:wink:

HEhehe and don;t forget no floor! We did one of these for my Ex mother in law once…ne’er again…I bought my shed built from wood and deleivered on a rollback, then paid for RTO…

Geoff George said:
Mik I love the new train shed. That should hold a train or two. :)
Not a train in it, nor workbench yet, and it's already 1/3 full of crap. I'm seriously going to have to put a TENT up just to have room to work!

I haven’t started putting down track yet and some rubbernecker looking at the layout this afternoon almost got tagged. That’s the 4th or 5th one this week. Y’d think nobody ever saw a little village in a yard before…

LOL.
Let me kow what th epoints are for rubberneckers. I had a number of them when I started my layout in the front yard.

I gettum from Alleyway next to the house…its a shortcut from the middle school to the elementary school…lots of “HEY MOM STOP!!!”

Nother guy 'bout got rear ended today… My fault for digging a hole for the pond?

Mik said:
Nother guy 'bout got rear ended today.... My fault for digging a hole for the pond?
Mik, You out there workin in them "shorty" shorts? Ralph

I started to lay out the boiler house today… Geez, but it’s going to have to be HUGE to fit an entire half circle of the e-train track inside! (I forgot that the diameter was 77cm! (almost 30") ) We’re talking about a single structure 35" long x 17" deep x 12" tall (less smokestacks)… Twice as large as anything I’ve attempted to make from acrylic so far. Here is a pic of the boiler house at Iselin, Pa. to give you an idea…

(http://i397.photobucket.com/albums/pp52/steamnut1917/mine/indiselin4.gif)

I’ll add pics of my efforts later this evening…

Pix, as promised… The boiler house at Florence, Pa., Jefferson Co. ca 1905

(http://i397.photobucket.com/albums/pp52/steamnut1917/mine/jefflorence1910.gif)

First was the floor. This took 4 pieces just to make it big enough!..

(http://i397.photobucket.com/albums/pp52/steamnut1917/mine/P4130001.jpg)

back corner…

(http://i397.photobucket.com/albums/pp52/steamnut1917/mine/P4130002.jpg)

2 pieces aren’t quite long enough, I’ll need to splice another bit on… I’m attaching the scale house to the side of the boiler house to help hide the loop.

(http://i397.photobucket.com/albums/pp52/steamnut1917/mine/P4130003.jpg)

Never try to paint with an almost empty rattle can… Good thing this is just the base coat!

(http://i397.photobucket.com/albums/pp52/steamnut1917/mine/P4130006.jpg)

The paint and glue needs to harden a bit more (and outgas!) before I start on the next phase of construction