Large Scale Central

Long boxcar train up the 4% - Lots of Pictures

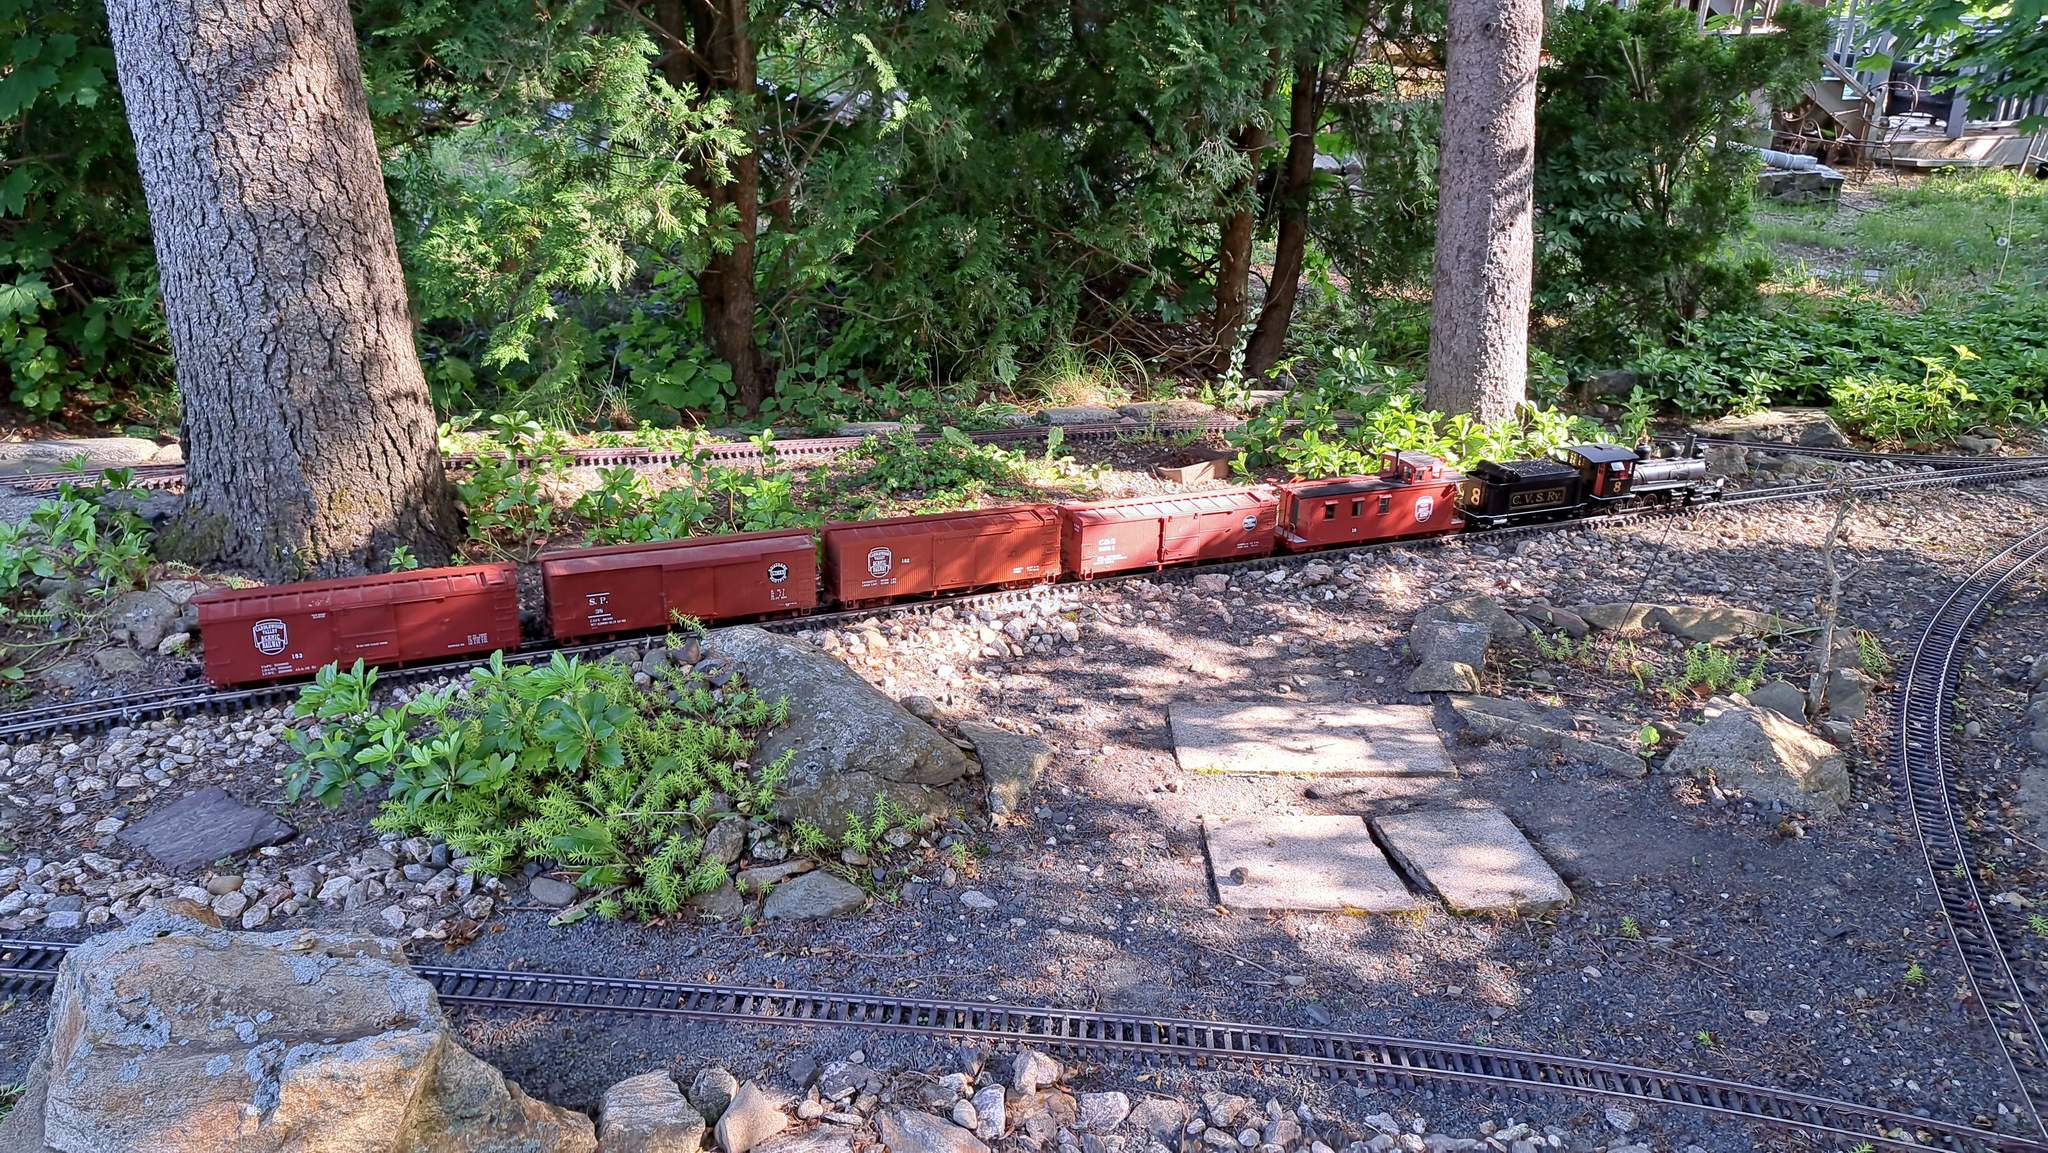
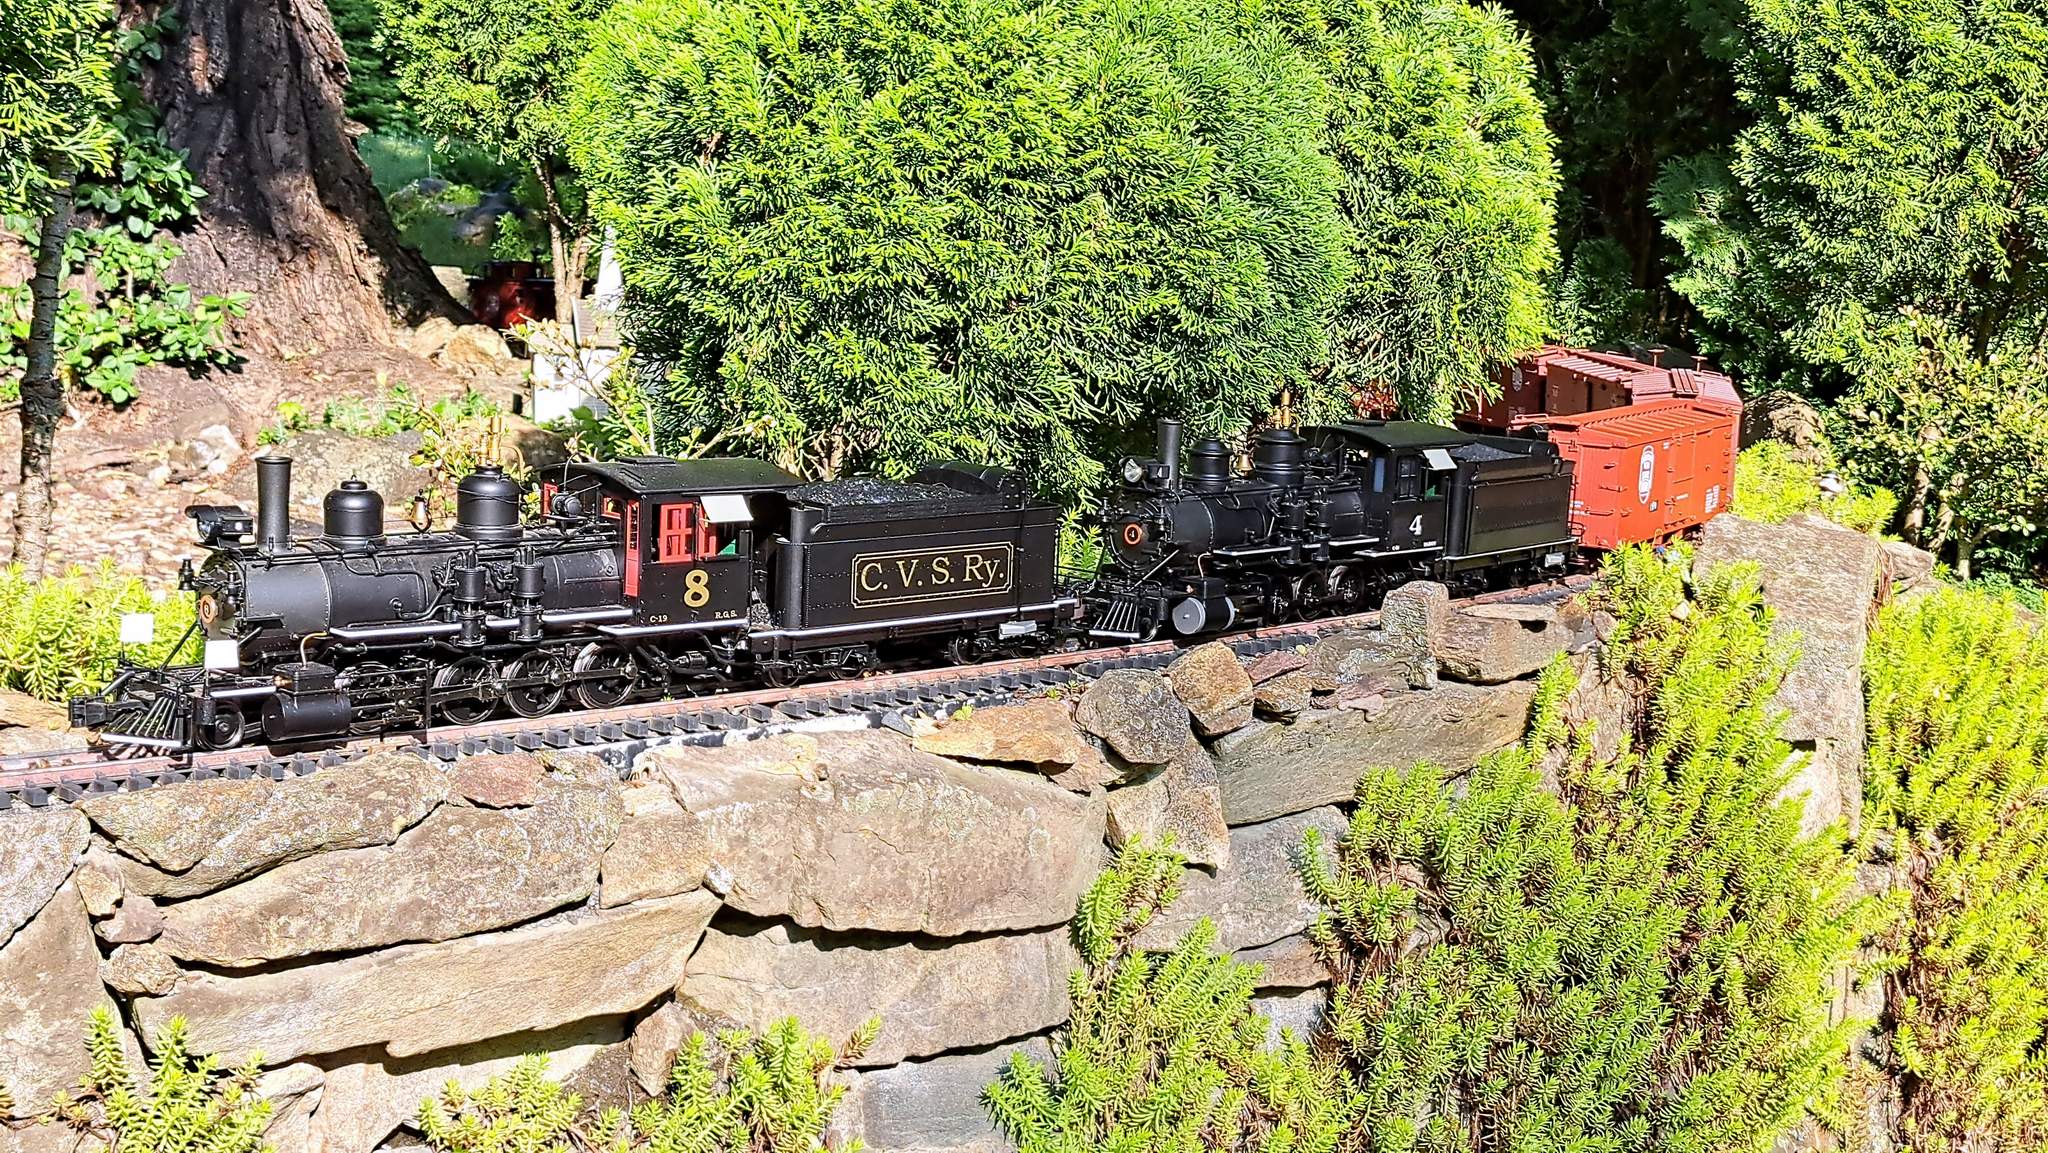
Today I decided to see if I could get all my boxcars (except Shorty) up the hill with just two C-19s. 9 Boxcars, a mix of Bachmann and AMS trailing a Bachmann long caboose lead by two C-19’s…

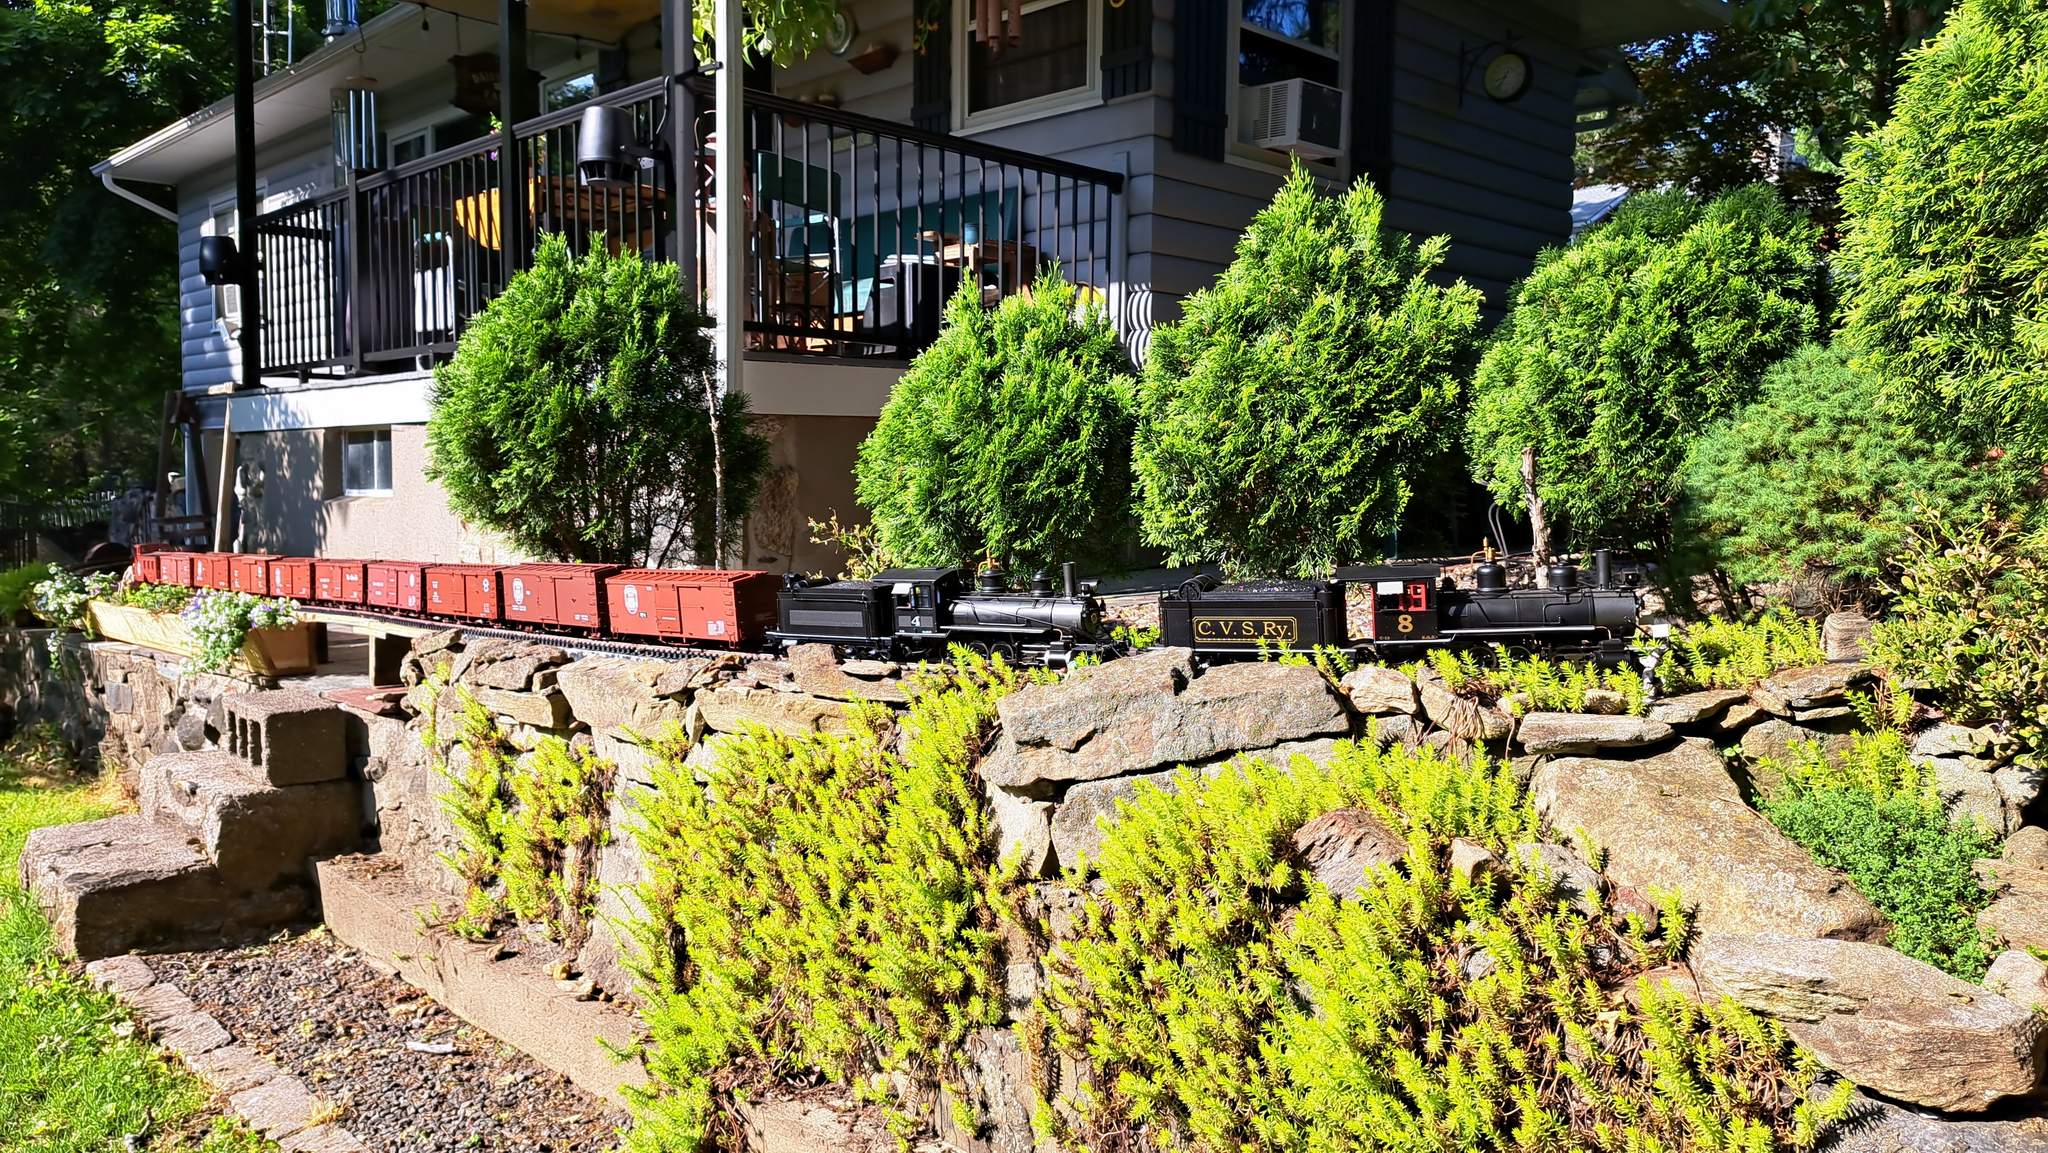
I was actually surprised that I was able to get this heavy train up the hill. If the front car’s coupler hadn’t opened half way up, I would have made it, but wasn’t able to get the train moving again without help when stopped in the middle of the curve.

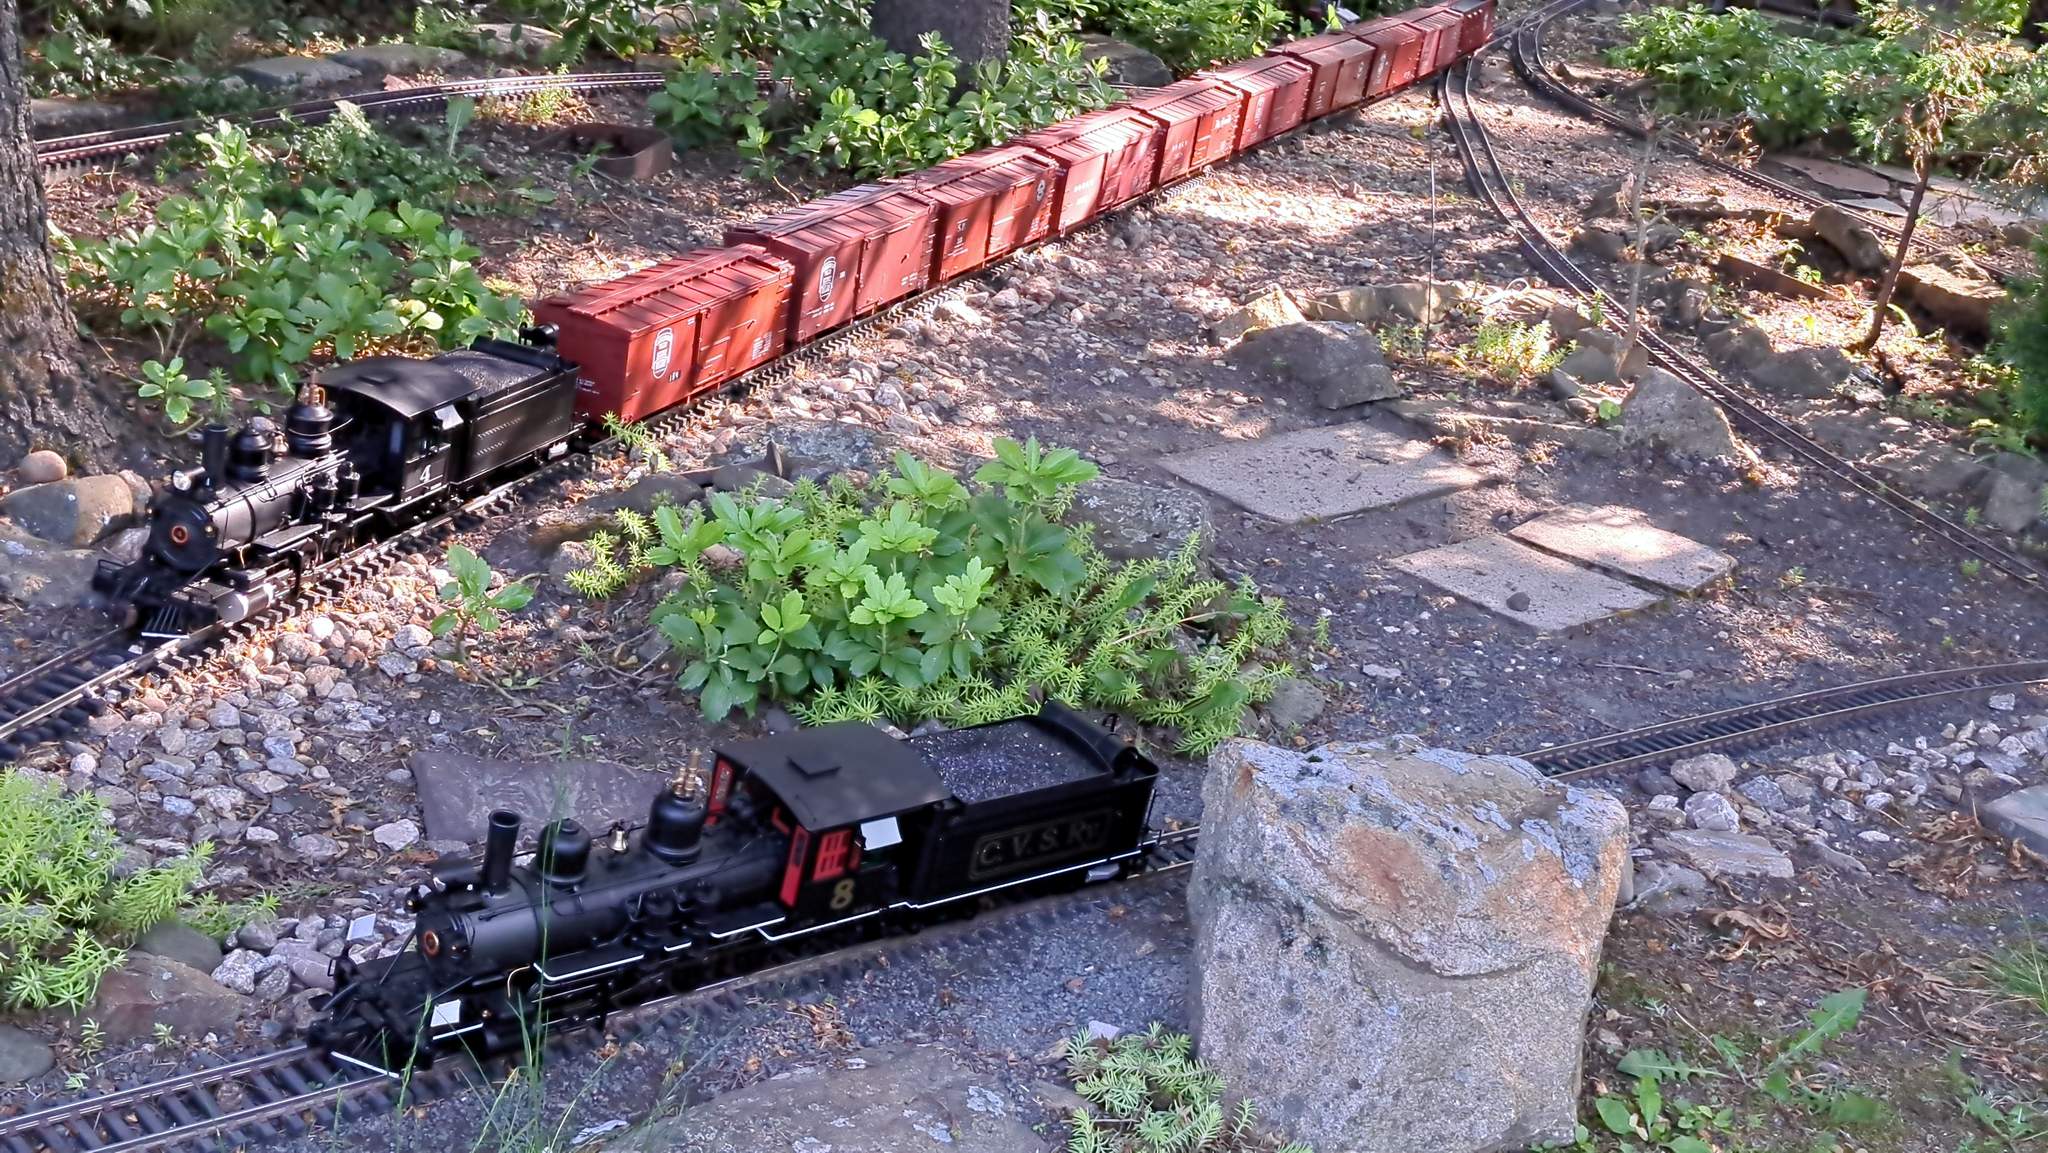
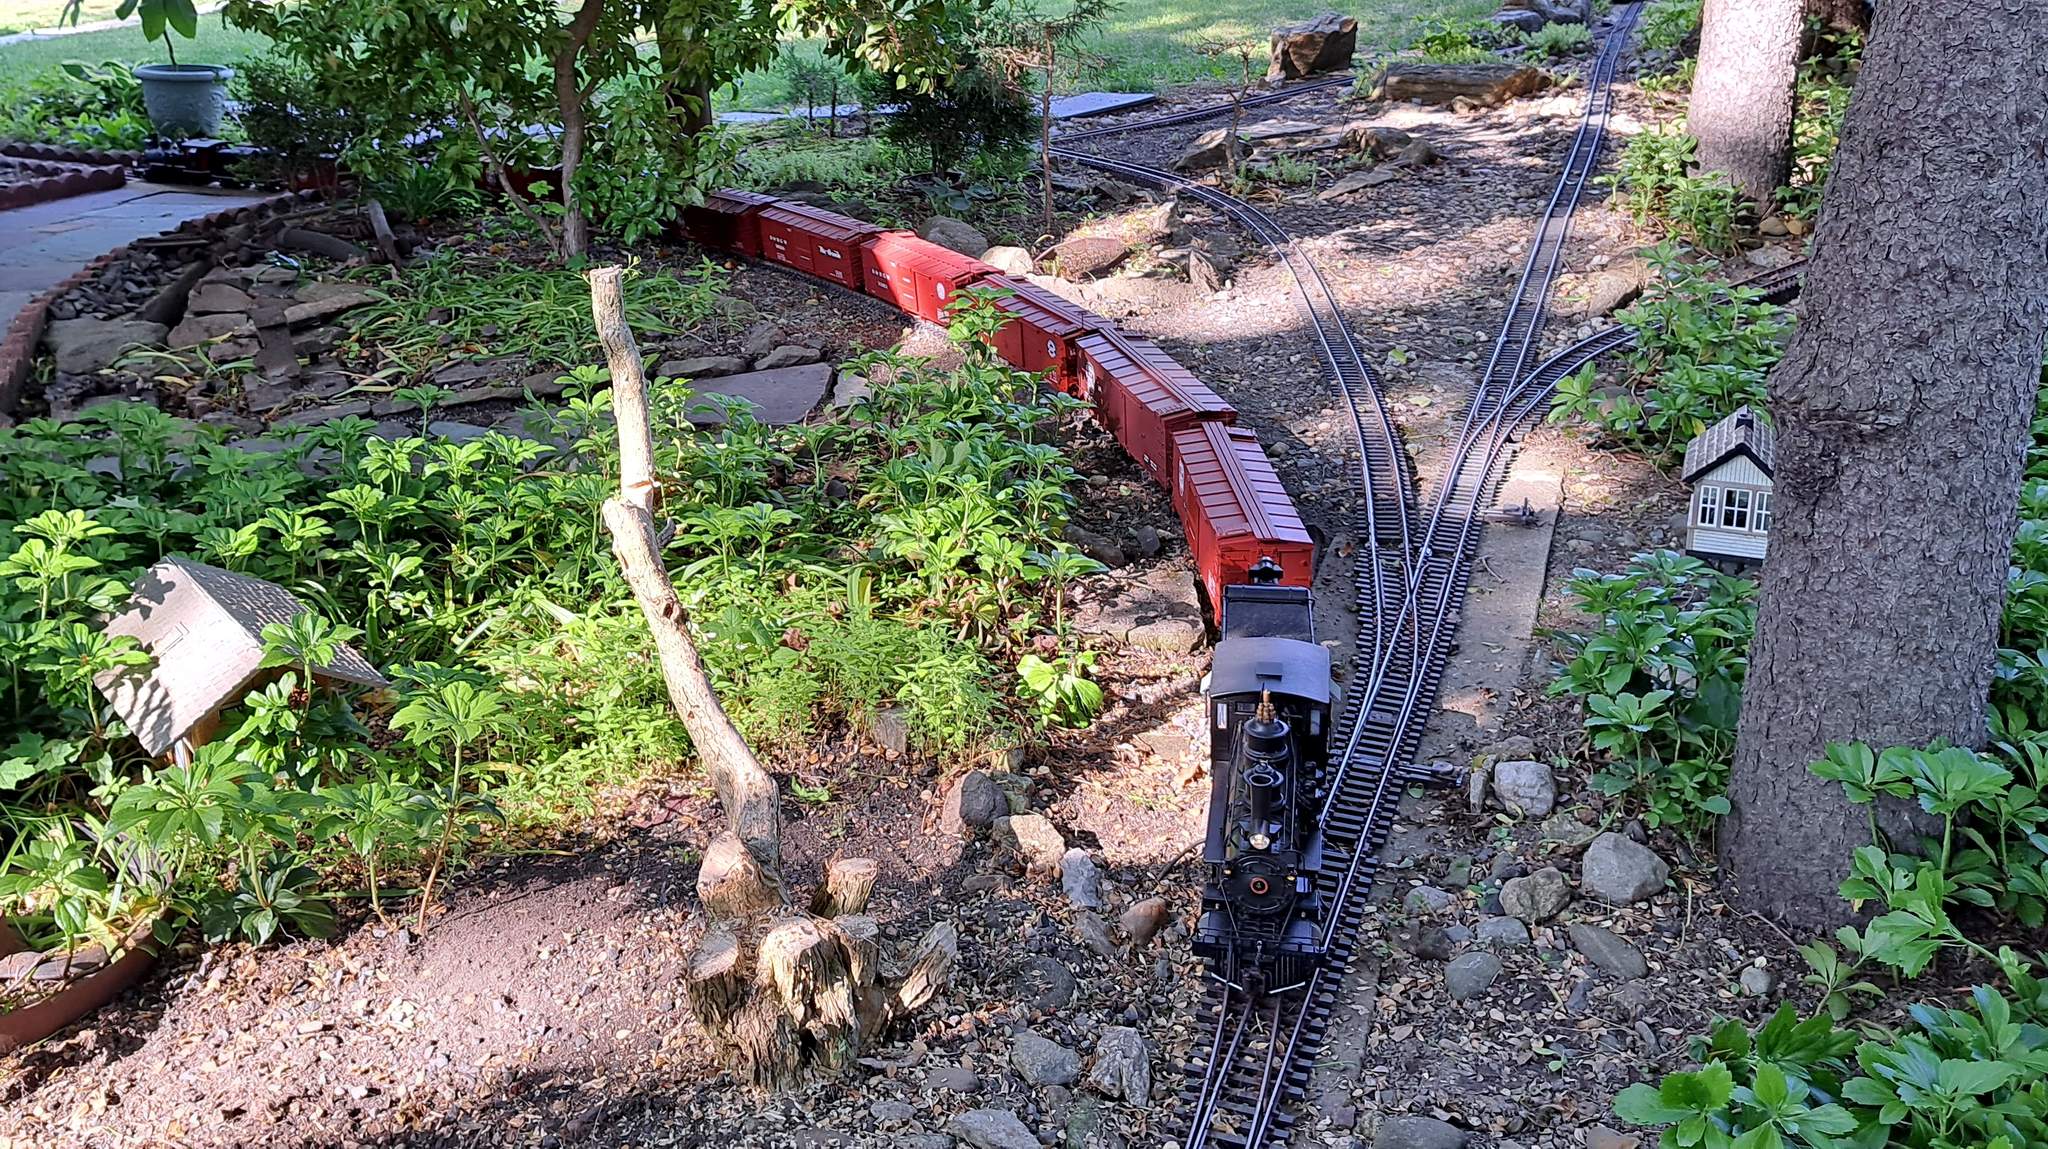
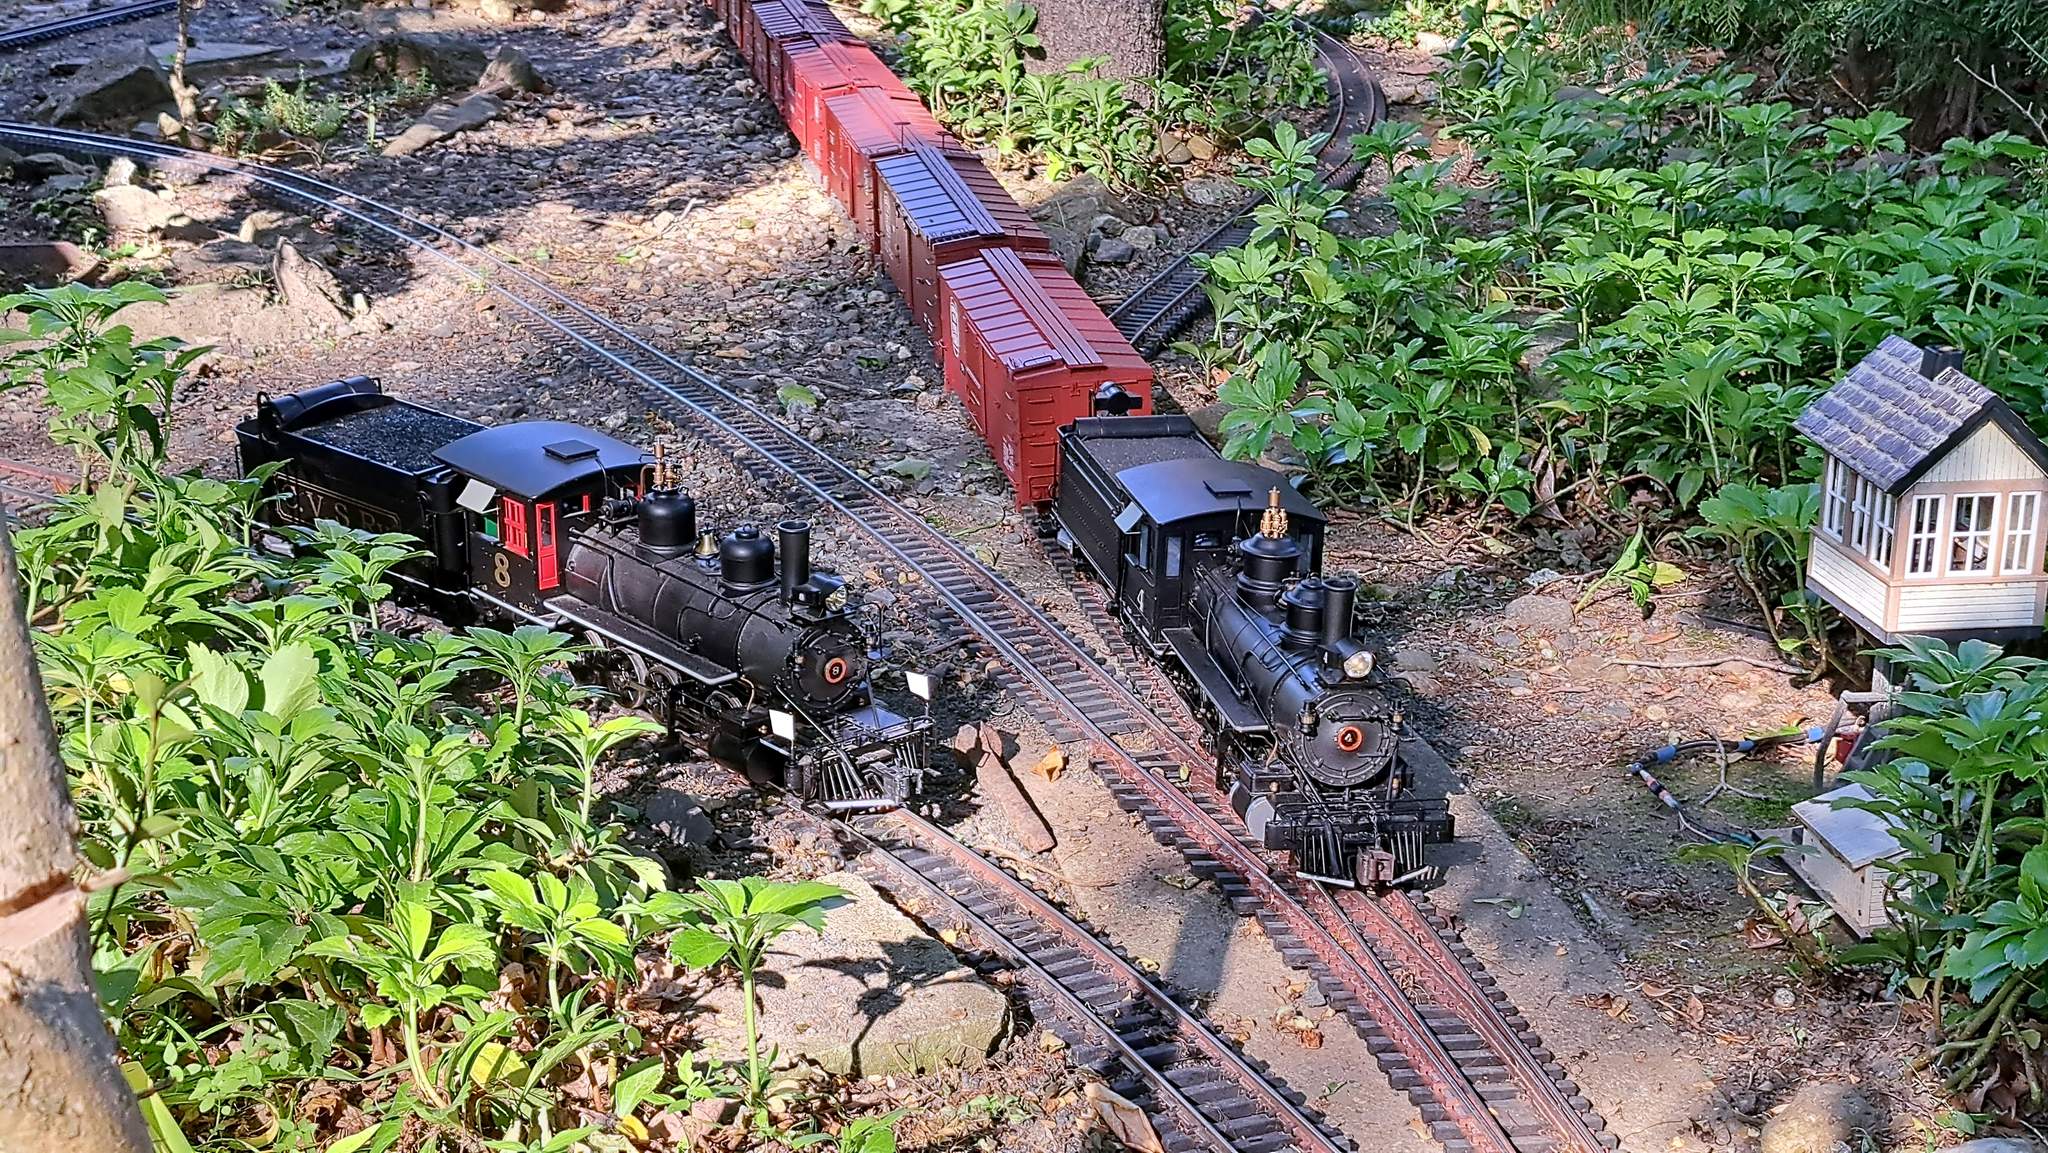
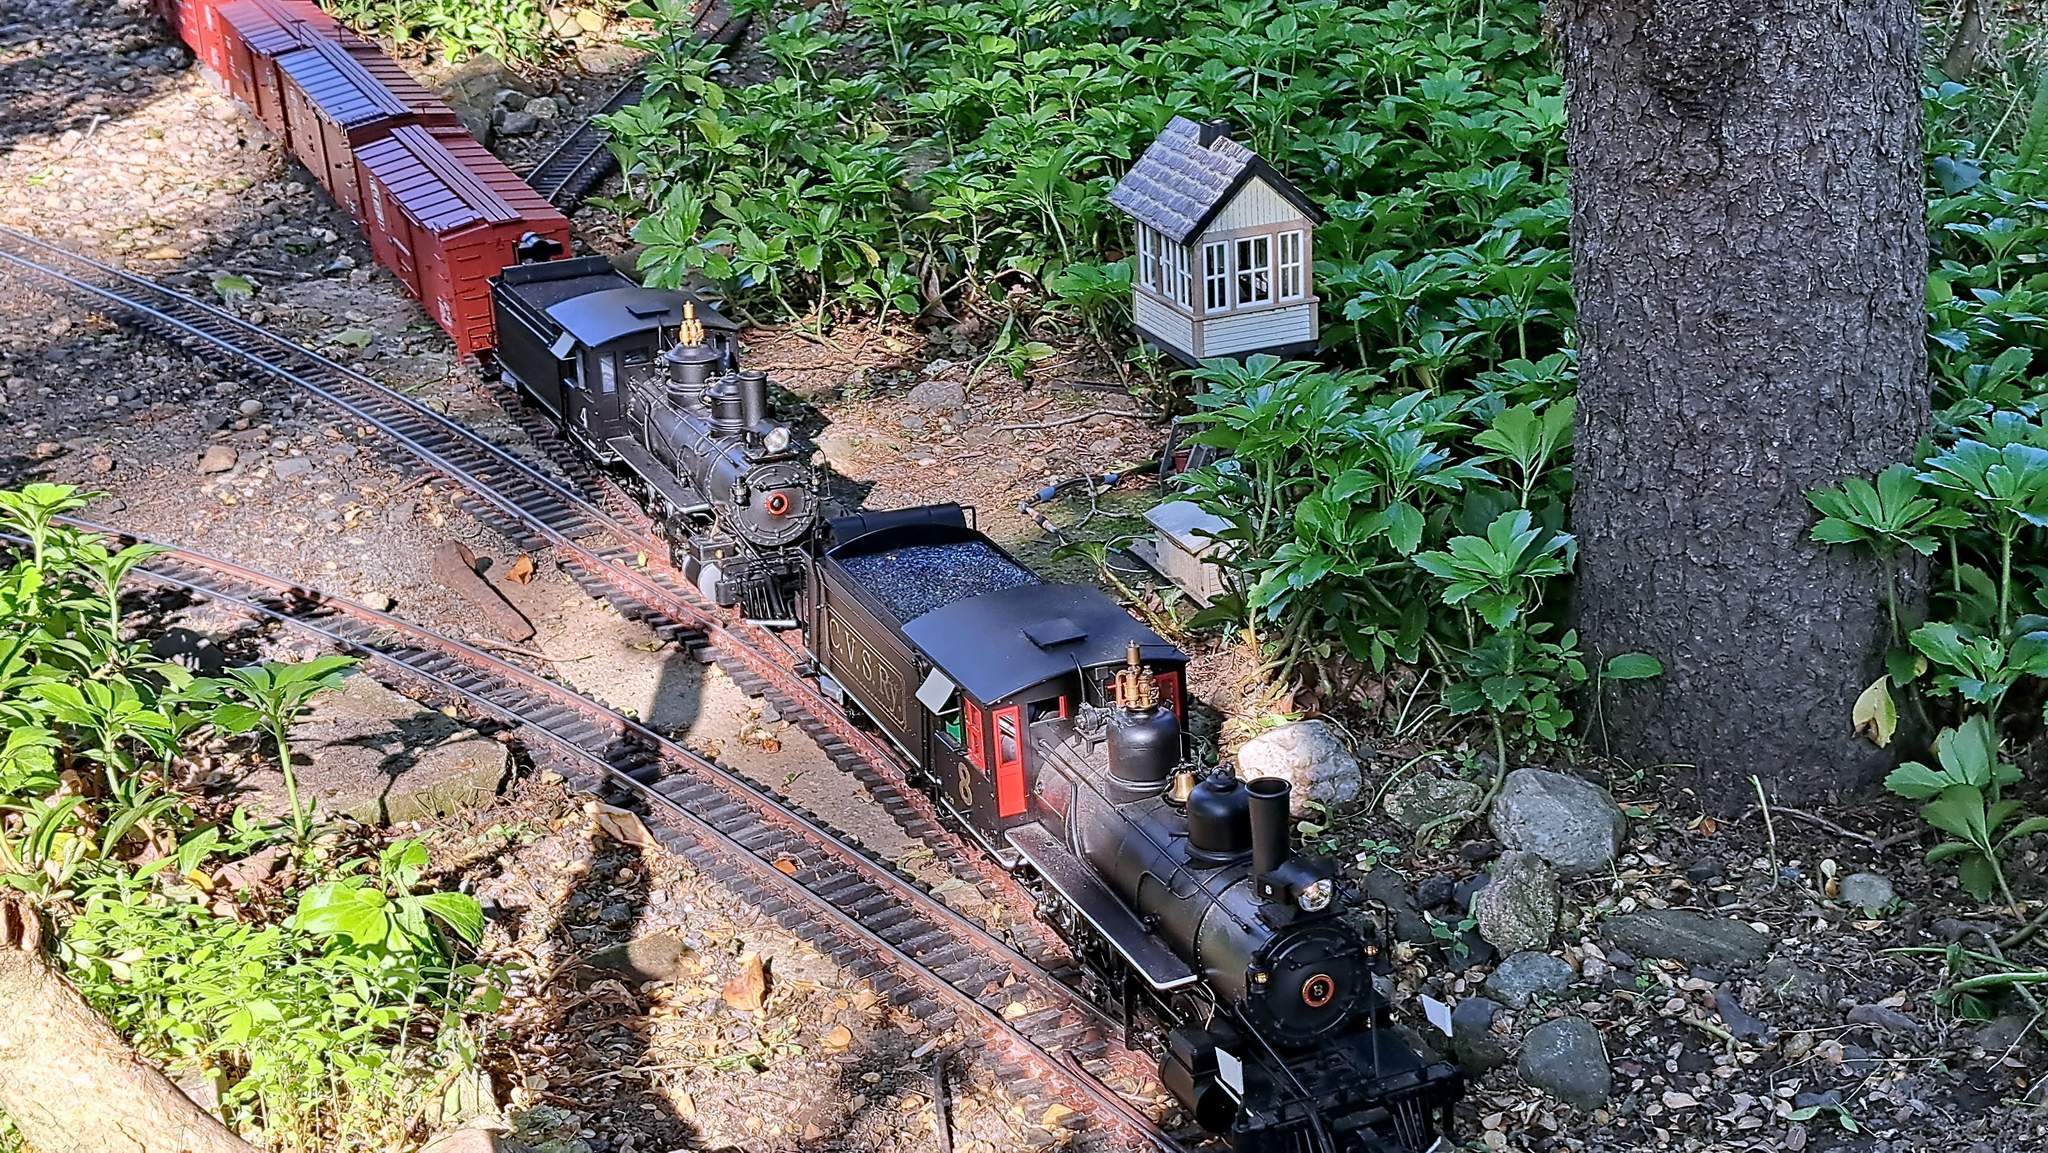
Once at the top of the hill at Pine Summit, the lead loco was cut off to run around the train through the wye. This is because the train was too long for the wye. It had to be split in two. Here # 8 has cut off and starts around the wye…

And ties on to the rear of the train to help push until the front half of the train was in Deep Cut…

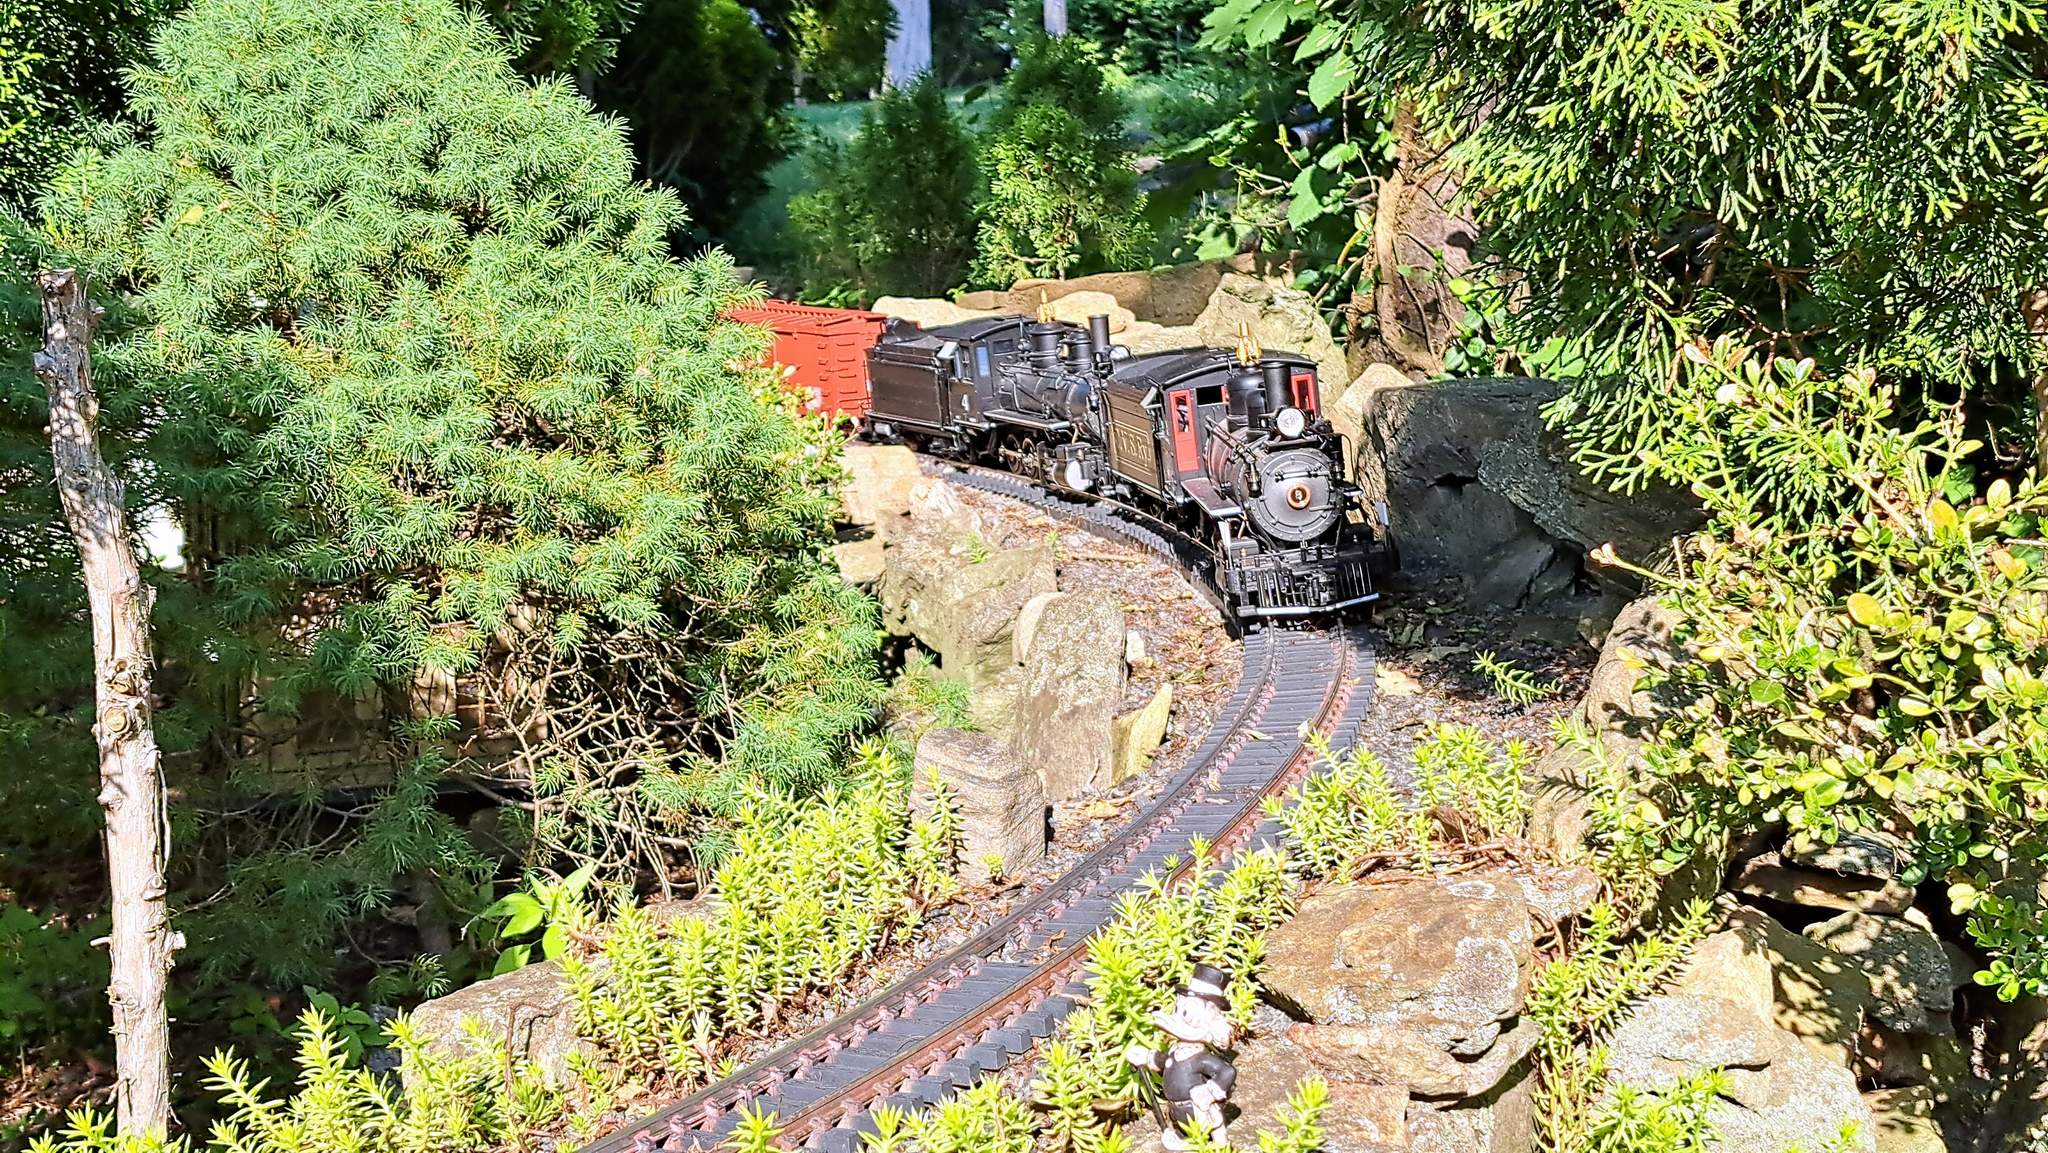
Next, the train is split in the middle, and #4 takes the first section around the wye. Seen here at Walk Crossing…

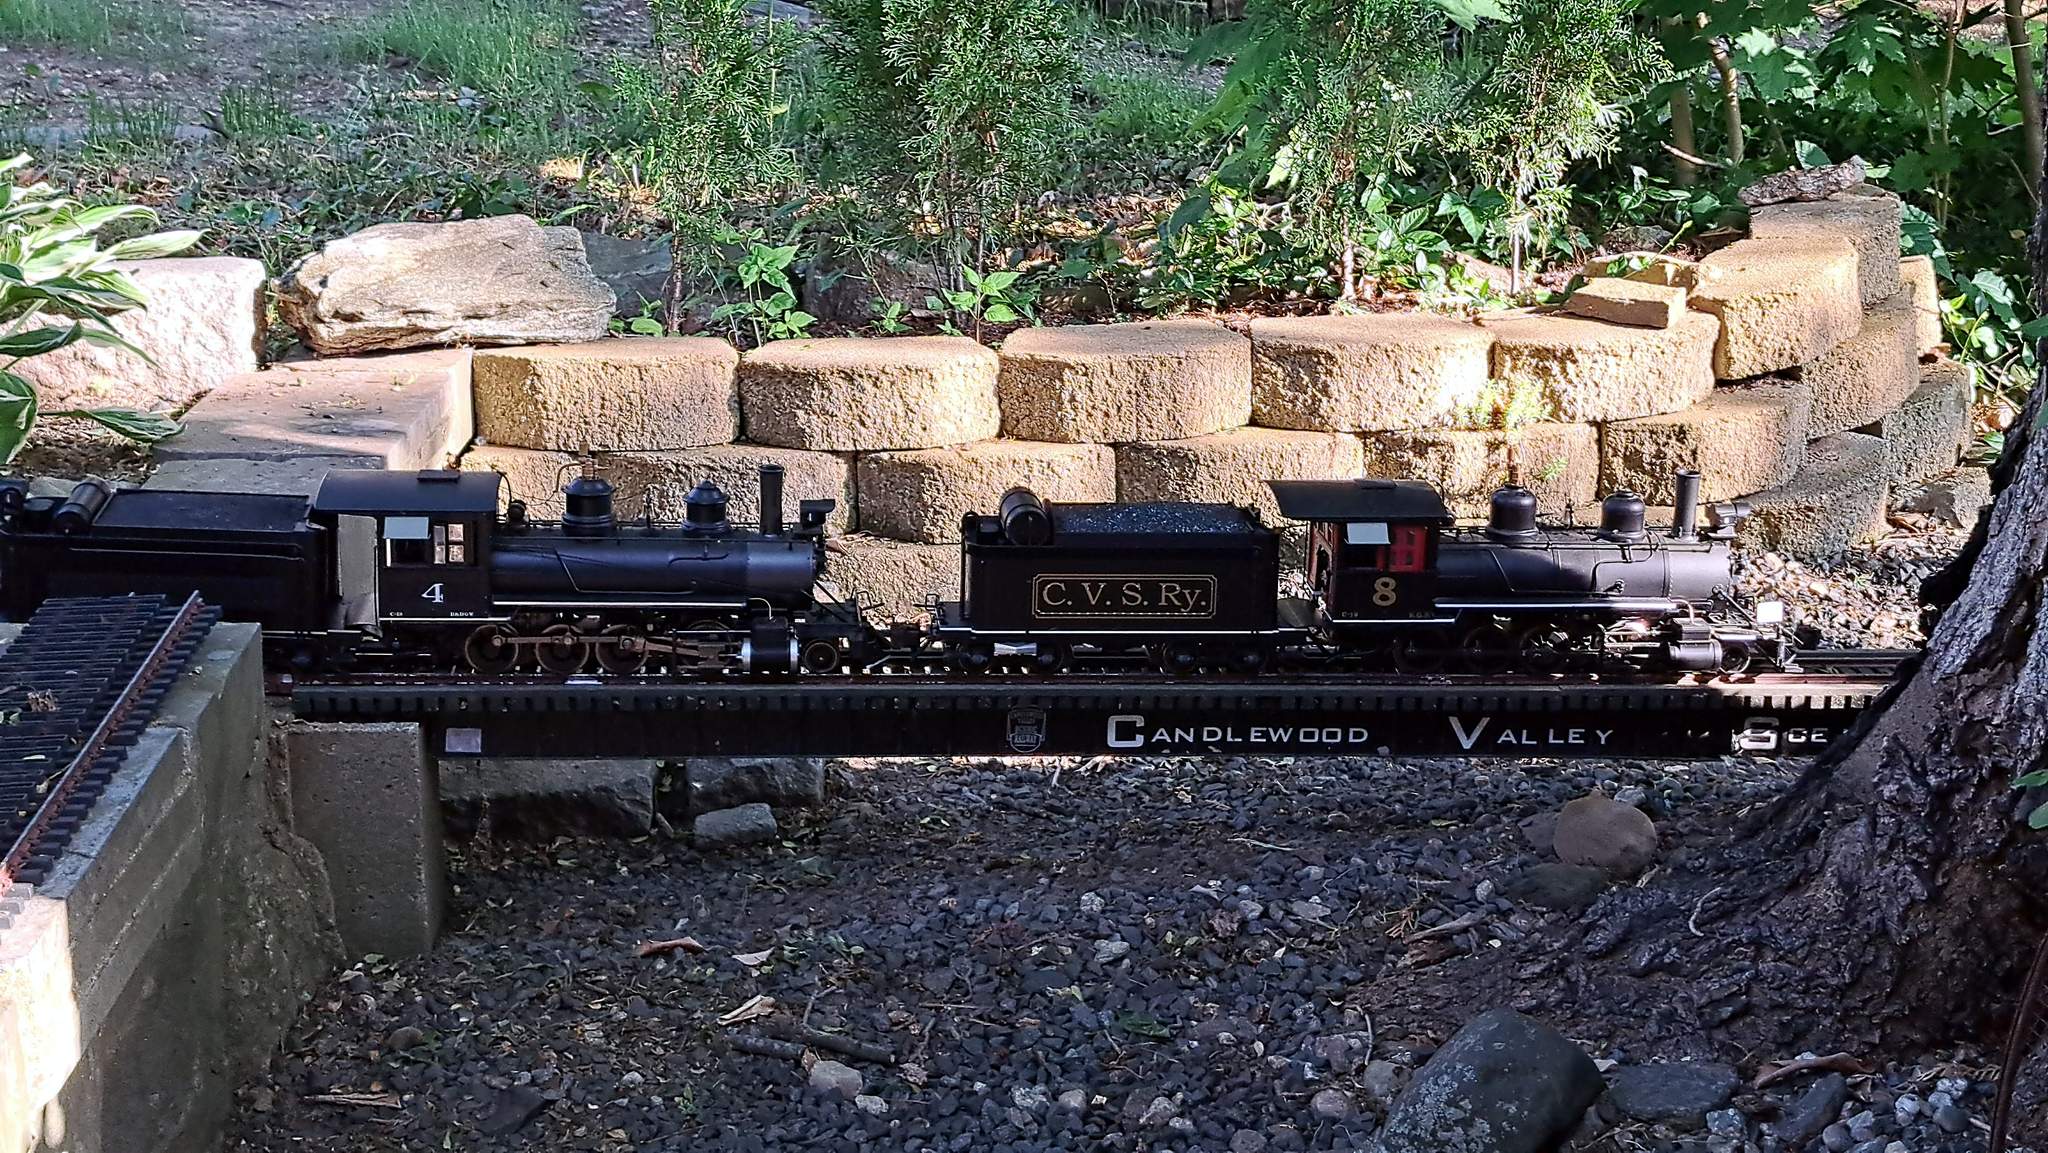
#8 prepares to shove the second section around the wye…

And now tied on to the first section just South of Walk Crossing…

The reconnected train will drift down grade until the third wye switch is cleared, then run back up grade until the entire train is on the main clear of both switches…

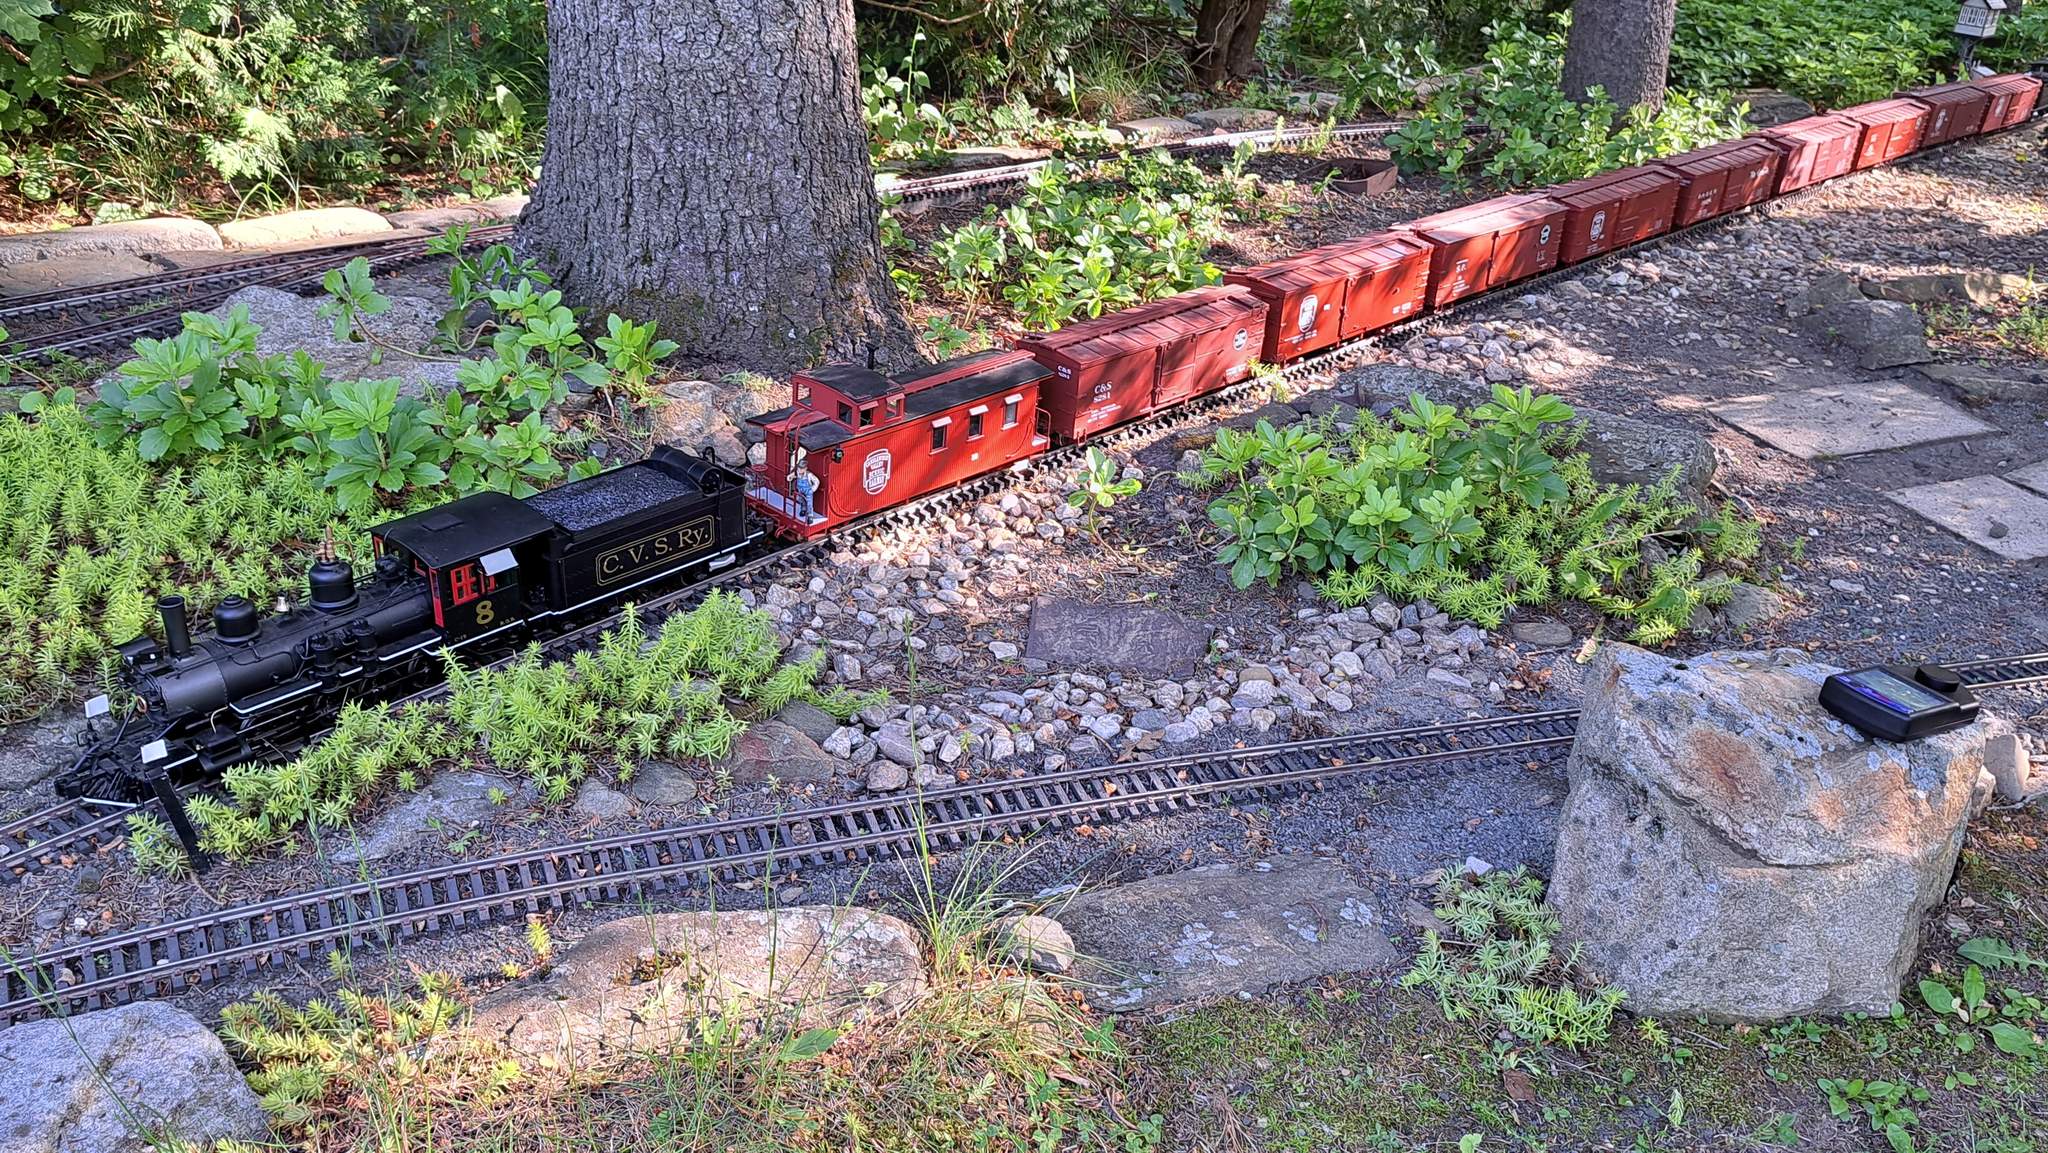
Now, #8 cuts off to run around the train again through the wye…

And joins the rest of the train waiting at Indian Hill Junction…

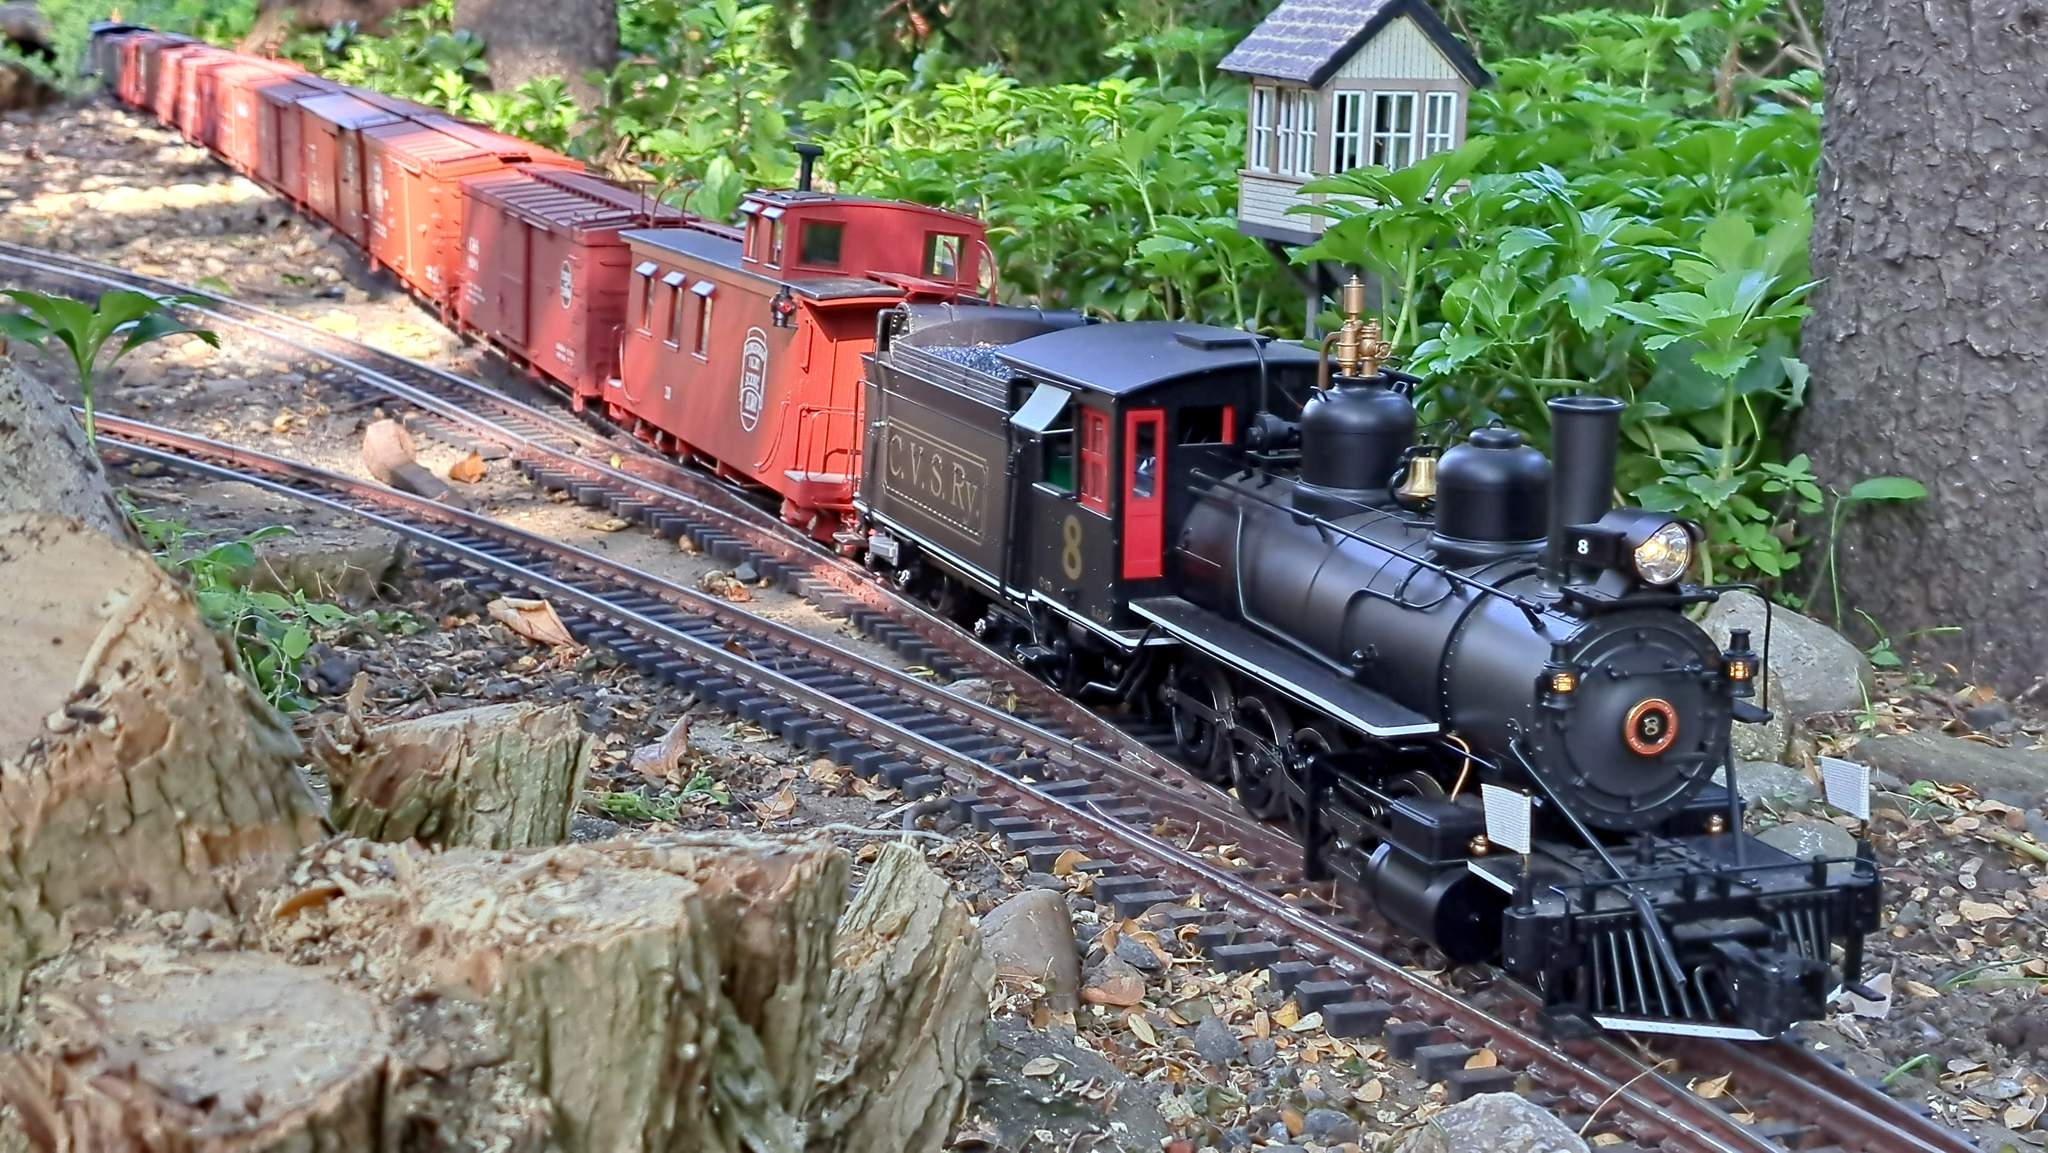
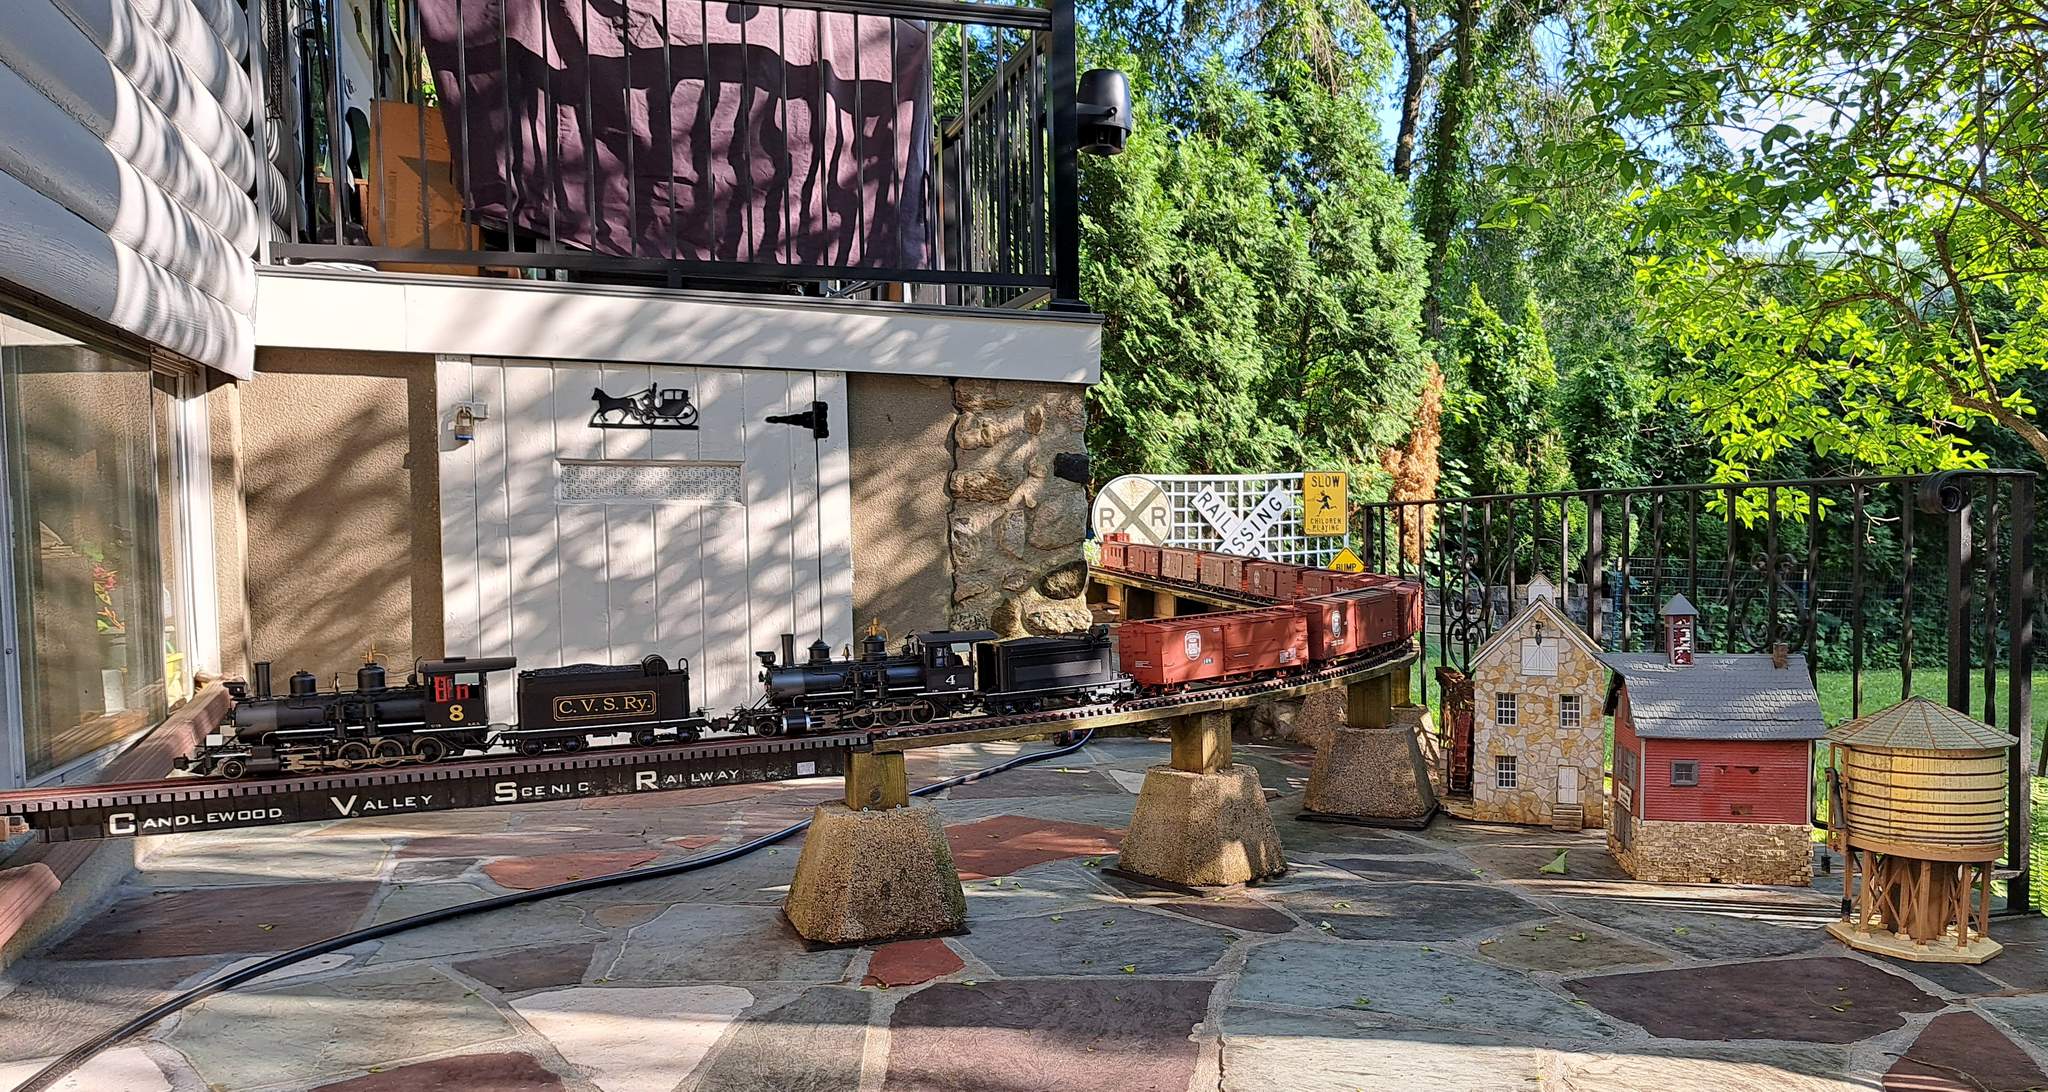
With #8 in the lead once again, the train is ready to head down grade toward home…

Across Indian Hill Bridge…

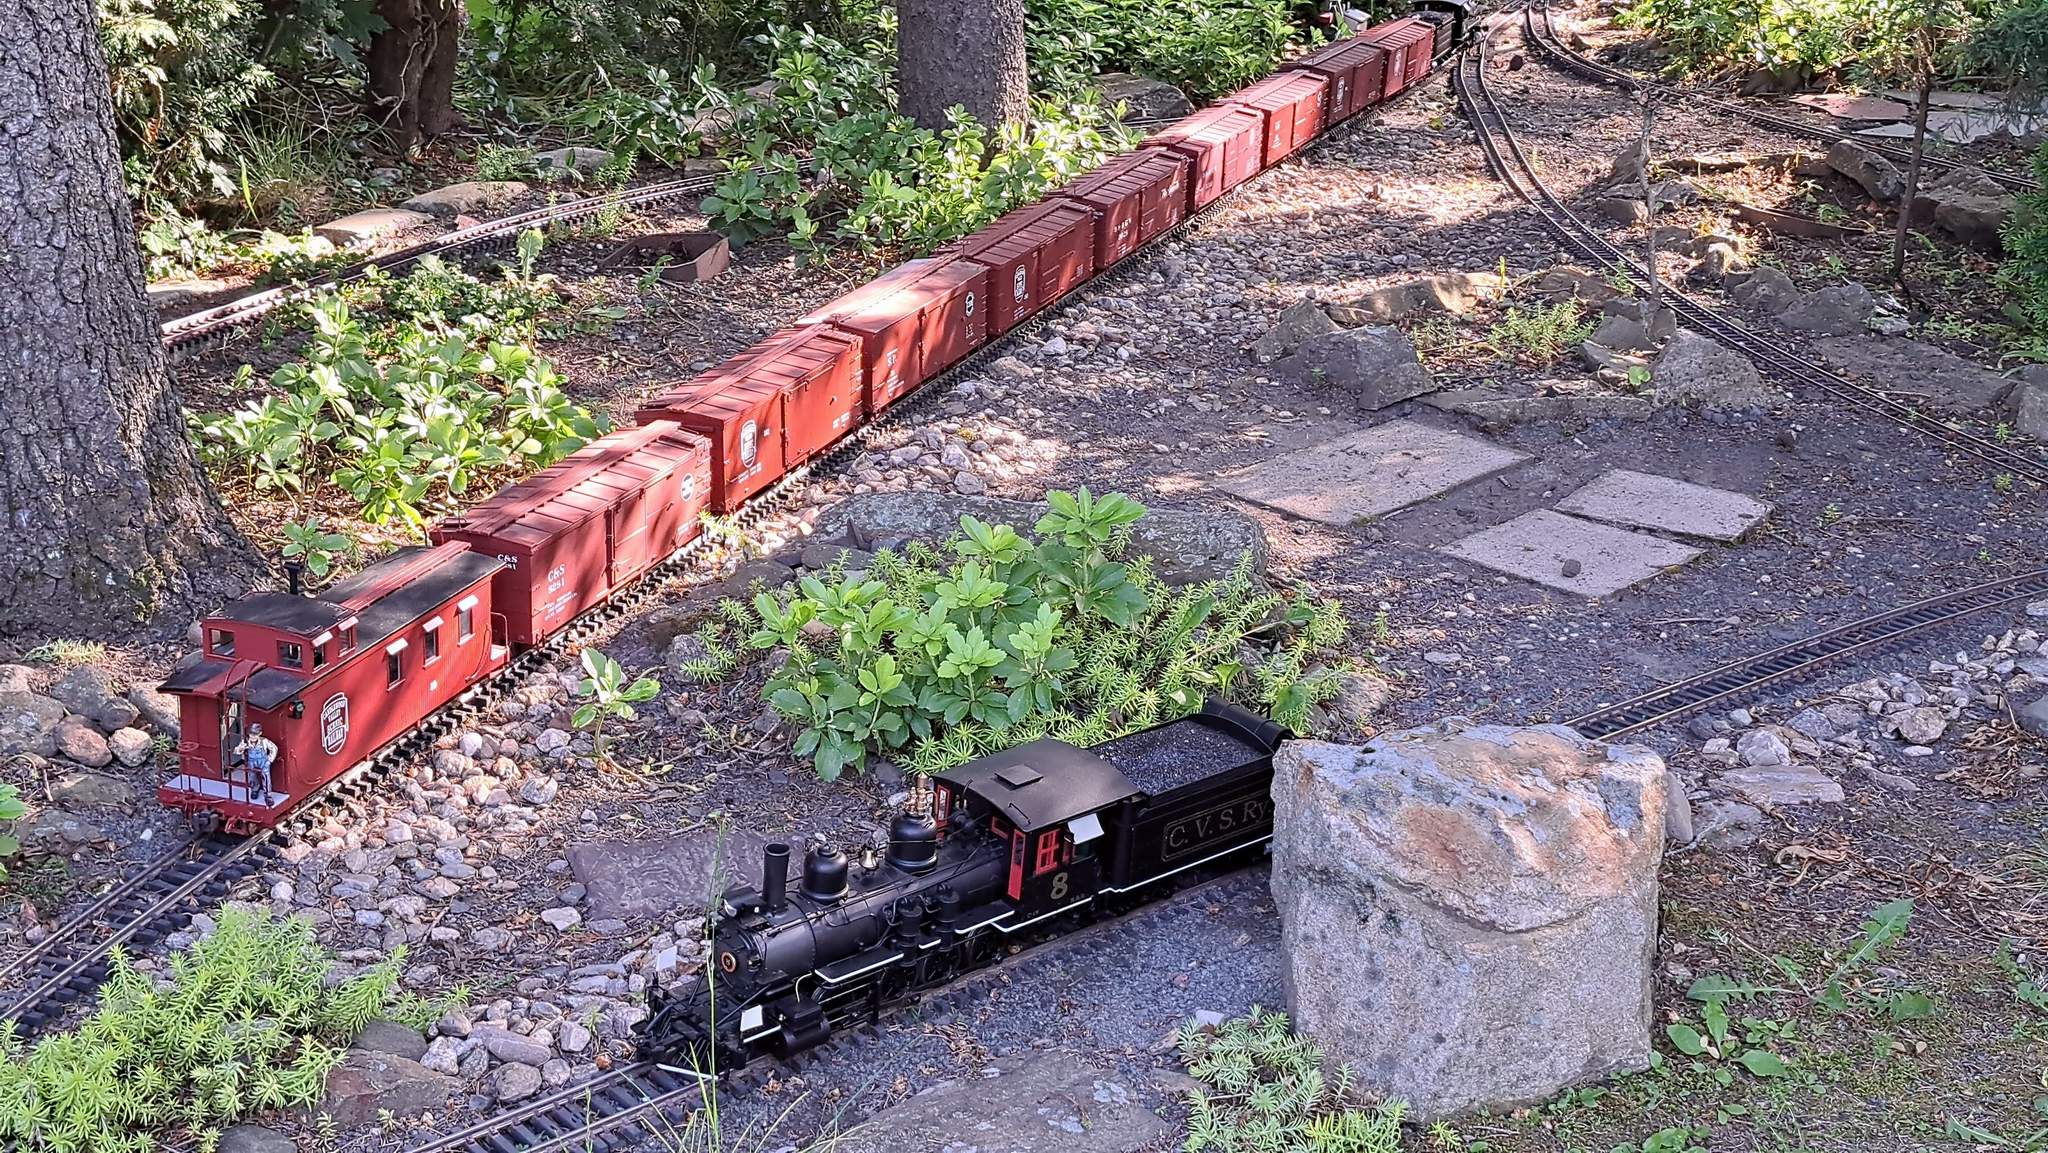
And in to Coal Dump Curve…

The rock work in this section of the railroad needs some help as evidenced by the exposed ladder…

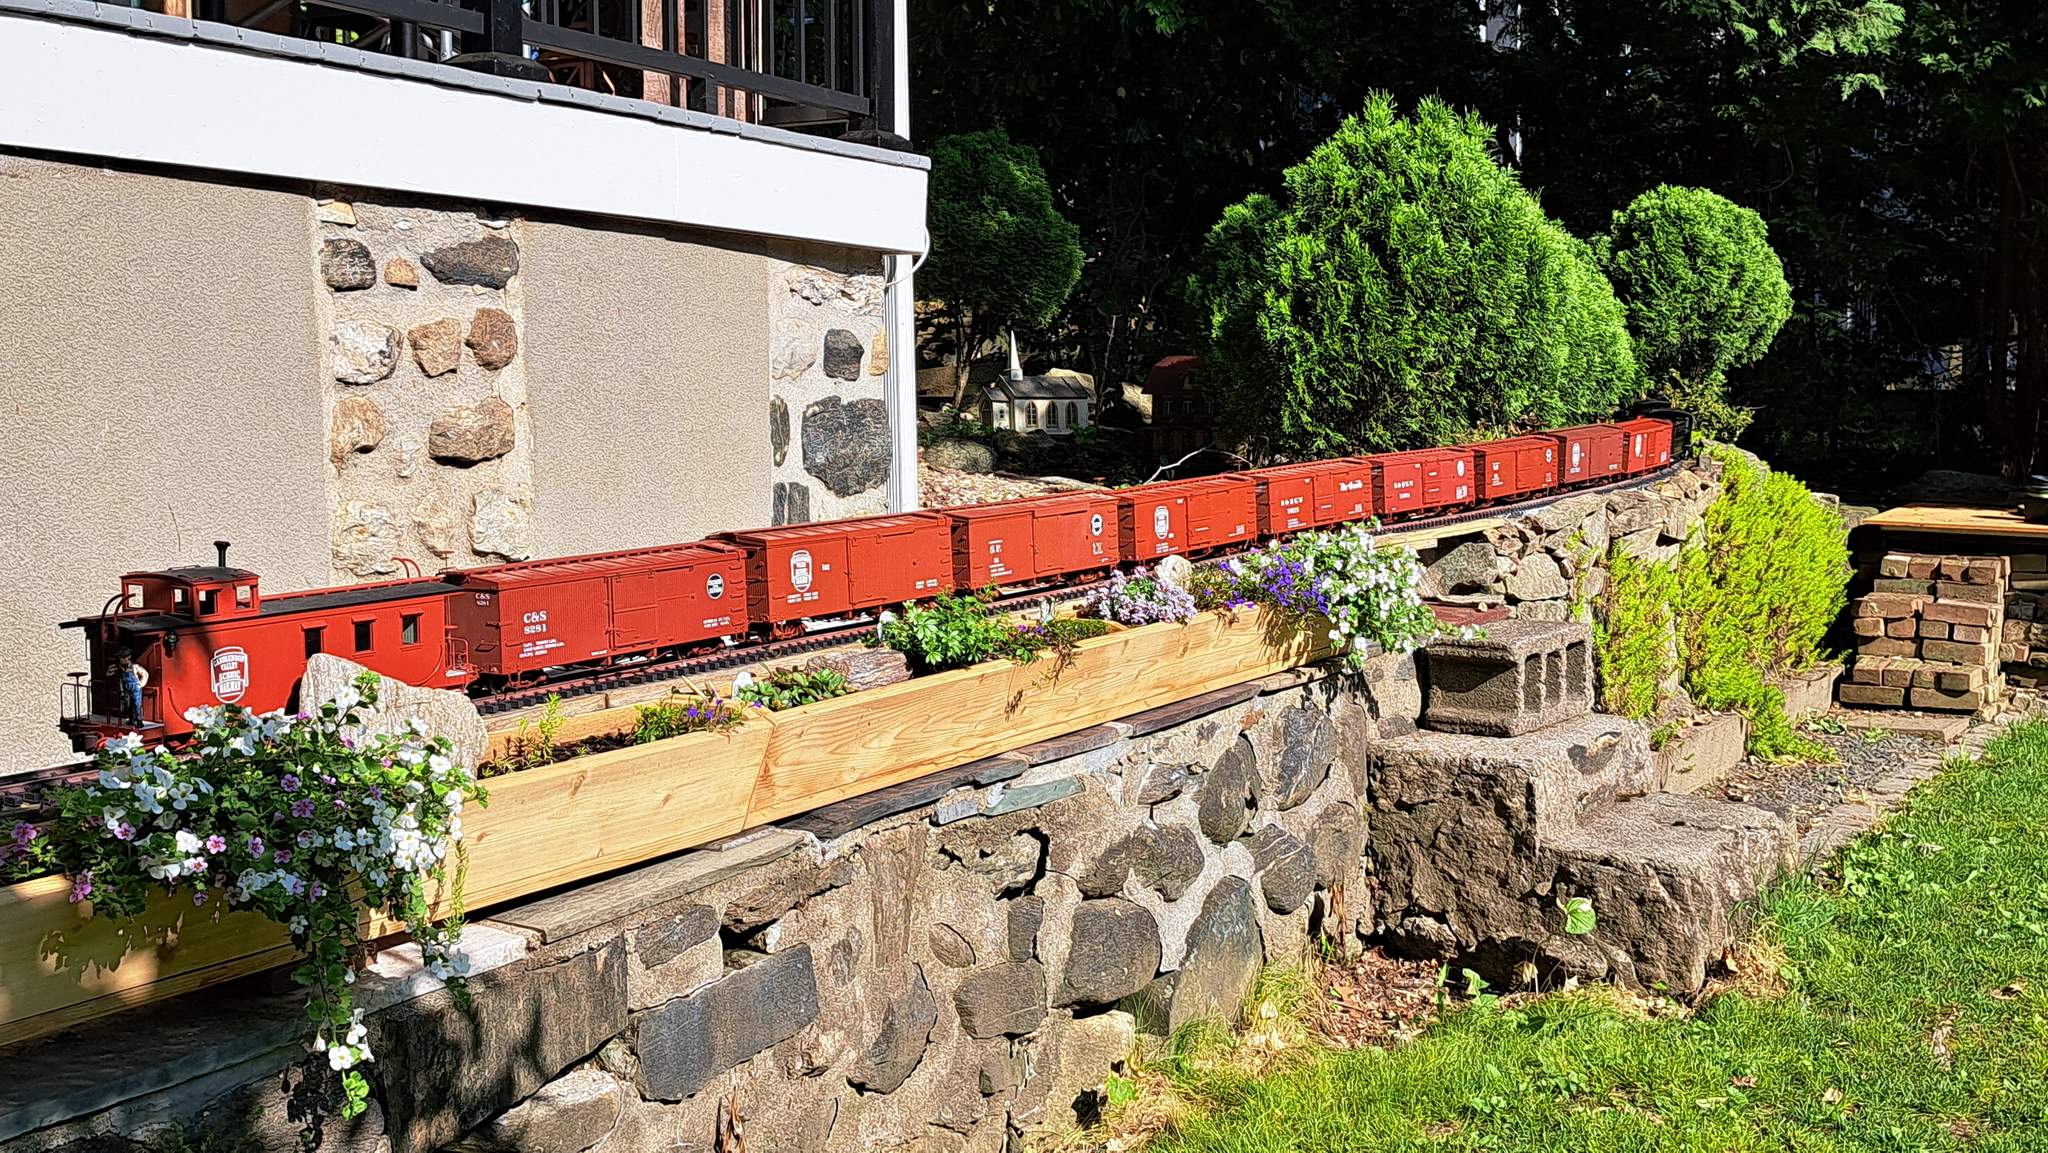
The entire train comes into view as it passes the new planter…

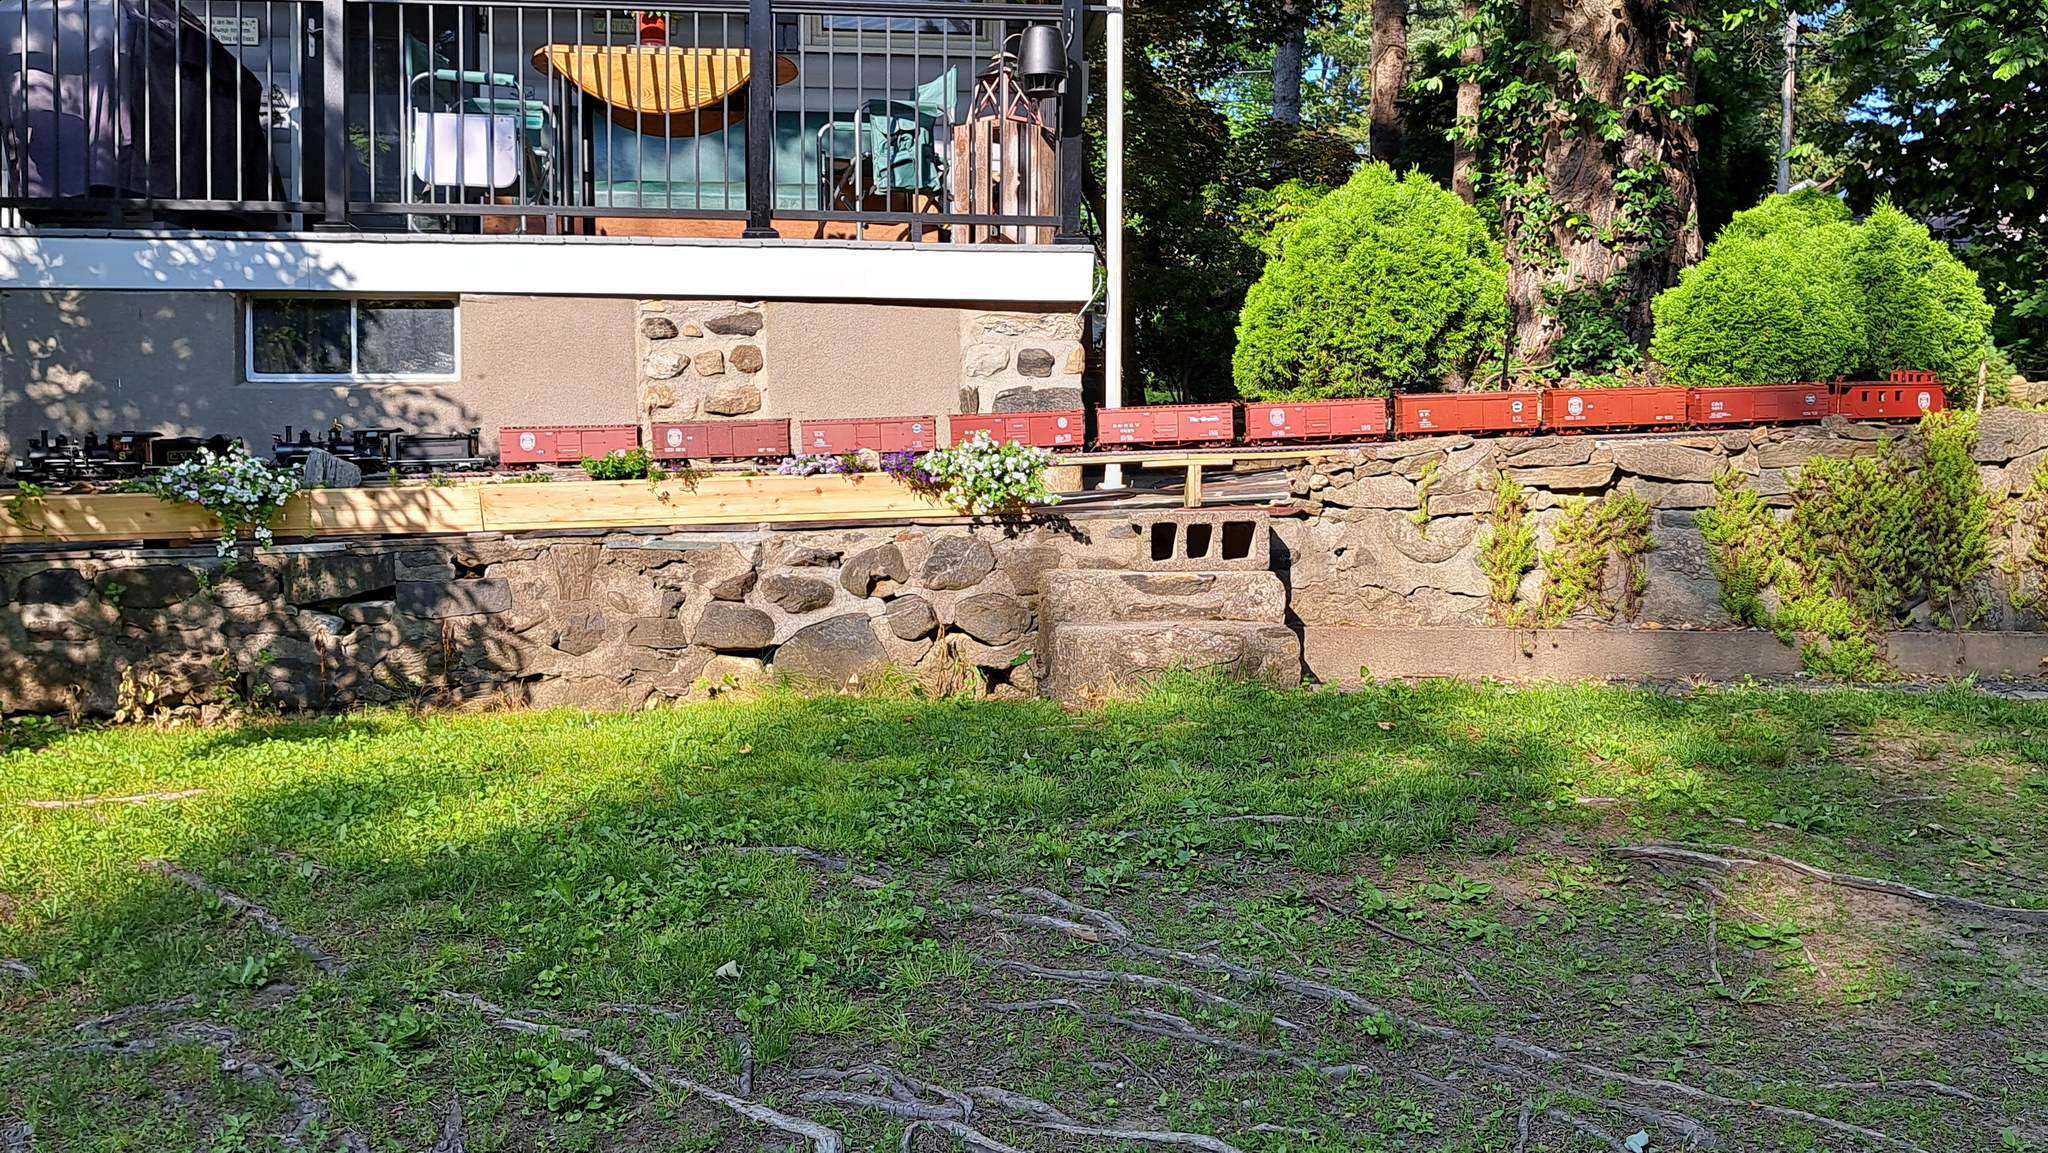
And crosses West Es-cap`e Bridge. Structures waiting permanent placement kind of look like a town!..

I spent almost an hour switching on the indoor after the train went through the portal to get the cars all back where they came from.

I still have a ton of weeding to do, but the ROW is clear and all track operational.

4 Likes

Great to see you using all that trackage Jon, amazing!

I would love a yard and the ability to run trains from storage right on the layout!!
To do switching without bending over is a plus… a big one!

I went through your post again Jon, and wow, what great choreography. Especially after seeing your layout in person, I can picture what you described. Very cool.

All Rail Pro’d, and MU’d on the front and back sequences, right?

Would be neat to see a video on certain tricky parts of that op, if you feel inclined.

Cliff

Yes. Get to the top of the hill as an MU, then unlink the consist and drive off with the front loco. Switch to the second loco to move the front section, then back to the lead loco to move the second section. MU them again as push-pull, and unlink to run around, then link again as MU for the trip home.

It’s just a few button pushes to link and only one button to unlink. Since converting to RailPro, I am finally able to run my trains the way I envisioned when the railroad was built. I’ve gone from basic wireless track power (TE) to track power with block control, to battery/rc with ability to control 2 locos with major limitations, and finally to RailPro.

I don’t have much in the way of video editing capability, but it’s easy to do raw clips. What do you want to see?

1 Like

This is huge. My first experiments outdoors 20+ years ago required carrying locos, cars and transformer out to the track. That got old fast. My next layout was completely indoors, a folded dogbone with two yards. Some of that still exists in my current layout. Along the way, my youngest who was probably 11 at the time, noticed that the existing track height was the same as a countertop by a window. A few days later we escaped from the basement and began building outdoors. My son was a Finding Nemo fan at the time, and thus we named the two bridges that got us outside Es-cap`e. Had to watch the movie with closed caption on to get the spelling :smiley:

A long shank bladed screwdriver eases the reach, and a simple twist uncouples the KaDees
https://www.harborfreight.com/2-piece-super-long-screwdriver-set-34253.html?utm_source=google&utm_medium=cpc&utm_campaign=12169518939&campaignid=12169518939&utm_content=114845719857&adsetid=114845719857&product=34253&store=164&gclid=EAIaIQobChMIzbDz6qmk_wIVAcrjBx0J2gKAEAQYASABEgISs_D_BwE

Jon,
That was a great photo sequence. Very nice layout. I also would vote for a video! :innocent:

There are a bunch on line already from when I was into editing. Early ones on Vimeo at Jon Radder

And later ones on Youtube at Candlewood Valley Scenic Railway - YouTube

Thanks Jon. Cool. The video shakedown of the new passenger cars really shows how steep a grade there is at the wall! :+1:

Thanks Joe. The grade is nearly that steep all the way up the hill to the last pine tree - Pine Summit where it levels off going into Deep Cut and the tunnel. That long grade has made for some interesting runaways over the years :smiley:

Jon, it would be really informative for someone to take a video of you and your trains, while performing the MU-ing, un-MU-ing, coupling, un-coupling, nd so forth.

Probably too much of a PITA… And maybe there’s already videos on YT for this sort of in-action operation?

It’s not video, but I did document the entire process with an even more complicated consists a little over a year ago. You had several comments :laughing:

You can find that thread here: How RailPro Multi-Unit function helps get a heavy train up my grade - Many Pics

1 Like