Large Scale Central

Landscape with River

i reconsidered.

no, not throwing out the whole thing…

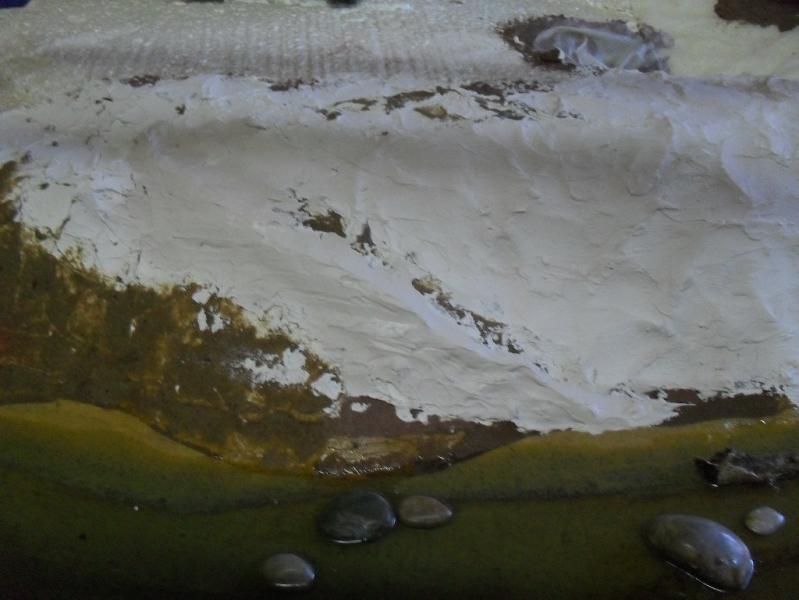
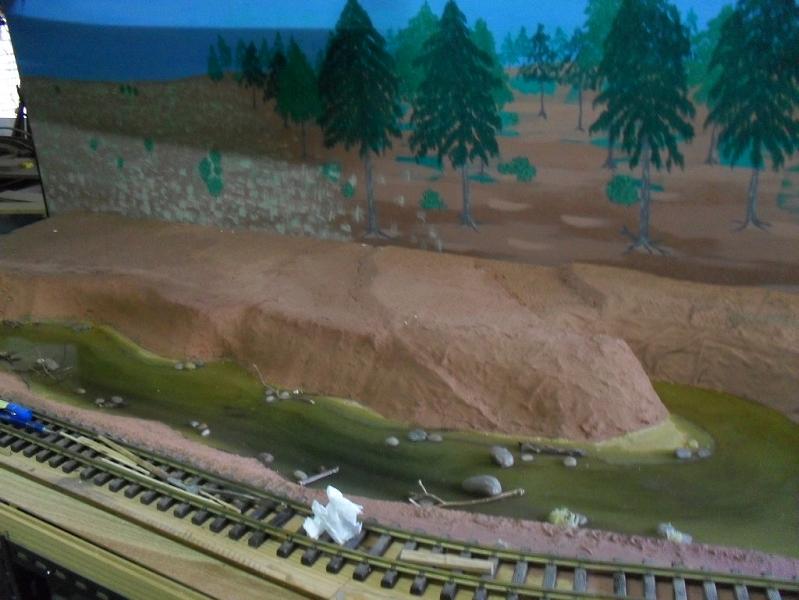
but the river works as a kind of magnet to every single dust or dirt particle.

so i will leave the last layer of resin for the last step to do in this section.

i think it will be better to start building those things, that need paint or any other kind of dirt first. so at the moment i go in two directions.

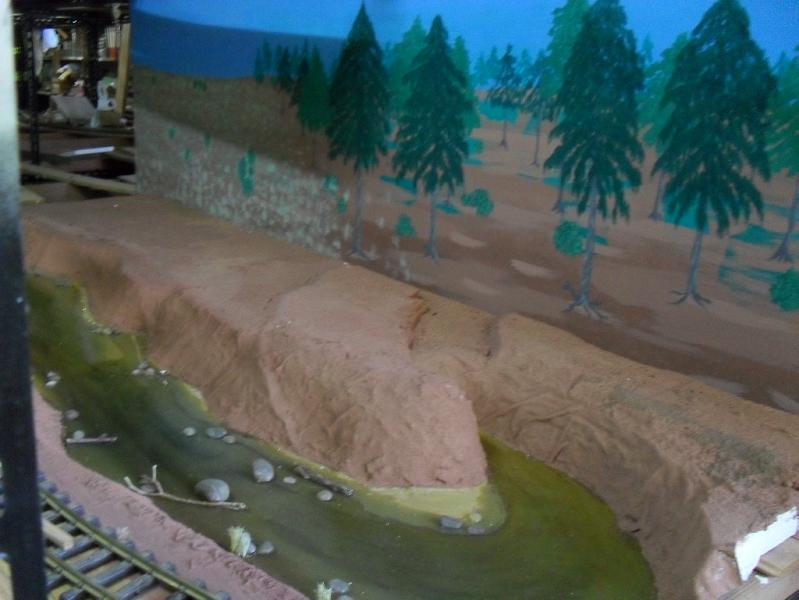
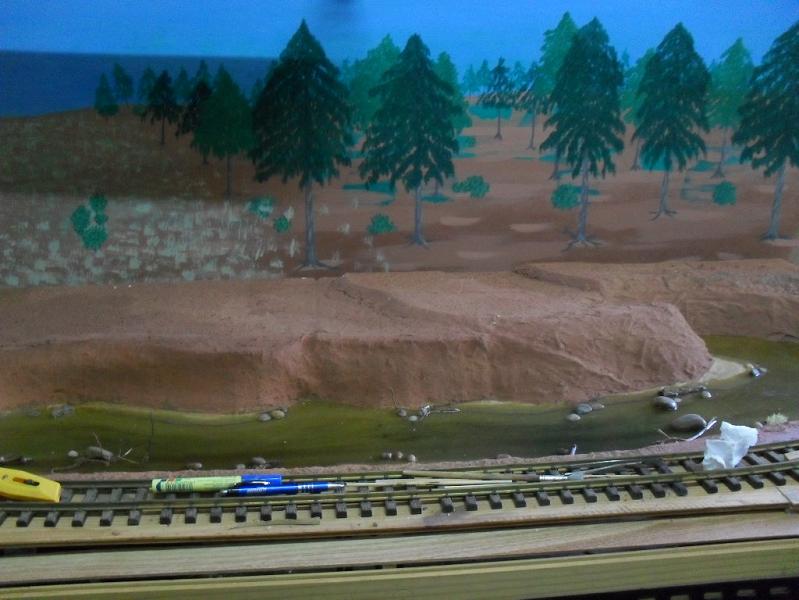
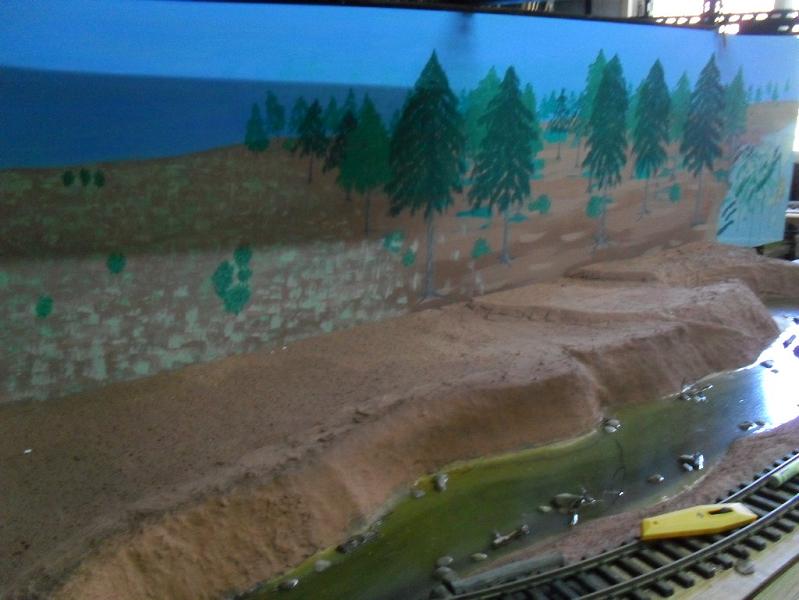
first, finishing the river banks, than making the floor of the woodland. (including placing some eyecatchers, like a trapper’s cabin, etc.)

here the path from the cabin down to the water

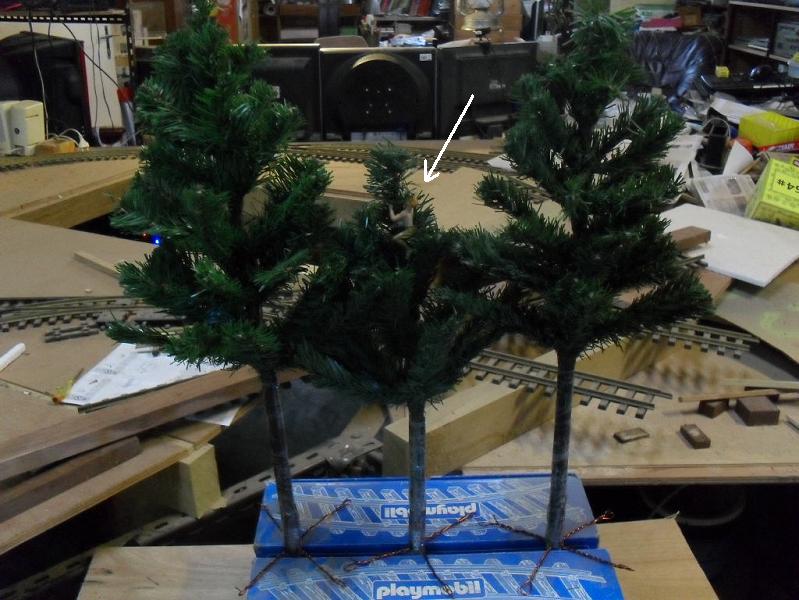
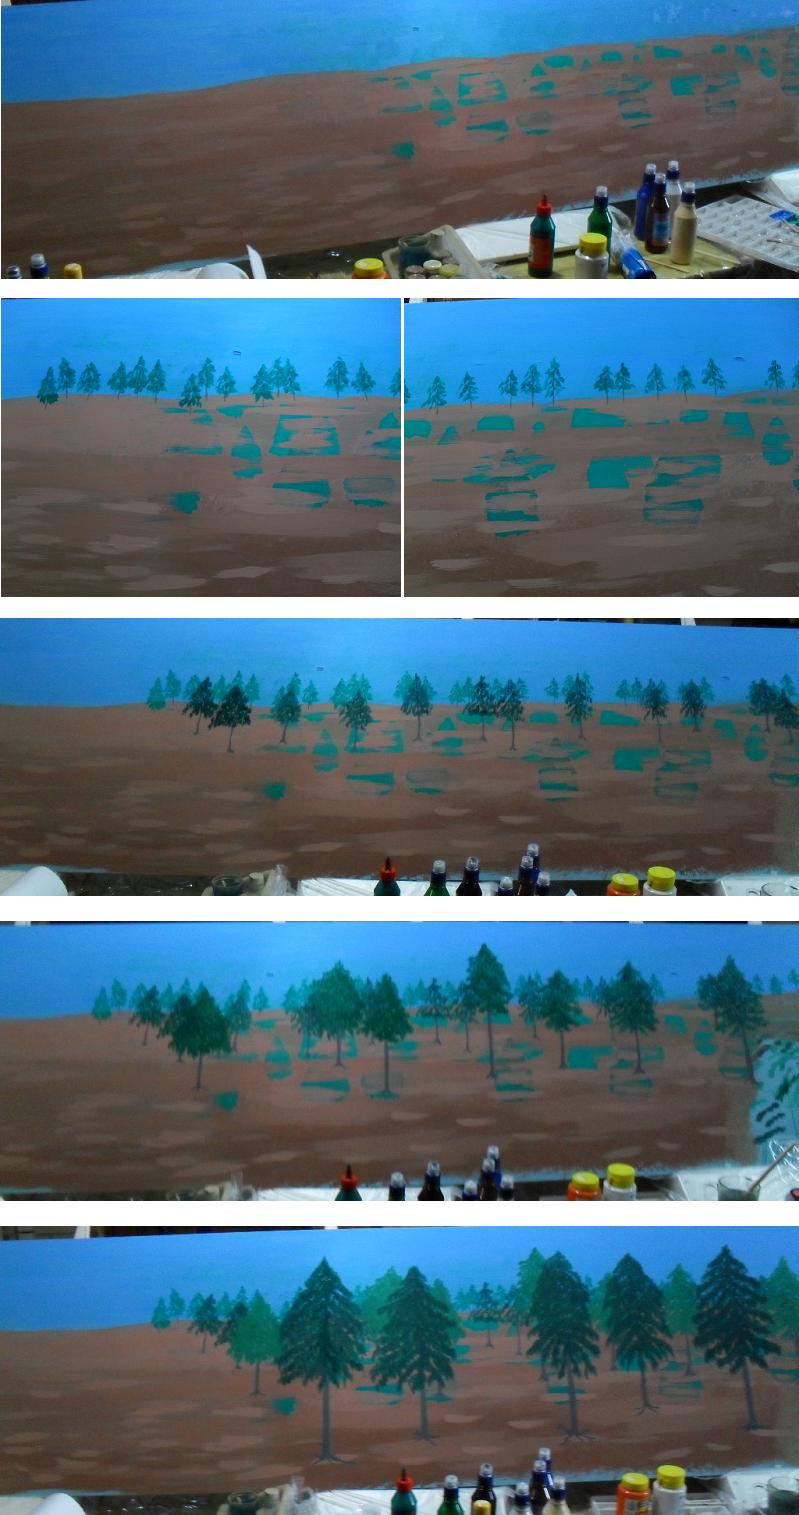
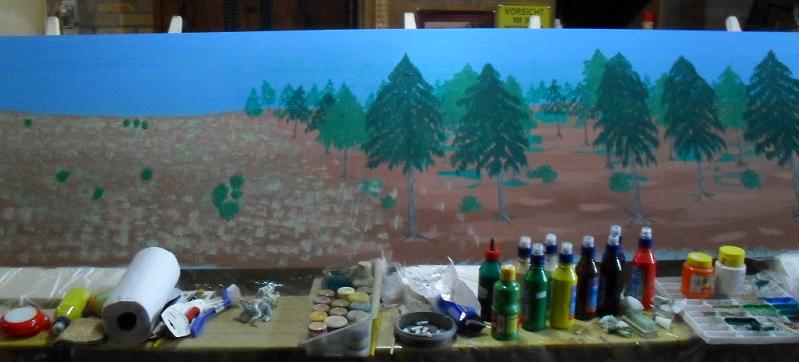
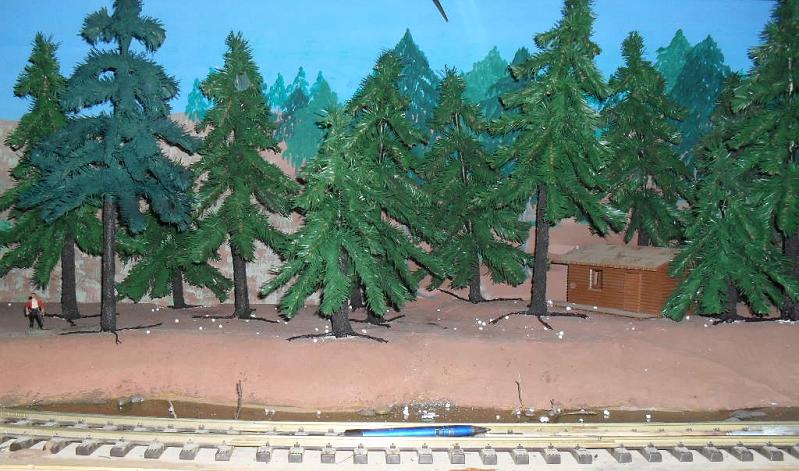
second, taking my january-discount-christmas-table trees, and transforming them into modell trees (sort of)

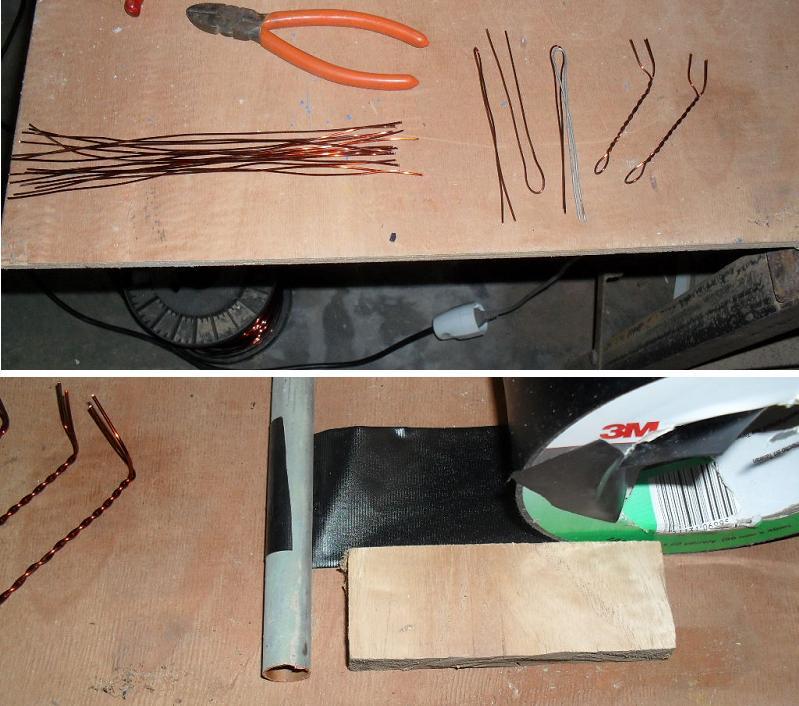
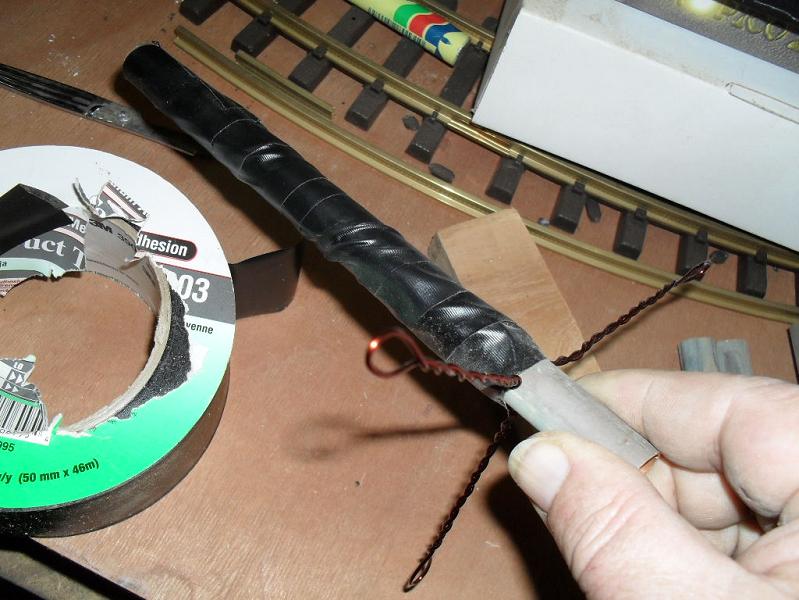
first i took some copper and alu pipes and sawed them into different lengths.

then i used copper wire to make sceleton roots.

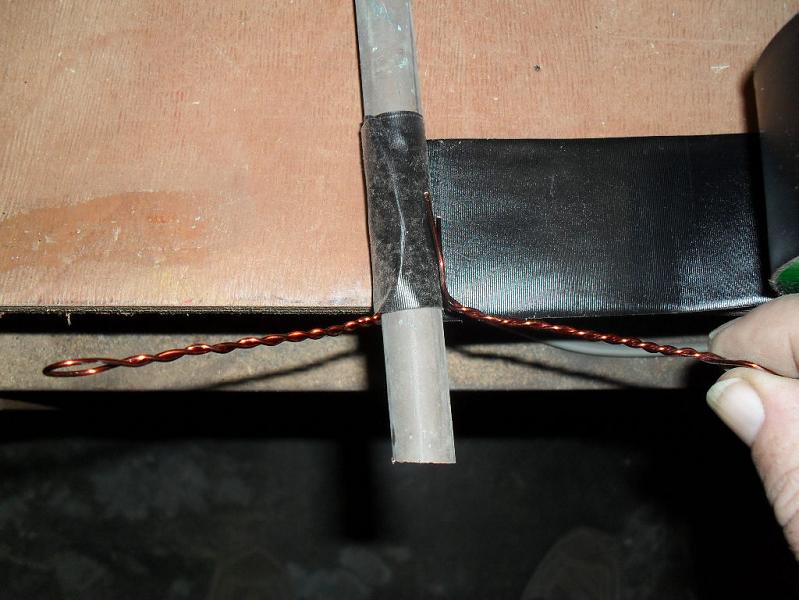
soldering didn’t work well, so i took the short lane. some tape and they stay more or less in place.

i think, i will use silicon sealer, to flesh out the roots.

the finish of the bark will be paint with sawdust.

how to make the foilage acceptable i will know after some tests.

Korm,

I can see a huge grizzly bear at the base of the centre tree (or a woodcutter with an axe or a chainsaw).

you mean somebody who wants to have closer look at the tree hugger?

nothing done yet.
seems, that my heart decided to push me into the slow motion category.
but i got a good excuse for getting done nothing. the weather! or should i blame global warming? we got the longest spell of arctic weather in more than 30 years down here. temperatures in the penguin degrees (low 30ies in F) during the nights, and up to lousy cold (by Vic’s definition in the 60ies F) during days.
the guy from the car paintshop told me, that the temperature has to raise at least to a mere chilly (about 80 F), before he can spray the sky on my background panels.
and - the background has to go in before planting trees.
so, why should i be hasty?

so, to follow Rooster’s hint in another thread i can just put up some pics of the ongoing production of trees.

i’ll stay with the method, i used for the trees above. just some change in the materials involved.
the trees will be planted 2" deep into the foam that makes up the ground.
hence the treetrunks go further down than the visible part.
for additional stability and for looks there will be some roots spreading out on the surface of the ground.
these are made from pieces of copperwire, twisted and fixed to the stems with tape.
(as compared to the trees in the pic above, i found tape, that is better suited to hold textured paint)
and, no it is not just because i’m sloppy, that the tape is not laid on smoothly. this way i hope to get slightly unregular treetrunks,
the loops at the ends of the roots will be cut open before texturing.

looong way to go.

these are about forty percent of the needed treetrunks for that roughly one by two yard wooded section.

within the next days the ordered sack of filtersand should come.
then the trees will get their bark consisting of a mixture of dark brown paint and sand, to give the trunks some texture. drywashed with some grey for the lighter outer parts of the bark.

Actually if one builds one’s own trees it is highly recommended to take long walks in and along forests, look at plenty of pictures and/or study books. Most conifers taper from bottom to top and their root work extends all around the tree if it grows in substantial soil. The roots in rocky soil are another matter.

The branches on deciduous trees are generally the mirror image of their root work.

(http://www.easternmountainmodels.com/pics/EMM072a.jpg)

(http://www.easternmountainmodels.com/pics/EMM075.jpg)

(http://www.easternmountainmodels.com/pics/EMM076c.jpg)

Hans-Joerg Mueller said:

Actually if one builds one’s own trees it is highly recommended to take long walks in and along forests, look at plenty of pictures and/or study books. Most conifers taper from bottom to top and their root work extends all around the tree if it grows in substantial soil. The roots in rocky soil are another matter.

The branches on deciduous trees are generally the mirror image of their root work.

(http://www.easternmountainmodels.com/pics/EMM072a.jpg)

(http://www.easternmountainmodels.com/pics/EMM075.jpg)

(http://www.easternmountainmodels.com/pics/EMM076c.jpg)

That is a good recommendation HJ…I will take note of that!

In the mean time …Nice work Korm!

at last the carpenter made the panels for my backgrounds.

after a horrible, not documented try, i watched some you tube videos about painting forrests.

then i tried to copy the tecnics observed. this is so far the result:

That’s looking pretty good Korm! :wink:

Korm Kormsen said:

at last the carpenter made the panels for my backgrounds.

after a horrible, not documented try, i watched some you tube videos about painting forrests.

then i tried to copy the tecnics observed. this is so far the result:
…3

Korm. Do you remember any of the links on You tube about painting backdrops?
I’m not sure on type of a back drop I need to do out by our large turntable yet. Still working on my railroad buildings yet…

(http://freightsheds.largescalecentral.com/users/noelw/Smilies/2eatingpopcorn.gif)

As always yours is look great. Keep post photos guy…

thans Joe, thanks Noel!

noel, i don’t remember. but i just went on you tube and typed forrest painting.
then i took it from there, always after one clip looking through the suggestions.
i did not look for backgrounds.
in my first try i had used long strokes an produced solid, big spots of one color.
to say, it looked shitty is being polite.
so all these guys did variations of the same things.
they did not start out painting the important parts, but they started to paint those tiny things in the back that later were partially covered by the foreground items.
and, be it a treetrunk, or foilage, or even the ground, they had nothing in just one color! they made a shape in a (too) dark color, than highlighted it with brighter tones.
and all of them did NOT make long strokes, but just spots!
the tools they used varied from sponges to more kinds of strange shaped pinsels, than i ever knew to exist.

in the end i painted my first try over completely, used varied shades of brown for that.

then i went throug the store in search of tools.
tooth-, shoe- and kitchenbrushes, some sponges, and mutilated pinsels went into the spotmaking test.
save for the gras, that i made with the edge of a householdbrush (few, but coarse hairs), i settled for a soft toothbrush and a small, diagonally cut, flat pinsel (about a third of an inch wide)
on the right i have an area, that will be behind a mountain and waterfall. there i tried out the angles of pushing the pinsels and the mix of colors.
i started each object with dark spots, then adding a little more light color, for each sucsessive passing.

this morning, i decided, that i will not give in to the desire to overdo it.
i think, like theatre backgrounds as well my backgrounds need not to be detailed. they shall not show a forrest, but shall give the observer the idea of a forrest.

and, btw, i am now finally waiting for the delivery of bakable sculpey from germany.
(couldn’t get it from argentina, brazil or the us.)

well, i declare this section as finished! (eleven more to go…)

I like it a lot! (http://www.floridashootersnetwork.com/images/smilies/bounce-74.gif)

i am content. the foreground items and the lightcontrol will do the rest, once installed.

just some thousand words:

Well, this is, how far i got with that section.