Large Scale Central

Just the begining

Joe Zullo said:

“butt hat”? I was trying to figure what that was when I realized you meant “but that”. (http://www.largescalecentral.com/externals/tinymce/plugins/emoticons/img/smiley-sealed.gif)

XX

bwahahahaha…Took me reading it twice to even find it. Fixed now.

Matt Russell said:

Joe Zullo said:

“butt hat”? I was trying to figure what that was when I realized you meant “but that”. (http://www.largescalecentral.com/externals/tinymce/plugins/emoticons/img/smiley-sealed.gif)

XX

bwahahahaha…Took me reading it twice to even find it. Fixed now.

Doesn’t Butthat hang out with the Beavis kid???

I liked butt hat better. More… je ne sais quois.

John Passaro said:

Daktah John said:

John, I’m curious as why you recommend this. In the product I use the dust acts as a binder. After I spread the ballast the way I like it I wet it down and it tends to stick together rather well.

My experience is that it turns back to dust and gets into everything, maybe because in the mountains here it’s so dry usually; but it’s dry where you are too, so I don’t exactly know…maybe we need to hire a mineralogist to figure this one out.

Not dry here at all. We are in the humidity capital of the Northeast (http://www.largescalecentral.com/externals/tinymce/plugins/emoticons/img/smiley-surprised.gif)Dust pretty much stays stuck to the larger pieces here. Thanks for explaining.

I decided to take last night off and work on the layout. Made some more good progress. I got the rest of the road bed support staked down and filled back with gravel. All that is left is to do is back fill with dirt! Fingers crossed I get some time this weekend to haul dirt in.

Roadbed is DONE!

I got it done with daylight to spare, so I figured I would play around with some track plans. I’m sure it will change again, but I like it this way better than I previously had it.

Not sure I like the switches that far apart, but I’ll need to pick up the track anyway so I can back fill with dirt.

lookin good, Matt…

Thanks Andy!

double post. (http://www.largescalecentral.com/externals/tinymce/plugins/emoticons/img/smiley-undecided.gif)

I haven’t had time to really do any work on the railroad in 3 weeks and I’ll be gone again this upcoming weekend.

These past two days I finally found time to haul some more dirt. Not much of an exciting update, but it’s progress. Almost time to start purchasing some structures. :smiley:

Looks like you made a lot of progress . You’ll see that it will just evolve into something really cool . Have fun and keep posting !

Matt Russell said:

Matt

Try to straighten/ lessen out these curves, trains like sweeping curves.

Can you borrow a Train-Li rail bender…

Looking real good there!

Thanks Mike. I wanted to do a backdrop like yours, but we don’t plan on living at this house forever. So, I opted for something a little smaller. :smiley:

Sean, Those are 20’ diameter curves. I’ve ran 15 car trains across it with no problem. My gp40 and my sd40-2 have had no issues. I’ve only test run my dash 9 across it, but it did fine with just a couple cars.

I really didn’t want an s-curve, but the layout of the land sorta dictated it.

Matt

Did you know you can cut the sections??

If you (just for kicks) place one 20’ section down by the switch and place straight track between that one and the one leading into the bridge…You might get that to work … Think a stretched out s curve .

and you kind of did the same for the other one next to it … that would give you a little more room along the fence.

I’m thinking that by cutting one section and using both ends ( one at each end) that would leave you with an extra for the second track.

You would also only have to widen your road bed a little to encompass both track!

Just a thought.

Sean,

Yeah, I’ve had to cut a straight to make it fit. I thought about doing what you suggested, because it just doesn’t look right. It functions, but looks goofy. I don’t even really like how the trains look going through there. At the other end of the siding there is a “s”, and I really like how it looks. I’ve left it alone from the beginning.

This side has gone through a bazillion changes. lol. And looks like there will be more. Oh, I don’t want both tracks in the road bed. The spur is going to be flat on ballast with some moss growing in it…hopefully. It’s going to have a small grain elevator and a silo. Should hold about 4-5 cars. that’s why I had the track out. I wanted to make sure they would fit loading after they are loaded. The siding itself will be on the roadbed. That’s the plan anyway.

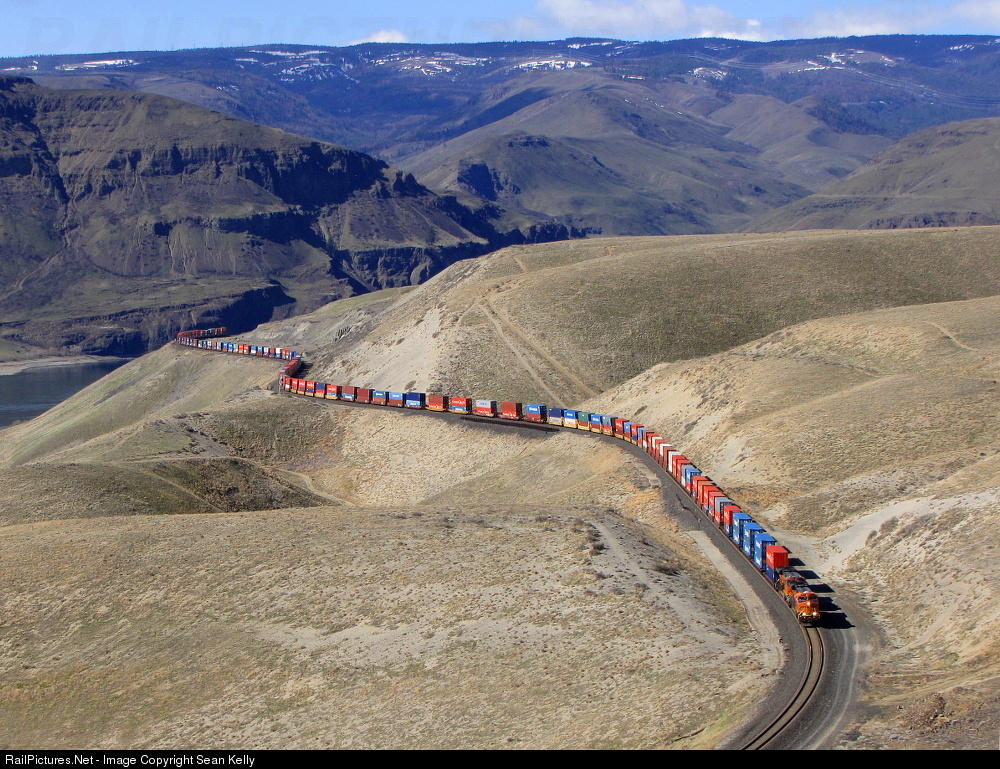
So, I made some adjustments. I had a 5 foot section coming across the bridge. I took it out and used two 2 foot sections. Then put the right 20’ curve on next. That allowed for a 1 foot section between the two 20’s. I think it looks better.

After staring at it for a while, it was time to run at train across it. Grabbed the dash 9 and tried it out. Then figured I’d throw a couple more cars on just to get a better feel for what it looks like. I think I like it with the 1 footer in there. Seems to get more of a sweeping effect coming through. Here’s a short video of it.

Hopefully, I’ll get a chance to haul in some more dirt today. Another couple loads should top off this section. Mother nature finally got it settled in pretty good.

The train looks good going through the “S” curve Matt. I’m pretty sure most would recommend a strait section where you put it . Less chance of derailment . Thanks for posting !

Matt

That does look better!(http://largescalecentral.com/externals/tinymce/plugins/emoticons/img/smiley-wink.gif)

Thanks Mike and Sean.

Last night I put a 2 foot section between the “s”, but it didn’t look right. I think I’m going to stick with just the 1’ section there. Most of the back fill it is done. The foreground on that section needs some more dirt though.

S-Curves are cool. BNSF near Trinidad, WA. Photo credits on photo.

Long time no see! I had some family stuff to take care of, my work has been bat crap crazy, and I was told I had to vacation this year, since all I do is work. (http://www.largescalecentral.com/externals/tinymce/plugins/emoticons/img/smiley-undecided.gif)When I did get a free hour, I always would run a train. lol. I also had trouble finding the same color/style retaining wall blocks. I finally found some that are close to the same color, but are the same style block…an hour and a half away…one way. So, I went and picked up 105 more blocks. I have enough to finish the crossing for people to walk over and enough to build the rear retaining wall behind the yard barn. Weather and work permitting I’d like to have the back filling all done by the end of this month. But, my progress seems to be at a snails pace. Anyway, here’s the wall.