Large Scale Central

John Passaro Build 2017

John Passaro said:

Rooster…I love that tower of yours, but you got to understand: I hear pictures.

Note to John … you are talking to Rooster and you did not ask to hear pictures like I do well ? You only asked for a quick roof with a focus on “Shingles” ?

I have re-read the tread 3 times as many of the masters suggest and that is how I understood it. Pardon my ignorance as I’m still waiting for RevDev in the confessional booth.

No Edit …“page 6” so double the hijack allowed by LSC’s self monitored rules/regulations !

I have been busy seems LSC members have some serious confessing to do. There is a sign up sheet in the forier but I am afraid we are several months out

John, look at my build, I chickend out changed course and made my roof using non skid tape, I think it turned out ok, I had started cutting it into strips to make into shingles but that was way too time consuming on my huge roof. Bonus the non skid tape sticks down, so installation is pretty easy, I just used a straight edge to set my reveal lines and boom it was done.

Shipped out all my leftover Taylor Stones today, USPS “says” the will arrive on Monday. I will need half of all winnings, nad at the very least a shout out in your acceptance speech for all awards, please!

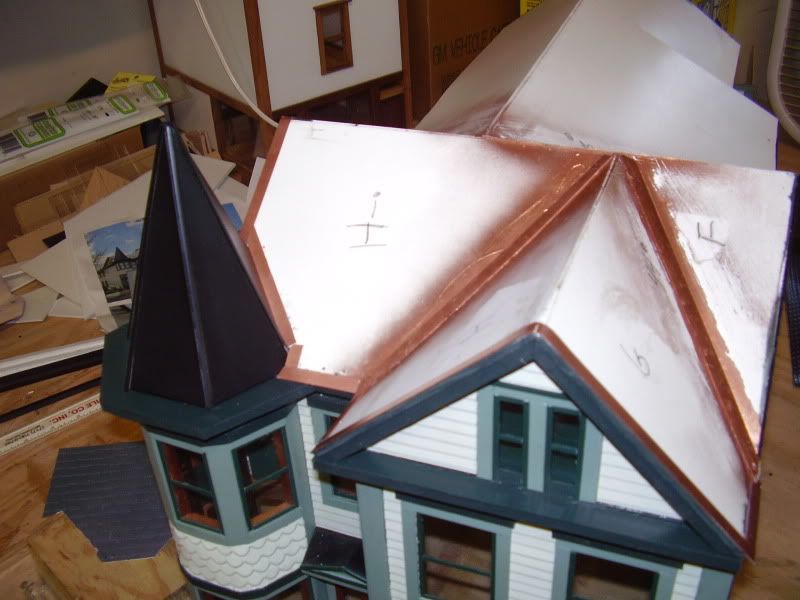
Standing seam copper roof. That’s some pretty high end roofing but it will look fantastic.

Devon Sinsley said:

I know they make copper foil at Michael’s. Its adhesive back I found it in the Cricut supplies.

It’s not fun to work with if you are a heavy handed ogre. Tried it for the flashing but was more work than it’s worth for me.

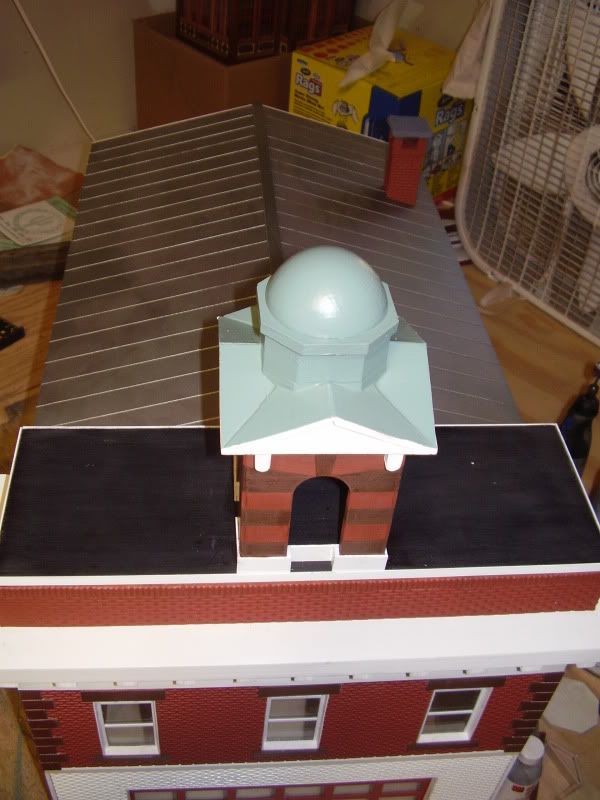
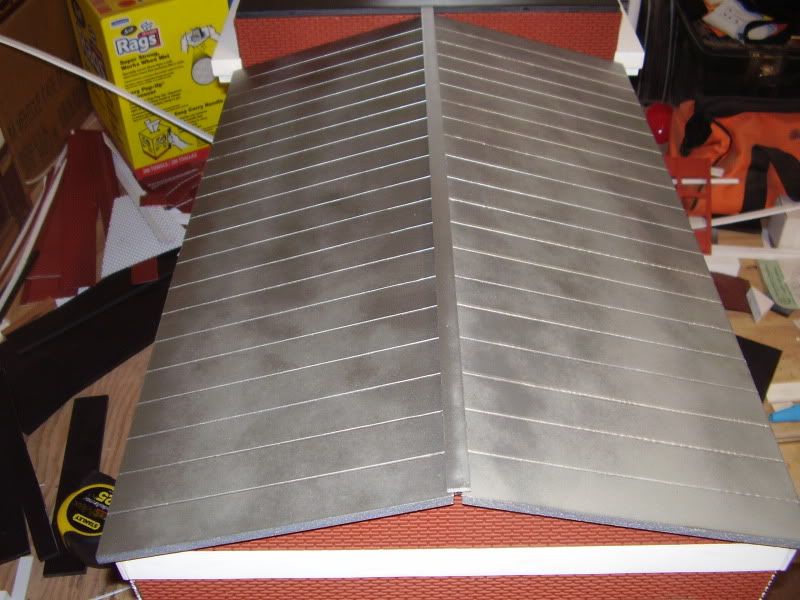
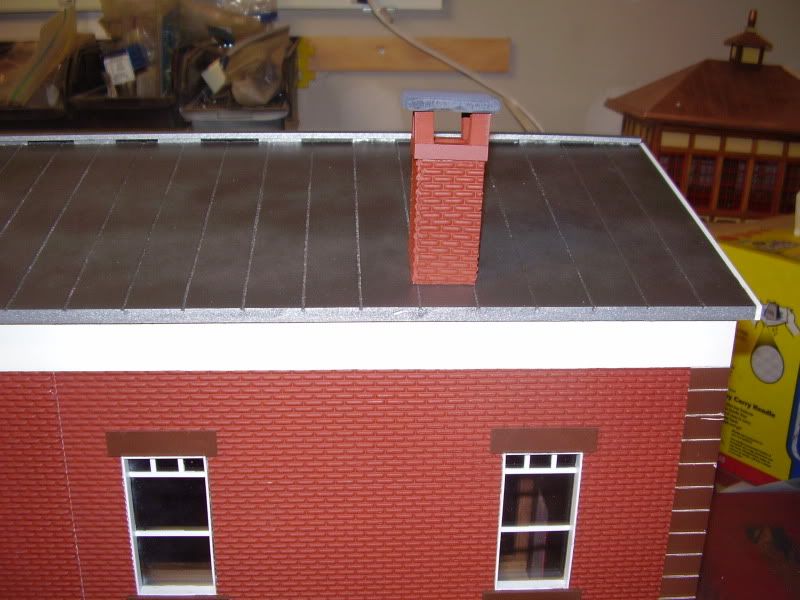
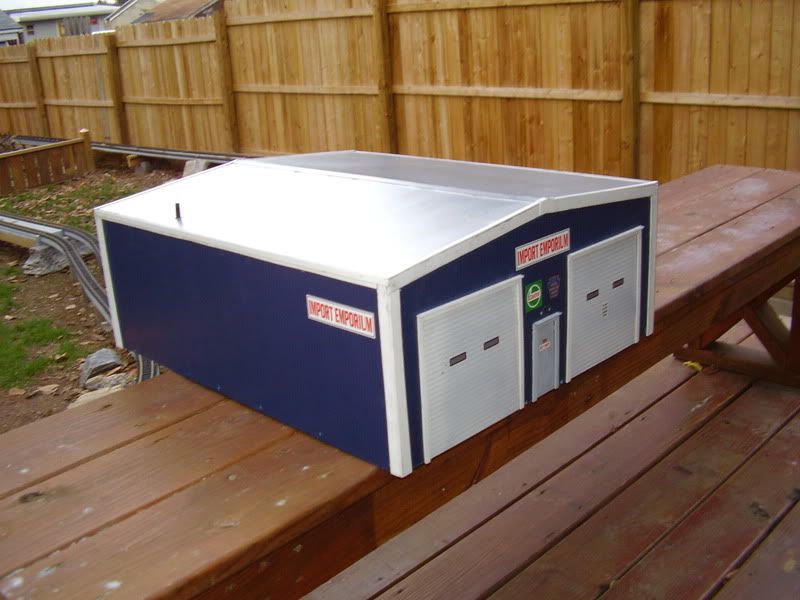
A sheet of coroplastic painted black or silver makes a decent metal looking roof as well. The styrene used for the ridge vent didn’t hold up so well but the structures have sat outside year round in PA for over 7yrs.

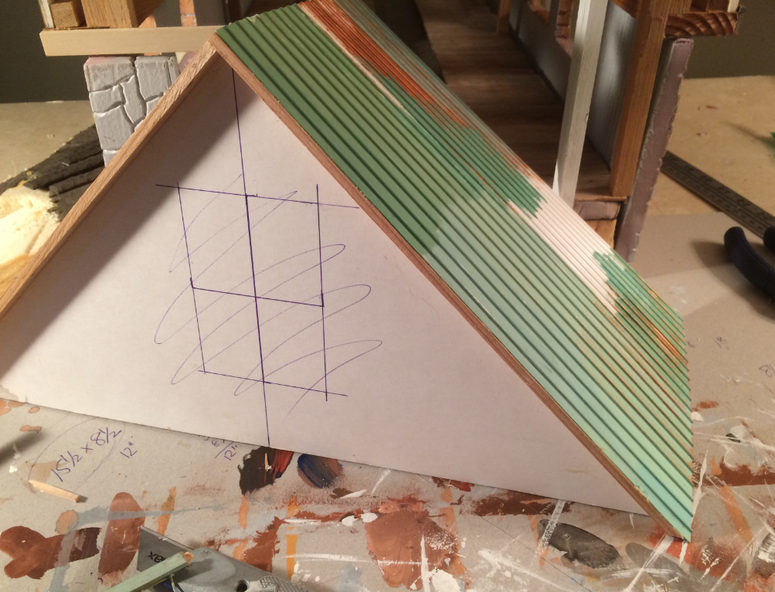
You don’t have to do copper either. You can just score lines and paint silver. If you want to get real anal then add 1/16" brass or metal rod into the grooves. The grooves themselves though look very believable though at less than a few feet.

There’s more pictures for you hope they help.

" Rooster " said:

You don’t have to do copper either. You can just score lines and paint silver. If you want to get real anal then add 1/16" brass or metal rod into the grooves. The grooves themselves though look very believable though at less than a few feet.

There’s more pictures for you hope they help.

Help? Oh yeah. I’ll use this in the future…and in the meantime…that SCORING method just saved me two or three hours of work. See below.

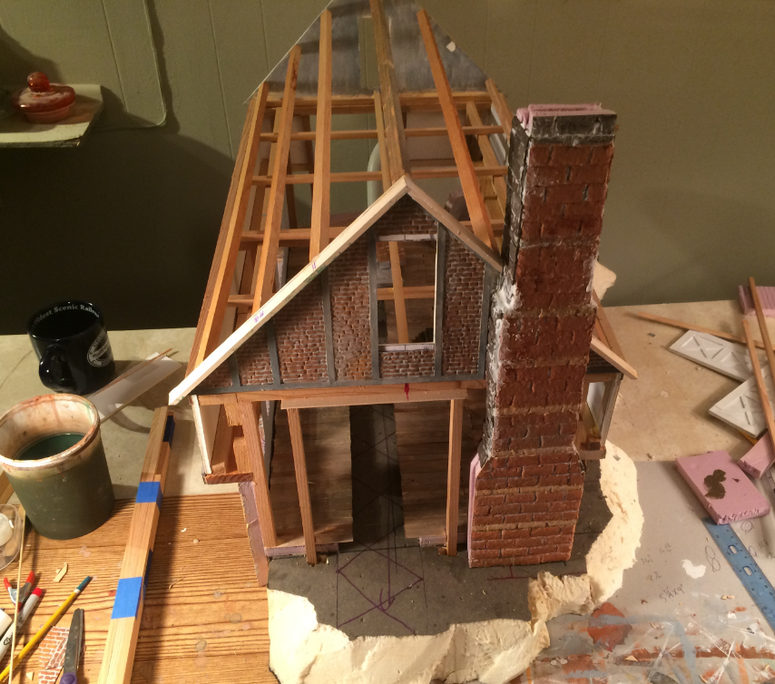
More progress. I think it’s coming together, although I have much to do, really a lot left to do. Oh boy is there ever.

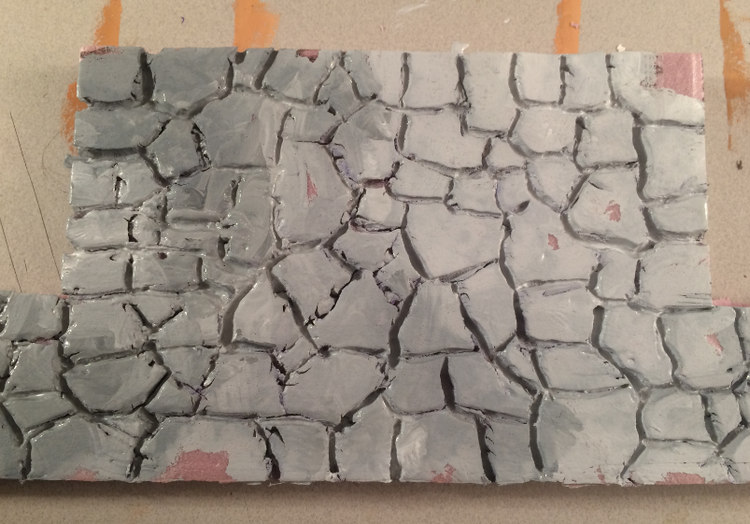
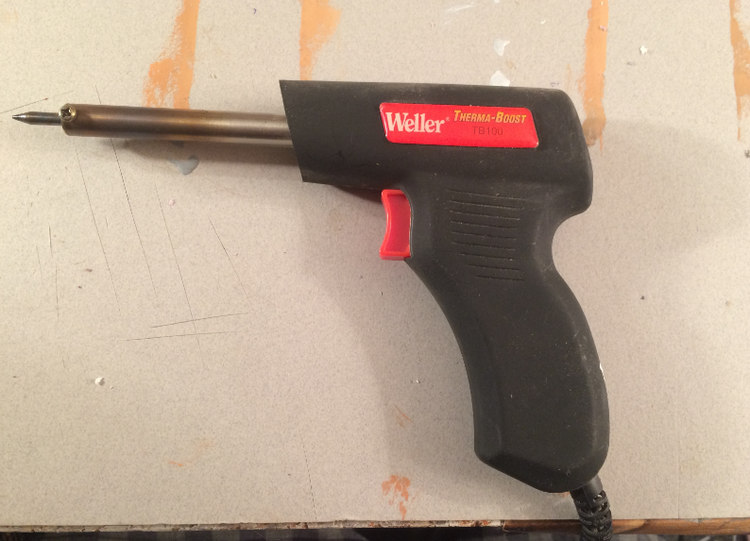
I tried something different with the rock work this time. I used the welding gun, which I will surely never in a million years use for welding anything, to carve out the grooves for the mortar. You got to use a light touch because this thing gets really hot; in fact, I unplug it and use it as it cools down. You can see where I’ve drawn out the lines with a pen first, sort of lightly scoring the surface…that way I don’t have to concentrate anything except following my drawing when I have that hot welder running on the surface. The third picture shows something different…I thought to fill the mortar and motor color in the grooves first, then color the rock, instead of the other way around, and, also, I covered the rock with the gray. It will show through in spots and give a cool undertone to all that warm rock color.
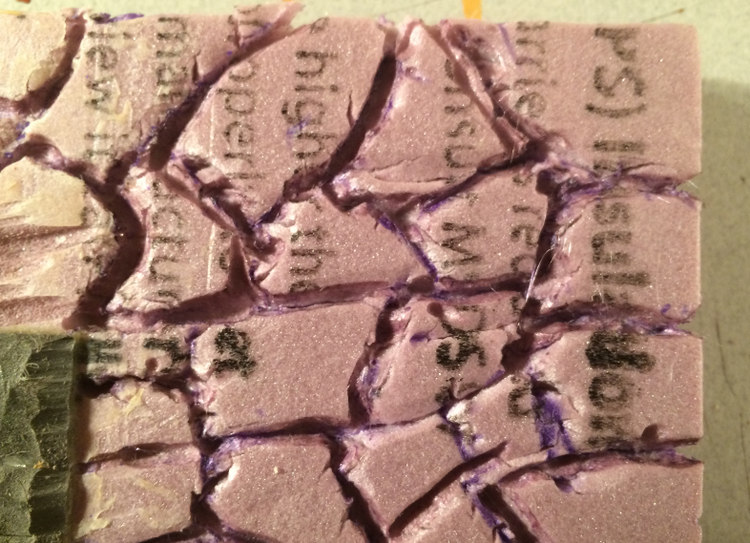
This is how it turned out after I roughed up the surface with the end of a paint brush, the front of some of Dave’s tiles!, and with my thumbnail…if it’s all flat it doesn’t look right to me, so this helps, and the insulation is pliant.
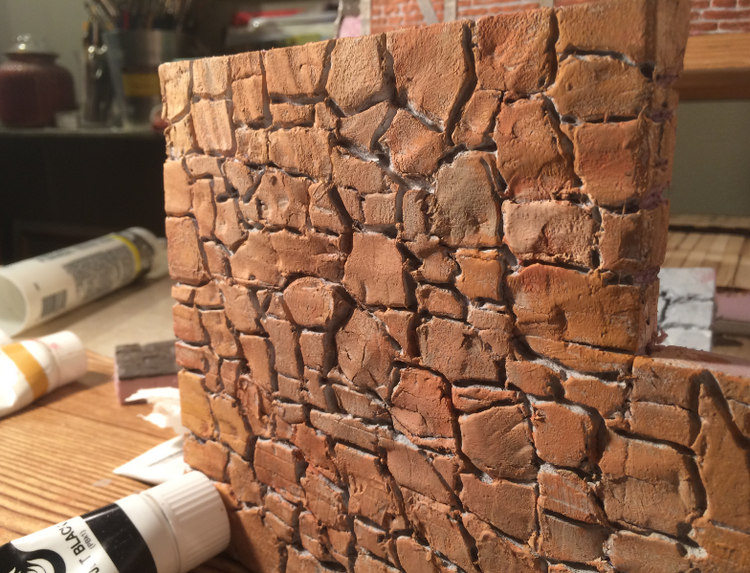
I’ve been tackling the stone work on the fireplace. I saw where Eric used latex caulk to cement the stone into place and it seeped through the cracks and he called it mortar (by the way, Eric, that build is really good), and it got me to thinking I could fill the cracks with caulk and then paint over that. I didn’t want the seams between stones to show, and I wanted the mortar to fill between irregular rock. So this is what I did:
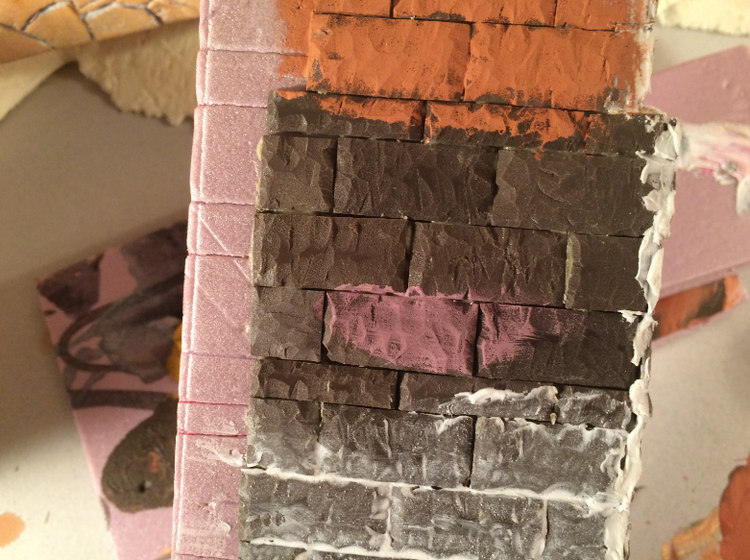
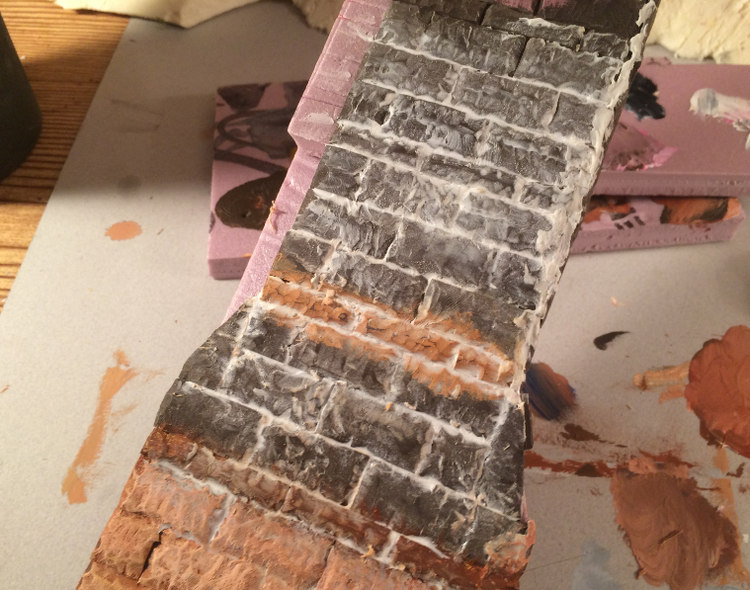
Also, here’s my solution to the cornerstone issue. I took my dremel wheel grinder and ground down the edge until it isn’t visible any more, then painted it. I think this came out well…I’ll get better at it as I go along:
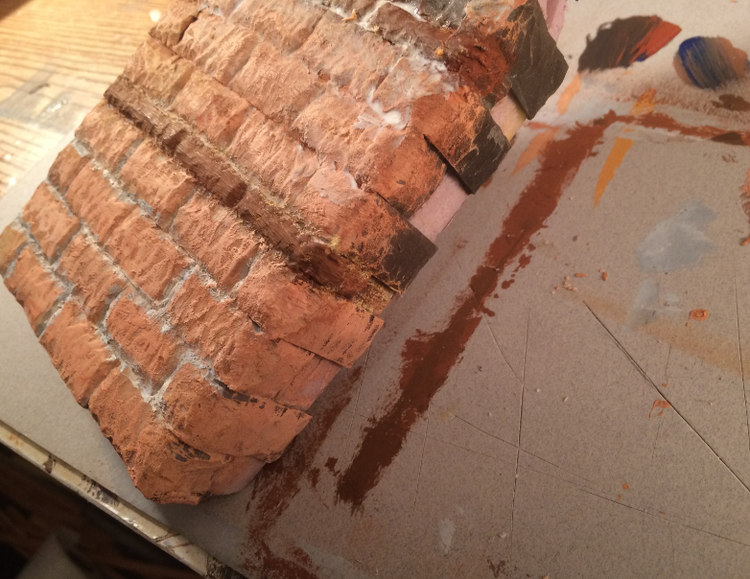
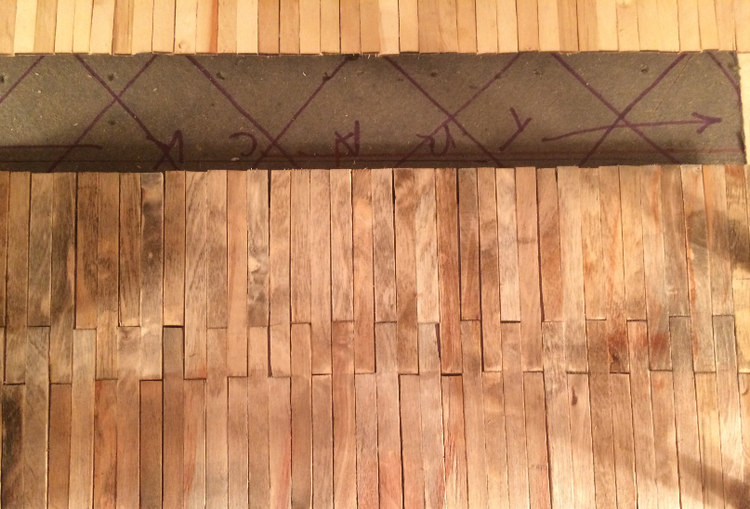
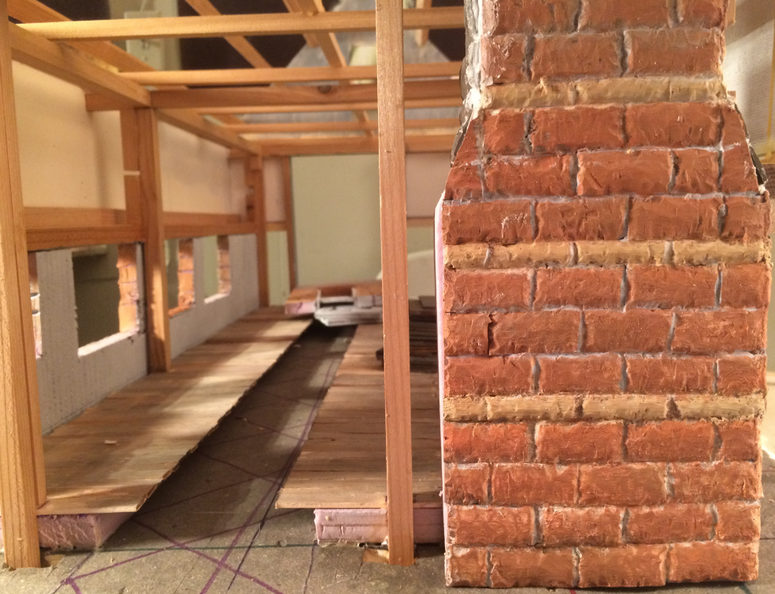
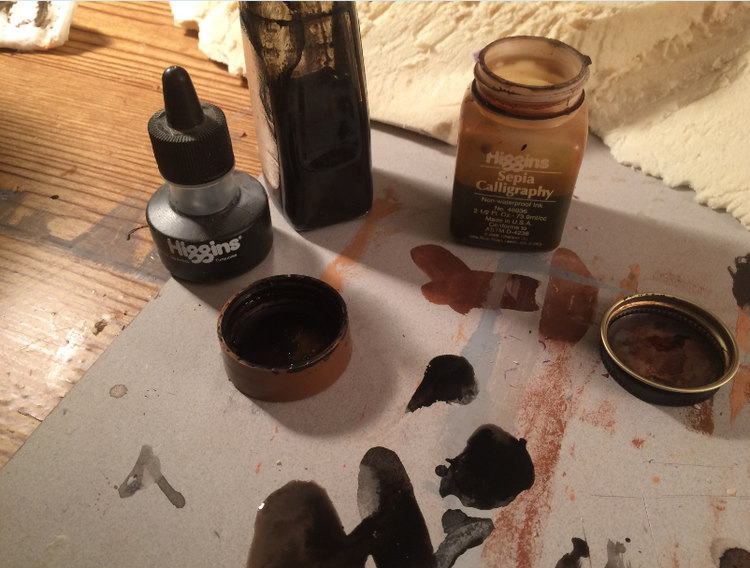
Then there’s the floor of the engine house. I laid individual wood strips and for me the best way to integrate them is to use ink. I use my drawing inks, India ink, which is black, and sepia ink. Looks like this right now:
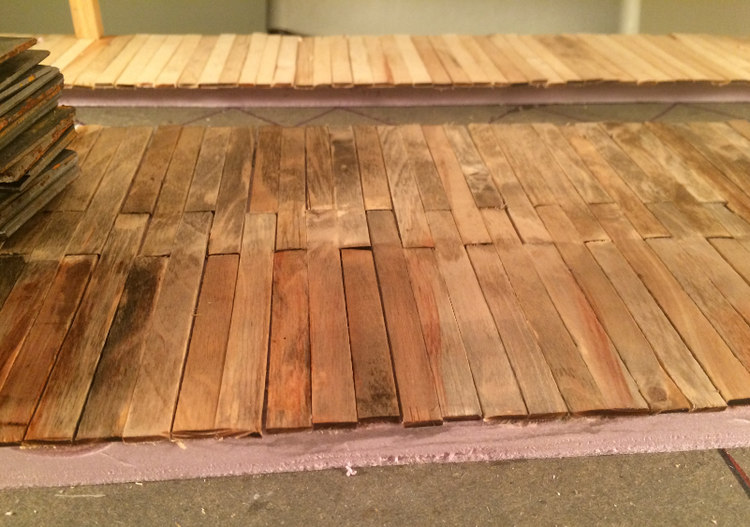
Then I started working on the interior walls. Dave mentioned the doors to the Southern engine house are painted a light gray and I thought that would be perfect for the interior walls too, so I started laying strips of wood. THEN, it hit me, Rooster’s method of scoring and painting. So I got my pen out and scored the insulation and painted it light gray, and, there you go!!!, twenty minutes of work instead of three hours of tedious cutting and gluing. (I’ll have to remember to buy David whatever his favorite drink is. I’m sure somebody here might have a suggestion.) By the time I’m finished it looked plenty fine.
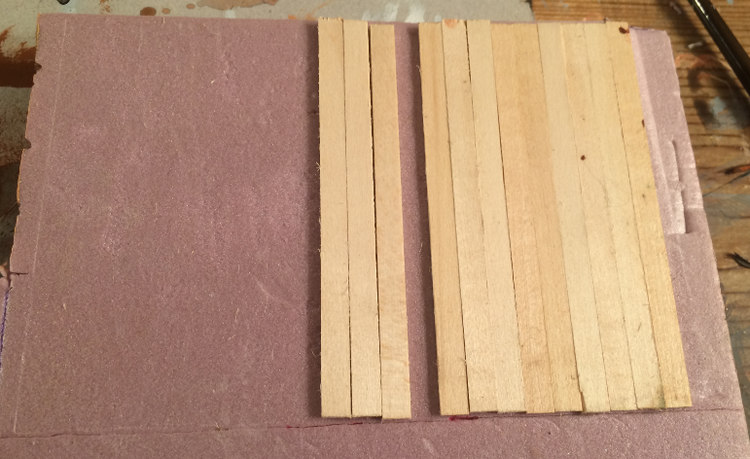
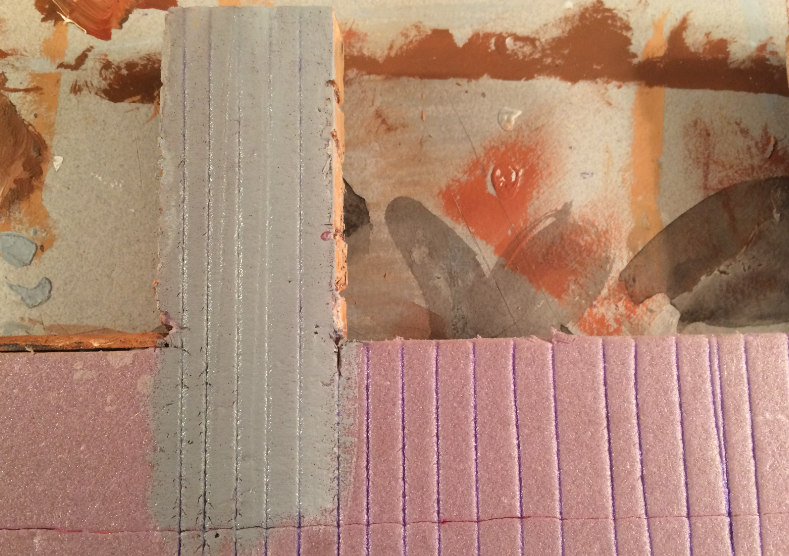
Finally, I thought I’d throw in a couple of pictures of how one of the side walls is coming together.
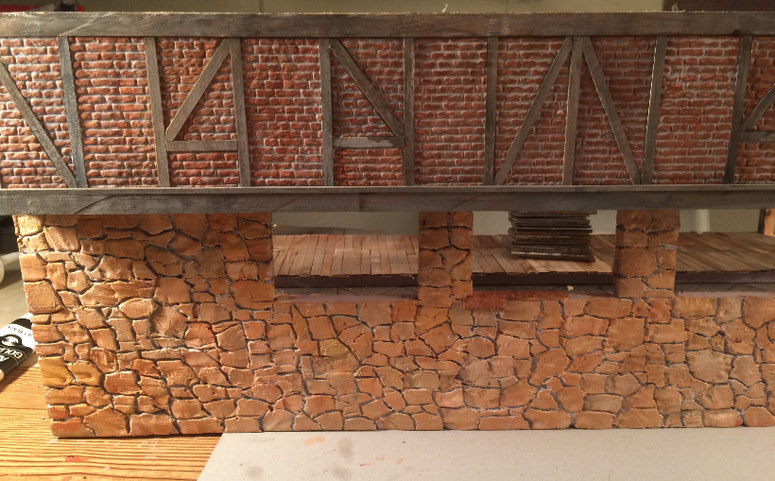
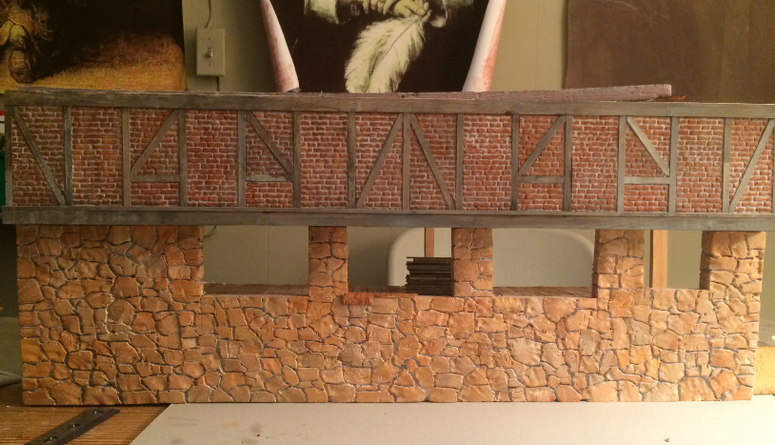
So that’s it for now. Later tonight I’ll get back to work on it. If you have any suggestions. especially time-saver suggestions, or if you see something that doesn’t look realistic, or believeable, please do me a big favor and speak right up. I tend to look at my own work through colored glasses, but I am not sensitive to criticism. Thanks.
Nice work Jon, I reallly like the foam rock walls.

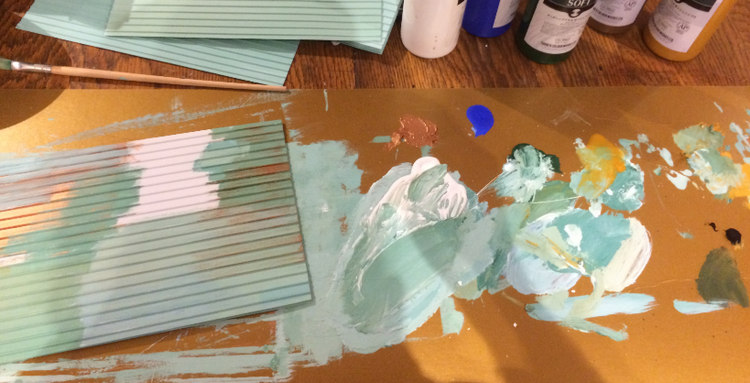
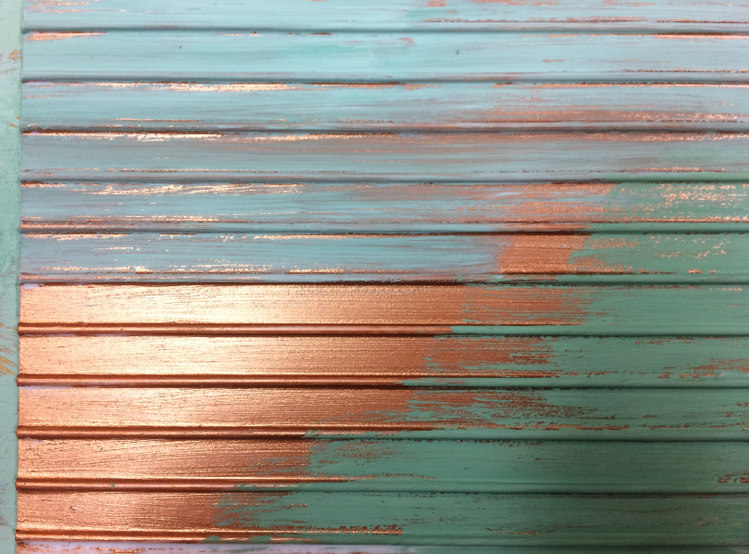
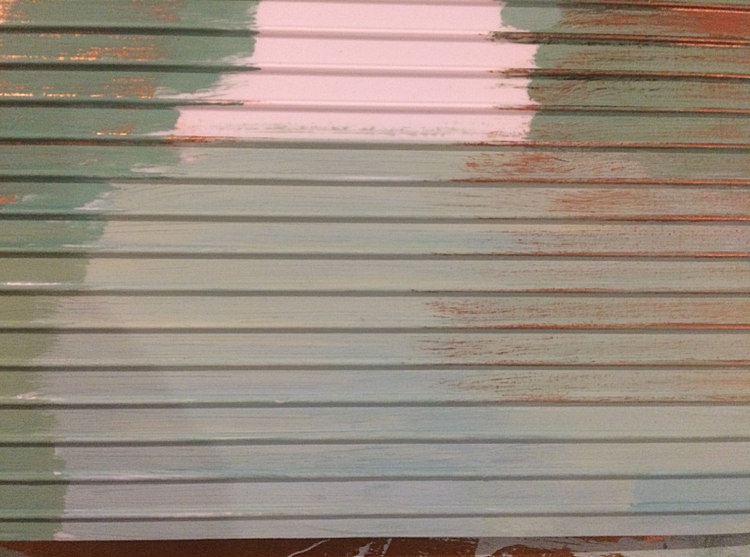
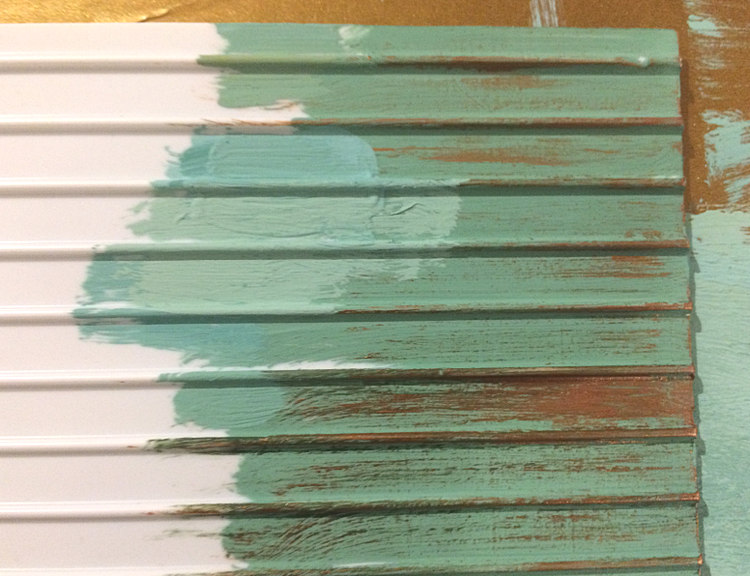
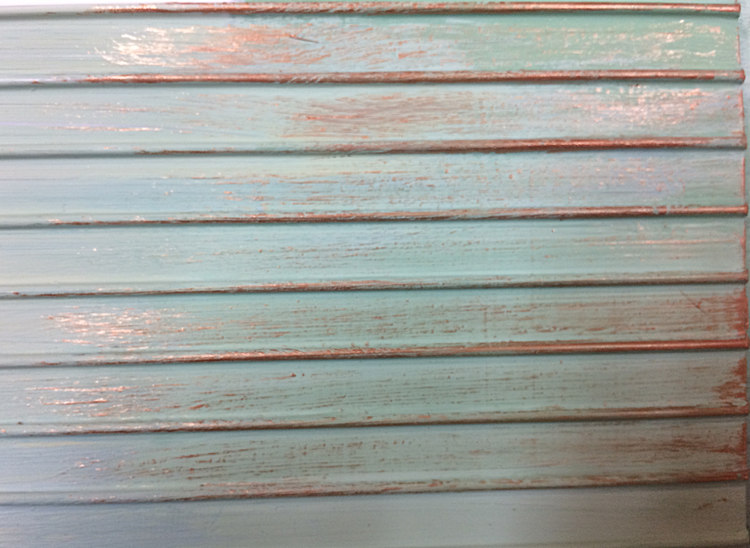
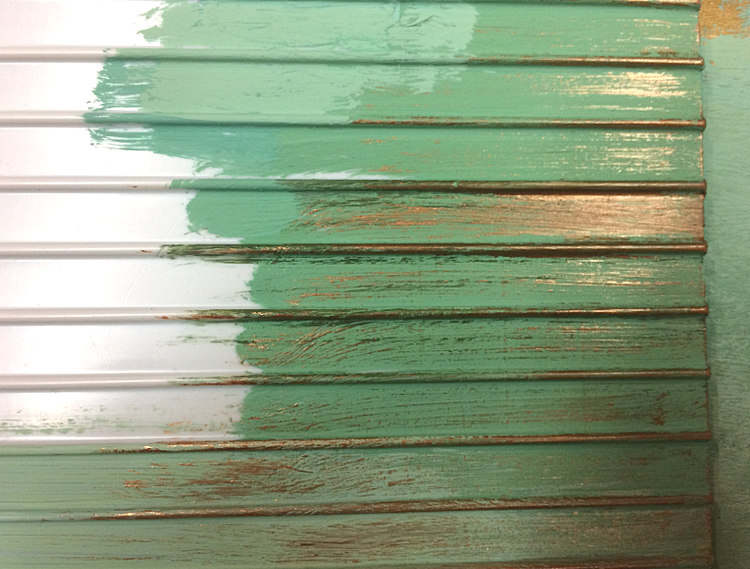
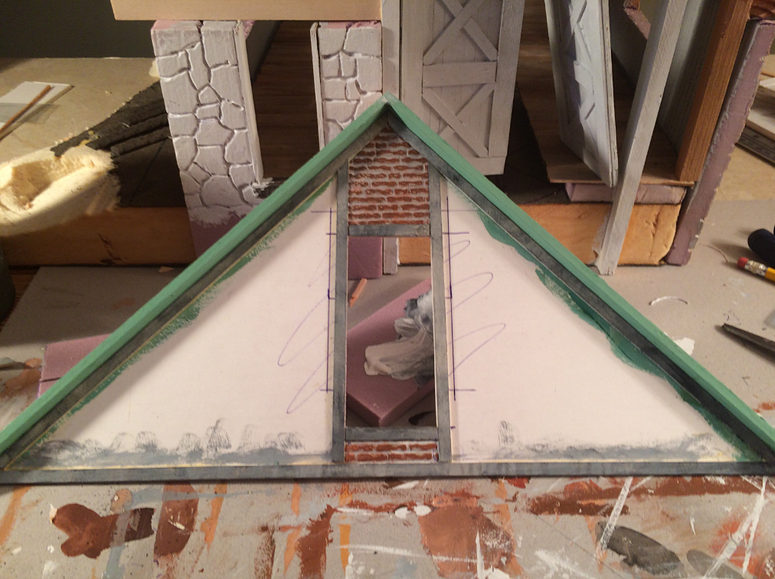
Since I decided on standing seam copper roofing, with patina, I took a break at work and played around with some coloring. I want some of the copper to be showing through a little, as if the roof hadn’t been installed long enough to be completely overtaken by patina. I tried painting the plastic with a Golden Acrylic paint called copper light and then brushing over it with the patina green. Didn’t work. Doesn’t look right, which is a really good thing actually because that paint is really expensive. So then I went with a slightly darker and lighter green and then dry-brushed some copper over that. I think it looks good, and it’s quick and easy. The color is from a dark green with white, but then I added some essential ingredient in yellow ocher to dull it down some and take out some of the blue in this particular version of green.

Choice #4:

I think my choice is Door Number Four, as they used to say in the old tv game show.

Sherwin Williams blue green

looking great

Cool! Great looking stone work and half timber ingredients above!

Nice to see a well-o-do railroad John. Profits must be soaring for your line. And the new engine house should last well past the great-great-grandkids.(http://largescalecentral.com/externals/tinymce/plugins/emoticons/img/smiley-cool.gif)

David, ever since the line began hauling Unobtanium profits have soared, well that’s the scuttlebutt I heard …

John

Wow, that stone looks awesome. I need to try that technique sometime soon!.. Keep up the great work John…

John Caughey said:

David, ever since the line began hauling Unobtanium profits have soared, well that’s the scuttlebutt I heard …

John

Yes, John, the mining district to the west and on the opposite end of the yard is doing quite well in selling unobtanium to foreign entities, entities whose purchases and identities, for security purposes, must remain anonymous.

(Okay, okay, I cannot tell a lie: I had to look up unobtanium in my dictionary…it wasn’t there…then on the internet…it was there!)

By the way, I can see from all the other builds that we are coming close to the point where it will be nearly impossible to select favorites from among all the fine builds.

I’m off to my daughter’s volleyball tournament and then it’s back to work on my build…no Denver Broncos in the football game so that won’t be a distraction since I have no rooting interest there.

Many folks confuse Leverrite with Unobtanium, but the clue is in the names. It’s best to leave 'er rite there … 'cause it’s too easy to tain.

I hope that clears it up for you.

As ever, your pal,

JC

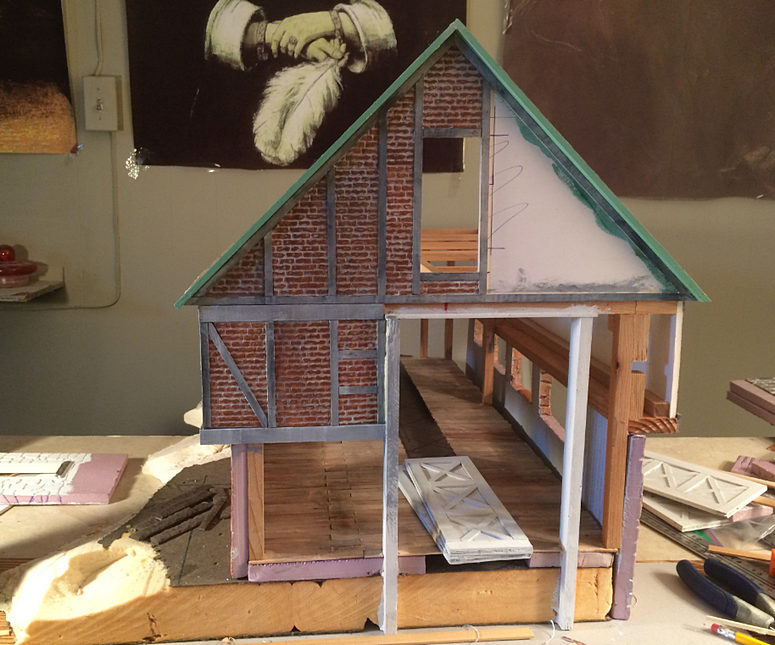
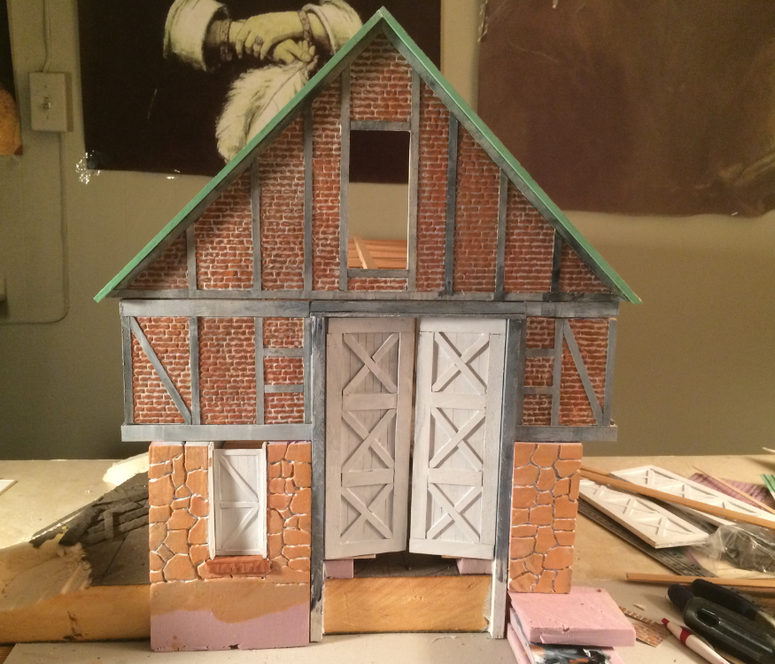
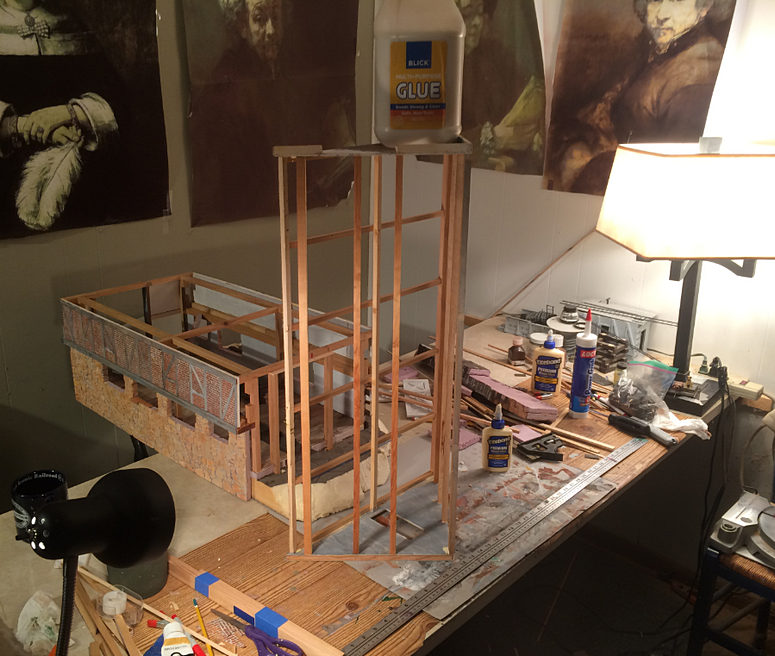
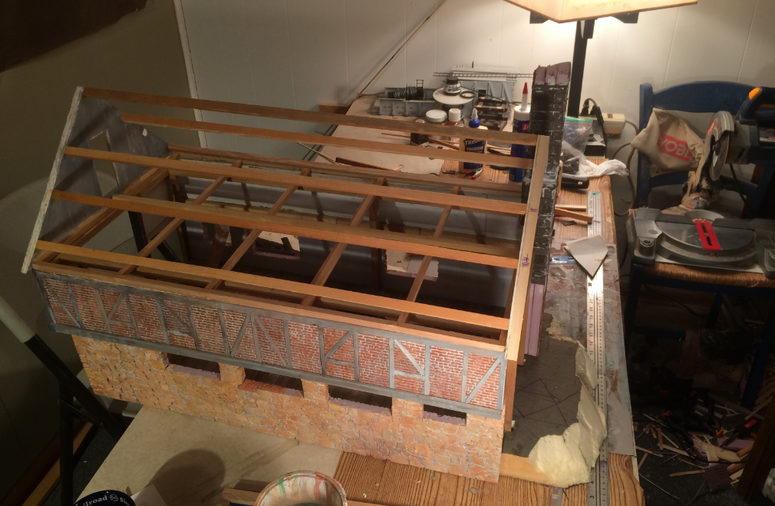
I know it might not look like it, but for the first time I believe I will finish this in time. I pretty much have all the structural stuff done. I can’t believe how much thought and work had to go into this structural foundation to make it work; this was like for real a Challenge, and I do mean challenge. And now comes all the fun stuff like putting it all together and painting and detailing. There’s still all of that to do, but it isn’t the tedious drudgery work.

I’m envious of the guys who are already finished or 90% there. And the quality is unbelieveable. Each year we say the builds are better than ever, but it’s true, so it’s true!

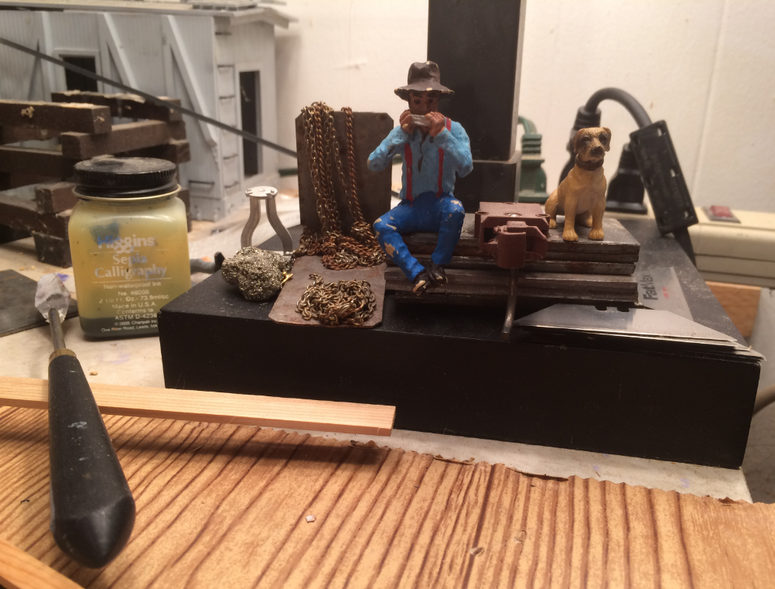
These guys are biding their time and lazying around waiting for the porch to be put on so they have a place to hang out.

The following picture demonstrates the lengths I’ll go to avoid a PIN NAILER!!! Actually, it isn’t the pin nailer I balk at, it’s the noise from the compressor!! (Weight and gravity are quiet!)

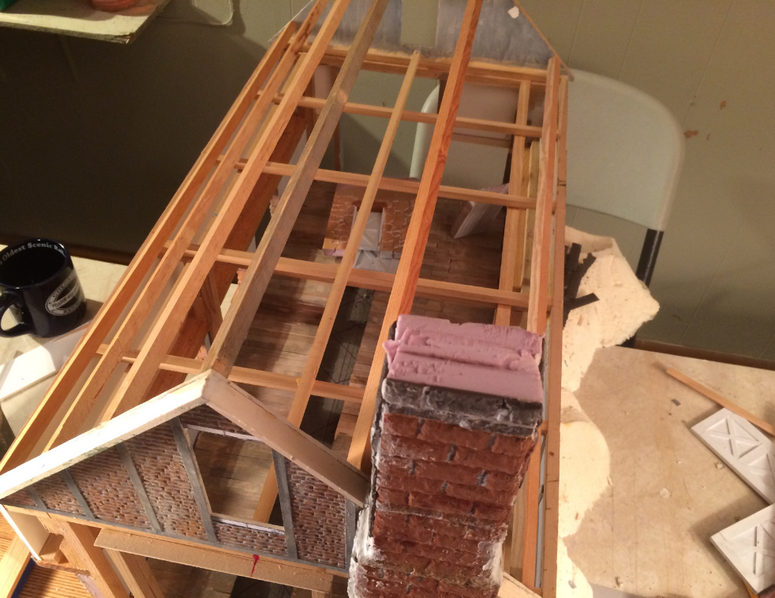
The roof is removable. Totally, 100% removable. I sure as hell am not making the mistake I made last year where I glued the roof in place and can’t work on the inside of the building without tearing the whole build apart. This time it’s designed to lift up and off. That meant of course that the fit has to be almost perfect, and that was very time consuming and I had to be a lot more careful than I like to be, but so be it.

The chimney is actually part of the roof, so when I remove the roof to work on the inside, the chimney comes out with it. I know that seems weird, but the way the chimney fits into the roof cut-out, it was easier that way.

That’s it for this update. Thanks!