Todd Haskins said:
…
On the floor between the rails you could plank an area in front and behind where a typical loco would sit and leave the rest…
Exactly what I’m thinking, combines some track crossings with the ballast look.
Todd Haskins said:
…
On the floor between the rails you could plank an area in front and behind where a typical loco would sit and leave the rest…
Exactly what I’m thinking, combines some track crossings with the ballast look.
John there ain’t much to it really. A hammer and soldering iron. I used what I had. Some small copper tube and say 12 gauge romex wire would be all you would need. One size of wire and the tube to fit it. Bet you could hammer 24 of these out in an evening. Not much skill required.
John Passaro said:
Travis Dague said:
John, if you are going to have hinged doors, ( operational) consider using Radio control Aileron hinges. You can get them at the hobby shop. I used them on my last years Fire House build challenge…
Thanks Todd. I want doors that open and close this year, but I don’t know what to do about hinges. I’m really stuck. The aileron ones I saw are too big for what I have…maybe if I could find smaller ones; I need to keep looking around. I’m thinking my first choice is to imitate the wrought iron bars that are on the original, which I can do, but they wouldn’t be functional. Then find hinges.
I’m thinking taking the hinges off of wooden cigar boxes might be a possibility. Problem is, I threw a bunch of boxes out because I got tired of them cluttering up space. NOW guess what? I could use them. Geez. If this will work, I hope I have enough boxes left that survived my neatness attack.
The other possibility I’m thinking about also comes from cigar boxes: some of them drive basically finish nails through the sides into the lid and the lid opens and closes pivoting on these “hinges.” Very nifty. Then my cosmetic hinges don’t need to actually work. I could live with that, too.
If they are not going to show…, the simplest hinge that takes the least space and can be made nearly invisible with paint, is to just cut a strip of cloth and glue it to the two surfaces. When I was a kid, this is how we did the hinges on the elevators for our hand-control airplanes, and may be how I do the hinge on the trap door.
I used the aileron hinges ( large) and cut them down to the shape and size I needed…

I like those aileron hinges.
It’s more progress than it looks like! For the first time I’m feeling I’m might get this built. But of course I’ve put windows and the roof out of my mind so it’s easier to feel hopeful! My youngest son had a school event early this Saturday morning and my daughter is doing the teenager thing and sleeping until noon, so I’ve got some time to myself. When you’re a single dad you need to take advantage of times like this. Oh boy.
I started building the framework late the other night and I really wanted to get a 3D sense of how this structure will play out.
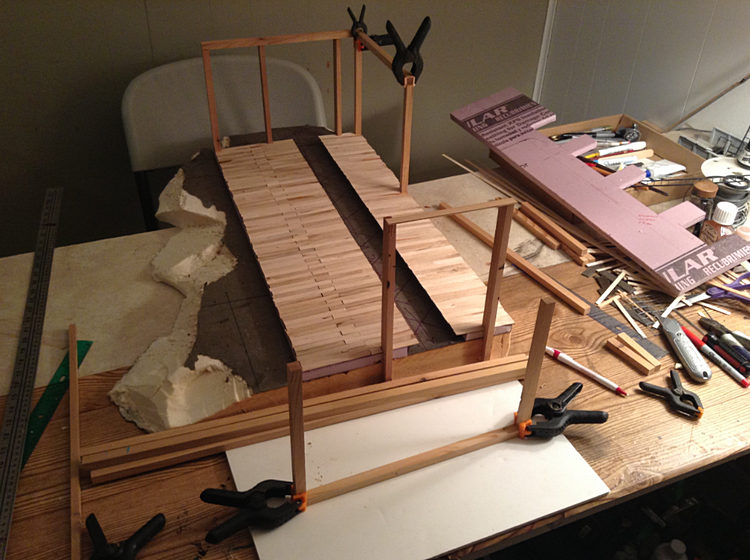
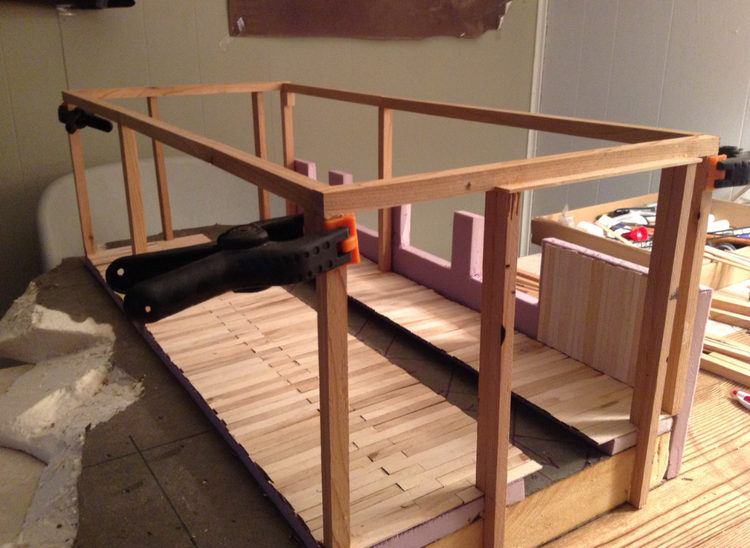
The I wanted to get a sense of how the surfacing on the upper level, the brick and wood frame part, would potentially look.
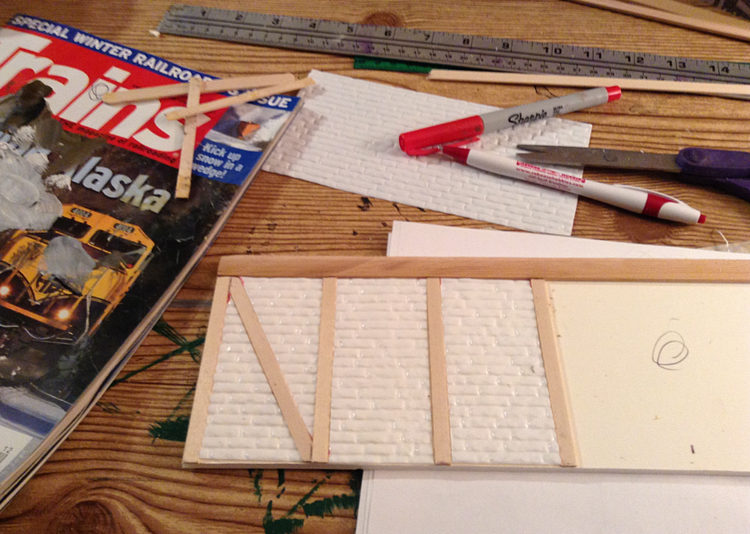
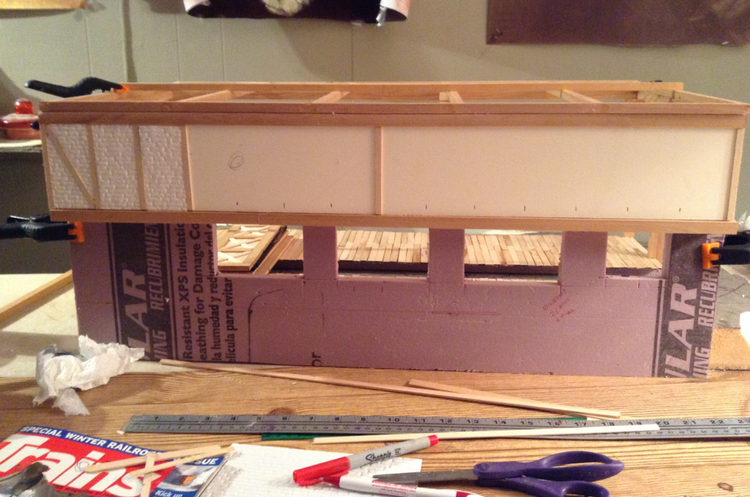
I’m going for broke and including a fireplace/chimney in the engine house. I don’t know how wise this is given the time constraints but what the heck. So I needed to at least get some sense of how it would fit in and get some proportions. I actually started scribing some lines into the surface to get an idea of where the stones need to be.
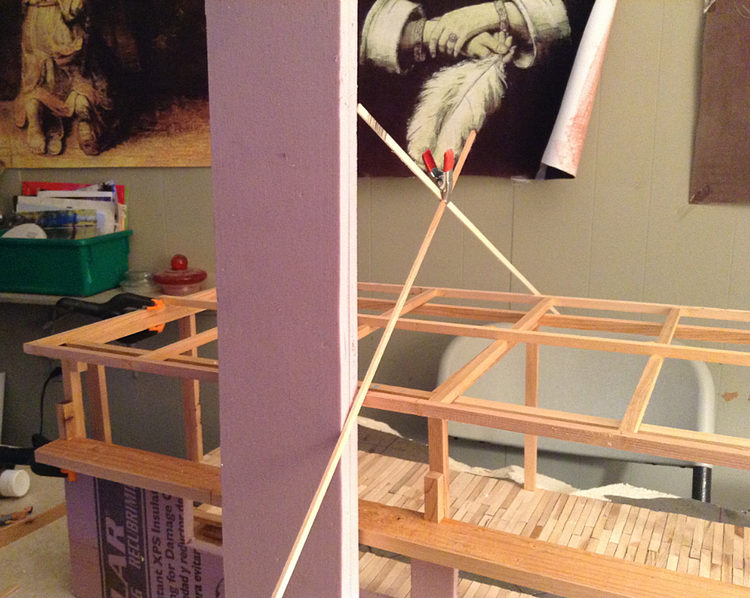
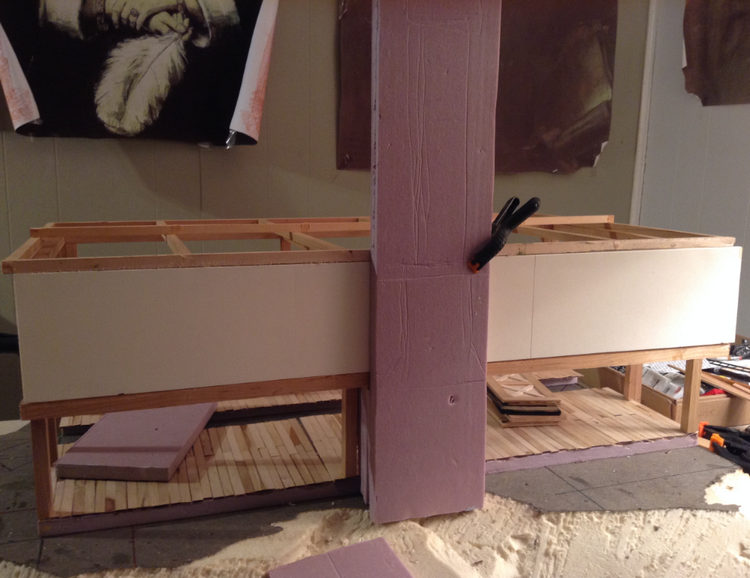
I got myself kind of out of order, but I realized I needed to get working on actual brickwork for the upper level, so I started in on that.
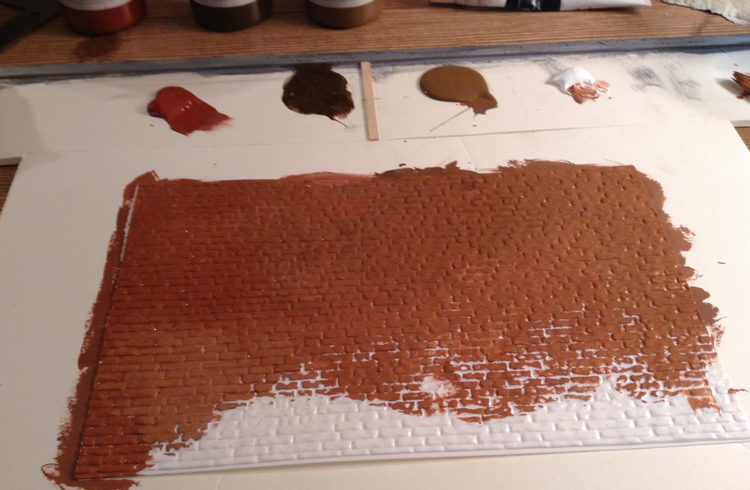
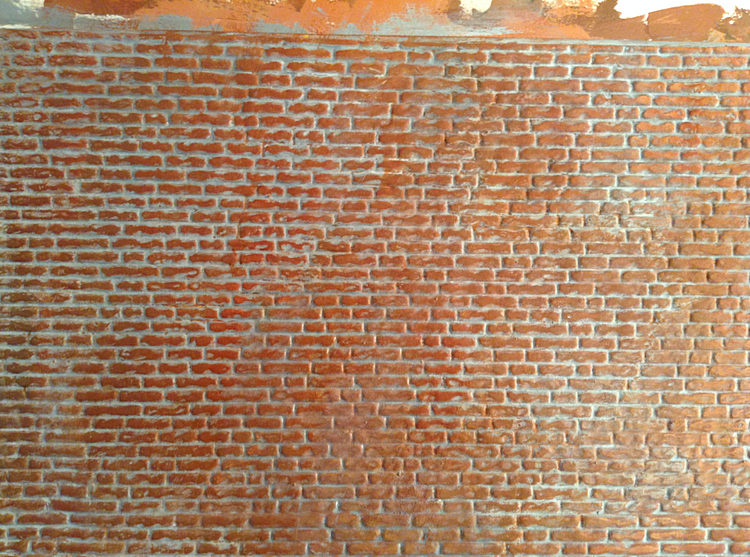
Here’s what the timber pattern will look like, and pictures of the brick with the first take on the mortar. I’m not real happy with it, but I can always go back in a dry brush color over the top to get it right.

And finally I started playing around with the Taylor stone. Let’s get one thing straight: I tried Lou Luczu’s great method of misting with different colors of spray paint, I tried it because his stonework looks absolutely brilliant, but it was a complete disaster for me! I couldn’t have made a worse mess of it. So unless I’m prepared to hire Lou as a subcontractor on the construction site, I decided to go back to the only thing I’m familiar with and that’s the old brush and paint.
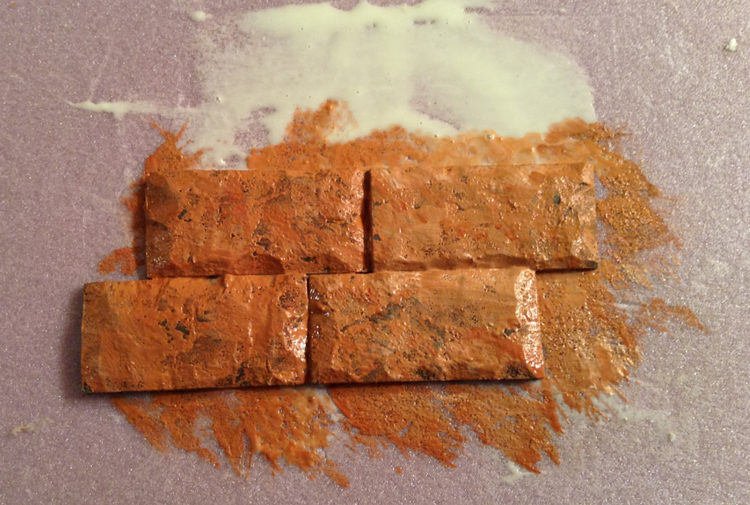
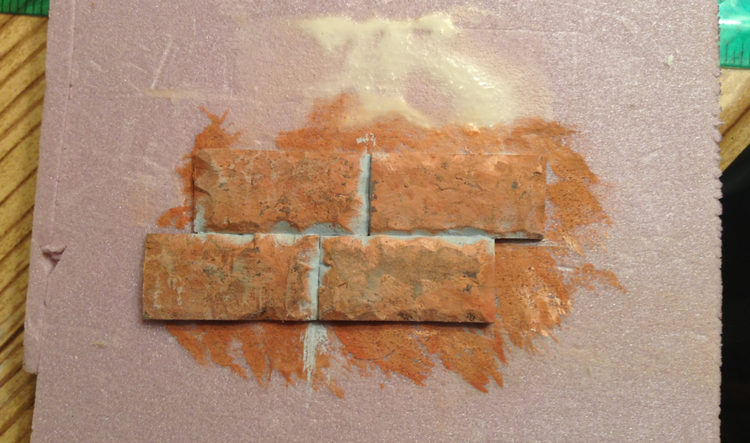
So that’s it for now, maybe tonight I can get more accomplished. I don’t know.
John, when I do bricks, I take a sheet of cork and cut it to fit along a piece 2" x 4" to make a stamp pad. Then I can just put a thin layer of color on the cork and stamp the color onto the surface without messing up the mortar.

Todd, the stamp pad for the bricks may be ok for a freshly finished structure, but do you get the color variations and blending of the dry brush method? (http://largescalecentral.com/externals/tinymce/plugins/emoticons/img/smiley-cool.gif)
Yes, to an extent. It depends how the pad loads up with color, variation the base color to begin with, if an area is re-stamped, how you press, etc. The greatest asset is that you don’t get it in the mortar, as I would with brushing it.
Todd…what kind of bricks are you using? The ones I have are plastic mold ones, sheets, that I got for cheeeeep when Caboose was going out of business.
I also go some white plastic and clear plastic windows that I bought cheep but can’t figure out what you’re supposed to do with them. They looked good, but now it’s like Now what?
Same sheety bricks you’re using. (http://largescalecentral.com/externals/tinymce/plugins/emoticons/img/smiley-yell.gif)
Really nice seeing use of materials that have been around for 10 to 15 yrs.
EDIT because I forgot the + on years
John,
Nice job on the brick. the variation in coloring over the entire wall is very convincing.
The brick look great, John. Looks like they have been on that wall for 100 years. And, well, maybe they have.
Lots of rock work, stonework and lots of brickwork…why do I feel like I’ve been working a lot and then I look up and not much has really progressed. This build better start coming together as a whole pretty damn soon. Oh well, you gotta believe.
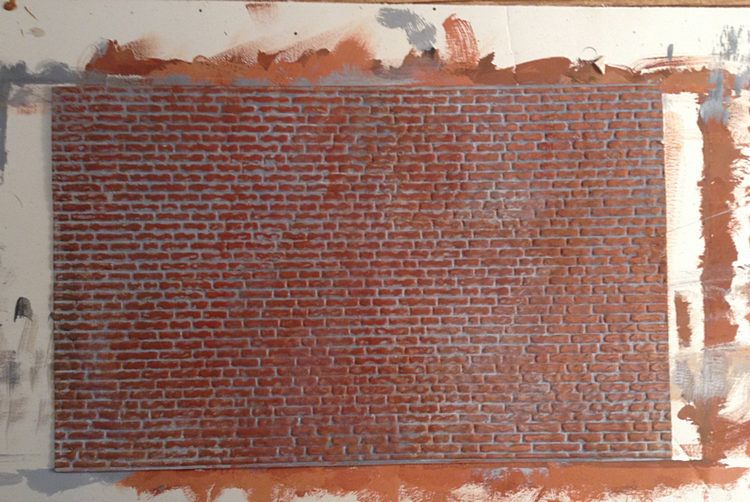
Here’s a few pictures of the finished brickwork on the upper level, the other side looks the same, the side with the fireplace, and the front and back will look like this style. I cut out each piece individually, oh boy, and I’ve decided I need a better pair of scissors to replace the dollar-store scissors I use.
Now I’ve started some testing and laying out the rock face of the lower level, and finally you can see I started playing around with the pattern and coloring of the stone for the fireplace base and chimney. I like the way the brick came out, but I have a ways to go on the rock and the chimney stone. It’s a start though.
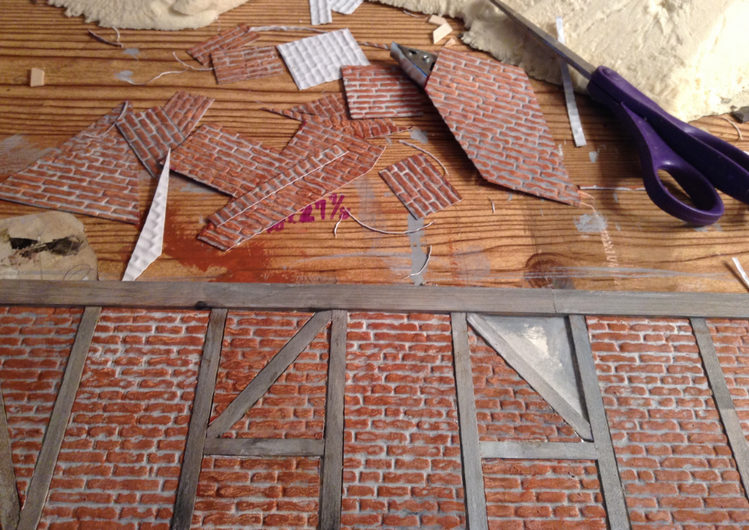
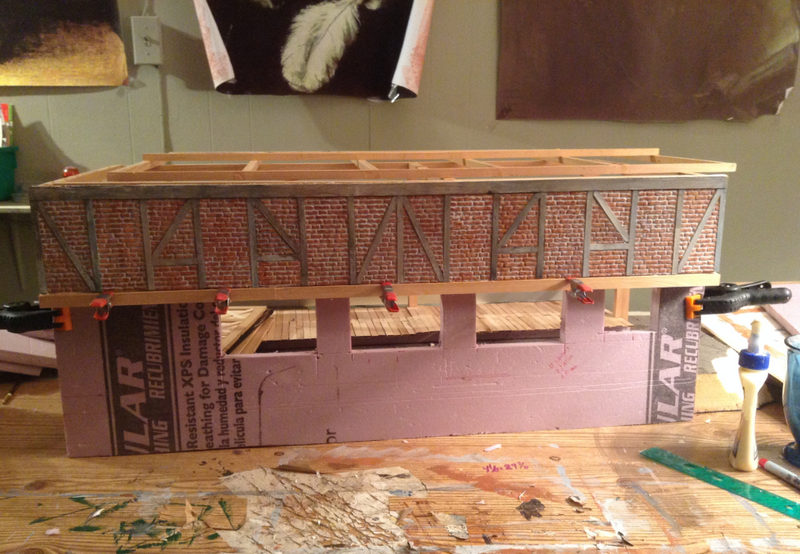
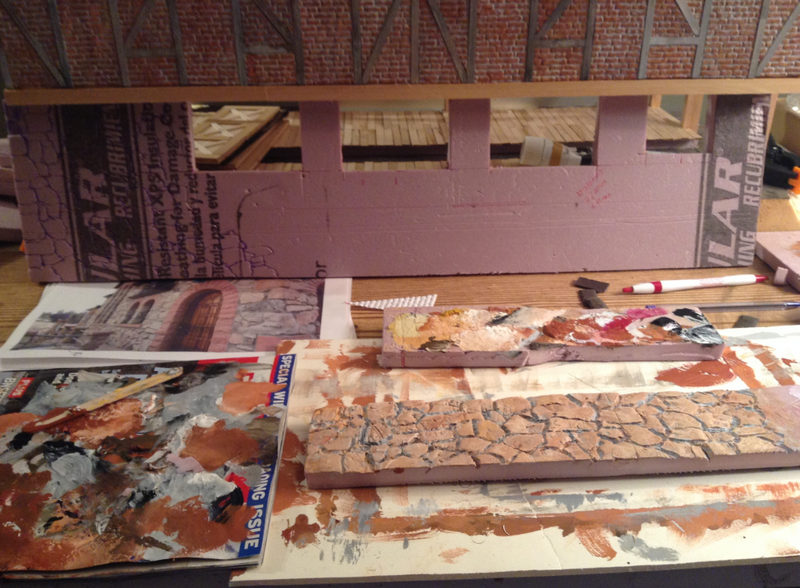
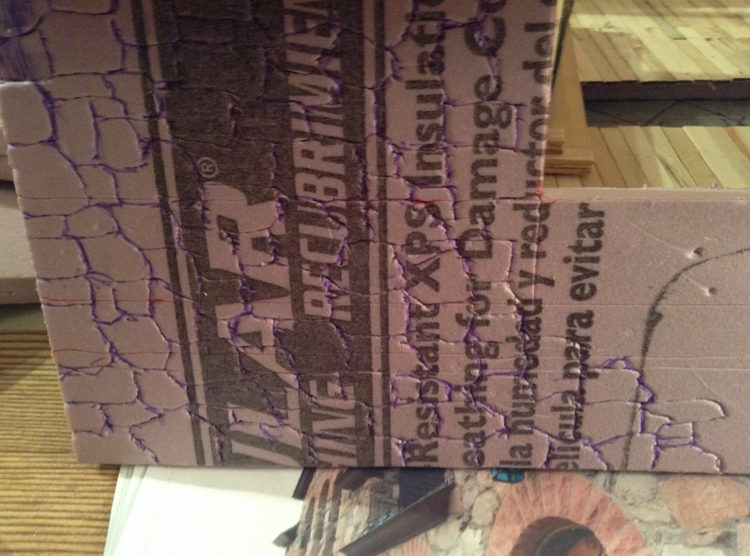
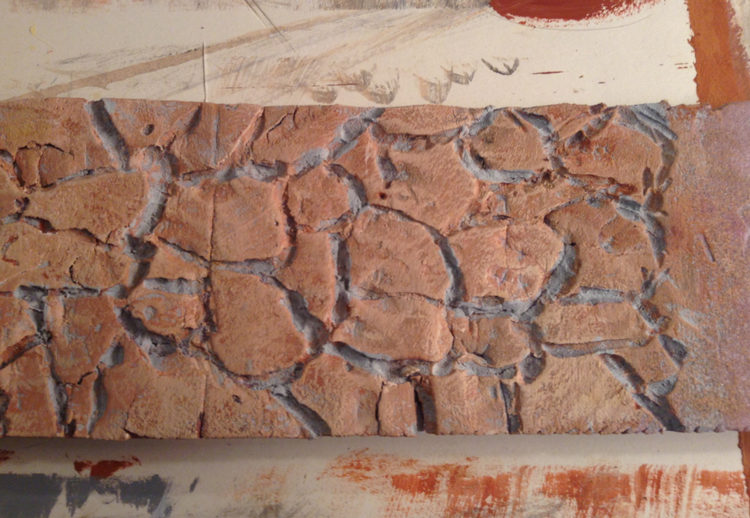
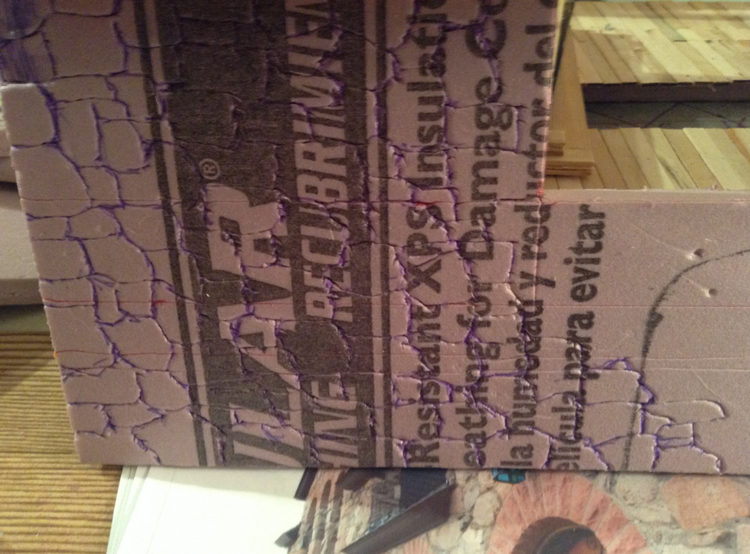
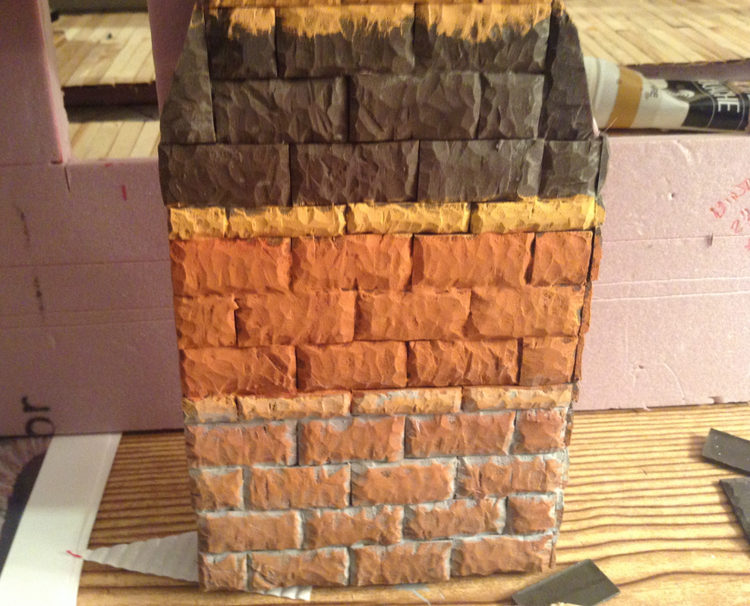
That’s it for now. I believe I will be using caulk to fill in the corners of the chimney and in between the stones themselves, then paint over that. Hopefully it will make things seamless. I think I’ll be satisfied with the result based on the testing I’ve done so far. I think it’s fascinating to see all the different approaches guys have taken to using these stones from Dave. Sometimes I think I’m getting more of a kick out of following along all the other builds than I am out of my own work!
That is looking great!. I like the brick pattern to. I may have to try some of that sheet stuff… By the way nice looking lumber… (http://largescalecentral.com/externals/tinymce/plugins/emoticons/img/smiley-wink.gif)
I am really beginning to love the versatility of pink foam board. I have used it for brick, cut stone, blasted rock, snow, you have now used it for a stone wall face. This stuff can be shaped into just about anything and looks great.
Travis Dague said:
That is looking great!. I like the brick pattern to. I may have to try some of that sheet stuff… By the way nice looking lumber… (http://largescalecentral.com/externals/tinymce/plugins/emoticons/img/smiley-wink.gif)
Yes, most of the lumber comes from a lumber yard out in the Midwest somewhere. Very precise cuts too. Word is the guy’ll be out of business soon if he keeps giving it away as prizes!
The brick and beams looks so good. Keep up the good work.
Very cool how you made the stones into the foam.