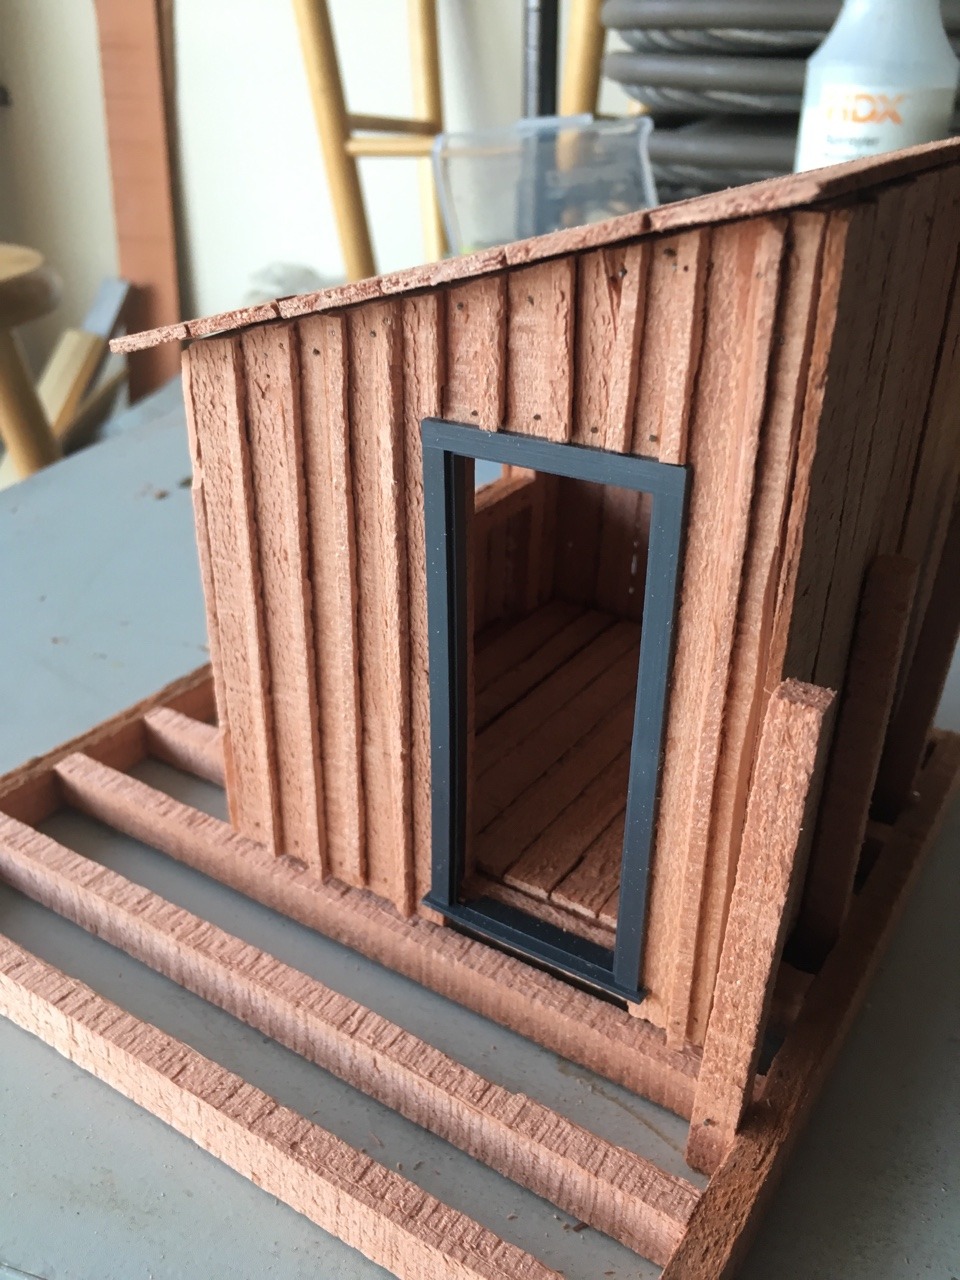
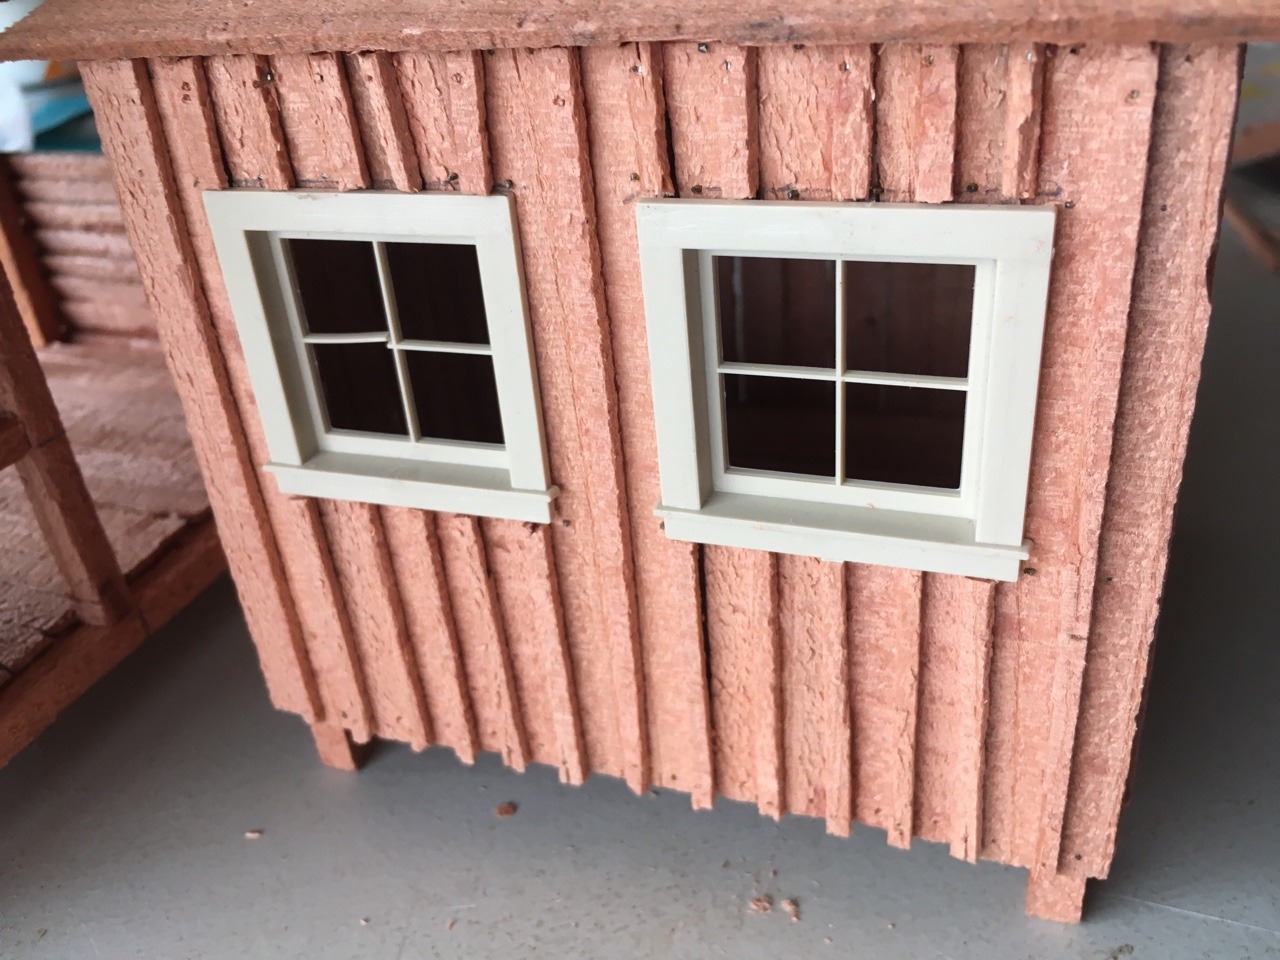
OK, the squirrel disappeared so I did some more work on the shacks. To start with, I finished the framing for doors and windows.
The big question for today was: how the heck do I build a peaked roof? I’ve never done that before.
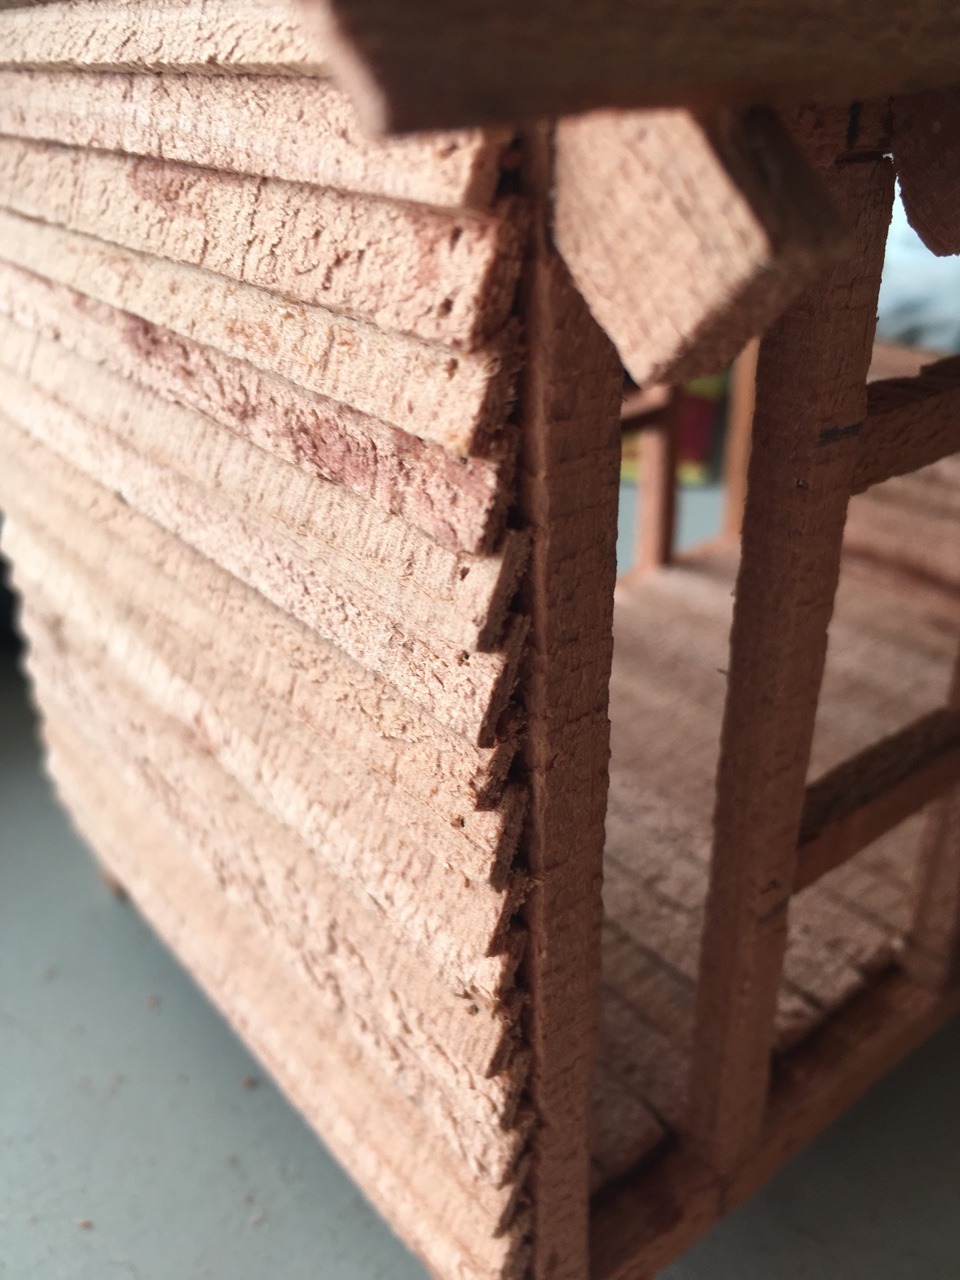
I went this way: 1/4 x 3/8 joists, notched to fit over the base room area.

Looking like this when test fit:

I attached the end joists to the main structure and then am building the rest of the joists plus roof base separately so I can remove the roof for now (need to put lighting in here later).
Here it is in place (the other half of the roof is drying):

And a bit further back so you can see how it fits in the rest of the layout:

Since I work and can’t do much during the week, that’s 3 out of my 11 work days (if I understand the schedule correctly).
Still to do: finish the roof on each, apply siding, put down planking on the deck, and then the next big unknown: stairs.
Seems maybe doable if I am efficient and don’t screw up very often. We’ll see what happens.
Happy Mik’ing!


