Well, I have almost completed my first switch, a right hand #6. I must say that I am pleased with the way it turned out. Everything seems to run freely through it.
Last tasks, connect the points and then build the switch stand. The switch stand is no problem.
I have read every treatise on switch building that I could find, on line. Everyone seems to have their own favorite method of connecting the points.
Within this august body, is there consensus on how to do that? How about 2 or three favorites?
HELP!!!
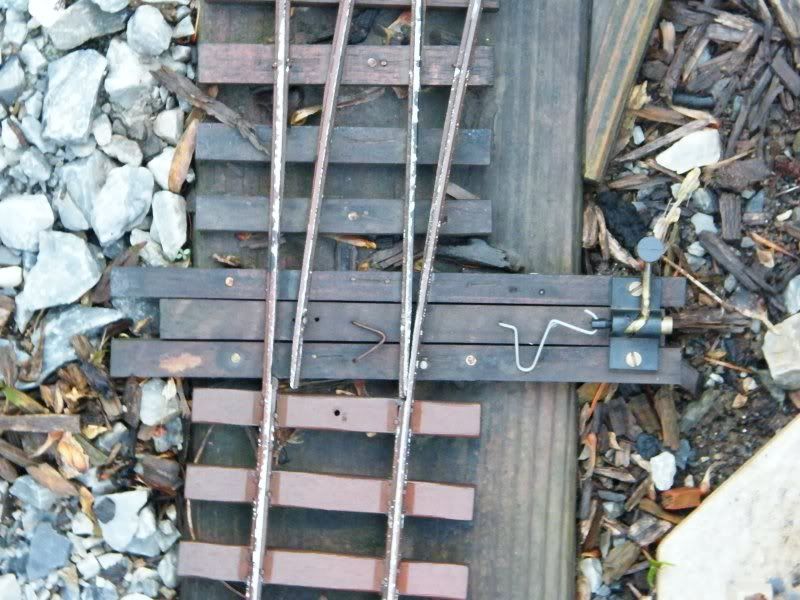
 pic provided:
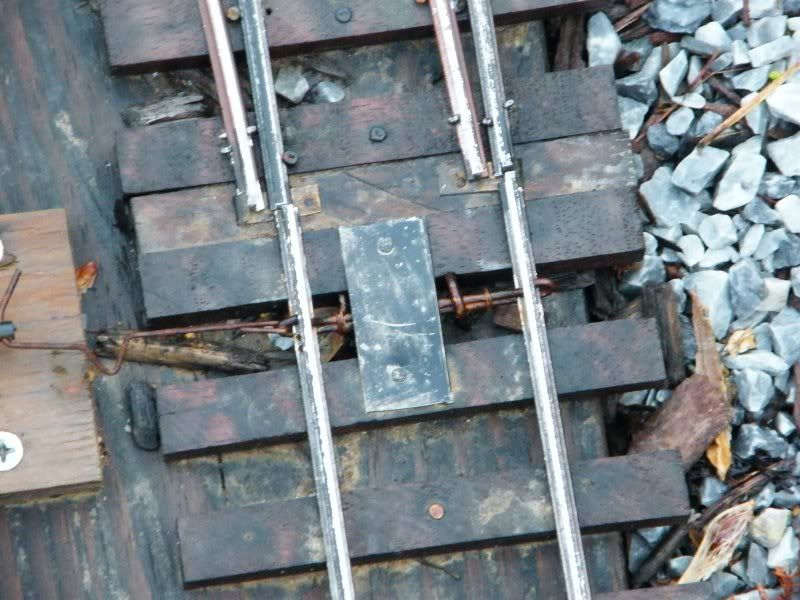