And for Rooster !
cluck
cluck
bwaaak
And for Rooster !
cluck
cluck
bwaaak
Devon, exactly the issue I had to deal with. After finding the correct angle, I made a bevel sled for my table saw to cut the wedges with the side bevels on them. My working water tank roof was (if I remember correctly) about 24" across, so any error was really apparent.
For as small as the size is, it just might be easier to cut the triangles, and then just belt sand the bottom edges of the ply wood till they fit. You would only have to sand 1/2 (every other one) to twice the single piece bevel degrees.
Is this roof going on a circle or on a square? If Circle, you must bevel the edges of the circular wall to get the top to seal around the roof where it joins the sides.
Dave,
I noticed the bevels you made in that other thread. Could figure out why until I thought about it then it made sense. This is going on a small round tank. was hoping since they are small that I can cut it on the compound miter saw. If not I like the sled idea. I also thought I could set up a jig for sand them on the belt or disc.
Devon Sinsley said:
Dave,
I noticed the bevels you made in that other thread. Could figure out why until I thought about it then it made sense. This is going on a small round tank. was hoping since they are small that I can cut it on the compound miter saw. If not I like the sled idea. I also thought I could set up a jig for sand them on the belt or disc.
Hi Devon,
Let me pop in here a minute. I’m the one that originally gave Dave a hand with his octagonal water tank roof and my cad drawings. Hard to believe it’s 3-1/2 years ago! When I used this cad system (MasterCam in my die sinking days), when we machined cavities in a die block, we didn’t have the luxury of cutting a little and trying that out. We had to cut it right the FIRST time or we could be scrapping a $50,000 to $100,000 piece of die steel!
When Dave told me what he wanted to do, I suggested drawing the roof pieces exactly how they would lay on the roof of the tank with all of the bevels and angles in place. Then it was just a simple act of rotating the individual pieces in a plane that was just like Dave’s table saw table. The mitre was set on the blade to the table and then the miter guide was set to that angle and he simply layed the roof piece in place on the saw table and made one cut…done and finished. What was great in working with Dave was that he REALLY understood how compound angles work AND had accurate measurements to give me. Compound angles can be a “mind twister” sometimes. What looks like a weird angle and couldn’t possibly work, actually fits just right. Two or three compound angles working together is very difficult to do. A change on any one of the three, can really make a big difference.
If you want to send me some drawings and some measurements of what you are trying to do, let me know. My email address is rmstd at earthlink dot net. I would rather do this by email rather than messaging through LSC because it is easier for me to attach the MasterCam drawings and other measurements you might need.
I’ll take you up on it Gary. I have options and a decent skill set. While I am no pro at compound cuts I am not s stranger to them either. These with be small pieces that will fit on my 10" compound miter saw. That’s how I want to cut them one and done. I also love an excuse to make a jig for the table saw so a sled is an option. One thing about a sled is I could use it to make s larger one as well.
I will email what I am after. Thanks so much
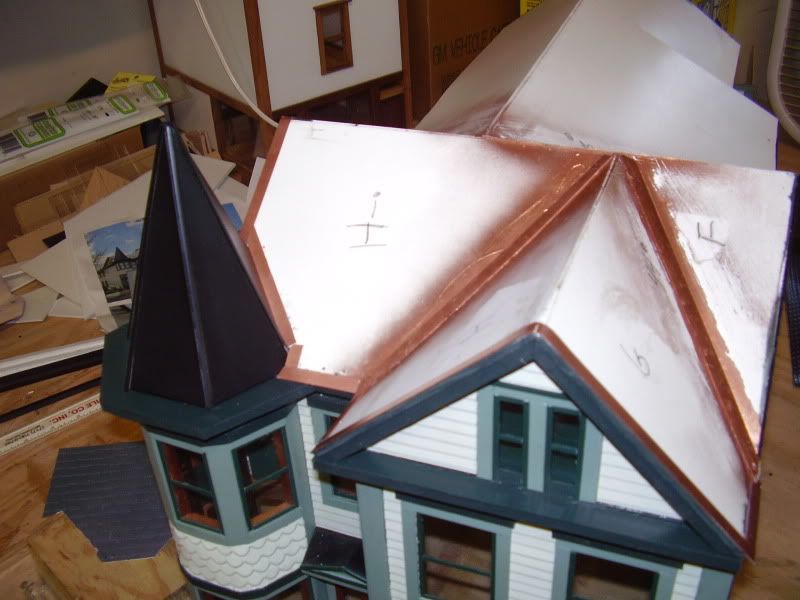
The witches cap I made was a bit easier as I used 1/8" pvc . Posting these for some inspiration as I understand it’s simple feat so I’m watching with interest as to how your project turns out.


Not certain if this will help but here is an Online Calculator. I guess that you could enter the values in 1:1 and then scale results as appropriate.
Roos if you keep posting motivational photos and I might have to give you a positive rep point. That is a nice building
It’s a model of your house isn’t it rooster?
Well a giant thank you to Gary for working this out in CAD for me. I have what I need now to cut it.

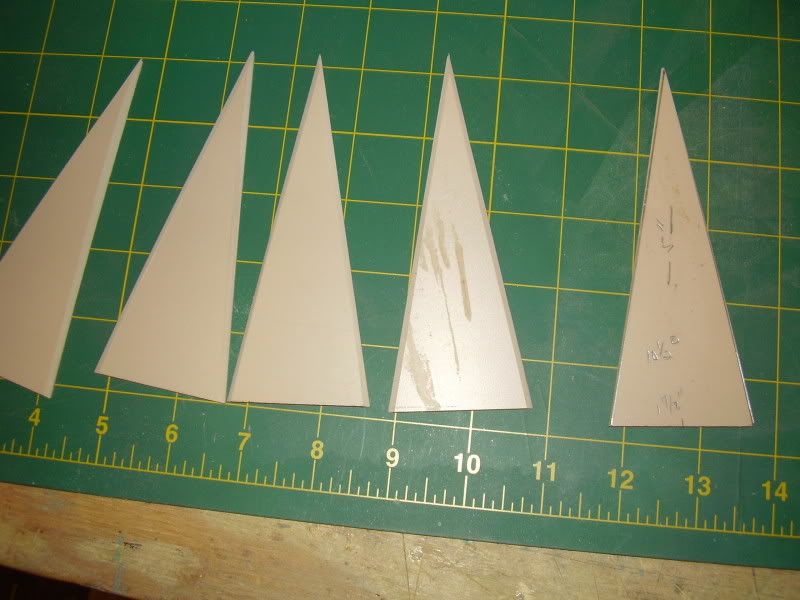
Gary is the man. The drawing he spit out provided all the angles I needed. Since it was small I was able to throw it on the compound miter with angles of 19.5 for the swing and 12.5 for the bevel joining the panels. this gave a 7:12 pitch octagonal roof that looks great and fit tight. Now there is the issues of the gap at the ridges due to the flat hitting the tank rim but it is minor on such a small model and I will likely leave it or fill with a bit of putty.
Took less than an hour to cut and assemble roof. Thanks Gary
Pretty cool, Dude. Not bad for a Cannon Cocker. (http://www.largescalecentral.com/externals/tinymce/plugins/emoticons/img/smiley-cool.gif)
Steve Featherkile said:
Pretty cool, Dude. Not bad for a Cannon Cocker. (http://www.largescalecentral.com/externals/tinymce/plugins/emoticons/img/smiley-cool.gif)
Now I just need to back away about 10 miles or so and blow it up.
To fix the gap issue, you will need to cut/sand/plane the edges of the tank on a bevel to match the angle of the roof. Picture a flat plane bisecting the tube of the tank at an angle equal to the pitch of the roof. Find and mark the 8 ridge lines and plane/sand the matching angles between the marks.
This is how my tank looked.

The gaps on this are so small I am not going to even worry about it a little filler will go along way here.