Large Scale Central

Decal Printers ?

Add On Note:

There are typically two types of “Inks” for ink jet printers.

  1. Typical transparent INKS. What most low to mid price printers use. Non permanent, not even close to archival, which is why you can get color failing in as little as 6 weeks if the print is in the sun or high UV areas (Florissant lights).

  2. Pigmented Dyes make up the second type. Used in high end and professional grade printers, and now finding there way into mid range printers by Epson and Cannon and maybe some HPs. These “Ink Sets” use an “Micro encapsulated pigments”. Whats that mean? Well… the colors are made from the same pigments used in artists oil paints, ground ultra fine, encapsulated in resin, and then suspended in a glycol based dye carrier. These are not a colored liquid on paper, but an actual opaque particle. Since they are a pigment, they resist the fading that comes from inks. These ink sets are rated at up to 200 yrs of fade resistance, if properly stored. There are Black ink sets that are now made from 100% carbon that have a fade free life of grater then 600 yrs. Using pigments allows you to greatly increase the color palette (total color combinations) that can be reproduced, using more colors of ink, then just the standard 4 color CMYK combination. MY Epson 9900 uses 11 different color dyes.

Devon, your old printer may have been using the “Dyes” and not inks, hence the better opacity from your older printer. If you are looking for a new printer for decal printing, do your homework, and find one of the new ones that use Dyes and not inks. Yes the cartridges cost more for the dyes, then for the cheap inks.

NOTE: DO NOT PUT DYES THRU TOUR “INK” PRINTER!!! It will, WILL, CLOG the print head. Your printer must be made to use the dyes.

Greg Elmassian said:

huh? are you saying a color laser printer does not overlay colors?

wrong…

use a color laser printer that takes 4 toners, swap the black for white… done…

Greg, that’s fine if all you want is white letters or numbers. When printing white with respect to multi-color decals, the white is a foundation that goes under the whole of the artwork. It’s not just a simple matter of swapping black for white toner. It’s–technically–two different files you’re printing. With the ALPS printer, you do this in “overlay” mode, which prevents the paper from being ejected from the paper feed between print jobs. That’s when we swap out the cartridges for the next colors we need, then print the next layer with the paper still 100% aligned. That’s the crucial part of the process. With laser printers, there’s no way to hold the sheet in the paper feed between layers/print jobs. They’re just not designed for that. Sure, you could swap out toner cartridges between print jobs as you can with the ALPS, but when you re-feed the sheet of paper through the feed path, there’s nothing that ensures proper alignment between layers. There has been quite a bit of discussion about this on the ALPS users’ group as folks look for alternatives to this aging technology. No one’s been successful with any degree of consistency.

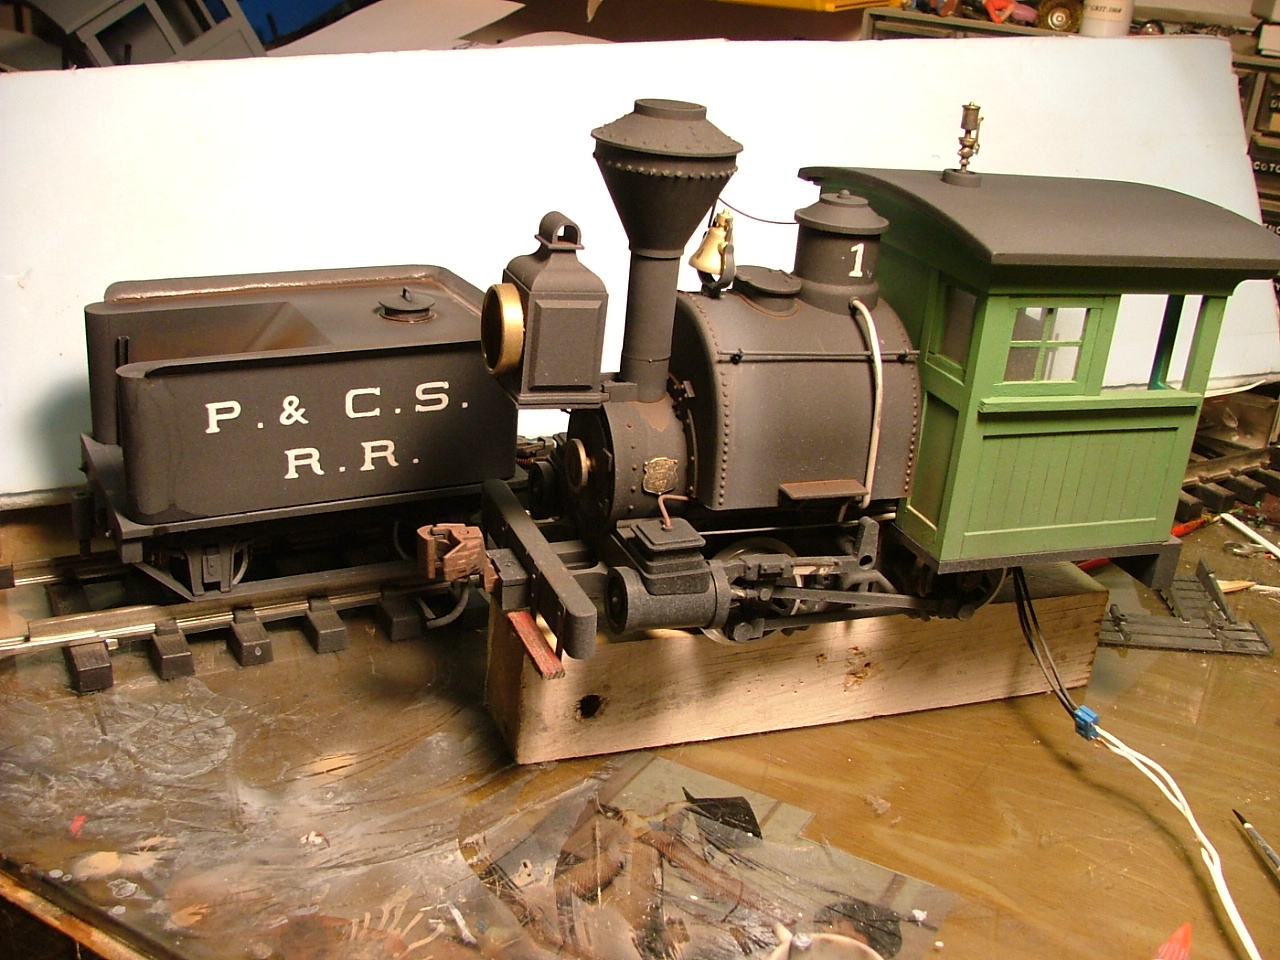
We need to be able to print white, yellow, gold, silver, etc., and have those colors show up on a black tender. You’re not going to do that with current printer technology. They’re not designed for true opacity. (Even the folks printing black laser images on plastic for screen printing or PCB etching find themselves wishing for more opacity from the toner. A common trick there is to print two sheets and line them up.) So, anything that uses this technology has to be printed on a white foundation; either from printing on a white material, or laying down a layer of white first to match the printed image. We can print on white decal paper easy enough, but then we need to be able to carefully cut around the edges so the white doesn’t show through. That’s “easy” enough to do on blocky logos and such, but on lettering, it gets a bit tedious, if not next to impossible. Products like the Cricut Explore will allow you to print an image, then the machine will do the cutting for you to match the printed image. That’s an improvement, but (a) the material is thicker than decal paper, and (b) you can’t get too small or too detailed, lest you have trouble “weeding” out the unwanted vinyl. Option 2 - printing white first (the ALPS method). Works great, but you’ve got to have a printer that can keep sheets in perfect alignment between print passes. Outside of ALPS (and similar) printers, no one does that.

There are options for the would-be DIY decal maker in DIY screen printing and DIY dry transfers. They’re labor intensive, and multiple colors are even more so, in that if you thought it was hard for a printer to keep things lined up, just wait until you have to! What I do see in the future, is perhaps a merging of media. For instance, you could use a DIY screen printing system to create a white foundation layer for your decal and apply that to your model. You can then print that artwork out in color on your inkjet/laser printer onto a 2nd sheet of decal paper, and apply that over the white layer that’s already on the model. You could do the same with custom dry transfers as a foundation.

Or, we could all just get really REALLY good at hand painting.(http://www.largescalecentral.com/externals/tinymce/plugins/emoticons/img/smiley-wink.gif)

Later,

K
Something so practical for us, a printer which renders an opaque white, is just not economically viable to produce since there aren’t 144 million teens, soccer moms, and small businesses, demanding such a beast.

There is always the older option of a custom

made rubber stamp and stamp pad that uses thinned paint as “ink”

requires a little practice to get it right but the results are very nice.

Bill

Kevin Strong said:

(snip)

Or, we could all just get really REALLY good at hand painting.(http://www.largescalecentral.com/externals/tinymce/plugins/emoticons/img/smiley-wink.gif)

Later,

K
Its not as difficult as you think.

Or you could use a Cricut with white decal paper. Cut the letters out and apply them to the model.

Ya know, sometimes ya just gotta look at things from a different perspective. Consider that added to my list of experiments.

Later,

K

Now that could work Dick,

Dave T,

That was the info I was looking for.

And David, the link I posted earlier has white laser paper but does come with the warning about it possibly melting. I will let you read the warning. I doubt I will be going this route. If I have to buy a new machine it will be one of the vinyl cutters and give up on diy waterslide. If I have to buy a high end inkjet, or a color laser printer to just do decals then the vinyl machines make more sense to me since both my wife and I can both use it.

Wife has both Cricuts. I need to look into what she has and how small it will cut…

Cricut will do letters as small as 1/4". However it tends to lose serifs that small.

All this talk about the Cricuts, I figured I should post a link to a blog that I follow… Rene just got one over the holidays and has been experimenting with it. I send him a message asking him about white decals…

https://pembroke87.wordpress.com/2016/01/06/experiments-with-precision-cricutting/

Well I am very intrigued by the circuit because it will both print and cut. I wonder what “ink” it is using, dye, ink, toner? If it is using an opaque “ink” then that would help. If it can print and then cut out the negative space on decal paper like it does vinyl then what Dick is saying could make white doable. Can anyone say what type ink its using?

I just sent a message to the company to ask what type of media is being used to print.

The Explore uses HP inkjet inks.

Later,

K

OK so that would likely print with the transparent ink but if it will do what Dick is suggesting then both color and white decals will be possible on white paper. Just print it on white then cut out the negative space. Transferring them might be a bit frustrating.

Since the wife scrap books it was easy getting her blessing so hopefully soon I will get one.

Devon

A word with the Cricut is that is isn’t that precise when cutting; see the blog post link.

I wouldn’t think cutting letters out of white decal paper to make white lettering would work. Not because the Cricut could or could not do it, but because it’d be darned near impossible to actually apply the things once they were cut. They’d be individual letters once cut out. Nooooo thank you. Just the thought of applying individual decal letters one at a time makes paying for one-off custom dry transfer artwork well worth twice the expense.

Vinyl is different because (a) you can use a contact sheet to stick to the front of the lettering in order to apply entire words, then peel it off, or (b) the vinyl lettering is strong enough to withstand being handled by tweezers to be applied letter-by-letter if that’s the better way to go.

Later,

K

Kevin, yes, applying decals one letter (or number) at a time is tedious, but its what I used to do in HO and N scale to change road numbers and letter stock for my fictitious railroad. At this stage of the game I prefer dry transfers, but they are limited, and the folks who do custom work either do the vinyl stick ons, or decals.

Well that’s me over thinking again. You’re ( Fred and Joe noticed I used the right one) right decals are supposed to make life easier and doing it one letter at a time would be no fun. And since it can do vinyl why would you?

Thanks for the reality check. And really I am used to not having white so no loss.

David, at issue with the decals cut on a die-cut machine would be that they cut out just the lettering. An “O” would not be a dot of material, it would be a very thin ring. An “E” would be three little dangly pieces of decal material attached to another thin line as opposed to a single rectangle. I don’t see how you get that off of the paper backing after soaking it in water without messing things up, let alone apply it to the model.

My favorite will likewise always be dry transfers. They’re a bit pricey for a one-off (figure $60 for a 4.5" x 6" sheet, single color, but you may be able to fit two cars’ worth of lettering in that space). If you can fill a 12" x 18" sheet with lettering for multiple cars ($120), then it becomes more reasonable. If you can get 10 cars out of that sheet, you’re looking at $12/car. (I use **Allout Graphics **out of Vancouver.)

Later,

K