Large Scale Central

D&RG 315, My week in Silverton

Day 1 Antonito.

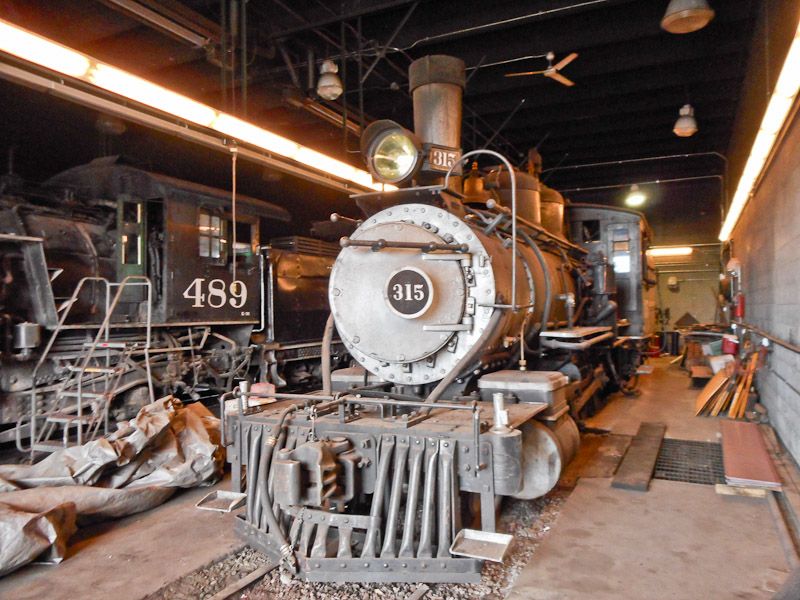
D&RGW 315 spent the winter in the C&T engine house in Antonito. A little dusty from setting around. Spent the winter with her big sister 489.
Fellow crew member Gene and I were tasked with replacing the “blower”, We had some issues with the Blower clogging up on out last excursion, and one of the projects for the winter was to make a “New and Improved” blower.
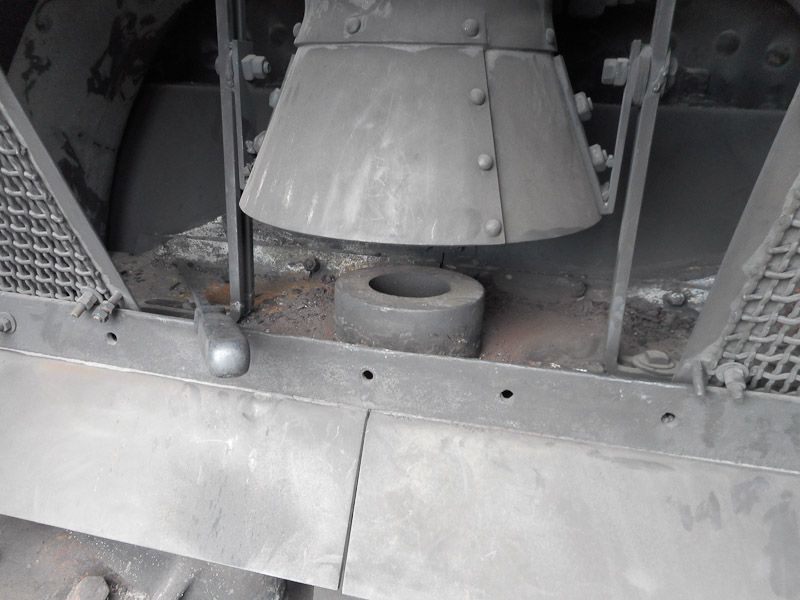
For those that don’t know: This is the inside of the smokebox. In the top of the pic, is the petticoat pipe. It collects the used steam from the cylinders ( that big pipe in the bottom) that is shot up to the smoke stack. The steam creates a draft up the stack, that draws the hot gases from the firebox, thru the boiler.

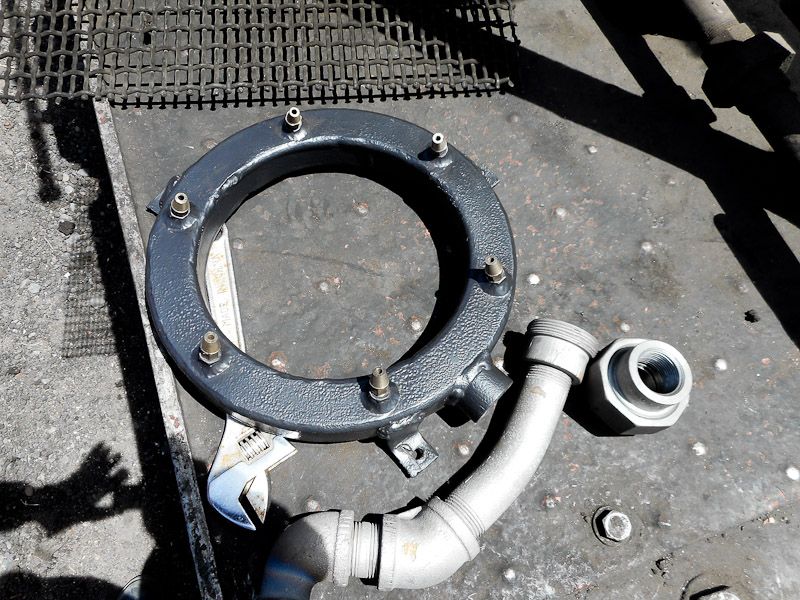
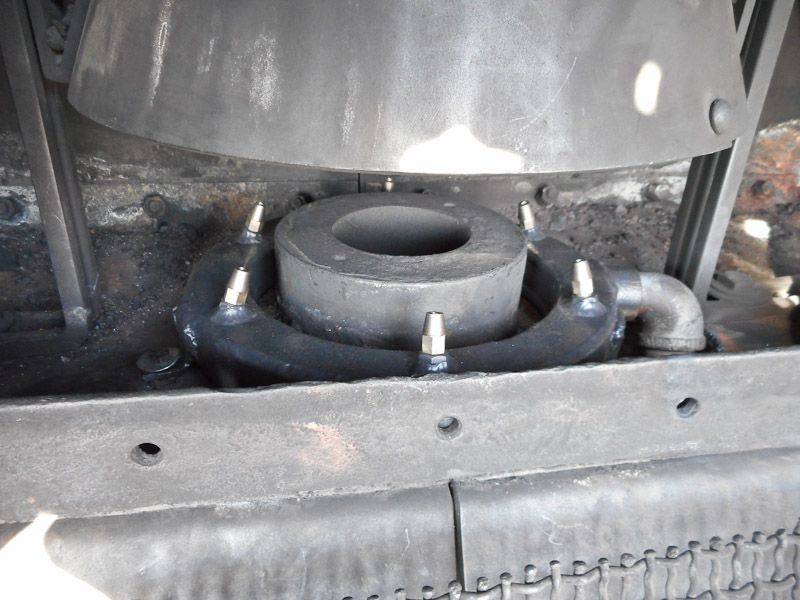
This is our all new design for the Blower ring. This will fit around the steam tube. It is powered by steam being passed thru the feed pipe on the right, into the ring and shot out thru the nozzles and up into the petticoat pipe creating a draft to draw the fire thru the boiler while sitting, when there is no steam from the cylinders.
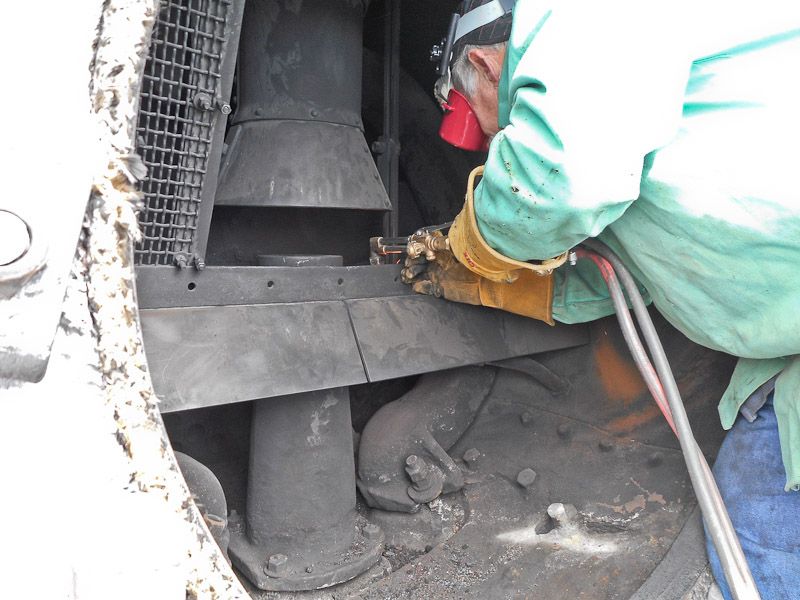
Gene uses the cutting torch to clean up the old mount, and cut holes for the new Blower ring. BTW the smoke box is a really dirty thing.
Here’s the finished blower around the steam nozzle.
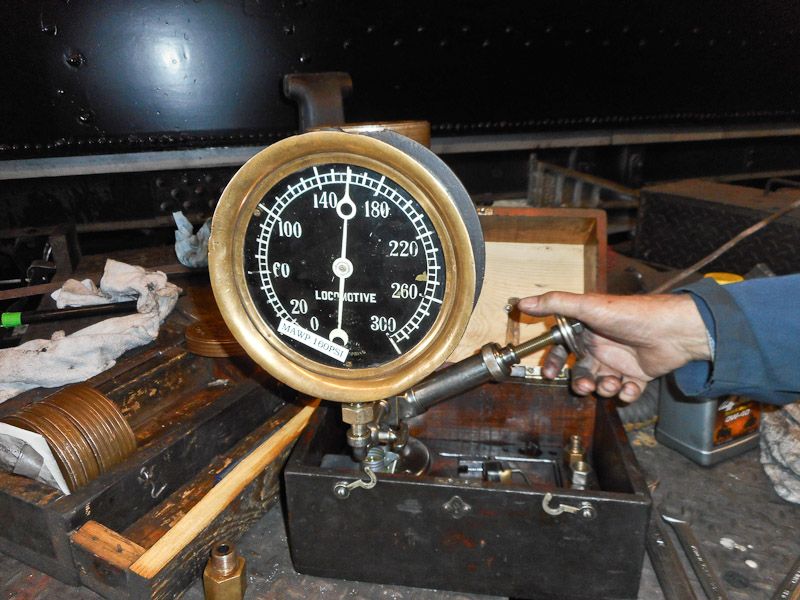
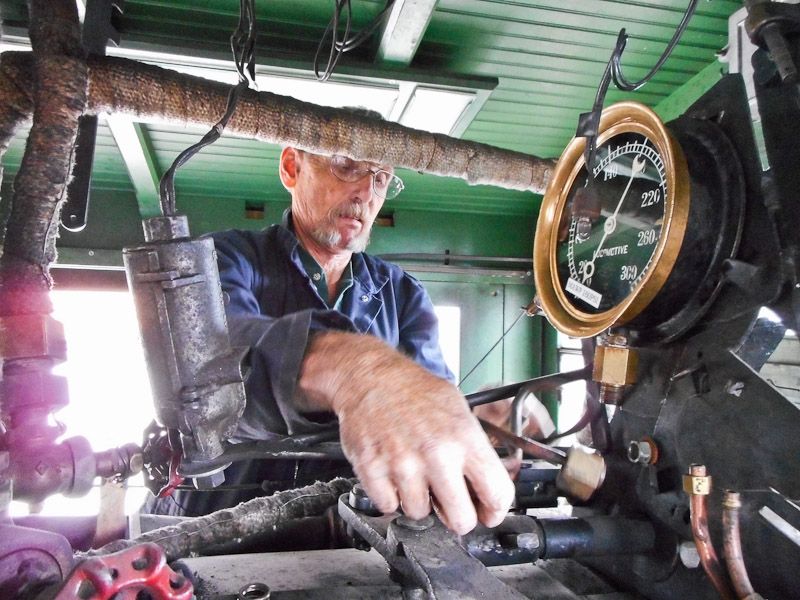
We (the 315 crew) removed the gages last fall and had them re-calibrated. Crew member Paul re-installs onto of the boiler in the cab.
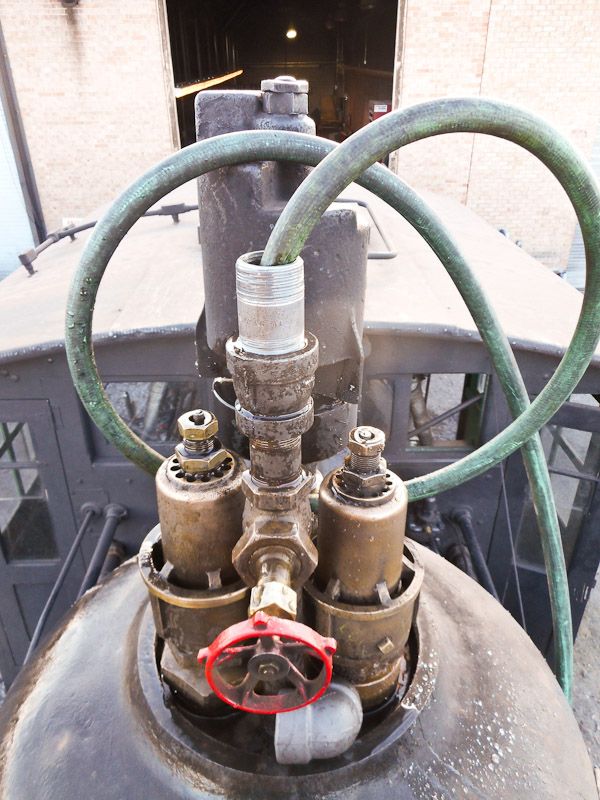
Dennis and I replace the re-calibrated pop off valves. BTW there is two “Pop off” valves on 315. One high pressure, on the engineers side and a lower pressure one on the fire mans side.
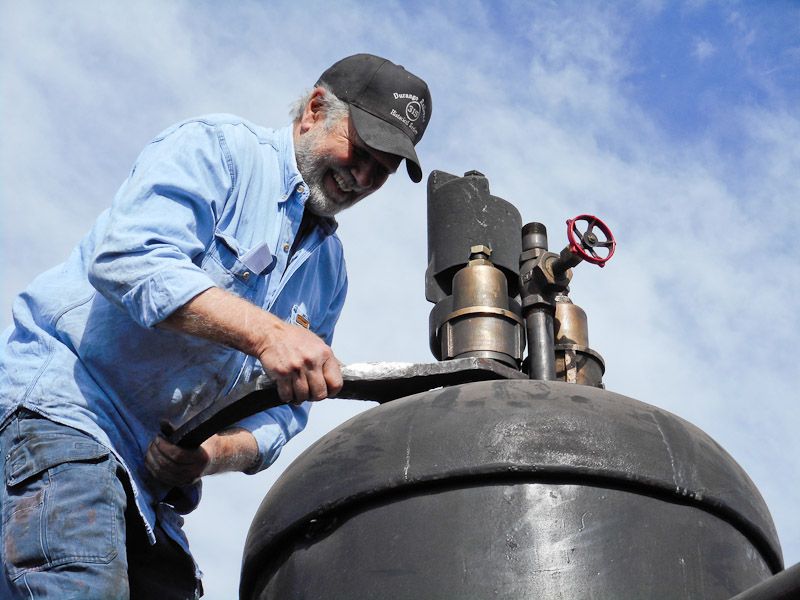
BTW, the nut on the bottom of the valve is about 5" across the flats, and has to be tight enough to handle the full 165 lbs. of pressure.

Thats about it for our first 1/2 day. We cleaned up, and went into town for dinner.

Heres downtown Antonito CO. A really fun place to vacation.
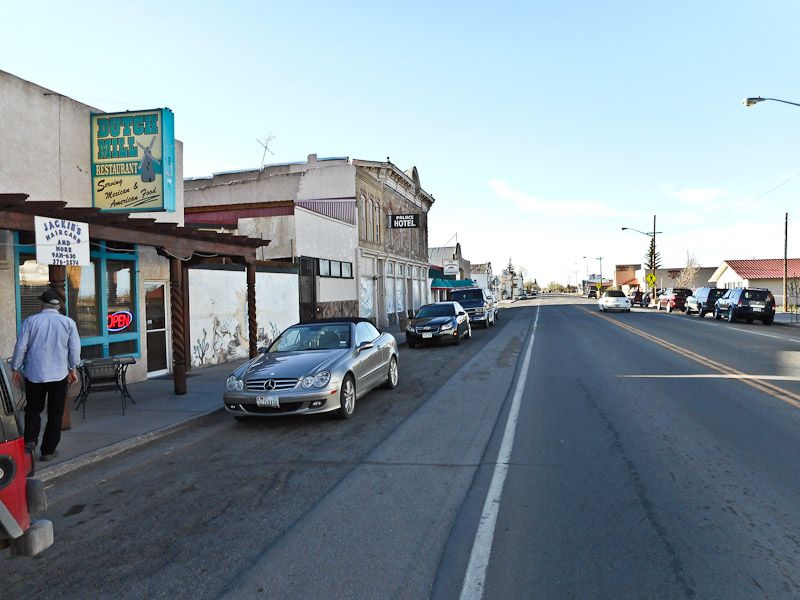
Yah, thats about all of the town.

Back at it tomorrow:

Dave, . . . . great stuff ! I wish I could be there to help. I’ll make it one day. Keep having fun and posting photos. :slight_smile:

Dave,

I would assume that you and the folks working on 315 know the erosive nature of steam. And brass nozzles being fairly soft, I would recommend keeping spares on hand. A better suggestion for material (assuming dollars are available would be stainless steel - 316l preferred).

The only place on the boiler nastier than the smoke box is the fire box. :slight_smile:

Bob C.

Day 2, Full day

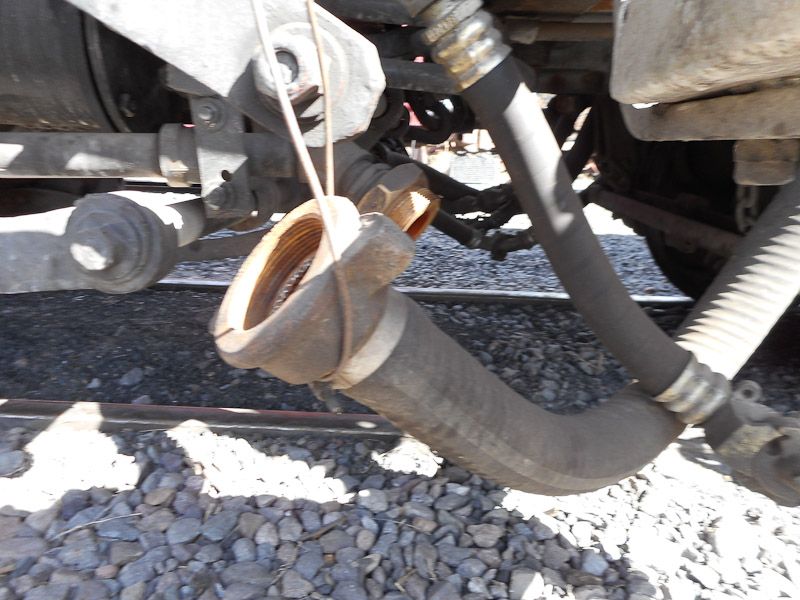
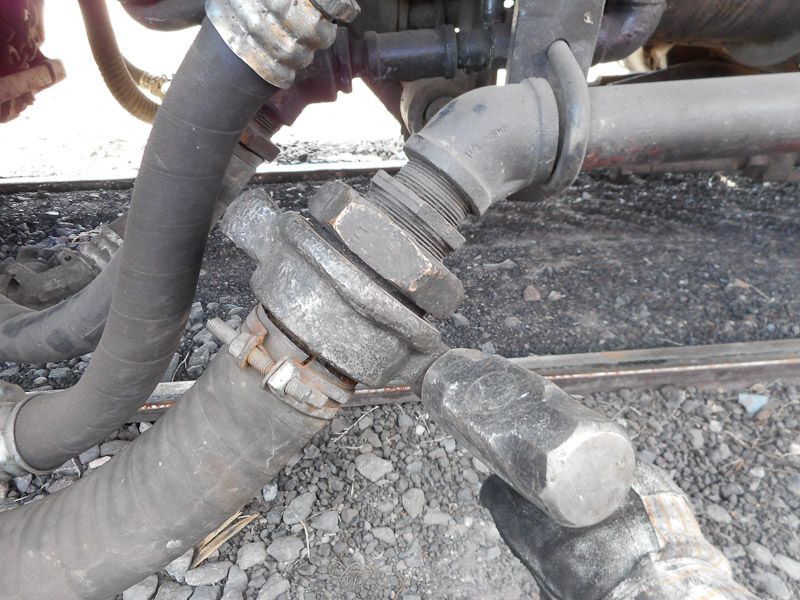
Started the day with re-connecting the water legs plumbing. These large hoses connect the tender to the engine, It’s how we get the water to the injectors. They were disconnected for the winter to assure no freezing.

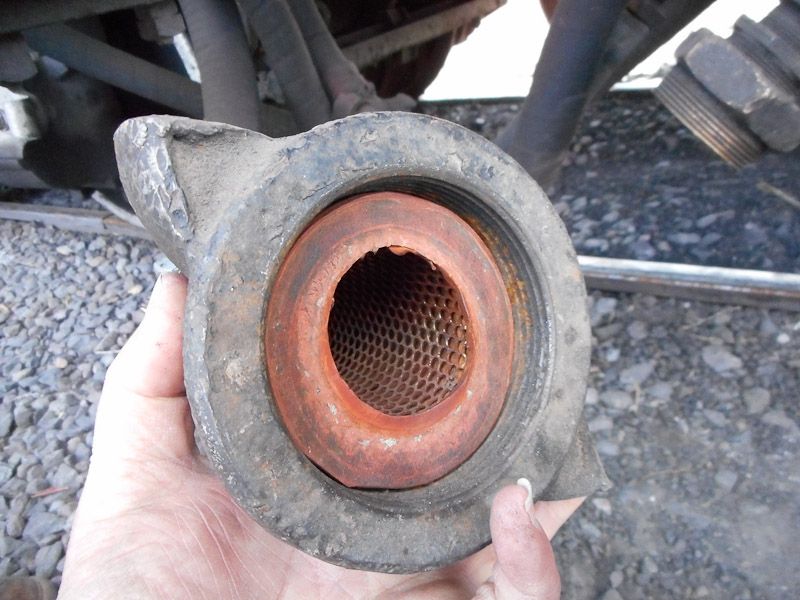
The Hose, and fittings. There is a rubber gasket between the ends. to tighten you use a hammer to drive the fitting around.

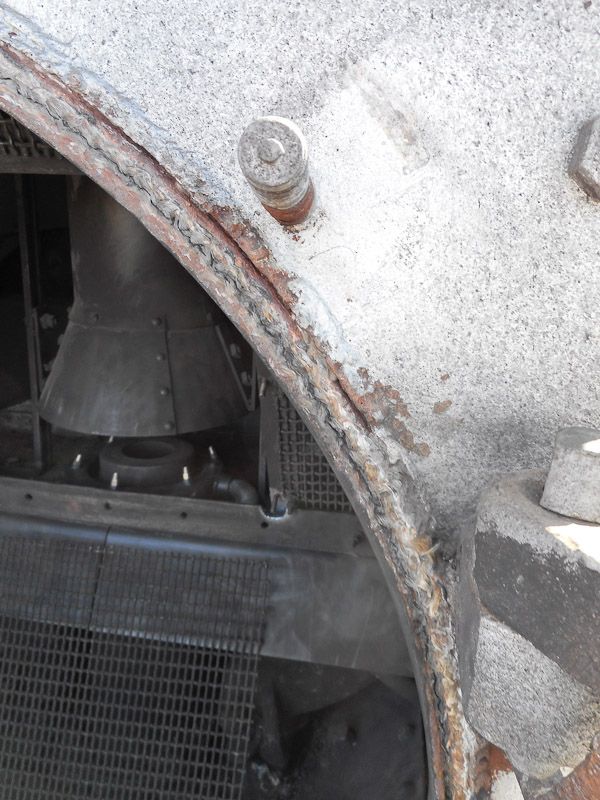
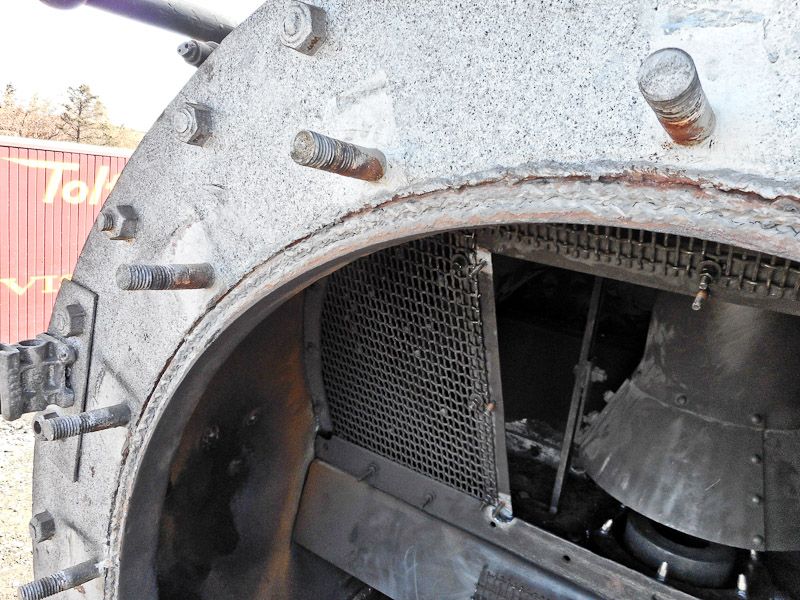
Back onto the smoke box. We needed to replace the door seal. The matting ring around the door needed to be cleaned and prepped for the new fiberglass rope. The grooved ring is cast iron and welded to the actual “box”.

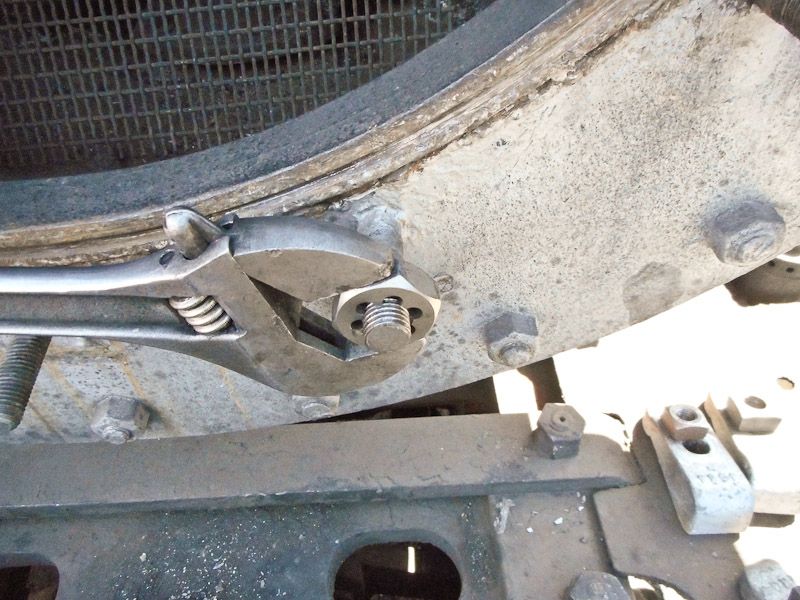
Had to chase the threads on a couple of door studs. 3/4" studs.

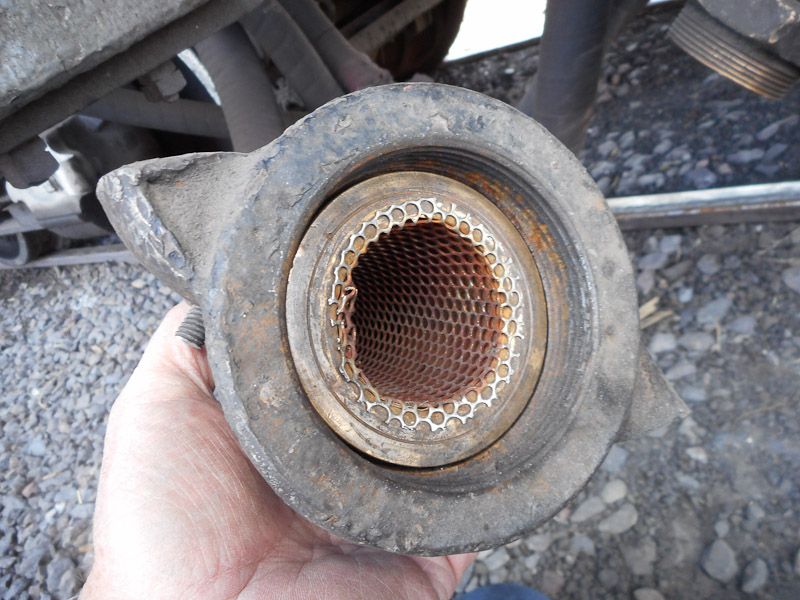
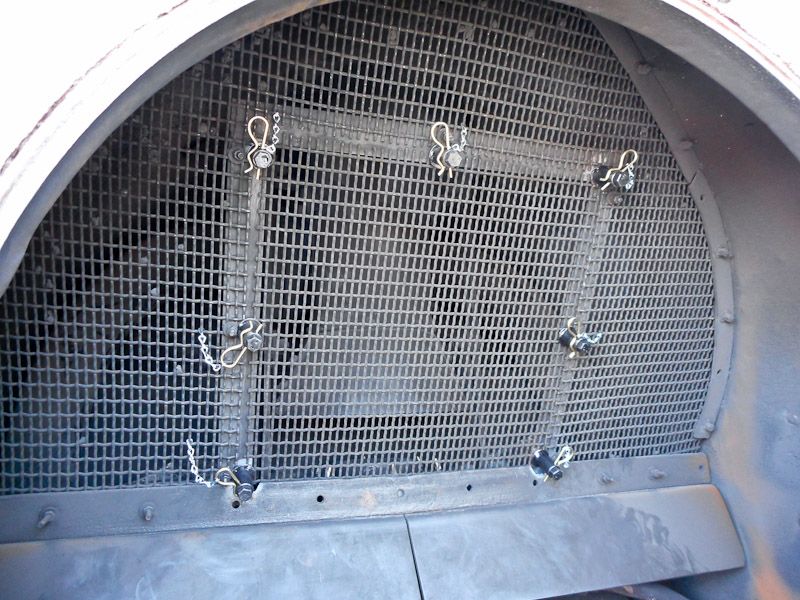
Finnished putting the screen in the smoke box. The screen helps stop the exhausting of hot sparks and fly ash out the stack.

No pictures of putting the new fiberglass rope, Its actually the same stuff you would would use to seal the door on your wood burning stove. It took 4 hands and a prehensile tail(i wish) to get that seal in place, no hands for pics sorry!

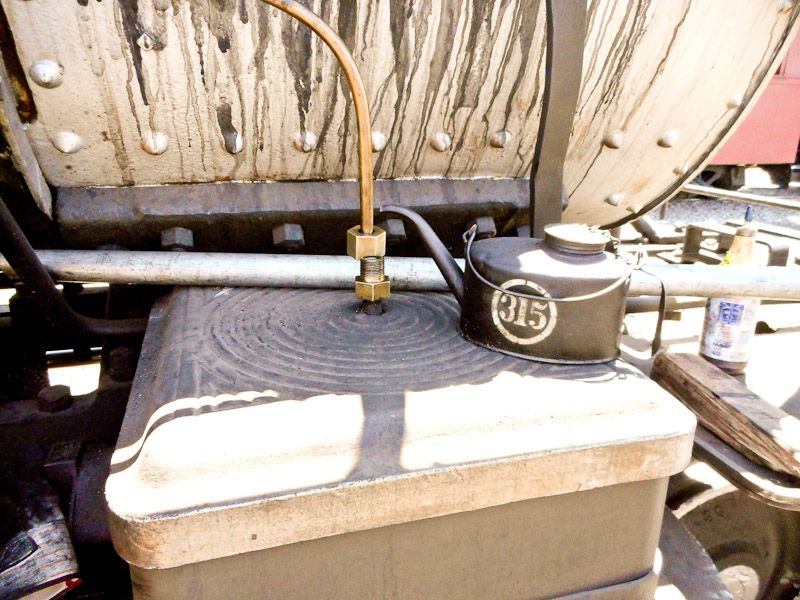
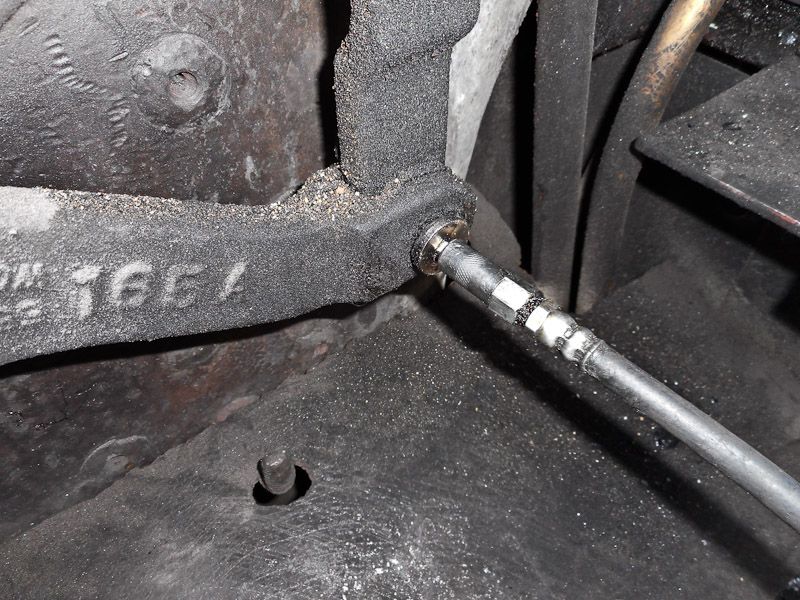
Moved on to pre-oiling the slide valves. Open up the oiling line and slowly add steam oil into the valve. The other end of this tube goes to the oiler up on top of the boiler.

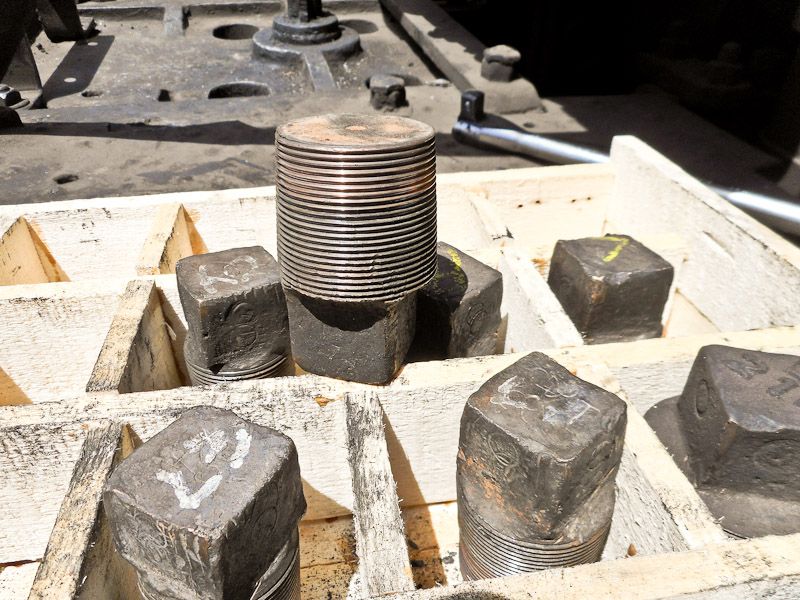
Went on to putting the plugs back into the boiler. These are about 1 1/2" to 2" size thread.

Helped Gene flush out the tubes after rodding them out.


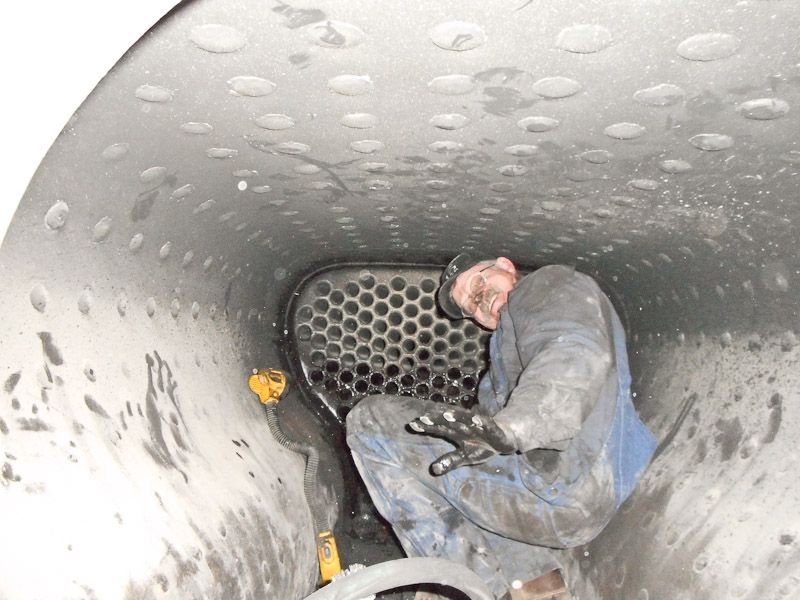
The fire box is a dirty place. Gean coming out of the firebox.

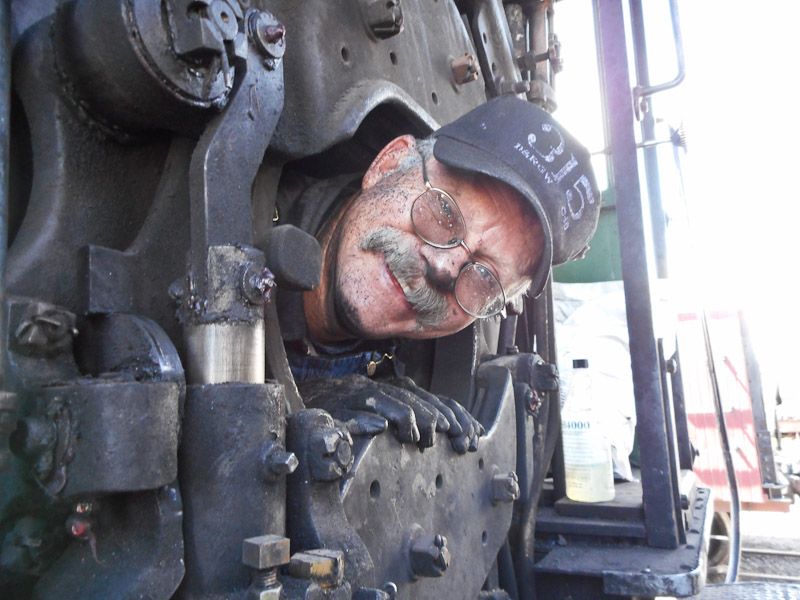
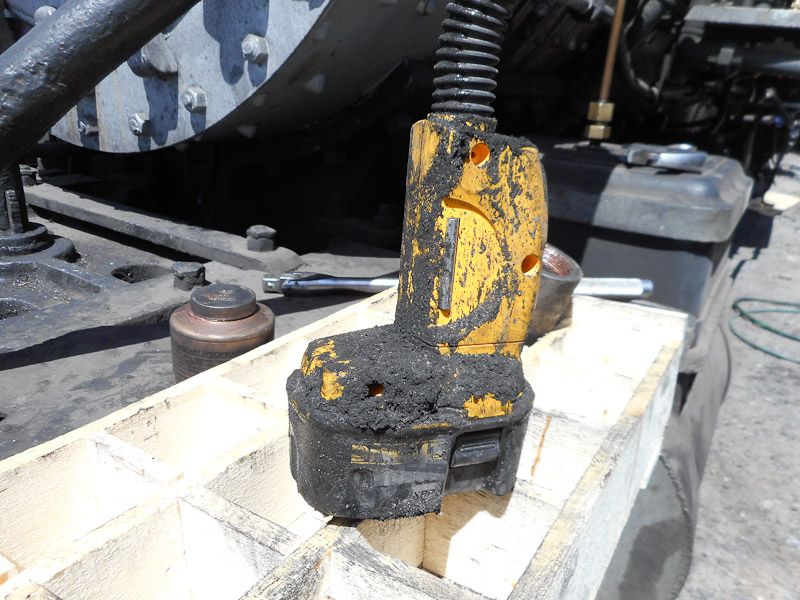
How dirty is it, here is my flashlight, clean went in.
Tomorrow, replace the re-built air pump.
Great stuff ! Looks like so much FUN ( except maybe the firebox ) . . . :slight_smile:

Day 3 Full day

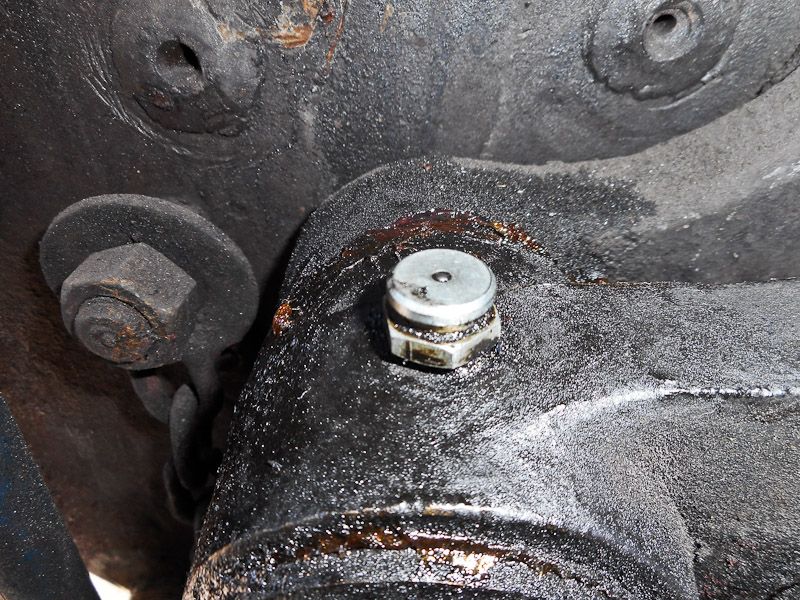
Started the day with general greasing around the engine. The 315 has an air operated fire door. There are only 9 grease fittings to make it work.

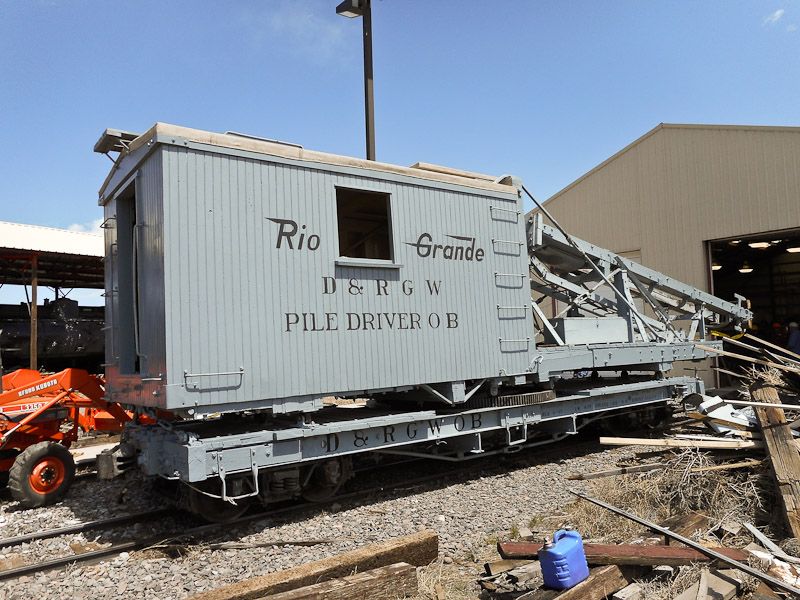
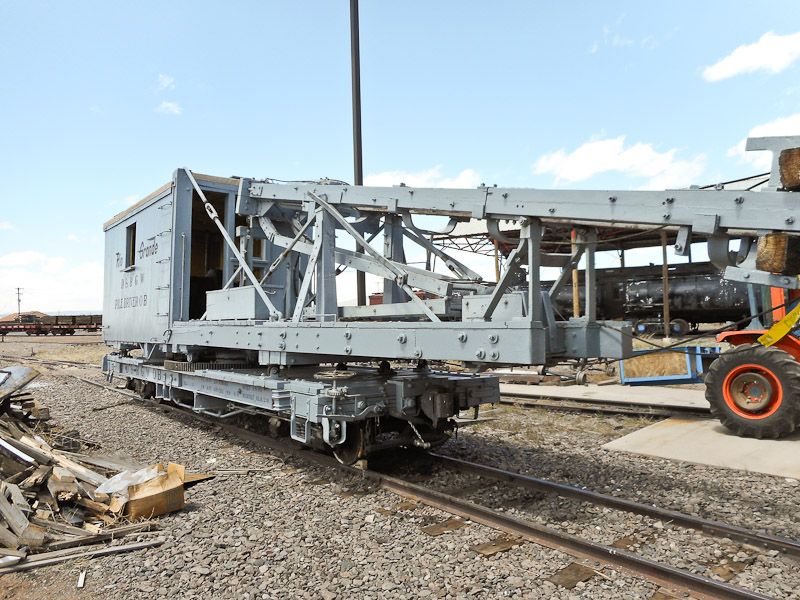
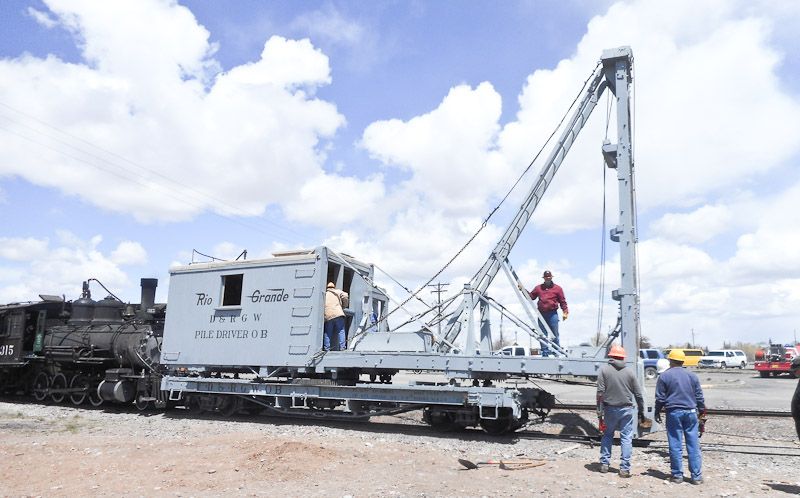
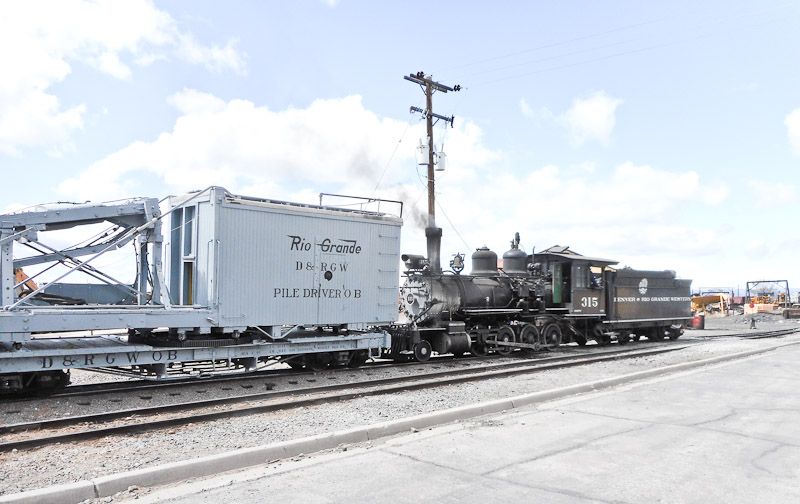
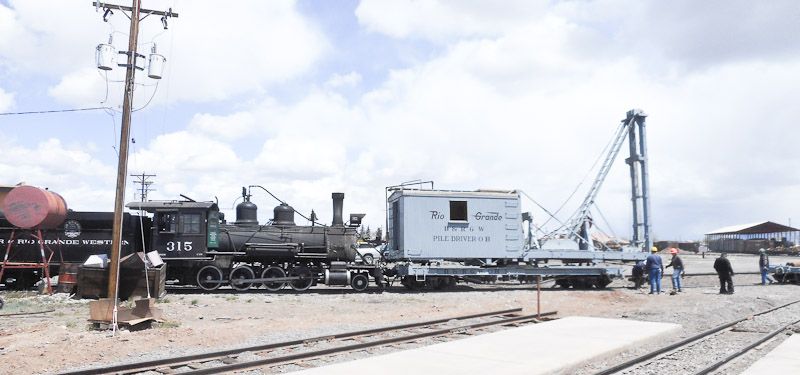
For the photo special next week. We will be running the Pile Driver OB down the tracks and “The Friends Of The C&TRR” will actually be driving piles. The Friends have spent the week prepping OB and getting it ready for tomorrows test run.

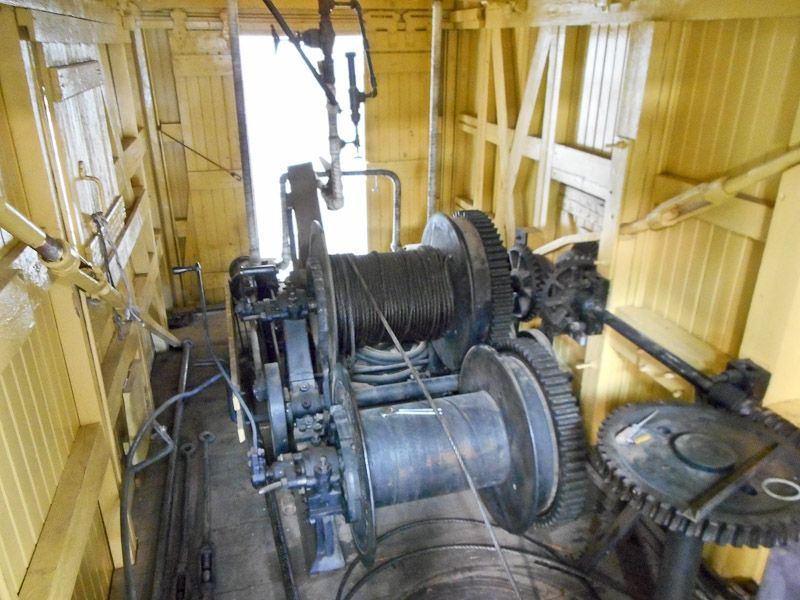
The OB runs from a 2 cylinder logging donkey drive setup. Simple but still quite the mechanical piece.

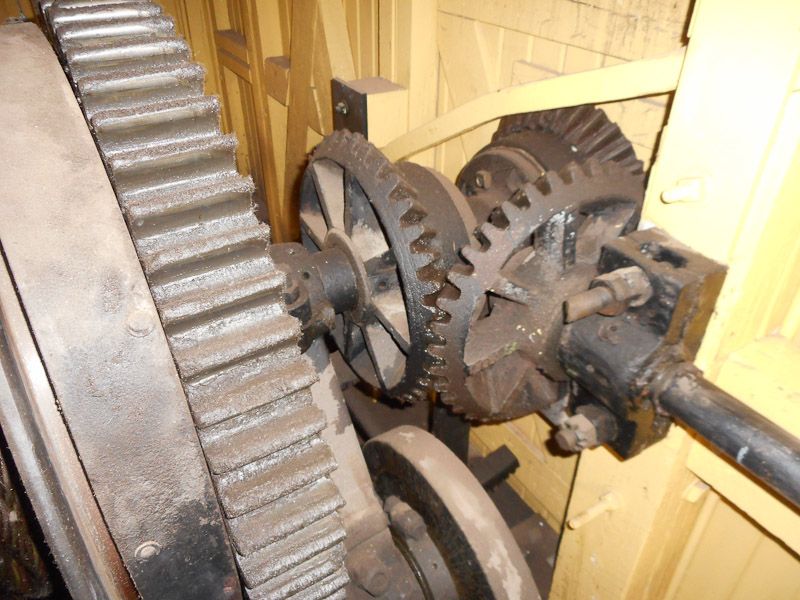
This is the gearing that drives the rotation of the unit.
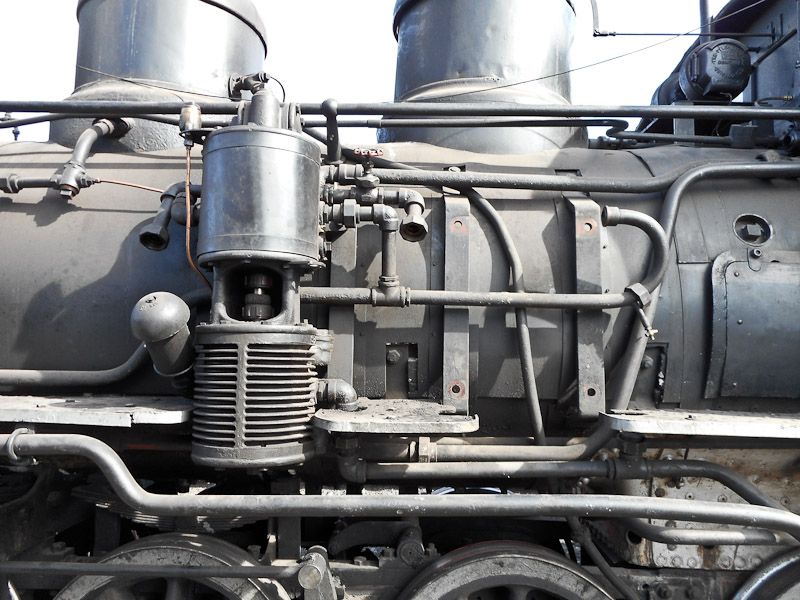
Not a lot of pics, as I was very busy installing the rebuilt Air compressor. It goes here.


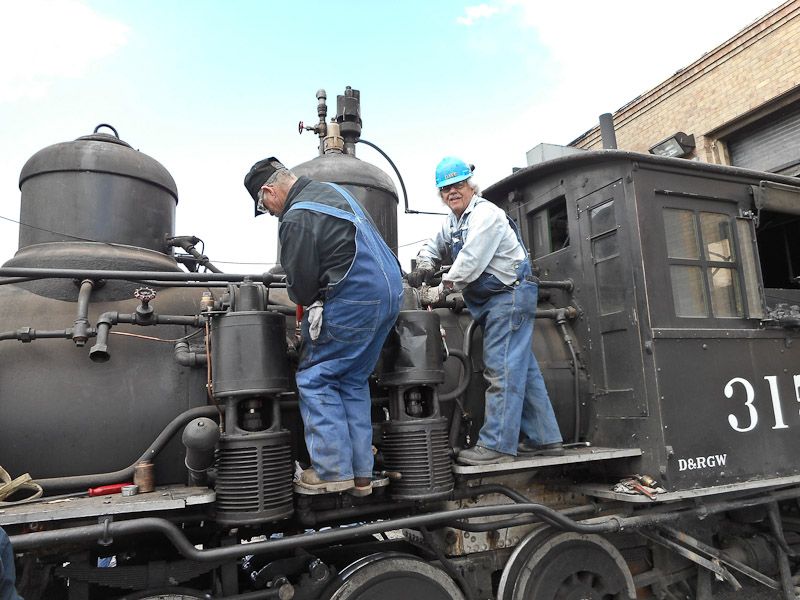
Big, about 500 lbs. and a lot of plumbing of both steam to run it and Air out. The 4 bolts holding it to the engine have 1 7/16 Square heads. Hooking up some of the plumbing.

And a friend shoots me up on the engine. I’m on the right.
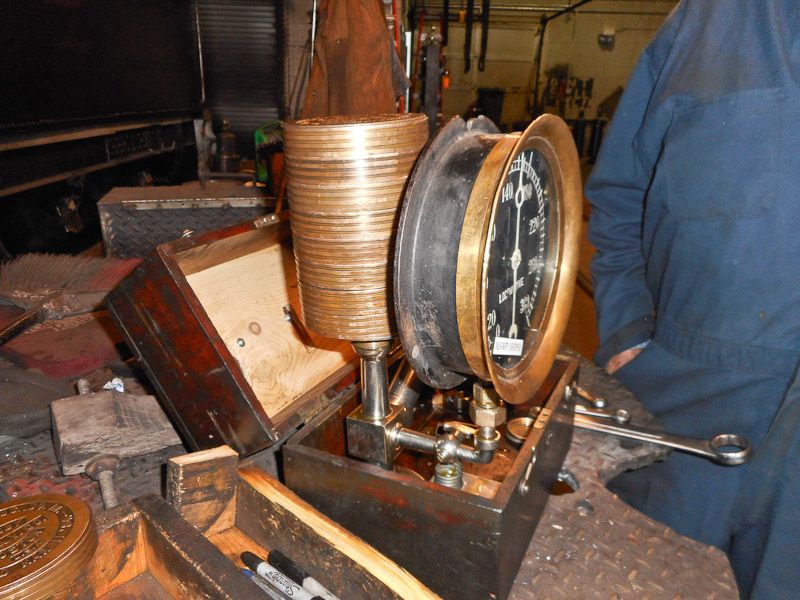
Finished up the day with the checking the calibration on the main steam pressure gauge. I only watched (and learned) as old hands verified the gauge at 160 psi.

All set and ready to fire up at 0630 in the morning as we are scheduled to give steam to OB at 10:30.

Great pics, Dave! Really enjoying seeing all this.

I am enjoying the heck out of this thread…:wink:

Me too! Thanks for the running commentary.

@Bob Cope. They are 316 stainless.

We’re firing her up this morning. Winter came back last night… Currently in Antonito. 28 deg. We will be huddled around the back head.

Day 4, COLD out there…

Started out by adding water to the boiler. Yup it’s a garden hose, and it’s stuck into a pipe (called the monkey tail) on top of the steam dome. Normally water is added into the boiler with the injectors, But without steam to drive the injectors, you have to stick a hose in it. Well, it works, until it gets hot.

Thats our 5 chime whistle in the back, High pressure pop off on the left(165 lbs), and the low pressure (160 lbs) on the right.
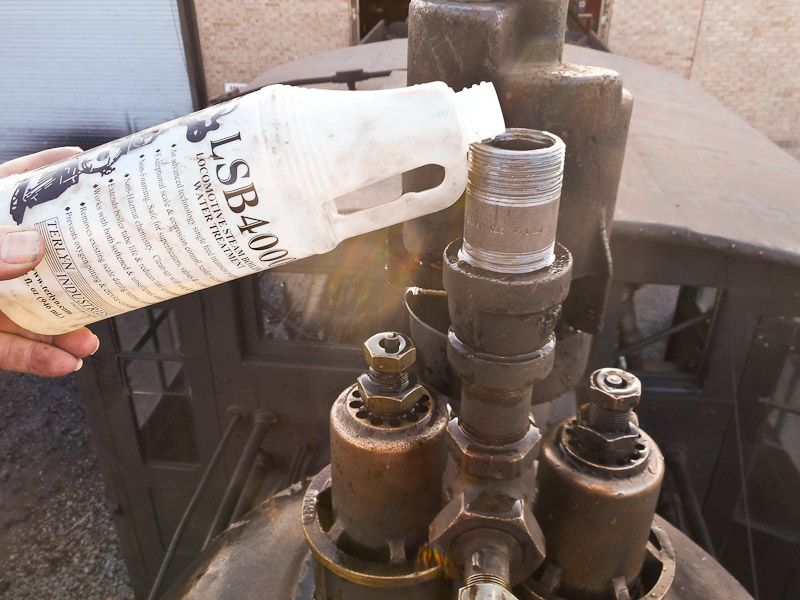
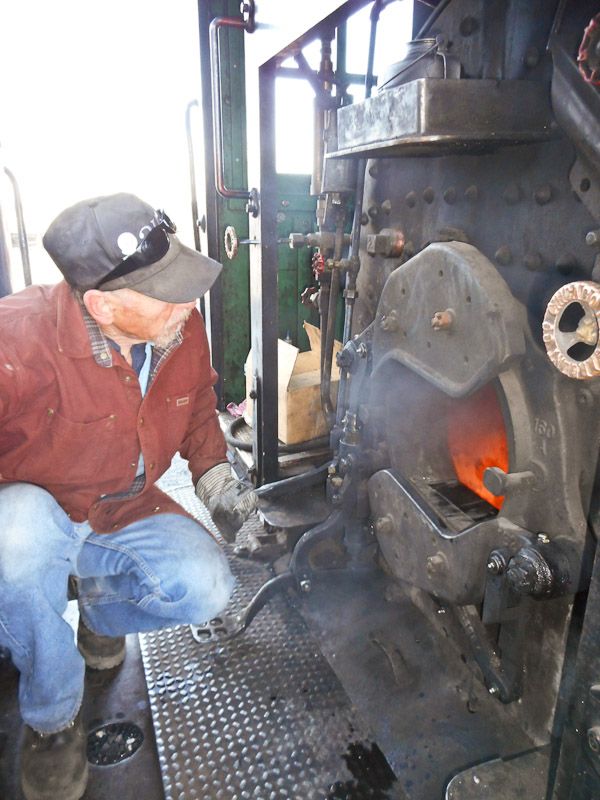
Added the boiler water treatment. This is I believe an O2 scavenger with added stuff to prevent scaling on the fire tubes.

Paul lights the fire. To get it going, we lay a bed of coal on the greats, a layer of compressed log chips, followed by another layer of coal. To light it we soak some oily rags in diesel. put it on the shovel light and toss it in.

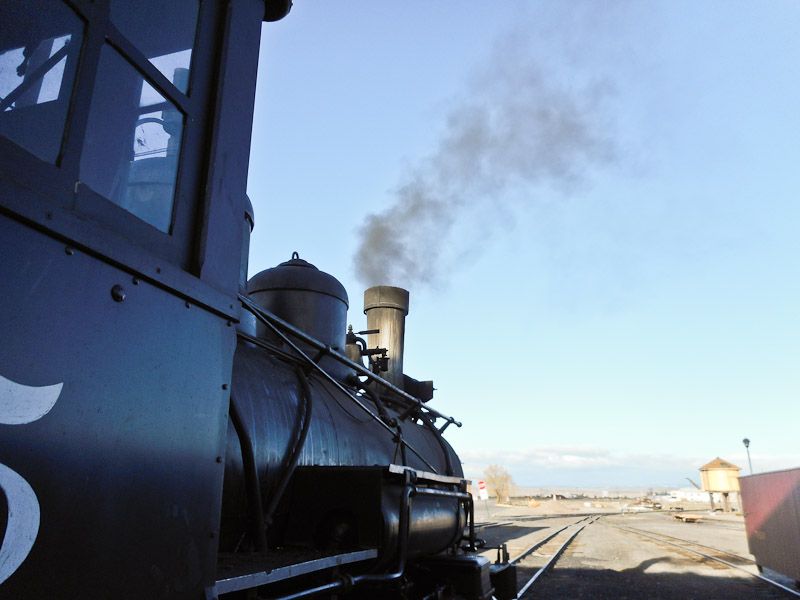
First smoke !!

As the boiler warms up, things start to expand, you don’t want to heat the water to fast, to allow for thermal equalibum. As things heat up and pressure builds, you look around the boiler for Things, and stuff. One of the things we check is the stay bolts, They connect the inside of the fire box with the outside of the boiler shell. These are the stay bolts on the engineers side, low on the side. There are hollow, so if they break or crack, they leak to the outside and you can tell that they need to be replaced.
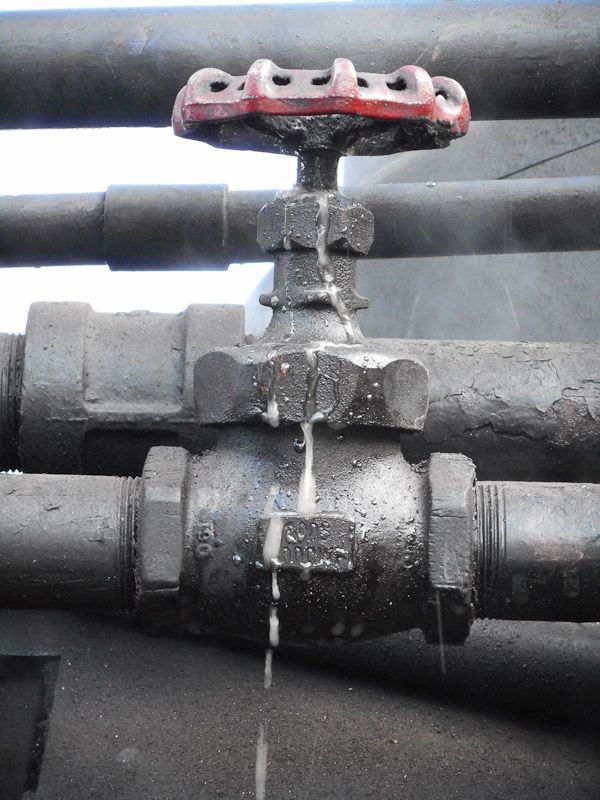
(http://i1234.photobucket.com/albums/ff403/dave2-8-0/315%20Antonito/DSCN0157_zps94d7d102.jpg)No leaks on the stay bolts. But we had a compressor valve with a packing leak.

When you have a valve that leaks at the packing you usually just tighten the packing nut, But when you have 160 lbs of live steam behind it, you have to be very careful not to break the valve, Very dangerous to your health. In this case I tightened it up as much as I dare, and we let it leak, until it’s not under pressure.
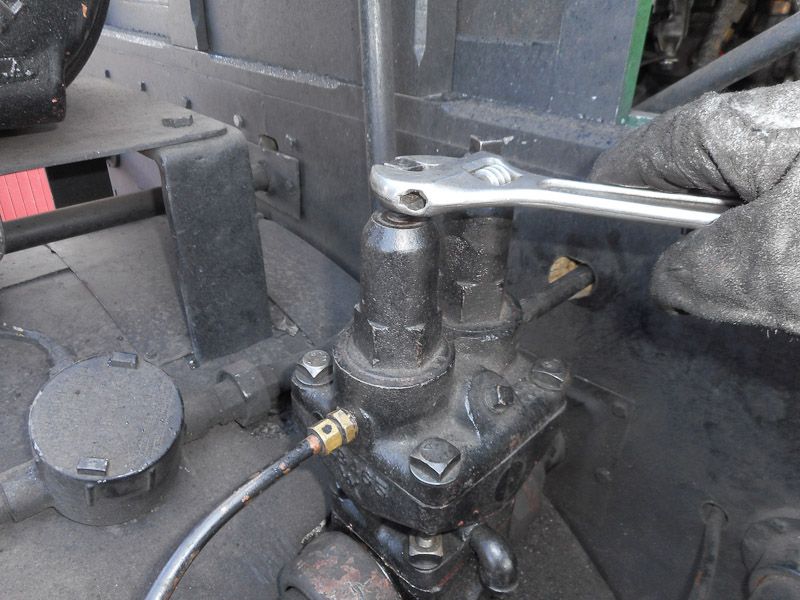
Once we got her hot, we adjusted the Air Pressure regulator. It sets the upper cut out limits and the lower start up point.

it’s late and I have to drive home in the morning. Soooo I’ll finnish up tomorrow. Here is a teaser

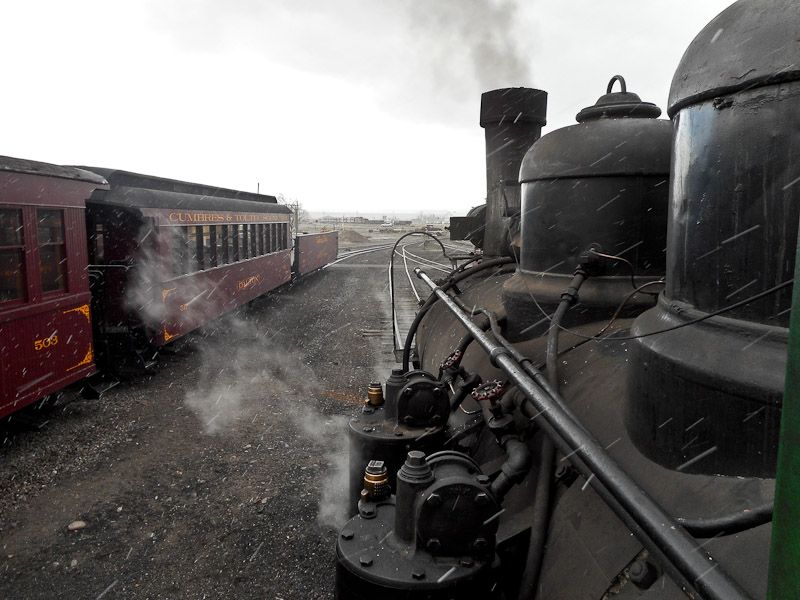
Oh and BTW it’s snowing…

WONDERFUL ! Damn how I wish I could be there, . . . :slight_smile:

Me too. And I have a 3 month old excuse to move to Colorado! Need to convince the other half.

Wow, more great stuff! Thanks!

Are staybolts screwed in, like regular bolts? Or hammered like a rivet?

Ray, I have not had the privilege of having to replace a stay bolt on 315. I do believe that ours (315 ) are typical of a 1895 engine.

The answer is I believe both. The stay bolts are screwed thru the fire box and the boiler shell. They are then peened over like a rivet. The technique is called “Merry Go Rounding”, the use of an air hammer in a circular pattern around the outer edges.

Here is a link to a youTube video of the technique.

https://www.youtube.com/watch?v=fN4juqEZ8Lc

It could be done with a regular hammer.

Ah, I see. Thanks, Dave!

OhDarkThirty

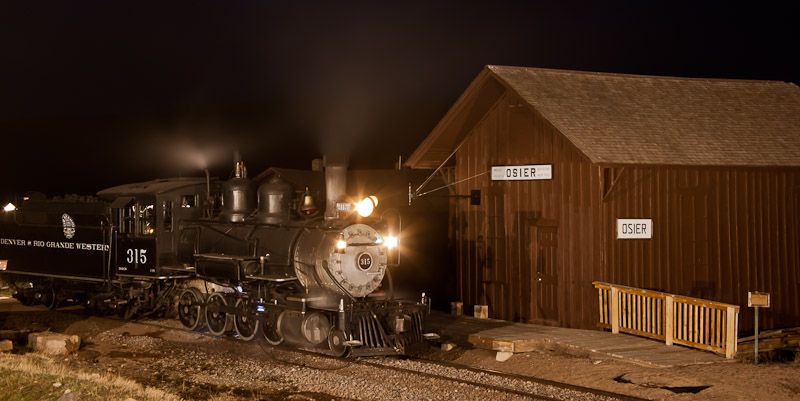
Off to Antonito (3 hour drive). The Work Special Charter leaves Saturday morning. We (315) will be heading up the work train with Pile Driver OB. We will actually be driving piles out on the line Saturday. I’m looking foreword to the adventure, 3 days 2 nights ( staying in Osier).

OB up and running during the test set up.

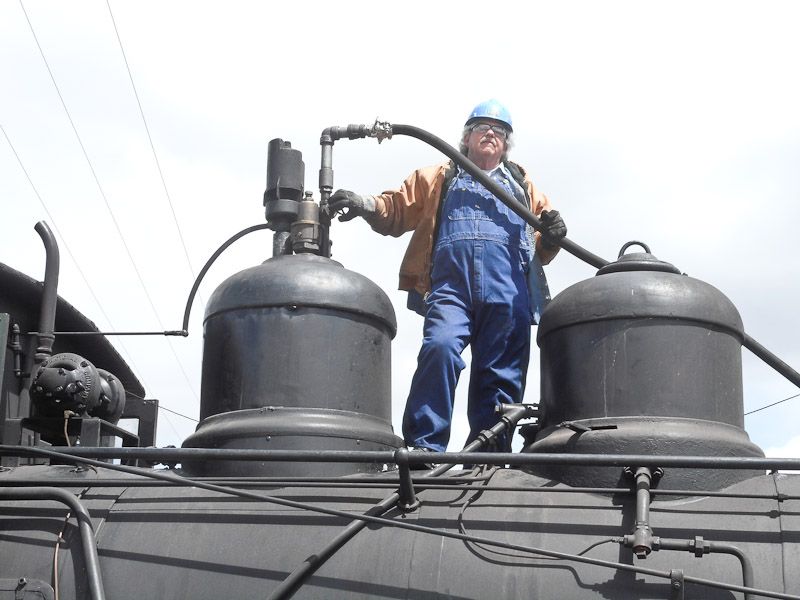
315 provides the stem power from the “Monkey tail” on the stem dome via a heavy flex hose. (yah thats me up there)

Photo lesson #003 Always check the background behind your picture.

With the new extension to the stack, I think that we will have a little trouble making it thru Mud Tunnel. OOPS…

Dave, . . . . all looks FANTASTIC. :slight_smile:

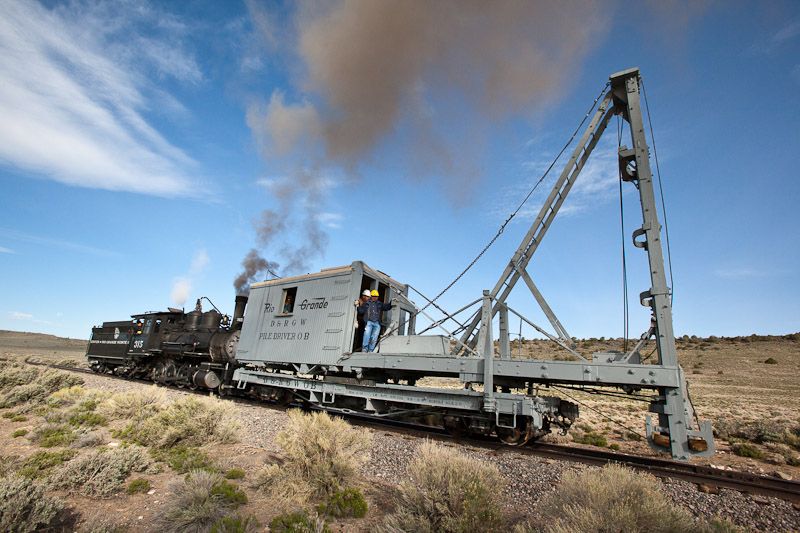
Back in Antonito after 3 fantastic days in the Southern Rockies running the “Work Special”. Just a couples of pics from the adventure.

D&RGW OB actually drove a pile.

And I hosted (read that “Put On”) two night photo shoots after an all day (left the station at 6am) day of running up the mountain from Antionito to Osier.

Im going to bed, and tomorrow we service 315 and then home. Many more pics to come.

A GIANT RED LETTER DAY FOR 315.

Durango Historical Railroad Socity, Board Of Directors:

Last night the City Council ( Durango ) passed the consent agenda. One of ten items was conveying the ownership of D&RGW 315 to DRHS. No discussion. We now own 315!

WAAAAHHHHOOOOO ! ! !

Great Day.