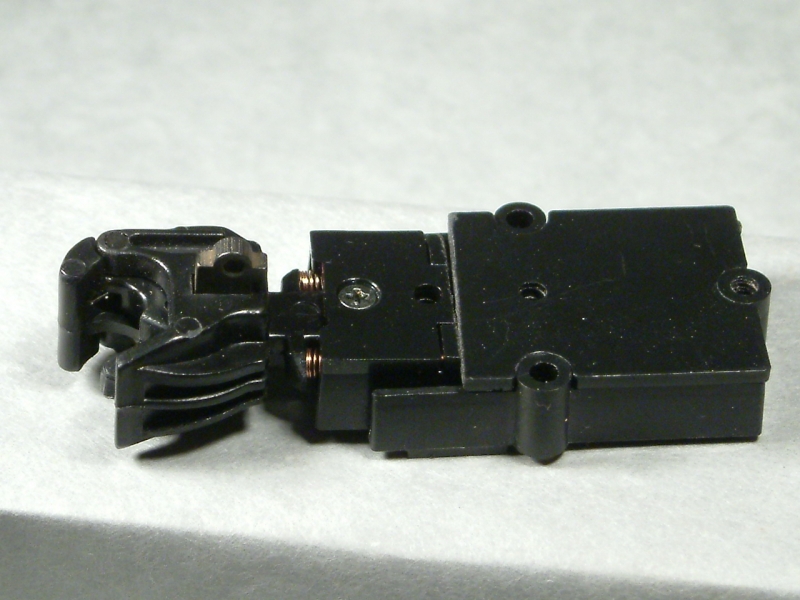
I’ve never been happy with the new Bachman Fn3 metal couplers. They look good but don’t operate very well. They take quite a hefty bang to get the pin to drop, and when uncoupling they don’t want to come apart. In short, they just aren’t suitable for use on an operating railroad. I’ve always liked the look of the Accucraft couplers, so when John Bouck siad he had a bunch available for trade, we started talking. The couplers John has are removed from Accucraft rolling stock, so they don’t have any draft gear - just the coupler head with a short shank. After a bit of discussion, John said that he also had some spare Kadee draft gear boxes. Recently he sent me a sample of what he had available for barter…

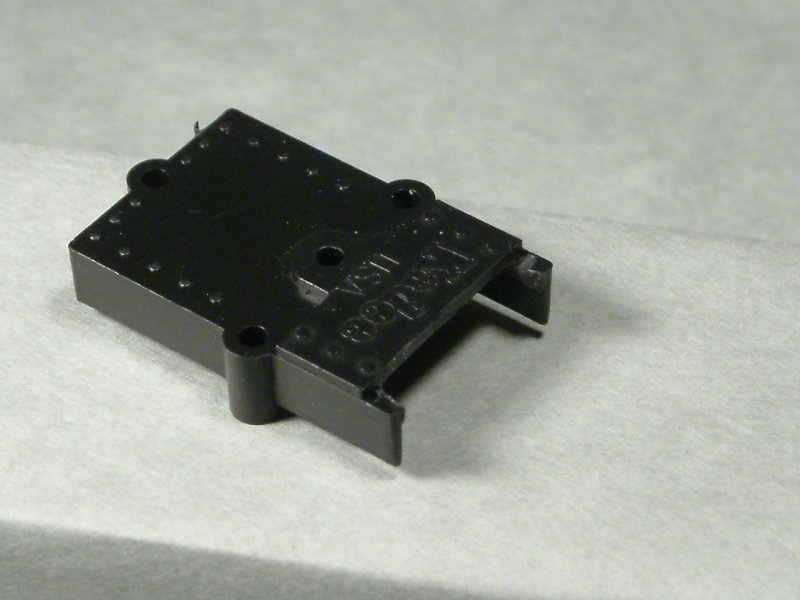
The box with the shank in this photo is a Kadee 831. John also sent some of the larger Kadee 830 boxes along with a few Bachman Fn3 couplers for me to check out. After looking at the combination of items John had sent, and what I had to convert, I decided that the Bachman Fn3 stock was ripe for the upgrade. Unfortunately, none of the combinations that John sent (except for the Bachman couplers) were a direct retro-fit to the Bachman Fn3 cars. Then I remembered what John himself said when discussing couplers in a post a few weeks ago…
John Bouck said:
Drill new holes and make a shim. Do what it takes to make the model to your specifications.
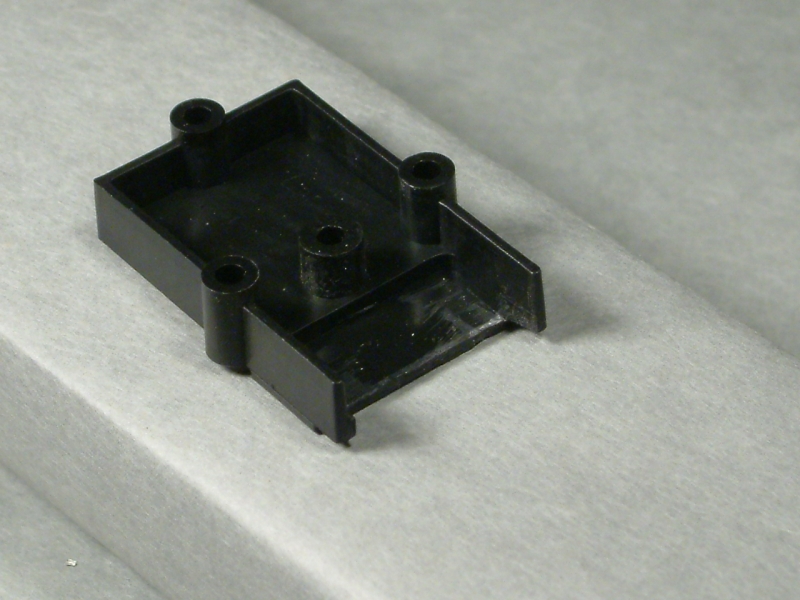
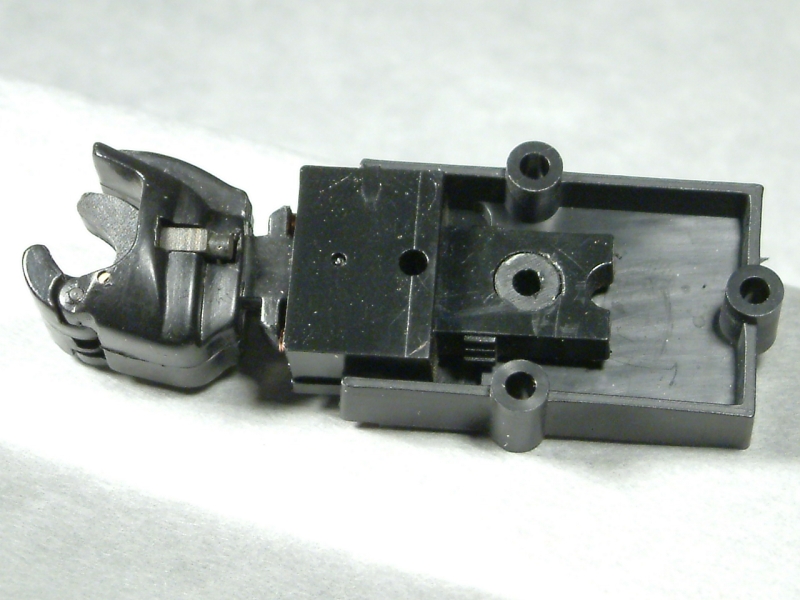
Well, it took just a bit more than that, but using only the parts John sent, I was able to come up with a solution to mount for the Accucraft couplers to the Bachman cars. When I looked at the stock coupler mount on the Bachman cars, their “gear box” is almost identical to the Kadeee 830. The screw holes line up exactly. So, the task at hand was to get the Accucraft coupler to fit into the Kaydee 830 box. Since the shank on the Accucraft was to short to reach into the post in the 830, I considered using both the 830 and 831 together. First, I enlarged the hole in the Kaydee 831 mount to 1/4" to match the post in the 830 mount… [url=lsc.cvsry.com/AccCoupler01-1280.JPG]
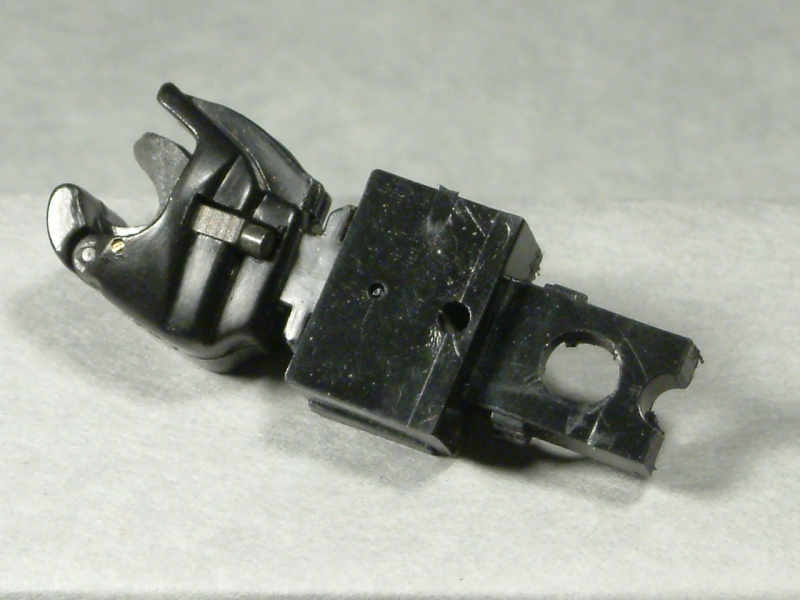
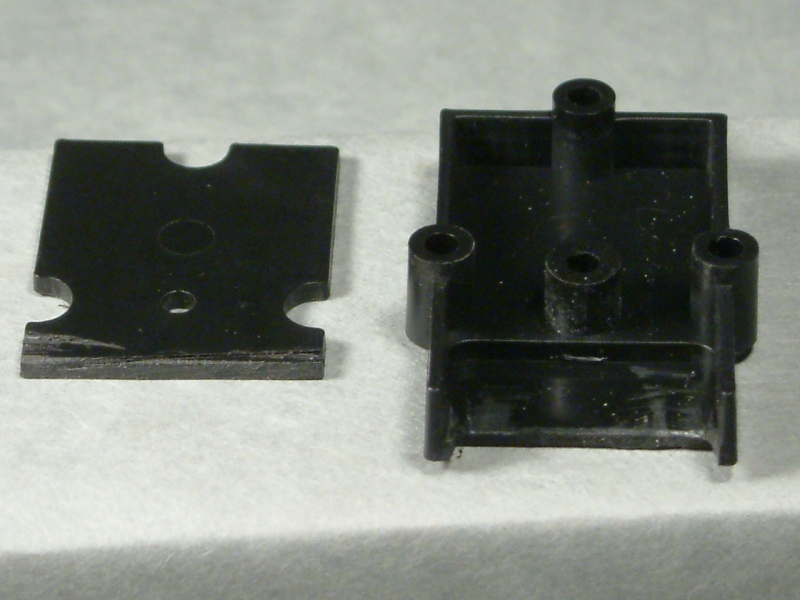
[/url][color=blue]FF: Click to Enlarge - IE: Right Click Photo and select Open Link in New Window to Enlarge[/color] When I test fit the 831 inside the 830, it was too thick. The gear box cover was not going to close. So I milled off some of the shank using my Dremel and a sharp knife… [url=lsc.cvsry.com/AccCoupler02-1280.JPG]
[/url][color=blue]FF: Click to Enlarge - IE: Right Click Photo and select Open Link in New Window to Enlarge[/color] [url=lsc.cvsry.com/AccCoupler03-1280.JPG]
[/url][color=blue]FF: Click to Enlarge - IE: Right Click Photo and select Open Link in New Window to Enlarge[/color] [url=lsc.cvsry.com/AccCoupler04-1280.JPG]
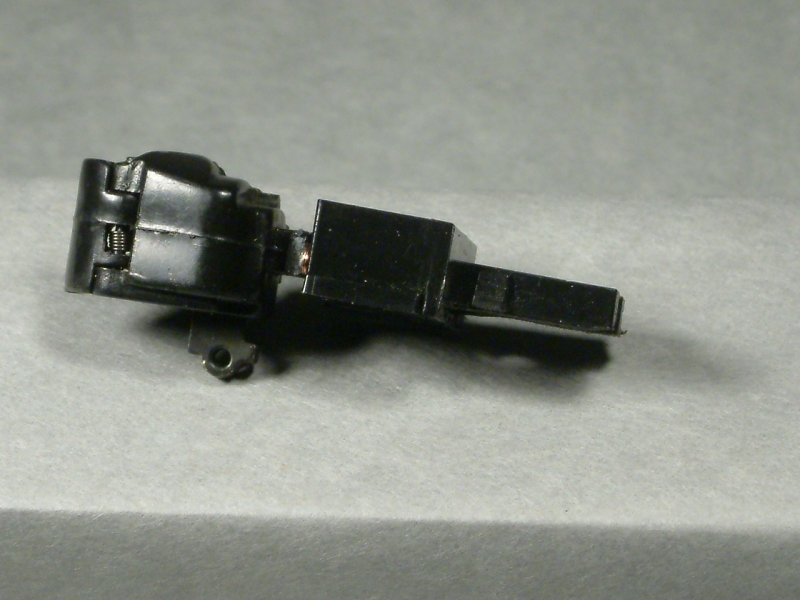
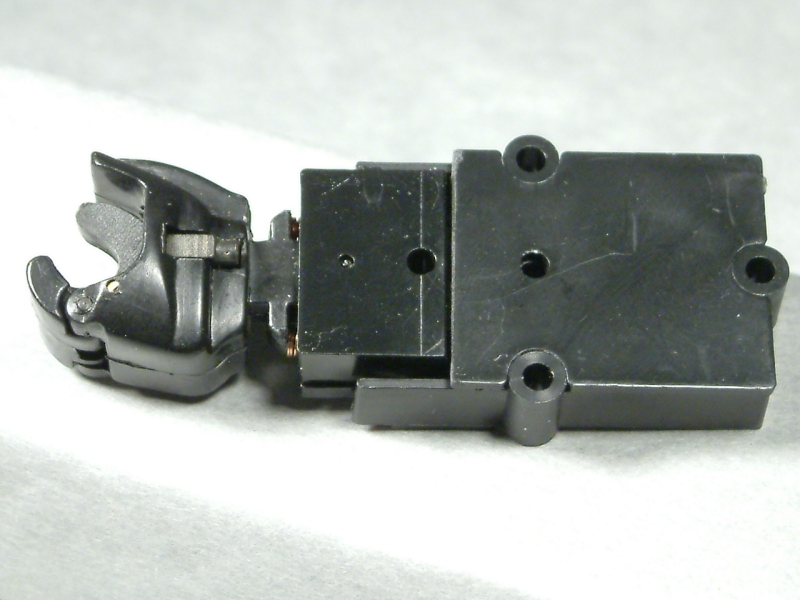
[/url][color=blue]FF: Click to Enlarge - IE: Right Click Photo and select Open Link in New Window to Enlarge[/color] Now the shank will sit down on the post properly at the shank end, but not at the coupler end. So the 830 needed a little trim as well. A little of the end please… [url=lsc.cvsry.com/AccCoupler05-1280.JPG]
[/url][color=blue]FF: Click to Enlarge - IE: Right Click Photo and select Open Link in New Window to Enlarge[/color] [url=lsc.cvsry.com/AccCoupler06-1280.JPG]
[/url][color=blue]FF: Click to Enlarge - IE: Right Click Photo and select Open Link in New Window to Enlarge[/color] Then some off the top… [url=lsc.cvsry.com/AccCoupler07-1280.JPG]
[/url][color=blue]FF: Click to Enlarge - IE: Right Click Photo and select Open Link in New Window to Enlarge[/color] Before and After… [url=lsc.cvsry.com/AccCoupler08-1280.JPG]
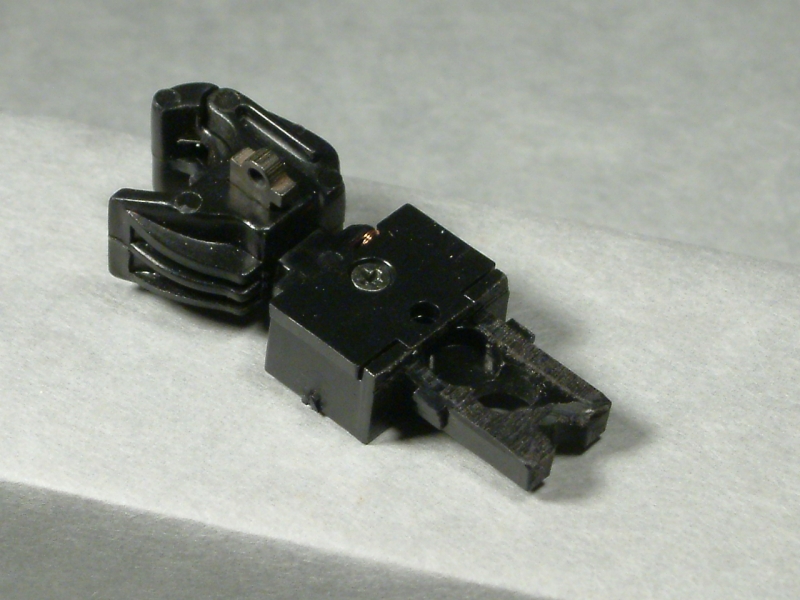
[/url][color=blue]FF: Click to Enlarge - IE: Right Click Photo and select Open Link in New Window to Enlarge[/color] Now the 831 will fit inside the 830 box. At this point of the assembly I didn’t realize that I had the coupler upside down. My fix was to just flip the 831 over, but you will see in the later photos that flipping the 831 screws up the alignment. A better fix would be to flip the coupler in the 831. [url=lsc.cvsry.com/AccCoupler09-1280.JPG]
[/url][color=blue]FF: Click to Enlarge - IE: Right Click Photo and select Open Link in New Window to Enlarge[/color] [url=lsc.cvsry.com/AccCoupler10-1280.JPG]
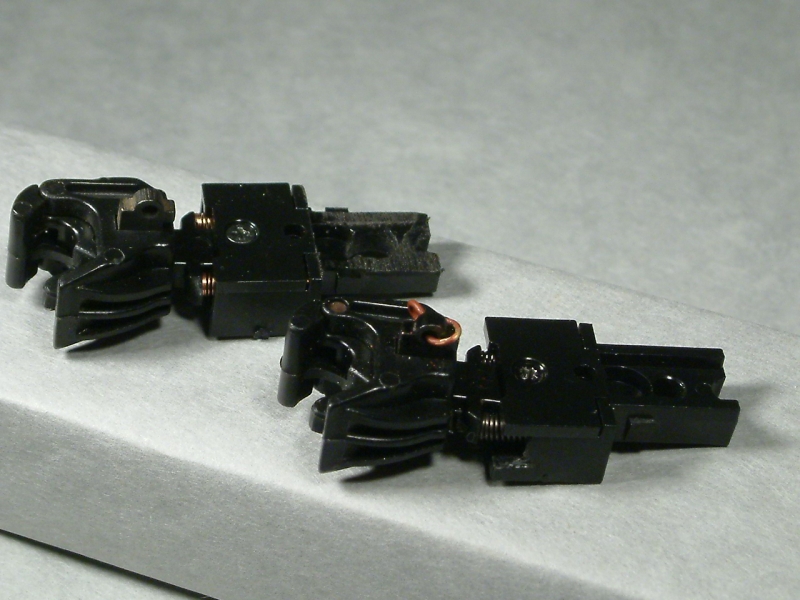
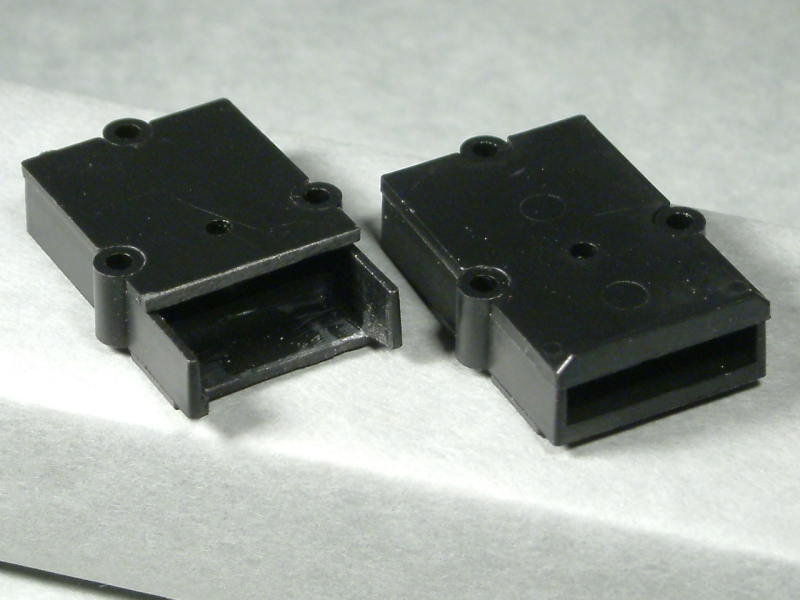
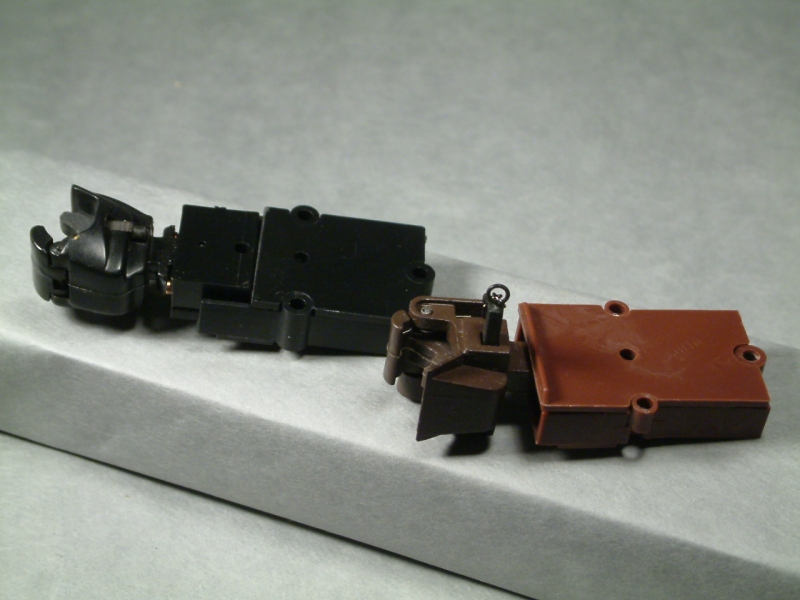
[/url][color=blue]FF: Click to Enlarge - IE: Right Click Photo and select Open Link in New Window to Enlarge[/color] Side-by-side with the Bachman Fn3 coupler & gear box. [url=lsc.cvsry.com/AccCoupler11-1280.JPG]
[/url][color=blue]FF: Click to Enlarge - IE: Right Click Photo and select Open Link in New Window to Enlarge[/color] With the 831 flipped over. Note that the 831 no longer is square with the 830 box. [url=lsc.cvsry.com/AccCoupler12-1280.JPG]
[/url][color=blue]FF: Click to Enlarge - IE: Right Click Photo and select Open Link in New Window to Enlarge[/color] [url=lsc.cvsry.com/AccCoupler13-1280.JPG]
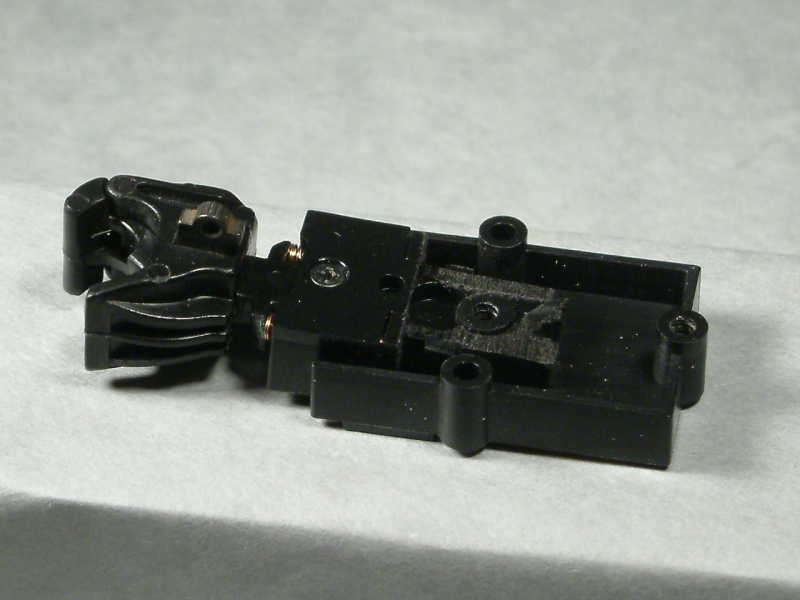
[/url][color=blue]FF: Click to Enlarge - IE: Right Click Photo and select Open Link in New Window to Enlarge[/color] Finally, here is the new combined Accucraft coupler + Kadee 830 + Kadee 831 mounted back on the Bachman Fn3 flat… [url=lsc.cvsry.com/AccCoupler14-1280.JPG]
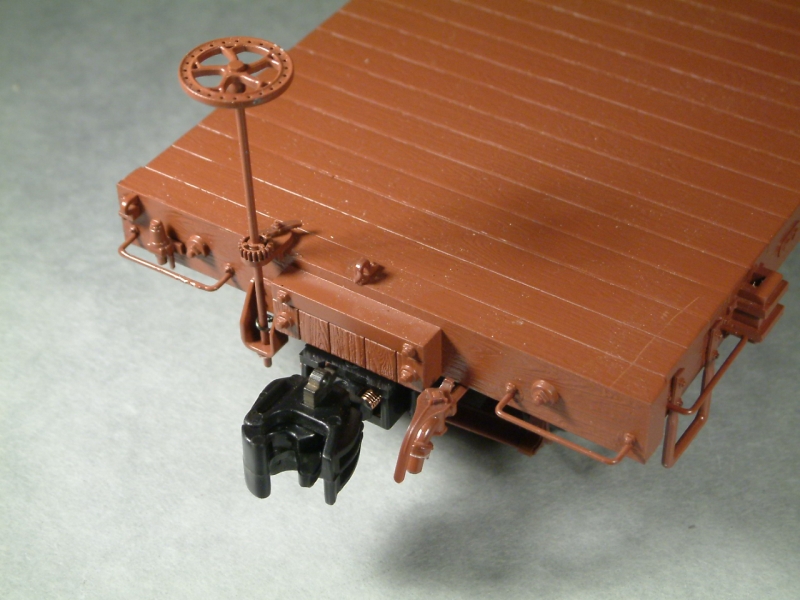
[/url][color=blue]FF: Click to Enlarge - IE: Right Click Photo and select Open Link in New Window to Enlarge[/color] [url=lsc.cvsry.com/AccCoupler15-1280.JPG]
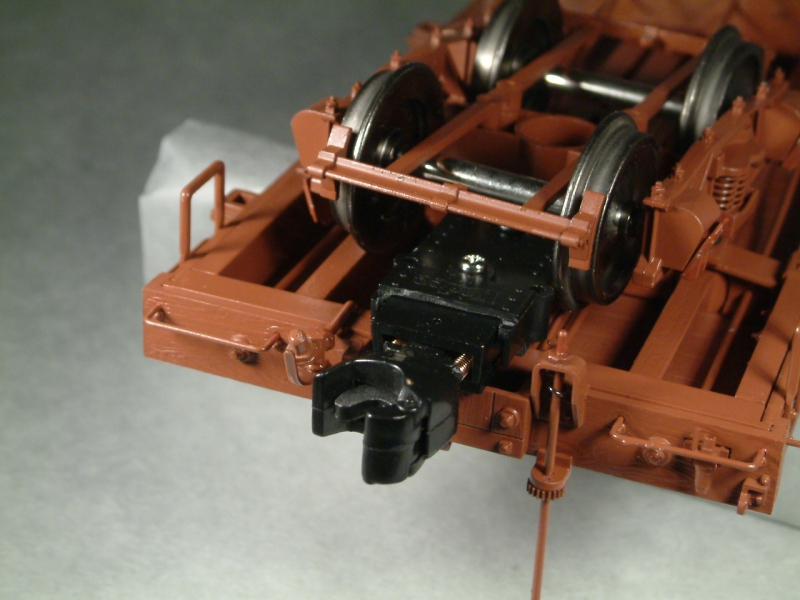
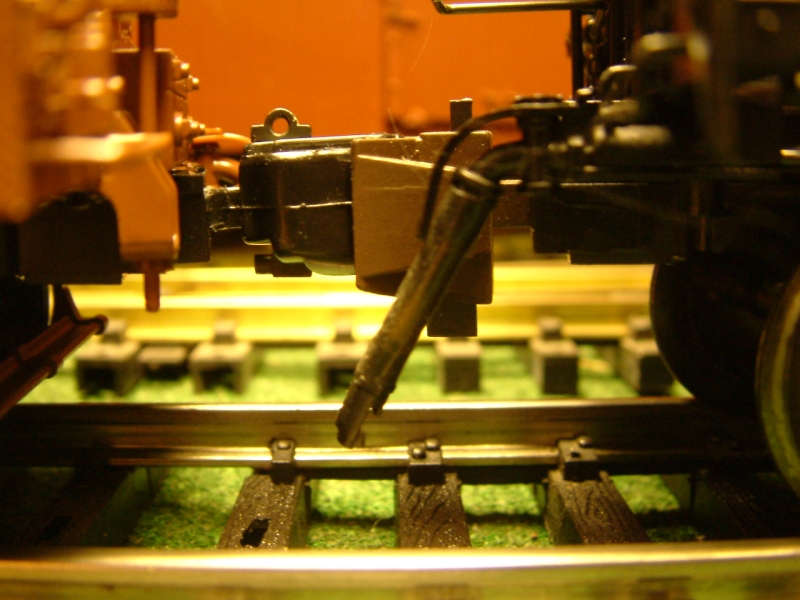
[/url][color=blue]FF: Click to Enlarge - IE: Right Click Photo and select Open Link in New Window to Enlarge[/color] Back over on the track, under fluorescent lights the colors are a bit screwed up, but you can see that without any shims, the modified Accucraft coplers line up with and couple to the Bachman Fn3 couplers… [url=lsc.cvsry.com/AccCoupler16-1280.JPG]
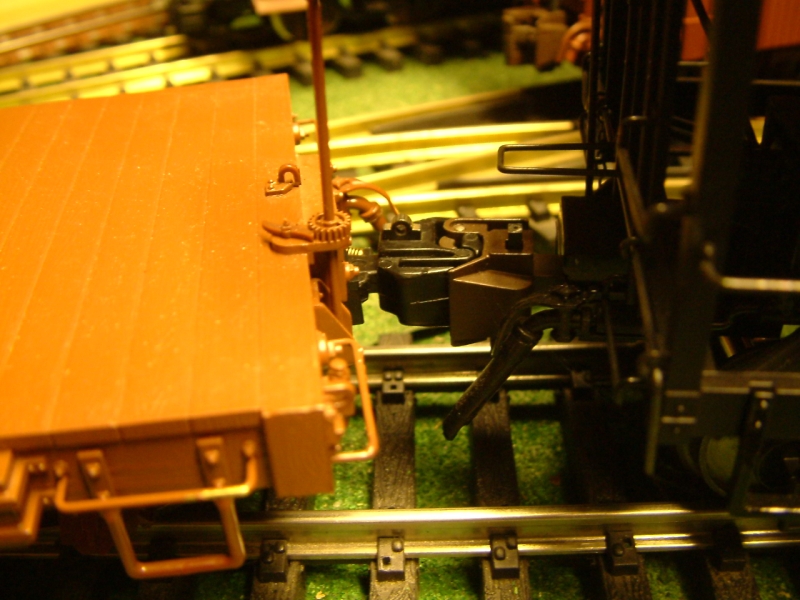
[/url][color=blue]FF: Click to Enlarge - IE: Right Click Photo and select Open Link in New Window to Enlarge[/color] [url=lsc.cvsry.com/AccCoupler17-1280.JPG]
[/url][color=blue]FF: Click to Enlarge - IE: Right Click Photo and select Open Link in New Window to Enlarge[/color] This looks like a lot of parts and fooling around. Parts wise, since I’m paying with barter, that’s not a problem for me. If buying couplers you might want to buy a different style draft gear box rather than go through all this. On the plus side, this modified coupler mount uses the exact same screws and screw holes as the factory coupler, so it’s very easy to go back to stock. As far as labor goes, it took longer to take the pictures, upload them and type up this post than it did to install the coupler 
