Large Scale Central

Building Modern Passenger cars

Here is another project that I have been thinking about for years. Buying modern passenger cars is not a cheap proposition as you guys know and finding the smooth side ones that Aristo produced few of made it even harder. SO why not make my own right?

My first attempt was to build a form that I was going to place a piece of plexi glass on and place it in my gas grill and melt it over the form. On the first 2 the edges got crispy, not good but the roof was actually taking the nice curve of the form. I then figured that the heat was not consistant in the gas grill so I cut down the form so it would fit in our brand new convection oven and when my wife wasn’t home I gave it a shot. The results were better but still not what I wanted. The project was then put on the shelf in my mind.

A few months back I came across a guy that was selling 10 Bachmann logging caboose roof pieces so I bought them. Three roof pieces put together gave me a car that is 28" long which was perfect for my needs.

As you can see in the photo the cars which I made 3 of have wood ends, plexi glass sides and the caboose roofs. This is all one piece that can be removed from the wood frames with 4 screws.

My plan for painting is to figure out a window configuration on each car then using address labels for masking put those on and spray paint. I did a test on a piece of scrap and it looked really good.

Eventually I may add interiors but for now the 10 foot rule is good enough for me. Pieces will be added under the frames to represent AC units etc…

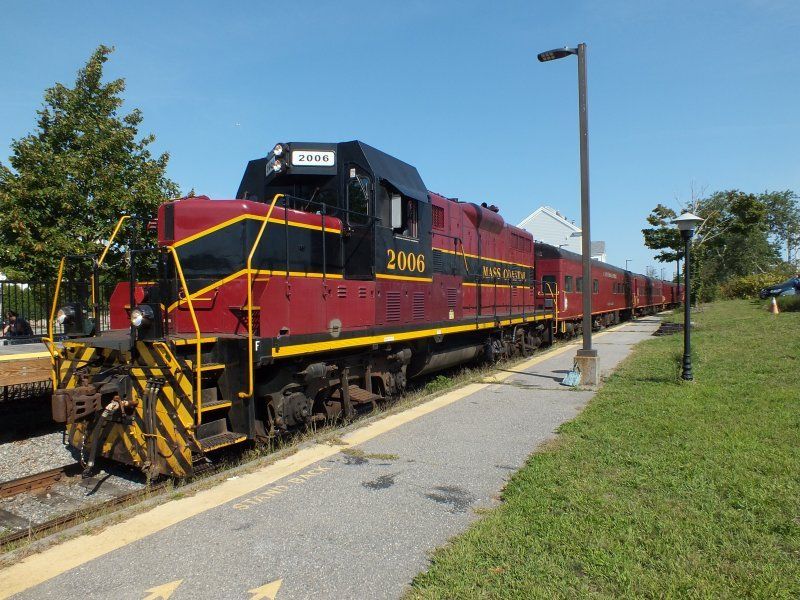
The plan is black roofs and frames, red sides with yellow pin striping like the engine.

That should look pretty sharp.

Nice photo Ken. That is the inspiration for these cars.

They are pretty simple in design compared to heavy weights with celestories or others with corrugated sides.

Here is a stock photo from the internet that gives an idea of the look I’m going for.

Cool. keep us posted. I have need for a few cars, and I have yet to see the type I am looking for in my scale.

Are you going to serve lunch on yours?..(http://www.largescalecentral.com/externals/tinymce/plugins/emoticons/img/smiley-wink.gif)

Nice start Todd.

Nice to see more modern builds !

Thanks!

Well if you can’t buy it yah gotta build it.

The address labels went on to one car tonight, it is going to be a coach, if tomorrow is decent it will get its first spray of colonial red.

I’m contemplating doing a wet/dry sand paper roof.

Cool. I like the plan! The sandpaper roof should look good. Go with a 1200 or higher grit an it will give you a dead flat but almost smooth surface. Spray adhesive should work to attach it.

Update: This weekend I took one car and made it a coach. I used a T square clamped to the body and put the address labels on one by one with a 1/4 inch spacing. I was able to fit 8 per side plus by cutting one to make a 1x1 square I made a small window where a door would be. I will probably use a thin sharpie to suggest the door frame.

I then sprayed a primer then the colour then a clear matte coat. It was then time for the unveiling. I expected a bit of bled through but there was none! I’m pretty happy with the way this came out and so far so good.

I tried a piece of 600 grit sand paper on the roof but I’m not sold on that. I might have to have a look at the 1200 that Daktah John recommended. it would be much easier to just paint the roof black.

Though not super detailed I think with some pinstripes and lettering these cars will be very serviceable. Now I need to figure out the window configurations on the other 2 cars to suggest different use.

Those a re pretty slick! Well done! As a suggestion, draw the rubber around the windows before taking off the labels. the labels will serve as a guide while protecting the clear glass!

Todd

The windows turned out good from what you have shown!

600 is way to coarse and John is close with his suggestion. Honestly if I was modeling those cars and wanted to use sandpaper for the roof I “personally” would look at 1500/2000. However I am no expert but there are a few on this forum that have done the sandpaper roofs and perhaps they could chime in with your build.

Nice work Todd, looks like you even sealed off the underside from spray, some forget.(http://www.largescalecentral.com/externals/tinymce/plugins/emoticons/img/smiley-cool.gif)

The second car is now painted red and drying. The matte clear will go on tomorrow. The window configuration is a bit different with 3 windows then a gap where 2 would be then 3 more. .The prototype has 4 then gap then 4. I wonder what is behind the gap? a kitchen?

Here is a photo from internet images of the car. I think I see a small vent on the side.

I’m still considering the sand paper roof. I found a piece of 1000 in my collection but will go finer if the local shops sell it. The question is what do I use to attach it? If spray adhesive is the way to go what is the recommended brand. Once this is down I don’t want it popping up.

If not wet dry sandpaper or paint then what might make for a good black roof?

Don’t know the cars one that RR but yes it sure looks like a dining car to me so possibly some type of kitchen. Napa and most auto parts sell the higher grit sandpaper and I personally would use Krylon spray adhesive. I have used that spray adhesive on many of my projects with no issues.

Todd Haskins said:

If not wet dry sandpaper or paint then what might make for a good black roof?

You could paint it with graphite black acrylic paint, heavily applied with a brush. It has worked for me. (http://largescalecentral.com/externals/tinymce/plugins/emoticons/img/smiley-wink.gif)

They do make a spray paint (Krylon, I think), that has a sand texture to it. I’m not sure what colors is comes in. Might be worth checking in to.

-Kevin.

Of course if you use spray paint from a little too far away from the model, it comes out with a nice rough texture.

Today I bought some sandpaper sheets. I looked at the 1500 and decided it was too fine for my liking so I went with a 600. I used a 3M spray adhesive and got it on 2 cars. After it dried I didn’t like the greyish tone so I painted it a satin black.

The 2 cars are now all together and they also have a yellow pin striping attached like as seen in the last photo that I posted. Some of the older proto cars have another stripe below the windows but I’m back and forth over adding that.

I will try and get a photo tomorrow.

Pics or it didn’t happen was what I have been taught by the elders on LSC