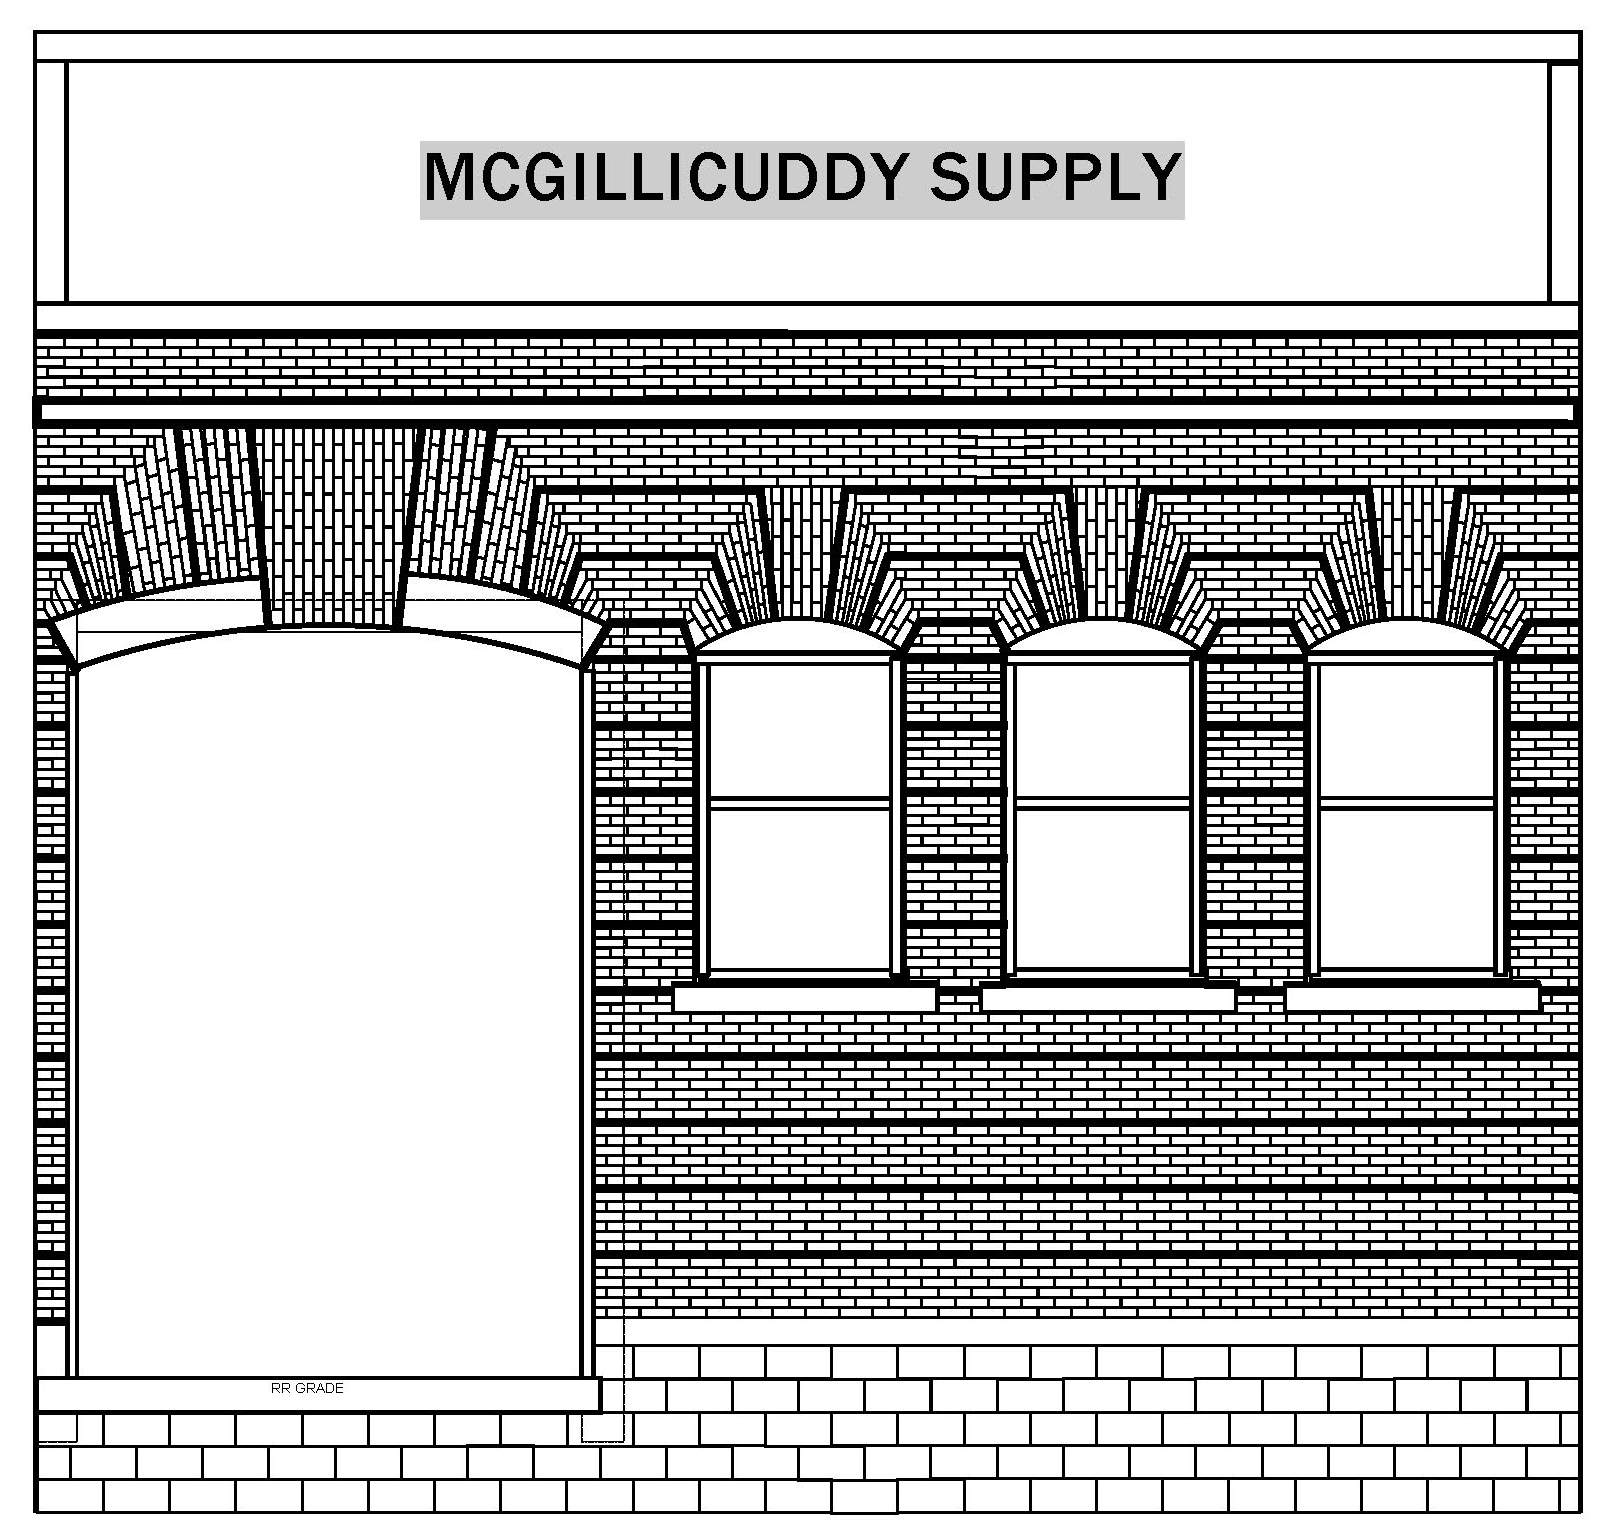
So the MIK challenge this year along with the design I made for the church have really inspired me to make, for the lack of a better term, building kits. 3D design details that can be printed and then assembled into styrene or Sintra sheet materiel to make quick buildings that are nicely detailed. The beauty of 3D tech modeling is the quick ability to print details especially repeatable details. While the printer is doing its work oy can be doing other things. Once the parts are done then assembly of a building goes rather quick. As such I have been having fun with some buildings because I would love to model the a scene much like the pictures of turn of the century Burke, ID with wall to wall buildings on either side of the tracks. At any rate here are the 2nd, 3rd, and 4th designs that I hope to build by summer so I can start my street scene.

The bank is ready to go to print. It will be just a front facade on a generic blank building as I fully intend to have it sandwiched between two buildings. So no side or back detail.

here are the details that will be printed.


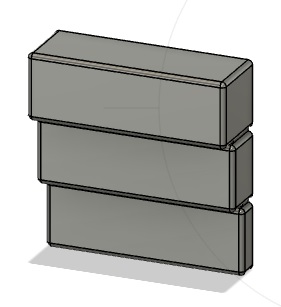
I didn’t get a picture of it but the brick columns are also a printable piece.
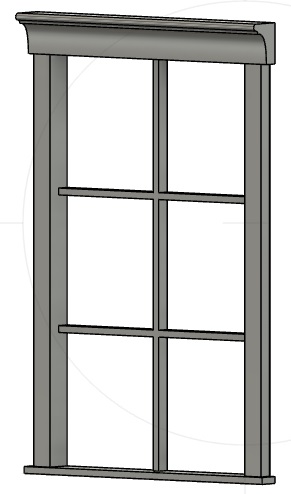
The church is ready for print as well. Here are its detail parts


and if all goes well the front windows will be stained glass


want to print the design onto laser overhead projector film and attach it to the window without the internal frame things.
so are you offering them up for sale? Because I am terrible at cutting and building windows.
I’m curios how the brick will end up looking on the bank once printed.
I have been stalled on a Mik project from several years ago because I don’t want to carve the brick and the detail I want is too custom for brick sheets.
Jon,
Take a look at Dan’s build, he printed brick and it looks fine. making sheets with a resin printer is problematic. They tend to warp. Thickness is your friend. So making a big patterned sheet probably wouldn’t be advisable over buying styrene sheet. But thicker and over all smaller brick details print fine.
Pete,
If at ever anyone sees anything detail part that I have printed they would be for sale. Another option would be to buy 1 and cast them in resin. But then again that is a pain also.
Jon,
Here are a couple photos from my challenge build from last year. This is just a brick wainscot. This year I used this same technique for the brick underpinning for the school.


Some from this year:


That last photo is just one section of about 20 that still need to be put together to make the underpinning
Thank you Dan. It’s a very complicated pattern in spots. I’ve talked with folks about lasering it on foam. Either process/media requires that I get back into the CAD file and fix lots of errors.
2019 Mik - Never got out of the gate.
Dan,
What’s the spacing between bricks? And how are you going to join sections?
Craig, let me get back with you on the spacing & dimensions. I’m in the middle of upgrading my PC (one reason my build is not complete) and I don’t remember off the top of my head.
I join the pieces using a 3D pen and essentially weld them together using the same material they are printed with. So far that method has proved as indestructible as the print it self.
One thing to note is Dan is printing them with an FDM printer. I don’t have any experience with filament. I do know it’s more robust and may print larger sheets much better. I defer to Dan on that. Even the small flat signs I printed for Pete warped. So I’d say big sheets in resin would not be good.
Dan what is this voo Doo you speak of. I have never heard of such a thing. Are you saying you take resin printed pieces and use resin as a glue to join them and some sort of UV wand to cure it solid?
Or is this for filament and is welding it with filament melted into the joints.
I have often wondered about using a UV light source like a dentist uses for making temp crowns to cure liquid resin
Look up 3D pens. They use the same filament that FDM printers use so you are literally welding 2 pieces of PLA or PETG or ABS, etc together using the pen. Works very well. Like welding on steel, if done correctly, the part will break before the weld. I now fillet the ends that are to be welded together to give me some room to build up the weld, again, just like welding metal.
I don’t see why you couldn’t do something similar with resin and a UV light. It would take multiple layers to build up enough strength. That might be the only issue.
The Bondic is just that. Developed by a dentist about 10 years ago. Some folks swear by it and use it to repair all kinds of things. I’ve had mixed results when using to join resin prints but could be due to the custom mixes I use.
I didn’t even know anything about 3D pens - but it is a NEAT idea. Thanks.
I havent used a 3d pen, but I have “soldered” 3d parts together using a soldering iron and filament. Sort of like TIG welding.
My son has been using them for years to “glue” 3D printed parts together. Last Christmas I bought my two granddaughters each one from Amazon for under $50. They loved them.
There is a slight learning curve to get to the point you can produce a nice bead, but it works very, very well. And you can use exactly the same filament the part was printed with. Also another use for the numerous roles with only a few feet of filament left on them.
These partial rings are dual purpose on my “Whale-belly” shell. They help to align the 2 halves and then by putting a soldering iron inside and pushing down I fuse them together.

Craig, sorry it took me forever to get back with you on the brick dimensions. They are 3.5mm H x 10.75mm L x 5mm D. The mortar joint is 1mm W x 1.25mm D. Let me know if you have any questions.