Brian,
Thanks for the quick answer. I guess it is just the massive size that makes it look thinner?
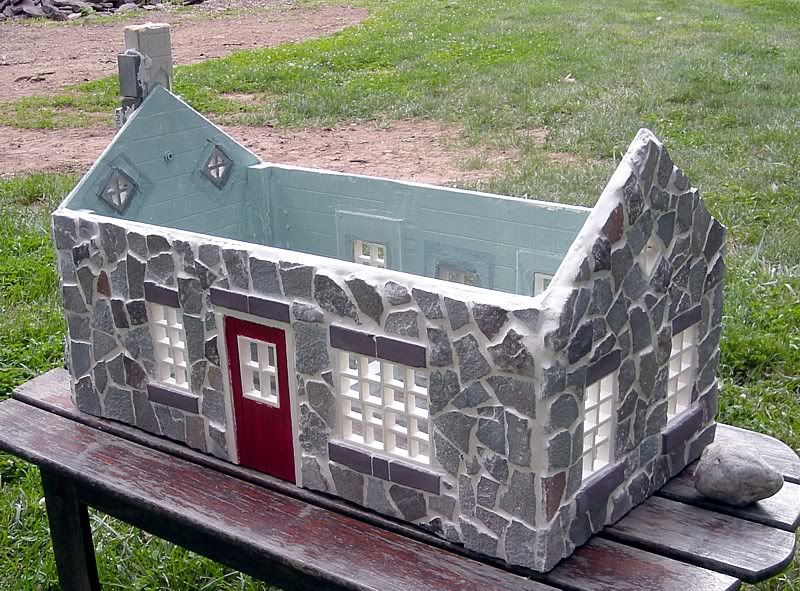
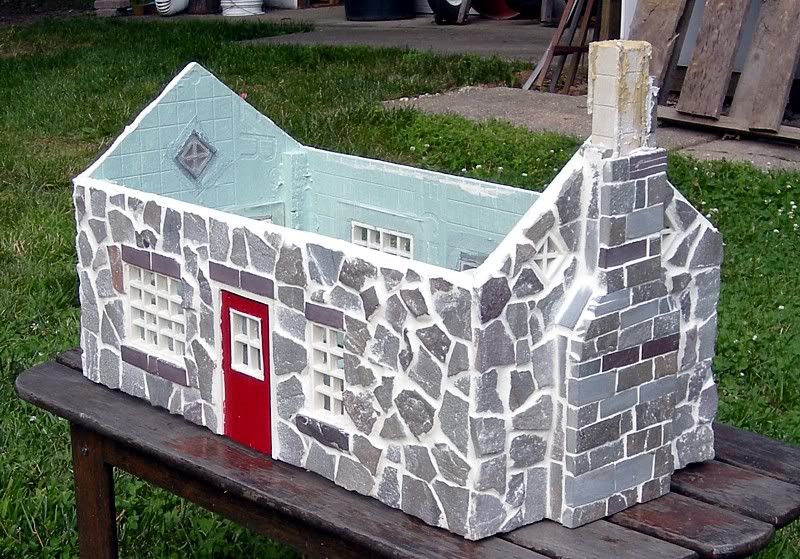
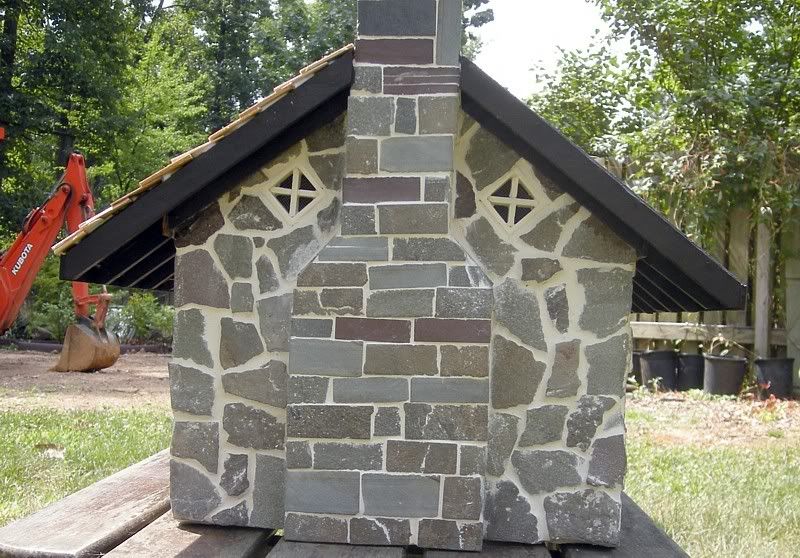
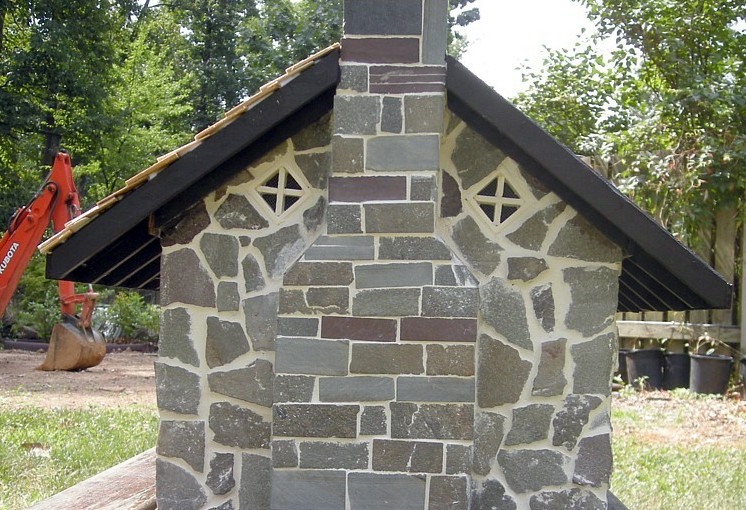
Zipping along with stone sealing, grouting and door painting. I could not find a light gray sandless grout so I went with one called ‘Alabaster’- off white with a little tan/gray. It really makes the stone pop.
(http://i113.photobucket.com/albums/n214/altterrain/7-8n2%20projects/stone-station/stonstatcon8.jpg)
(http://i113.photobucket.com/albums/n214/altterrain/7-8n2%20projects/stone-station/stonstatcon9.jpg)
-Brian
Nice clean joinery on the stone work Brian!
I personally like the depth of the windows along with the stone sills and cornices. A nicely all around balanced structure IMO!

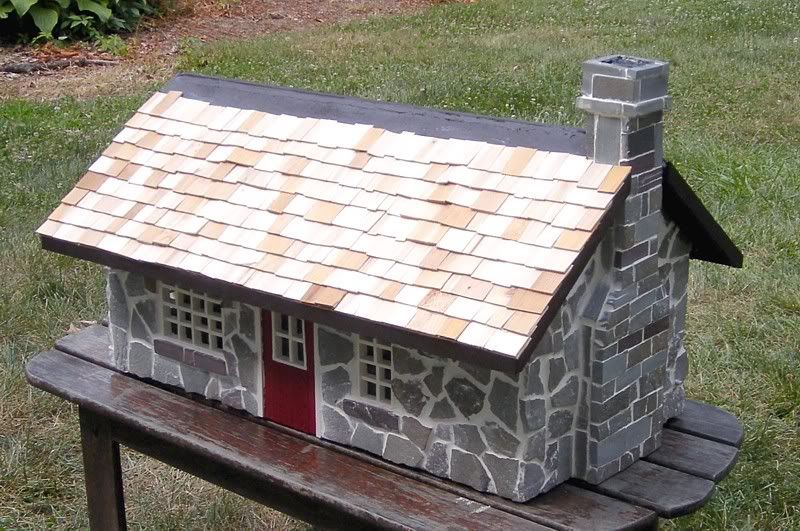
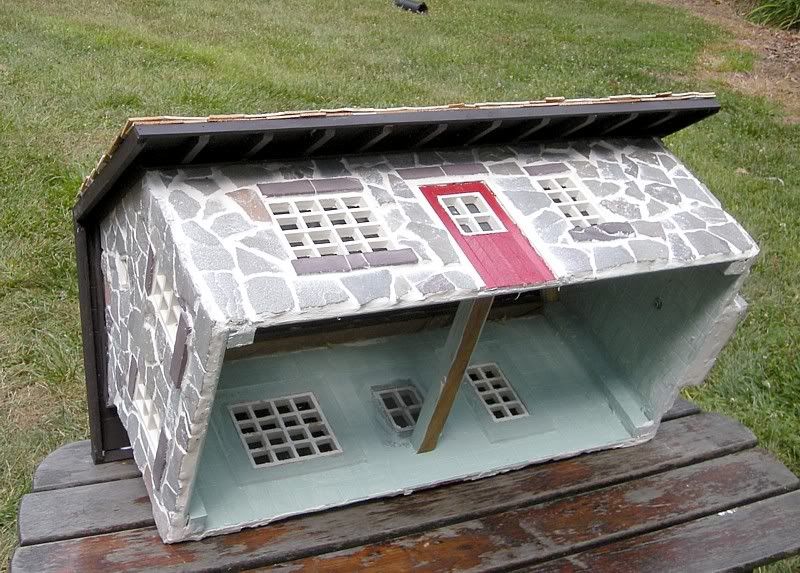
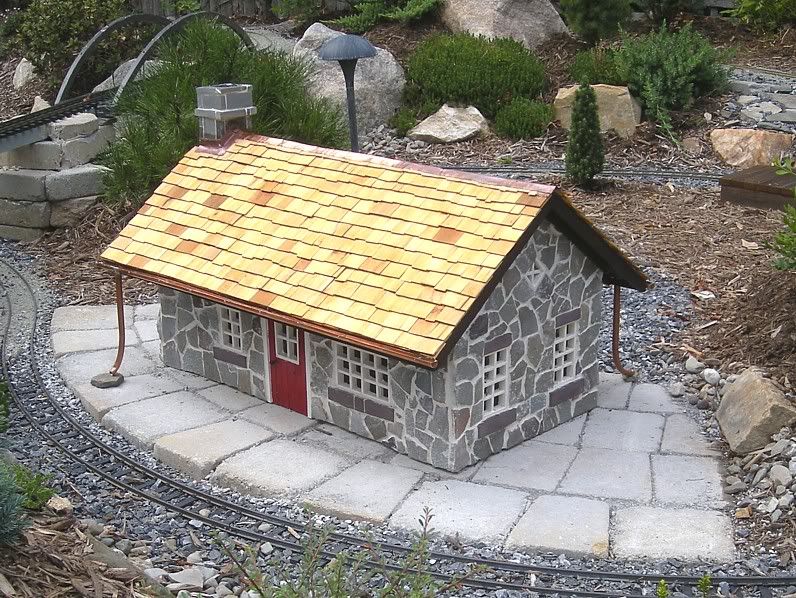
Major progress made with a hardibacker roof, finished up the chimney, added trim and rafter boards and got a good start on the shingles -
(http://i113.photobucket.com/albums/n214/altterrain/7-8n2%20projects/stone-station/stonstatcon10.jpg)
(http://i113.photobucket.com/albums/n214/altterrain/7-8n2%20projects/stone-station/stonstatcon11.jpg)
(http://i113.photobucket.com/albums/n214/altterrain/7-8n2%20projects/stone-station/stonstatcon12.jpg)
-Brian
That looks great brian. It could pass for a real structure once it is in place.
Thanks for the closeups of the shingles. I am re-doing the roof on my Aristo barn, using cedar shakes. Fussy work.
Crop that photo a little different and nobody’d realize it’s a model!
Brian, it’s looking wonderful… looks real, like tom said…
The picture is cryptic
I see a hoe and a house?
Is the structure going to have a red light on the porch?
:lol:
Nice work as always(which we expect from you!)
Nice choice of materials Brian. Is that tar(roof cement) you used for the joint of the two halves?
Dave
David Russell said:Maybe its the Amityville Horror flair I gave to the end windows. Anybody see Jodi?
The picture is cryptic ;)
Thanks guys. Need to get it done in a few days for various reasons.
The roof halves were joined together with urethane construction adhesive (ie liquid nails) reinforced with strips of PT lumber ripped to match the angles. It was all spray painted with Rustoleum Camo Dark Earth.
-Brian
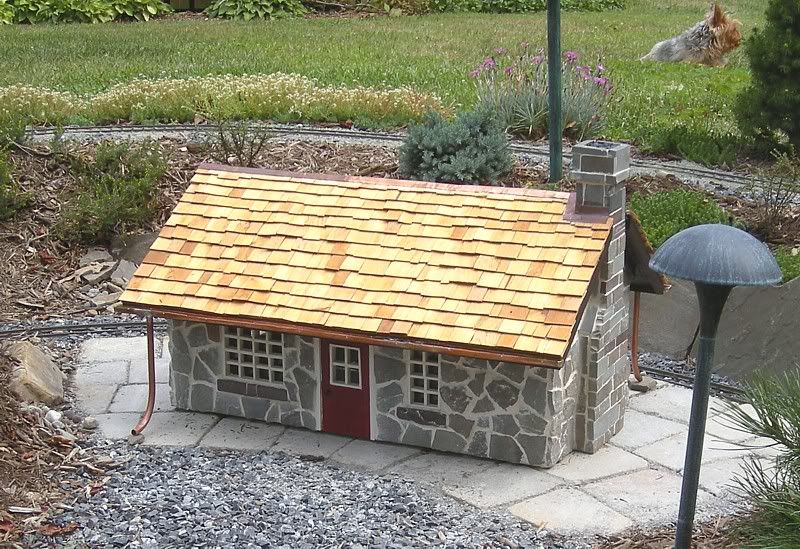
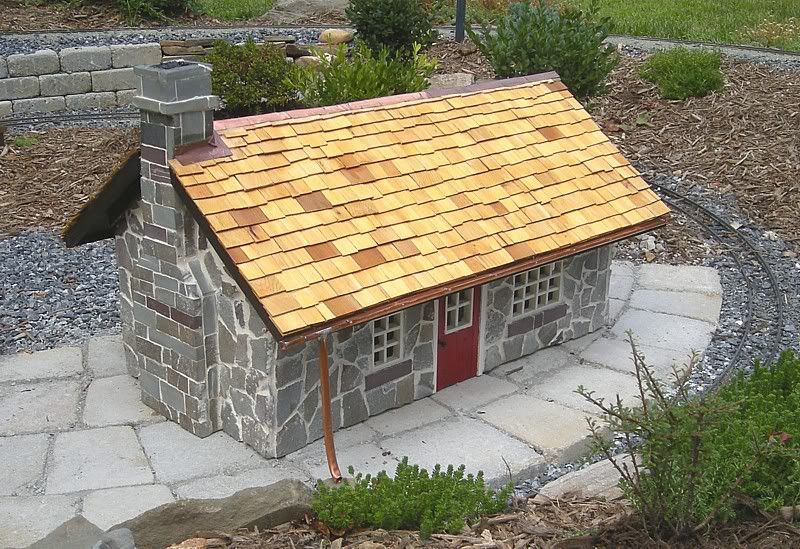
Got the station finished up and installed. Finished shingling and sealed them, sealed the grout, installed copper flashing, made some door knobs from nails and epoxy, made my copper gutters and hung them and installed a couple of malibu type lights from the center roof beam. Tomorrow I’ll get some trains out and take some pics in the sun.
(http://i113.photobucket.com/albums/n214/altterrain/7-8n2%20projects/stone-station/stonestation1.jpg)
(http://i113.photobucket.com/albums/n214/altterrain/7-8n2%20projects/stone-station/stonestation2.jpg)
(http://i113.photobucket.com/albums/n214/altterrain/7-8n2%20projects/stone-station/stonestation3.jpg)
-Brian
Neat!
I love the gutters. How did you cut the tubing? That sounds tedious…
The gutters are very cool!!!
Thanks Bruce. I wound up taking a 32 inch long section (I needed about 28) of half inch OD copper pipe and clamping it in a wood vise. I started with about an inch in and cut one side with a 4 inch metal cutting disc on the angle grinder and just went slow. It worked pretty well but was far from a perfect cut. It slipped and I gouged the pipe in one spot but was easy to do a soldering fix. I filed some of the rougher spots and crimped the whole length in a metal vise to give it more of a U shape. I used 1/4 inch ID tubing for the down spots.
-Brian
Well, it sure gives it a neat look. I thought about it for one of my buildings, but it seemed like a lot of work.
Now we need a picture of it when it’s raining. 
I like the use of copper for flashing as well. This should look really good in about 6 months - after it’s all weathered.
Very nice! That 7/8ths stuff is huge!
Very nice, Brian.
Bruce is right. The flashing looks great. Gutters too.
Ralph
I agree. The entire building is great, but the copper details are outstanding and really set it off. Nowyou just nead a year outdoors for patina to set in
Great work Brian.