This post is for the guys who are just getting started. It might just save somebody a lot of wasted shots. You don’t NEED a big fancy camera, either. These were all done with an old Olympus C-4000 that I got used for $40 Unless they’re shot from an overpass, we rarely see the upper parts of the train. Try shooting from as low as possible. And frame as tight as possible if there is junk you don’t want people to see. This is obviously a bunch of toys.
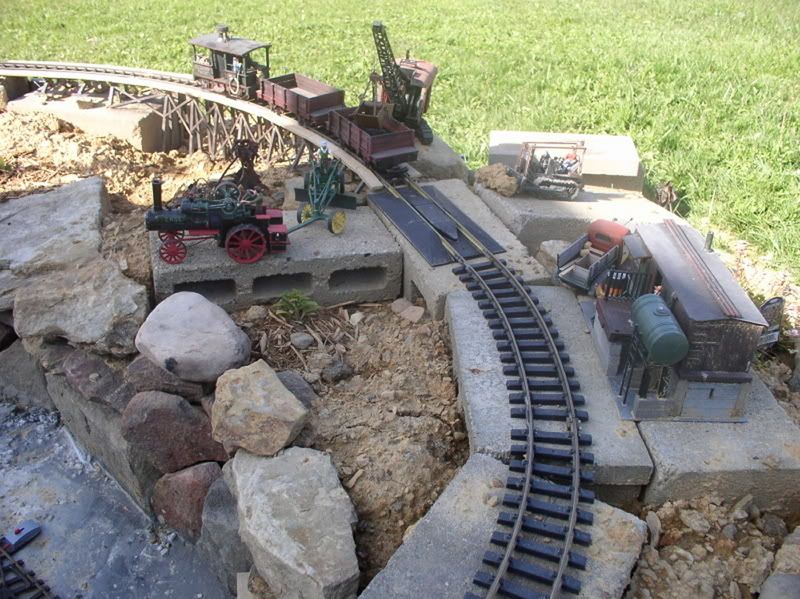
A really interesting shot totally ruined by background clutter.
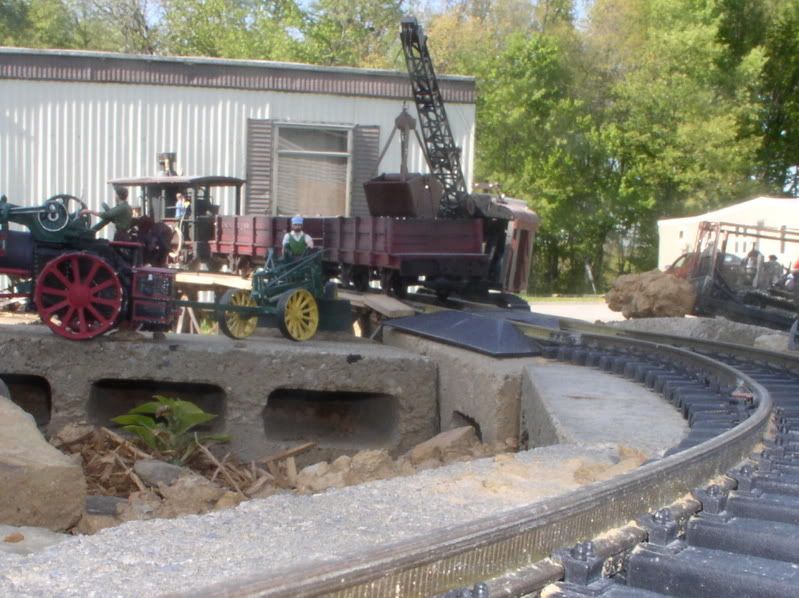
Trying to get rid of the clutter resulted in meh framing. And I was losing the light, so I’ll have to try something else some other time. A photographer friend gave me this tip on lighting. “Mornings are for pictures, afternoons for naps, and evenings for drinks”… use it or ignore it if you want. I’ve also had good luck on overcast days and at dusk too.
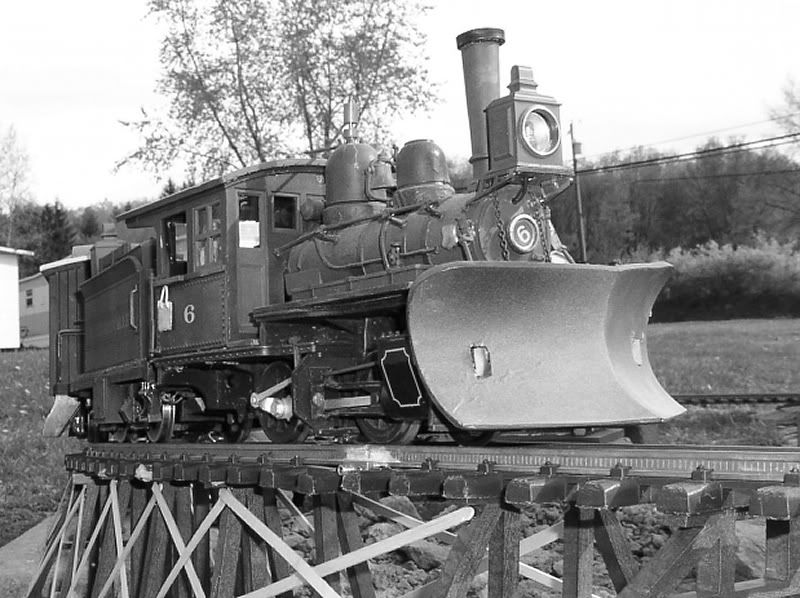
Shooting in B&W can add drama to a scene - and remove garish toy hues.
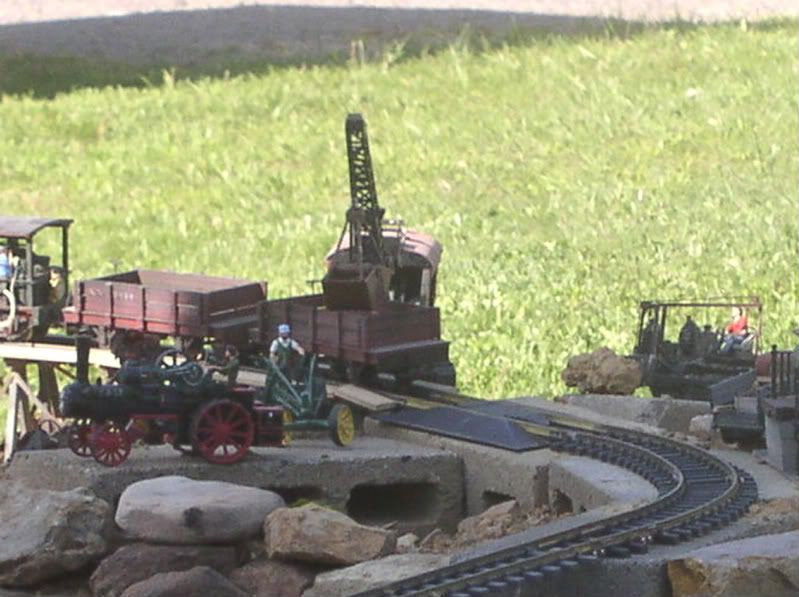
Softening, blurring, or fuzzing the edges is a time honored portrait effect, and can help hide that pesky stuff that you can’t get rid of. Some cameras can do this automatically, or you can make an inexpensive spot filter from cardstock and old nylons. This one was a happy accident, the batteries were getting low so it didn’t focus quite right.
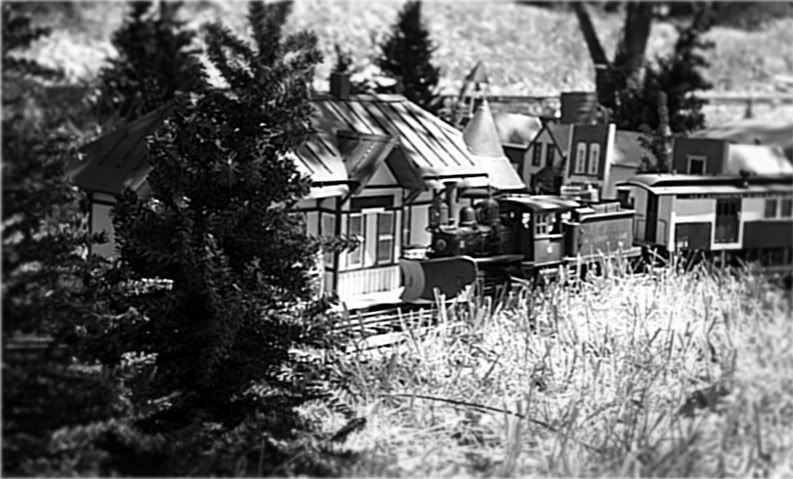
Digital cameras will save a lot of money over film, especially while you are practicing and learning. I usually take about 2-3 pics for every one I get that’s worth sharing, and maybe 10-15 for every one that comes out really good. Sometimes you try everything and it just doesn’t quite work, and then you’ll get a keeper by plain old dumb luck. I didn’t pose this one, a loose rail joiner cause it to stall right there. So I squatted down and clicked.
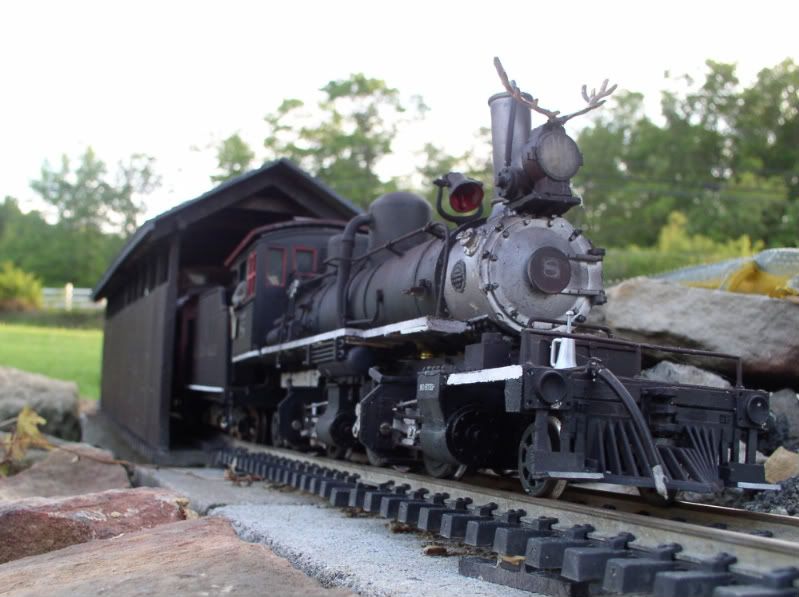
 Look what we’ve been missing
  Ralph
Ralph