Hi all,
Started this project back in lockdown, maybe mid April? Finally got the time to start posting some pics. Does that qualify for a ‘Beat the Boredom tag?
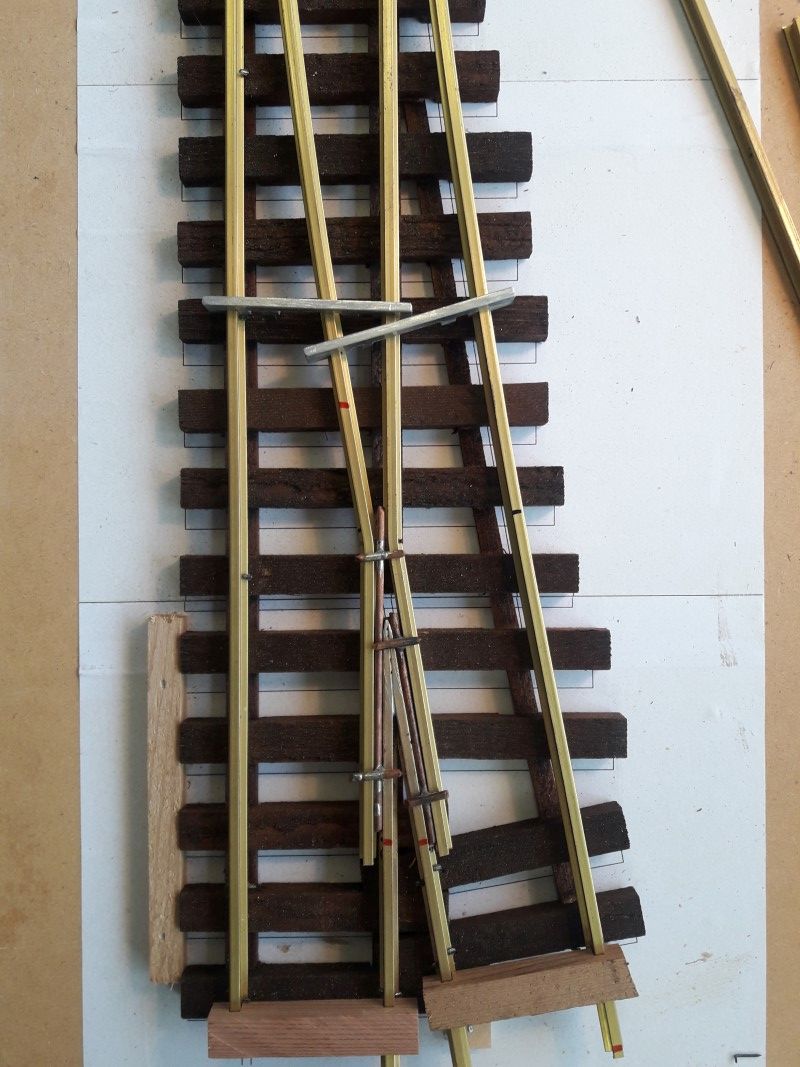
I’m loosely following how I made some turnouts 10+ yrs ago for my old layout. Main difference is using code 250 rather than 332, and adding a few ‘improvements’ suggested by folk who inherited version 1’s after I had to dismantle the layout in 2012.
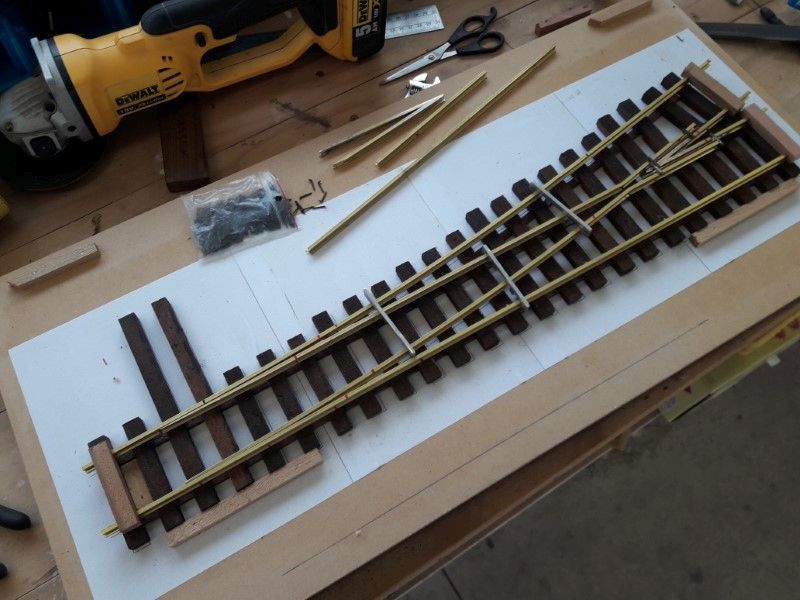
I’m planning to start the new layout this summer downunder time. I figured I’d try & use use #6’s for mainline, and #5’s for branch lines and yards. A ‘back of a fag packet’ napkin sketch of a trackplan showed I’m in for 20+ turnouts for the whole empire. So from day 1.5 this morphed into a production line thing so I can produce them on tap to the same specs. Well – that’s the plan anyway…
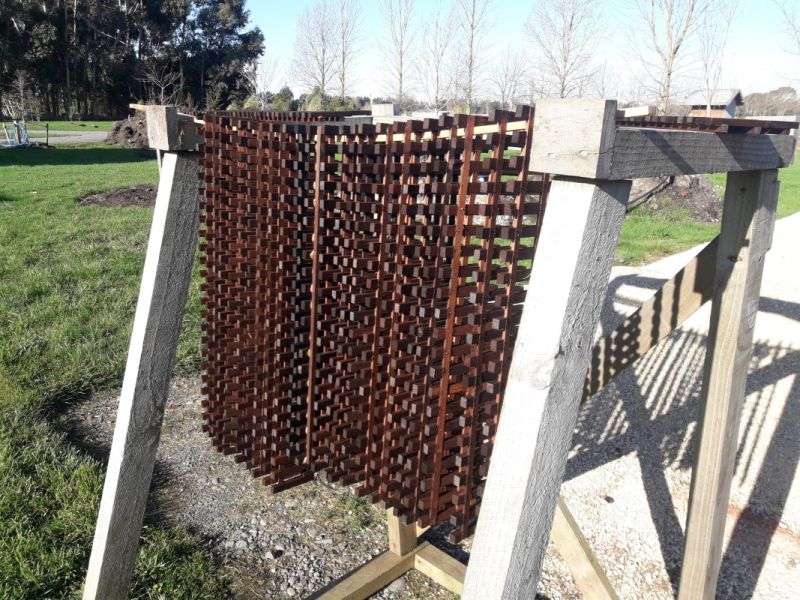
First up was to rip some lumber. Timber is cedar, from offcuts off a kitset log house. Not completely sure if it’s US or Canadian – but definitely not local…
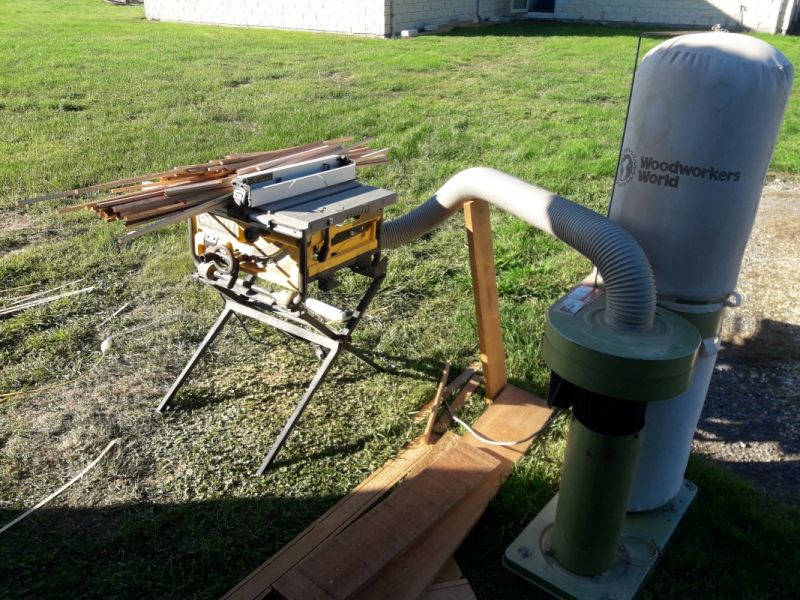
Way too dusty to be inside for this job…
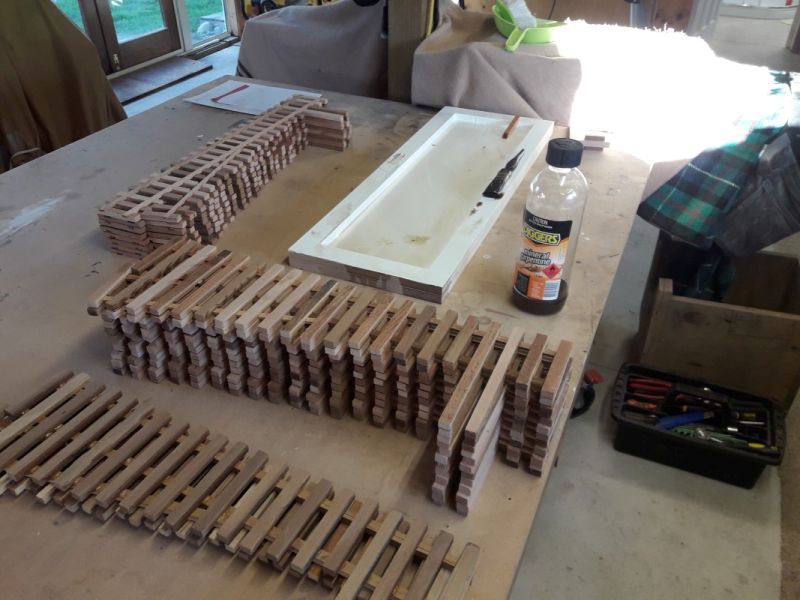
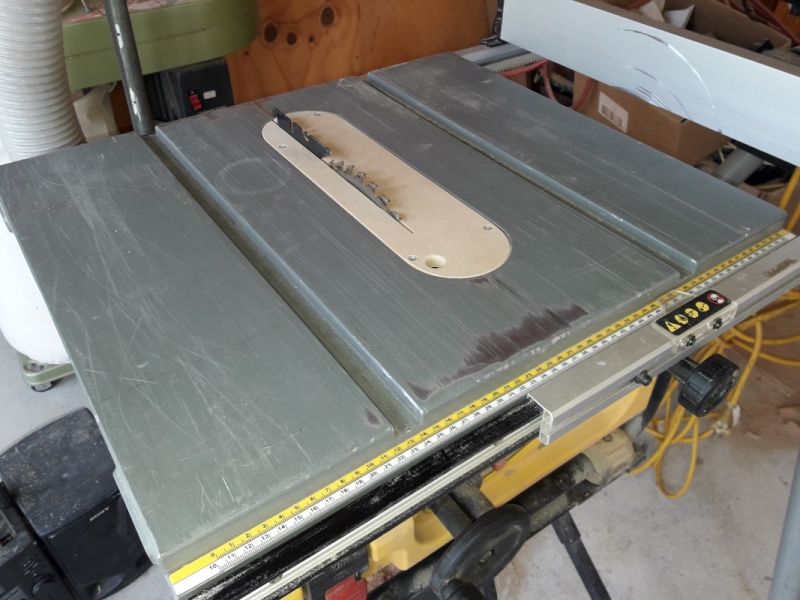
Straightaway I ran into the ‘every job needs two others done before you can start’. First was make a zero clearance plate for the table saw, then a box that can hold all the ties grouped in the right sizes.
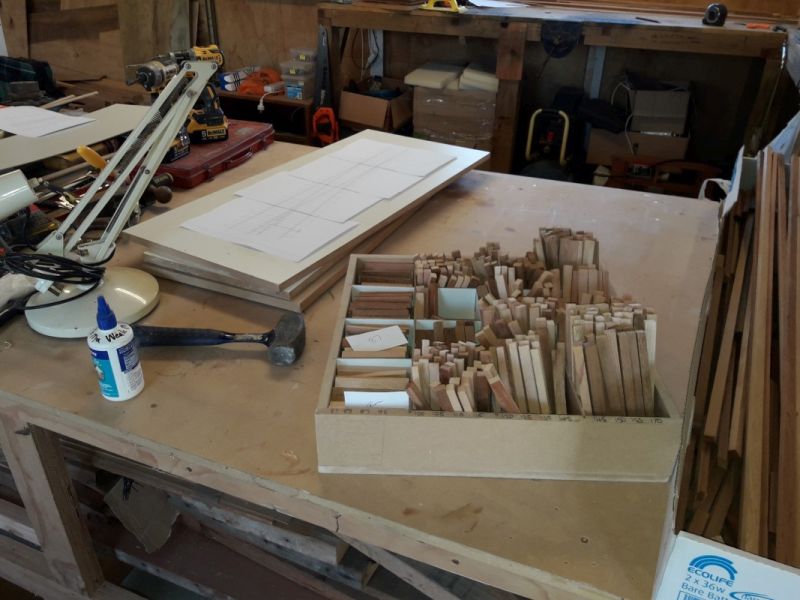
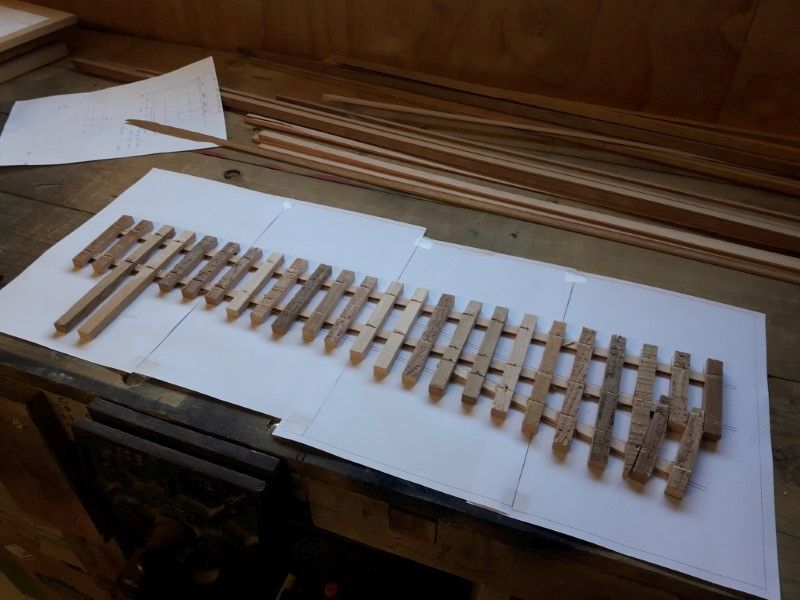
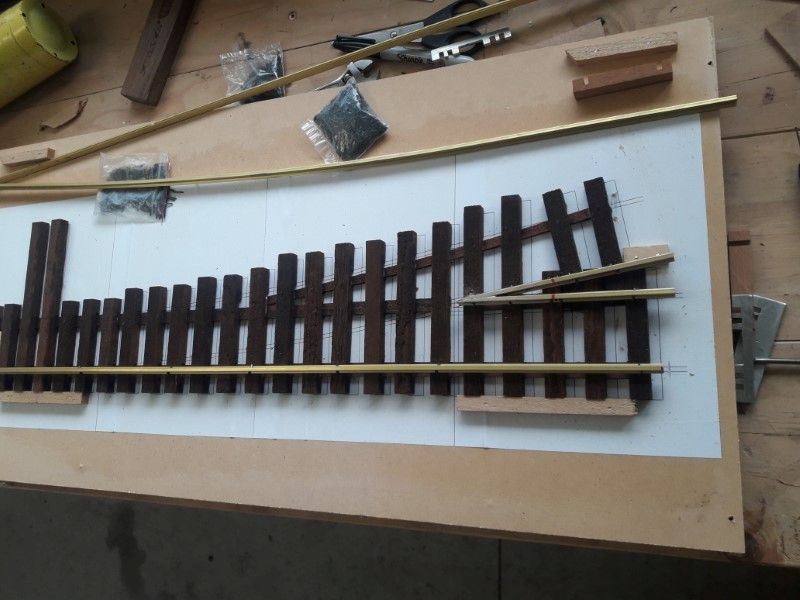
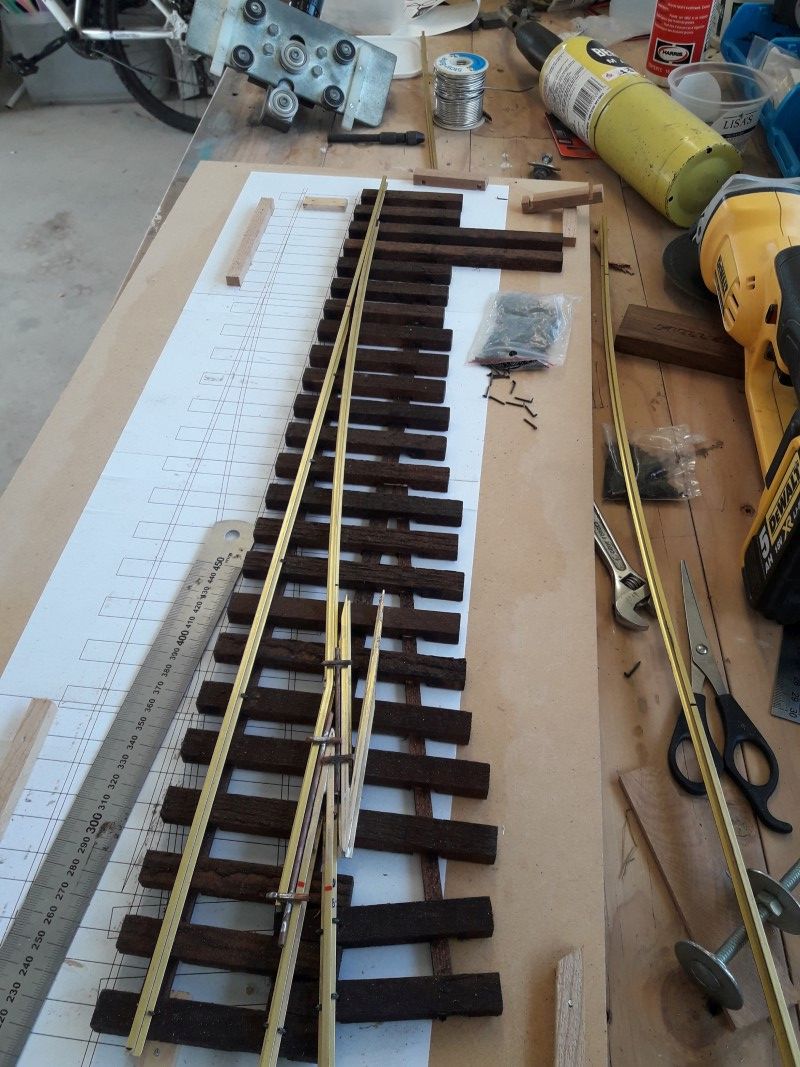
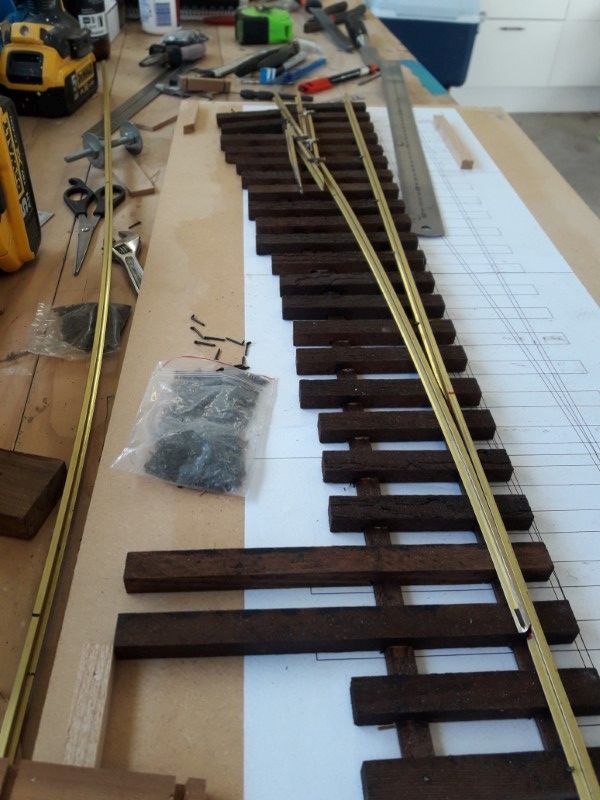
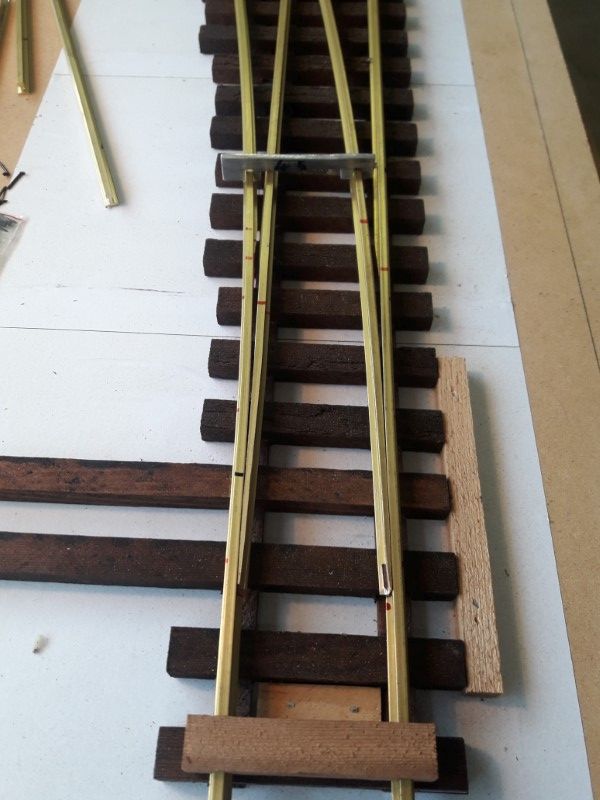
I downloaded some HO templates for #5 & #6, traced the rails and drew some ties in Cad once I’d scaled the gauge to 45 mm. I split them into 4 bits to print on A4 pages
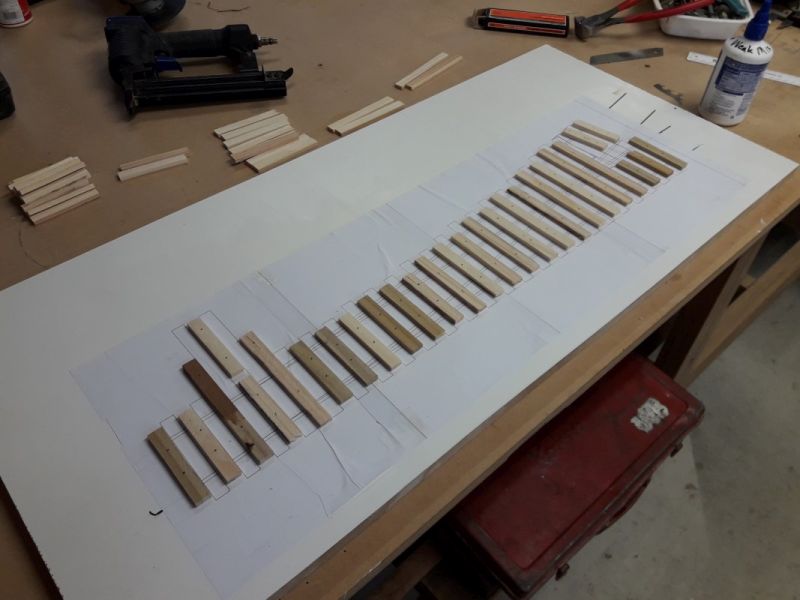
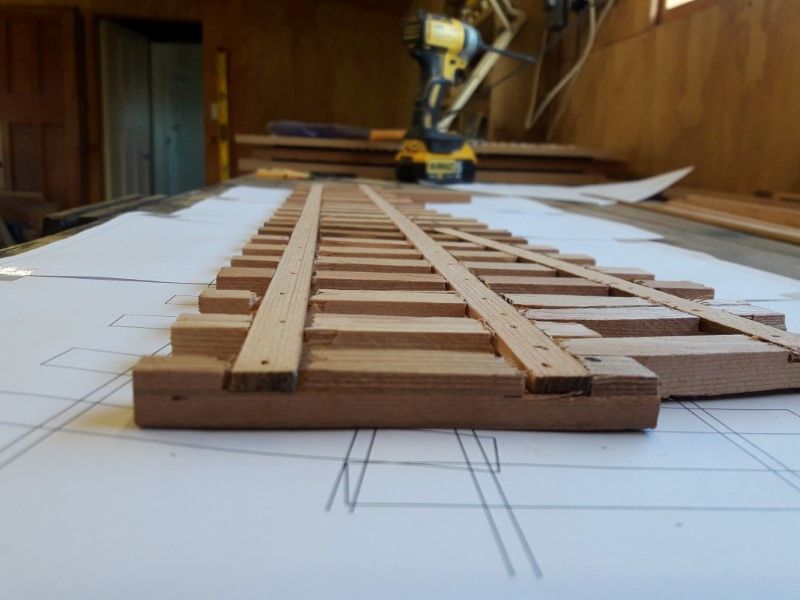
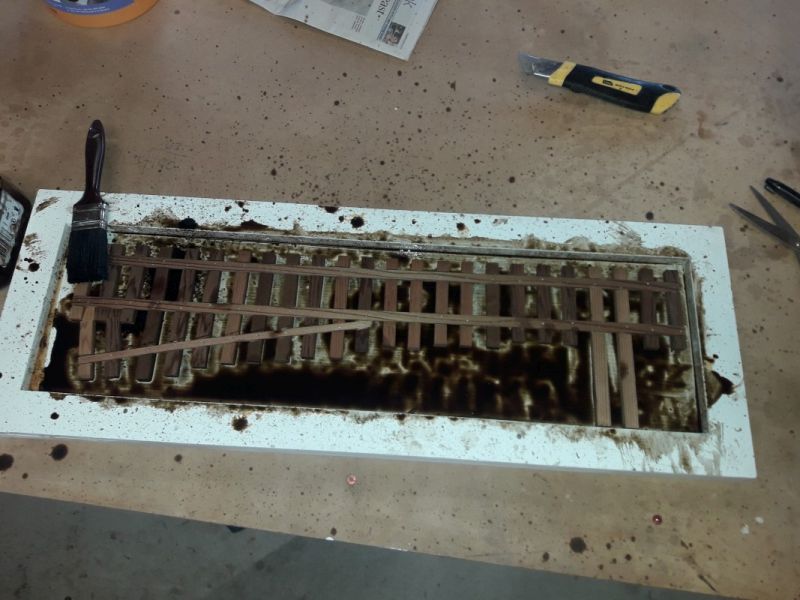
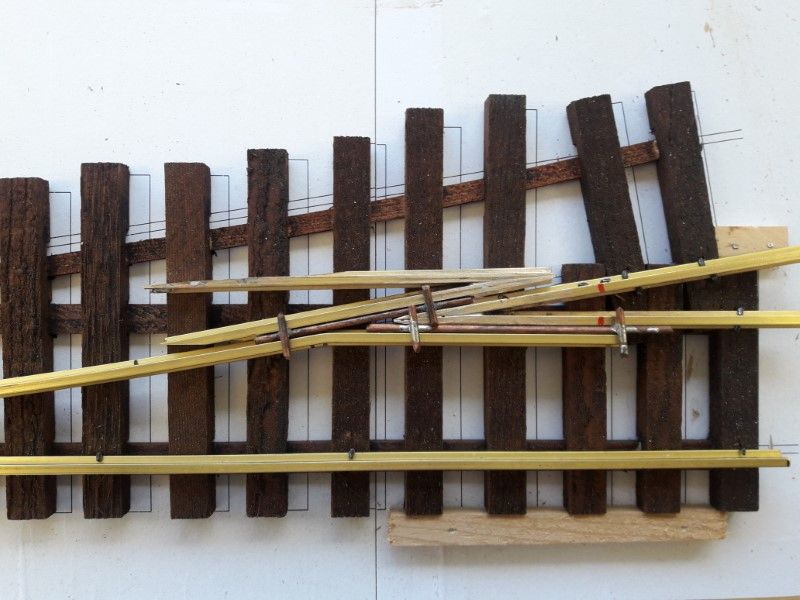
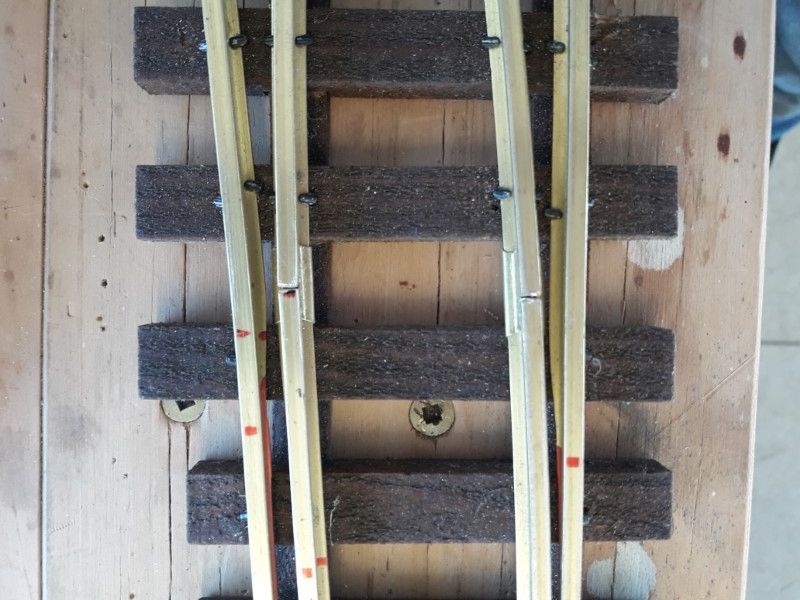
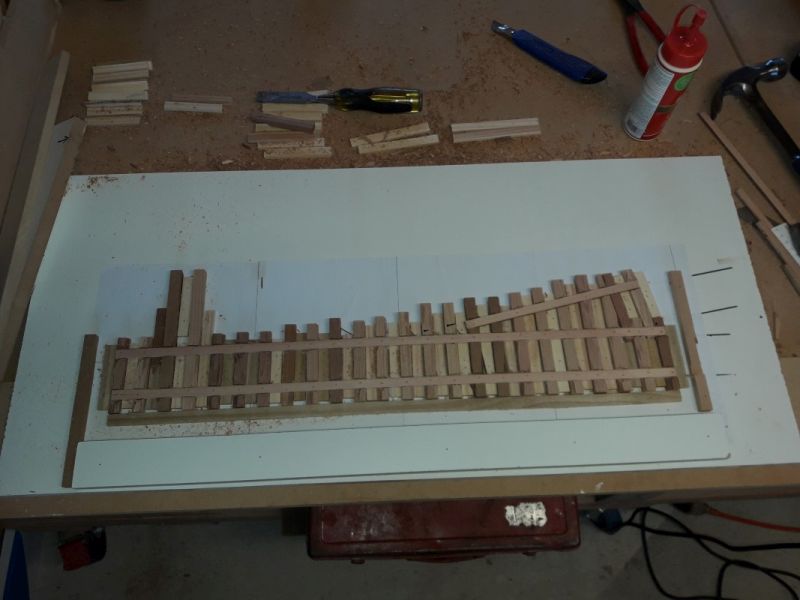
Last time I had some stringers pinned straight onto the ties to hold them in place. That was one thing that caused hassles when you lay them on a hard roadbed. So I attempted to get them flush this time. I tried routing the groove in the assembly jig but they weren’t tight enough, I ended up blowing half of them apart.
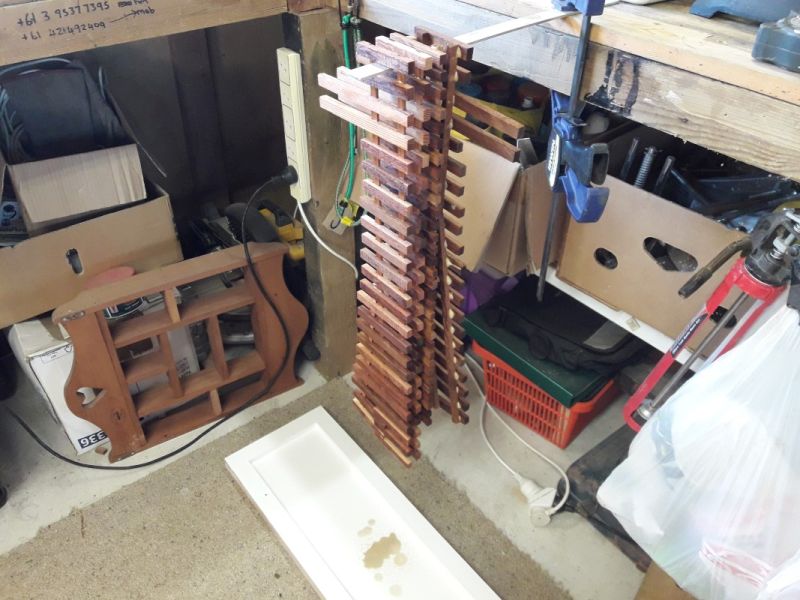
The answer, eventually, was making another jig to hold the ties tight so I could use the router and not have them move. Not worth it for a couple of turnouts, but I figured 20 odd would make useful. Hopefully.
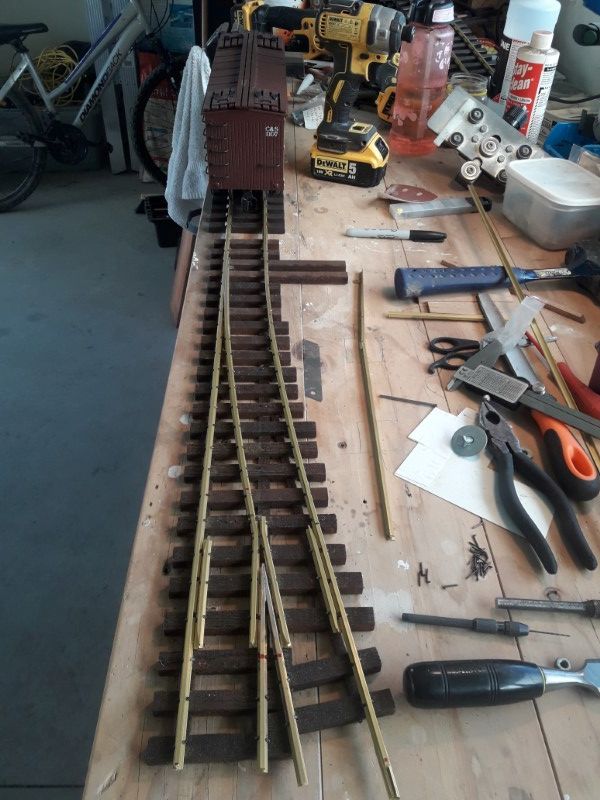
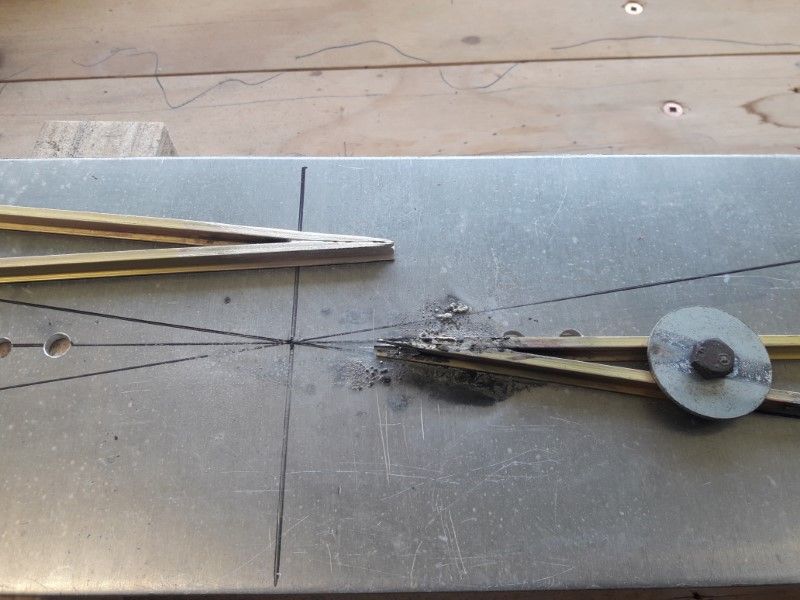
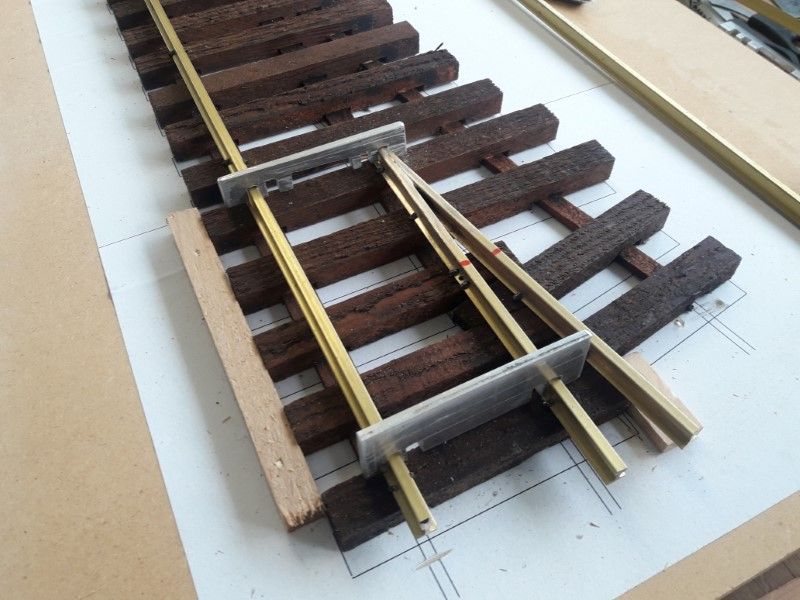
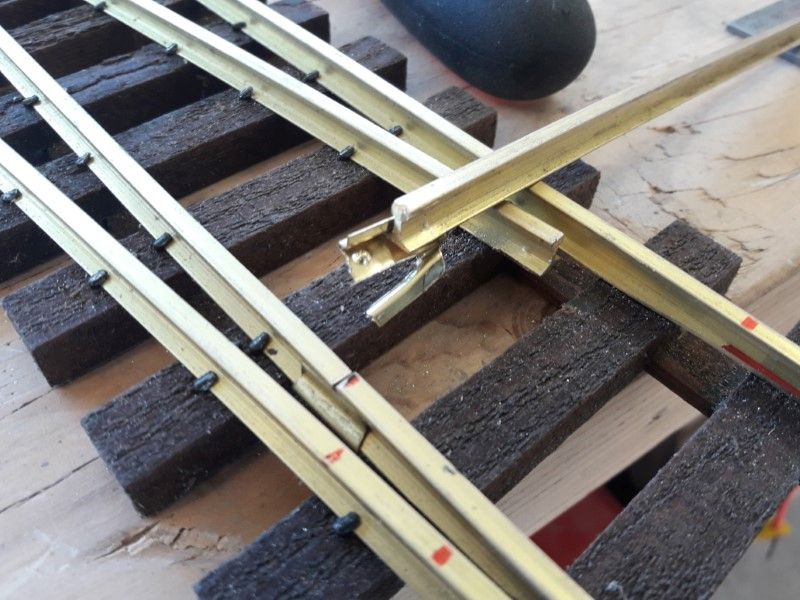
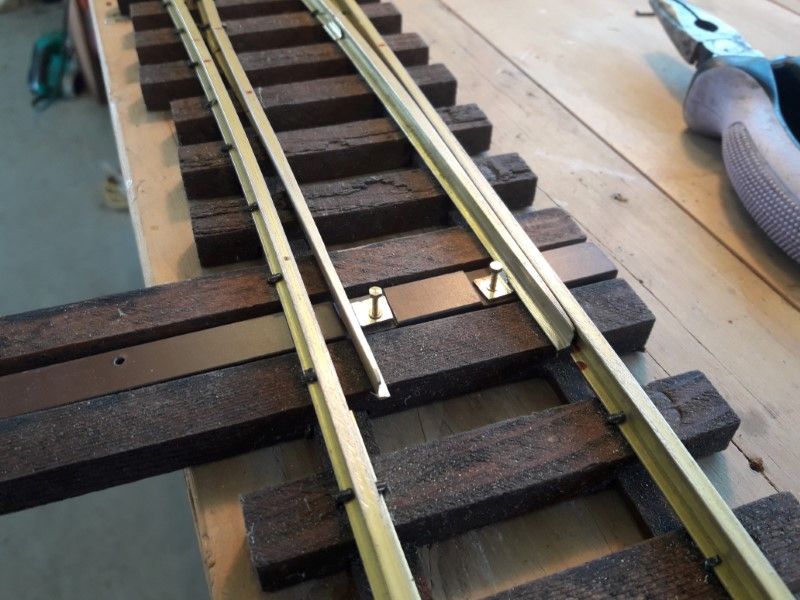
Then, some assembly on the first one. 18 ga pins and urethane glue hold everything in place.
More to come…
Cheers
Neil

