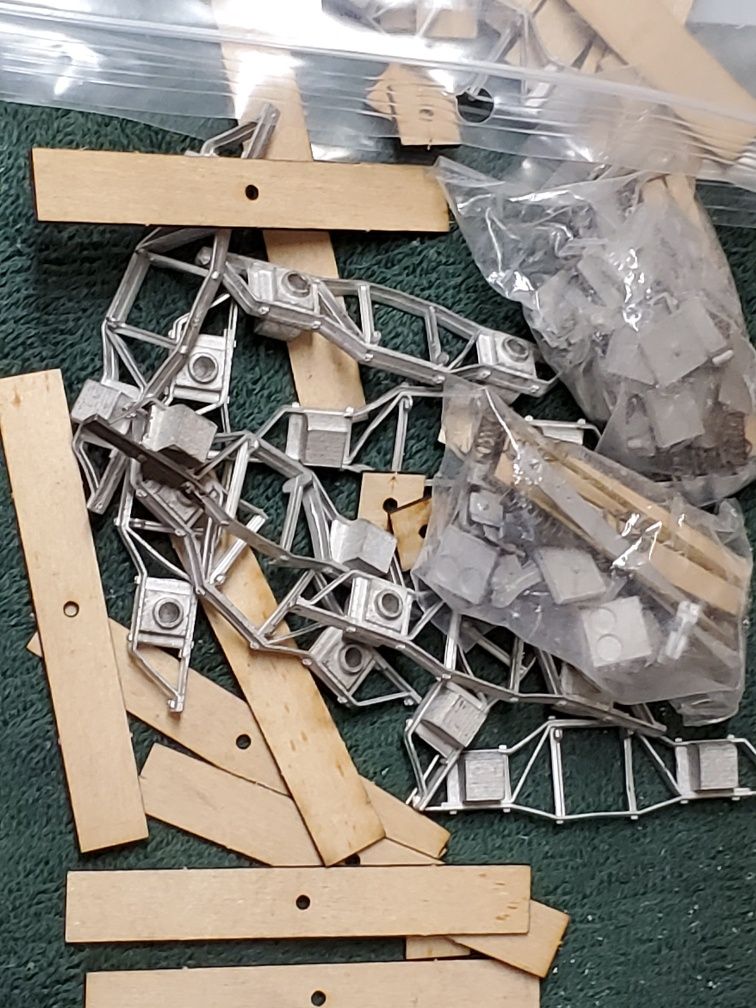
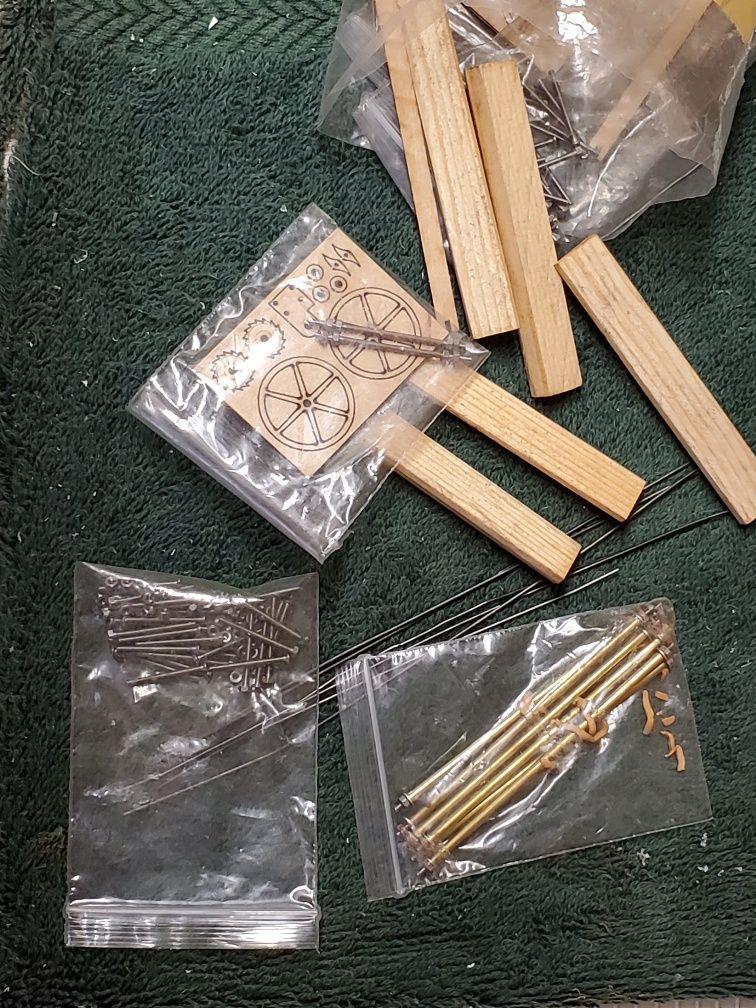
So, here’s what I got as a “kit”. There are 2 sheets of thick plywood (1/16th?) and a sheet of ‘trim’ that is thinner, and looks like it fits on the outside of the wagon.
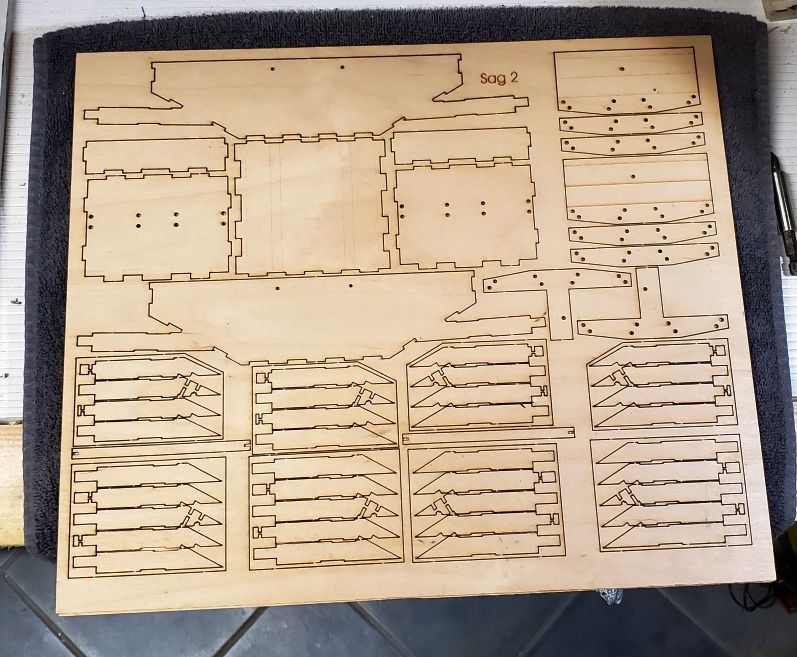
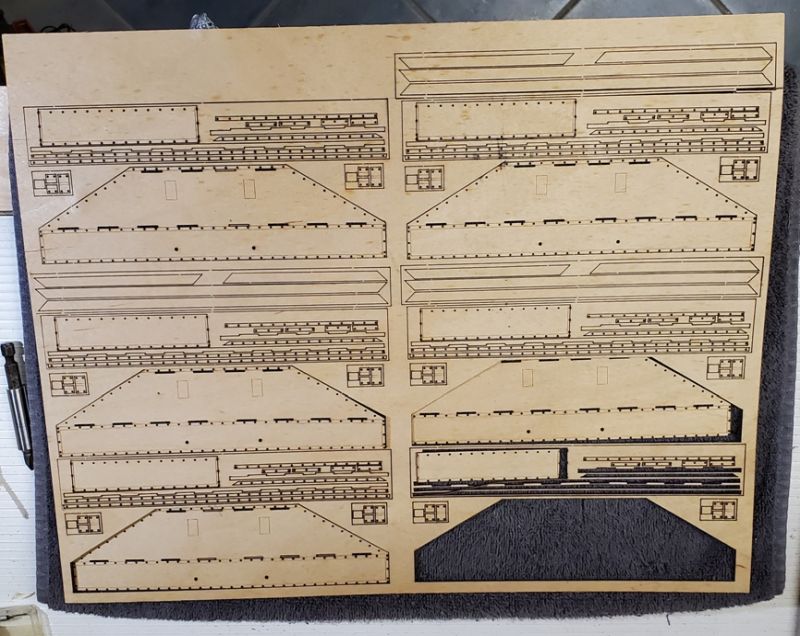
No instructions. And a plastic bag with lots and lots of bits of wood which presumably came from another of the thick sheets at some previous time. The thin ‘trim’ seemed to have enough for 3 wagons, so that’s what I assume I have.
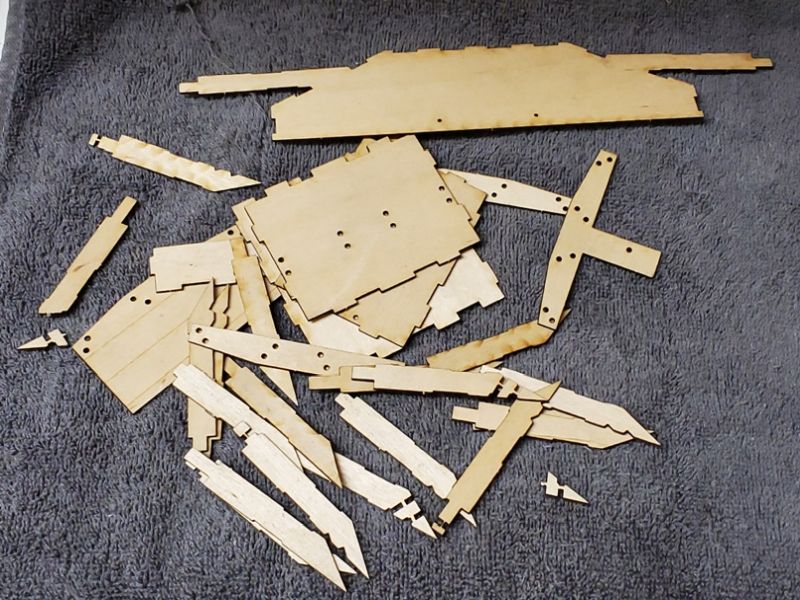
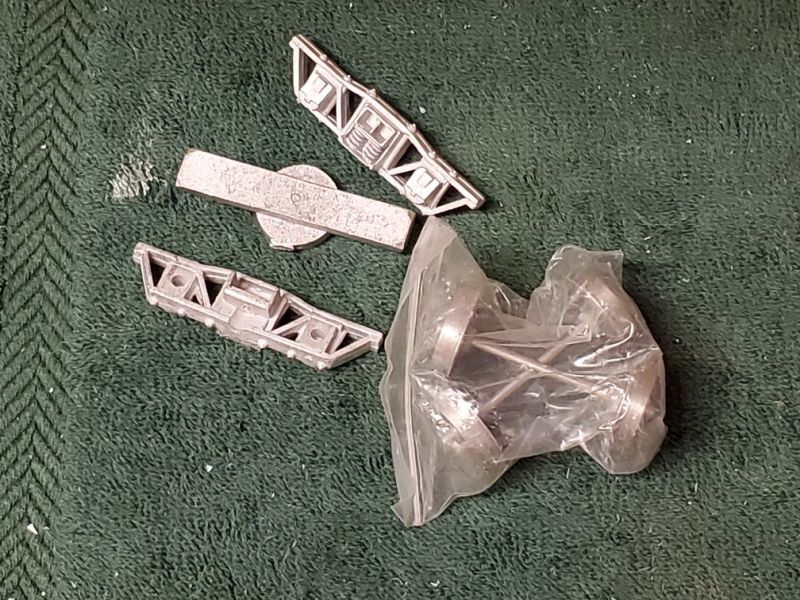
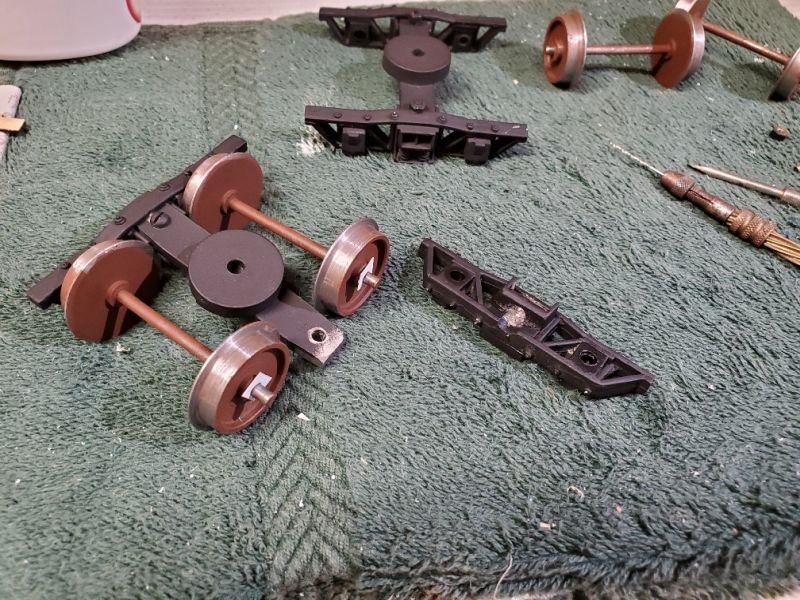
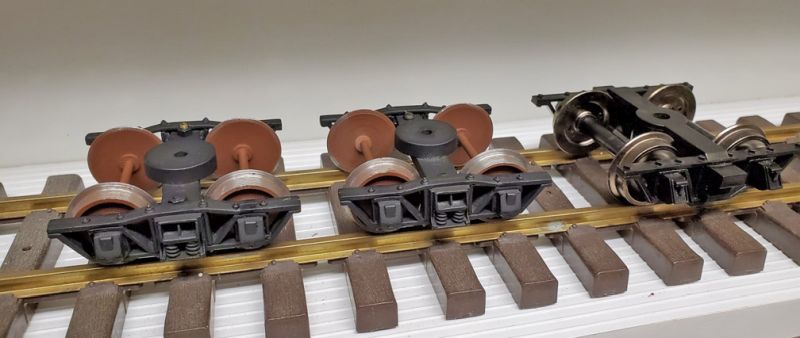
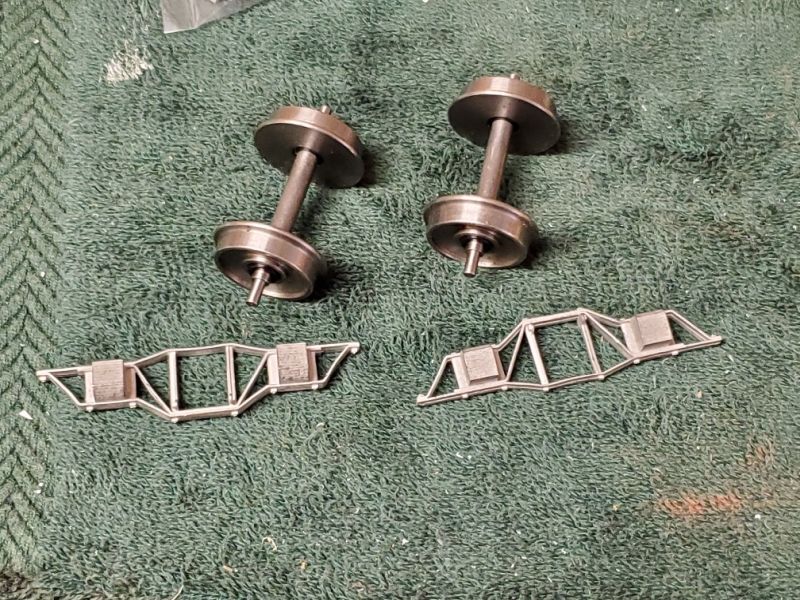
There are also 4 sets of trucks that consist of sideframes, a stretcher/bolster and a few bolts to hold it together, plus 4 sets of complicated parts for trucks, so I have 2 sets. There are 4 sets (8 wheels/4 axles) of 32mm gauge wheels and the same for 45mm gauge wheels. I’ll get back to the trucks and wheels later in this thread.
The pic is of half the parts, as I figured there had to be 2 ends of the wagon so I split them up. I could not figure out why there were so many pieces with an arrowhead end but different sizes of tabs on both ends.
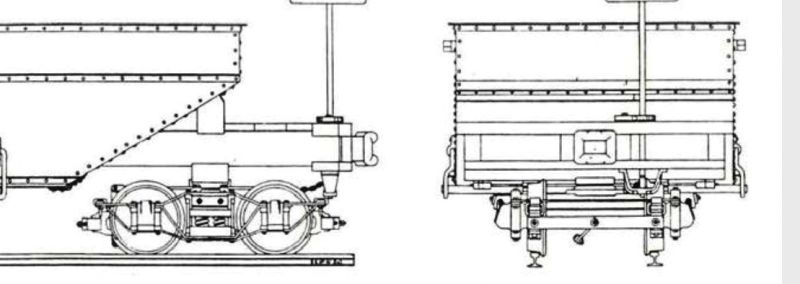
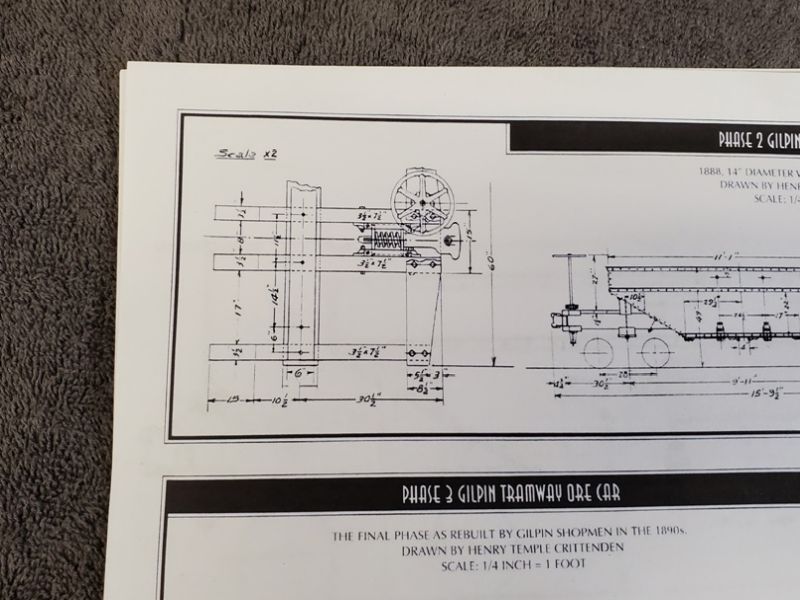
I have the NG&SL Gazette DVD on my computer and I found the articles about the ore wagons with drawings. This detail of the end beams looked promising. [However, the drawgear, with springs, is just like the Ozark stuff I left in Florida! Murphy’s law strikes again.]
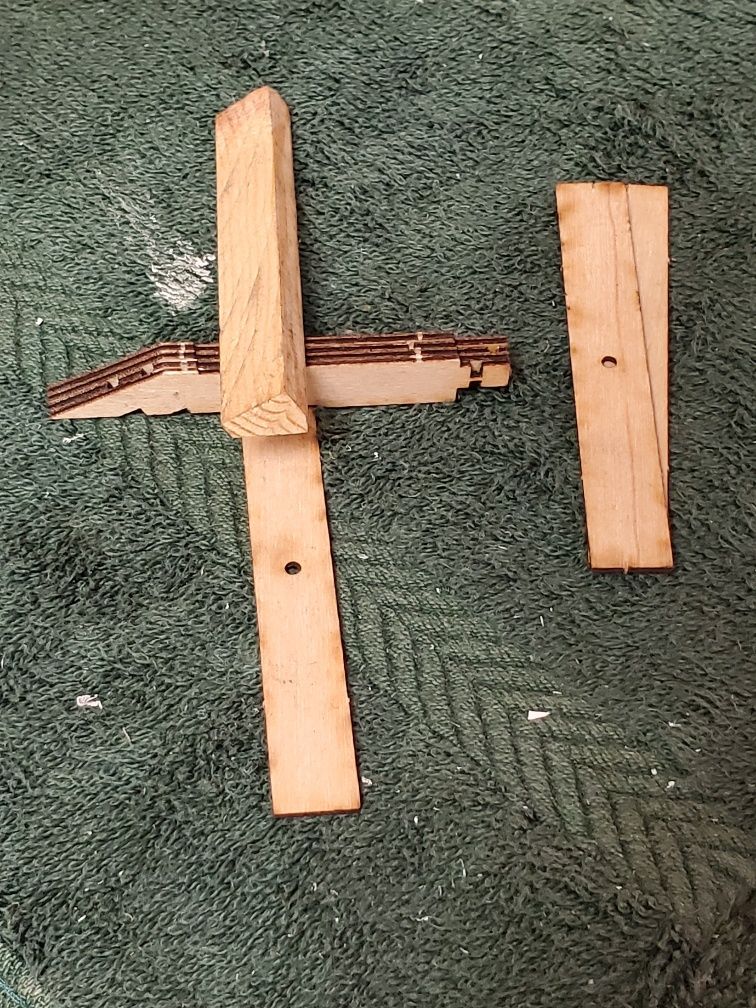
What was really driving me nuts was all those arrowhead pieces sitting loose on my workbench. Then I went back to the full sheet (first photo) and counted that there were 4 ‘sets’ of pieces at the bottom, and 2 were 5 pieces and the other box had 4 pieces. So I took my loose bits and aligned them in the order they were drawn on the sheet, figuring they had to be the 4 end beams. Eureka!
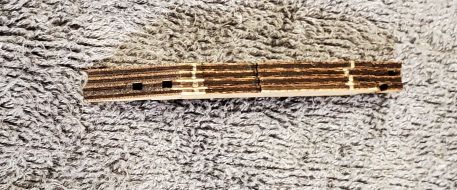
Putting them together in the right order meant there were partial holes through. And I remembered that the pieces that looked like the slopes of the hopper had holes in them - they matched the holes in the sloping ends of the composite beams.
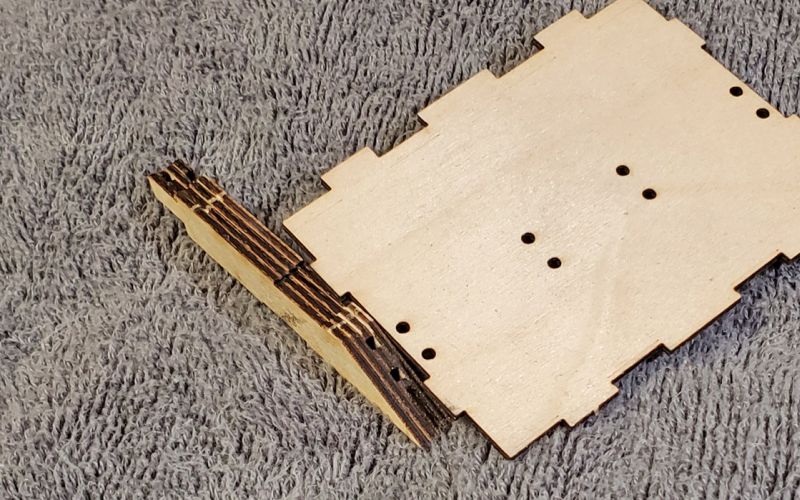
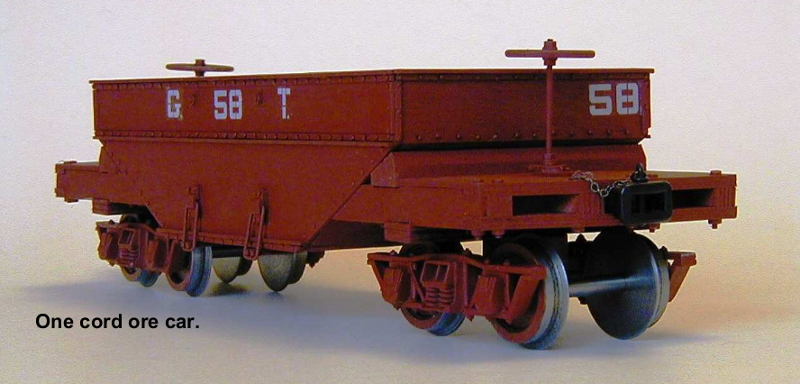
The Gilpin ore cars did not have a continuous beam lengthways - both wooden ends were bolted to the steel ore hopper. I also found some bags with lots and lots of same size nuts and bolts. Clearly I was on the right track.
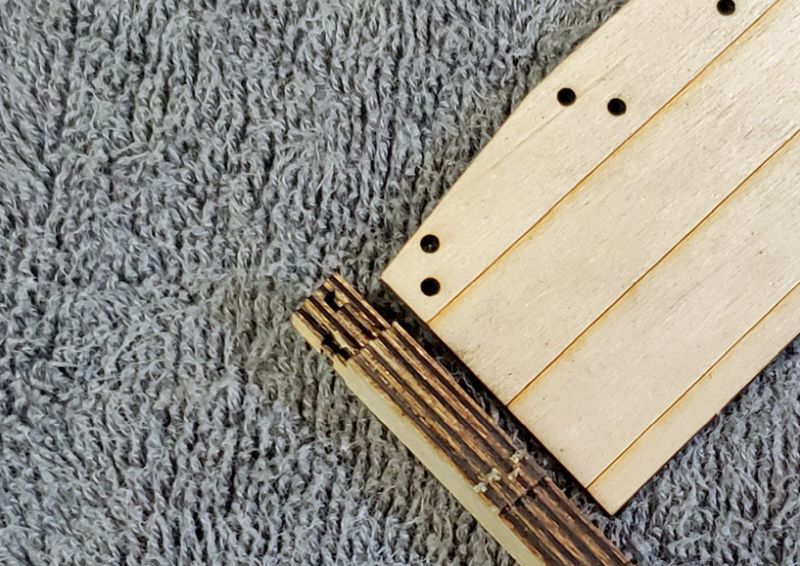
The other end of this composite beam ended up with 2 holes that matched the platform bolt-holes. The only mystery was why 4 or 5 pieces? Aha - there was one piece cut as part of the ore hopper side (so at least the model will stay in one piece and not sag, unlike the prototypes!) So all the beams are the same width when glued together. The holes for the bolts can easily be opened up once the ‘beams’ are glued.
What I need to do next is to check the length of the wagon and figure out if it is 1:19th scale, and then I can check the other sizes givin in the plans. Not that it will make much difference, as I don’t plan to make any modifications.
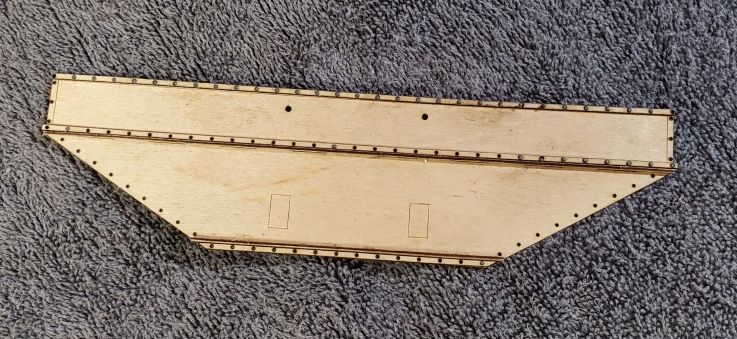
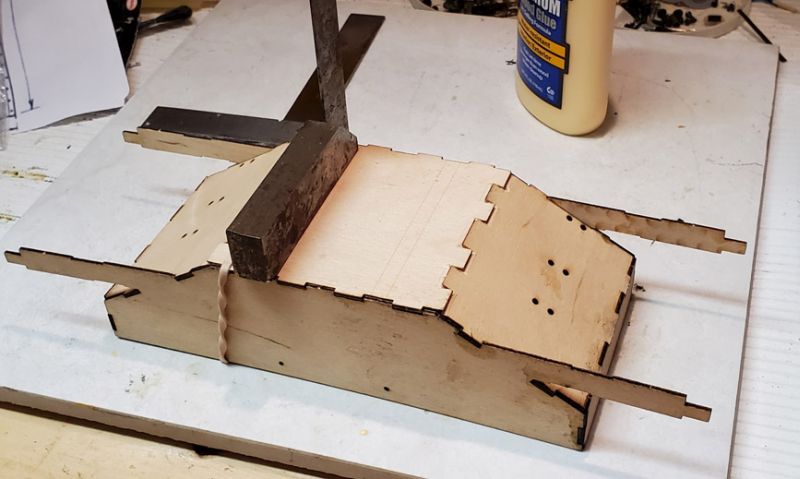
Finally, as one of the thin side pieces was already out of the sheet, I added a couple of parts - thin sprips along the top and a pair of strips are right angles pretending to be an “L” for support halfway down. I have masses of Grandt Line O scale rivets, so I decided to try them. You can just make them out olong the top and middle rows.
