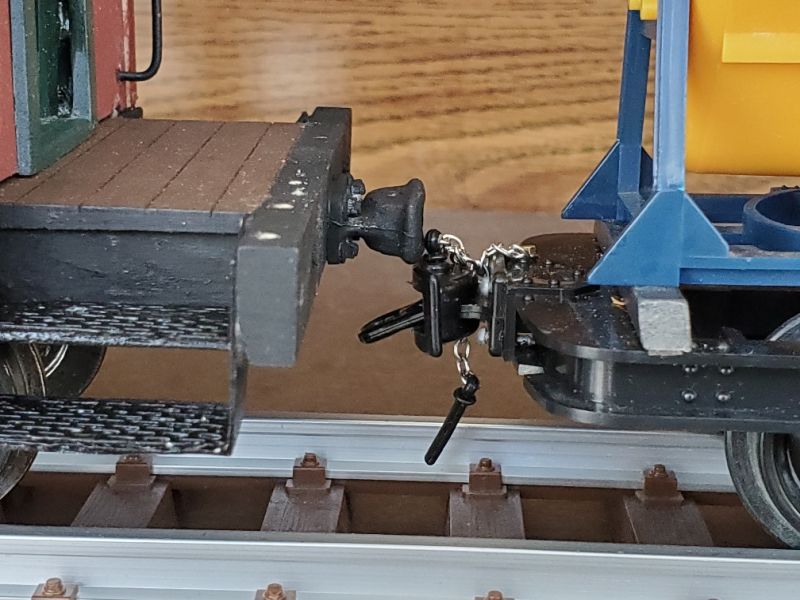
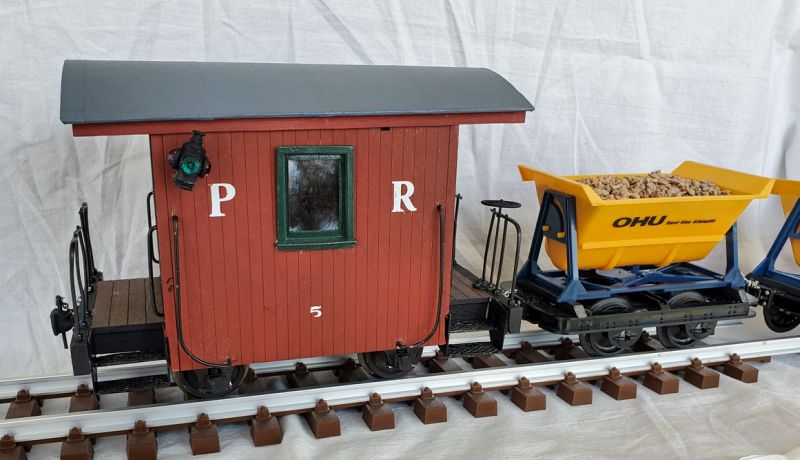
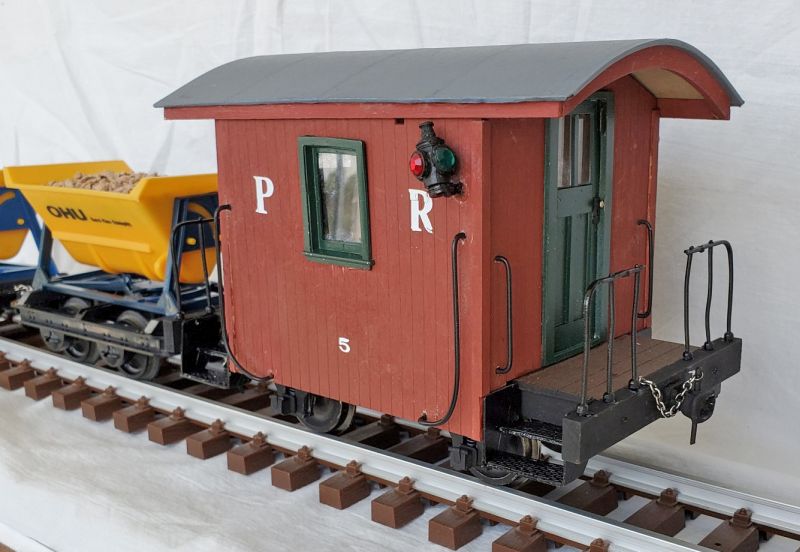
I guess I’m working through my stack of kits. This is a sort of photo essay as I had plenty of time for taking ‘under-construction’ pics. It was started around the end of March - the earliest photo is time-stamped 03/30. This post is now complete, but there will be another conclusion when I add the wheels.
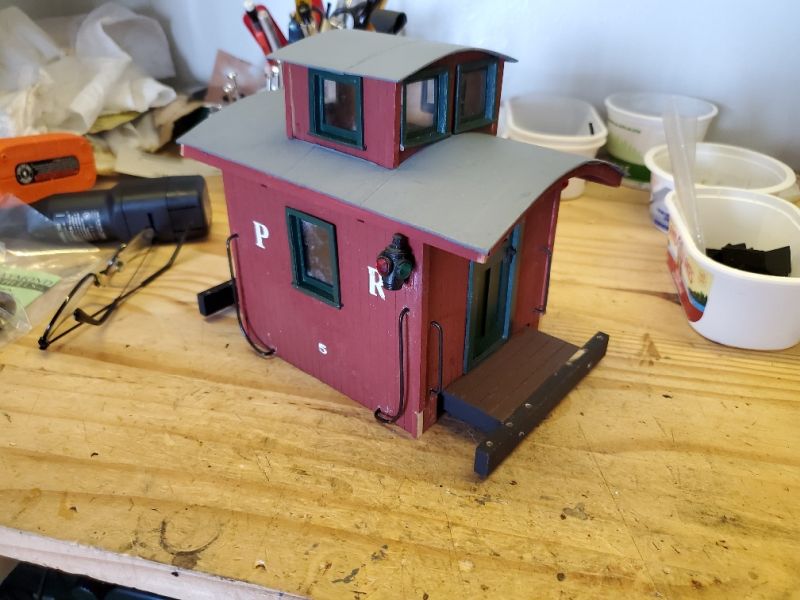
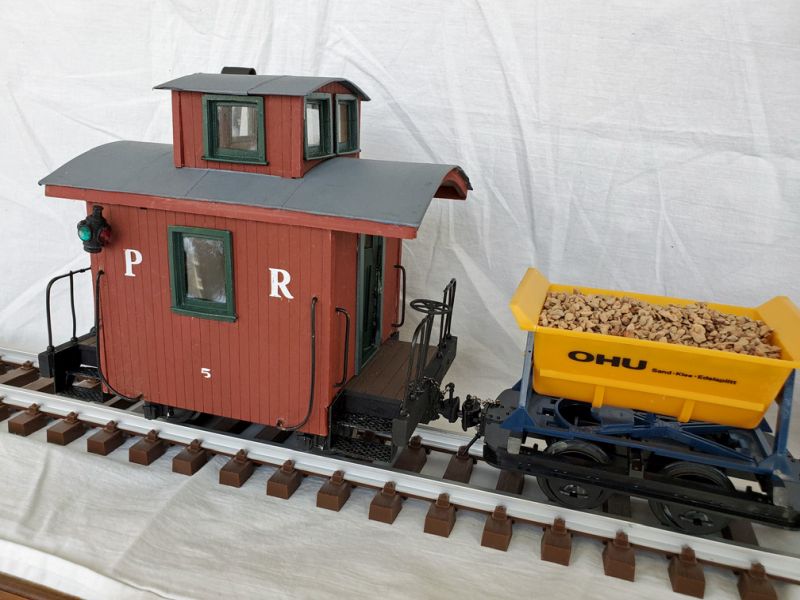
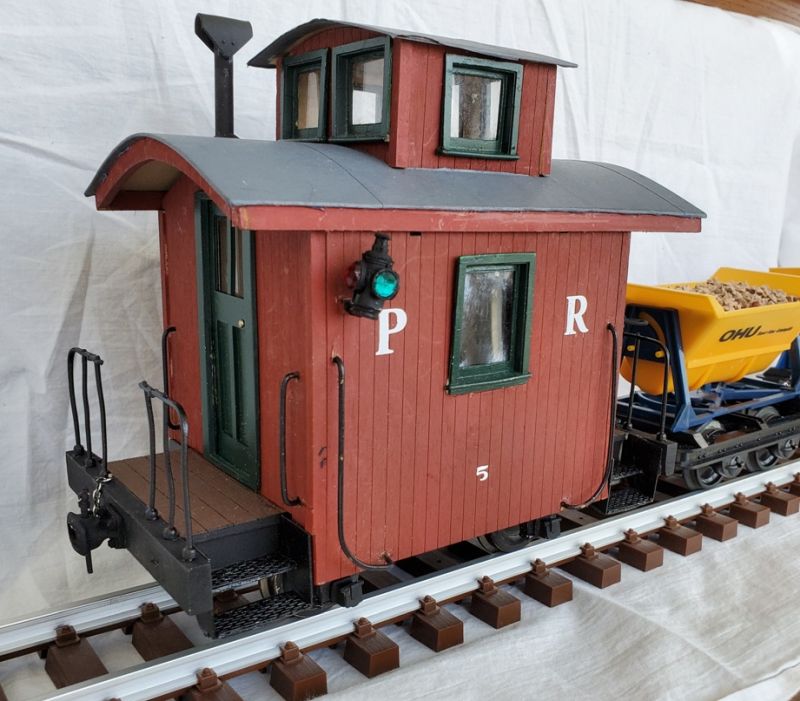
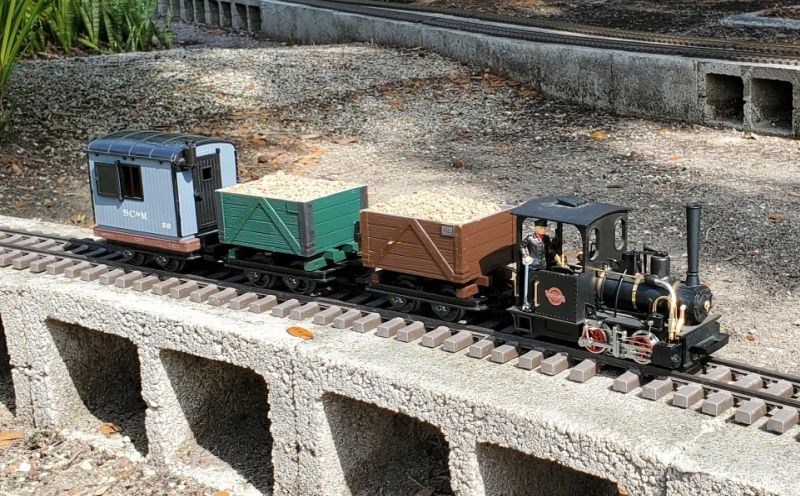
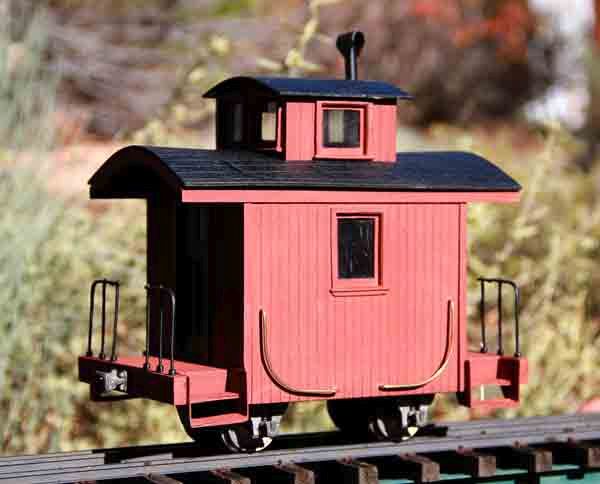
The little caboose above was purchased to be the end of my little train when I put batteries in my little LGB Feldbahn loco. As it happened, I came across a small LGB van which suited it just fine, so the bobber caboose was put on the shelf.
It’s a ‘craftsman kit’, of basically a bunch of laser cut wood and metal parts that you glue and paint. The only photo I found when I was looking for a small caboose was this:

and this photo is the only one in the instructions, reproduced even smaller. However, a couple of days ago I did another Google search as I was mentally planning this article, to see if there were any better photos, and this link popped up:
https://grw.trains.com/news/product-reviews/2011/12/ozark-miniatures-bobber-caboose-kit
. .a product review from GR Magazine in 2011. It included some decent photos and descriptions of (most of) the problems I had already found!
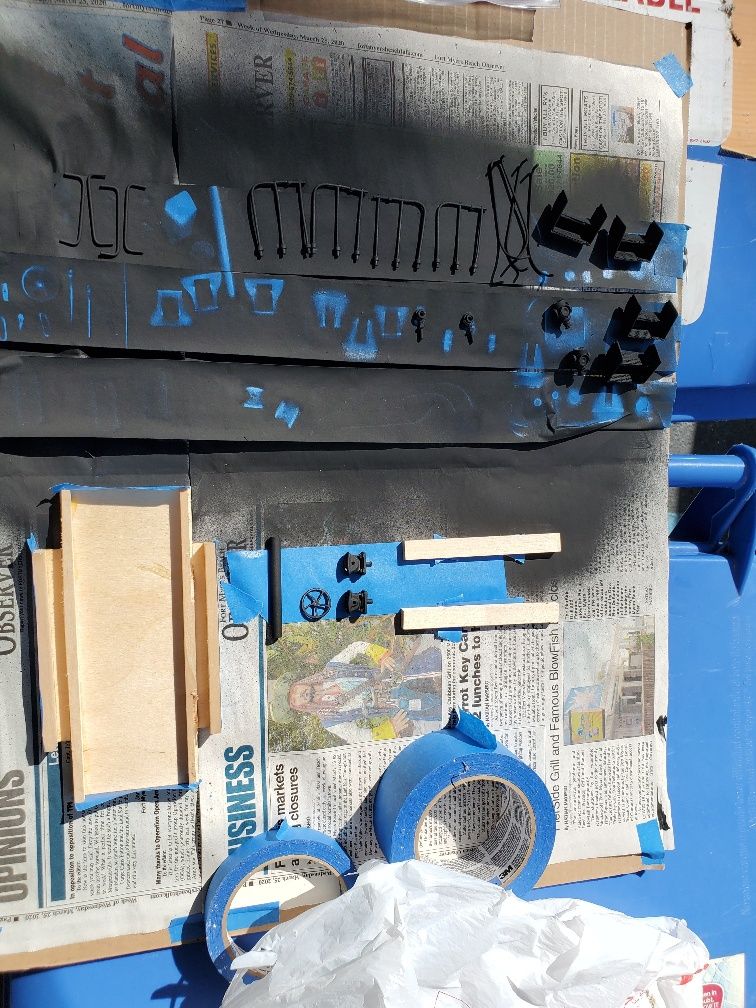
In my limited experience it is better to do as much painting as you can before assembly. The paint can be touched up if necessary, and it gives you the option of multiple colors. Here’s most of the metal bits being painted with flat black primer. I then sprayed another coat of satin black on the railings and grab bars.
The blue painters tape is taped sticky-side up on a flat surface and the metal bits pressed on to it. Little things like door knobs don’t get lost, if you are lucky. Of course, you have to spend a while cleaning all the flash off the bits, sanding the surfaces smooth, and then washing them thoroughly in soapy water with a following rinse to get the grease off. You can also see the frame taking shape, and it needed a coat of black primer. I did the end beams separately - not sure why I decided that, but it turned out to be a good decision.
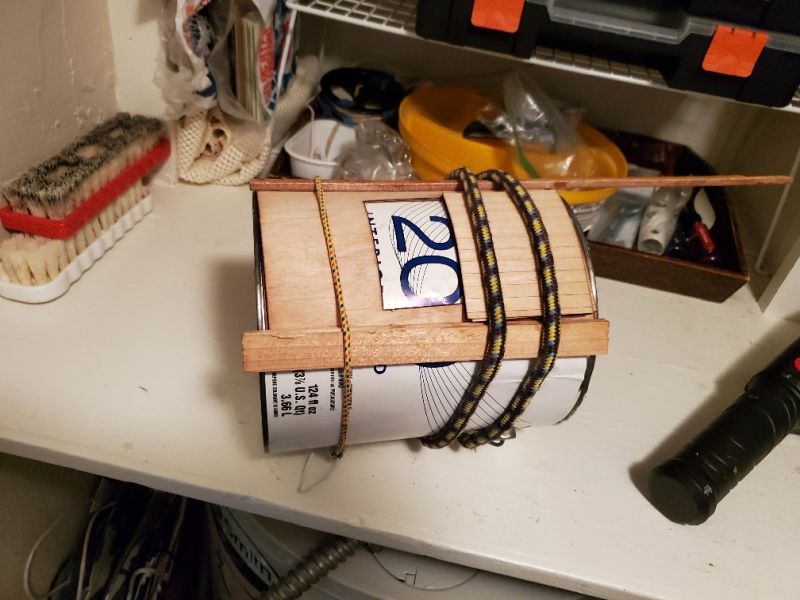
They gave me 2 pieces of scribed wood to make the main roof, and 3 pieces to make the cupola roof. I soaked them all in water and then roped them to a paint can with a couple of pieces of wood to press the edges down. After a couple of days they were dry and curvaceous.
The bodywork got a coat of dark brown primer, then a lighter, more red shade that I found on the shelf. When they were dry I got out my Woodland Scenics dry transfer lettering and found something to label it with. Nothing fancy!
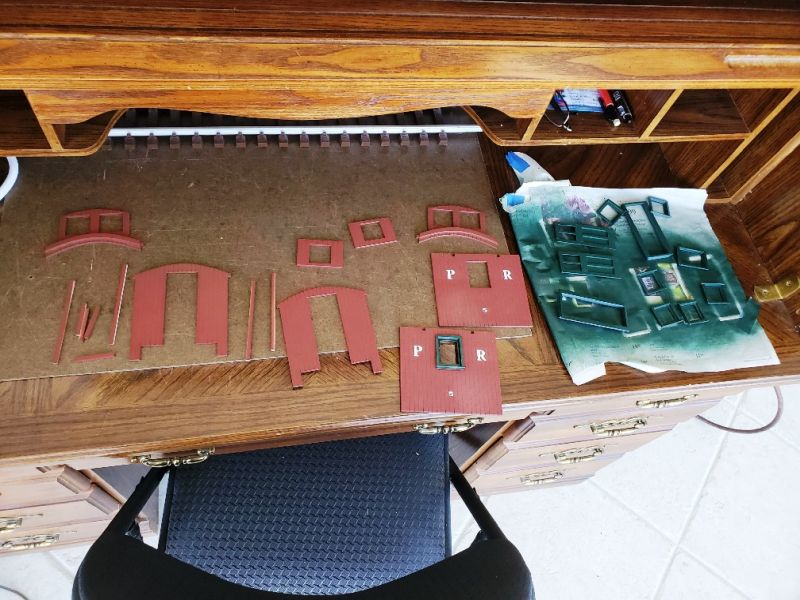
The doors and windows were then glued in with gorilla glue. One or two had to be adjusted with a file - even though I thought I had checked the fit before painting.
The glue is tenacious for joints like this, but it also expands as it dries, so you get this effect:
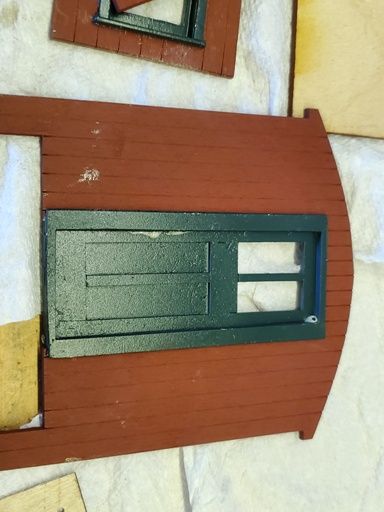
Fortunately it is easy to lean up with a knife or chisel blade, and then you can touch up the paint.
As you can see on the black paint pic above, I had been gluing the frame together and I wanted to pre-drill the end beams for the metal railings. I drilled through a piece of scrap wood to make a jig so that all the holes would be the same spacing and the same distance from the end of the beam. I drilled the beams and test-fit them.

Another strategic decision was to glue to body parts to the frame and make the roof removable. Lots of these kits suggest gluing the roof solidly to the body and making it all lift up - I find that makes the interior more complex to build (as I found with that 7/8ths combine I did earlier.) Here’s the bits all ready for wood glue. Some filing/sanding was needed to make sure the wooden surfaces were unpainted. Titebond works best when the surfaces are wood-wood and tightly clamped while setting.
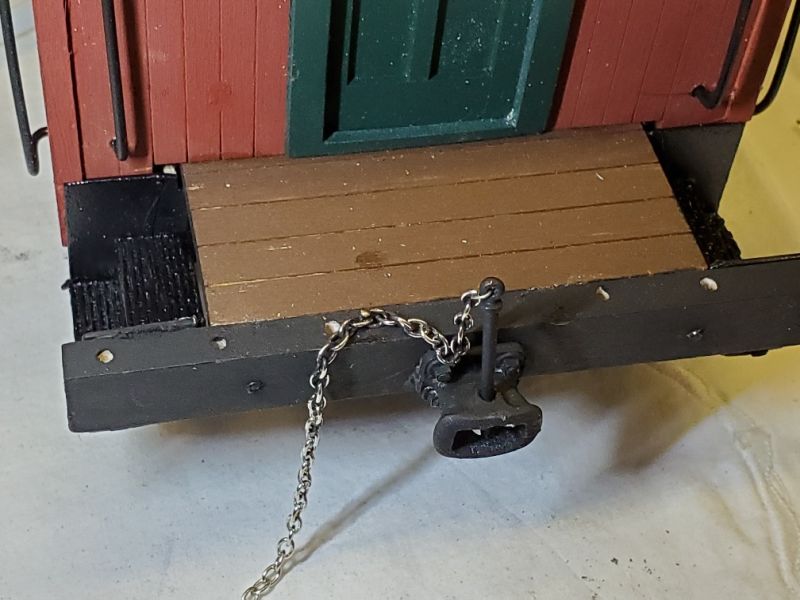
At this point I had test fit the steps and discovered (as the GR reviewer had,) that there was a cut-out on the back of the step as if it was supposed to fit under the planks of the end platform. I had already glued the main beams in place - and they weren’t coming off without a fight. So I got out the table saw again and ran the blade along the side of the beams under the planks (took some careful set-up to get the saw right.) Good job I hadn’t glued the end beams on yet. When I had painted over the cuts I drilled the end beams and pinned and glued them in place.
I realized later that, if the main beams were closer together, the wheels and journals might be a problem. So I guess whoever put the kit together didn’t notice the steps had a notch.

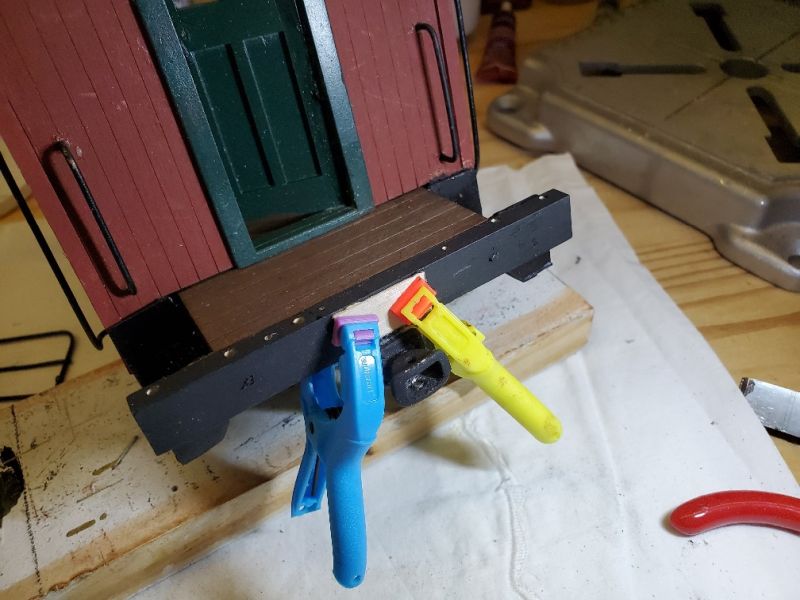
And here it is all clamped up and drying. The corner posts were pre-painted and I made sure they were in 2s, side by side, so the paint only got on the top and outer surfaces. You can see where the corners sit a little proud so you can see the bare wood. It will get touched up.
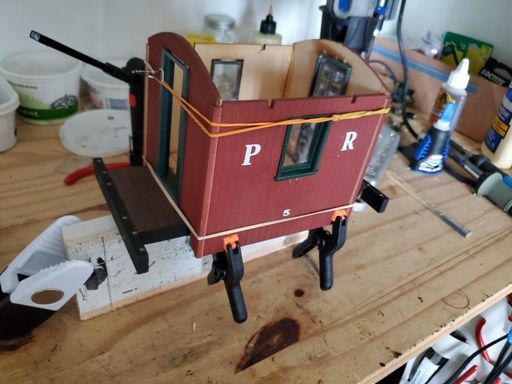
For some reason I hadn’t glued the windows in properly so they had to be dealt with. You can also see another corner post that didn’t get painted all over. At this stage I glued in the little pieces of acrylic window glass - all were a perfect size except the door glass!
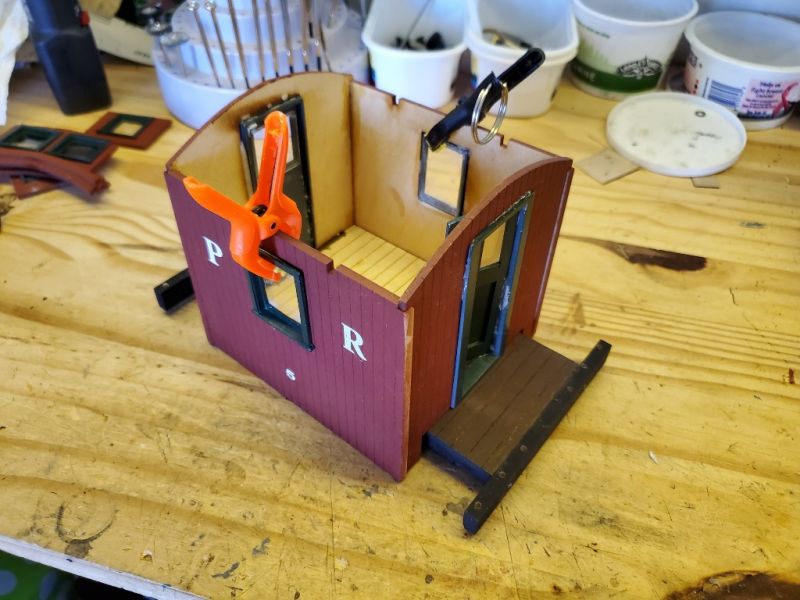
The notches at the top of the sides take the cupola ends, so I tried a test-fit of the cupola parts on my curved roof. It was a very tight fit. Much bigger problem was that I had 4 short corner posts and nowhere to put them (one is on the roof.) They weren’t mentioned in the instructions and they didn’t seem to fit, so I was scratching my head. The tiny pics in the instructions suggested the sides went in between the ends, as I have them in this test. The fit was very tight.
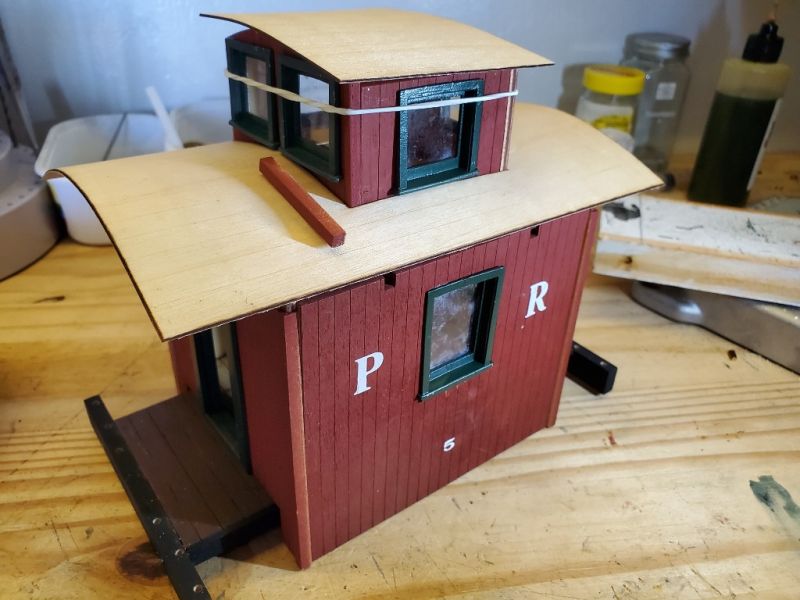
I mentioned the kit included 2 layers for the roof. I wasn’t at all convinced the cupola made any sense on a caboose this short, so I took the opportunity of using the other piece of roof to make a plain flat one. I dug in my box and found some 1/64th birch aircraft ply from a cabinet project and glued it on the second roof to cover the hole. It dodn’t quite cover everything so I had to add some strips and clamp them in place.
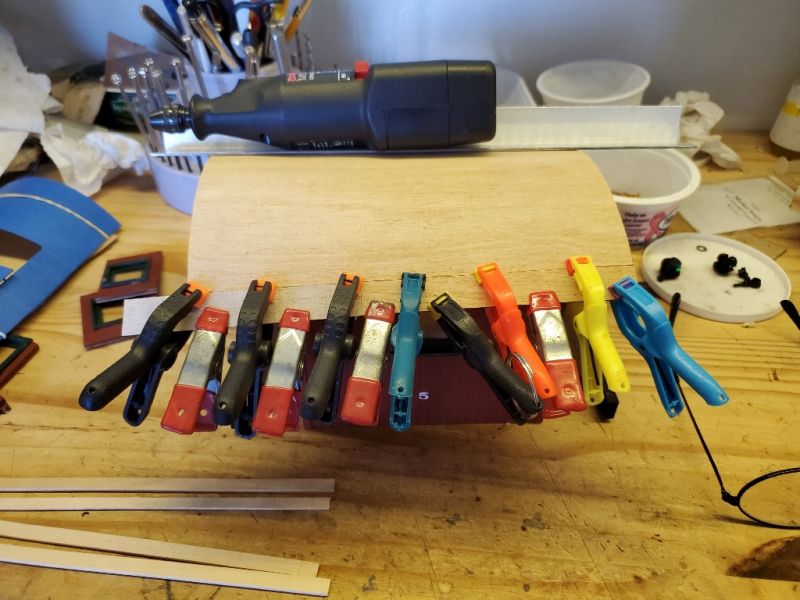
Then I used 2" painters tape to make a covering across the roof. It has a small overlap to suggest a seam. I don’t sweat the dimensions of the overlap - it seems to look fine as long as the seams are straight.
The kit included some curved roof ribs which I set up with a thin strip of tape along the side that would be glued to the roof, then I stuck them to some sticky-side-up tape for spraying. The planks are the letterboards for the overhanging sides of the roof. I had to make some for my second roof.
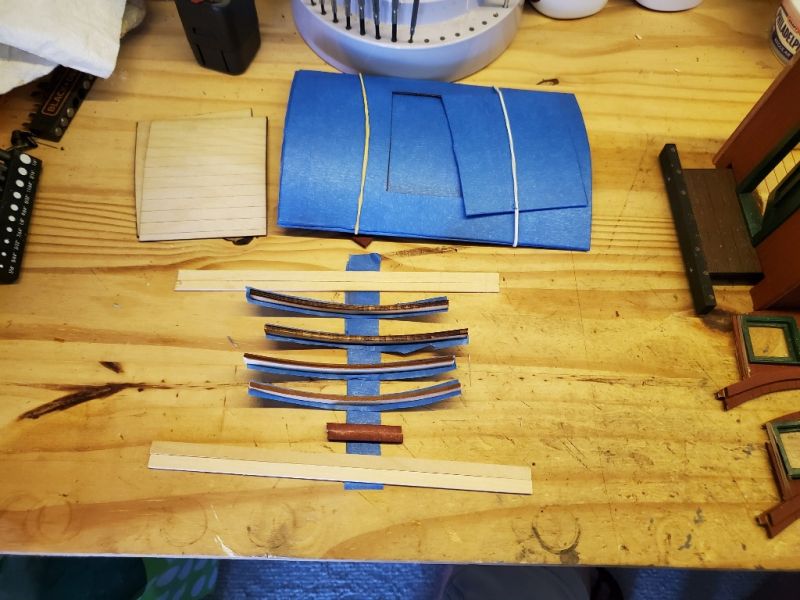
Then I decided to install the cupola corner posts by cutting a strip out of the current ends. There was just enough room next to the double windows. I set up my Micromark table saw and managed to cut down to the ribs but not futher, but it was not going to be visible anyway.
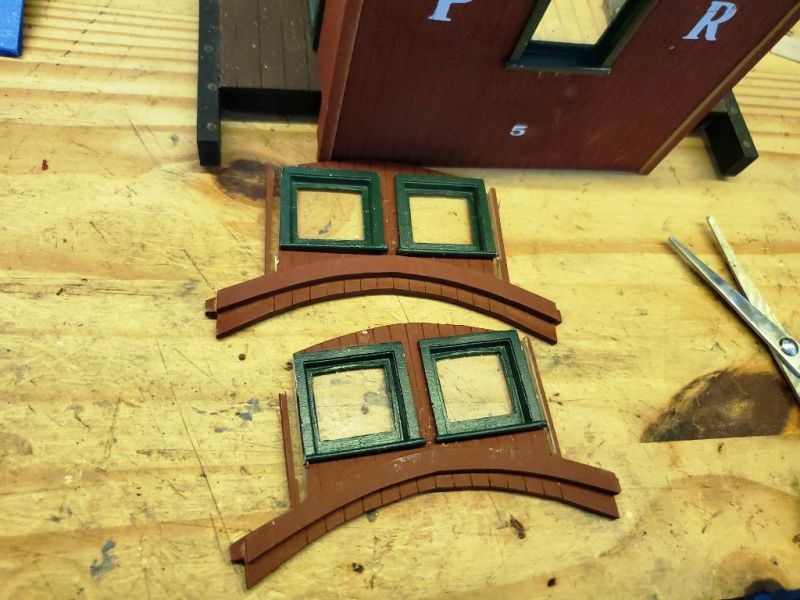
After trimming the ends I did another trial fit. The side is holding the ends apart, upright and sitting in the notches in the sides.
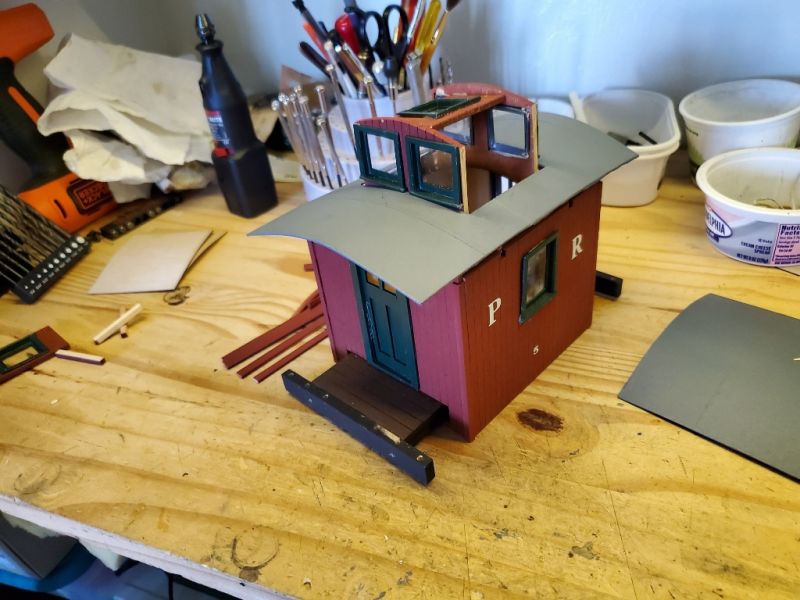
Looked like it was going to work, so I glued the corner posts to the ends ready for full assembly. I also started gluing the ribs underneath. In this pic the ribs are in and the letterboard is being test-fit. Not sure why it is too long.
You will note the blue tape on the roof ends. While the roof is painted grey, the underside is going to need a spray and masking the curved bits is tricky, so this time I taped and trimmed the painted end rib before gluing it.
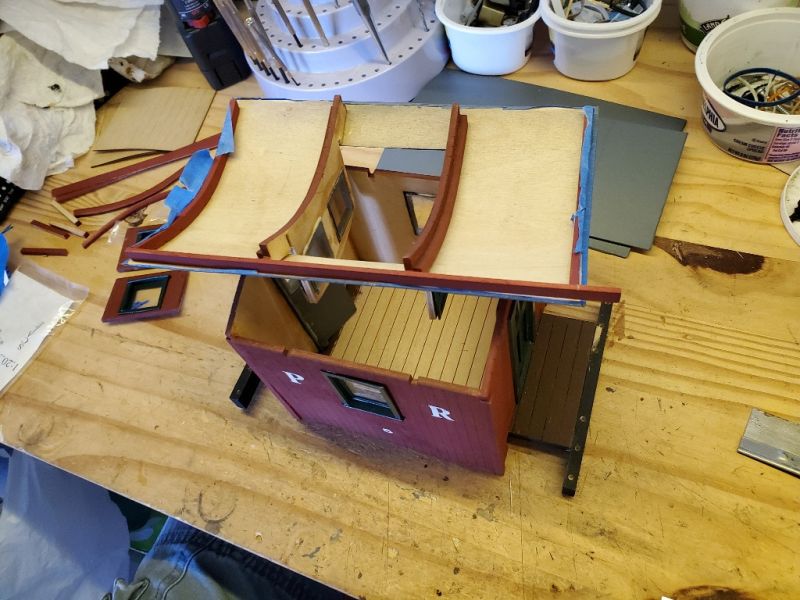
This is the flat roof. I used a spare piece of cupola roof to reinforce the center area, and I glued the first 2 ribs in place. The instructions said they were to go on the end walls to hold the roof - as I was making it removable it didn’t seem necessary. The placement of the ribs was tricky as they need to hold the flat roof in place between the ends.
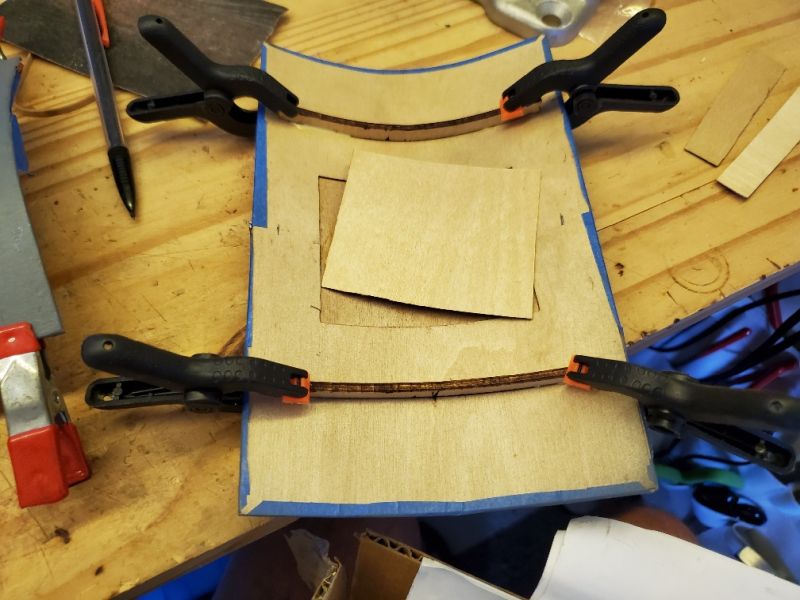
I had some scrap left over from my 7/8ths combine, including some which had held its roof ribs. There was a rib left over from the combine, so I used that at one end of the flat roof. I found another similar piece and used that at the other end, and using the original 2 ribs to use as examples, found a piece of scrap that would reinforce the center, out of sight.
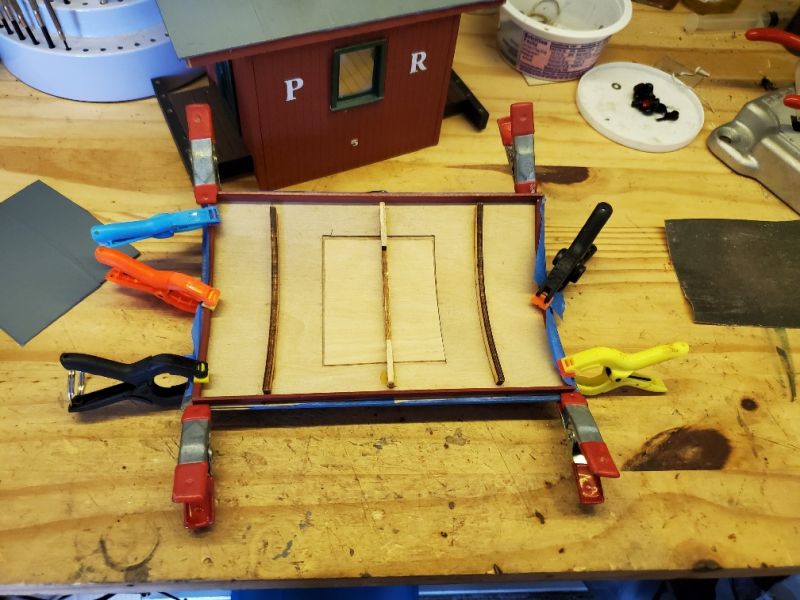
Here’s how it looks with a trial fit of the flat roof. I don’t think the caboose is big enough to have had a stove?
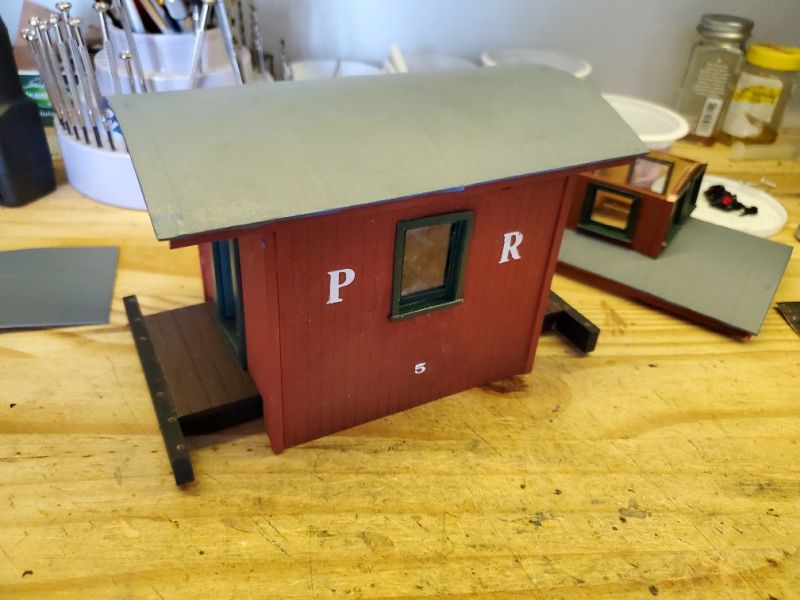
I finished masking off the underside of the 2 roofs and sprayed them with more grey paint.
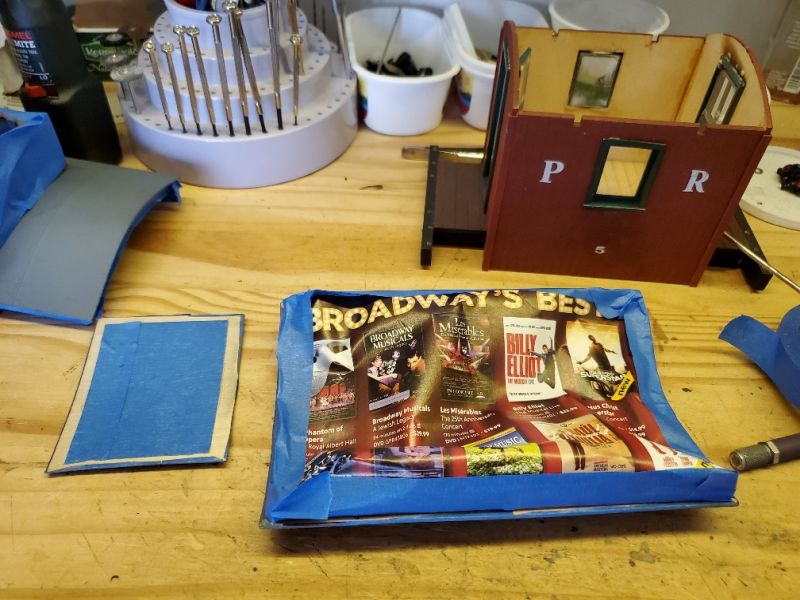
Luckily I taped over the cupola in case any spray got underneath. It did.
I had not done a great job of cutting the roof covering tape to extend completely underneath the roof edges, so I had to spend some time gluing it down properly in various places. The letterboards needed adjusting to fit the body, and I had to cut them to length and add some small blocks to fill gaps at the ends. More paint touch-up!

But the 2 rooves (roofs) are basically finished. Time to add the hardware to the body. For the end grab irons I made a placement guide/jig using a piece of old plywood and used it to drill the holes in the same places on each end. For the curved side grabs I used a ruler, as I was sure the bends were not identical - and they weren’t, so some gentle persuasion was used.
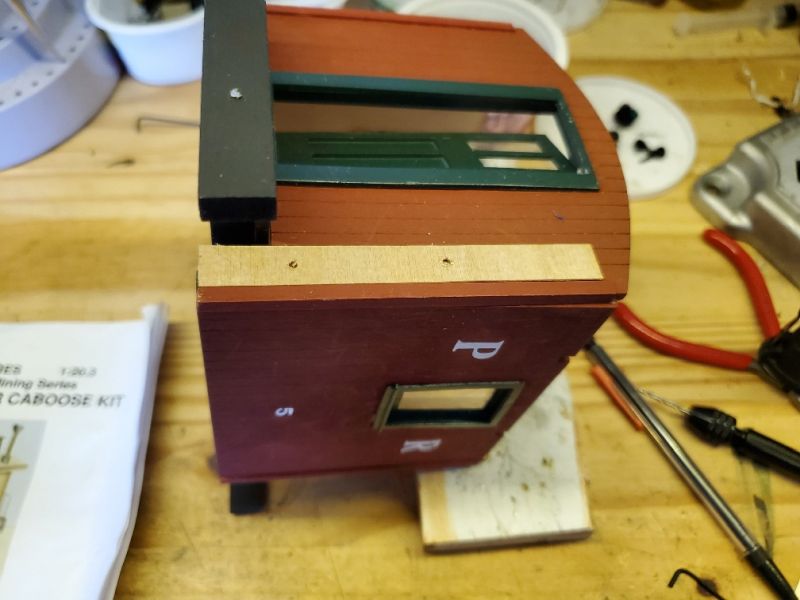
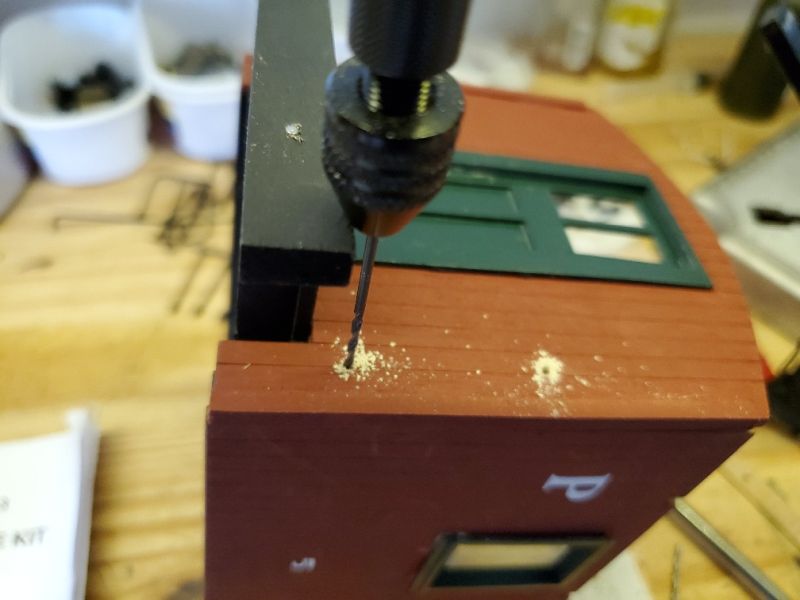
The GR reviewer said he had problems drilling the end holes for the grabs as his railings got in the way. I hadn’t fitted the railings but in any case, I used a regular drill with only about 1/4" of it in the chuck, so the latter didn’t reach to the end beam or anything else. In this pic it has just broken through.
The GR guy didn’t fit the marker lamps either. I debated it, but finally put them on. I did screw up - lost a green brilliant and glued them on the wrong sides so there is a green on the port side and a red to starboard. Very nautical but not RR practice!
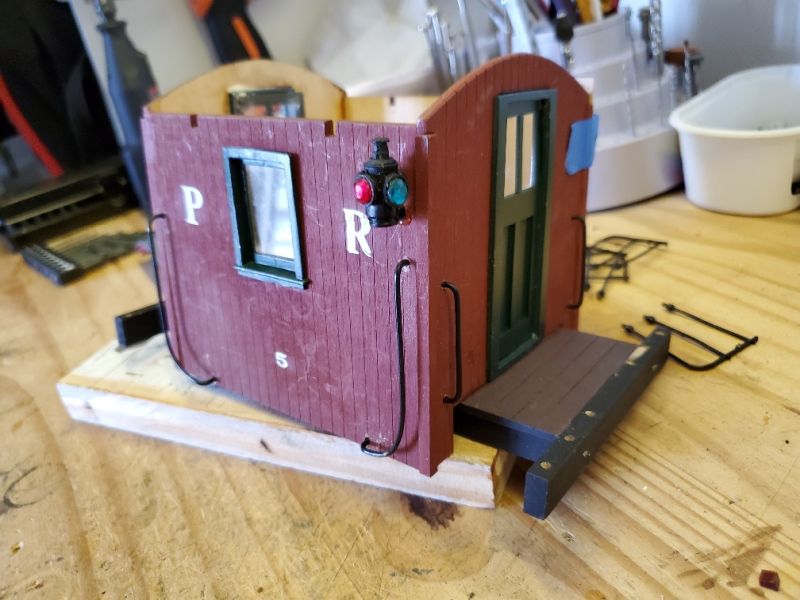
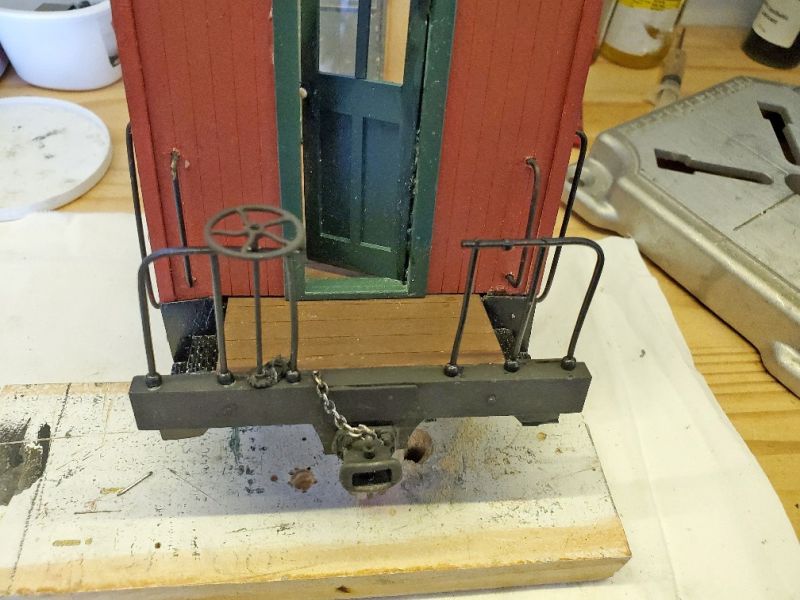
On to the steps. As the GR guy said, the corner posts get in the way so I cut them down. I was also pleased to see that my planks were over the top of the steps due to the sliver I had cut out of the main beams. More paint touch up.
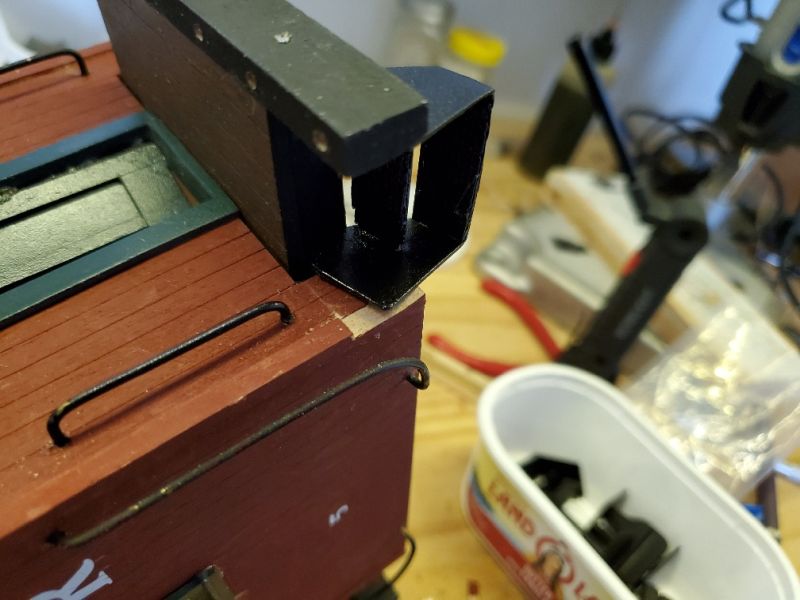
At this point I gued the cupola roof in place and did another test fit. All seems well . . . The metal railings are very soft, so they are not getting added until everything else is in place.

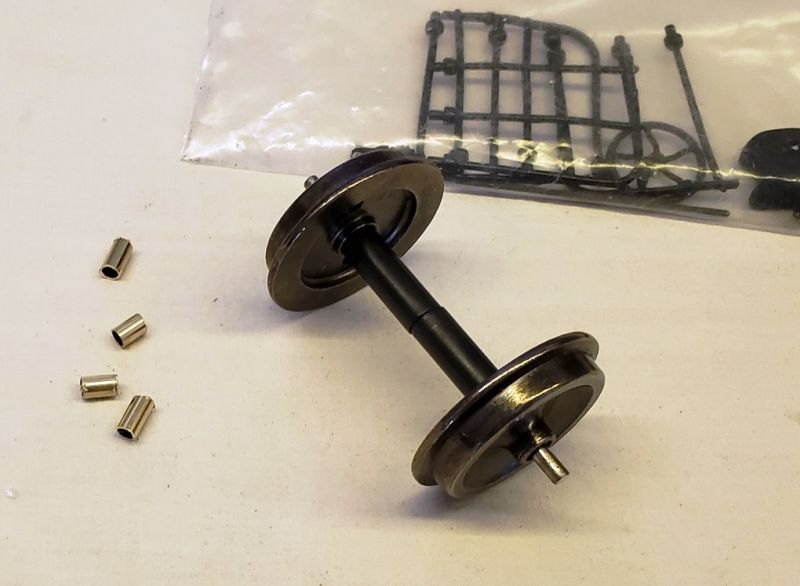
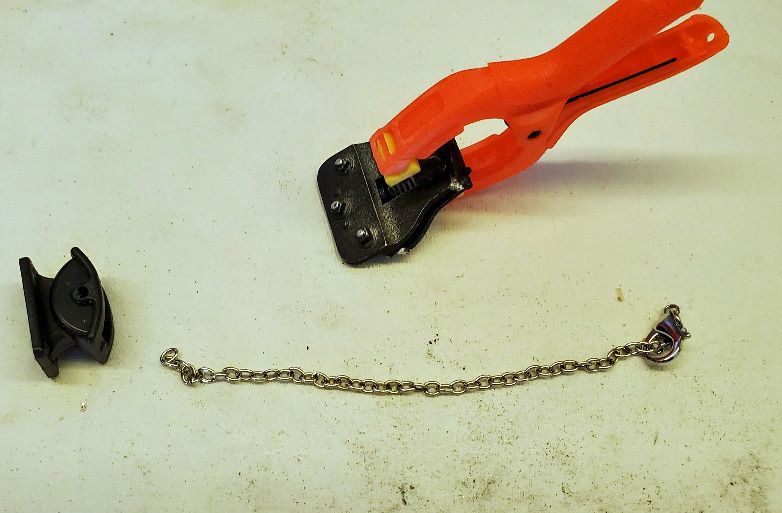
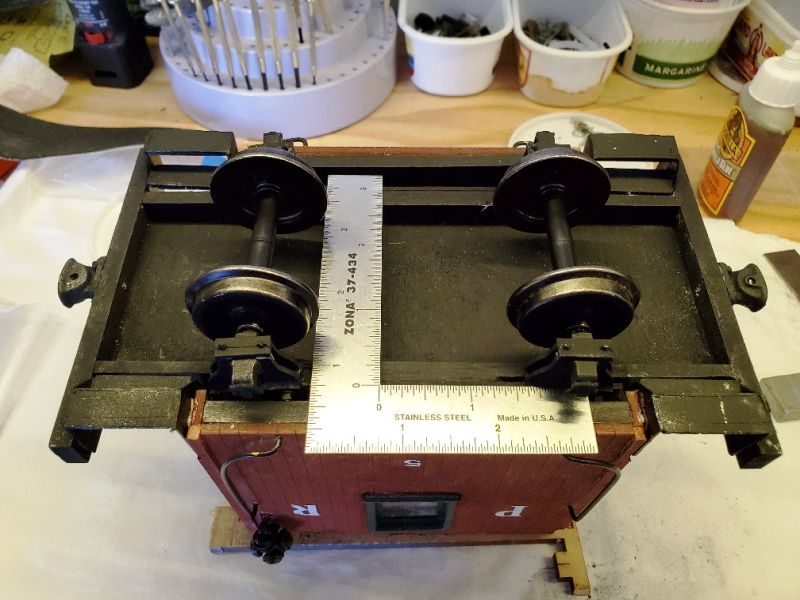
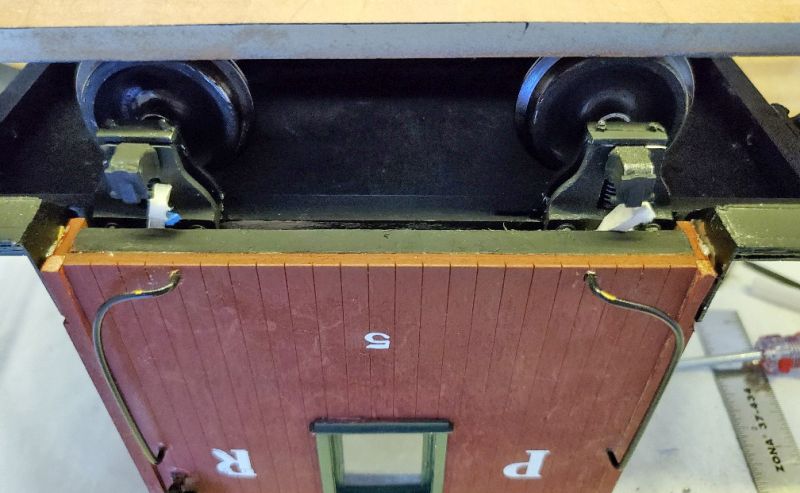
On to the underframe and journals. The kit came with a pair of standard Bachmann wheels. (The small ones would probably look better.) I clamped the journal halves in a clip and tried to figure out where they were going to be mounted. AS I had cut the beam back to match the stairs there was another consideration - no beam to attach it to!

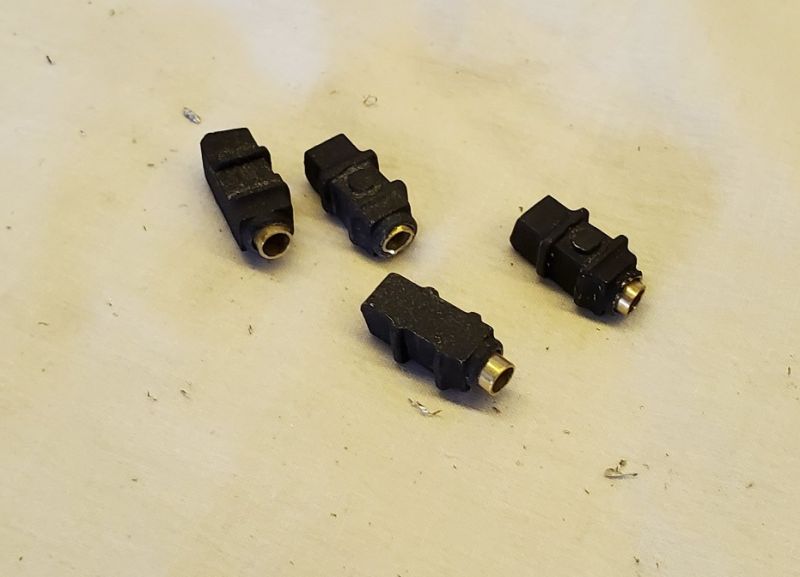
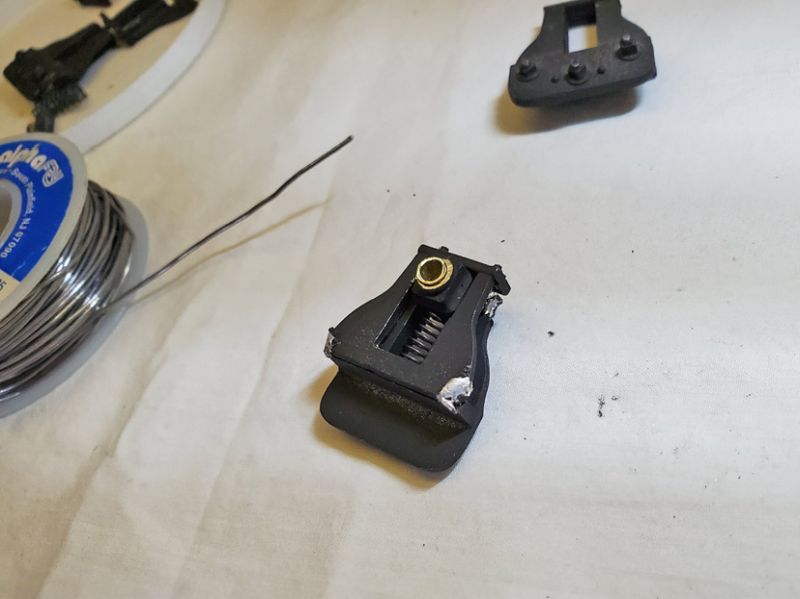
I worked out that a thin strip of wood down each side of the beam would give me a surface to attach the journals, and it would space them adequately. After the glue set, another test suggests they will fit. However, the kit provides white-metal axleboxes, and there’s no way that’s going to work in real life. I ordered some 5/32 brass tube, as my local hardware seems bereft of K&S tubing and I can’t really go out and search for some.
I am probably going to solder the journals together, as there is plenty of metal and I have a very small soldering iron that doesn’t provide a lot of heat. I’d really like to bolt or screw the journals to the beams, so that I can swap the wheels later if I want to, but at the moment I see no way of doing that. Inspiration will dawn, I’m sure.
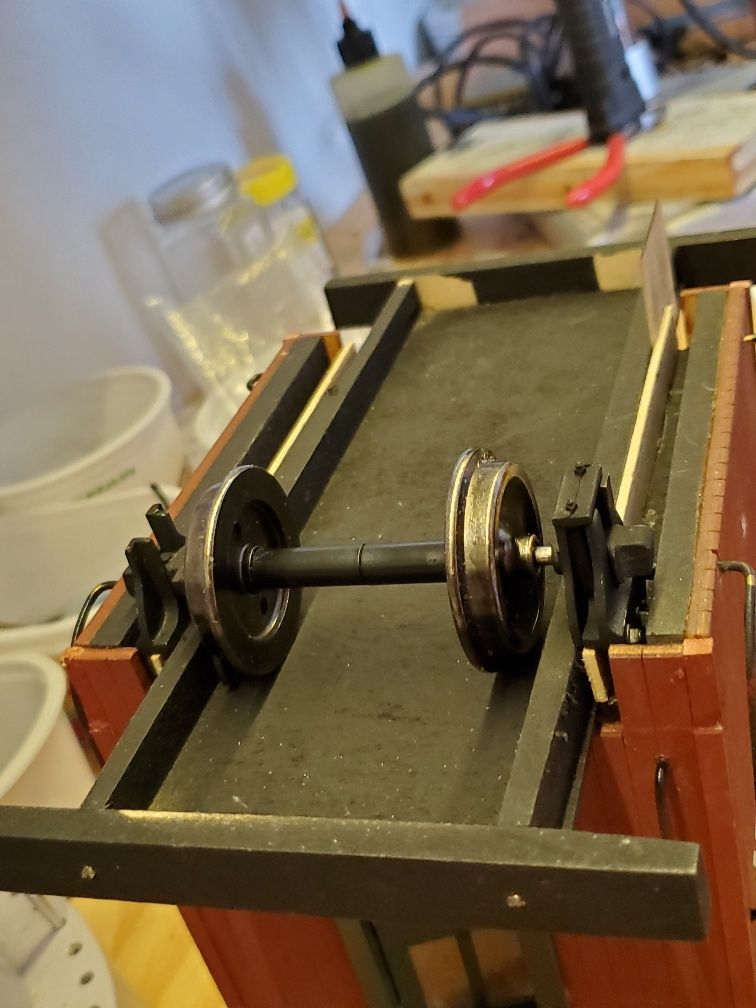
There is quite a bit of paint touch-up which I did this morning and yesterday. You can see on the photo above that I painted the corner post where I had to cut it back. How I do this when using spray paints is to take a bit of plastic junk and spray it in one place until a blob forms. Then, with a paint brush, pick up some paint and use it on the small places that need it. Repeat if necessary. Make sure you have some paint thinner handy as the spray paint coagulates/dries very quickly and your brush will need cleaning immediately.
The rest of the touch-up was acrylic paint: flat black for the new pieces of wood in the above photo, and various parts of the end beams that needed paint. Windows I did with some dark green that I mixed from satin acrylic - it won’t be noticeable in such small places on the windows and doors. I used the same satin black to touch up the grab rails, which (being brass) are always reluctant to stay painted.
And that’s where we are today, waiting for the tubing. I think I’ll let this post sit as it is and add the rest later (maybe much later - next week,) when I get to finish it.
