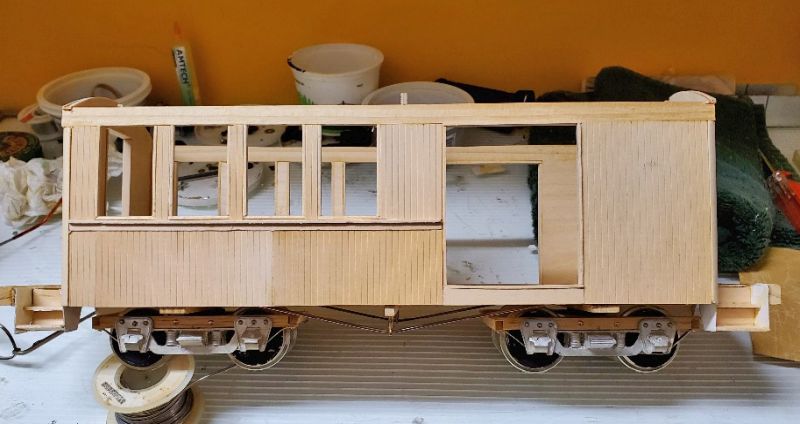
While I am waiting for some cooler weather to try my Ford Canyon Red on the Emily coach, I dragged out a “kit” for a 26’ coach made originally by Ted Stinson of Northeast Narrow Gauge. Ted passed a few years ago, and my kit must be 10-15 yrs old. He was the guy who did the plans that were given away in GR Magazine in the early 2000’s.
I checked my ‘plans’ file and found not only his original plan for the combine, but also the plans for the interiors of his 26’ ‘shortie’ coaches. Interestingly, while the kit has the same plans in it. my one-piece fold-out plan has construction instructions, which the kit does not!!
Anyway, I’m not going to post detailed step-by-step build instructions, as these kits are few and far between. But a few photos and interesting issues that occurred might be of interest.
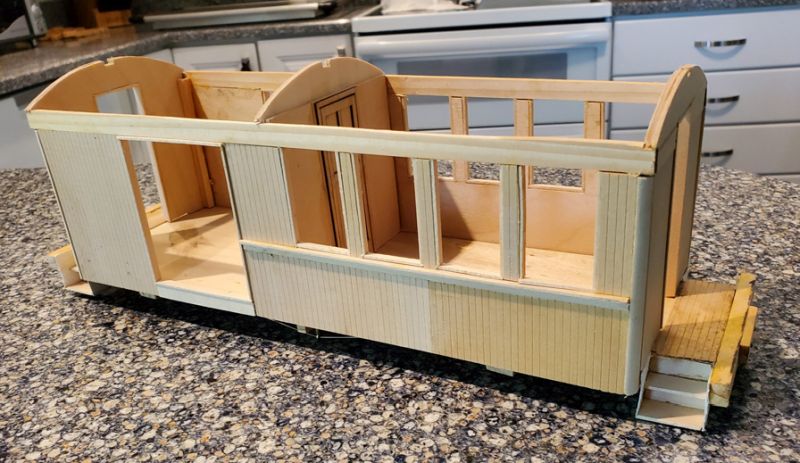
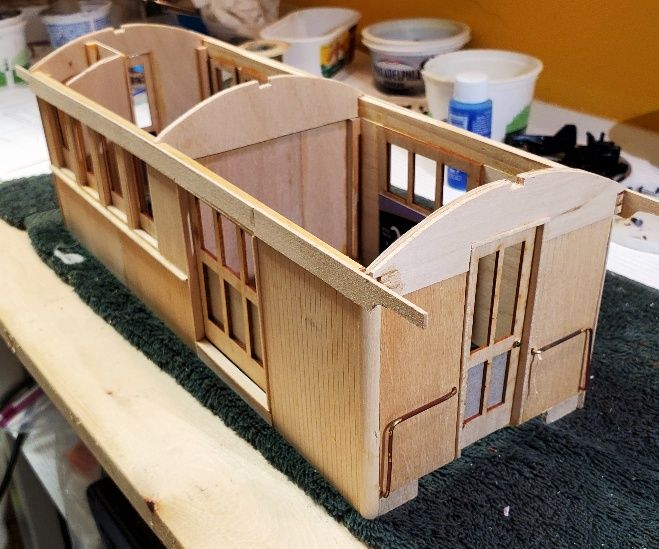
Having made or modified several coaches in the past 10 years, I had a pretty good idea what was what. I had some 1/4 round wood left over from a prior coach, so that got used on the corners instead of the square supplied. I used the square stock to reinforce the inside of the corners.
The scale wood supplied is a bit rough, and even after sanding it looks rough. The previous owner had actually started to build it, and had used scribed siding for the end platforms, instead of the 1/4" planking supplied, and the steps use cardstock for the sides and he had used card for the steps - and glued them in the wrong place - so I had to rebuild those pieces.
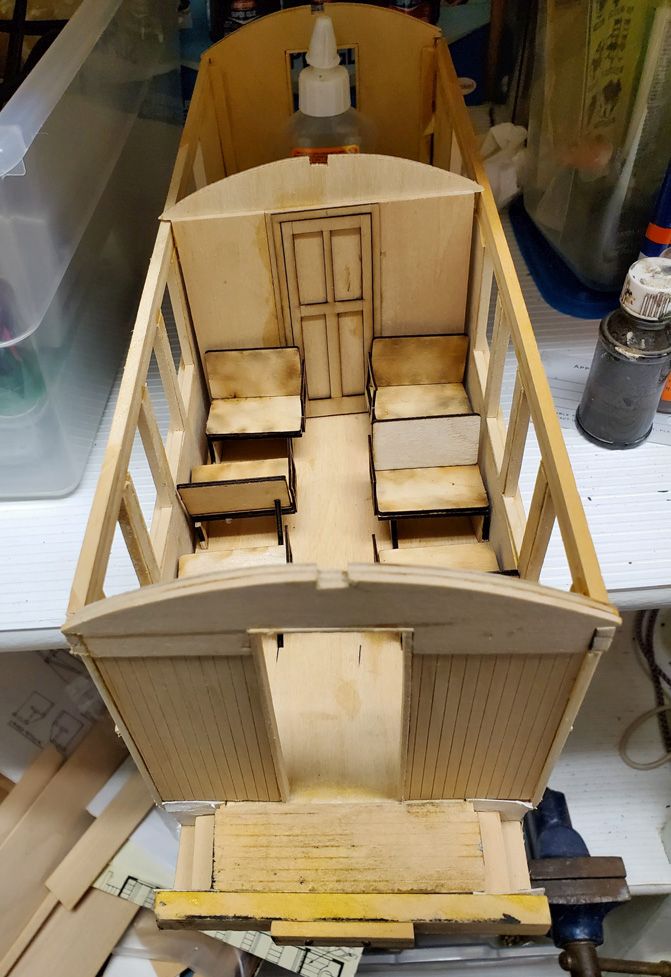
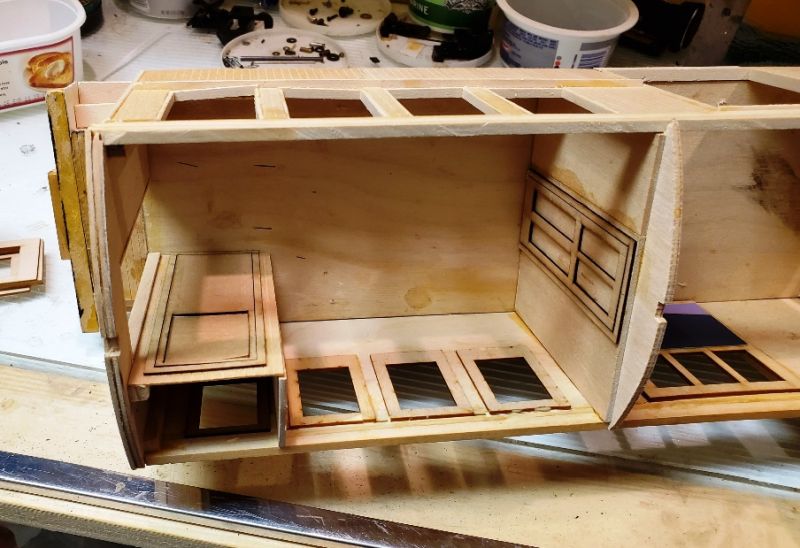
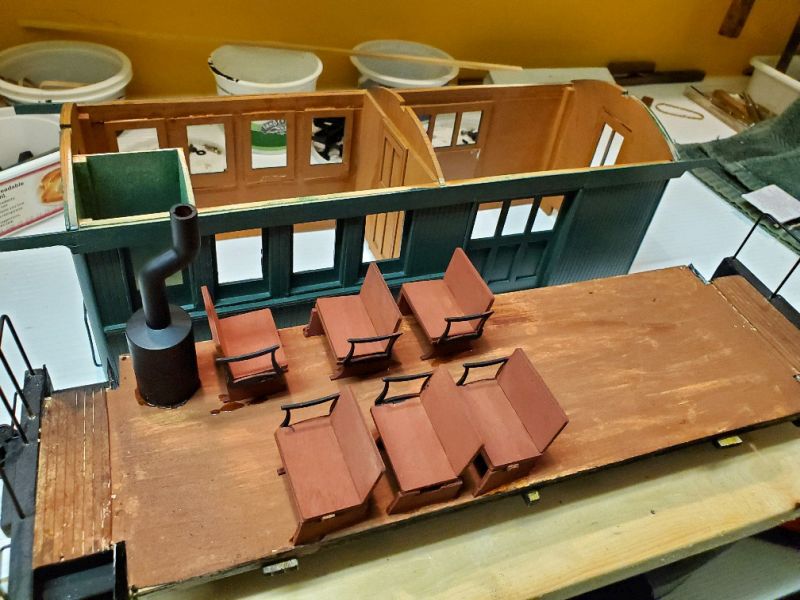
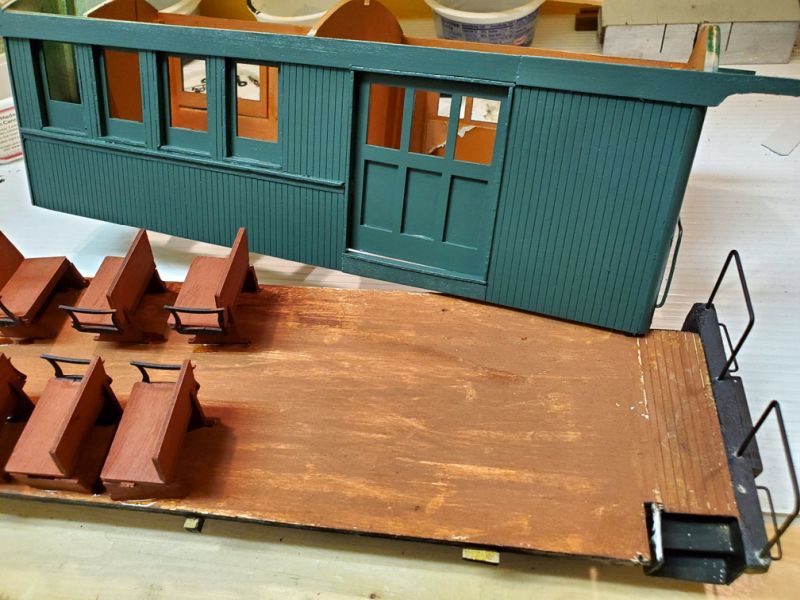
I poked around inside my bags of leftover wooden parts and found 1/2 the parts for 6 seats so I made do and left off the arms on the wall side.
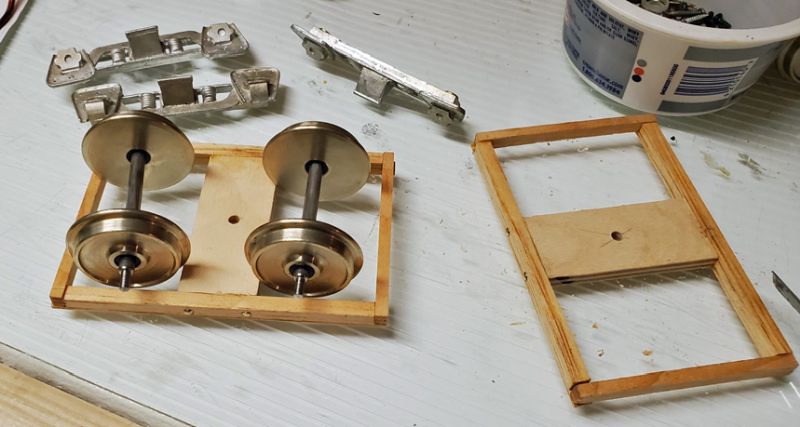
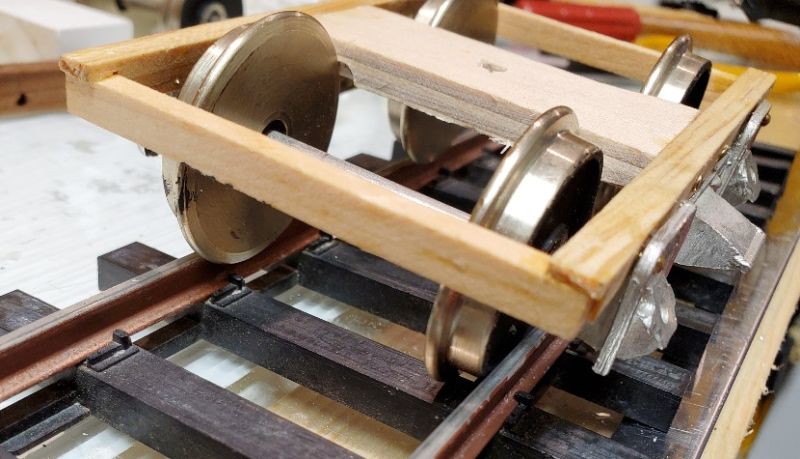
Much more insteresting are the trucks, which have whitemetal castings and a wood frame. I was extremely dubious about the dimensions involved, as gluing the wooden frame doesn’t make it easy to correct the width, etc. As it turned out, the bolster was wider than the ends so that needed ‘adjusting’.
I painted the wheels black as I spray everything and prefer not to get paint on the rim/treads. The sides have to be glued and pinned to the sides, so this pic shows the tools - a ‘drift’ was essential (flat ended round chisel-type device, for hitting nailheads when you can’t get a hammer at them?) Pre-drilling most of the holes was also advisable.
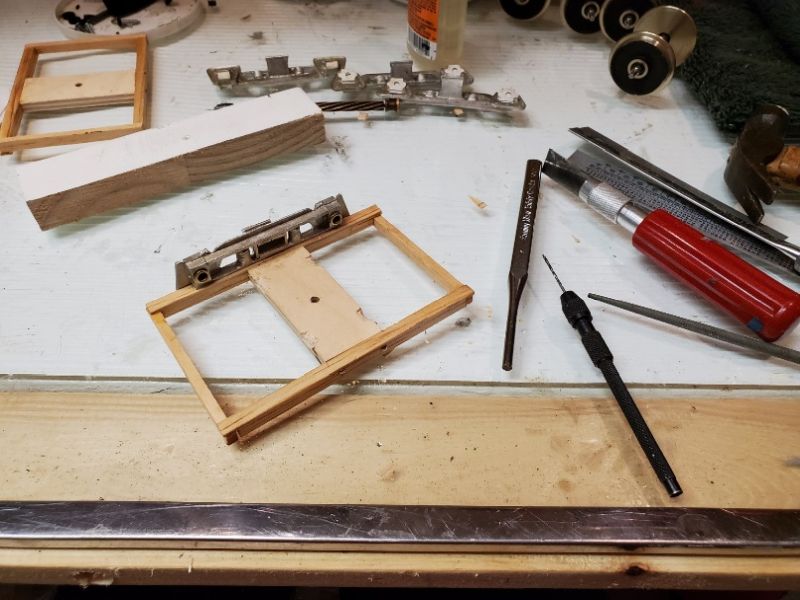
Then, after I installed the wheels, I found they hit the bolster, so (as you can see above,) I had to cut some clearance for them. Finally, they were all together, with plastic spacer washers to keep the wheels centered and away from the sideframes.
I put them on the track and got a nasty shock. The wheels didn’t fit the track.
Somewhere along the line they had been squeezed. I should have checked the back-to-back before installing them, sigh, so they had to come out and be spread a little. Now it runs nicely, and then I found some “square wire” as Ted calls it, which is strap for the underside of the sodeframes, so I’ll have to come up with a jig or similar for making 4 pieces. I have some nails left, so I think I will "bolt’ them underneath the end beams.
