The second half of this step by step on aging iron machinery is about to start so grab a (insert favorite beverage) and we will get started.
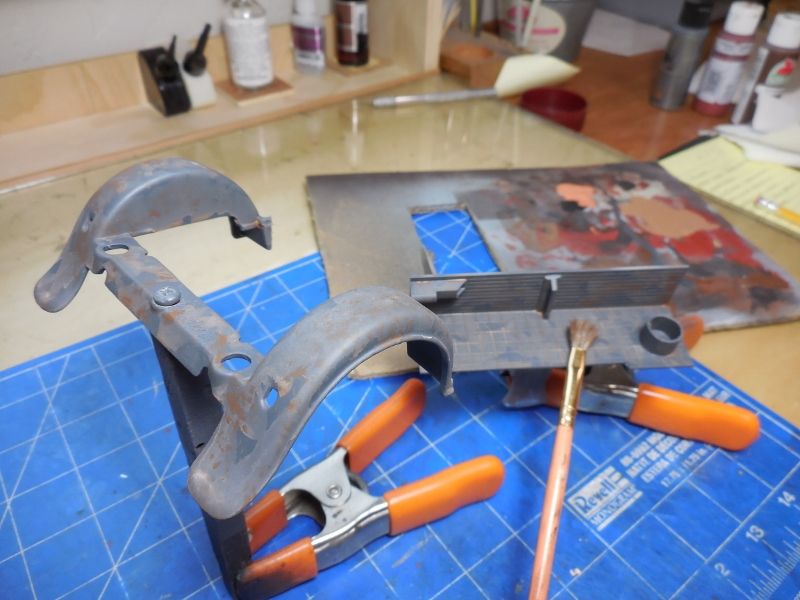
 I know that most of this picture is a little fuzzy but you can see my point on the near fender. The Krylon Matte has been sprayed on and let dry at least a day. You can see the surface looks slightly “rough”; this gives the “tooth” for the weathering coats that I mentioned earlier.
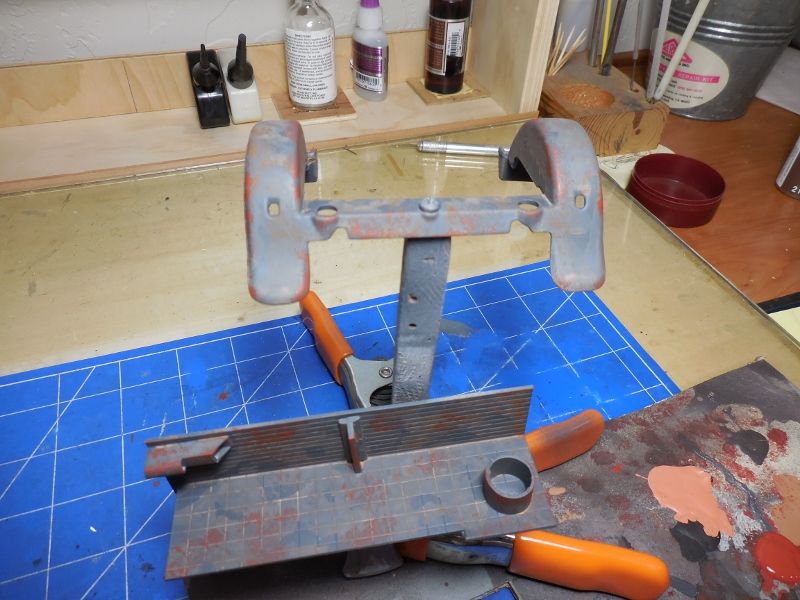
 The Brown Oxide craft paint is applied in a splotchy manner over the work. The paint is mixed/thinned on a cardboard pallet to different consistencies/colors and dabbed on or let run depending on the preference. This color coat is left to dry for a day.
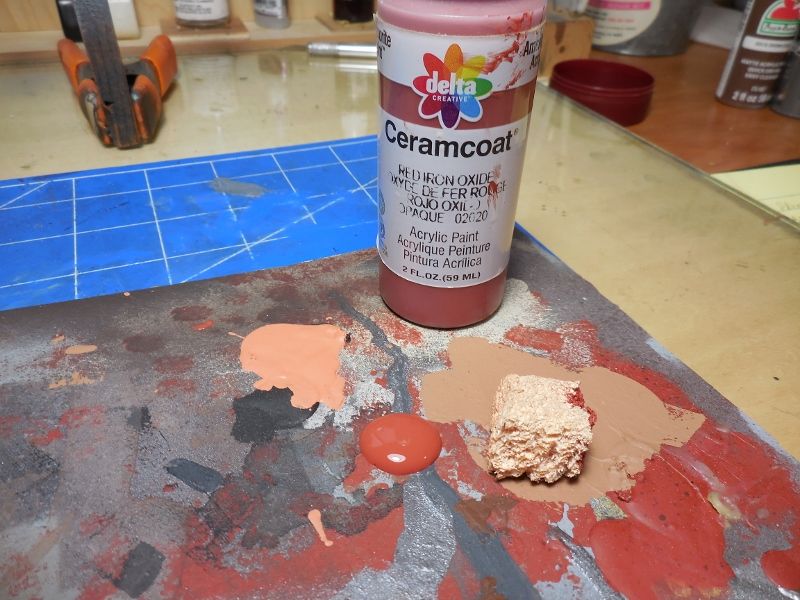 Now the Red Oxide for the darker rust is applied using a small piece of torn sponge. A very small amount of the paint is picked up on just the rough tips of the sponge then dobbed off on the card board to get rid of the excess paint before being applied to the work piece.
 After you have applied the amount of darker rust colors to your satisfaction let the pieces dry for at least a couple of days.
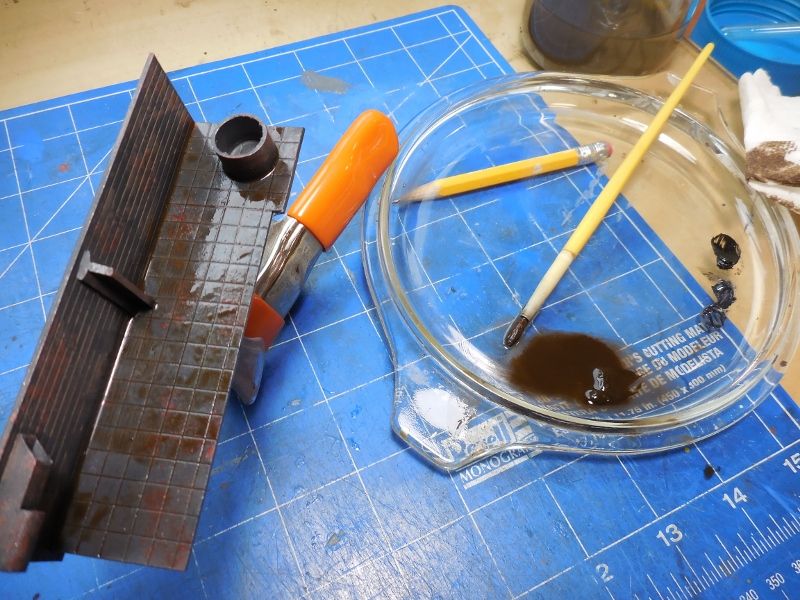
 Now the leather dye/alcohol wash is applied, usually one coat is enough but I sometimes use two depending on the depth of darkening I want. This wash will usually dry fairly fast, but allow a couple of hours in case there was any softening of the underlying paints.
 Now the Gunmetal Gray Metallic is dry brushed on very lightly. Dry brushing is accomplished by squeezing out some paint and picking up a very, very small amount on a wide, somewhat stiff brush and brushing most of the paint out on a piece of card board or other surface, then very lightly stroking the brush over the work surfaces. This color transfer should be very light and take multiple coats, it’s easy to add more color but very difficult to remove excess.
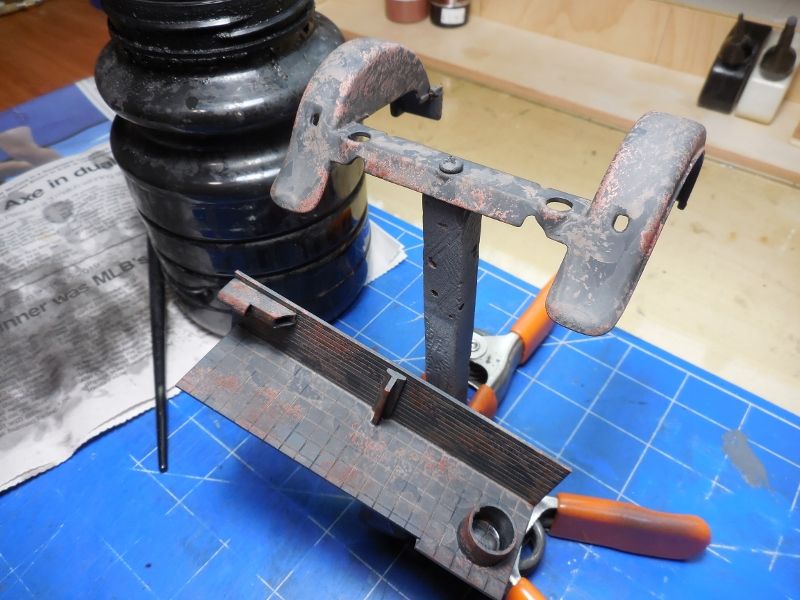
 For the oil paint washes I start with the Raw Umber as an overall coat of dirt and grunge. Using the turp thinner different paint consistencies are used for different effects and depth of color. After letting this coat dry for an hour or so I move on to the oil/grease look. Though we usually think of grease/oil as being black they really are not so I use different mixes of the black and gray sometimes adding in some umber to try for a better color look.
 In these two views all the washes are applied and drying, the blacks and whites showing against the base Umber colors. Of course the oil smears and white lime deposits have no real purpose on these pieces as they would on a Donkey Engine where we have gears, bearings, boilers and water pumps.
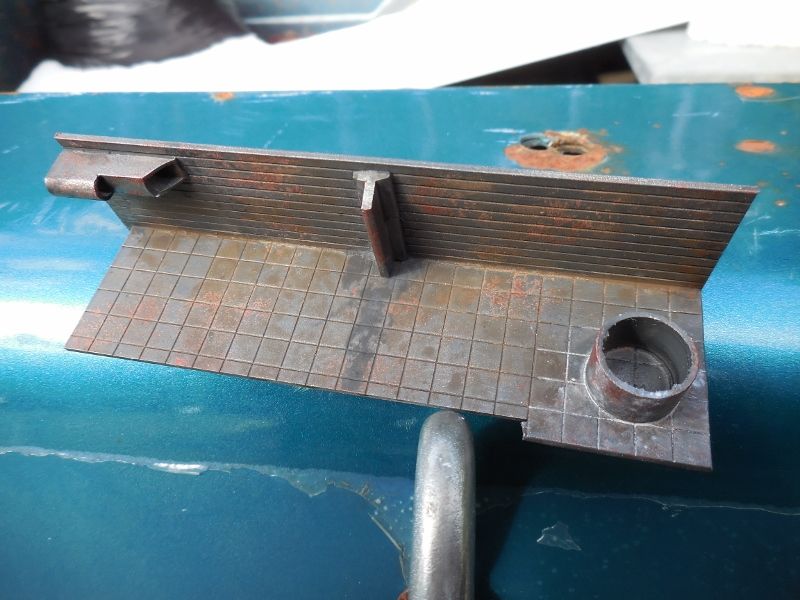 The last two pictures were taken indoors, in these next few shots we move outdoors to natural light, you should be able to see what the different light does for the colors. In this first view you can compare the work piece to the natural rust on the old trailer that it is sitting on.
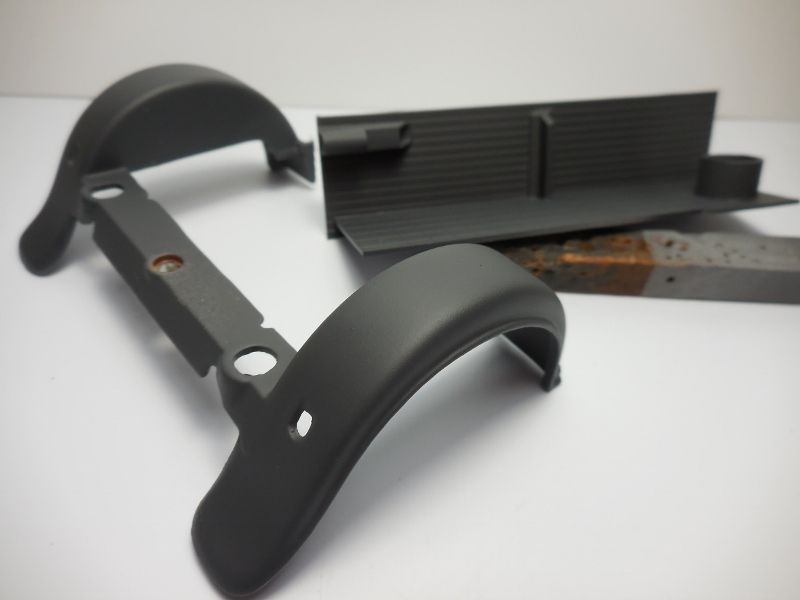
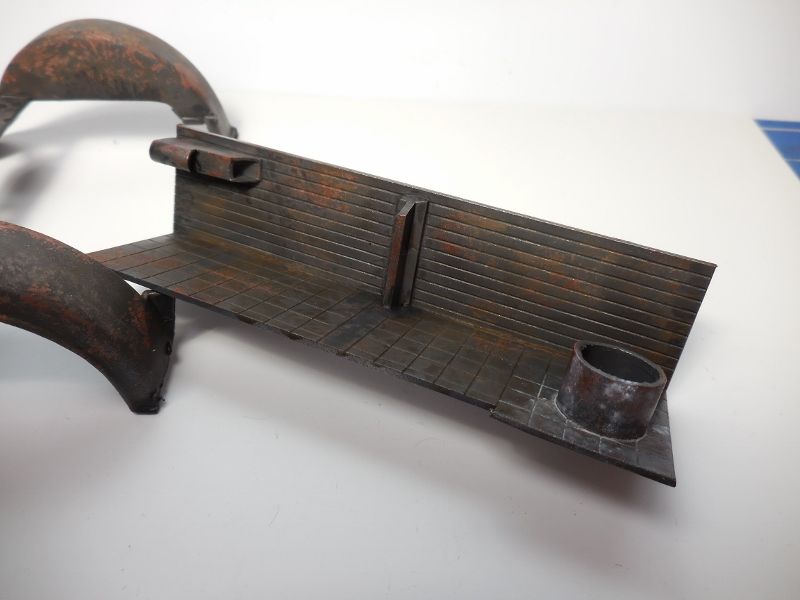
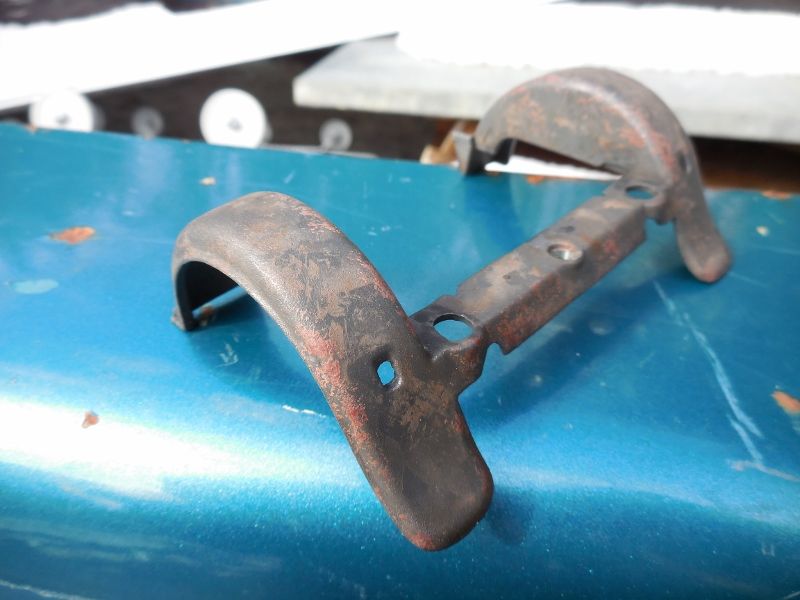 Here is a close up of the fenders; I think that real fenders rust a little differently than the way these look. But we are trying for an old machinery finish and these fenders were used just to show that the treatment can be used over a pre-painted surface.
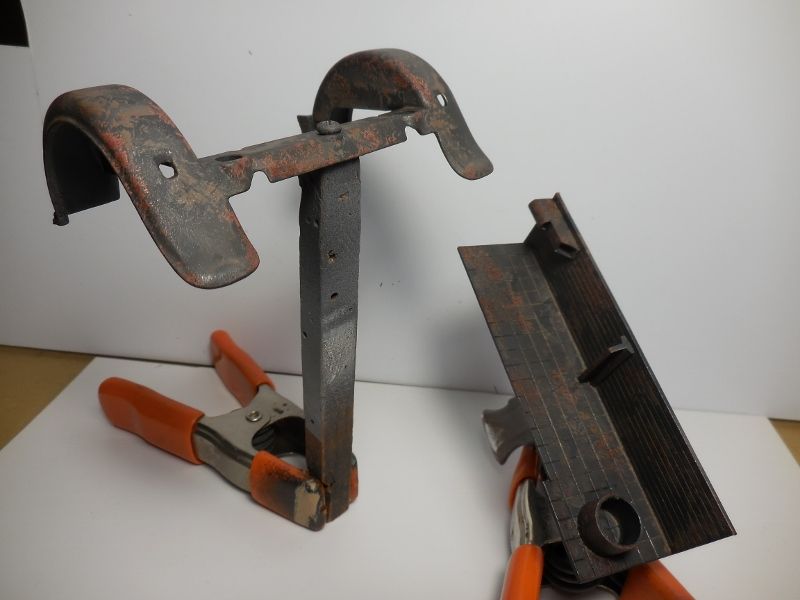
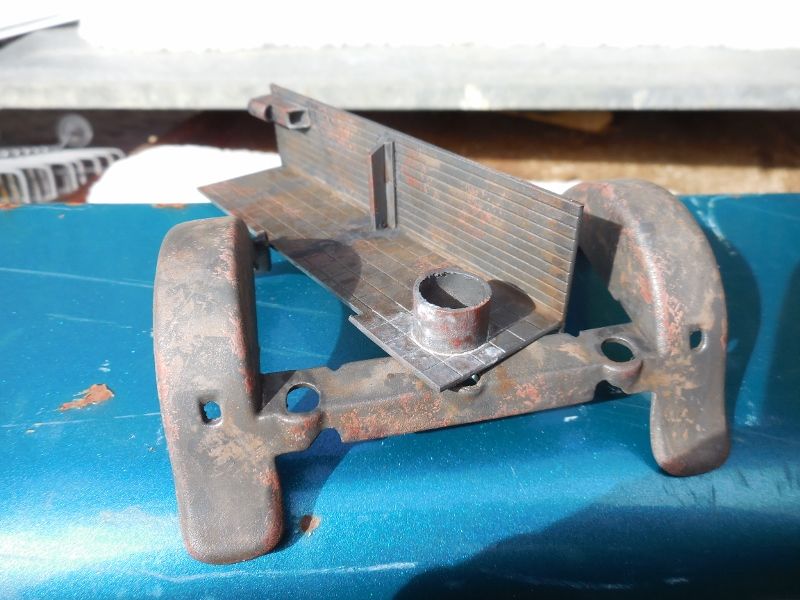 Another view of the two work pieces.
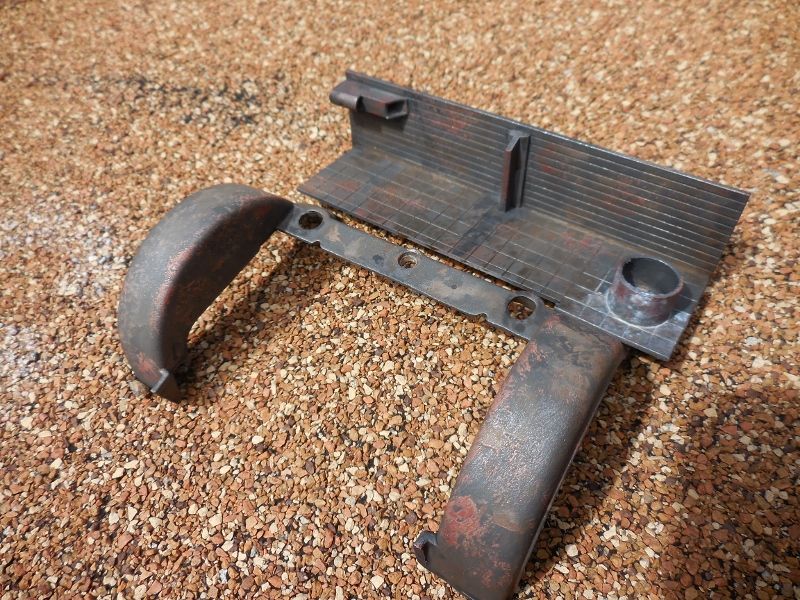 Again but against a different background.
After the oils have dried for several days they can be top coated with the Krylon Matte for a base if you wanted to go further using chalks or powders.
That about wraps up the procedure I used on the Heel Boom builds machinery, hopefully this will be of some use to the guys out there, if nothing else maybe it will give you a good idea of what you don’t want yours to end up looking like. ;)
Rick Marty
Feb 2019
Please post questions or comments here...
https://www.largescalecentral.com/forums/topic/29288/weathering-topic/view/post_id/382272