In building my Passenger car fleet, I have hit a few snags that I have had to work around. Some not so bad some real head scratchers. When I first got into large scale I bought 9 Aristo streamline passenger cars. They were a miss matched bunch of road names as I rework everything I buy before it hits the rails.
Not knowing any better I first took two diners and cut off both of them just past the kitchen door and proceeded to make an articulated chair car. Proud as I was with my accomplishment I toted it to the ECLSTS to show to Lewis Polk to see if there were any way to just get a few unmolested blank bodies so I could make the cars I wanted. As I said to begin with I just didn't know this was a no no. Uncle Lewy proceeded to tell me that his aluminum passenger cars could not be modified or altered without a full machine shop. I didn't even show him the articulated car I had produced with a Zona saw and some drill bits and files.
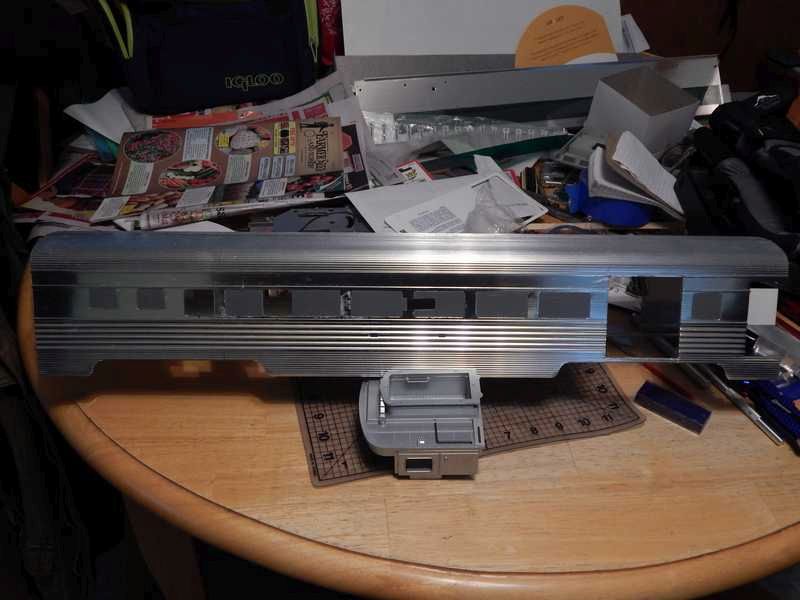
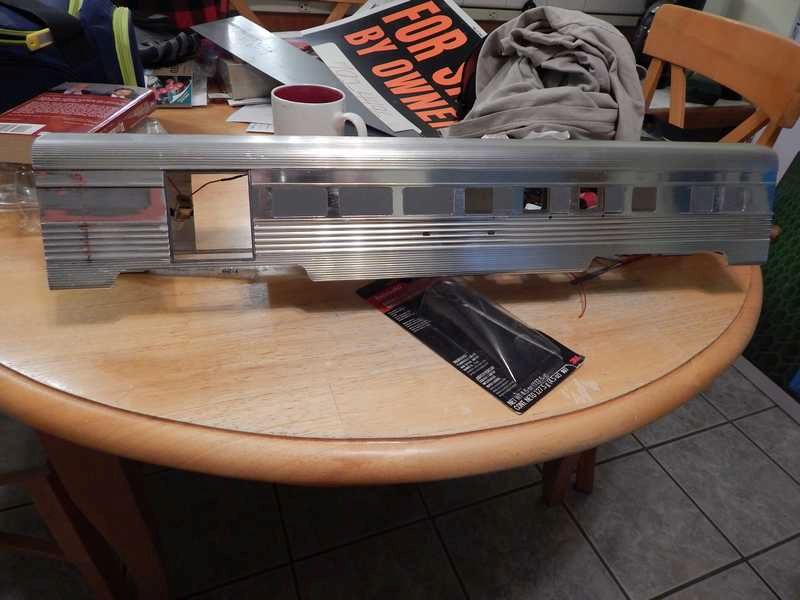
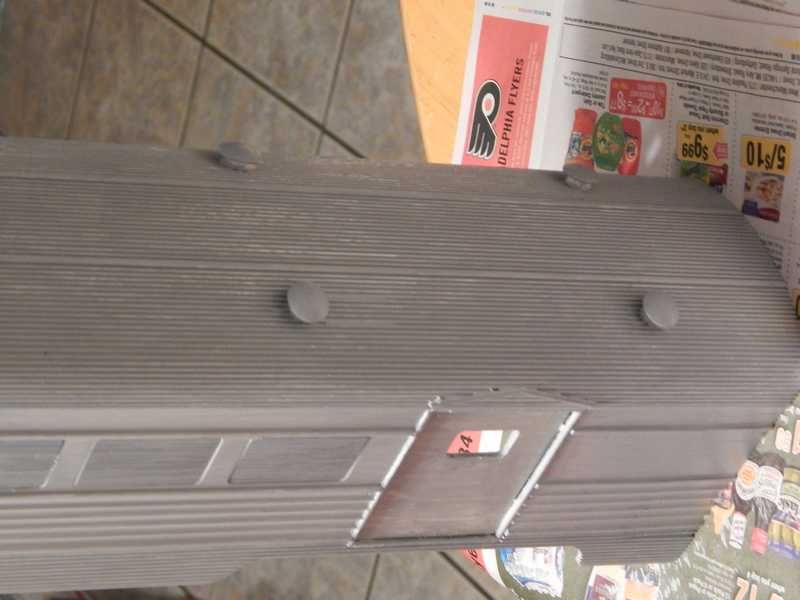
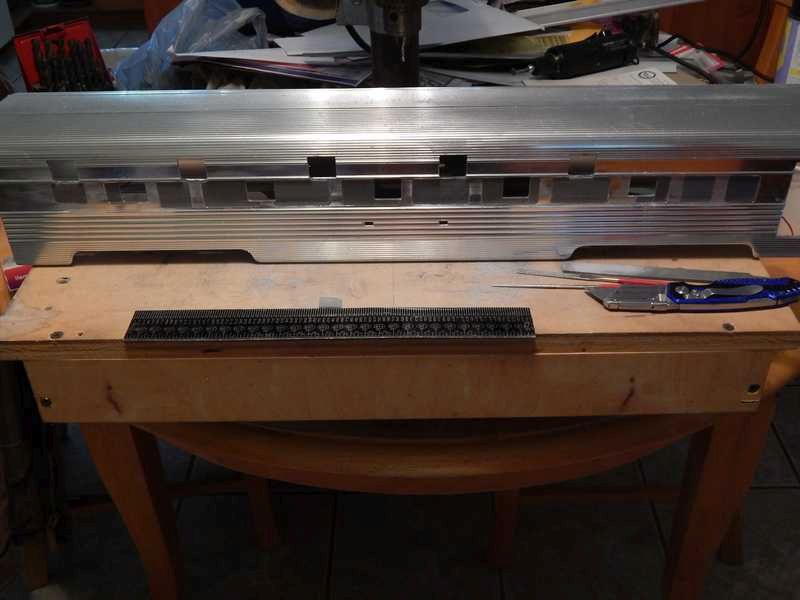
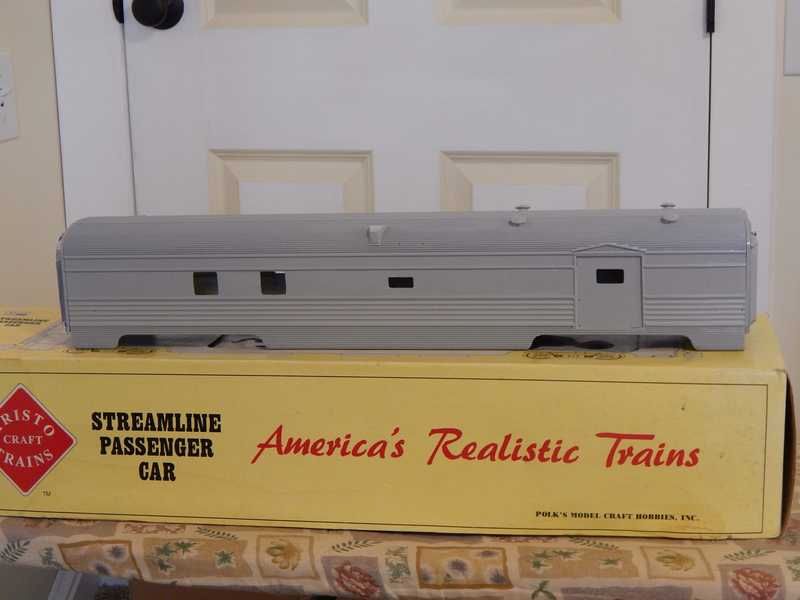
Any way I failed to let Uncle Lewy deter me and have produced my own set of passenger cars. What I am starting with here is a coach I am turning into a Dormitory baggage car.
Coaches are in abundance where baggage cars are harder to come by.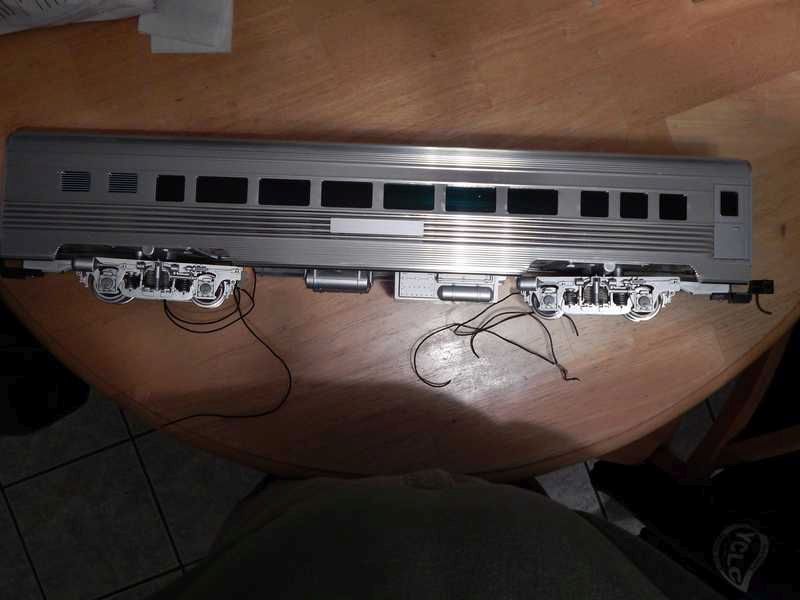
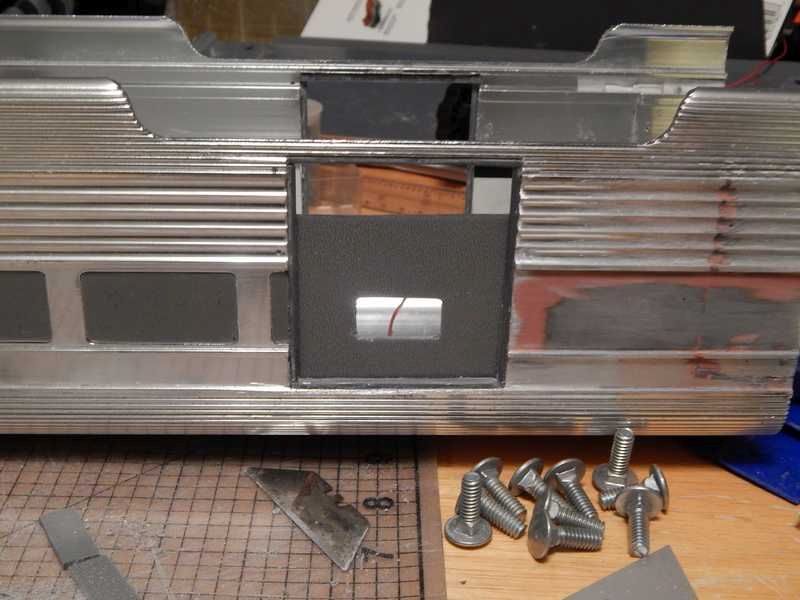
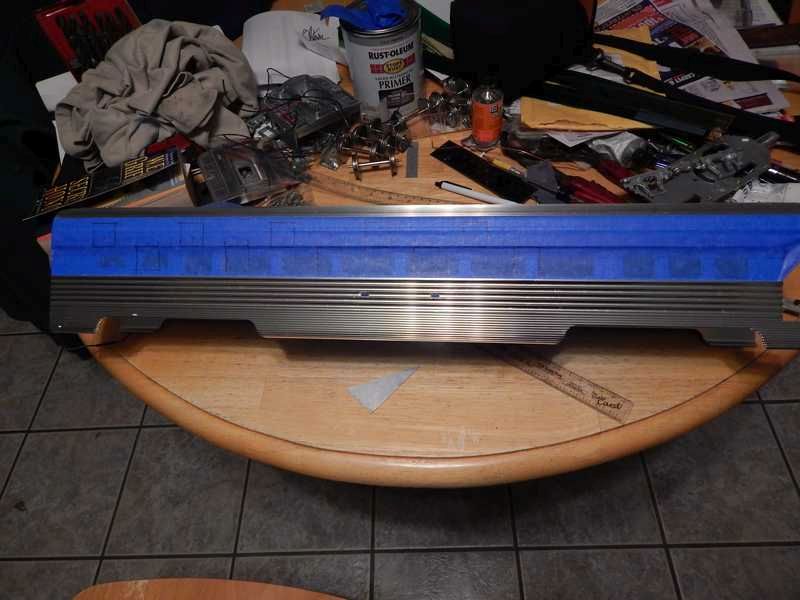
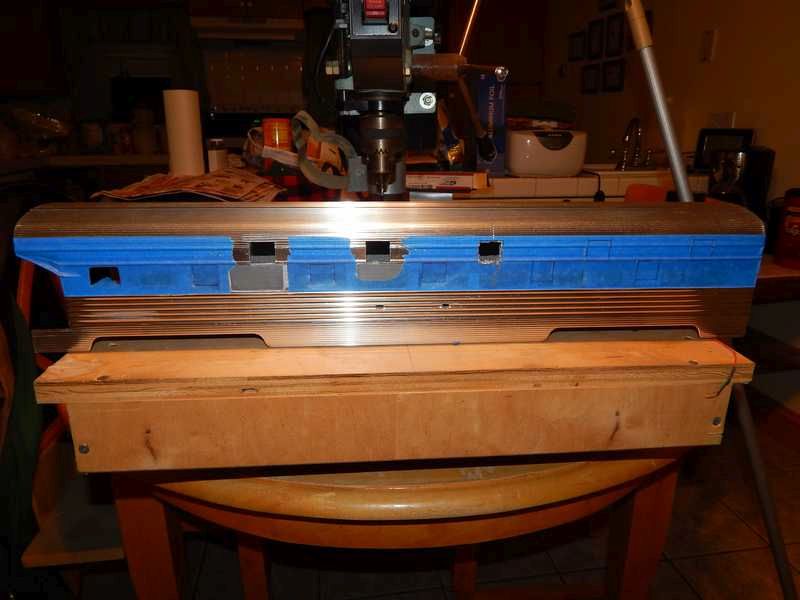
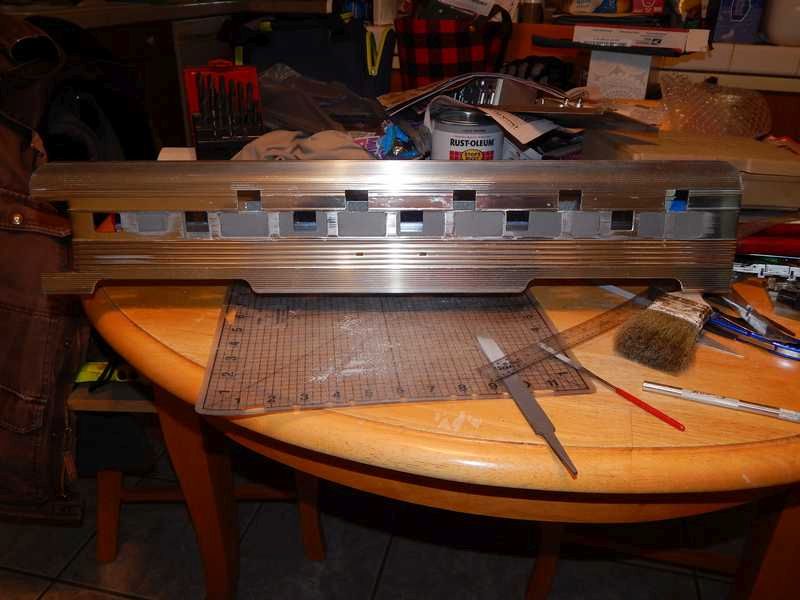
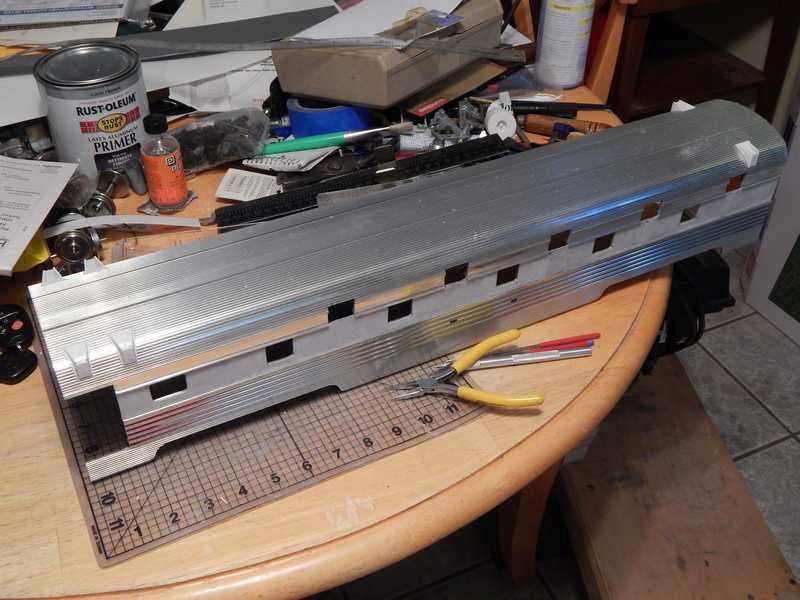
I will be blanking out most of the windows and cutting out two baggage doors at one end. Again I give fair warning 'Do Not Try This At Home Without A Full Machine Shop.
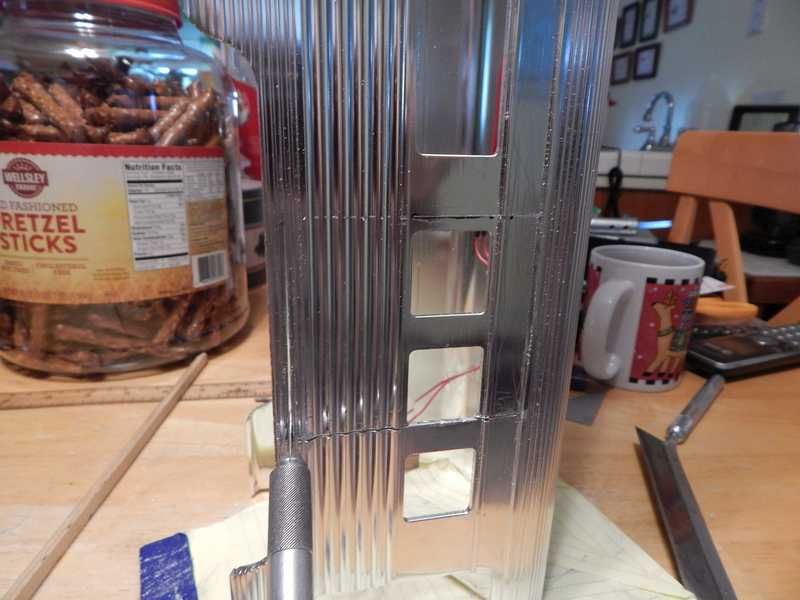
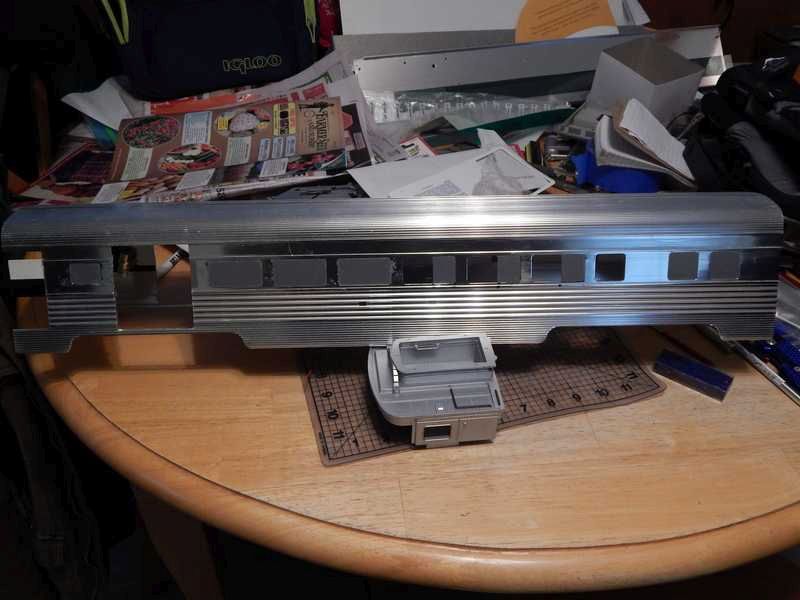
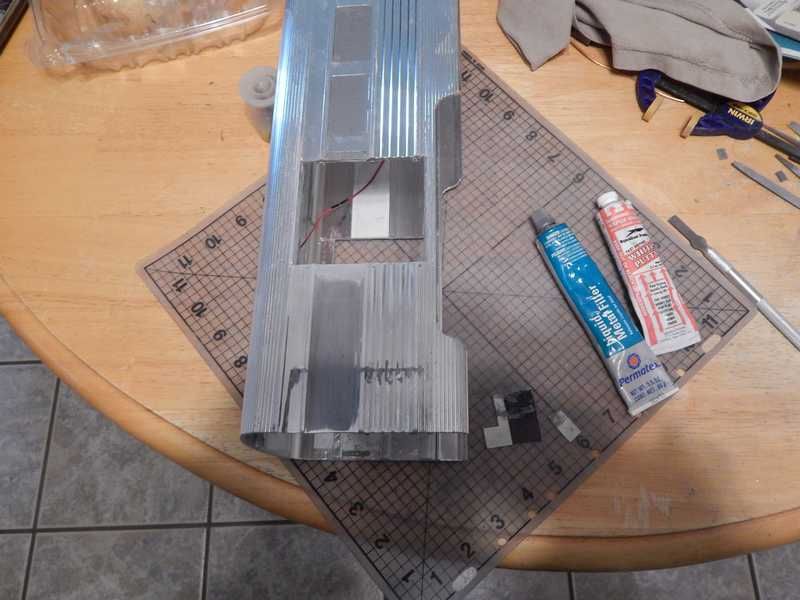
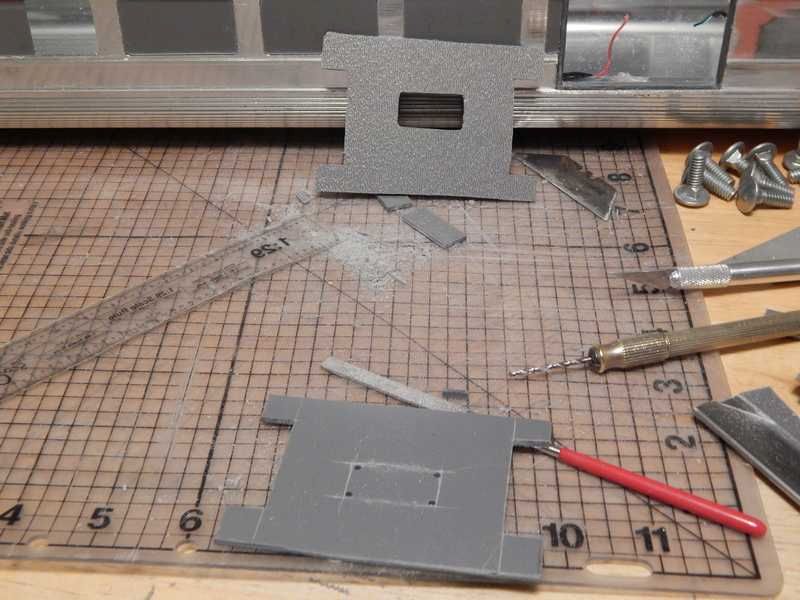
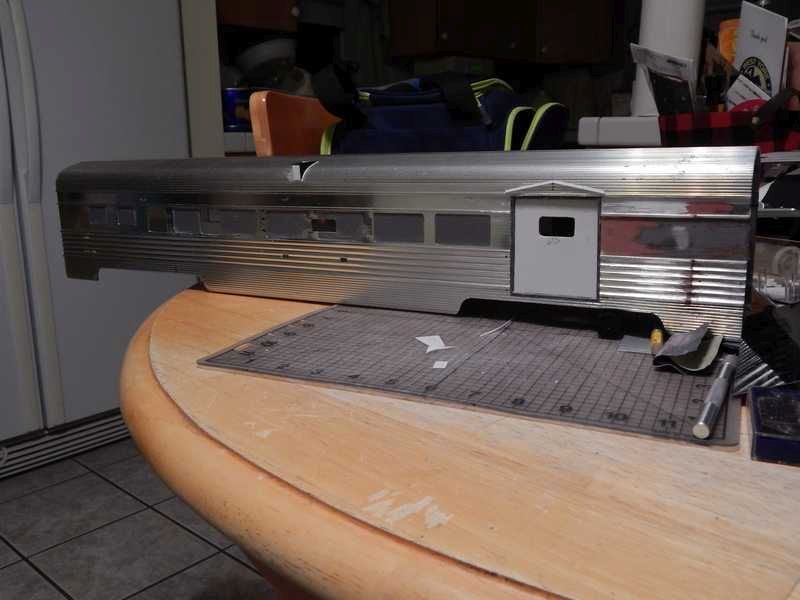
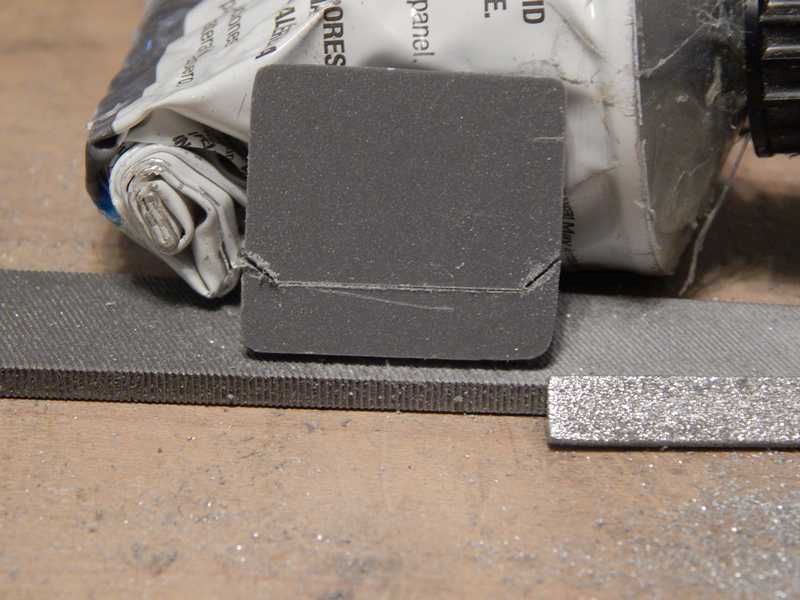
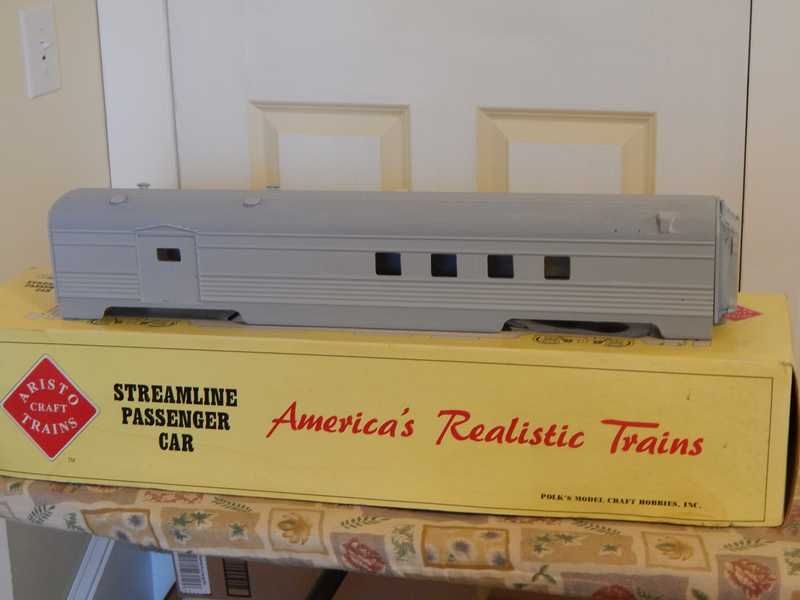
In the above pic you can see a couple of the tools I use to make the cuts. You should be able to see the two horizontal cuts for the baggage door.
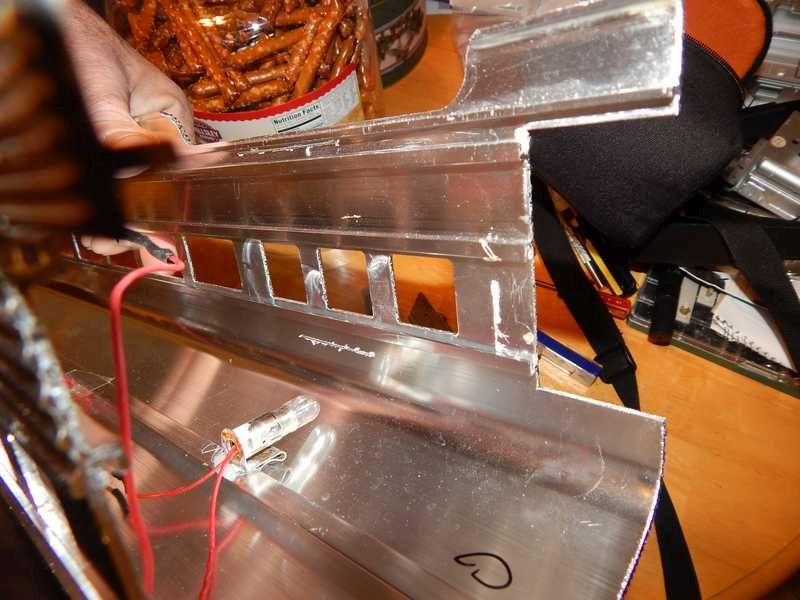
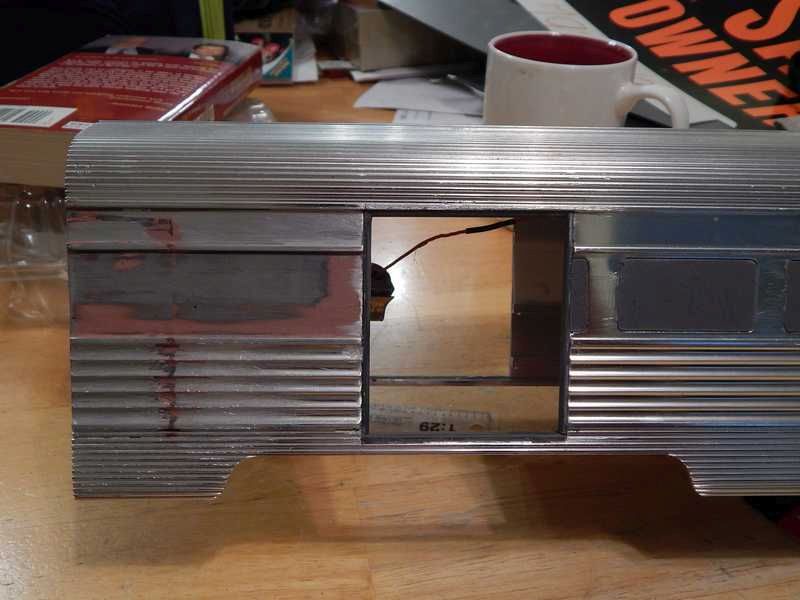
And from the inside.
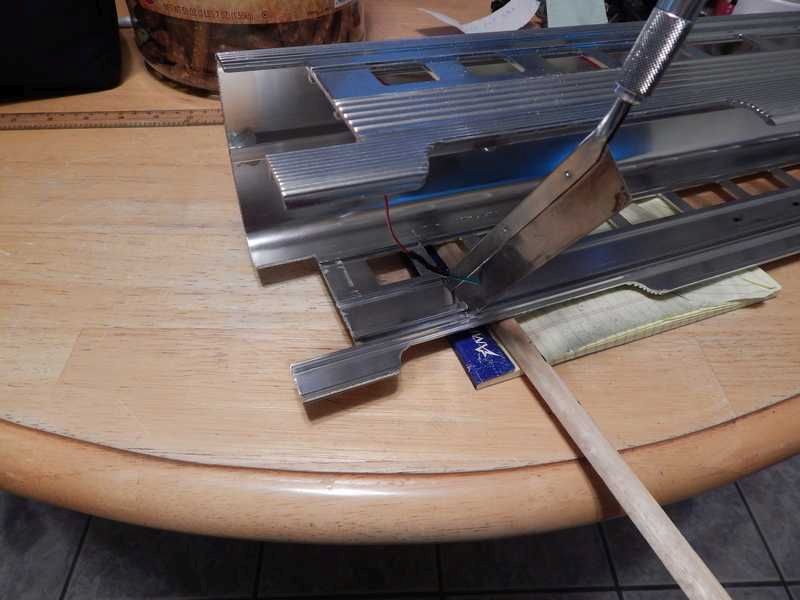
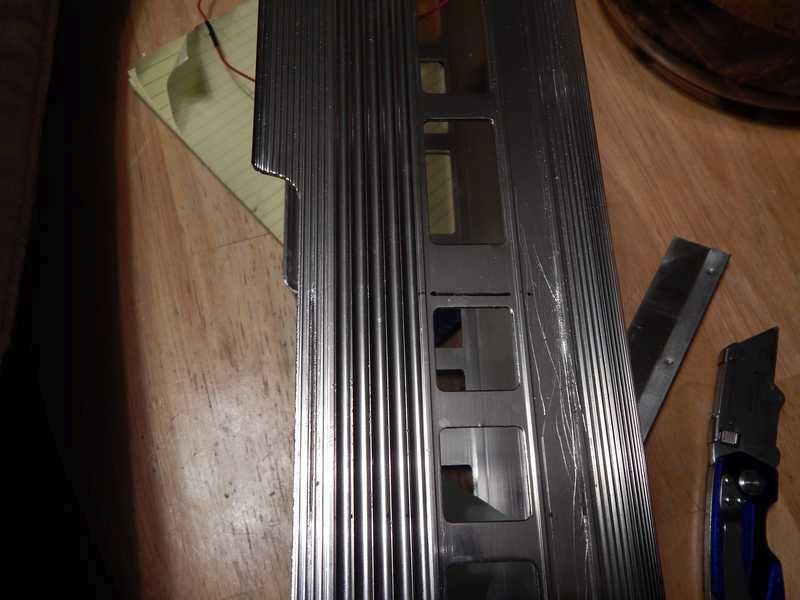
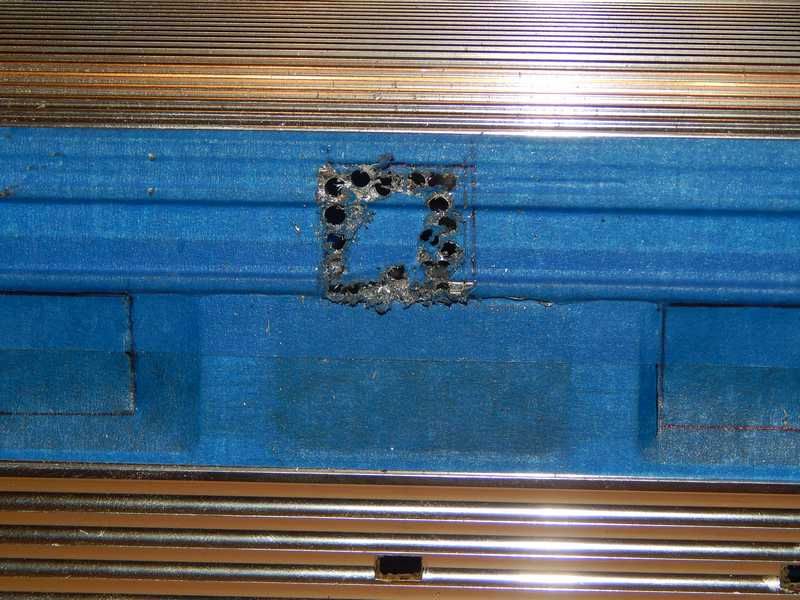
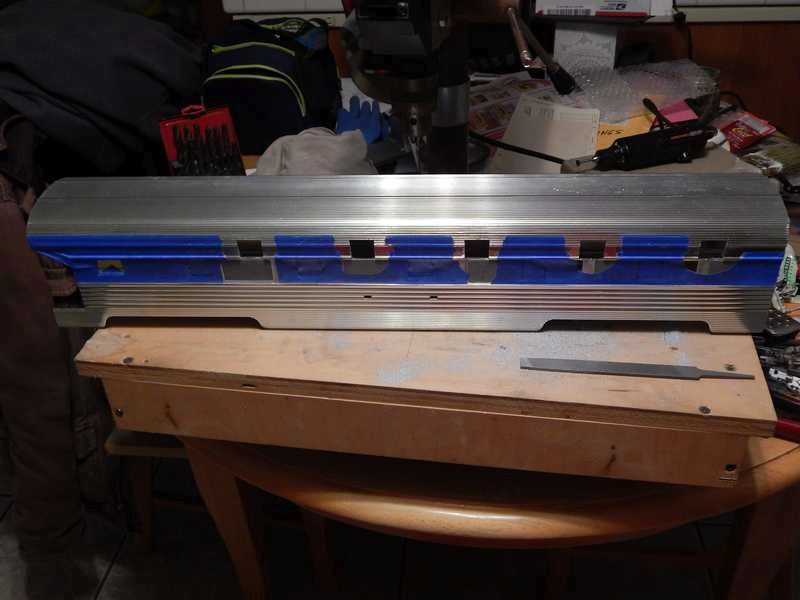
Here I’m cutting through the ribs to speed the process.
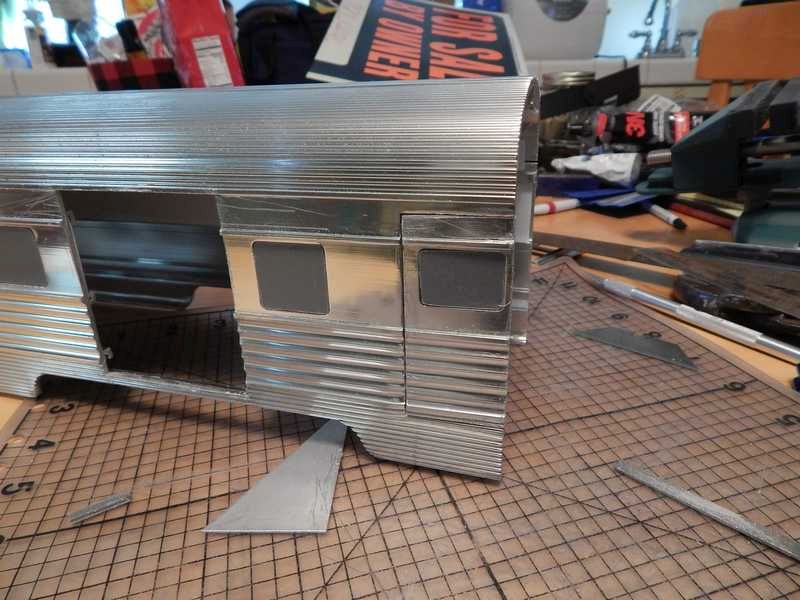
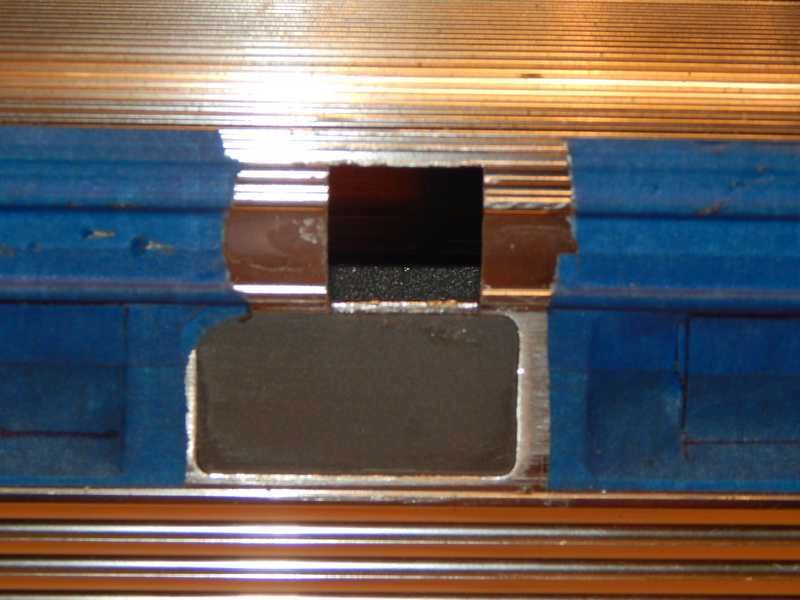
And with the first door cut into the car. Now onto the other side.

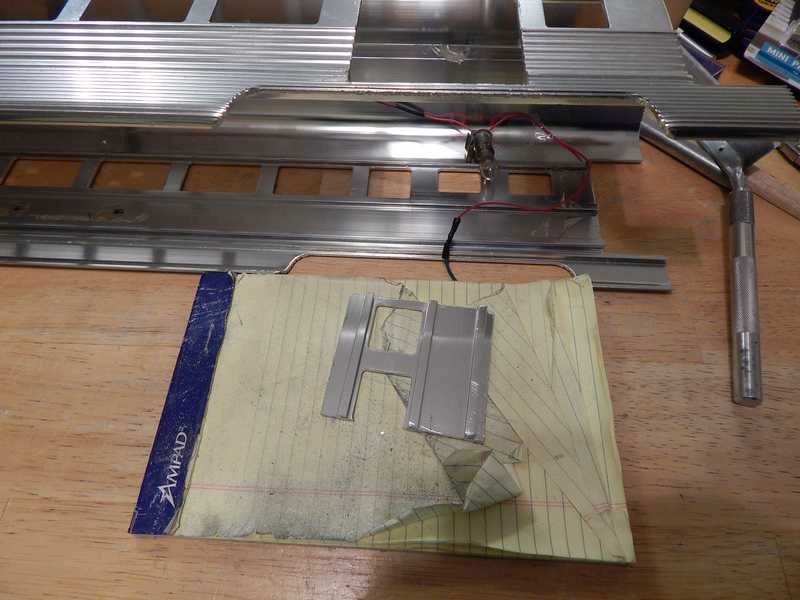
The above is to show one of the reasons I prefer Zona saws over an xacto saw. But I must admit that the bend does help give a little extra leverage for moving the blade. The xacto blade above has the hollow back spine where a Zone has a solid rigid spine.
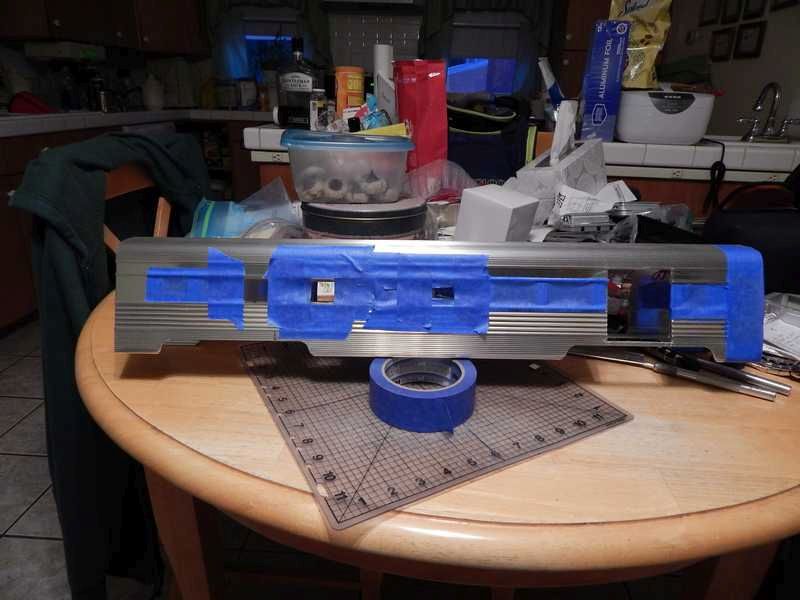
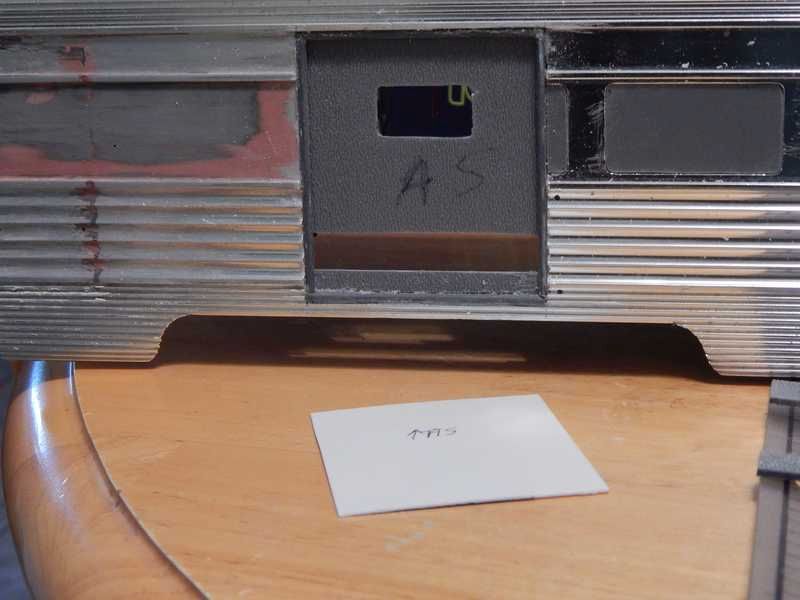
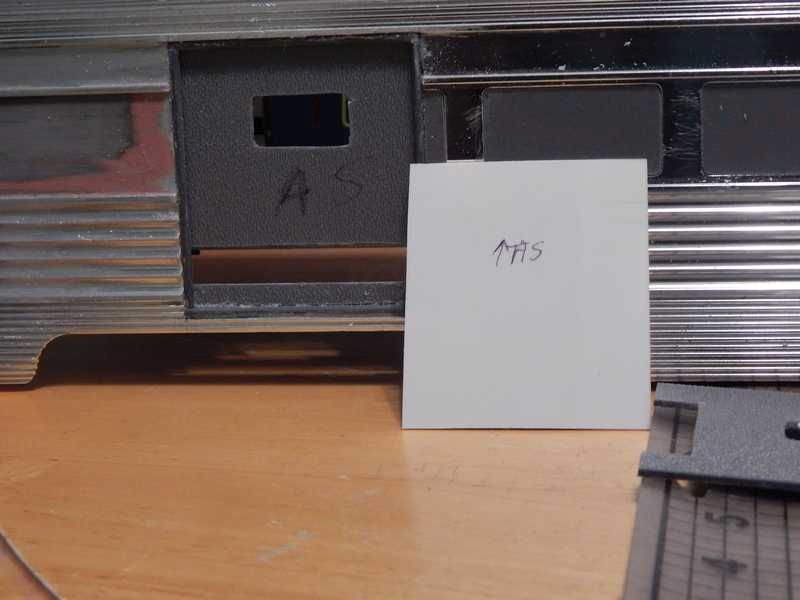
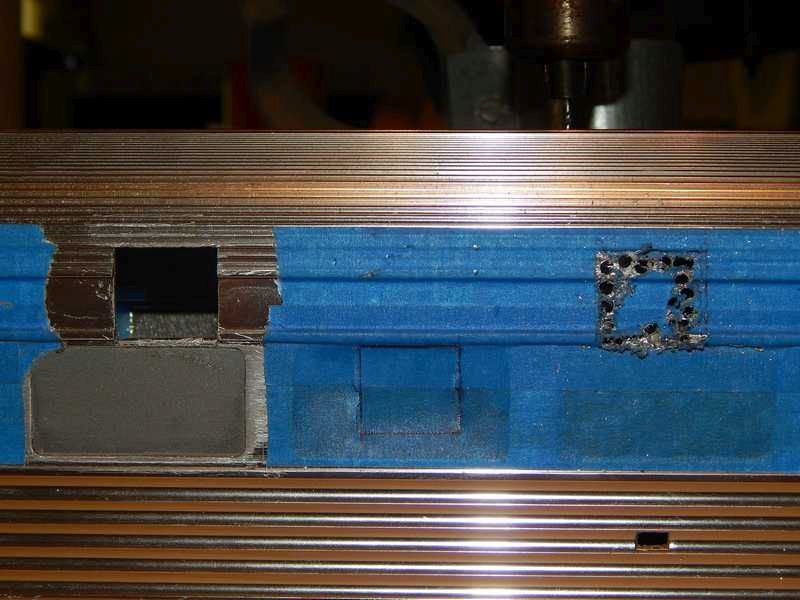
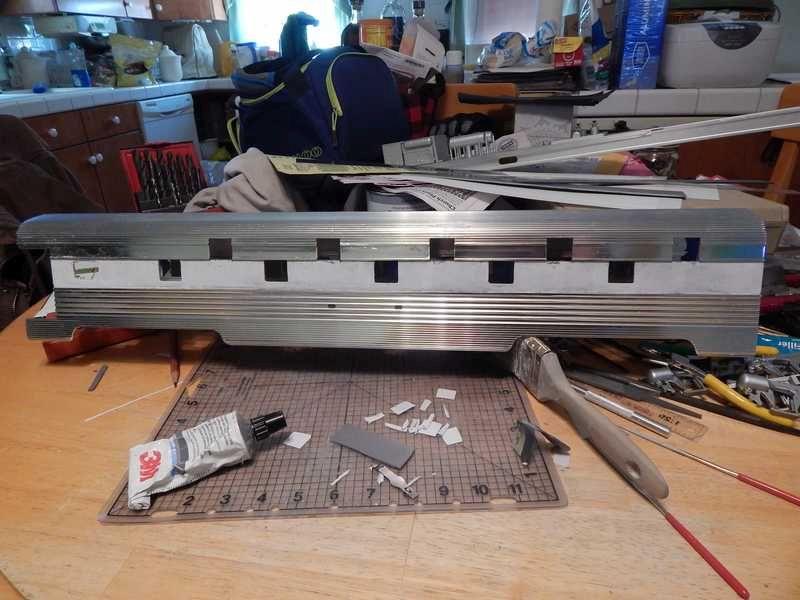
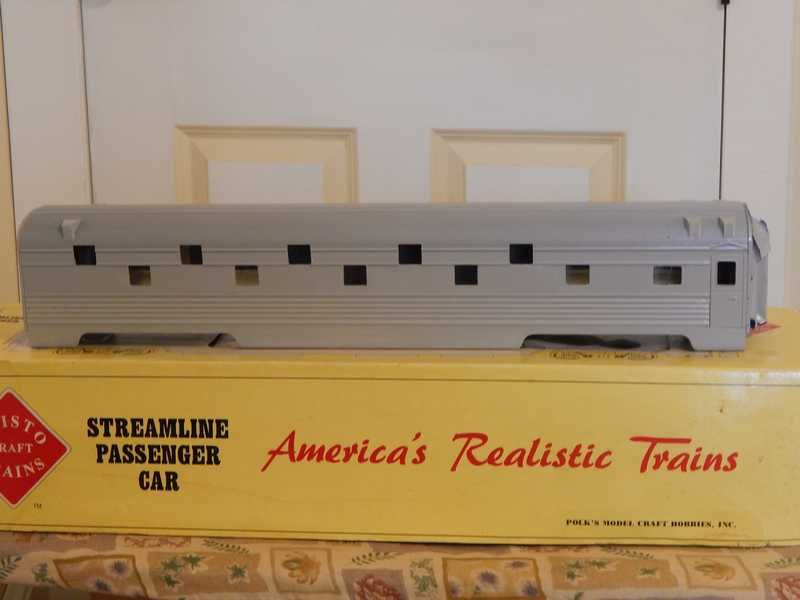
Over the New Year weekend I have managed to cut the door out on the opposite side and to decide on the selective compression for a believable car. Windows are for the aisle side. …
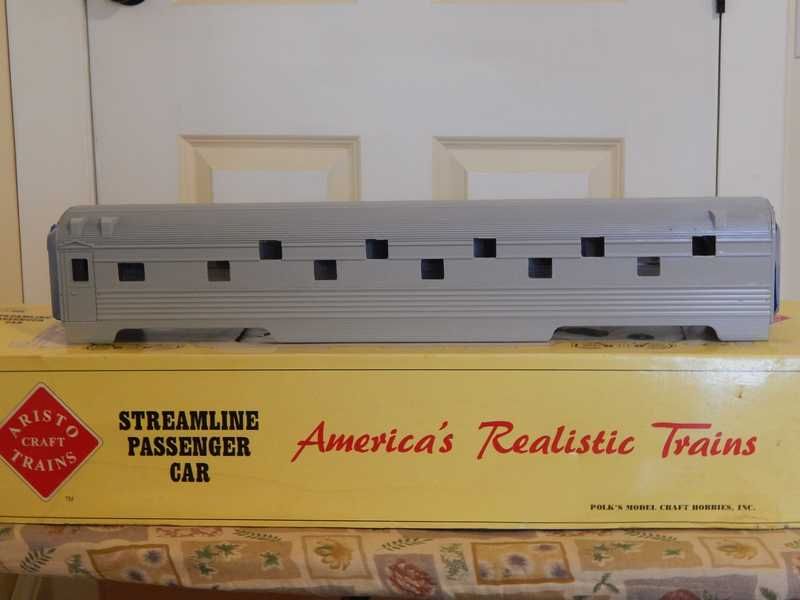
and then the dorm side. …
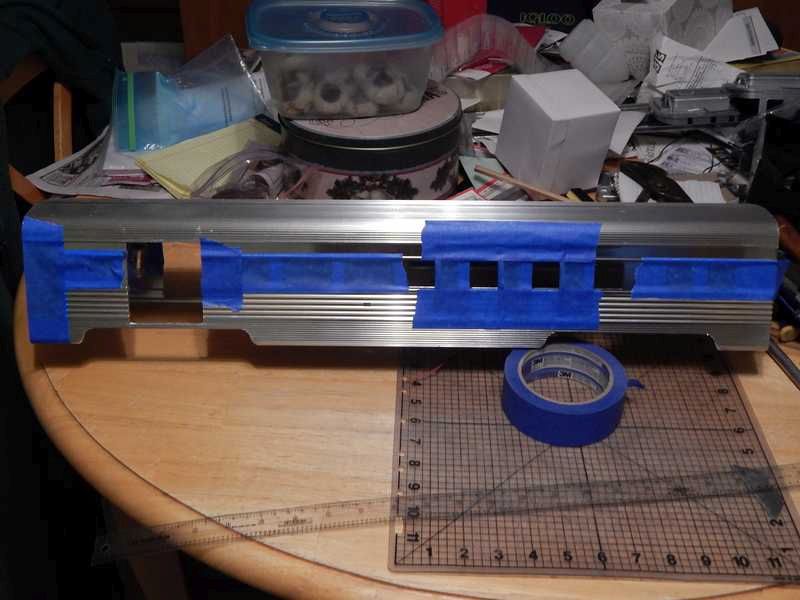
Tape on both sides show the future window arrangement for this car which has the crews quarters in it. the two square windows are the berth areas and the small window is a betterment room for the conductor I believe. there is a three hole water closet between the two sleep areas. All metal removal is done at this point and I can start filling in the original openings.
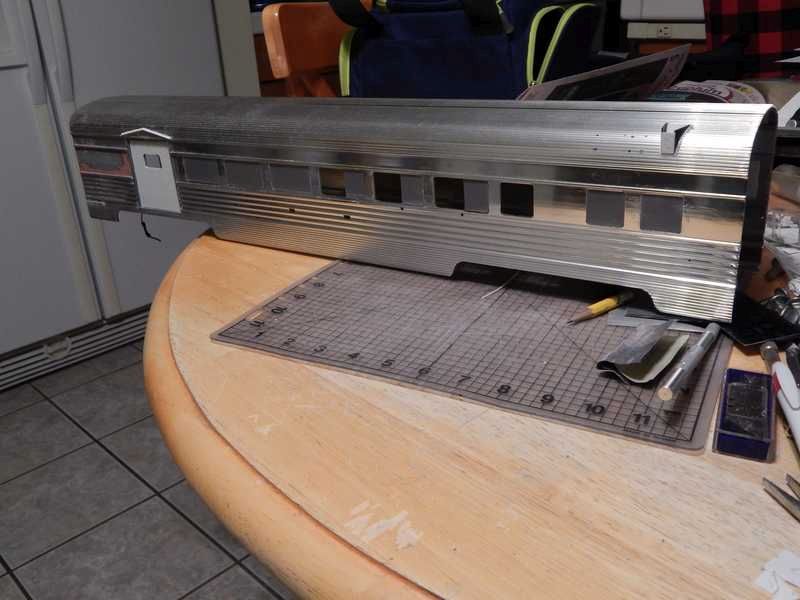
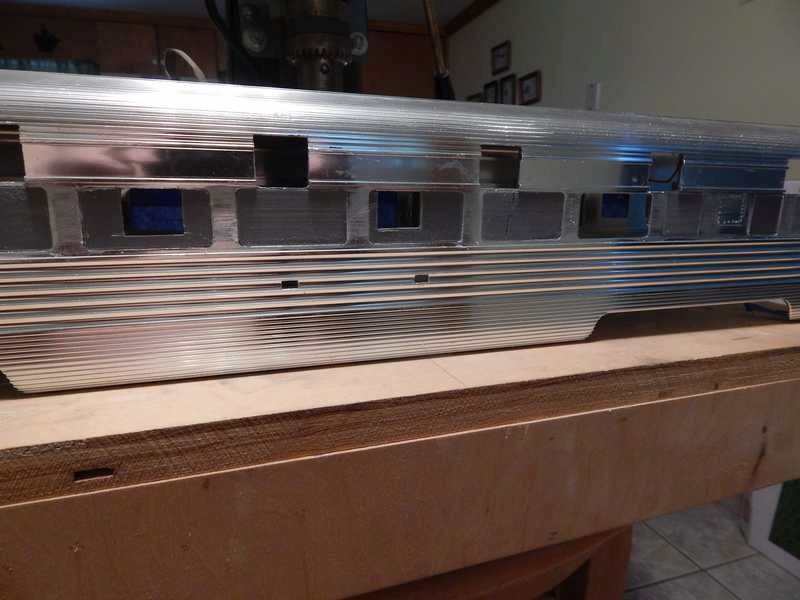
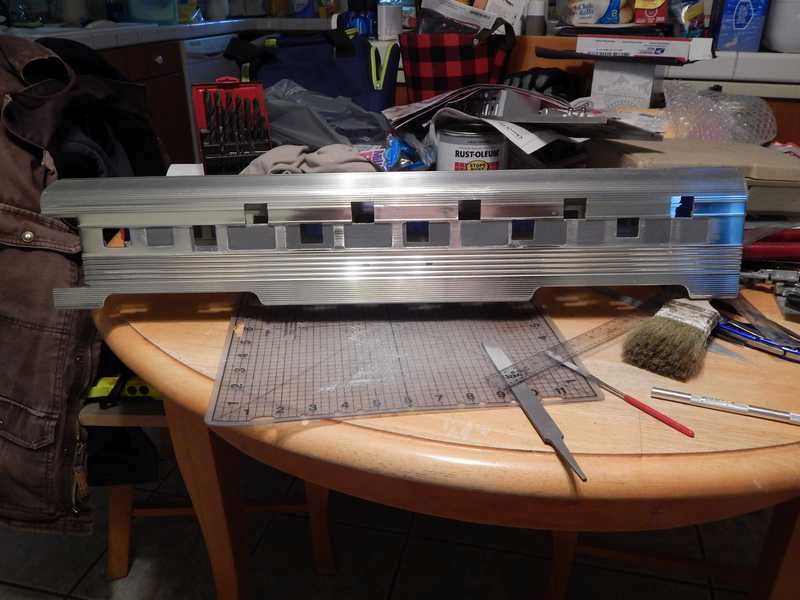
Above is the dorm side of the car with all window openings filled

And from the inside showing the backing I used to hold the fill in place.
And the aisle side plugged and ready. It’s onto the aluminum patches for the passenger door openings.
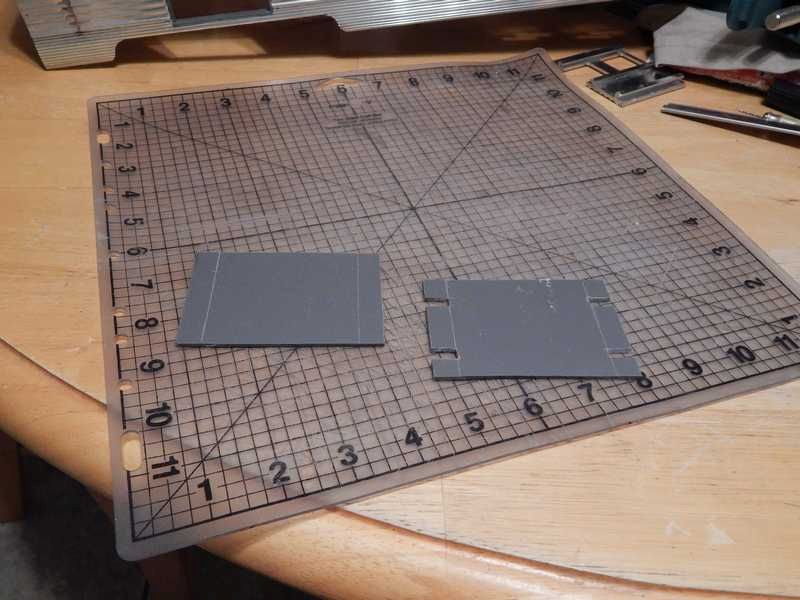
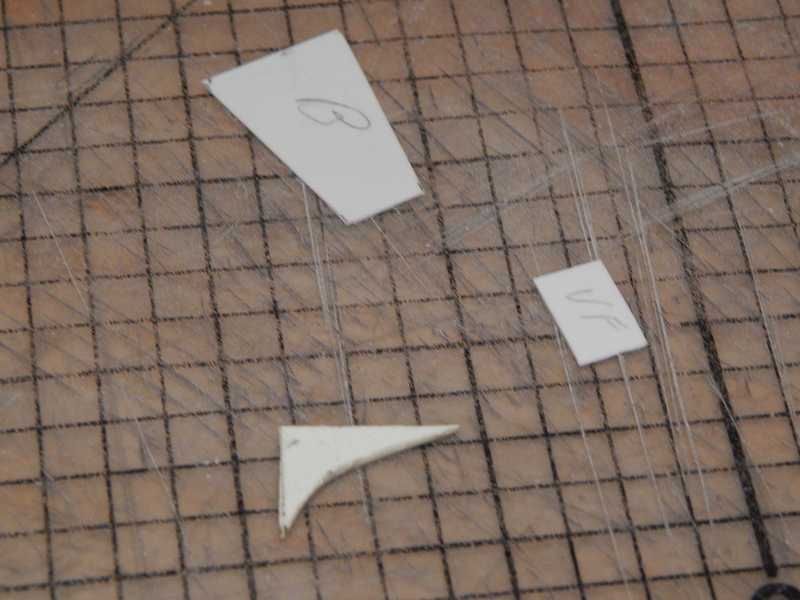
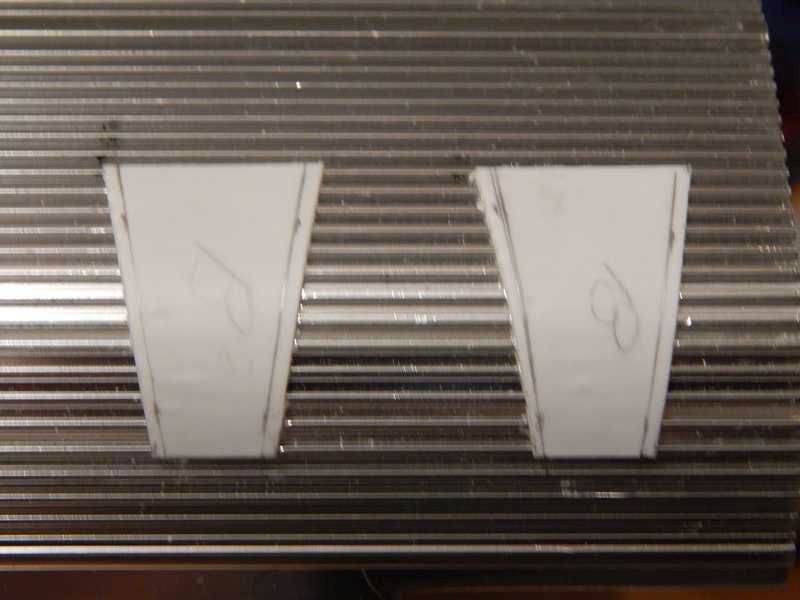
You remember the door cut out pieces. One was re-cut to make the door fill pieces.
After both were cut it was time to fit them in place.
Reinforcement was applied inside and allowed to dry.
And putty applied .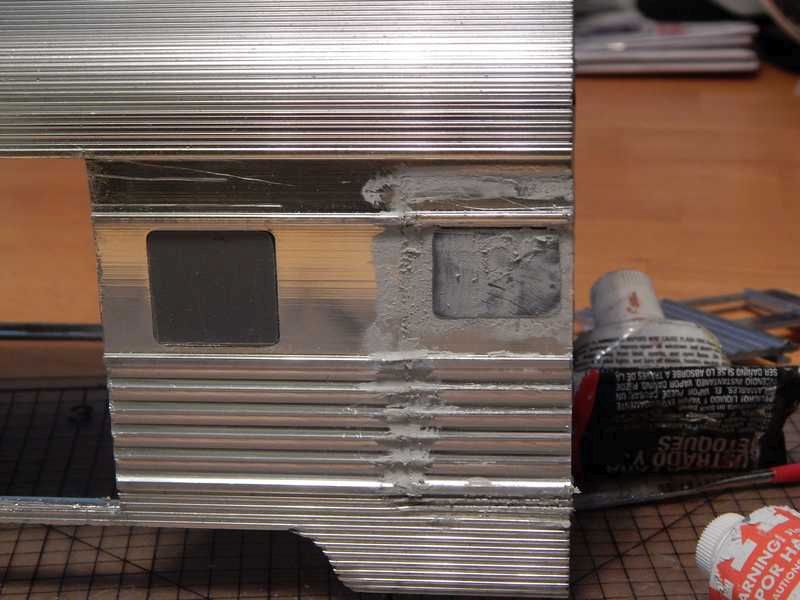
Now to start blending the flutes. There are a couple of areas that need to be blended because of their original machining which distorts the flute. Other than those it’s just file to fill.
First fill is a liquid metal to fill the gaps and provide strength. Also helps form the high spots of the flutes.
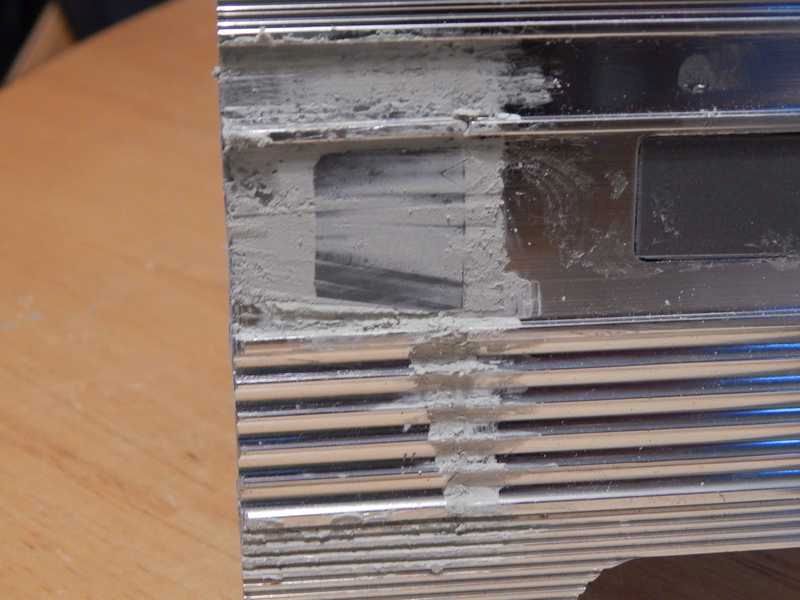
Same side but it got a second fill with Bondo spot putty. Seems to be a bit finer than the liquid metal.
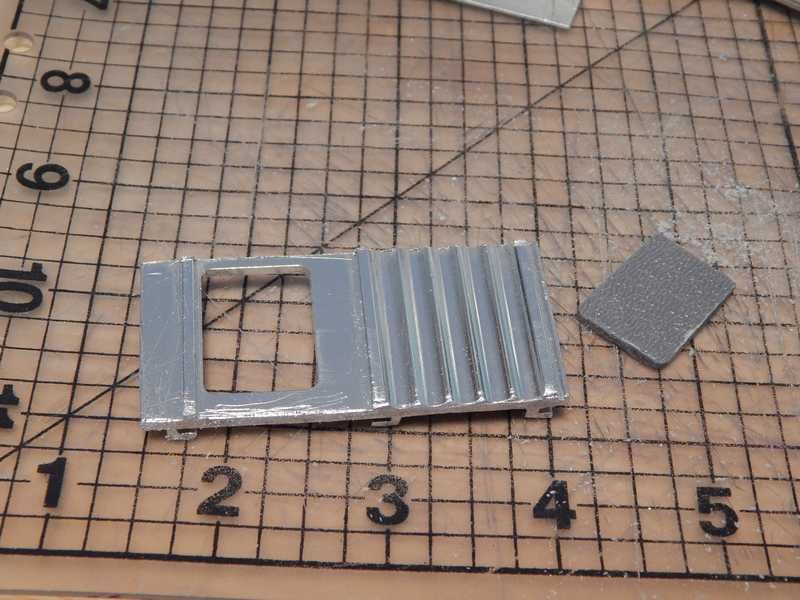
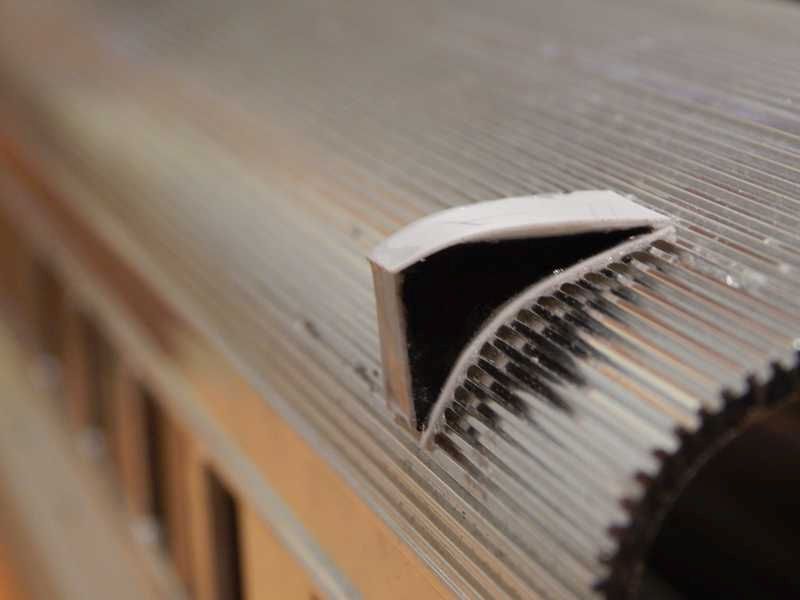
Trim was needed to finish the new baggage door openings. I used my scrap pieces from the window opening filler and rounded it over along one edge.
Baggage doors Had some internal clearance issues, so I decided to make backers for a thin skin covering.
As you can see these were notched to fit around the inside film tracks. Both doors also needed one window cut in them so the backers were prepped while off the car.
Once prepped the top portion of the backers were test fit before gluing in place.
Note the doors also received a small strip across the bottom.
And the door blanks were cut for their respective openings as marked in case there were any variances. Windows were cut after the skins were glued in place again to avoid errors. Gutters were added next using .020 angle.
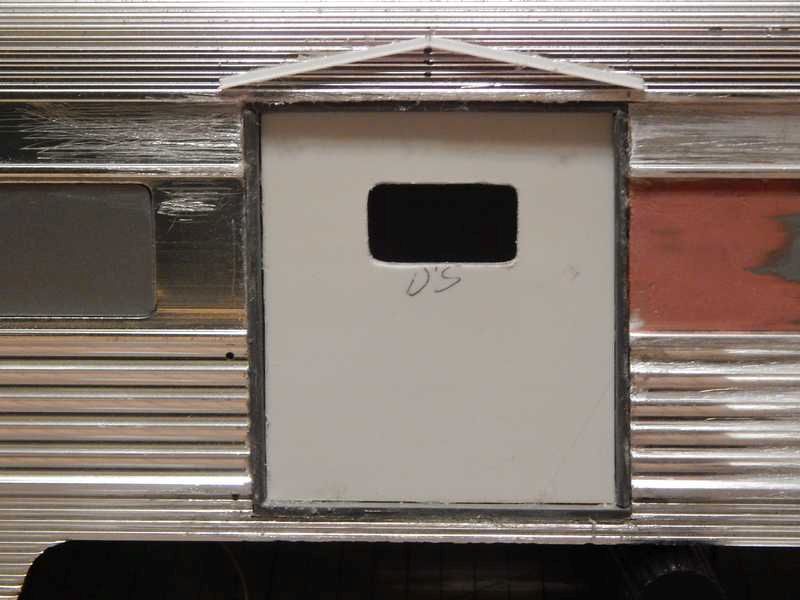
And grab iron holes were drilled in both the sides and the roof as needed.
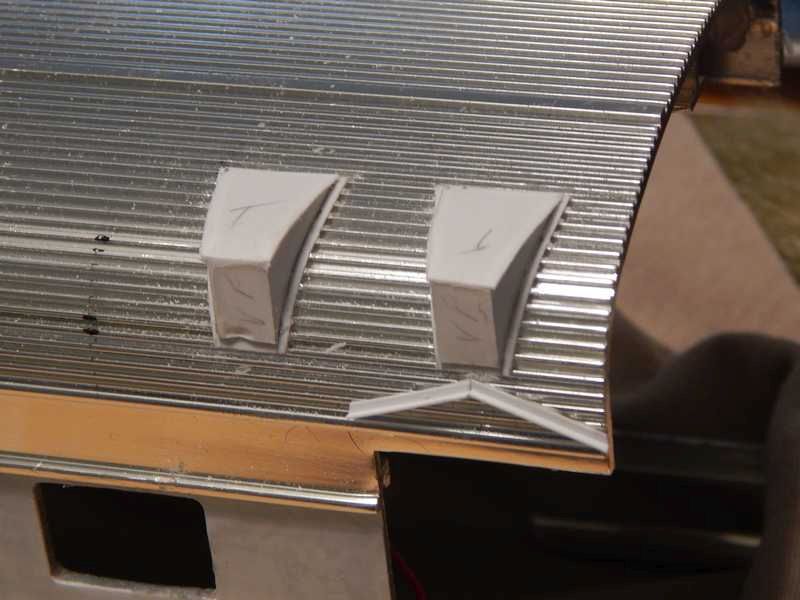
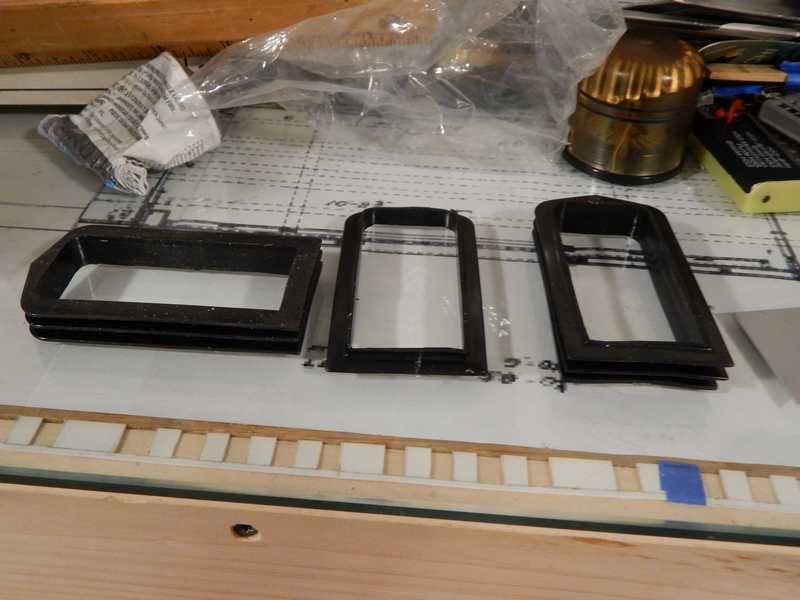
Next up were the roof vent, both AC and air for the baggage area. Following pics show the AC vent pieces, the basic frame constructed and then capped.

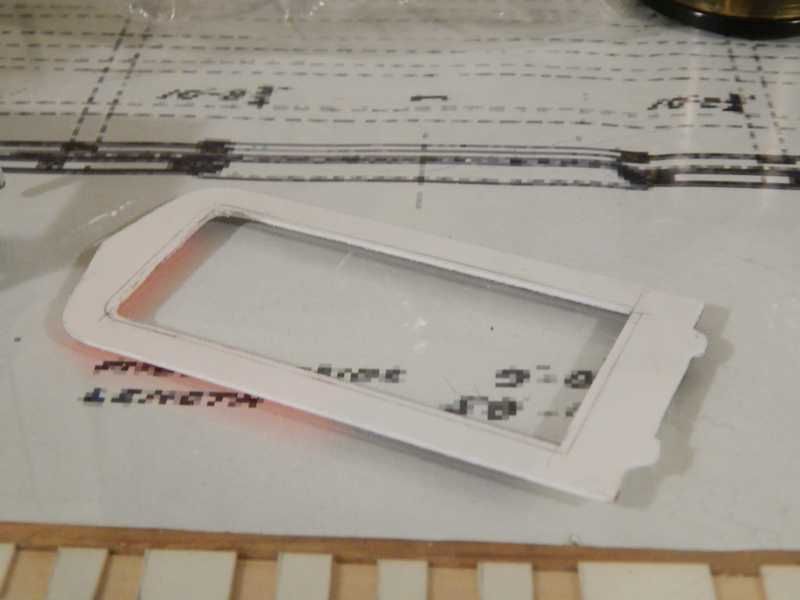
As you can see, once in place the top front of the vents get rolled a bit.
on the aisle side you can see the placement of the grab iron mounting holes.
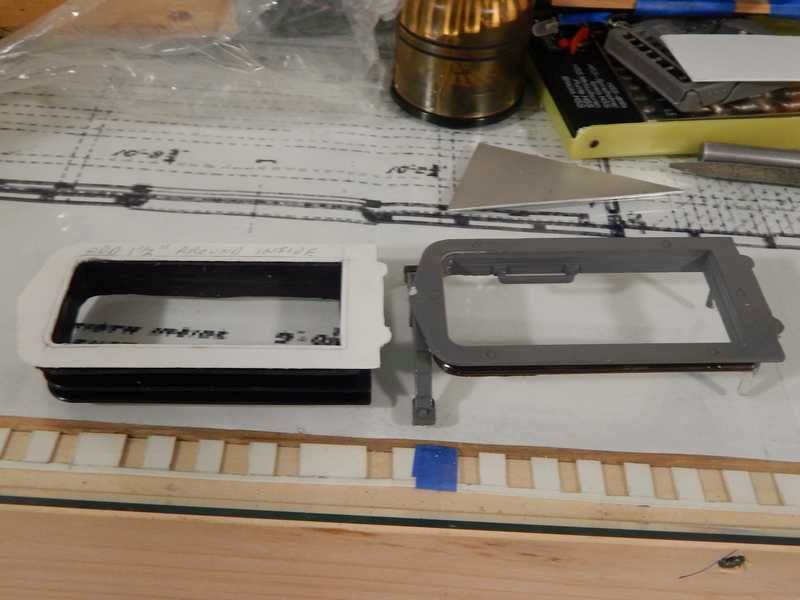
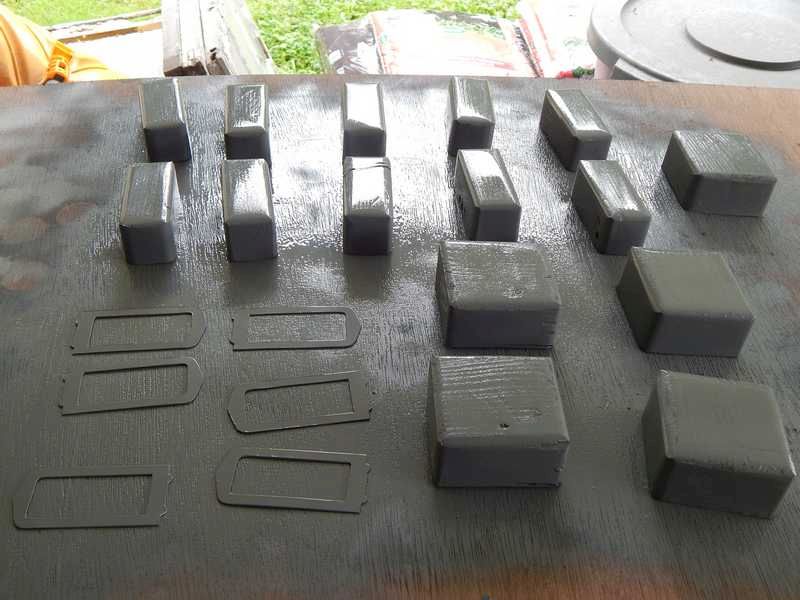
And thanks to Norman Schaake a simplified way of dome vents for the baggage area.
These are simply 1/4" carriage bolts, 3/4" long fitted into 1/4" predrilled holes. I did cut a 3" piece of .010 plastic to wrap the square base of the head so it looks round.
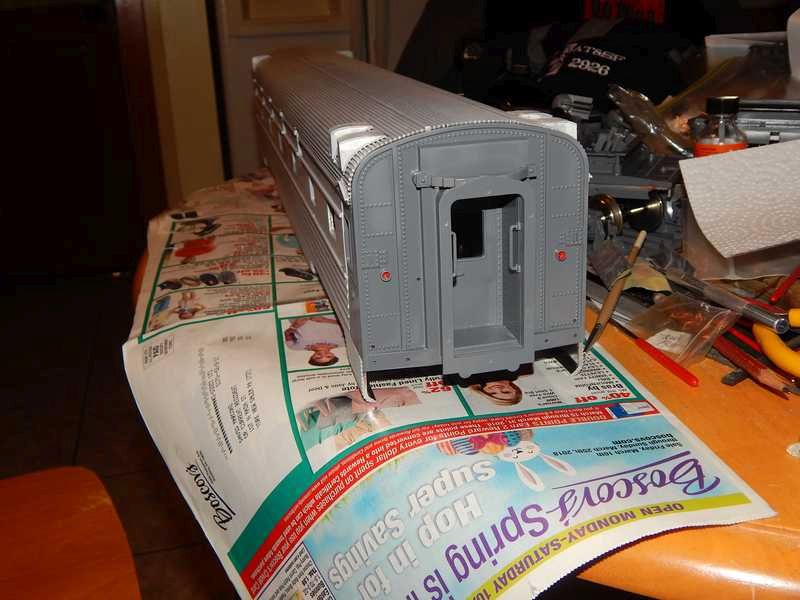
And before I hold up work on this till warmer weather I did give it two coats of aluminum primer to find any correctable issues.

That will be all till I start the next alteration.
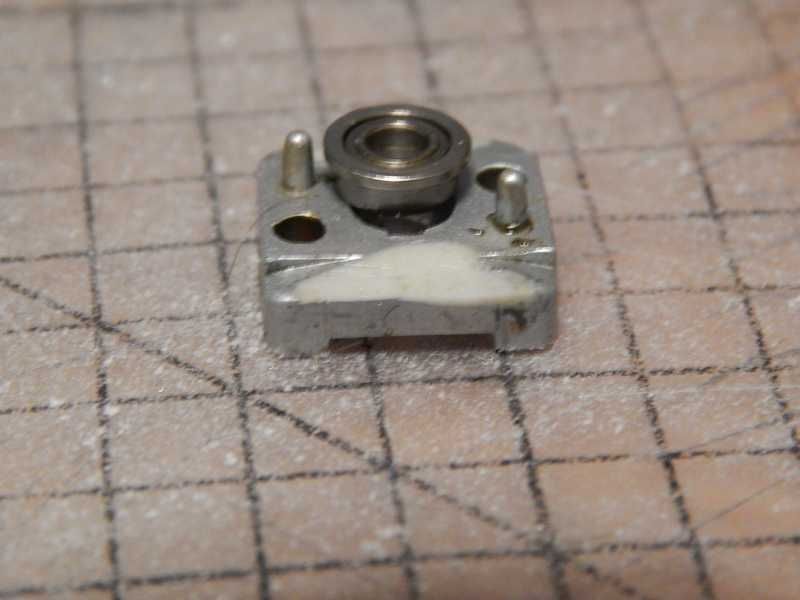
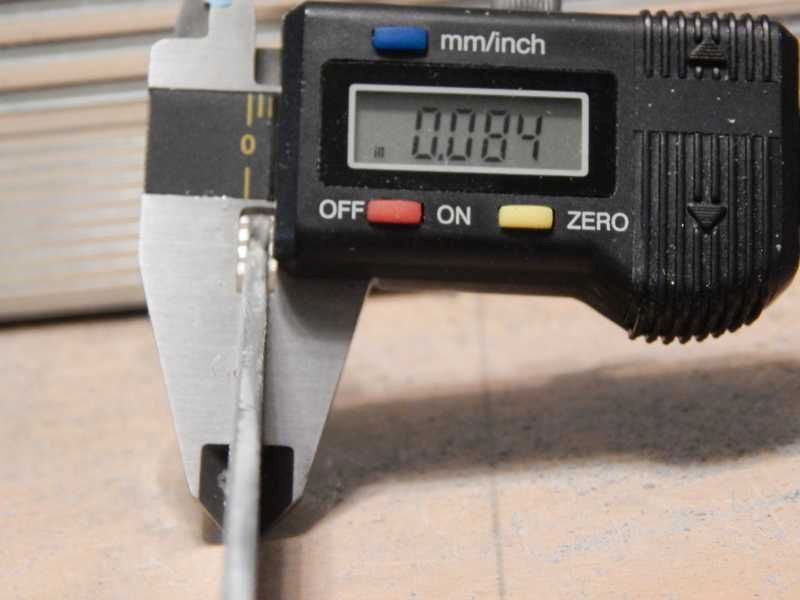
Almost forgot that about eight years back I bought some ball bearings to up grade the trucks as the cars as added to a consist will add a good deal of weight. The following show the ball bearings and how I drilled out the journal boxes and filed the axles to fit for their use.
the difference between the original sleeve and the ball bearing
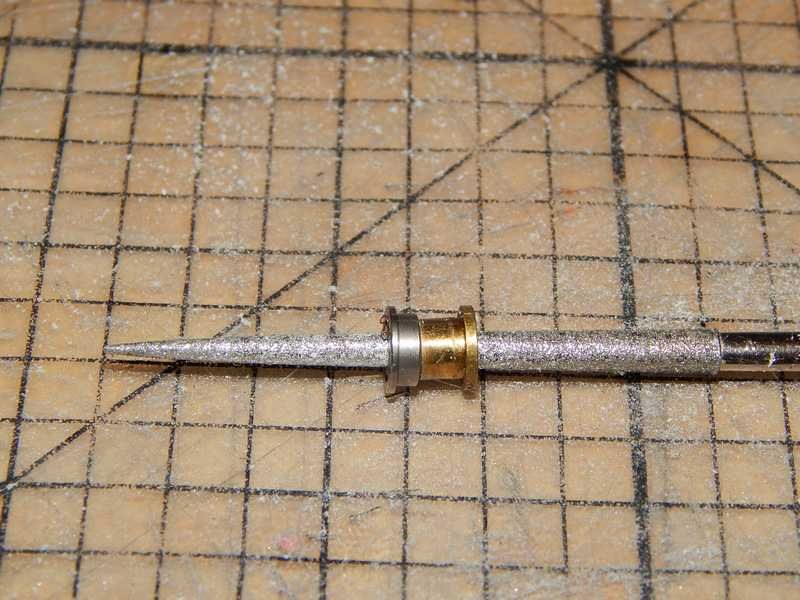
Axles were locked in my drill and filed using a flat modeling file for a few seconds. We are talking thousandths of an inch here and you don’t want a sloppy fit.

Two journals with drilled out one on left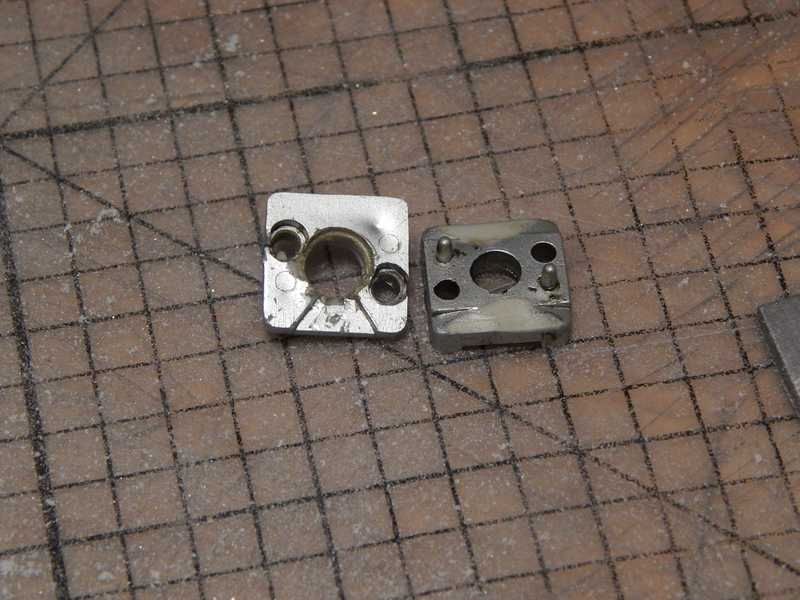
drilled with BB in place
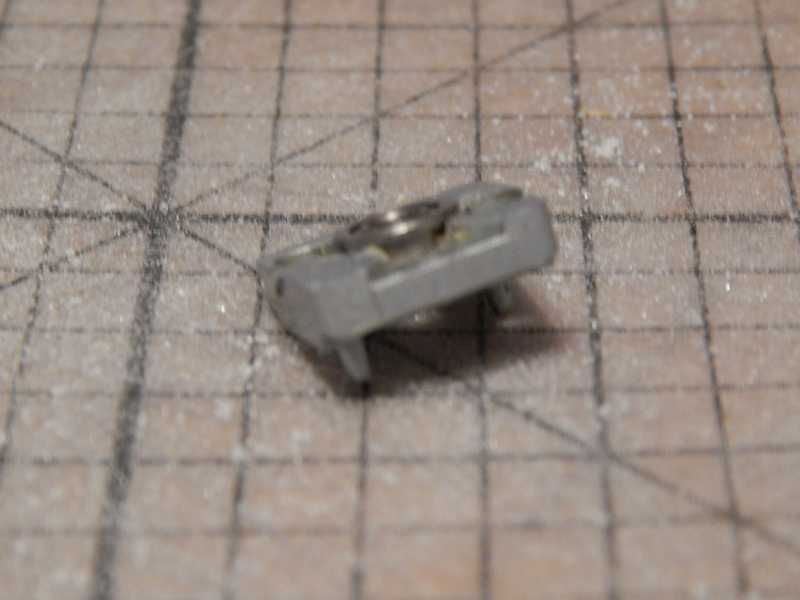
Size difference
And now on to the next car.

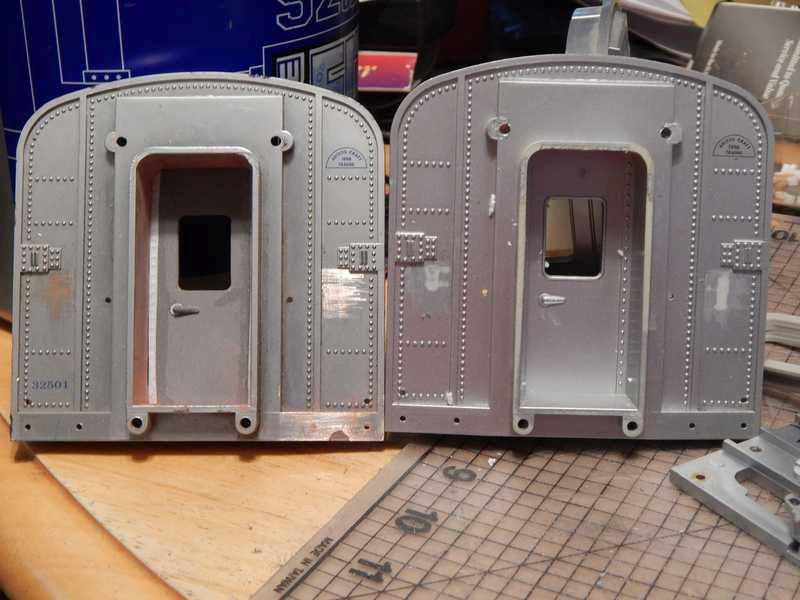
In the spring of 1942, Pullman out-shopped a unique streamlined sleeping car having 24 duplex roomettes as Plan 4100. The objective was to see if such a car would be accepted by the traveling public and the railroads as a possible replacement for dated, heavy-weight 14 and 12 section sleeping cars.
With new roomettes becoming popular in the late 1930s, such a car would have similar, although somewhat condensed private accommodations for one person. Appearing in Pullman’s new two-tone gray pool service livery, it was unimaginatively named “Duplex Roomette 1.” Soon after this new car arrived in service, WW II broke out. That precluded securing any orders to build more of its type.
All of the above is from Ed Bommer on 'O' scale kings.
And though the above is a smooth side car They were made with the flute sided cars also.
I first started with blanking out some of the unneeded windows

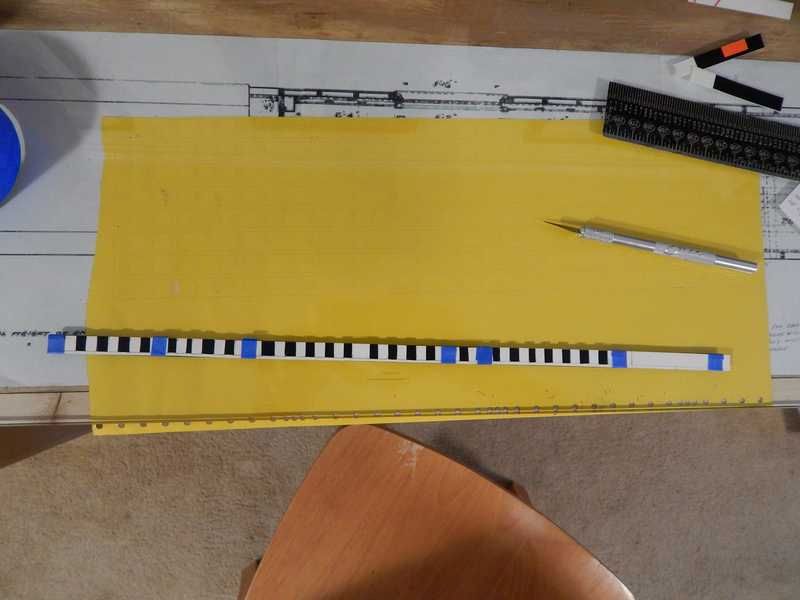
Next I taped the side and marked out the new window areas.
Next I started cutting out the upper windows with a center punch and drill press. With the fluted sides you really need to take your time to keep the bit from wandering. Also note that before I started drilling I re-taped the side to re-space the window pattern.
Then file out the area and move on.
The five upper windows are ready, now time for the lower ones
The lower windows mostly wound up in existing openings so I cut plugs and then cut out those windows.
Then it was back to punch and drill for two of them.
and with the five lower windows cut in.
I checked to make sure there was a straight line.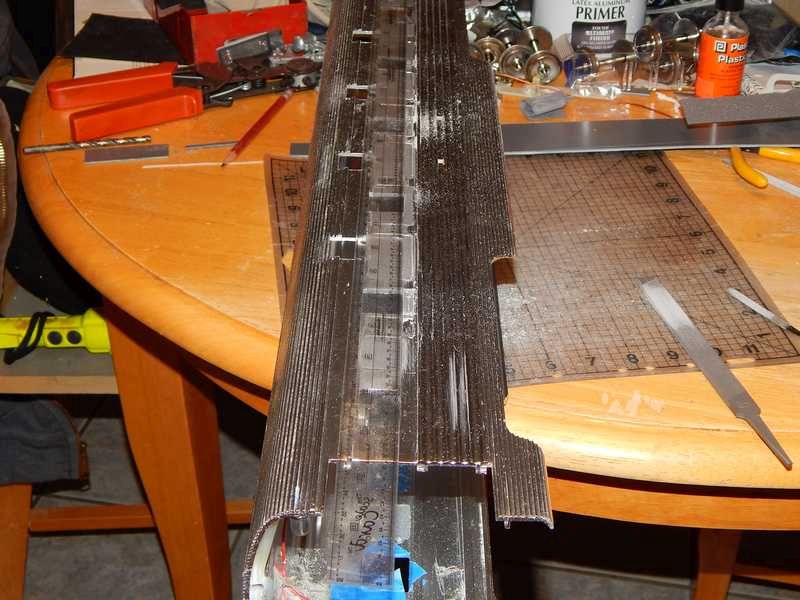
Now on to the other side to duplicate in reverse
Sorry, I got ahead of myself.
Since I want this car to look factory fresh I need to skim coat the area with the lower windows. I used .010 sheet plastic for this
The skin you see is applied as a full width strip. Once the glue dries I go back and cut the windows out.
Korm asked what I was using to plug the unwanted window opening. Here is a plug being cut and shaped for a partial fill in an opening. I had to raise the bottom edge of the window that is now a lavatory window.
The next shot shows the thickness of the plastic I use for the plugs. Seems to be real close to the same thickness as the aluminum body.
Showing how sometimes you need to split the window material to get them spaced properly.

And side two with all windows ready.
This side was also skinned and I moved on to the AC vents.
With sides in place.
Vents capped and final shaped. Gutters over door.
I add marker lights to both ends of my passenger cars. These are simple rings that stand out from the car about 2 scale inches and are a scale 6 inches in diameter. Here I have prepped the areas on two ends.
And after paint:
I then pulled the diaphragms off for final painting. I user rubber for the color

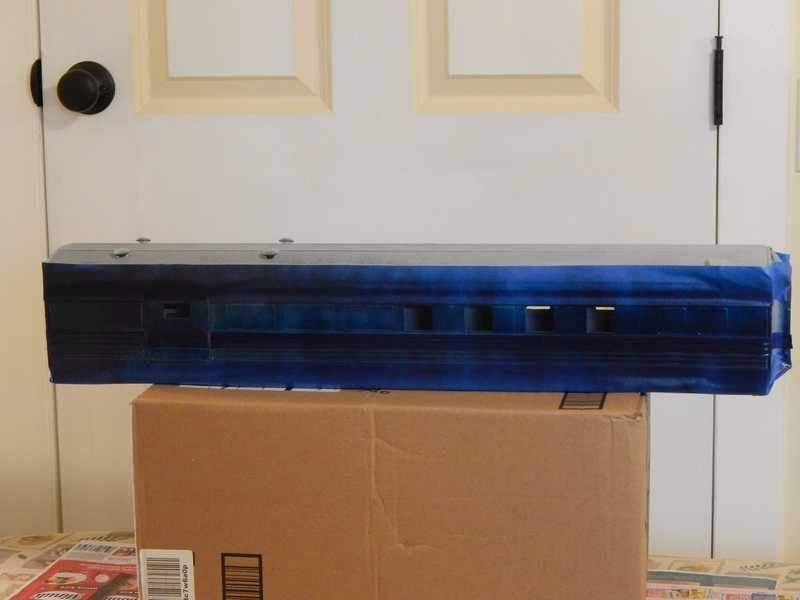
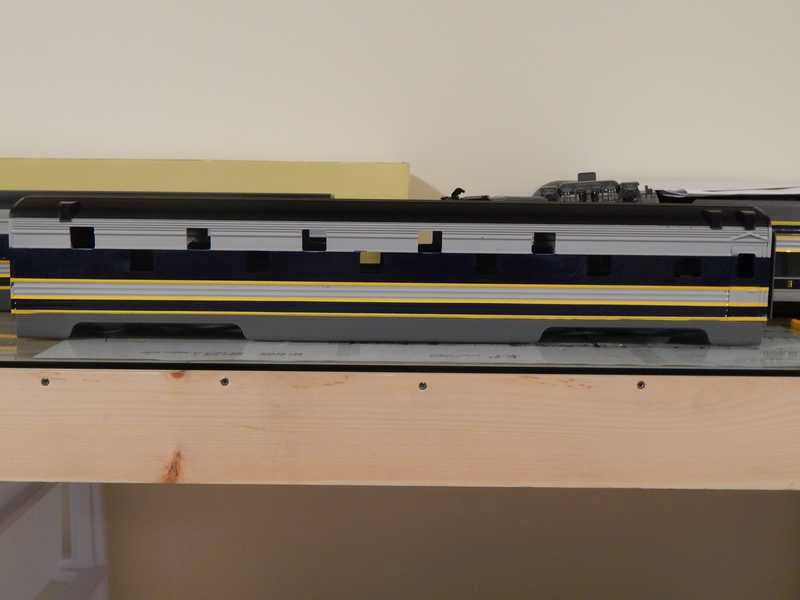
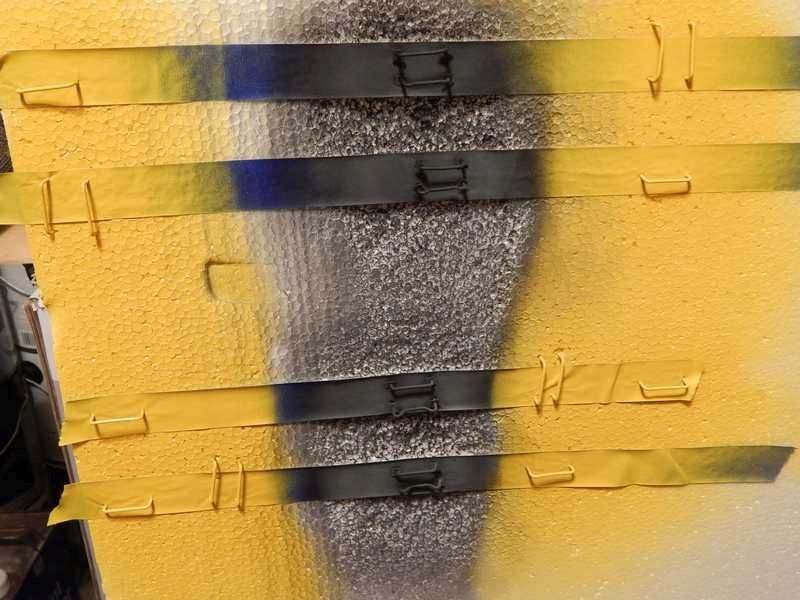
With this done it was time to start taping for the paint process. Here I have both cars with the first color applied.
Baggage/Dormitory first
Sleeper
Getting color on them feels like I'm making progress. Now 3 more colors to go
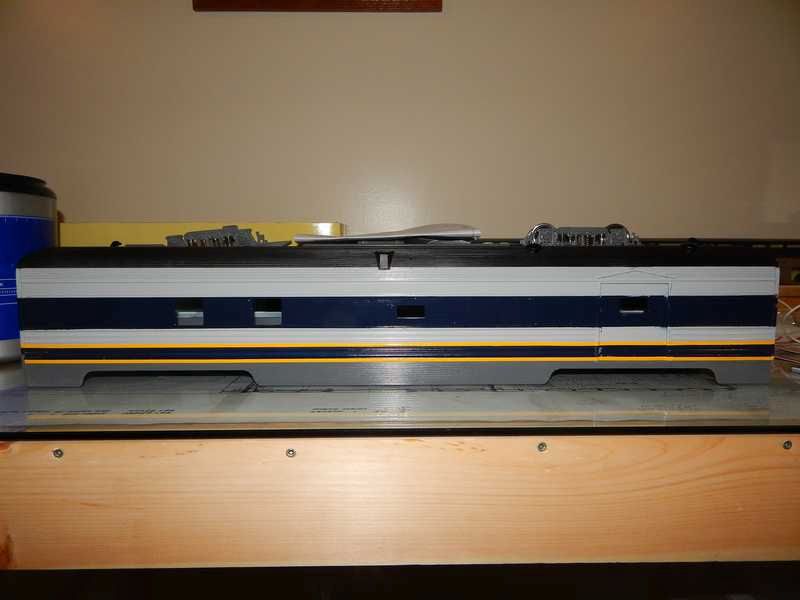
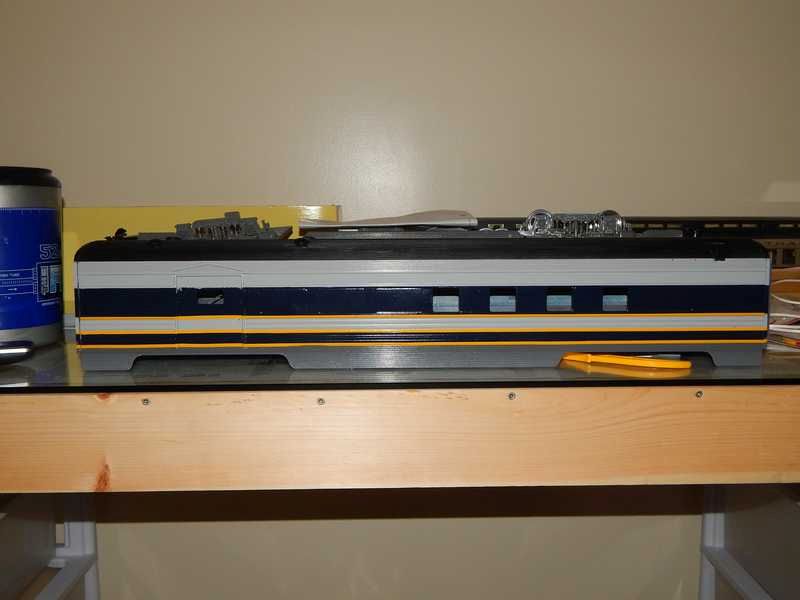
I know I missed a few color applications but the three strips brings this car up to ready for the letter boards. Yes the top stripe on the end caps did get the short pieces of stripe after I took the pictures. Now to stripe the sleeper.
Plenty more to do.
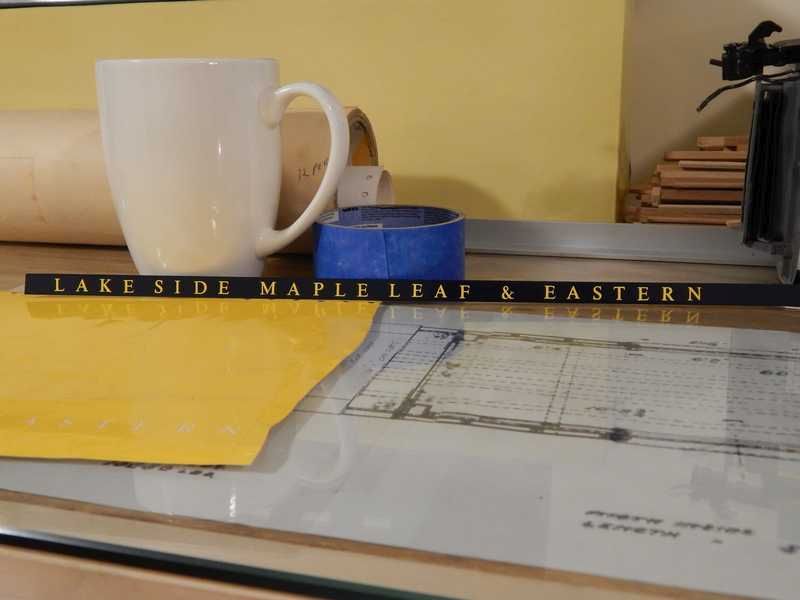
With the cars painted and striped it is time to move on to lettering. I use letter boards painted blue with yellow letters. The letter boards are .030 styrene sheet cut to fit between the two ribs above the windows on these cars. Once painted I needed to gain the correct spacing for the letters. I had a sheet of car lettering done when I first started converting these cars. Since I didn't have the proper spacing for unknown car types I have to set spacing for each car. Tedious but doable.
Above is the lettering guide I made for the baggage/dorm car.
And the lettering applied to the board.
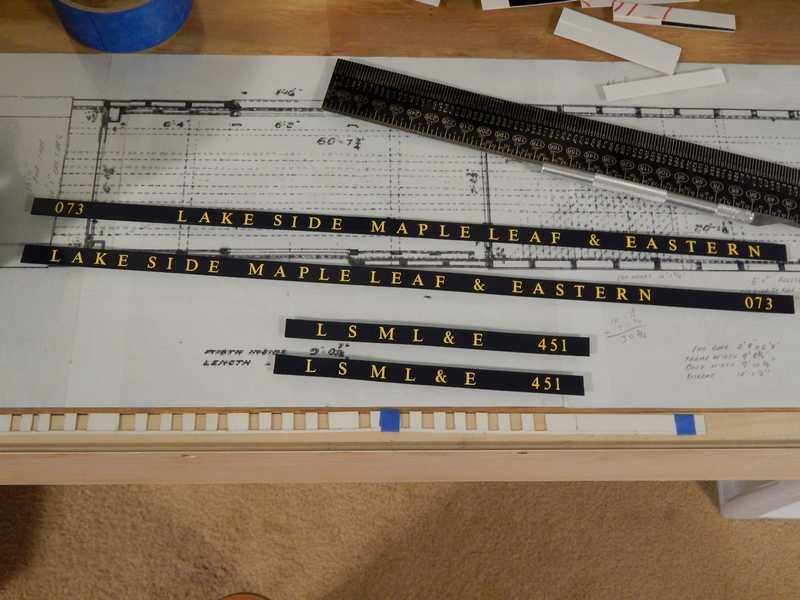
All 4 boards done foe these two cars. Because of the staggered windows on the duplex sleeper I decided to use initials only.
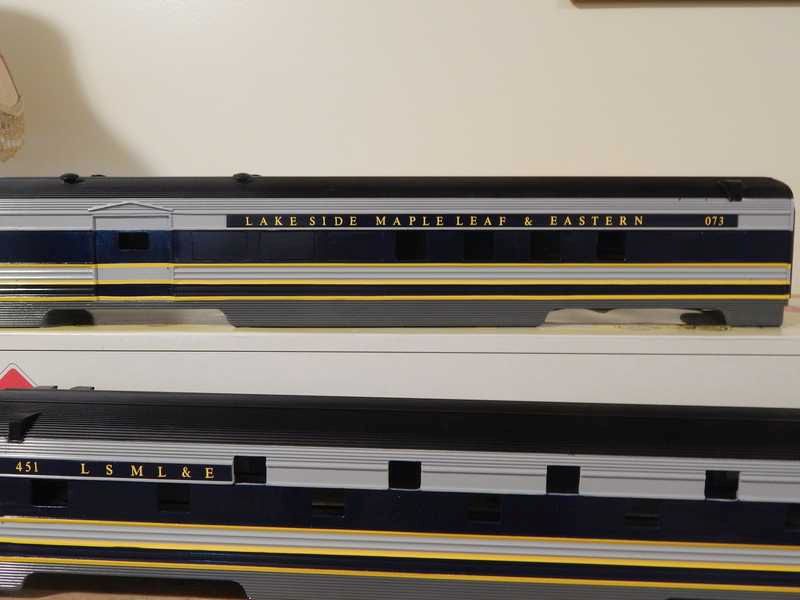
With the boards on the cars above.
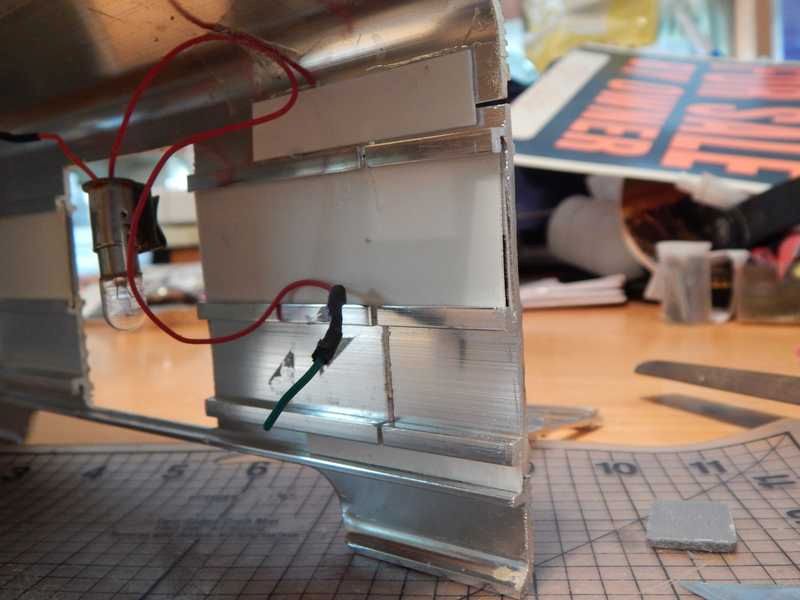
Next up was to tackle the lighting. I wanted to get away from the standard 3 bulbs that Aristo uses with track power pick up and use LED lighting appropriate for the cars. I followed Dave Bodnars' easy to follow instructions on coach lighting and created boards designed for each car.
I used bright white LEDs in the passenger areas of both cars, but used warm white LEDs for the vestibule and baggage areas to simulate standard light bulbs in those sections
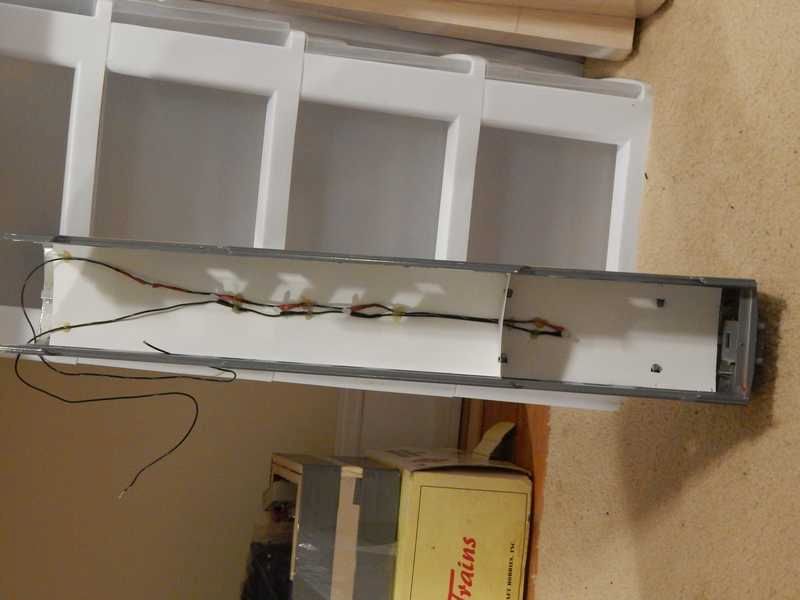
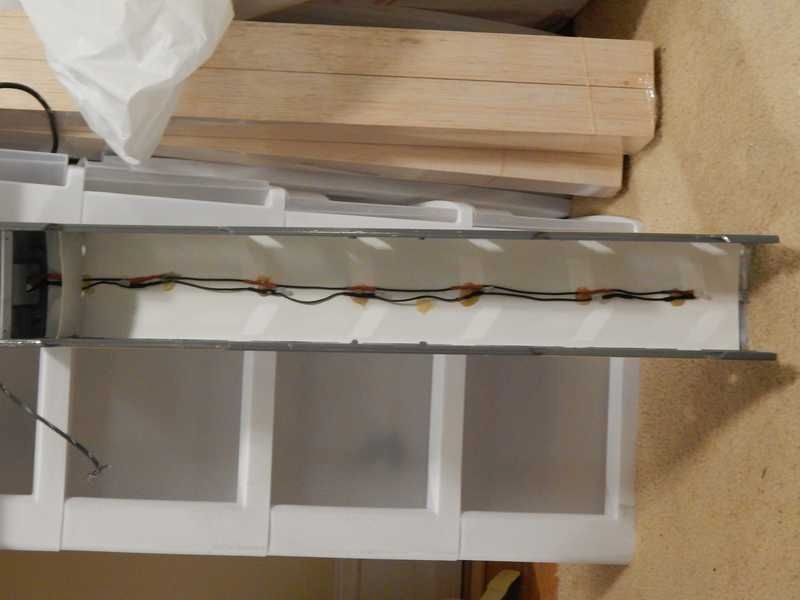
In order to get a bit of spread to the light and to separate the bright from warm LED areas I used white poster board cut to fit, and hot melt glue to secure the wires. Note the sleeper has 6 LEDs in the pass area while 3LEDs were sufficient in the dorm area.

Checking the set ups above
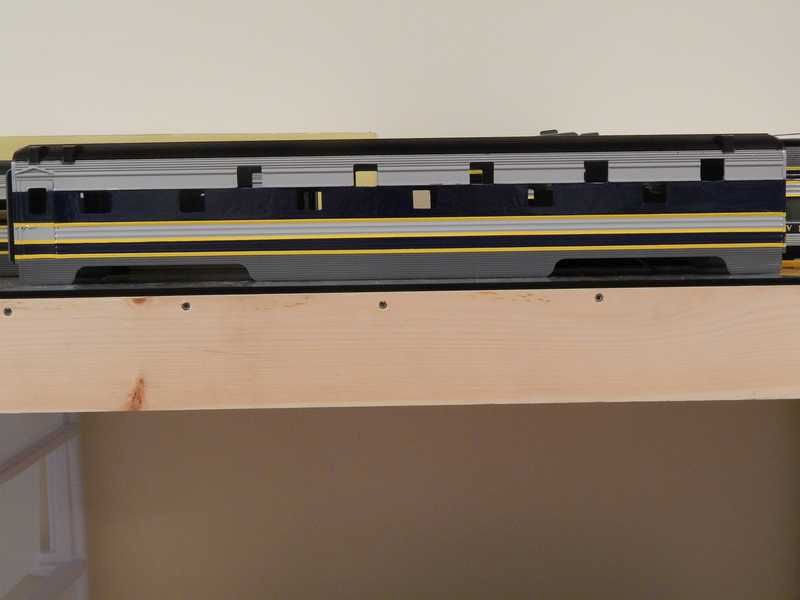
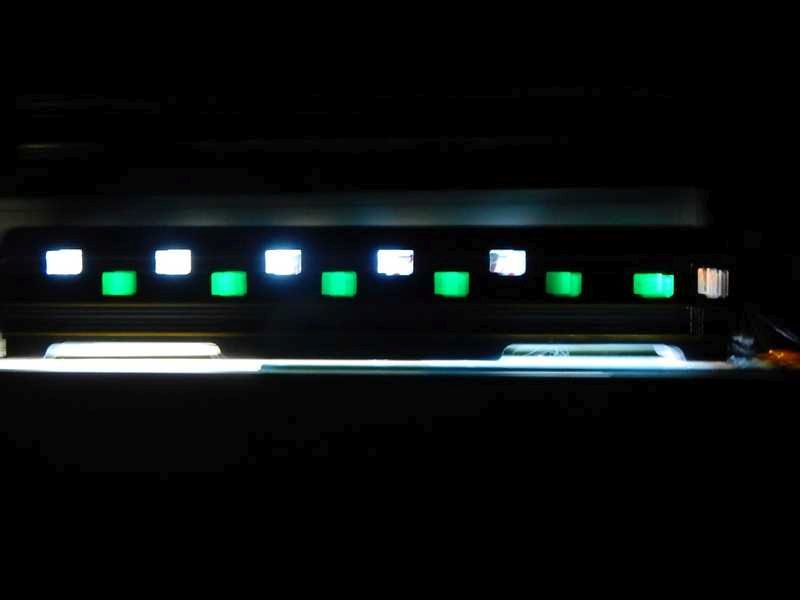
With all window film in place. If you look under the sleeper you can see the two tones of lighting created.
Lighting was followed with the necessary grab irons formed and placed on both cars.
The grabs still need to be painted.
I have moved on to redoing the diaphragms as I don't care for the solid form for the rubber diaphragm. I started doing this by cutting the bellows portion away from the strike plate but realized it would be easier to just cut new strike plates and add the rubber diaphragms to these.
The parts. Diaphragms cut down so I get 2 for 1 from them.
Then cut striker plates.
And then glue the two pieces together.
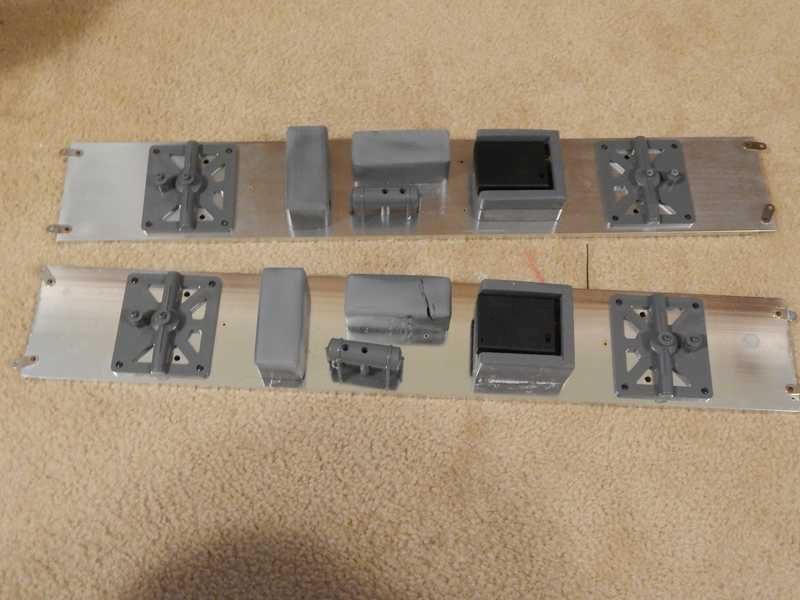
While waiting on paint to dry I created the under body space fillers to make the area look busy with unknown equipment. Detail not really needed with the full skirting on these cars.
Once I get the underbody parts on I can figure the location for the lighting battery boxes and switches to complete the cars
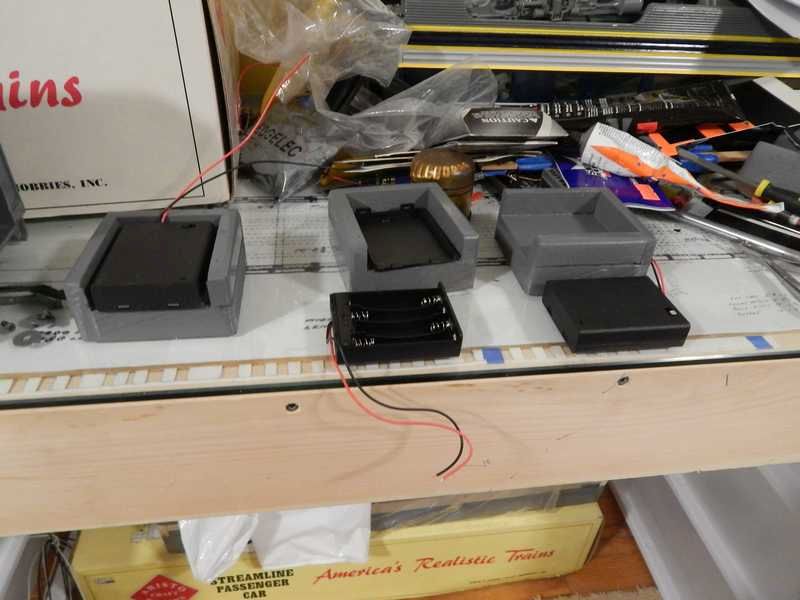
Battery boxes glued into equipment bins ^^^
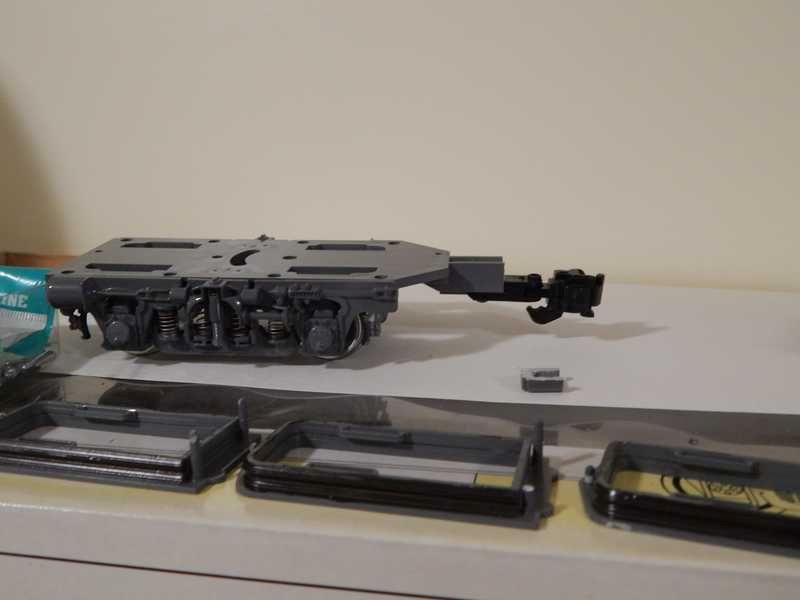
Below the undercarriage details are added.
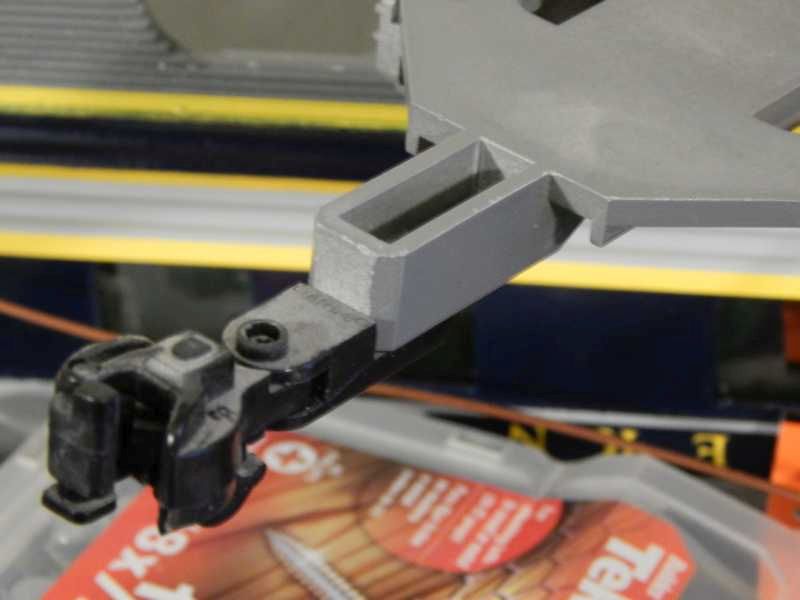
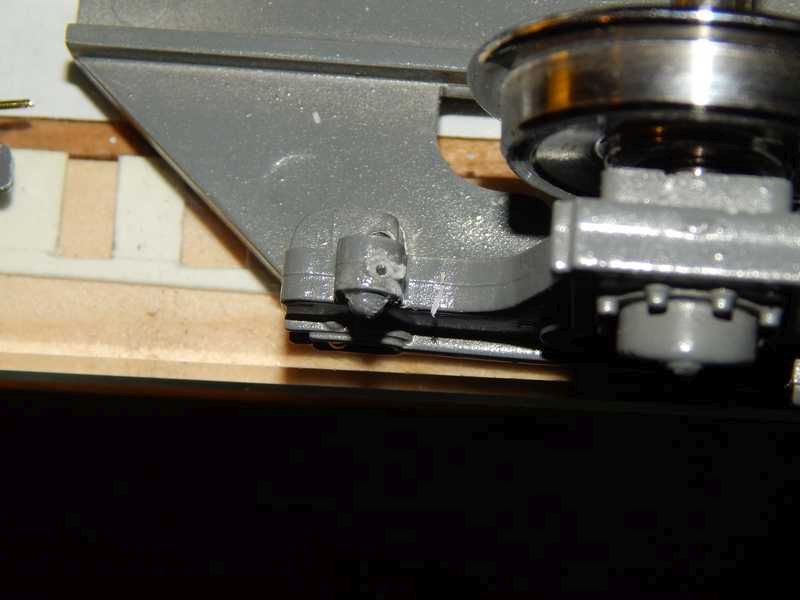
I like to shorten the coupler tang for a bit better appearance
Above pic also shows the addition of rubber color paint added to the diaphragms
painting the different grabs
painted in stripes simply because it keeps the grabs in their location order for the car
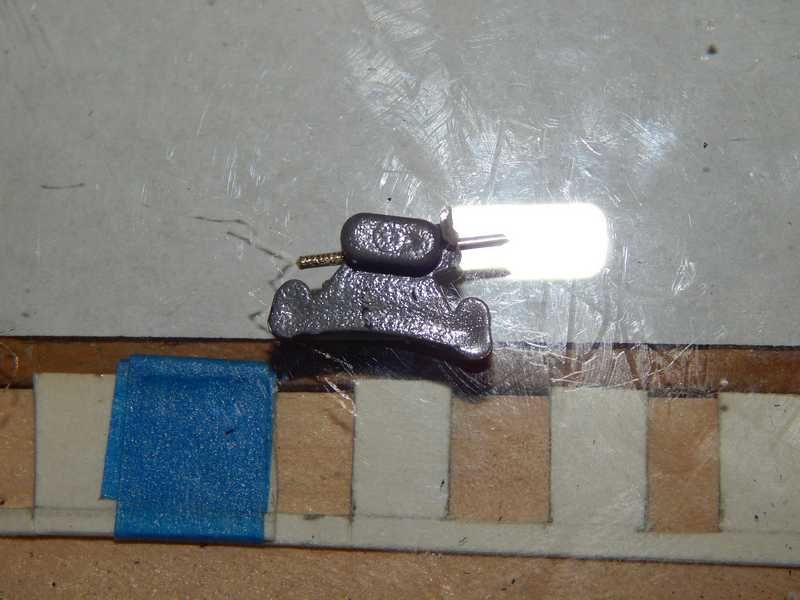
One issue I have with the Aristo trucks is two of the brake shoe casting are very flimsy. I have been reinforcing these with a piece of .032 wire after carefully drilling a hole through the bottom of the shoe up into the frame of the truck.
Here is one of the shoes that broke off from handling with the pin drilled through
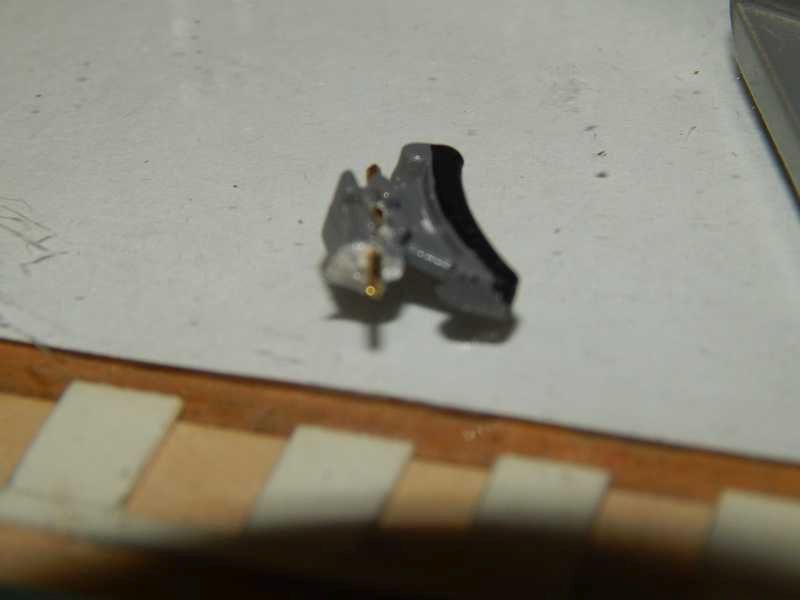
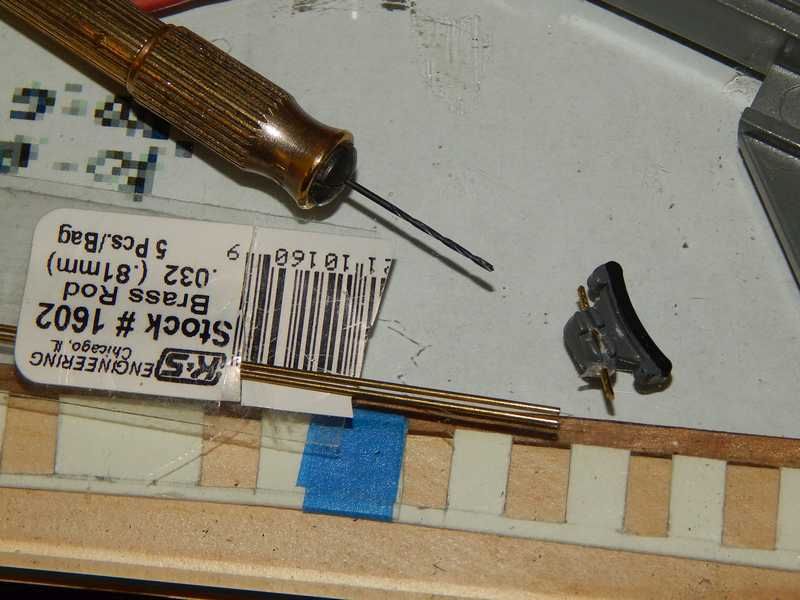
and the corresponding hole in the truck frame which was drilled as I drilled through the brake shoe.

NOTE:
Gilbert Lacroix of GLX now has the brake shoe in his 3D print line up if you need replacements
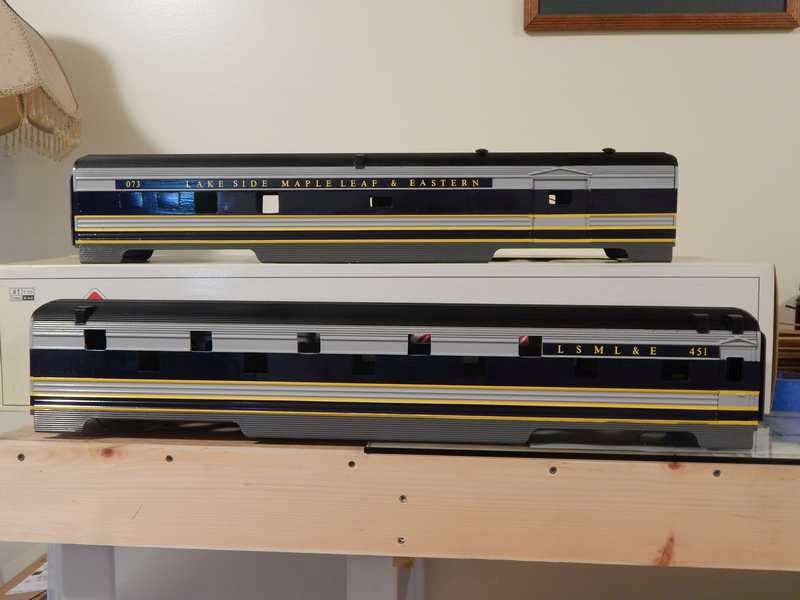
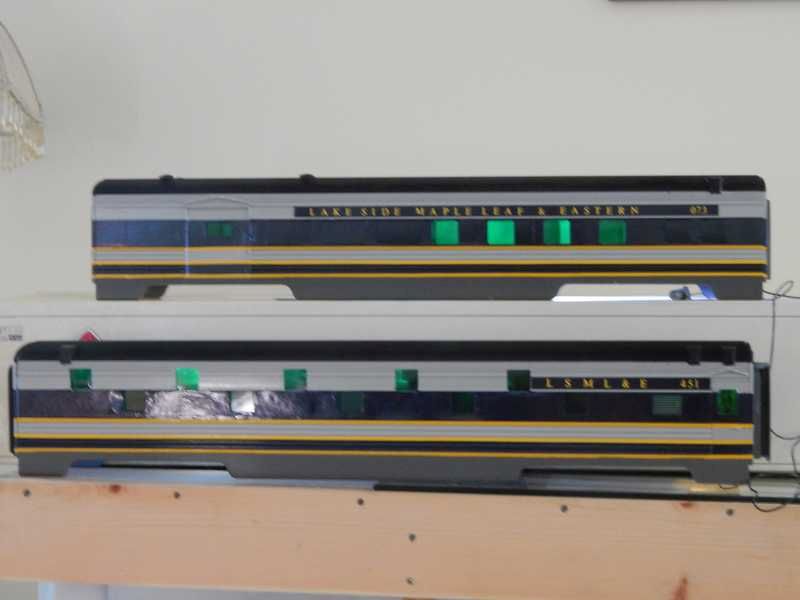
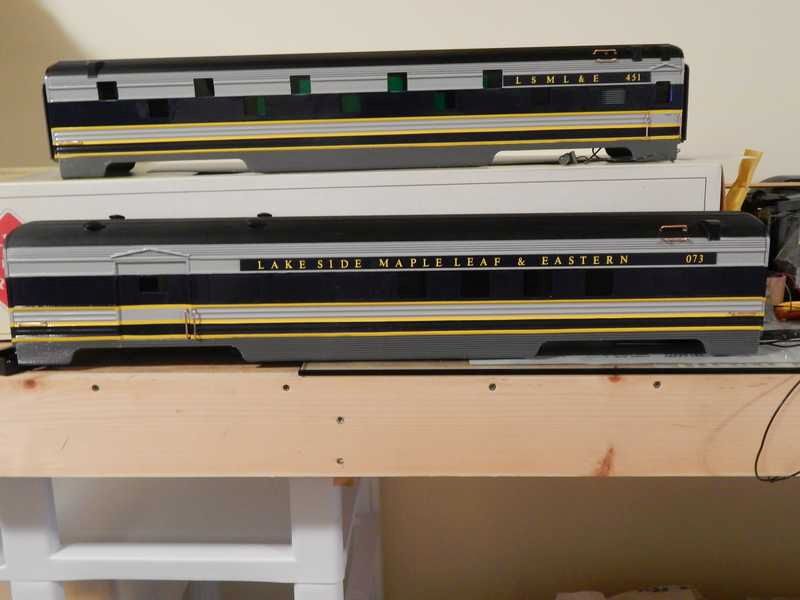
Cars on 10' diameter curves to show spacing:
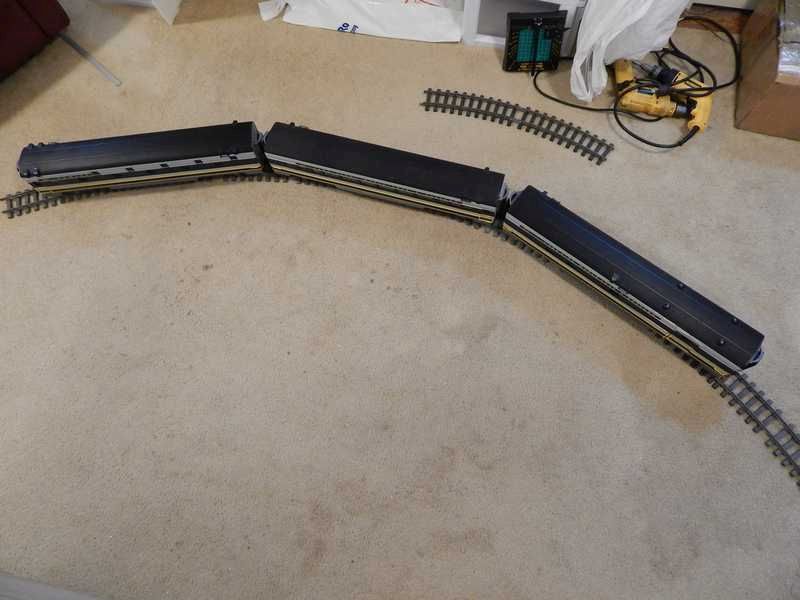
And with that these two cars are finished.
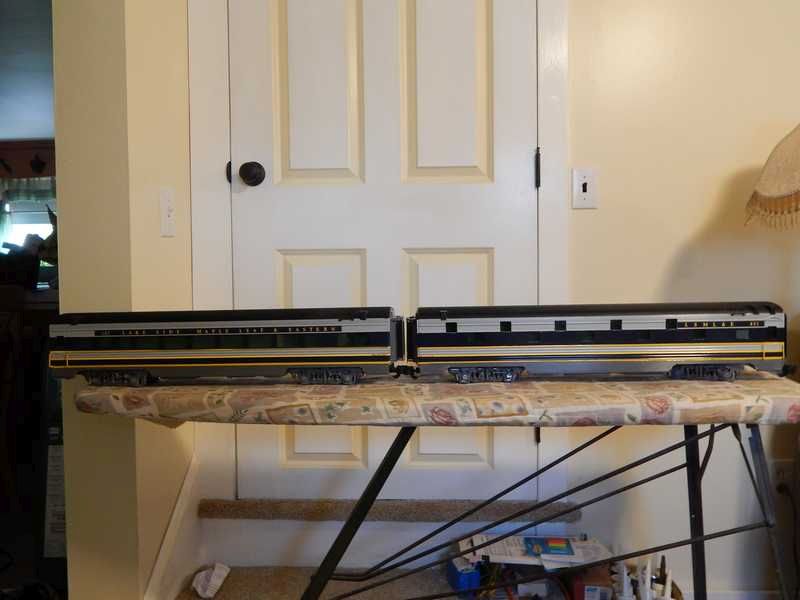
Yep at home alone so I can do the train on the ironing board pics.
Next on my list is a wood horse car the I'll get back to this list with a Solarium car.


