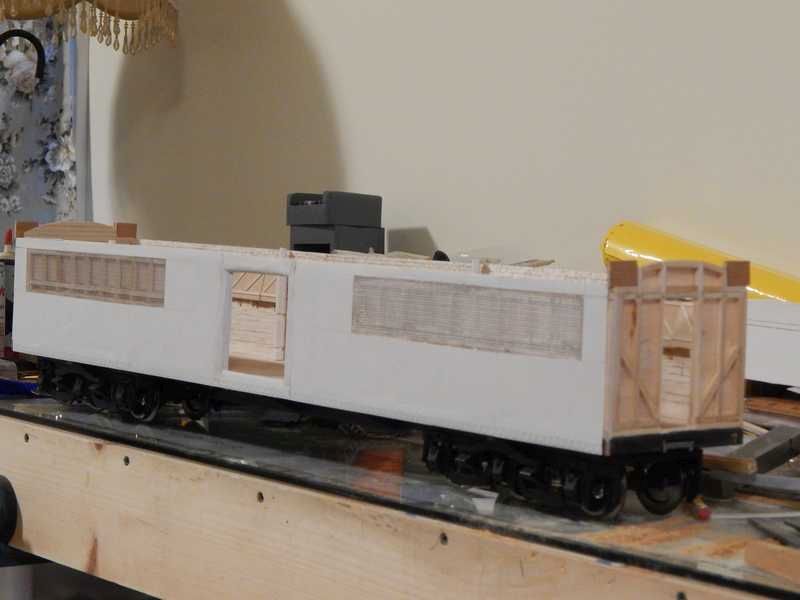
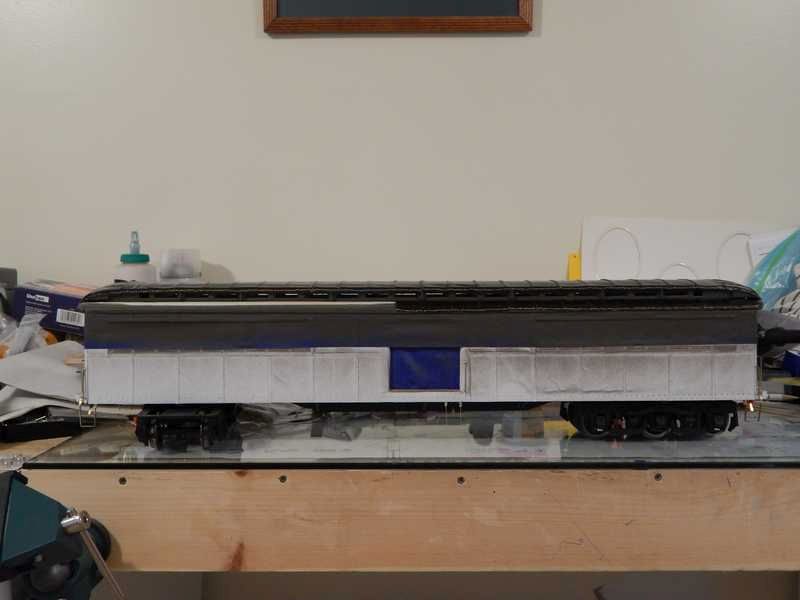
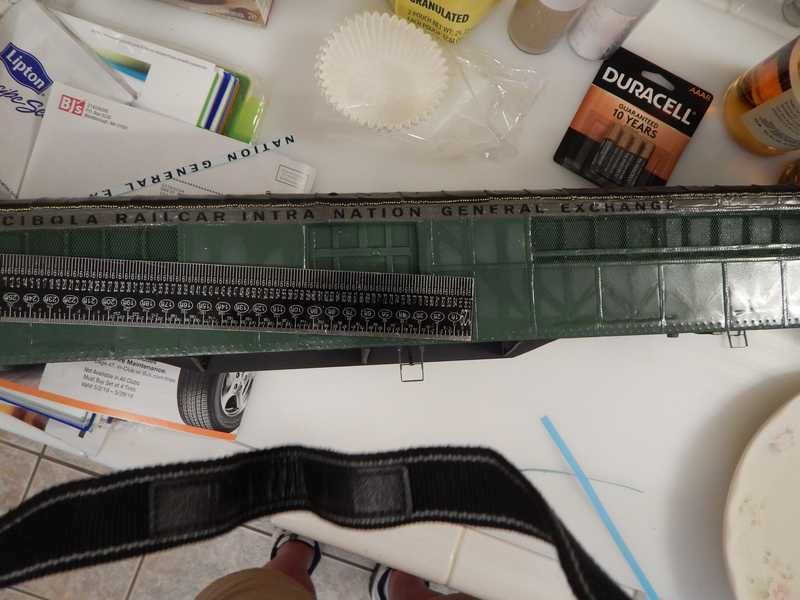
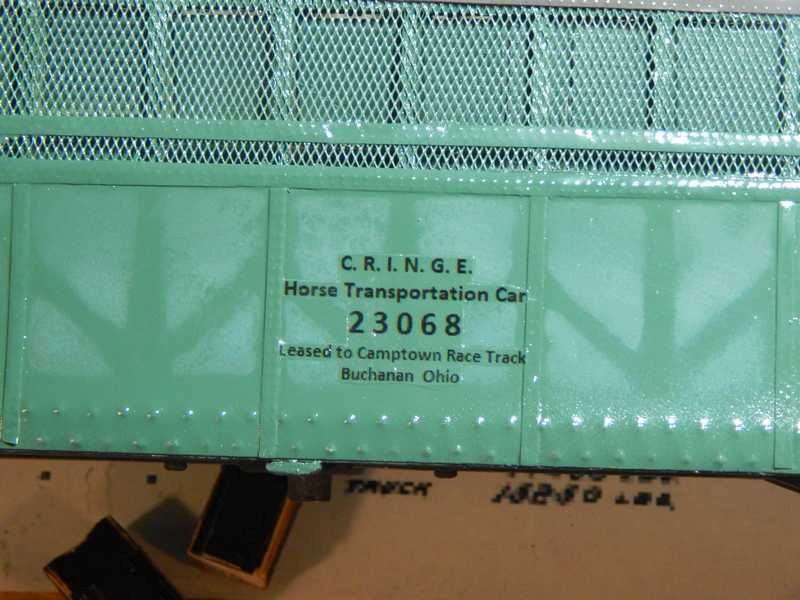
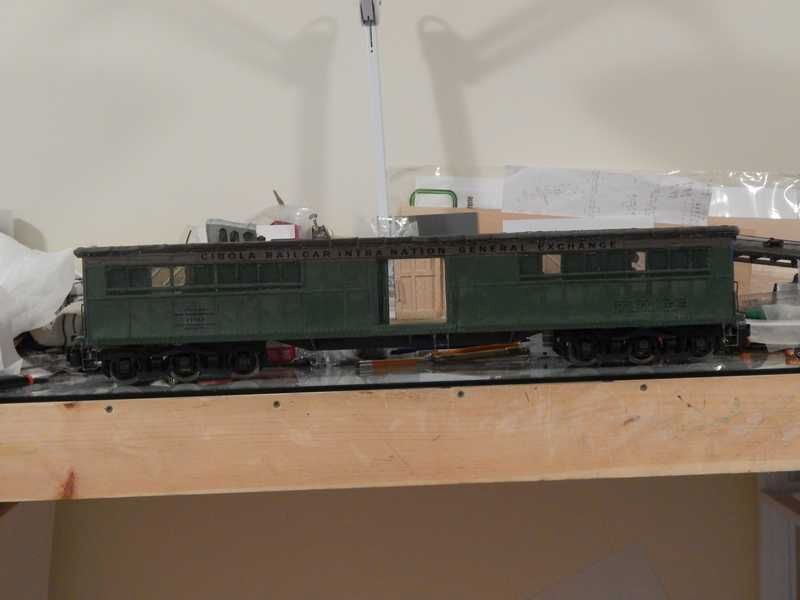
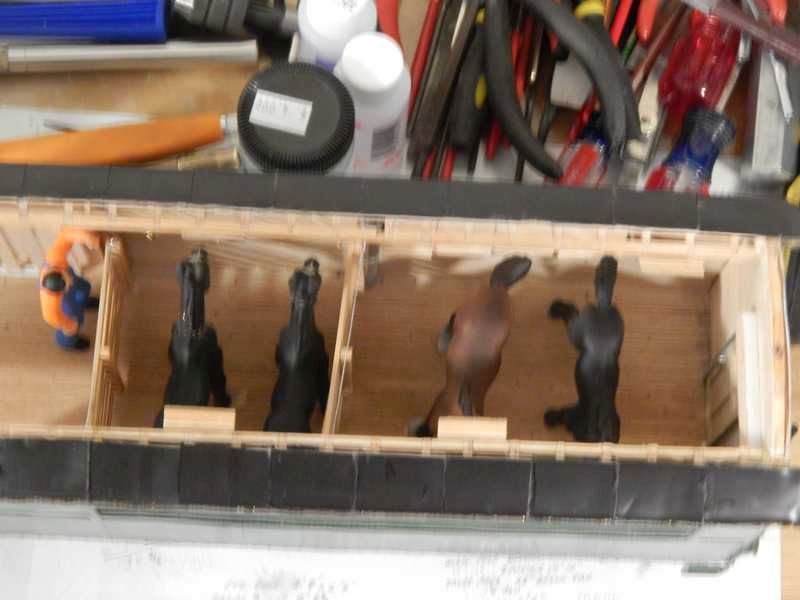
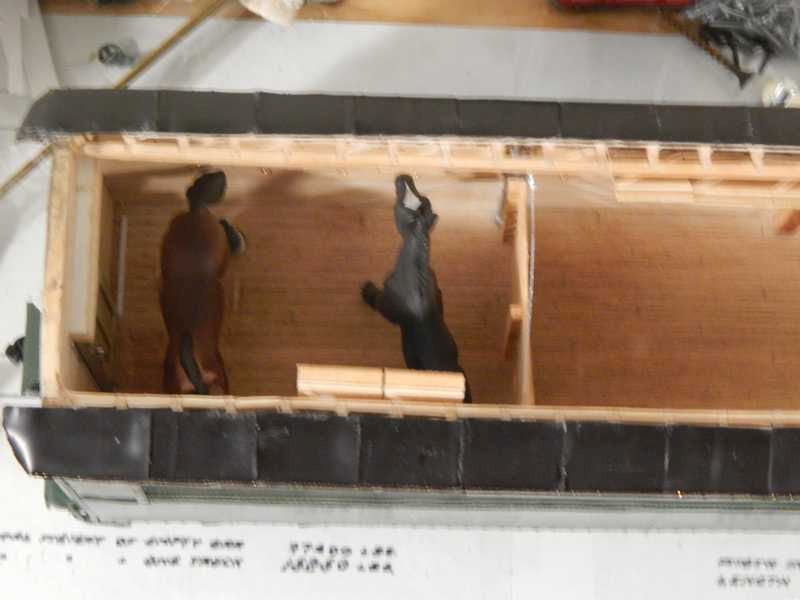
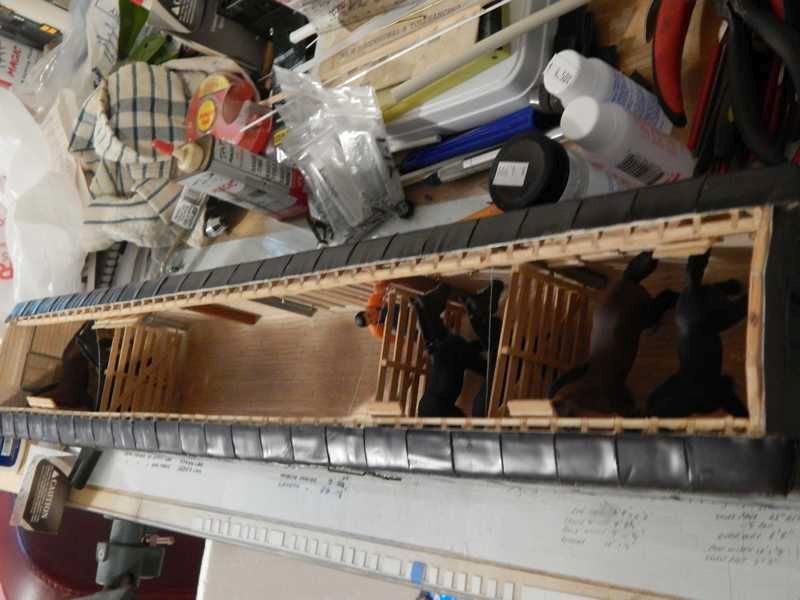
Though able to find drawings of this early style actual photos have eluded me so some features are best guess and common practice based. These seem to be stalled for 18 horses and two versions were built. The difference between the two being the later one had a water pipe ran on the outside wall between the upper and lower screen sections to more easily provide for the normal cargo. I took modelers license and presented the car in a betterment style of wood heavy weight up graded to a safer metal covering and lose of truss rods for a stabler car.
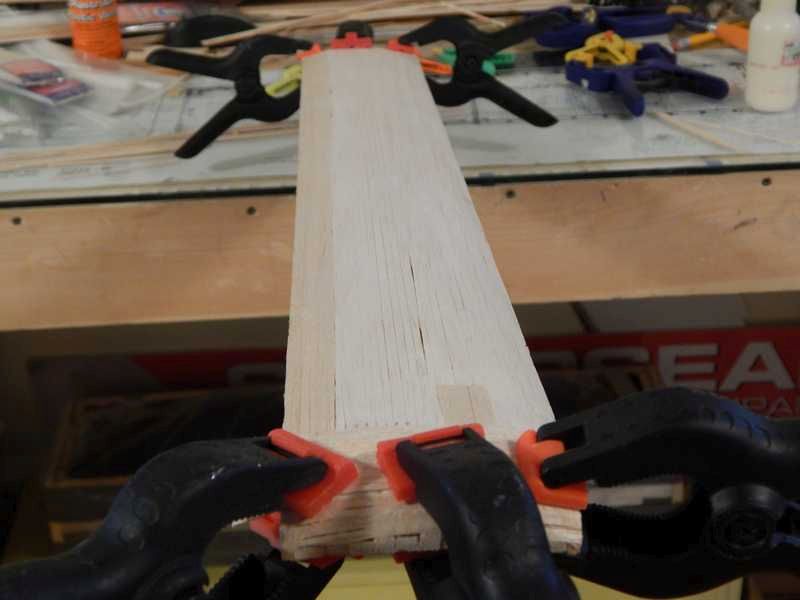
First up was the center sill and frame:
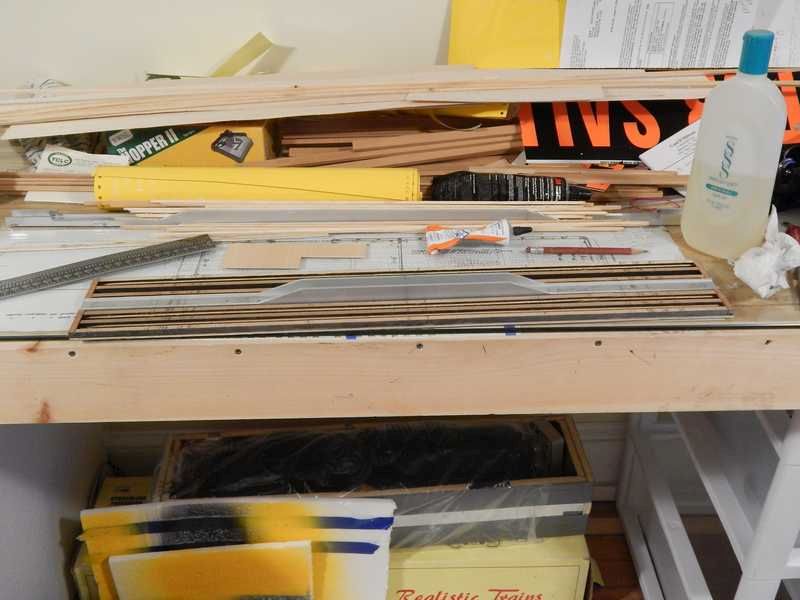
I used two pieces of aluminum, one angle and one flat cut and shaped then screwed together with 00-80 machine screws.
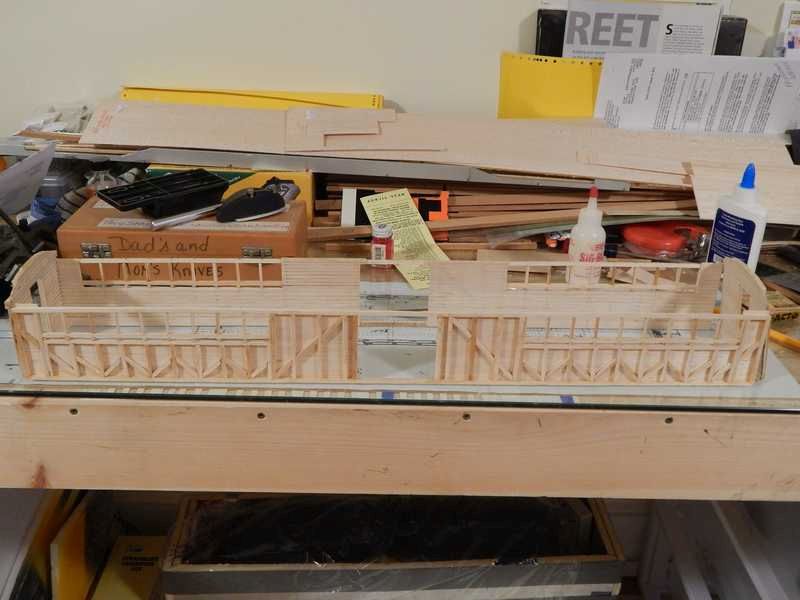
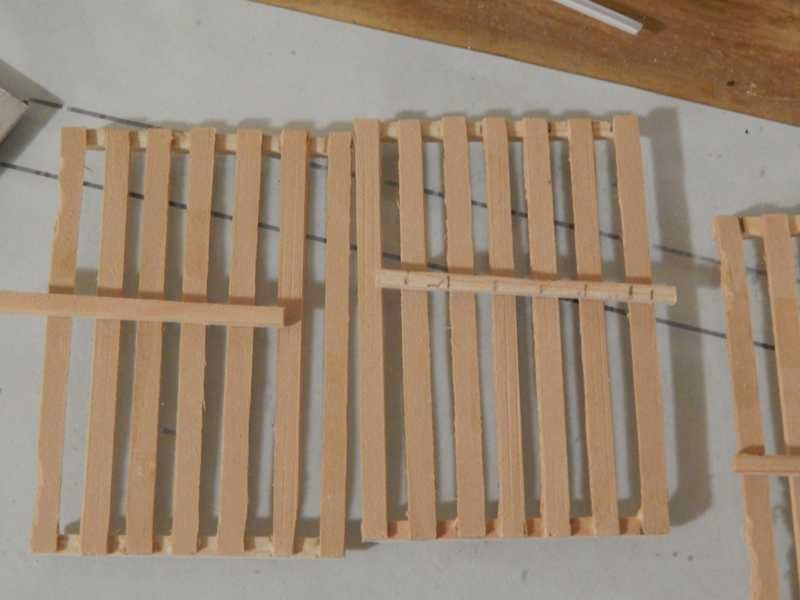
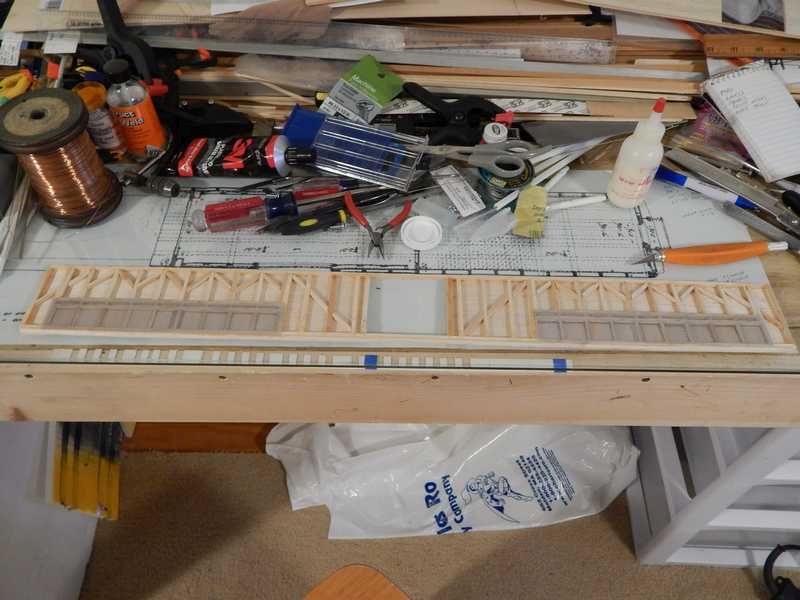
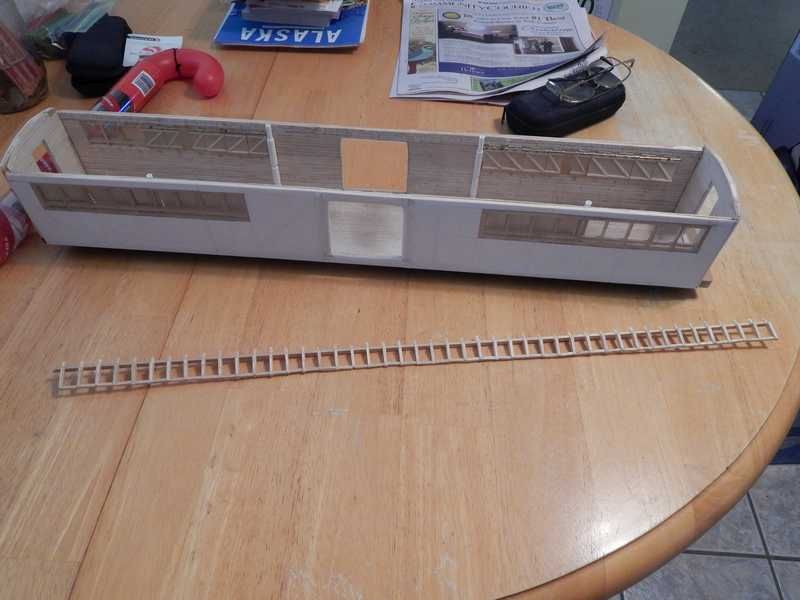
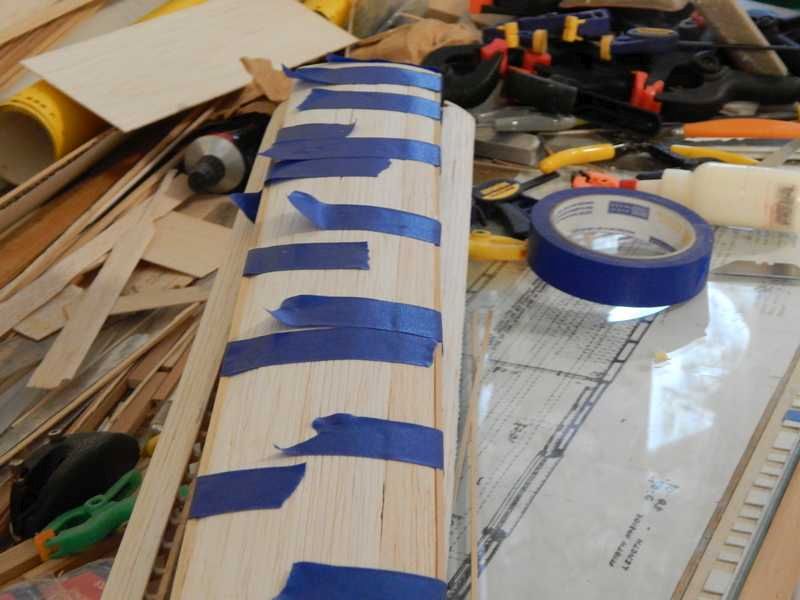
Walls were built next
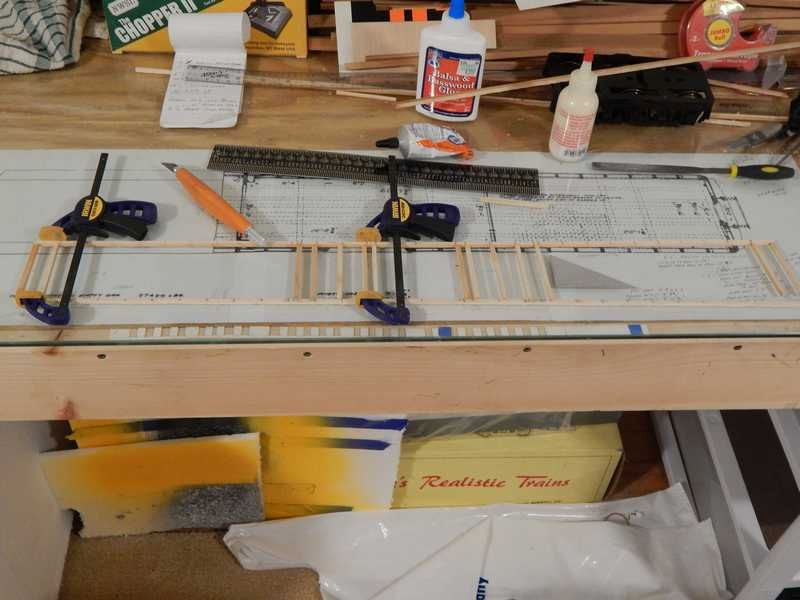

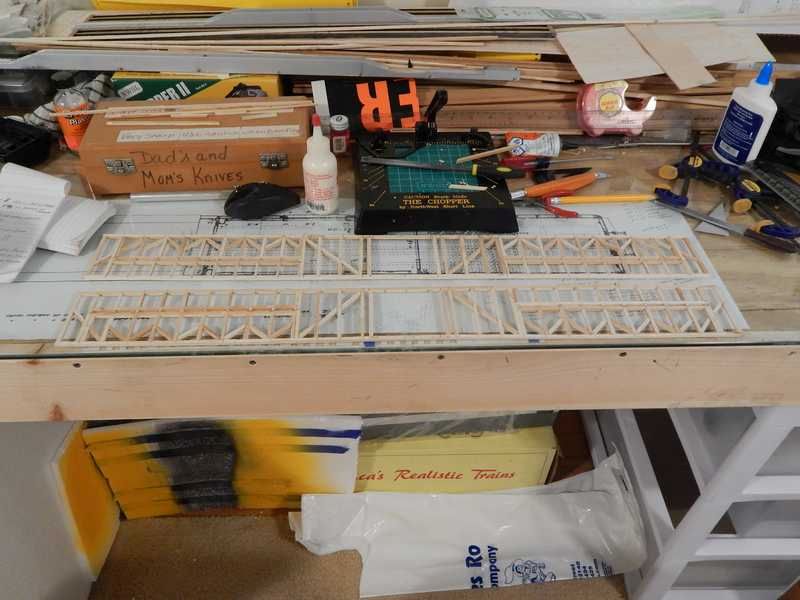
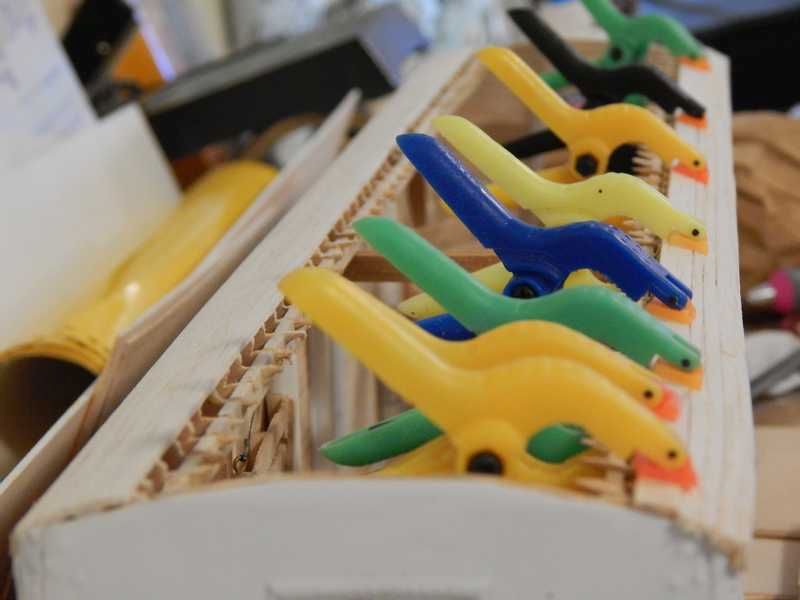
And test fit to the frame:

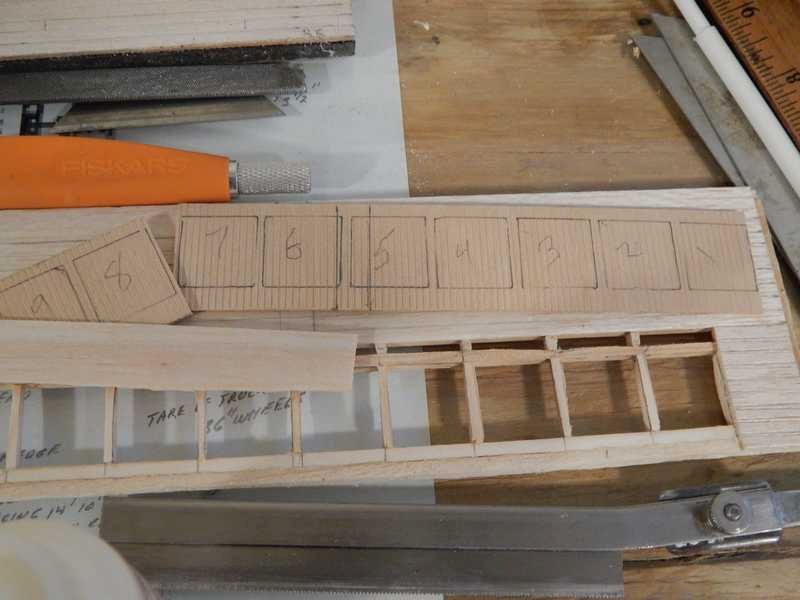
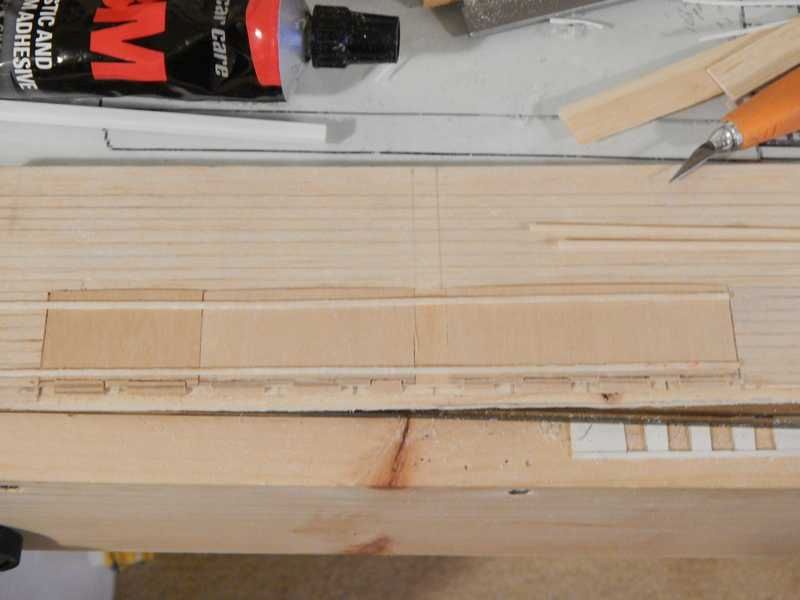
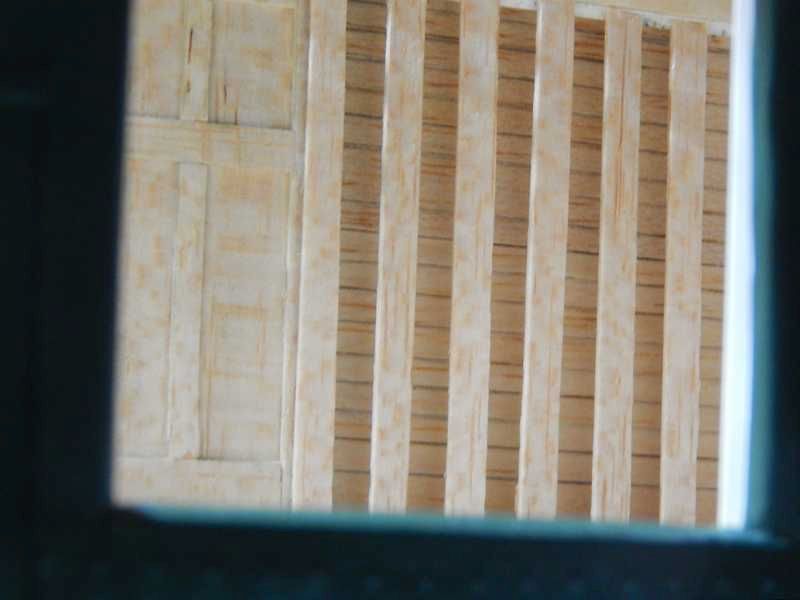
Sheathing for the inside walls is pencil scribed balsa:

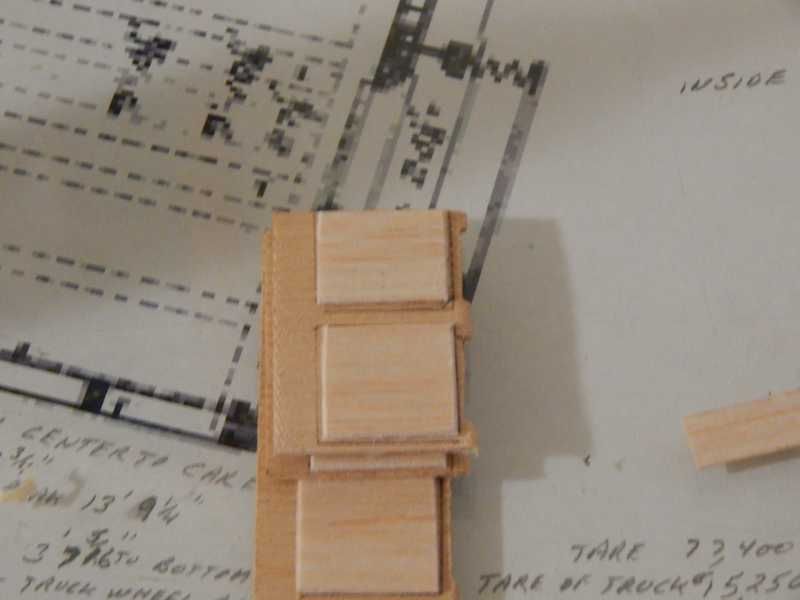
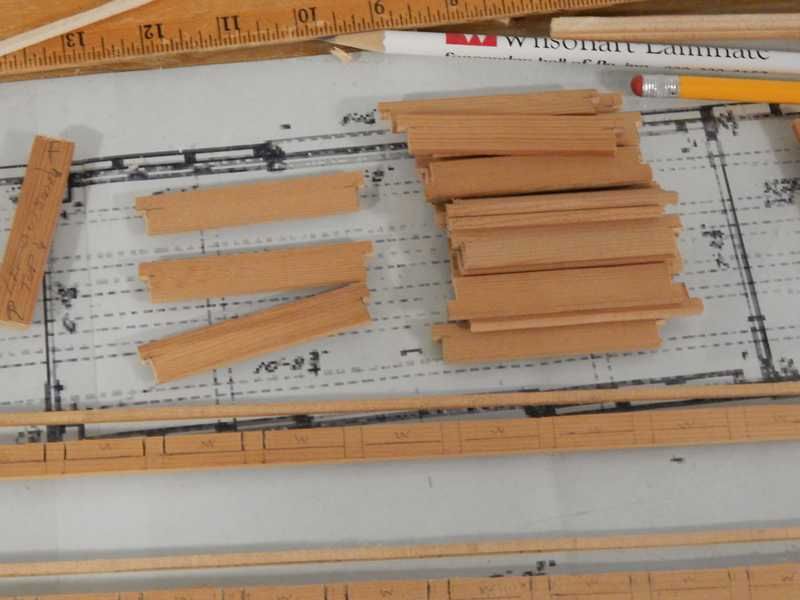
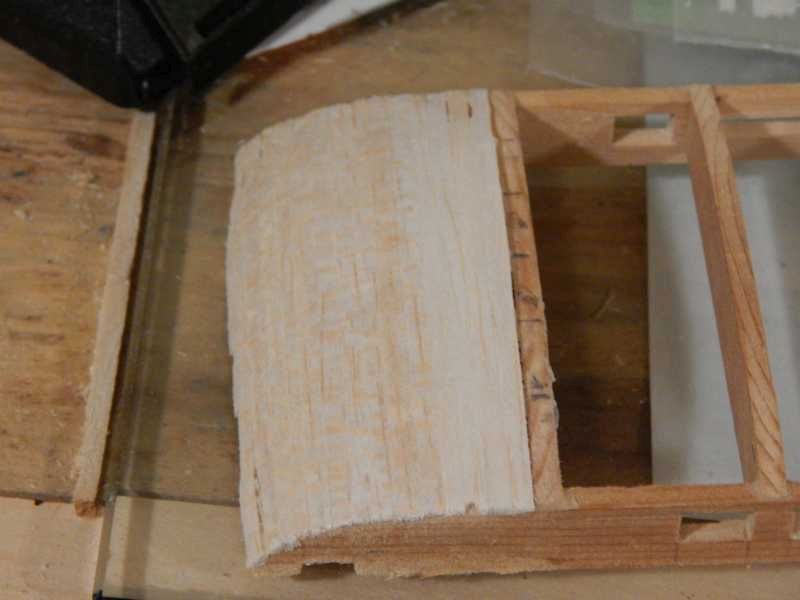
Window covers were made from scribed basswood.
and a filler fit to them:
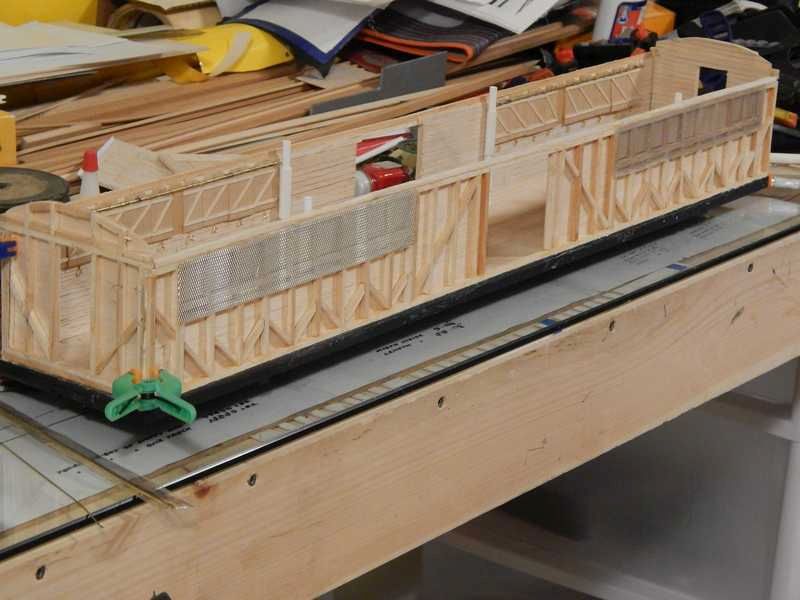
Details being added:
And hinges from brass tube and rod being set:
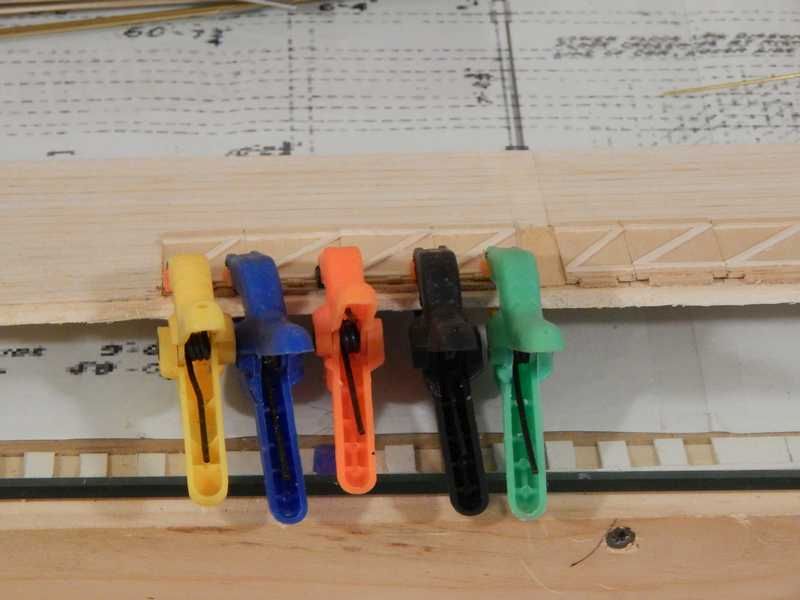
Permanent separators being set, the white plastic is tube and rod for hinge use.
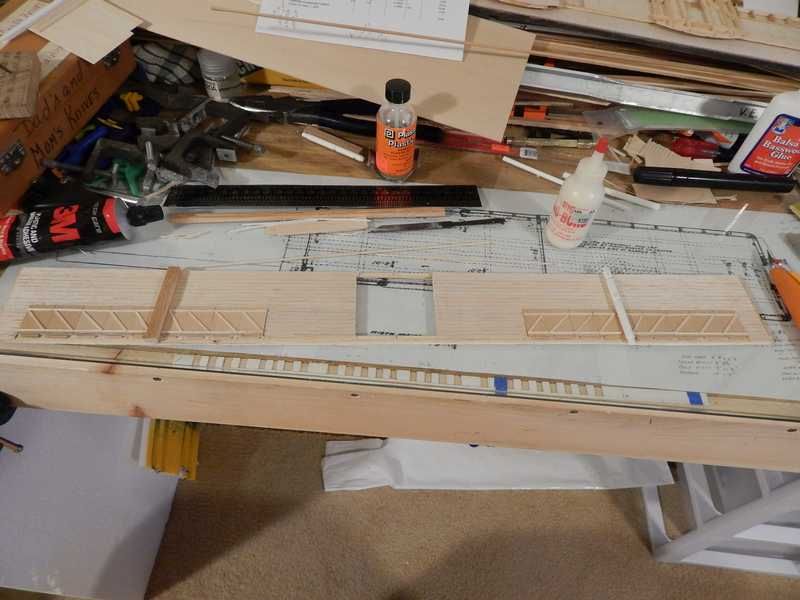
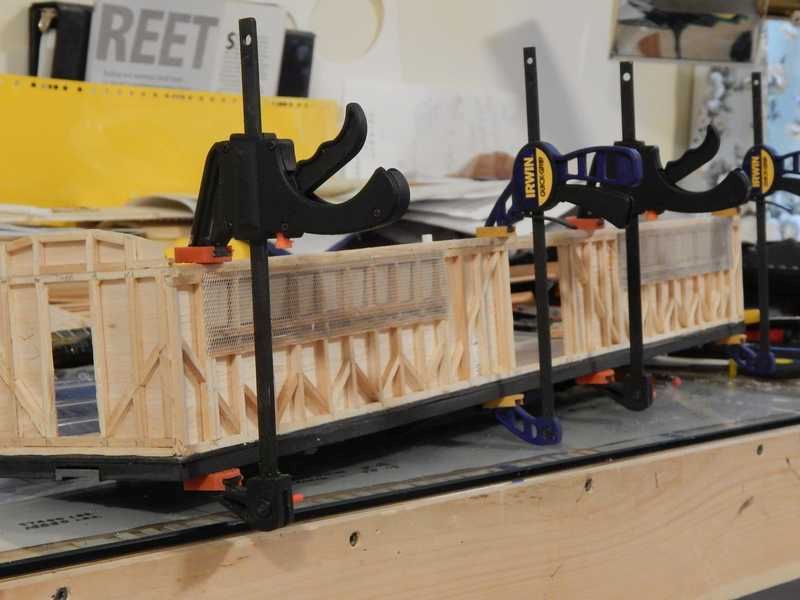
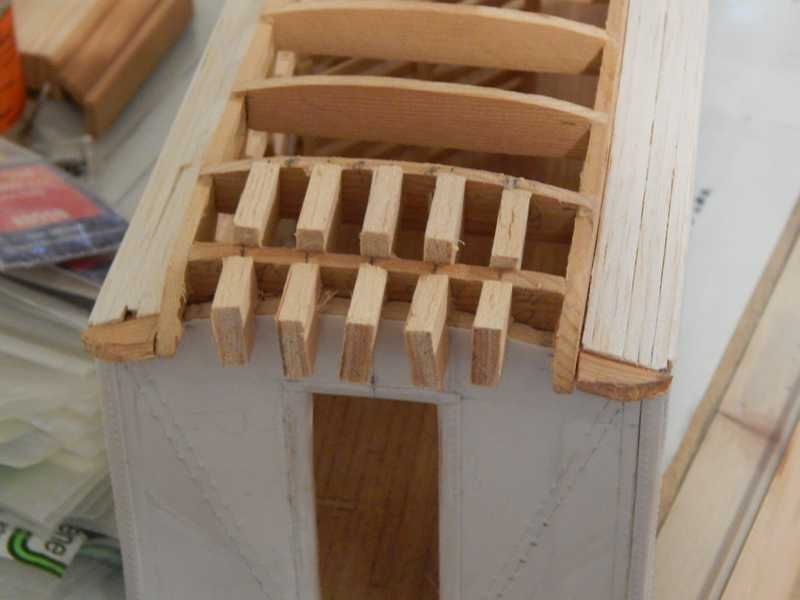
gate construction:
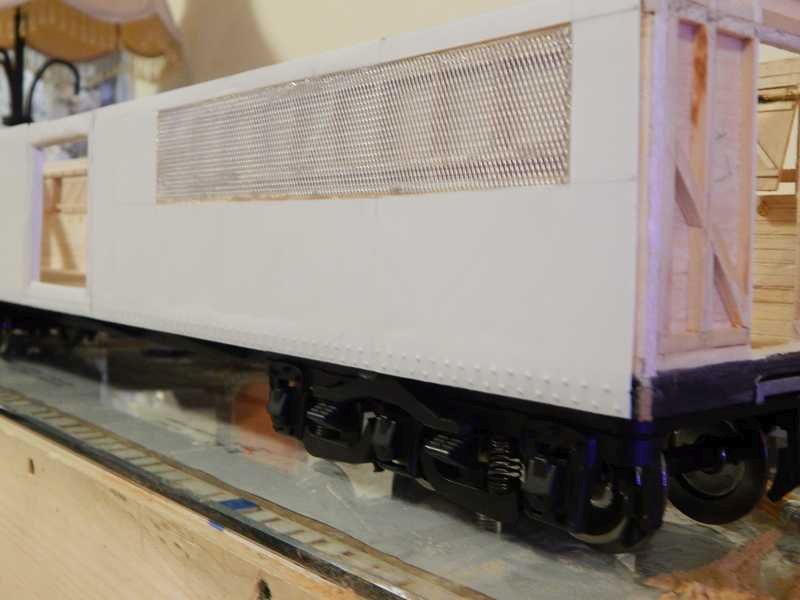
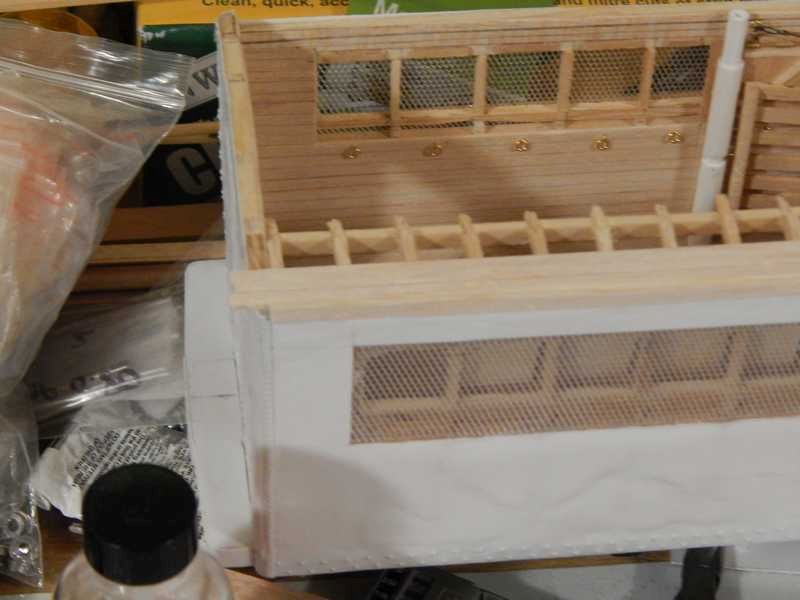
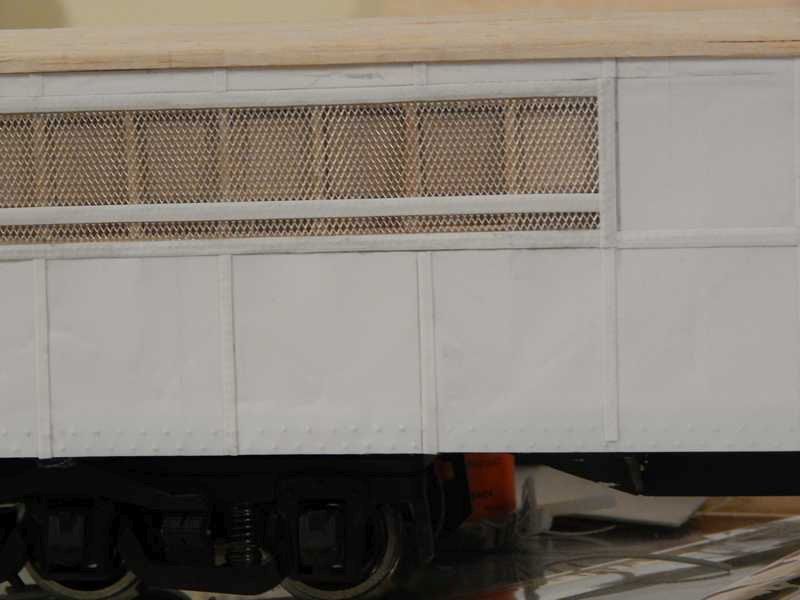
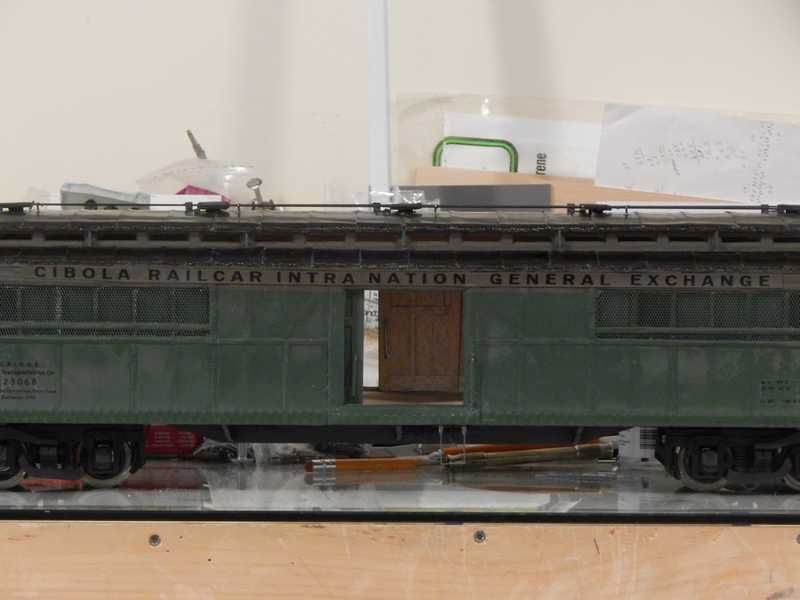
One of the main characters that drew me to this car is the use of window screen.

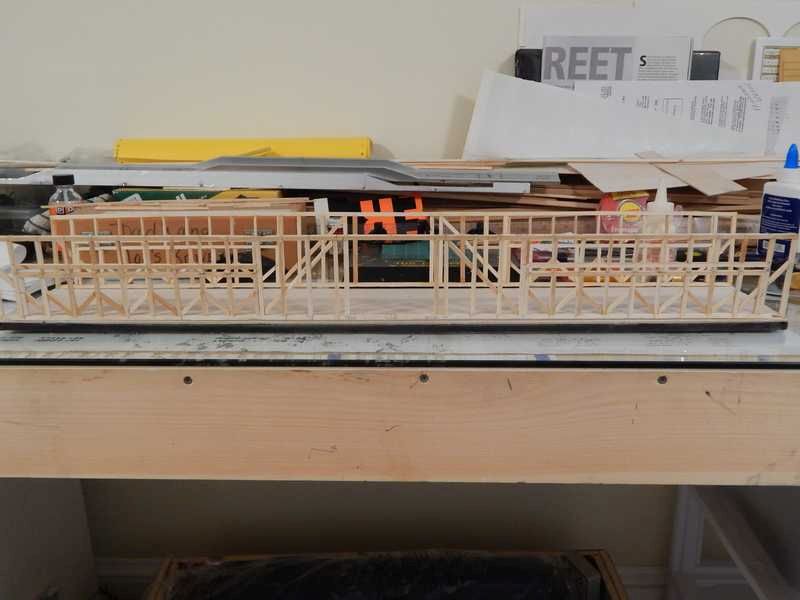
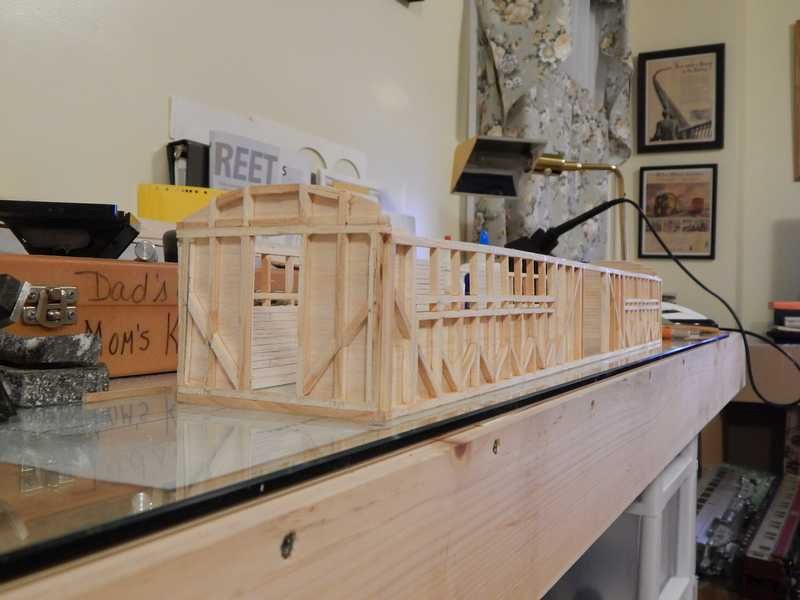
With the above done it was time to erect the car.

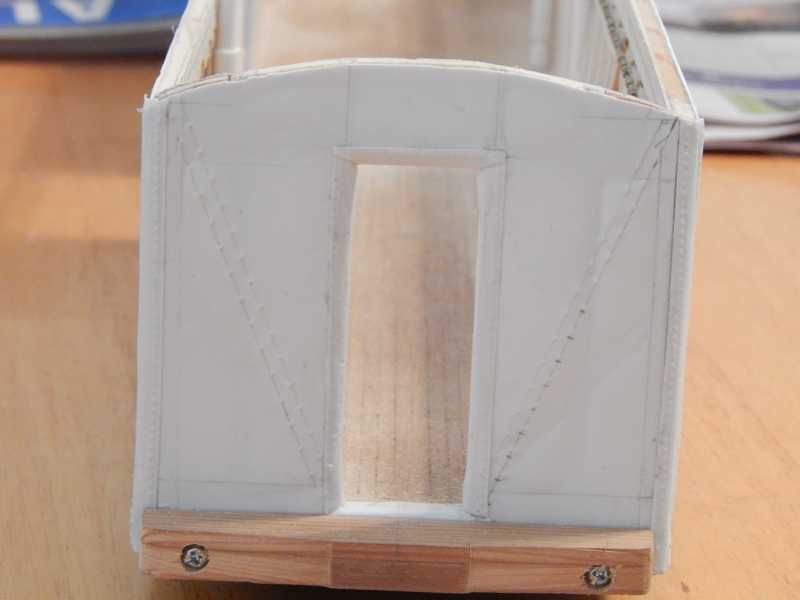
End sills were formed and installed:

car was sided using .015 plastic sheet with embossed riveting:
Doorway corners and body corners were formed:
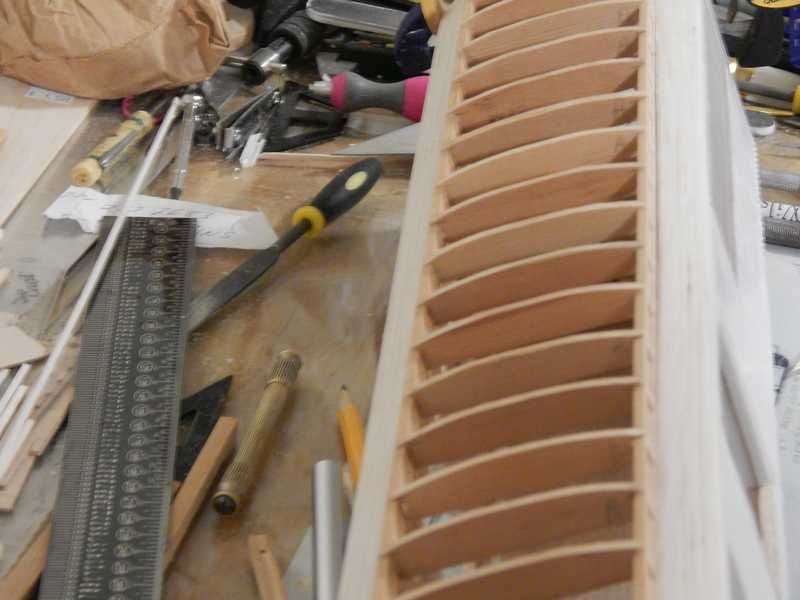
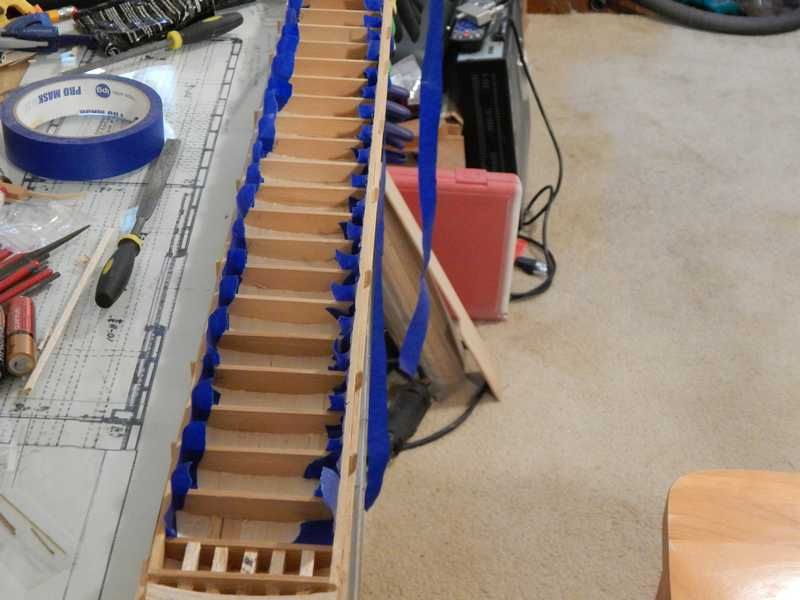
And then time to start making the roof sections:
Above ready made strips provided the roof sheathing.


![]()
![]()
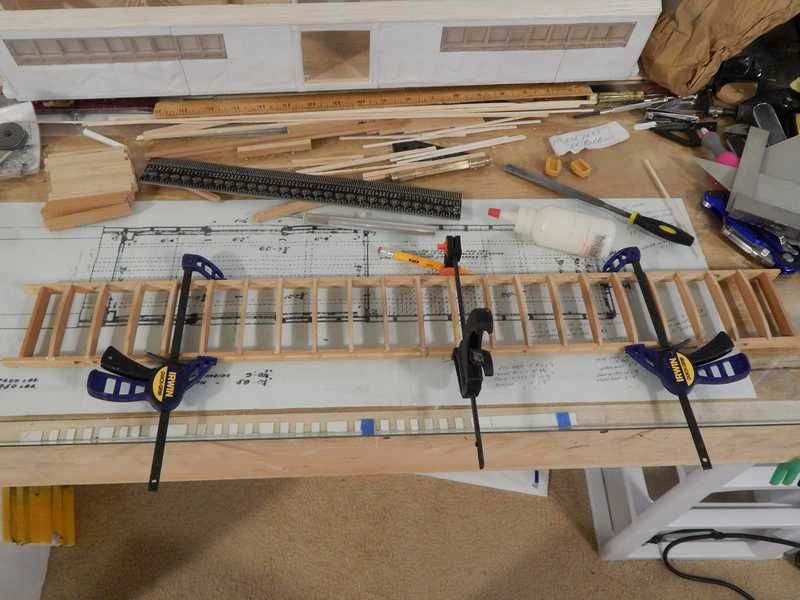

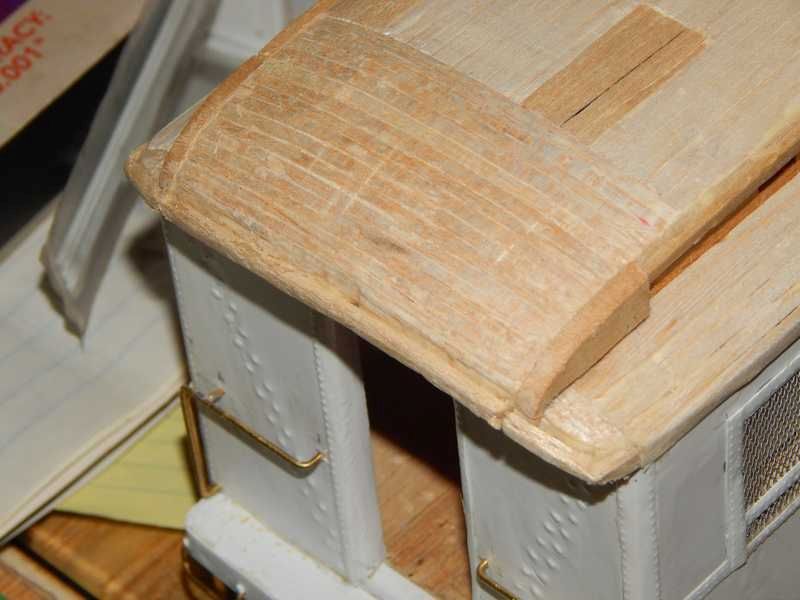
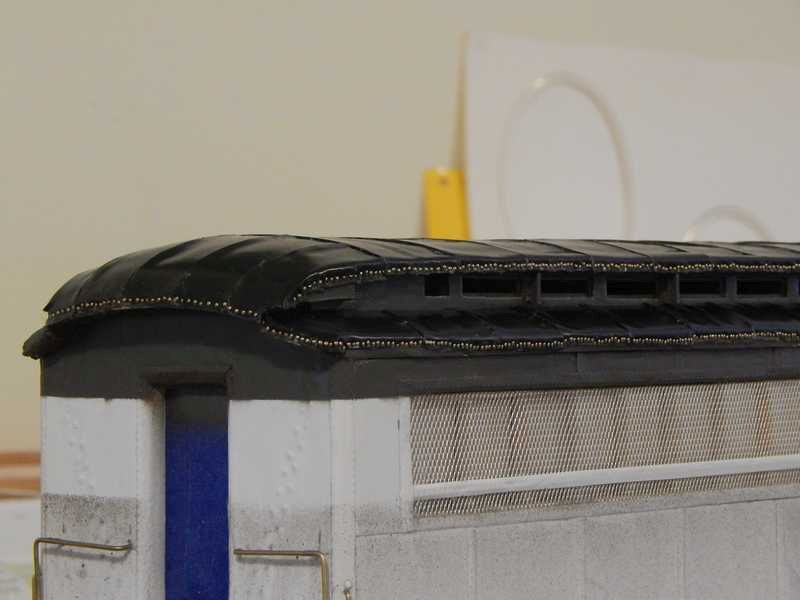
Putting an edge on the roof: 1/16" sq. stock
Next up are the rivet strips.

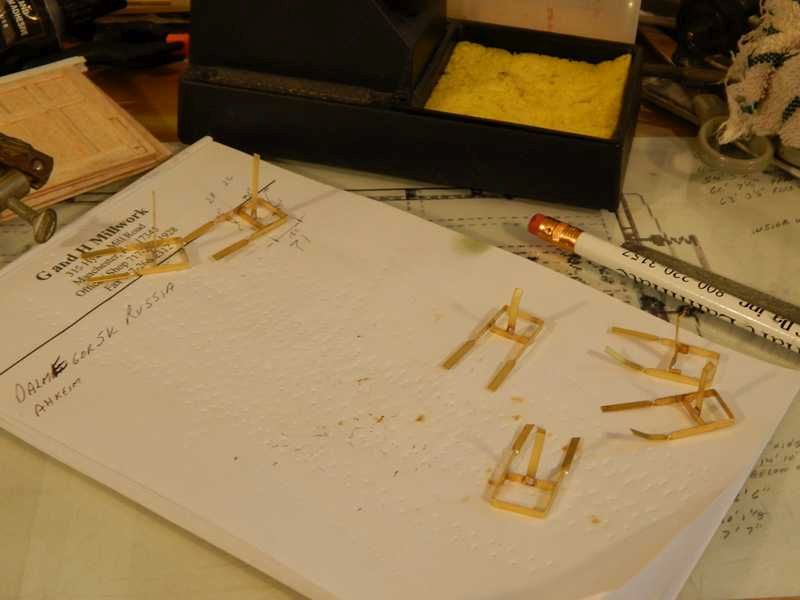
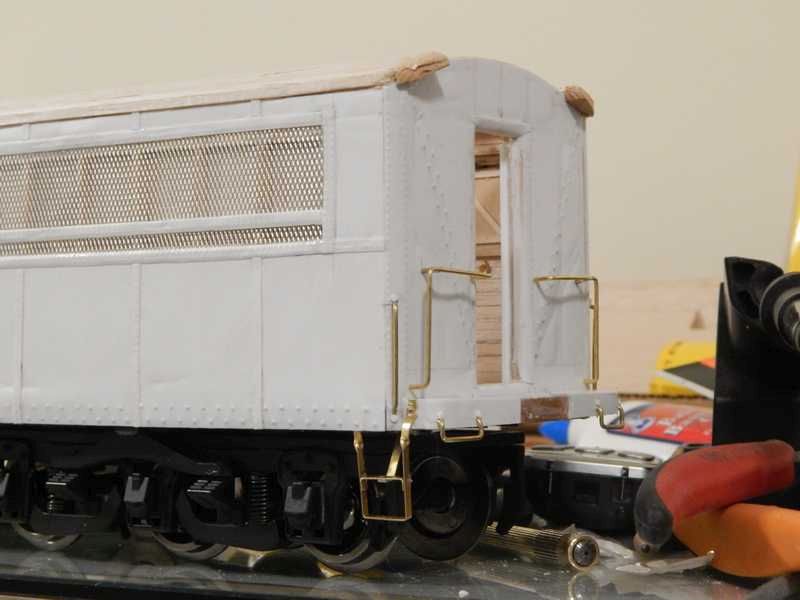
Strap steps formed and soldered
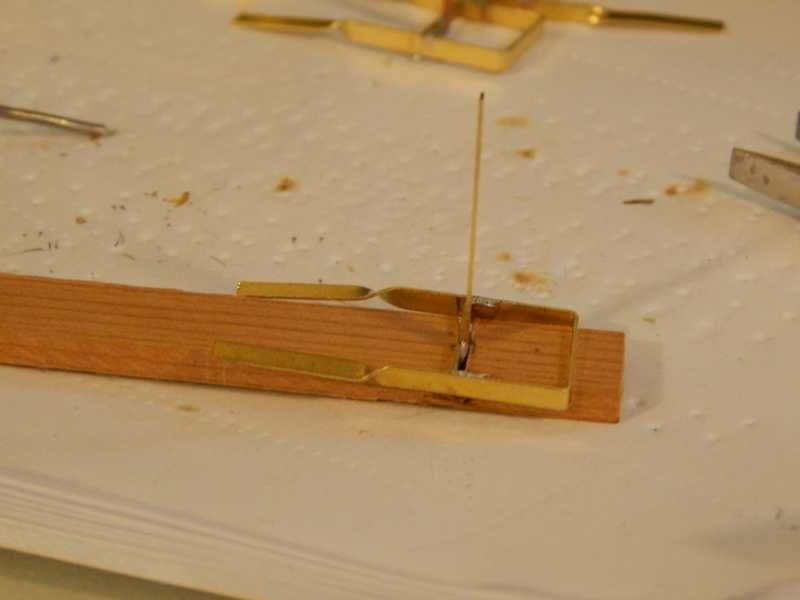
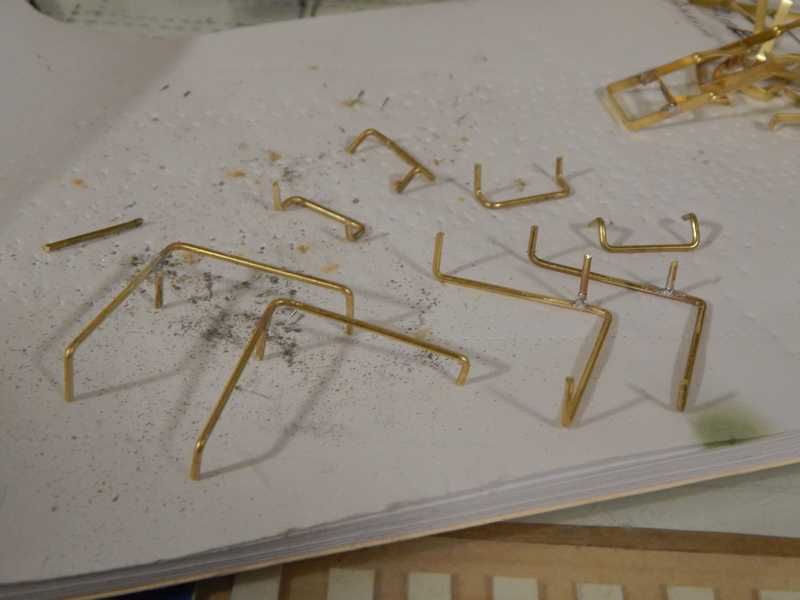
Drilled and started installing the grab irons
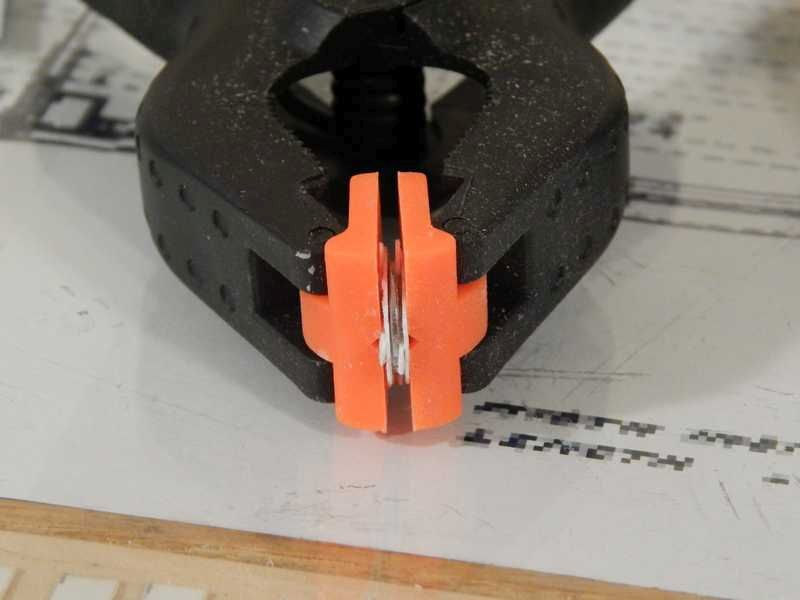
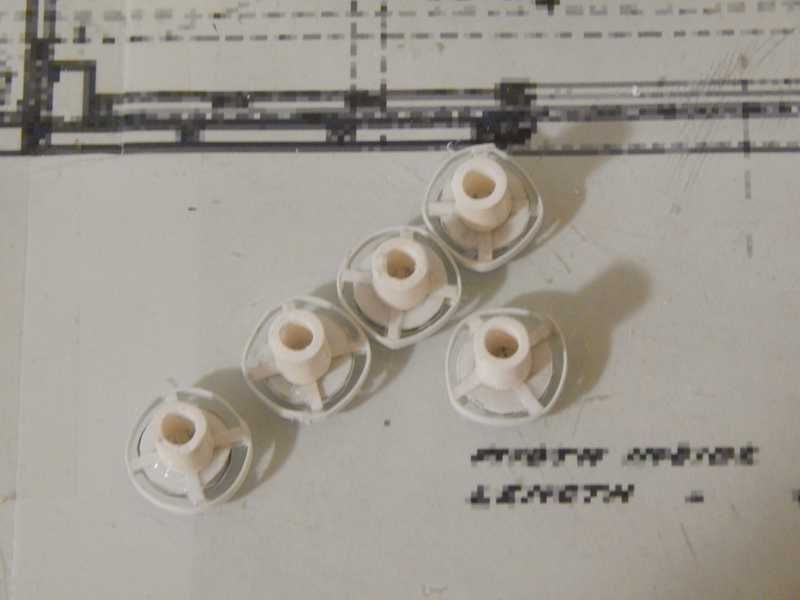
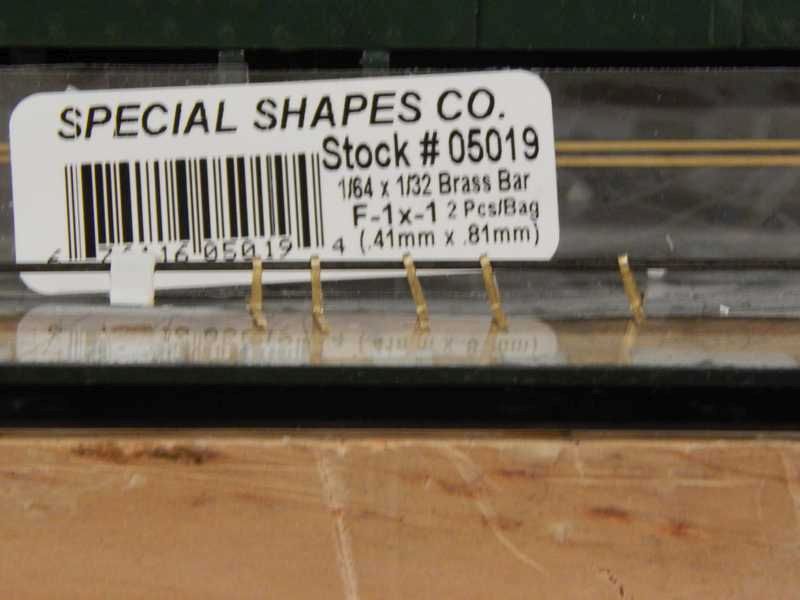
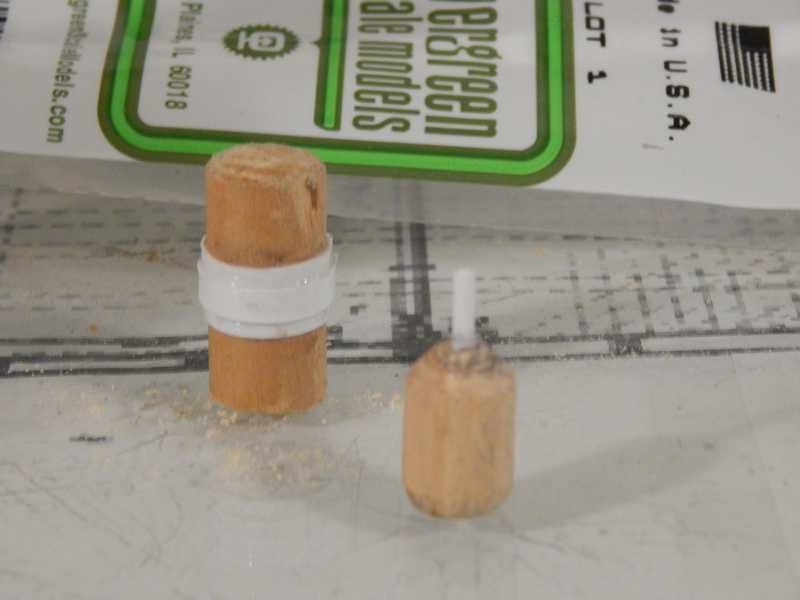
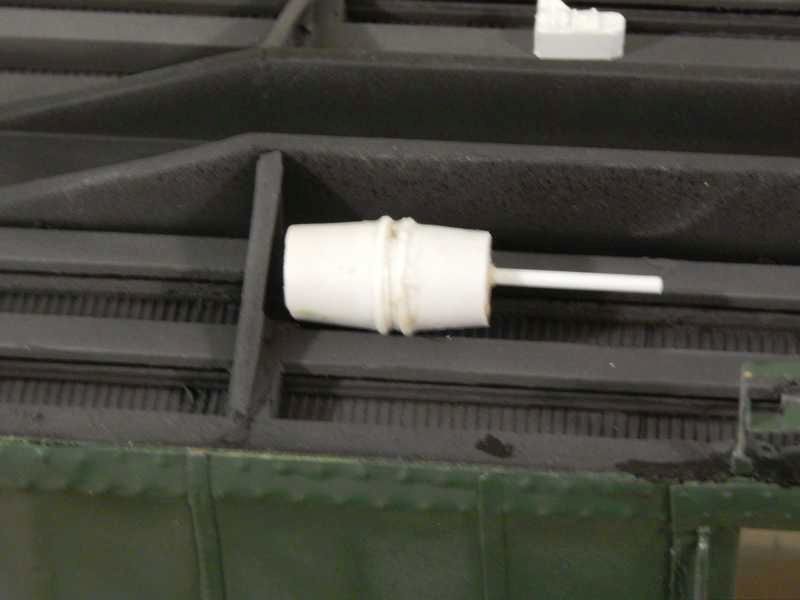
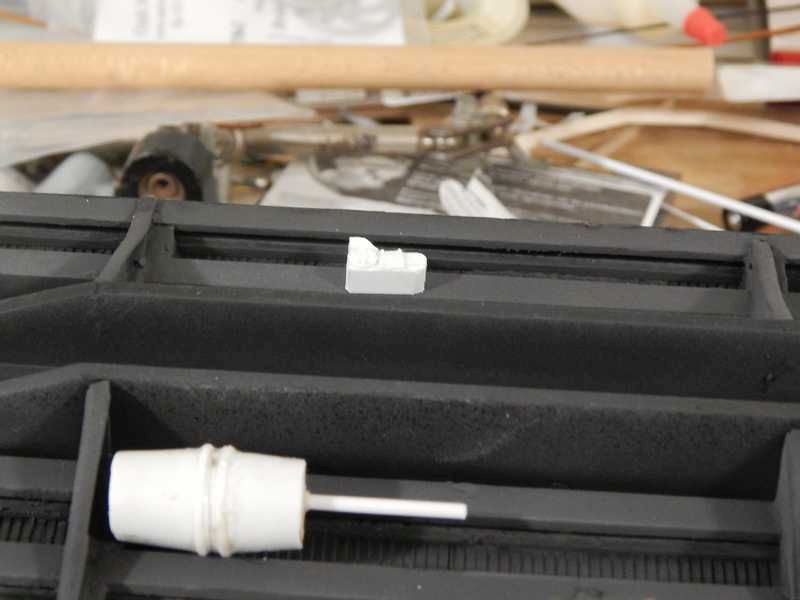
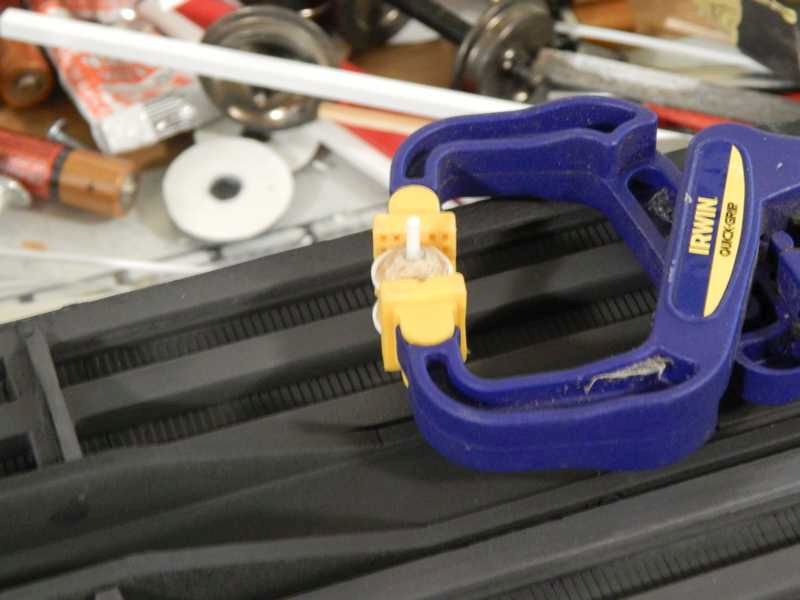
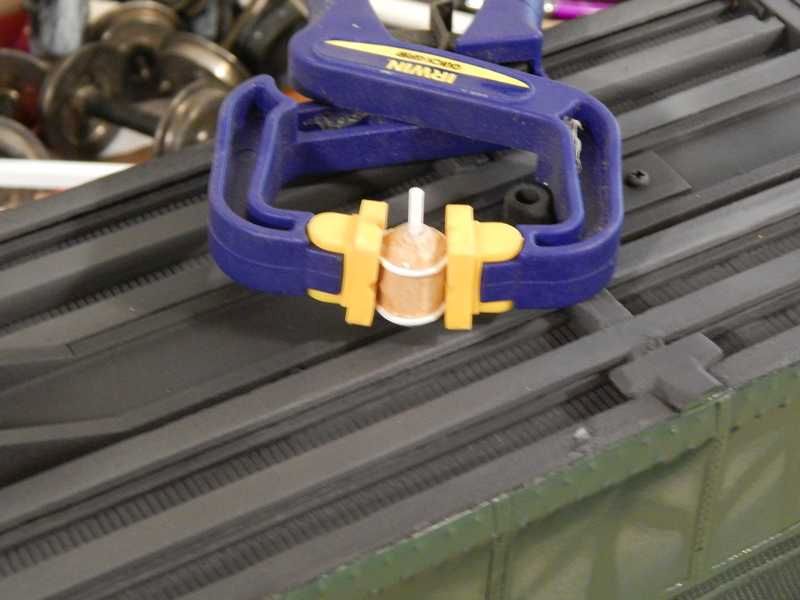
This car called for three hand wheels on the one end. These are no commercially available as can be seen
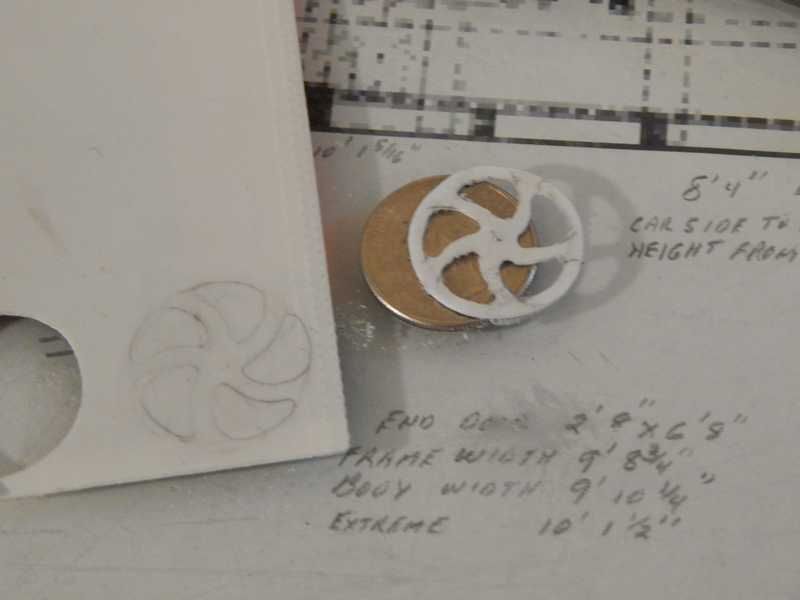
closest I could find were 7/8" brake wheels from Ozark Miniatures
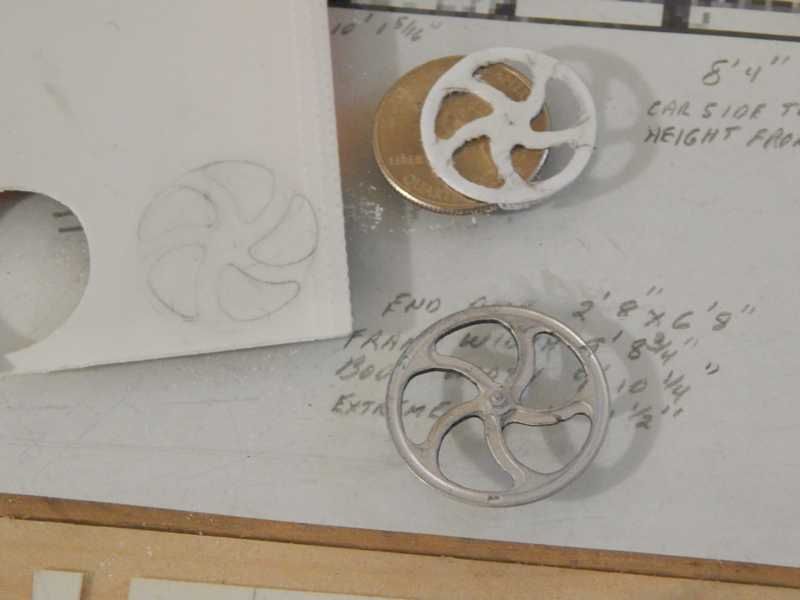
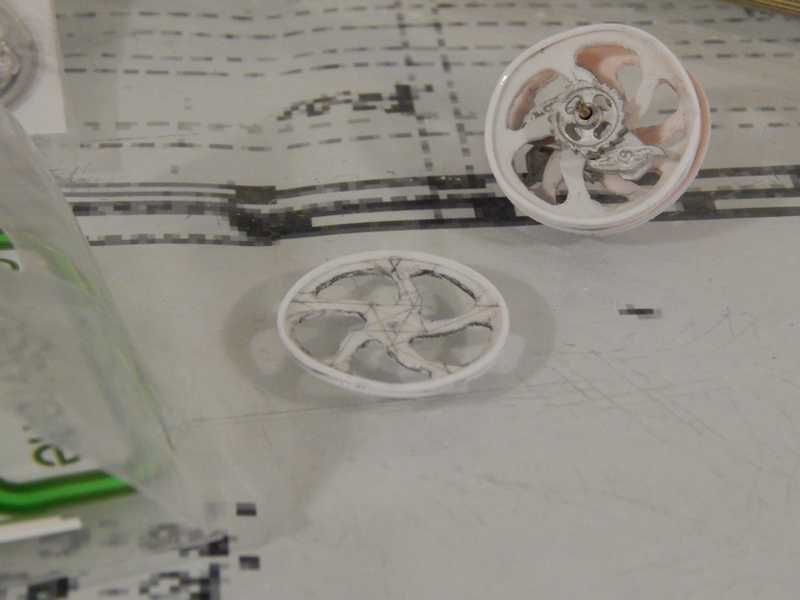
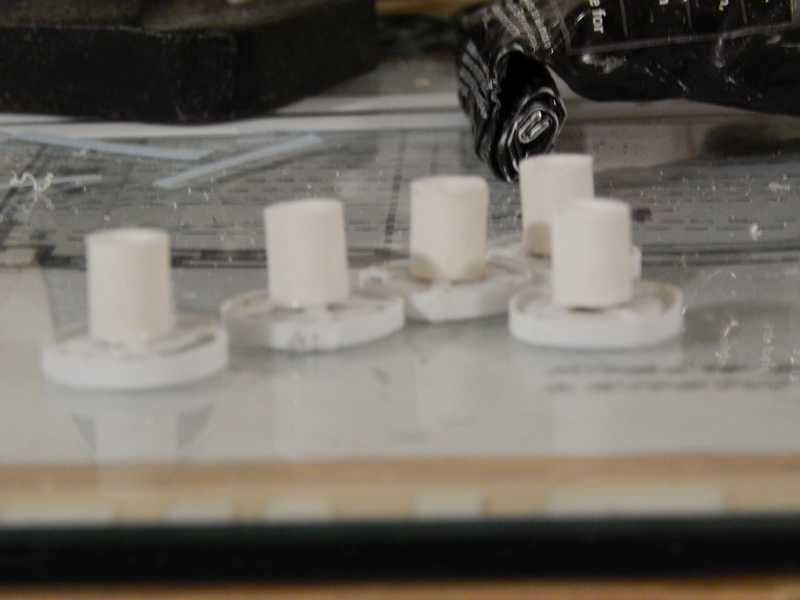
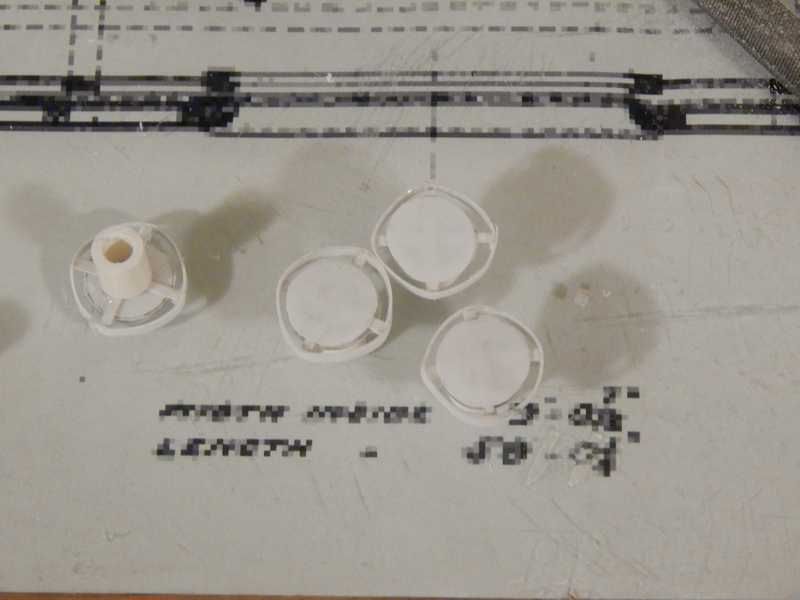
So two layers of plastic and a quarter round for the rim and I have this
With some of the above detail in place

nut bolt detail added for details
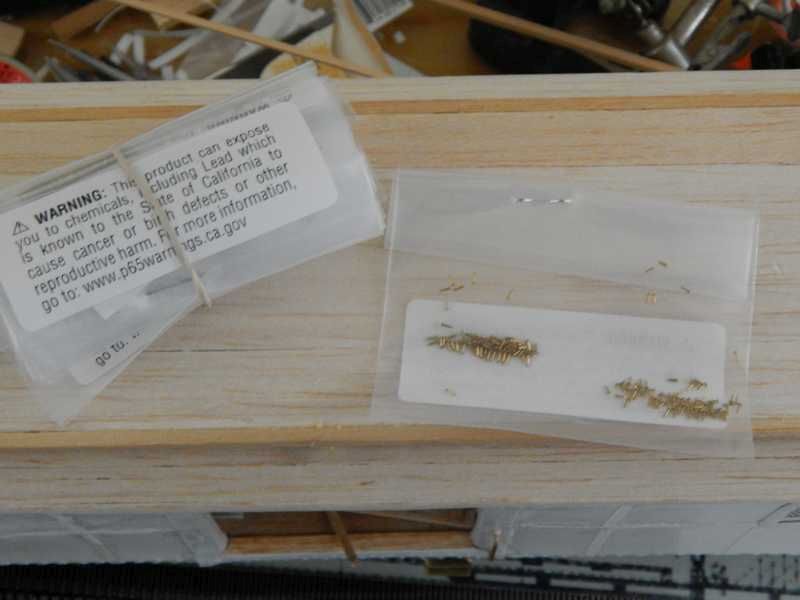
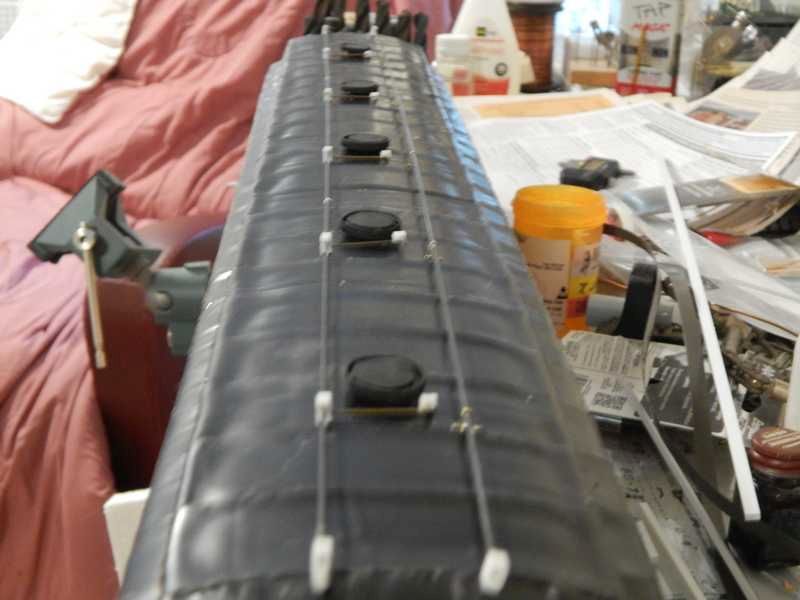
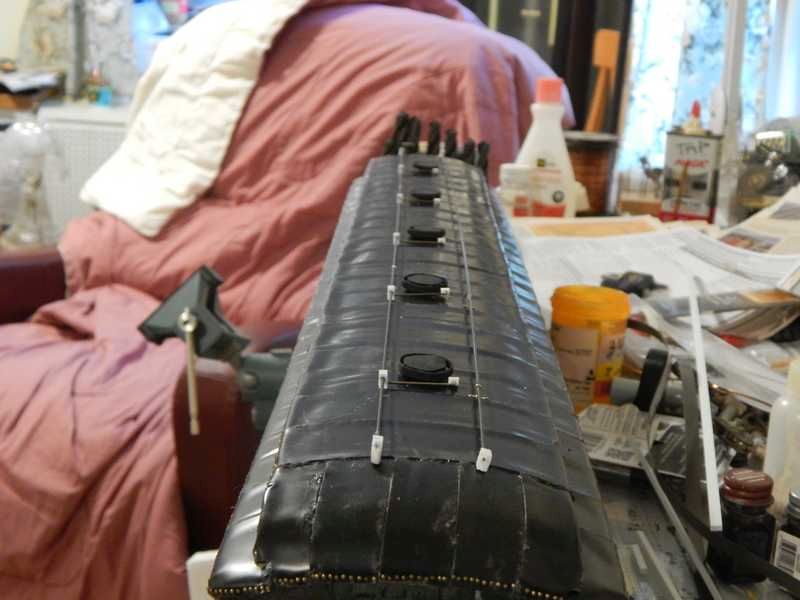
details came today 1500 brass nails
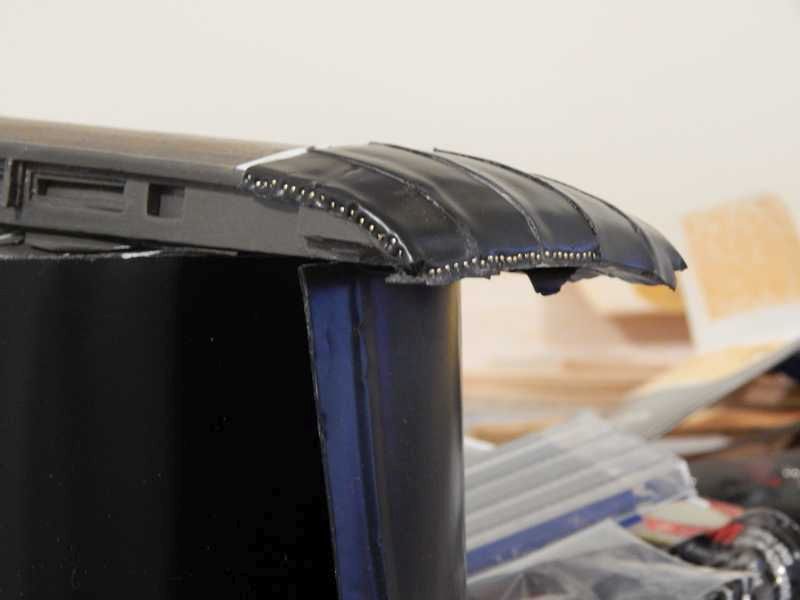
detail of roof before it gets covered
prepping for paint
clerestory painted
![]()
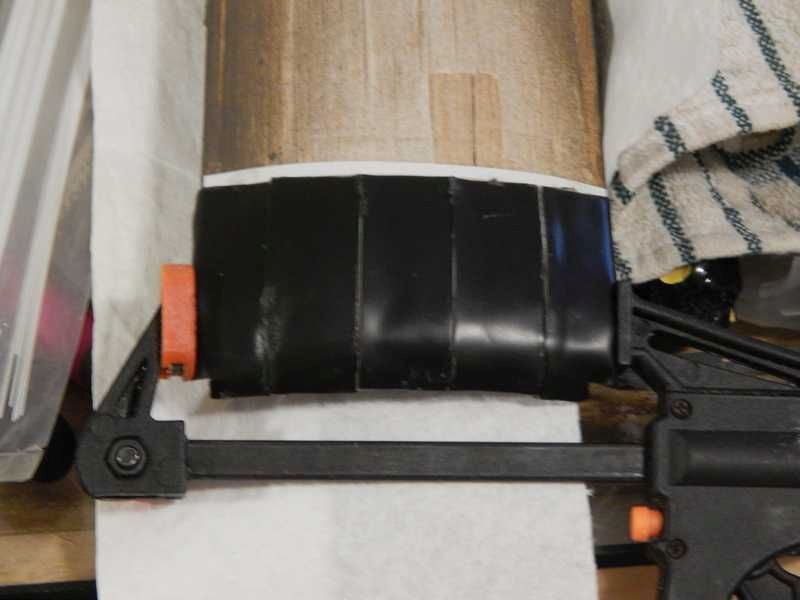
and the roofing was then started
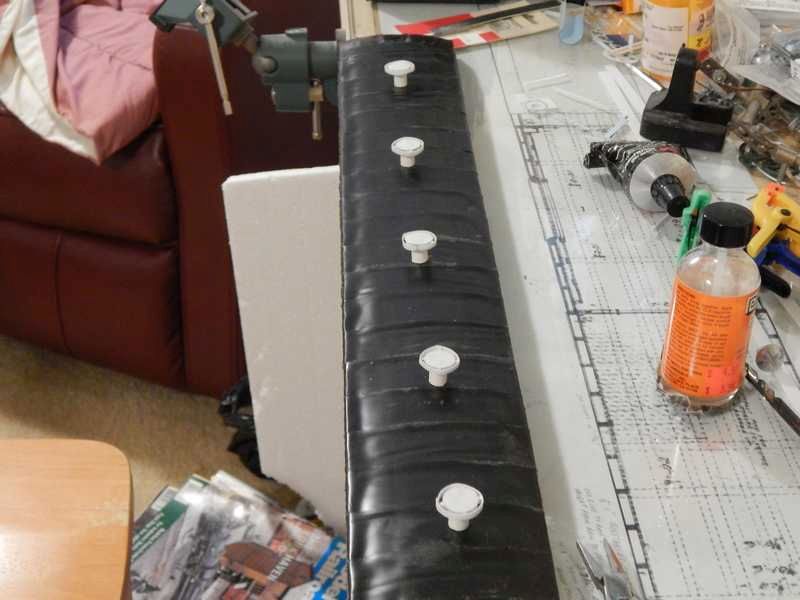
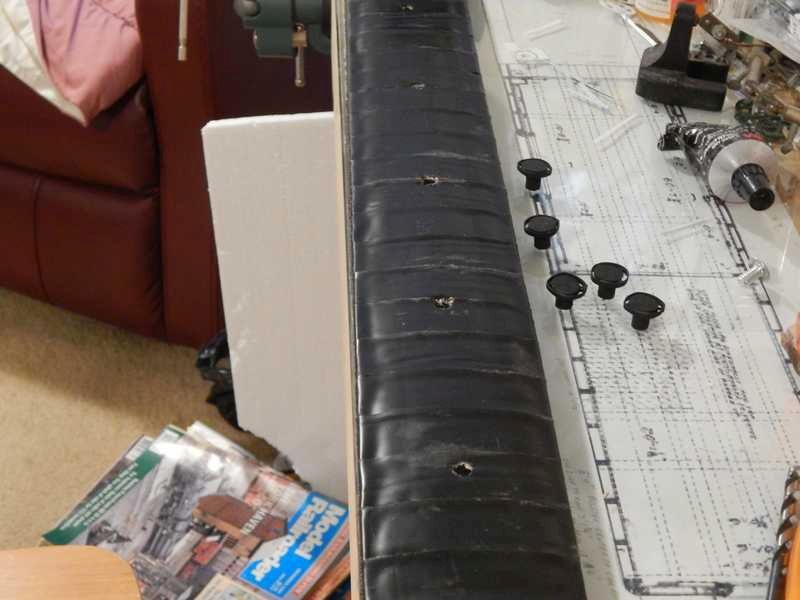
remember those little nails
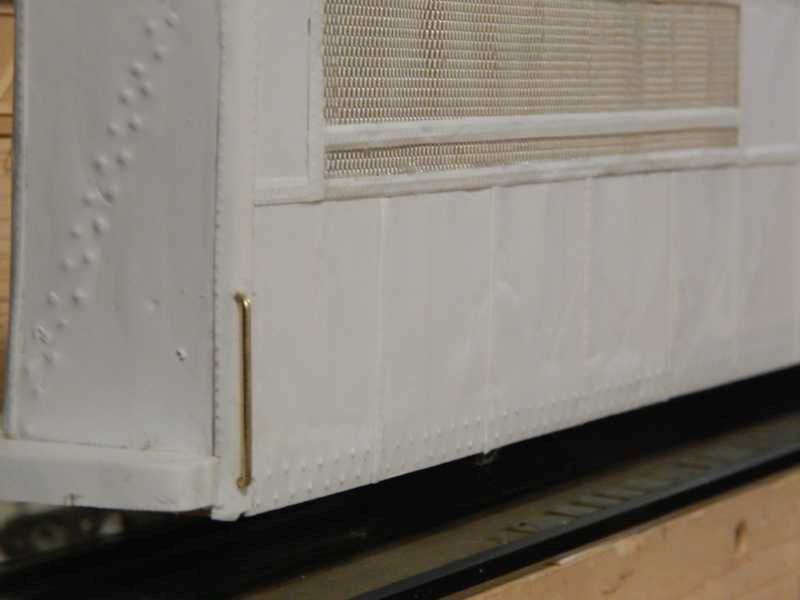
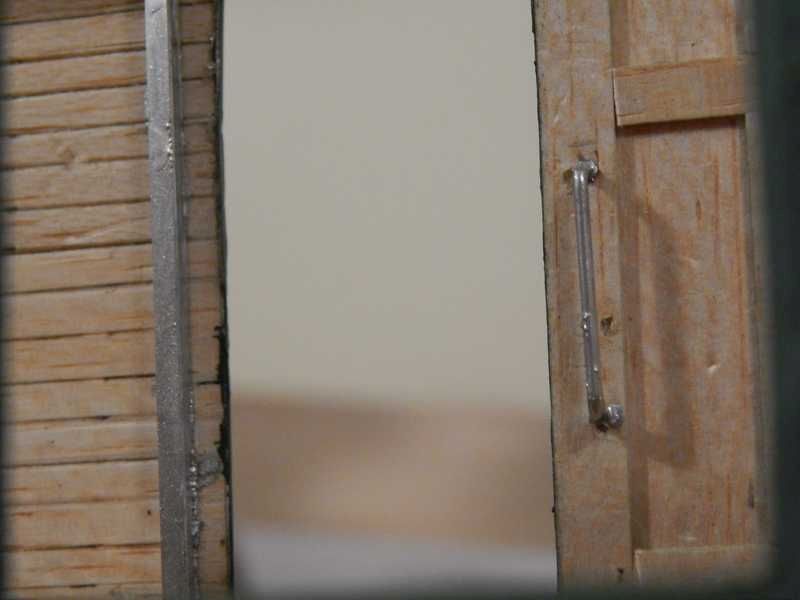
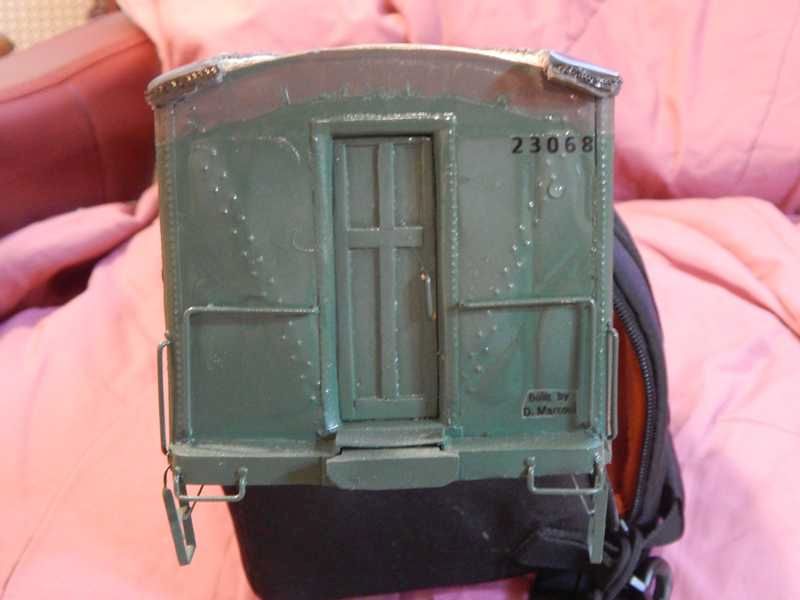
inside pic of baggage door guard
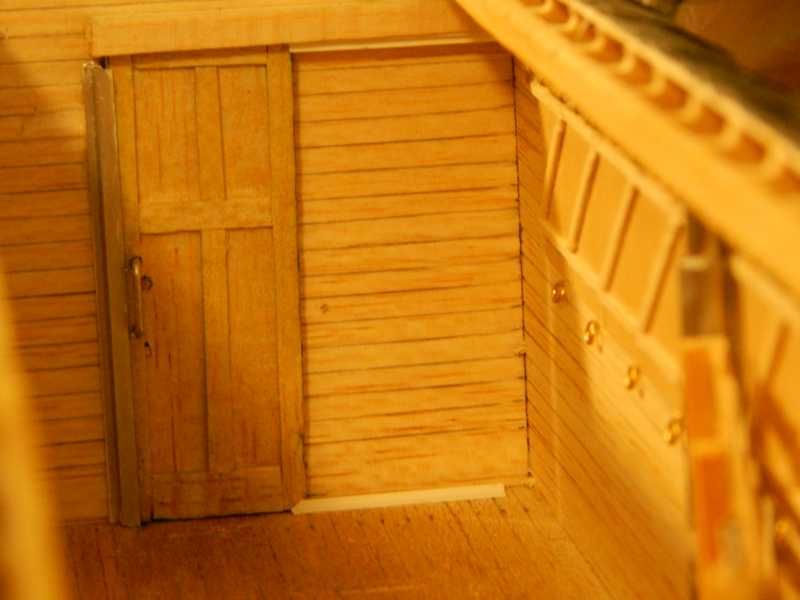
door stop
end doors in place

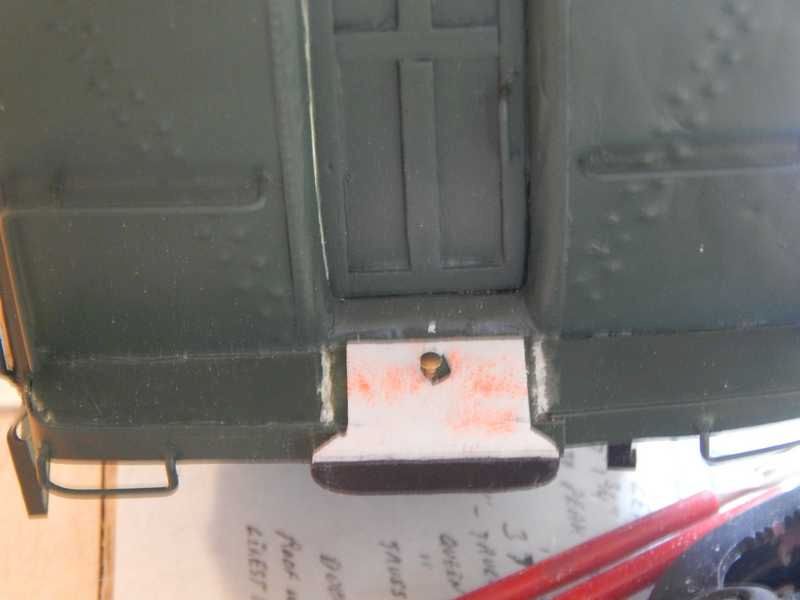
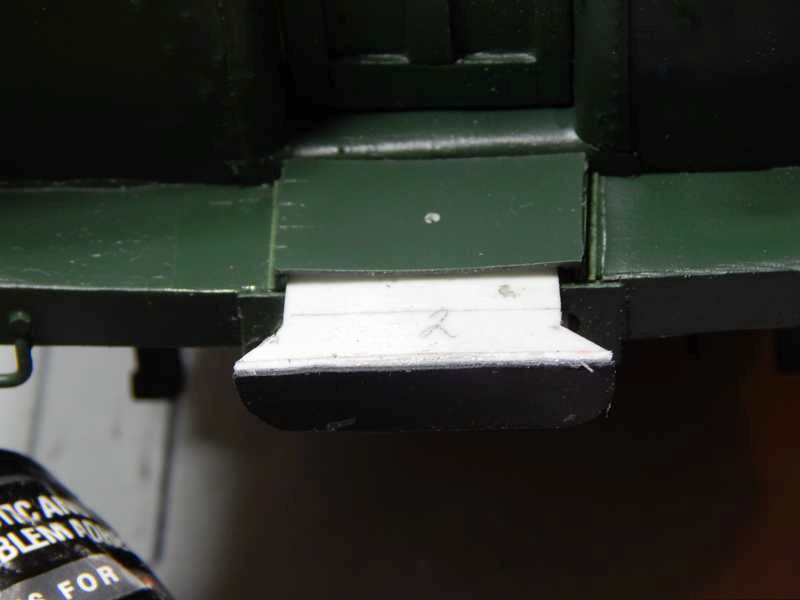
coupler covers
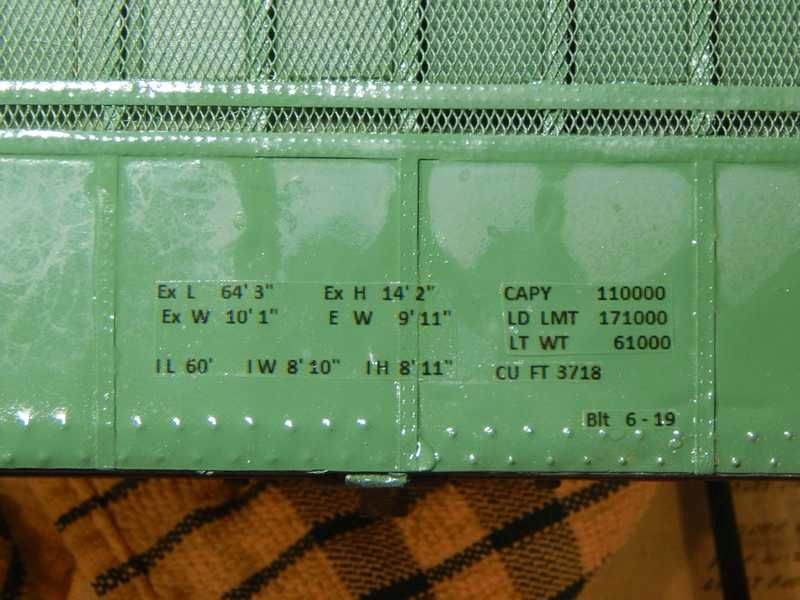
After running through a few different color compatibility test I decided on black lettering in stead of yellow.
And with a day spent on the roof of a coach from the late 1800's painting said roof I gained info on roof details up close and personal and was able to start on the needed vents
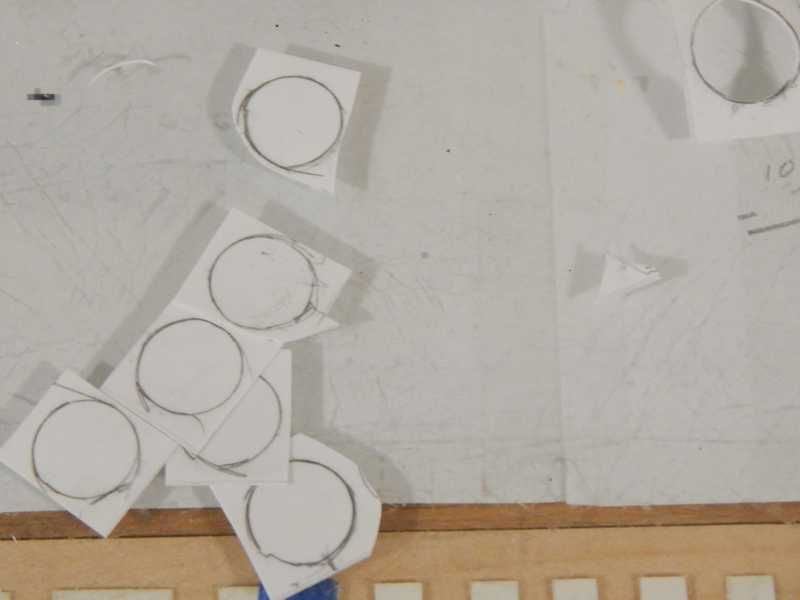
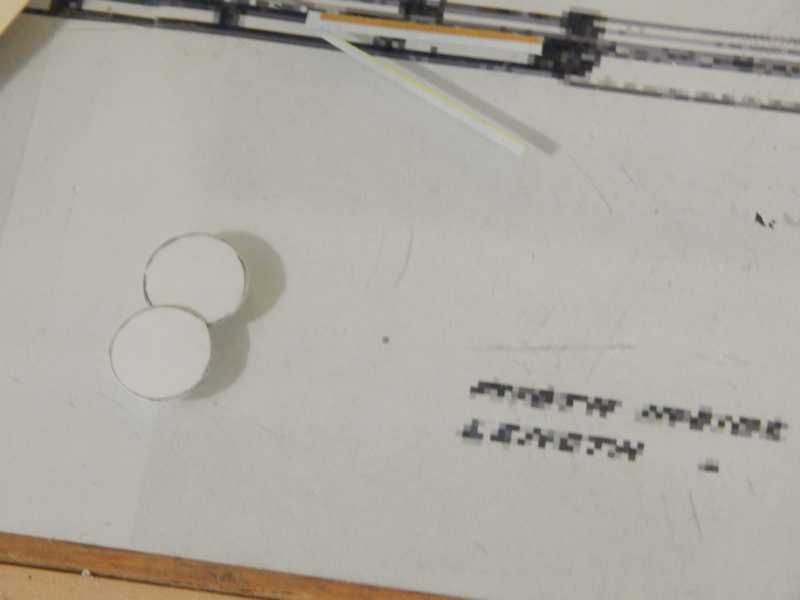
Those are scale 3" strips for the x's and rings ^^^^^
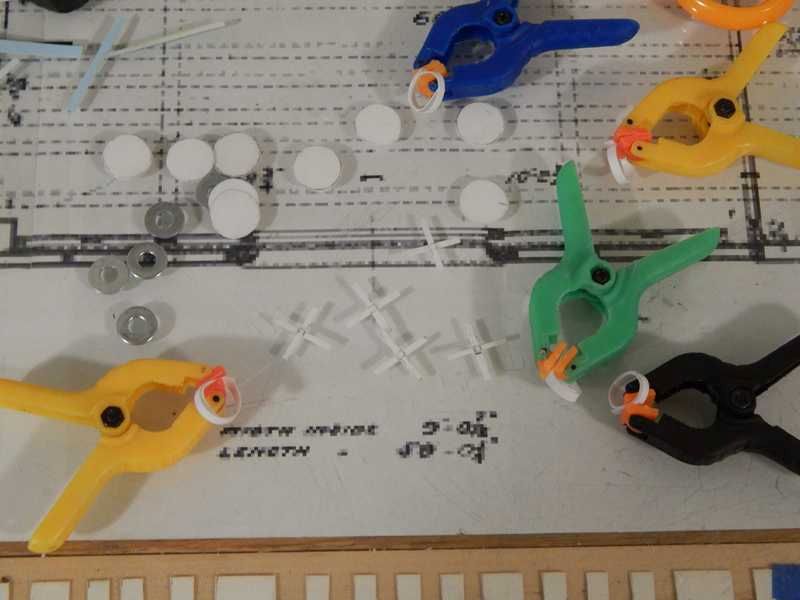
To get spacing I sandwiched a washer between two of the round flats with 2 crosspieces glued in
Add a ring to the crosspieces and put a tube glued to the bottom center to make vents
Add holes
A few bits and wire
Turns out the rails on the roof are conduit for the electric. the bigger end piece is where it feeds up from below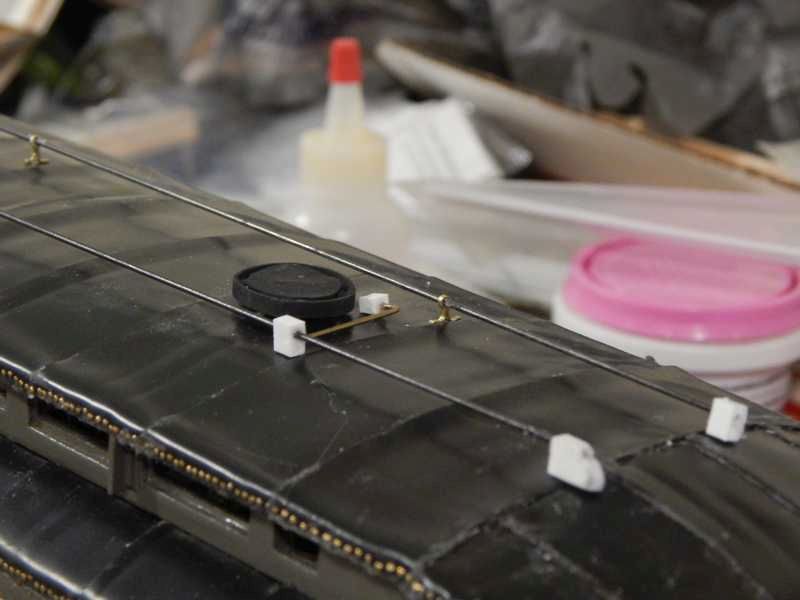
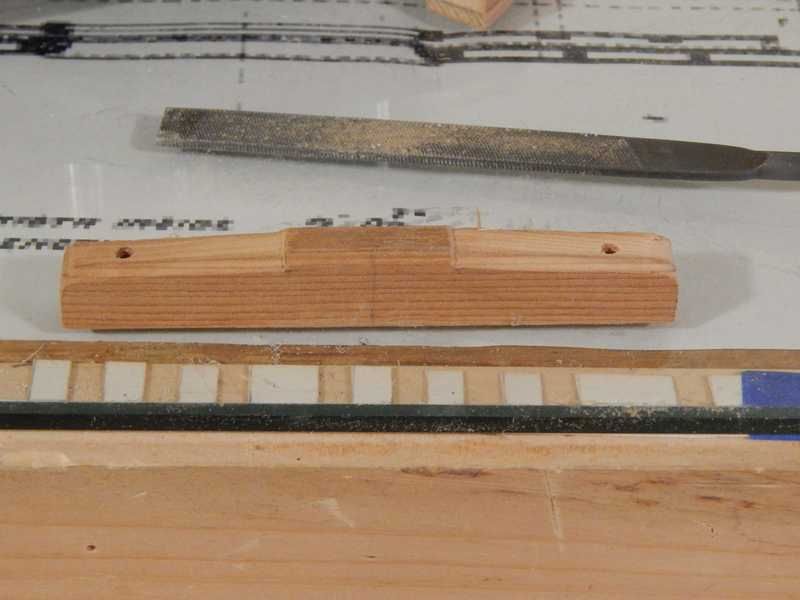
Brake parts can be made all kinds of ways.
And lettering
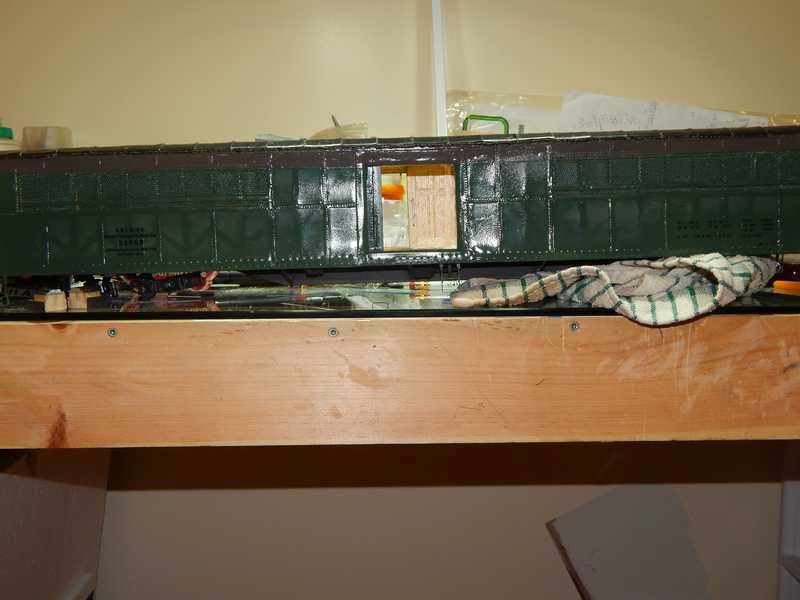
Inside needed a little fill
That concludes this build
Thanks for viewing


