With most of the track work finally done, it was time to move on to all the little things I've been avoiding. First thing I wanted to do was replace the pipe trestle that connected Mancos and Hesperus.
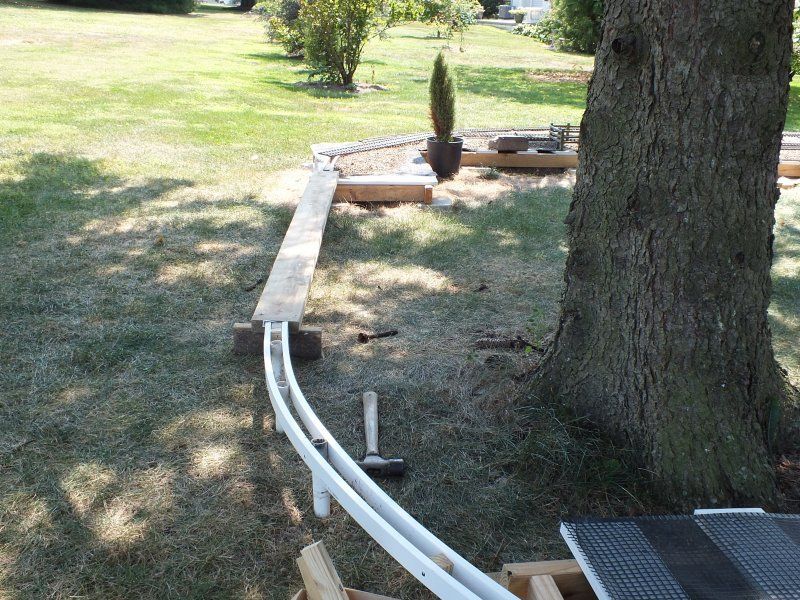
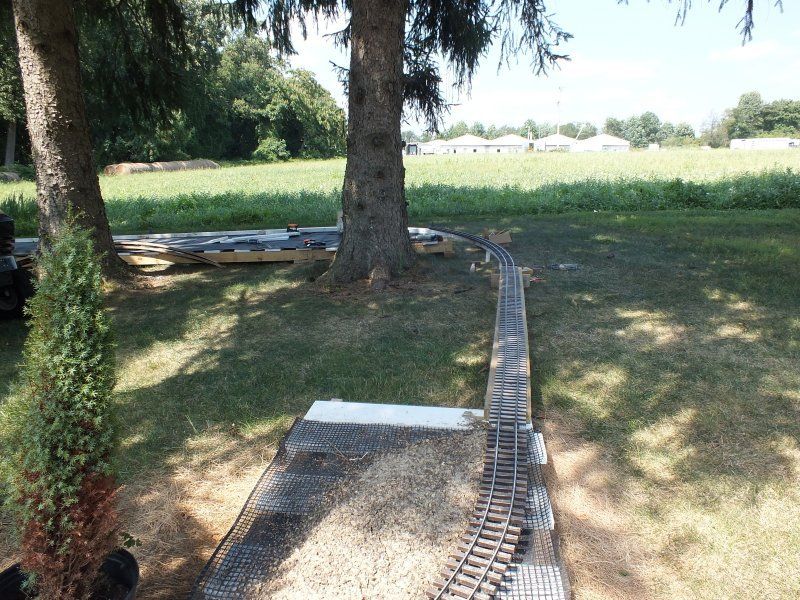
While I was at it, I also wanted to broaden the curves on both ends.
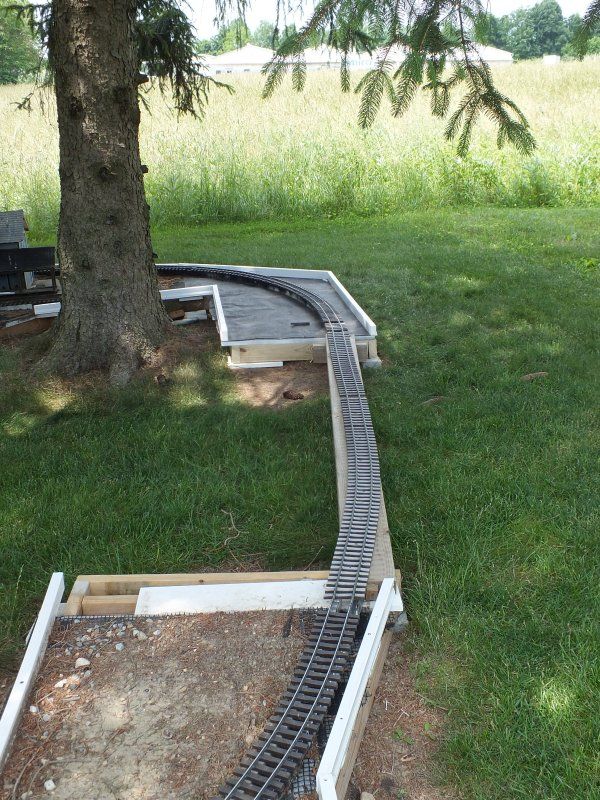
And have something a little more permanent on the Hesperus side.
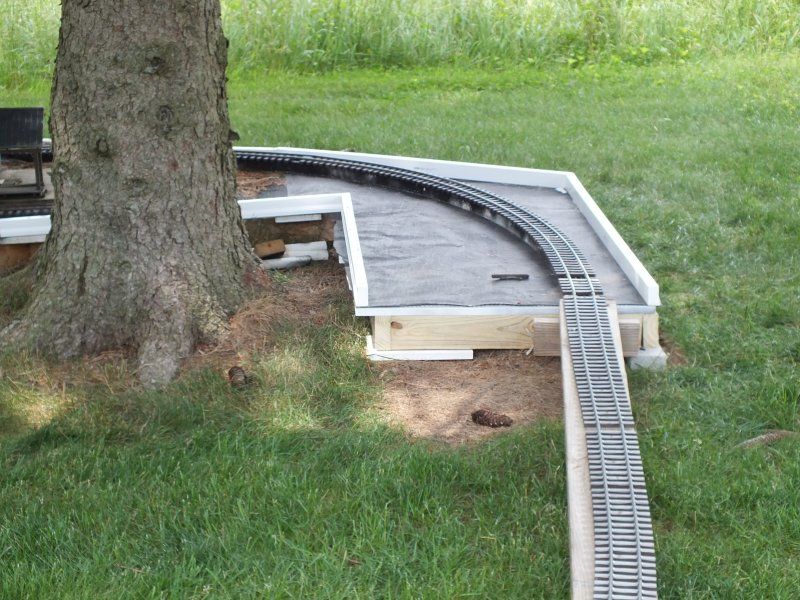
I picked up a few more molding pieces to continue on with them.
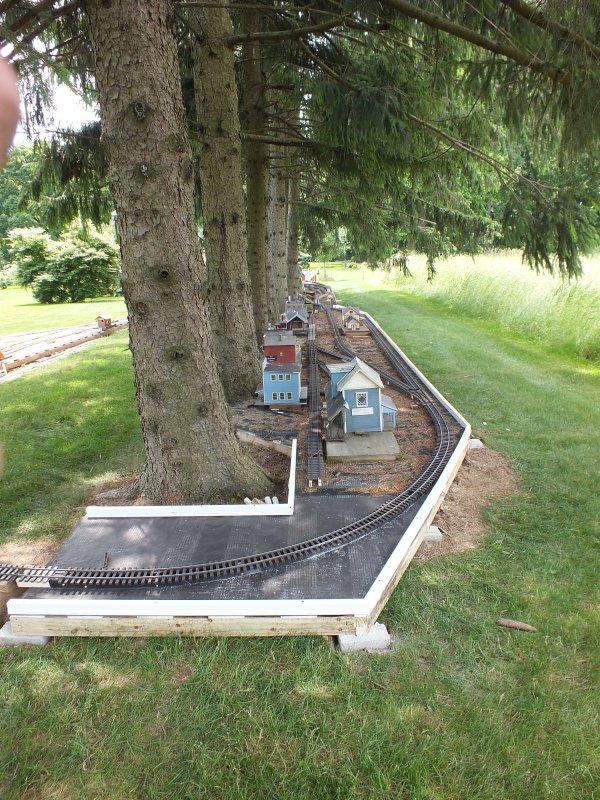
Once I get a few more on the back side, I can start adding some dirt and have a more finished look to it.
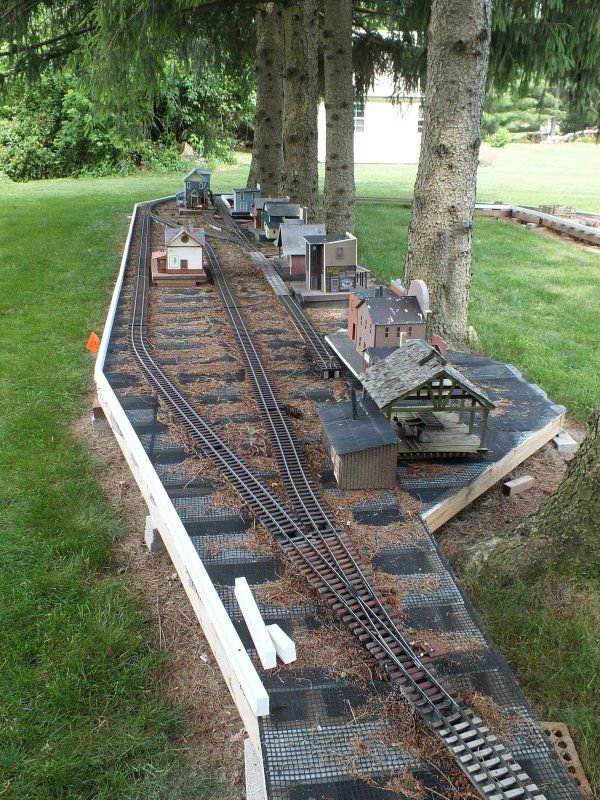
I had to stop for about an hour as a sparrow family crises was taking place between the 2 towns. Evidently a baby sparrow must have fallen out of the nest and was trapped behind Mancos. It hopped back and forth from that top right corner down to the Freight House and back. I just sat on the tractor while all this took place and then went into get some lunch. When I got back it was all the way down towards Delores and heading back this way. Eventually mom and dad manged to get it up onto the layout and over to the other side. They hopped away towards a shade tree and finally disappeared into one of the bushes.
Putting the sills on the backside took awhile since everyone of them had to be cut and fitted.
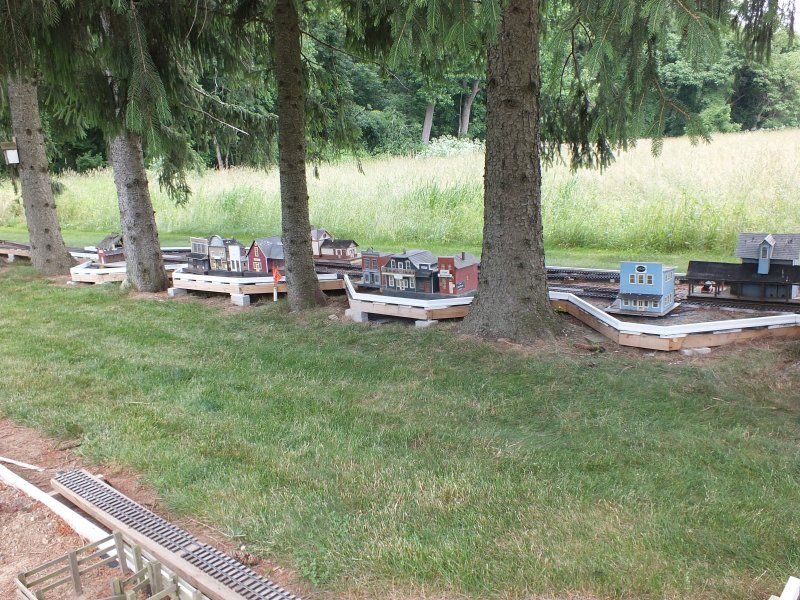
Earlier I had rearranged the building locations for a more realistic appearance to the town.
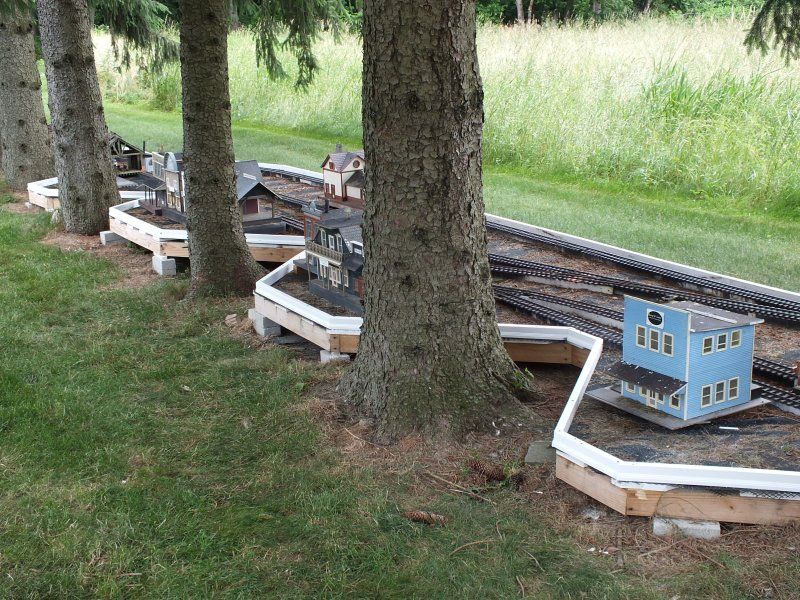
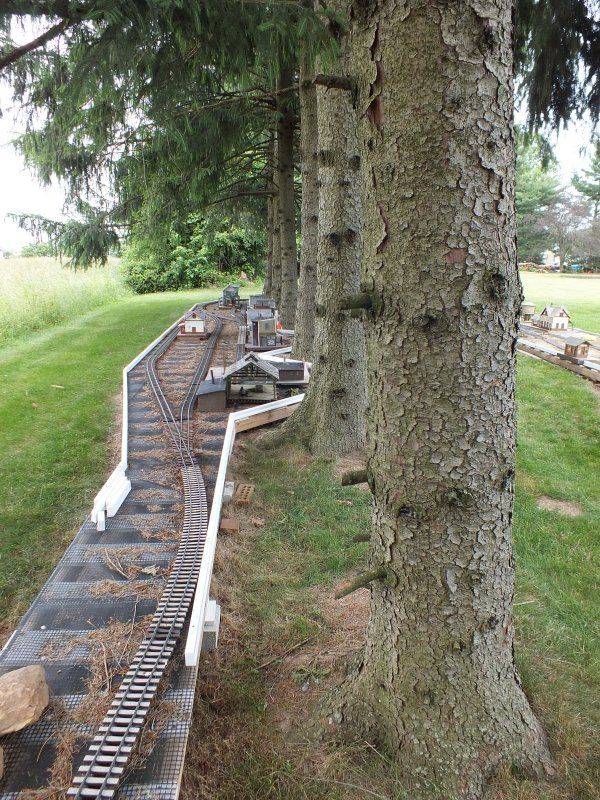
I've been painting the sills a medium gray color to help them blend in a little more, so the glaring white doesn't stand out.
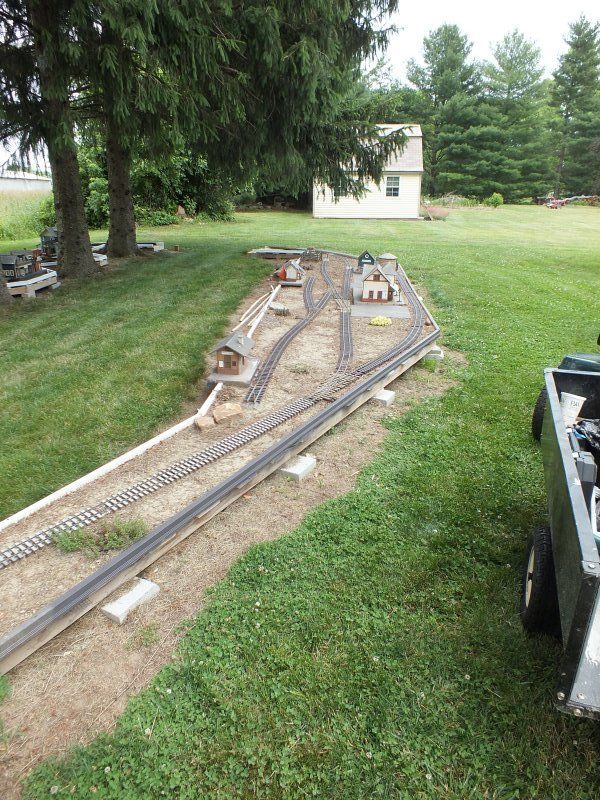
Most of the front portion up to Mancos is done.
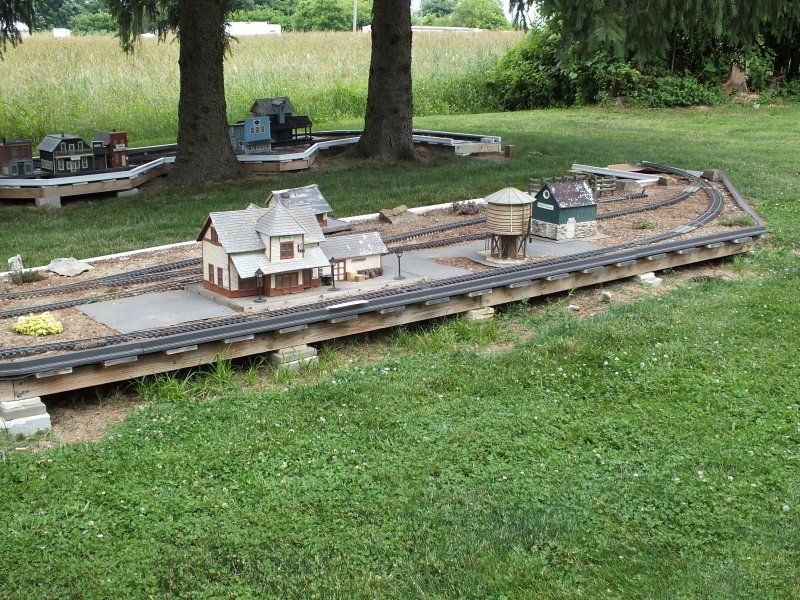
Wed, 6/22/2016:
Today was dirt day. Spent the norning screening the topsoil further and adding some peat moss to, it to loosen it up. Then filled in a bit more in Mancos.
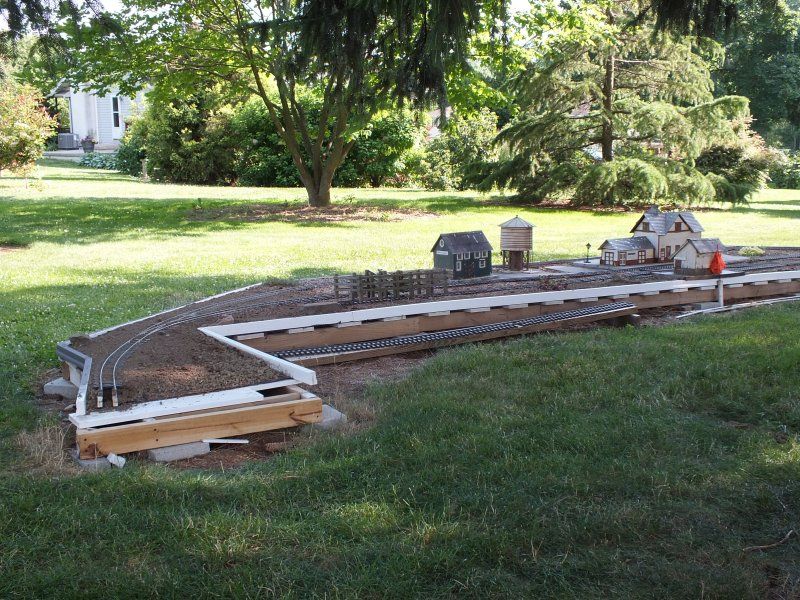
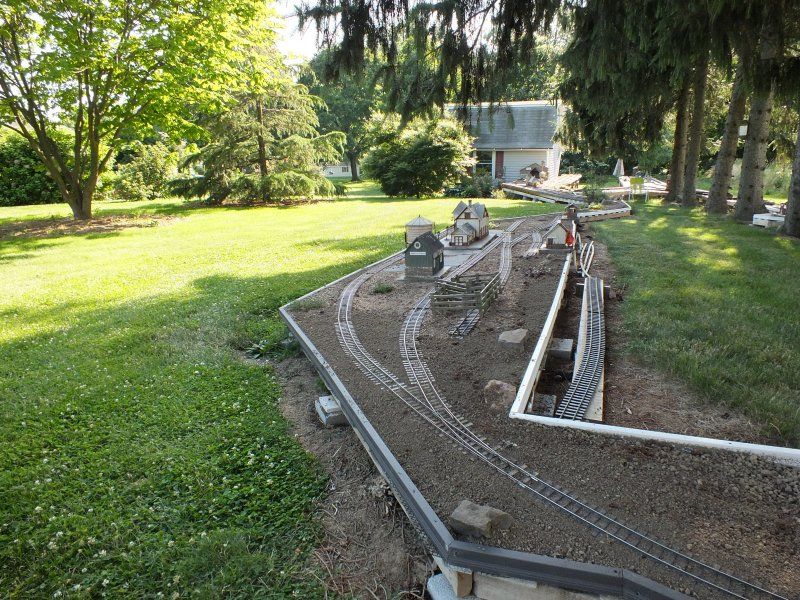
Then started on Hesperus.
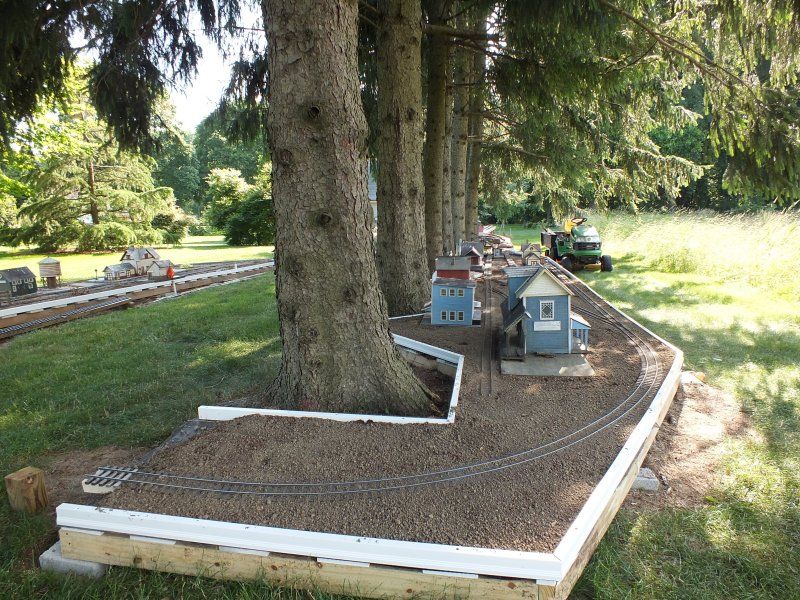
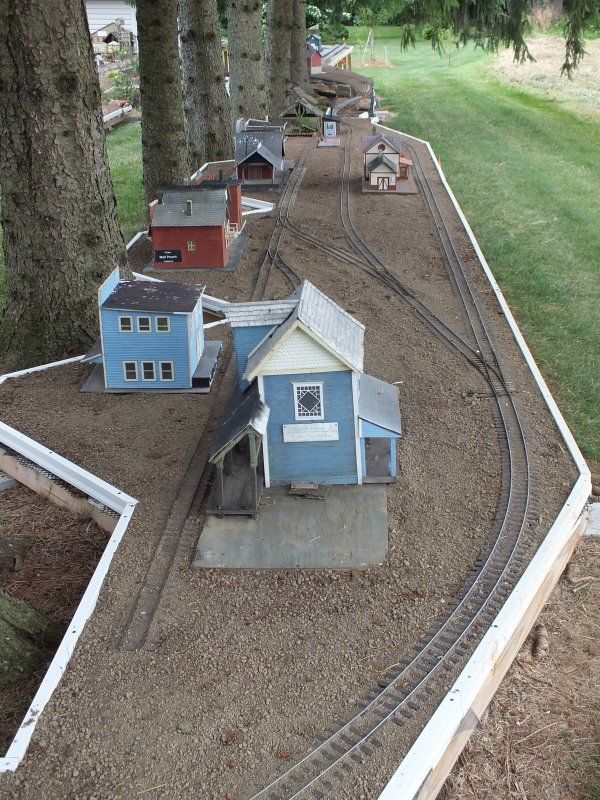
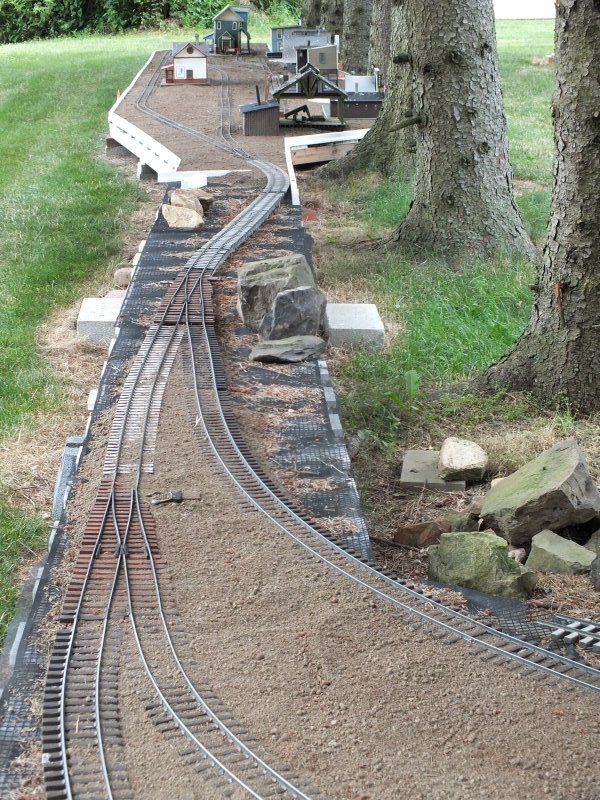
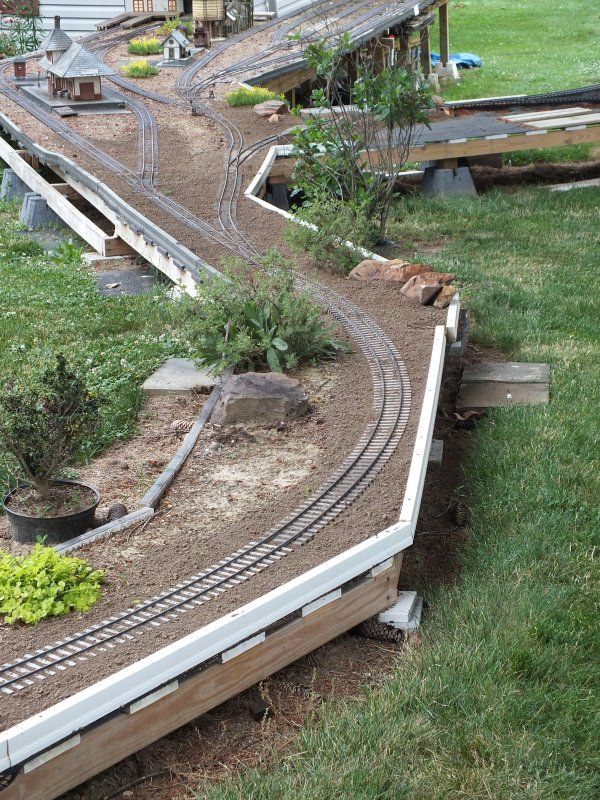
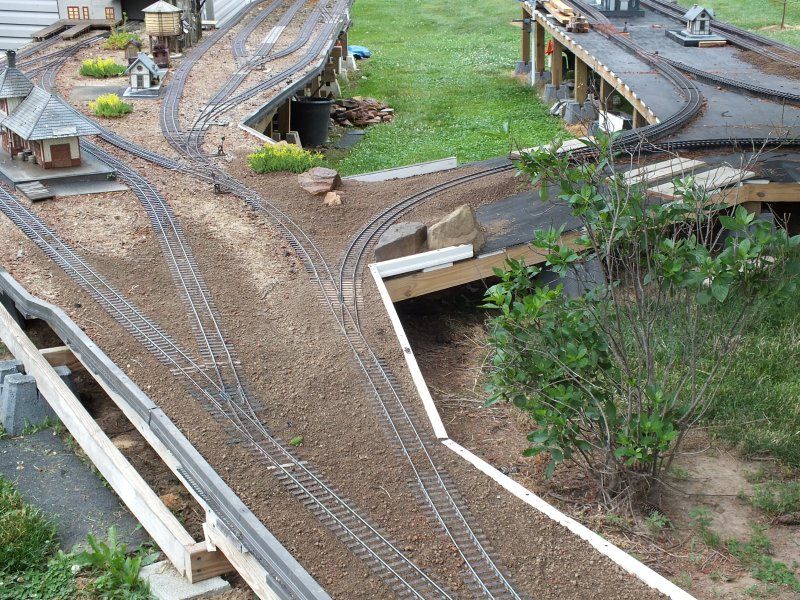
Slowly but surely we're moving along on this project. Finished up getting the sides on.
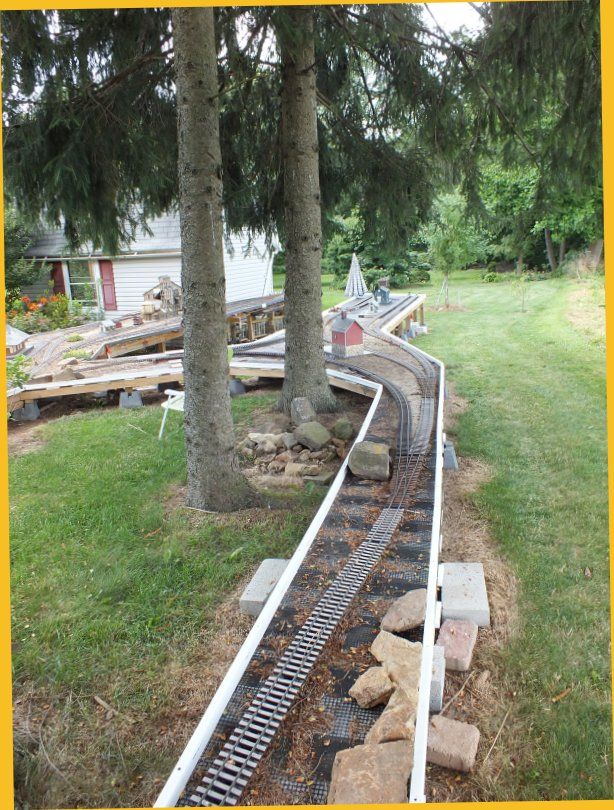
Eventually these will be painted a neutral gray color.
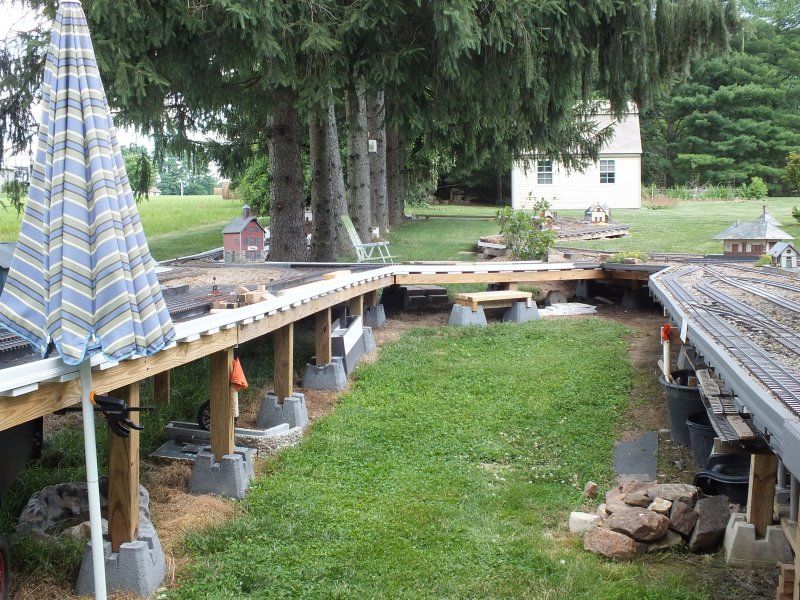
To make it a little easier to enter the layout a quick and dirty set of steps were added.
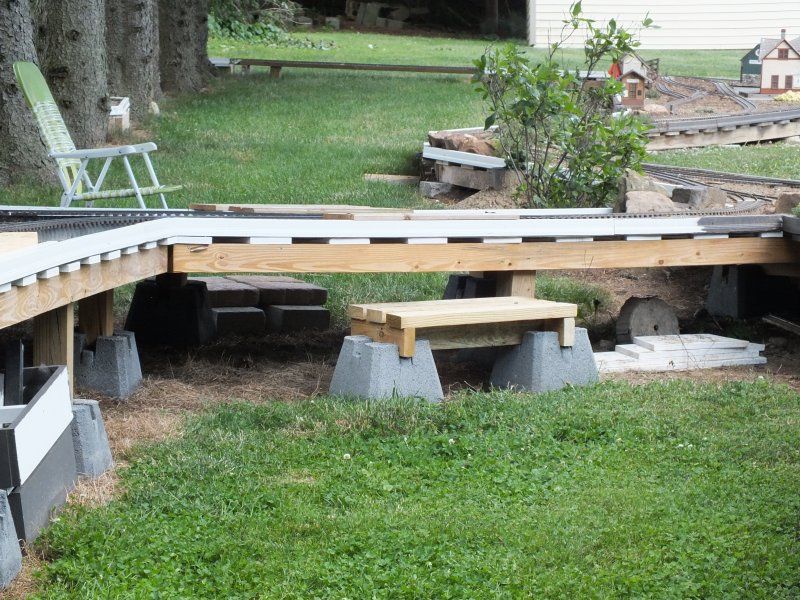
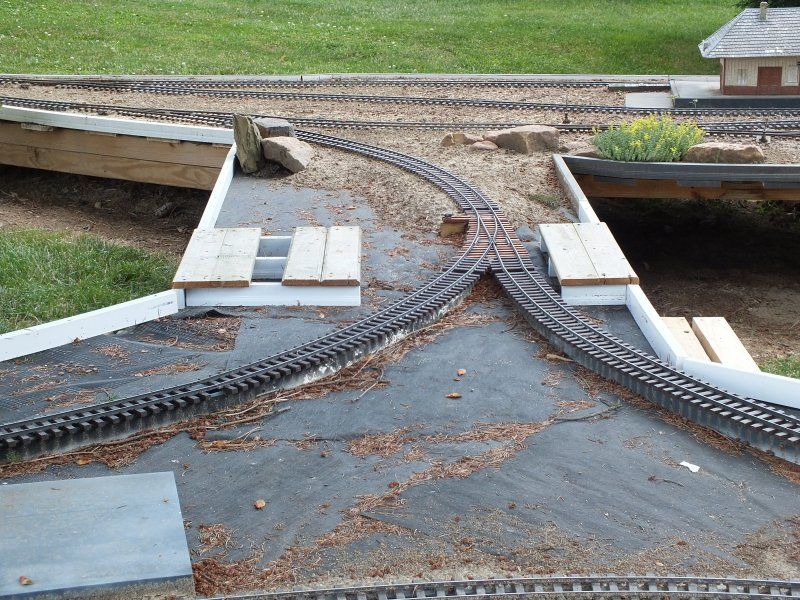
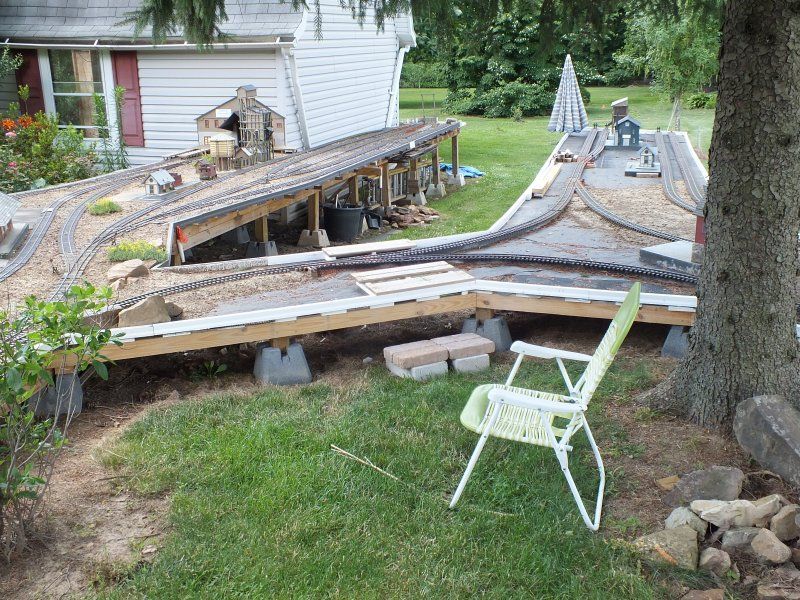
While it's still a long way from "finished", most of the hard part is done. It's now just a matter of filling in all the details.
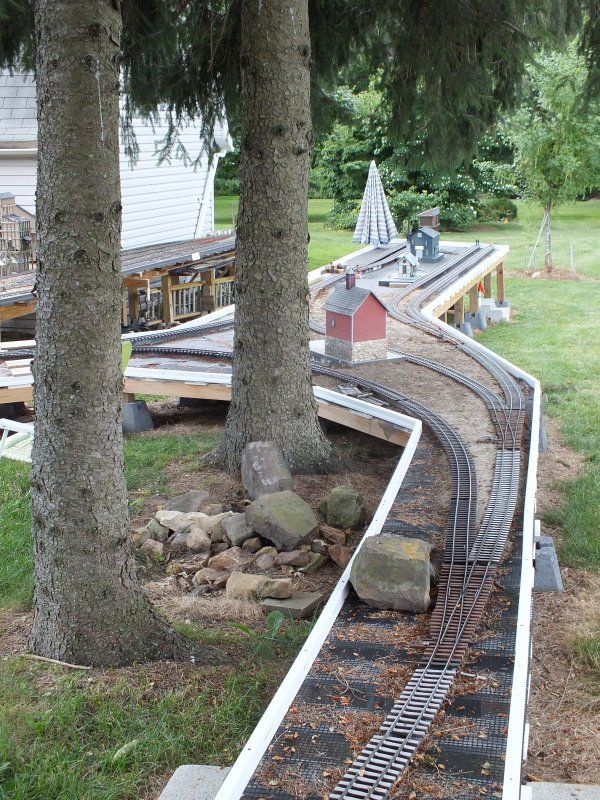
July 10 2016 Update:
After a week or so of hot, muggy weather, thigs cooled down a bit on Sunday. First on the agenda was unloading the PU truck and spreading all that topsoil around the rest of the layout, mainly in Porter.
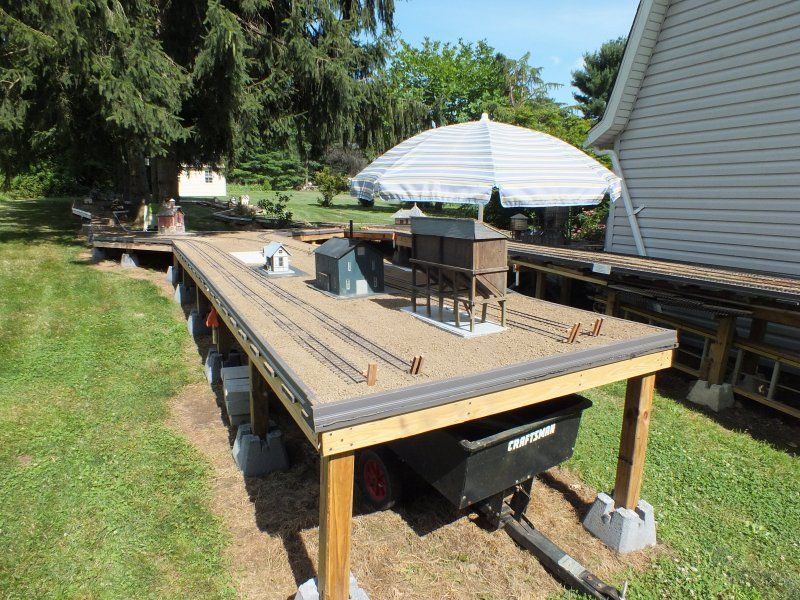
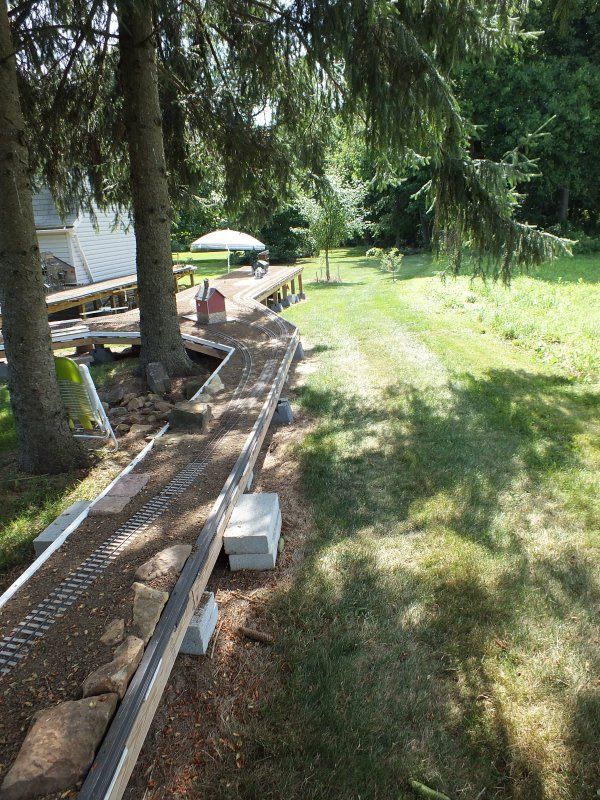
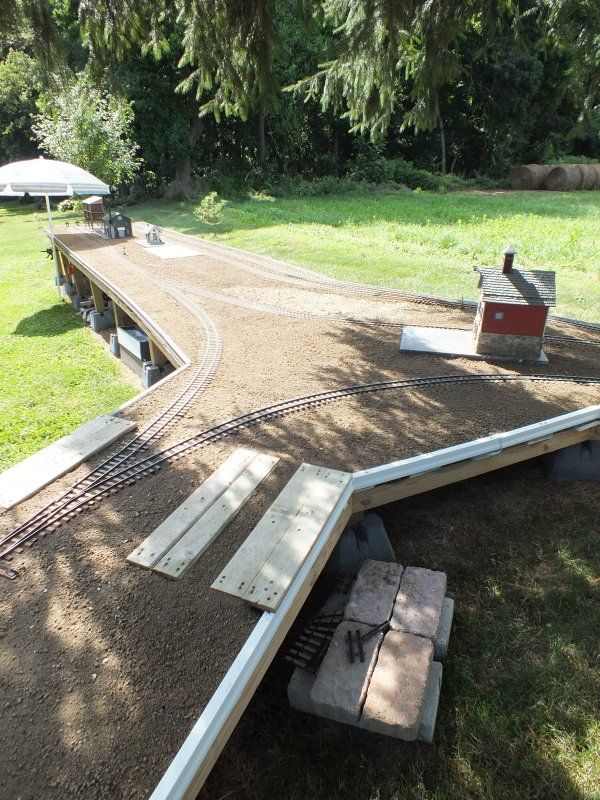
With what I had left over, I spread where it had settled in the Yard area.
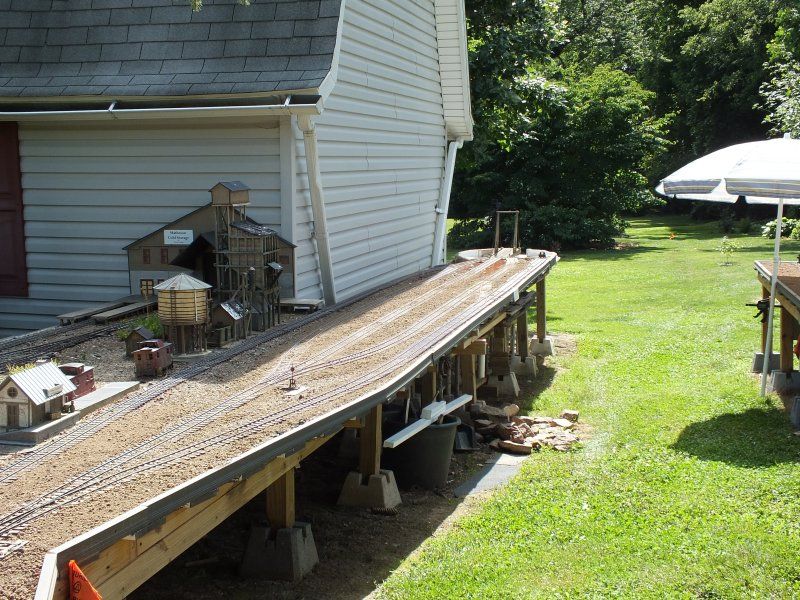
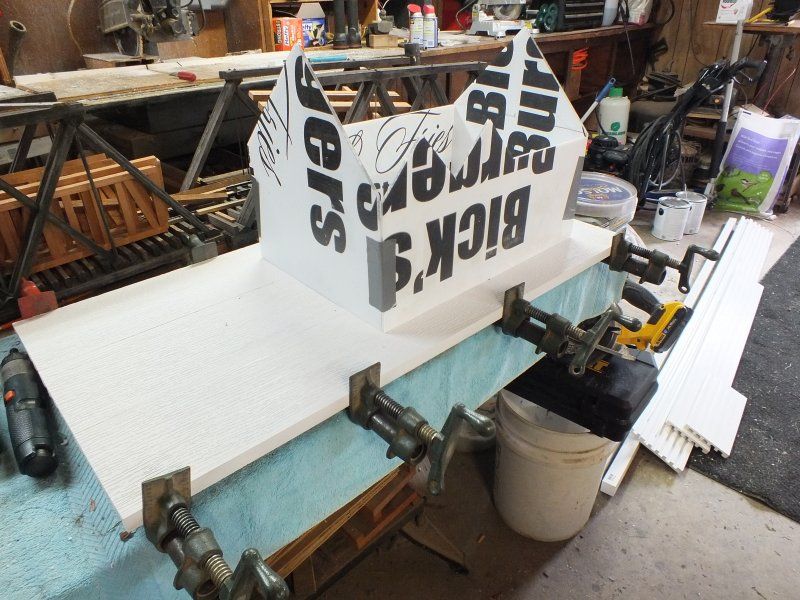
The white rectangle in the center is the station platform for the Deot in Porter. It will be modeled after the Depot in Ridgeway....... eventually.
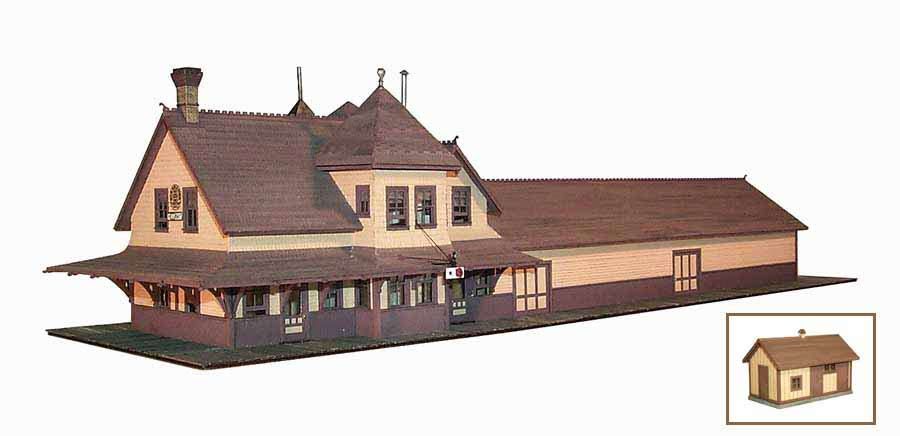
Not an exact replica but a reasonable fascimile.
July 24, 2016:
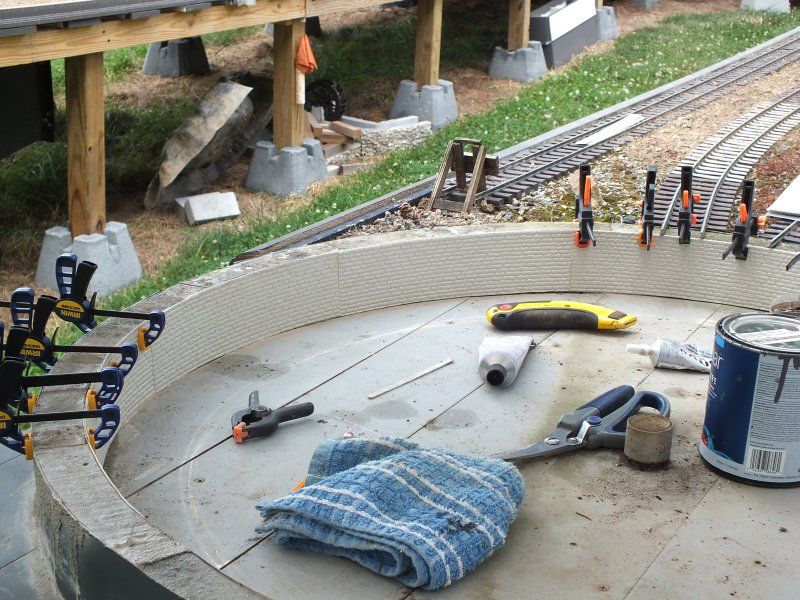
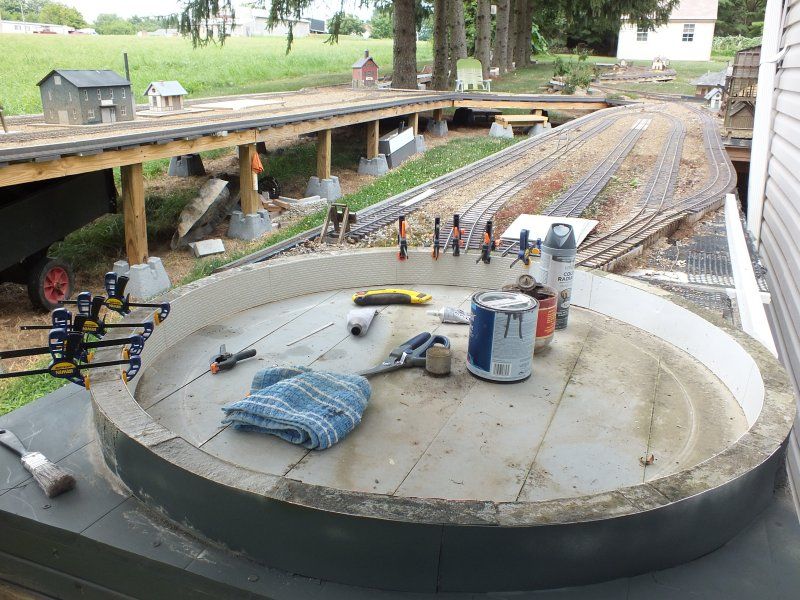
Repairs to the TT pit.
I removed all the old PP veneer and the acrylic it was fastened to.
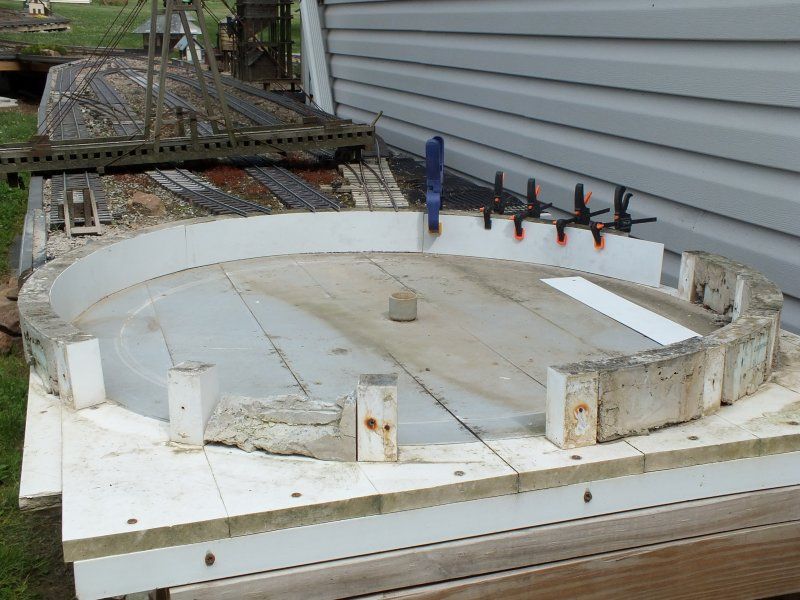
To re-do the inside and outside walls, I used the plastic from those "For Rent" signs they sell at Lowes.
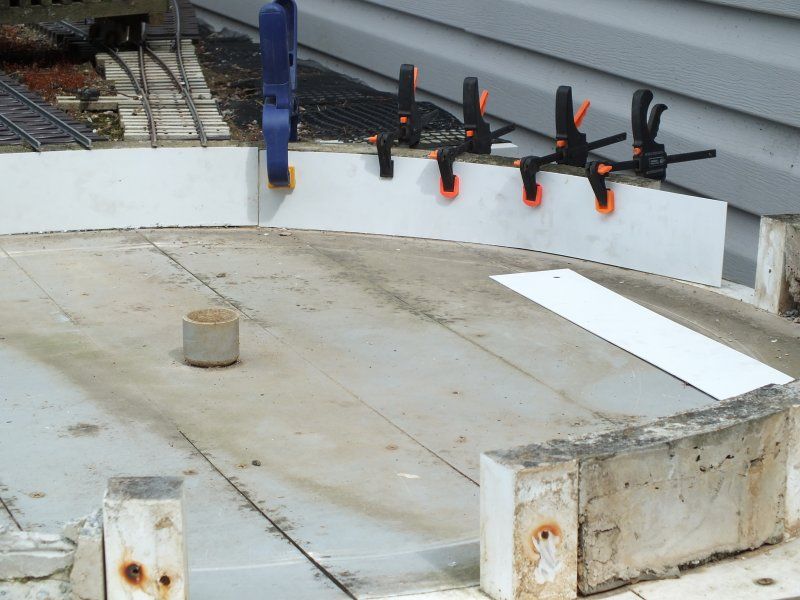
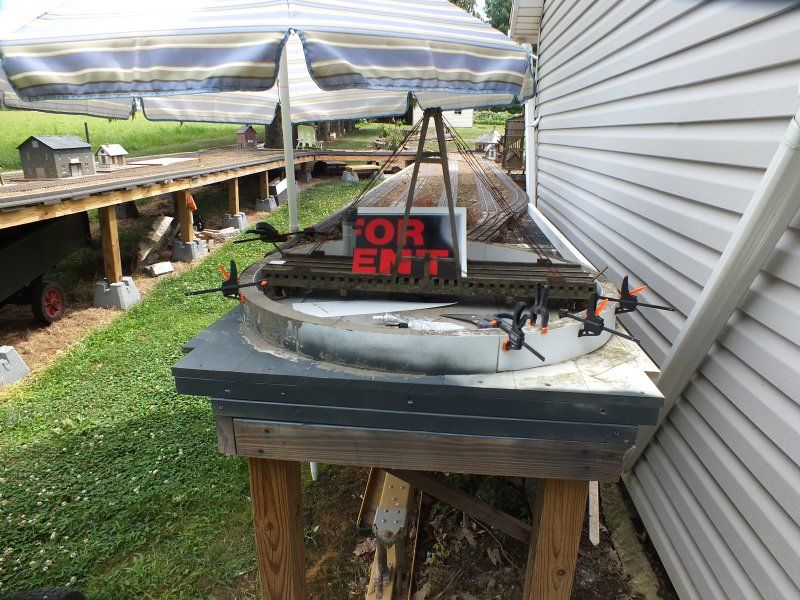
Once that was done I filled the gaps between the walls with a filler piece of styrofoam and cement.
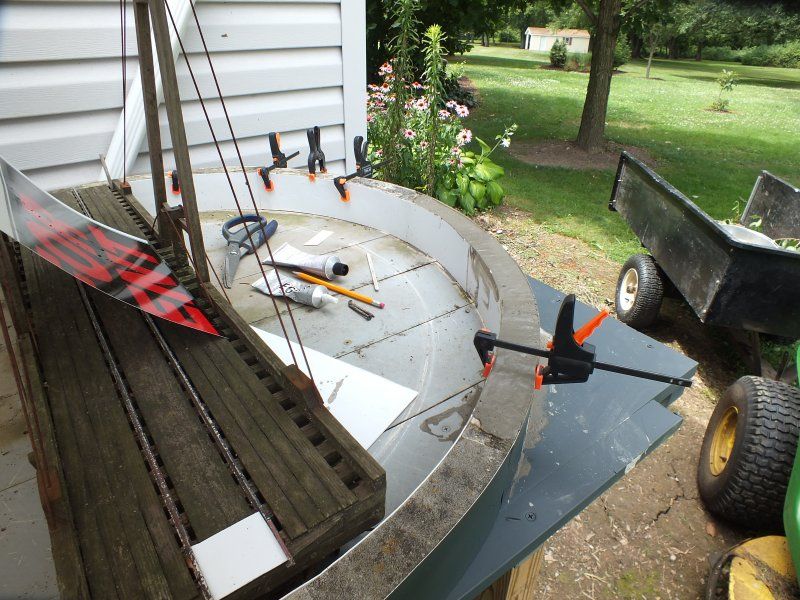
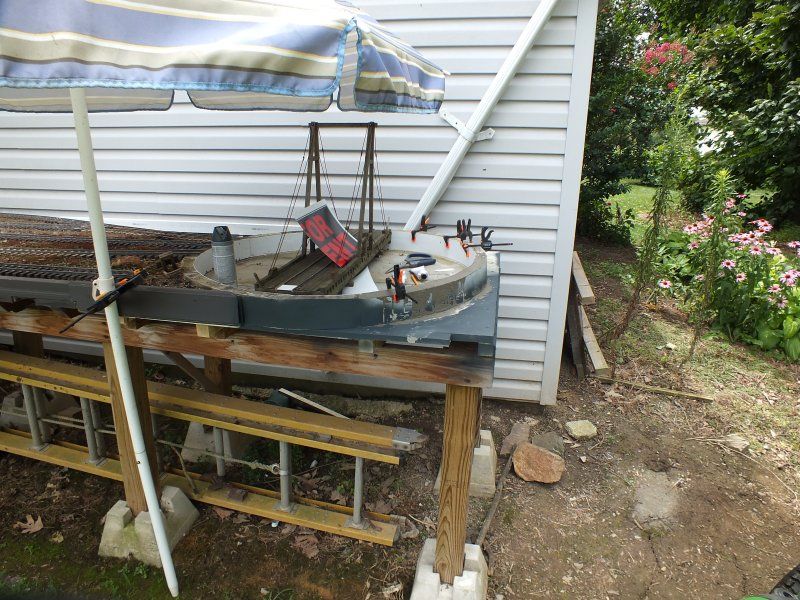
Then it was on to the veneer. I used Plastruct stone for the inside walls.
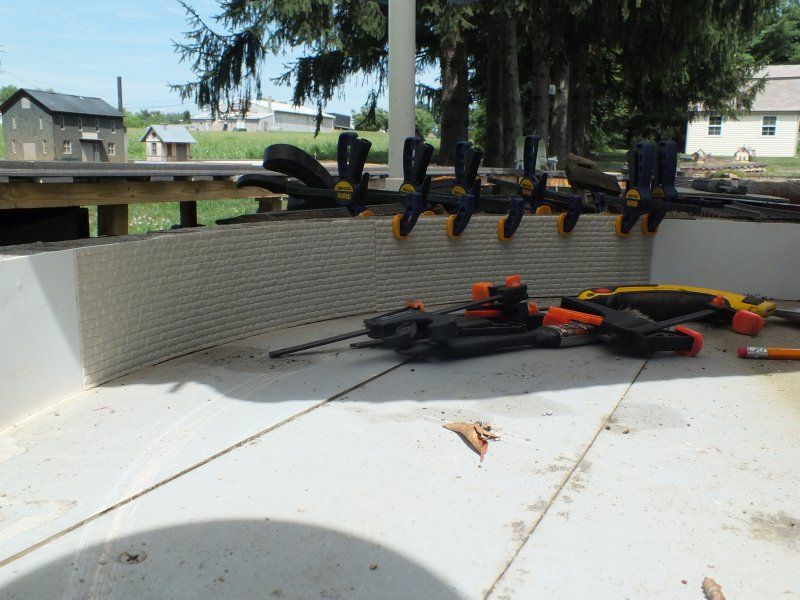
And I ran up To Lowes and bought 6 more of those mini bar clamps.
Stay tuned, folks.............
More to come.............![]()
Part One: http://www.largescalecentral.com/articles/156/a-raised-road-bed-a-build-log-for-the-rgs-raised-layout
Part Two: http://www.largescalecentral.com/articles/158/part-2-a-raised-road-bed-a-build-log-for-the-rgs-raised-layout
Part 3: http://www.largescalecentral.com/articles/159/part-3-a-raised-road-bed-a-build-log-for-the-rgs-raised-layout-mancos
Part Four: http://www.largescalecentral.com/articles/160/part-4-a-raised-road-bed-a-build-log-for-the-rgs-raised-layout-on-to-hesperus
Part Five: http://www.largescalecentral.com/articles/161/part-5-a-raised-roadbed-on-to-porter
Part Six: http://www.largescalecentral.com/articles/166/part-6-a-raised-roadbed-porter
Part Seven: http://www.largescalecentral.com/articles/169/a-raised-roadbed-part-7-odds-n-ends
On to Part Eight: http://www.largescalecentral.com/articles/170/a-raised-roadbed-part-8-odds-n-ends