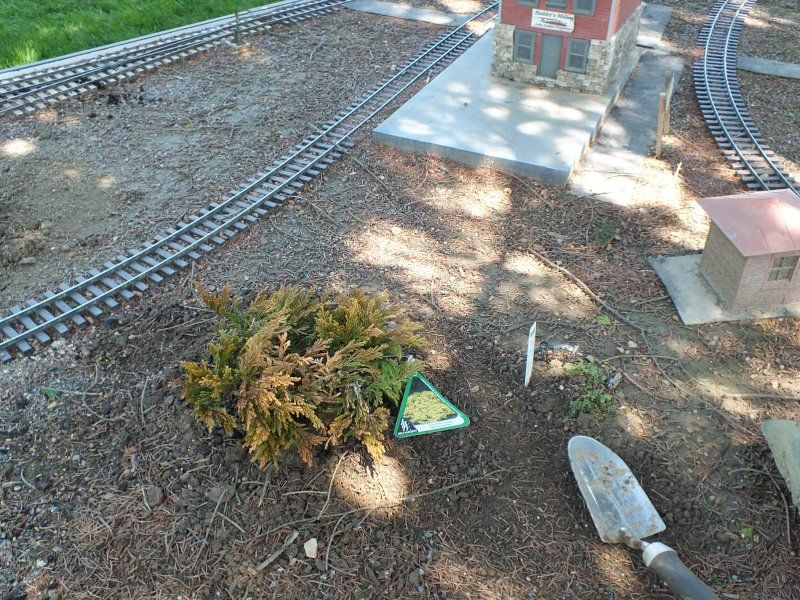
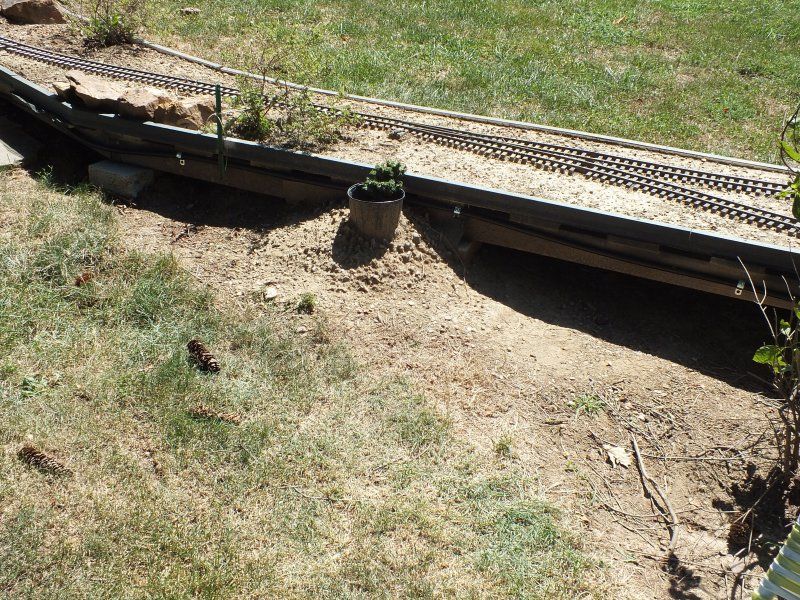
This article will show how I plan to add plants to the raised road bed. This is the main reason I built the layout the way I did. Plants seem to bring the whole thing to life. There are 2 ways I do this. In the areas that sit close to the ground, like this part, I just cut a slit in the screen, add some dirt, cut off the bottom of the pot, then place the potted shrub in the hole.
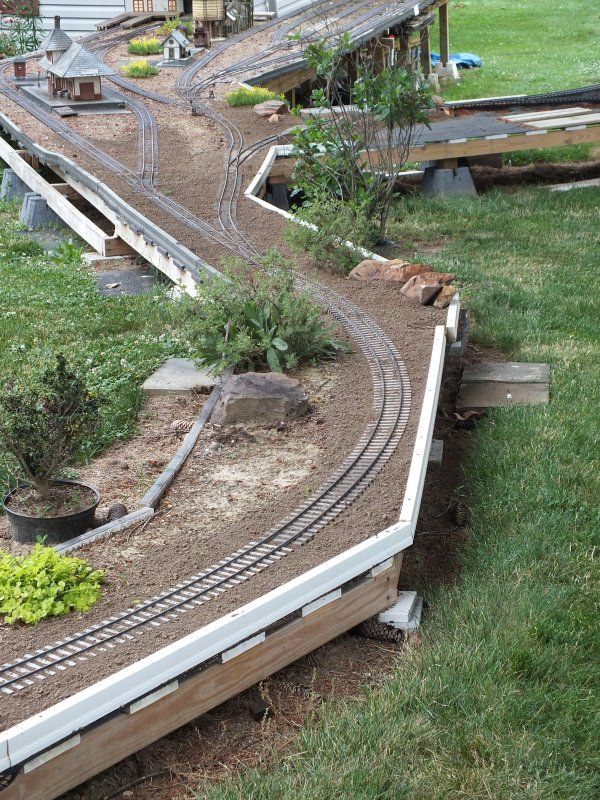
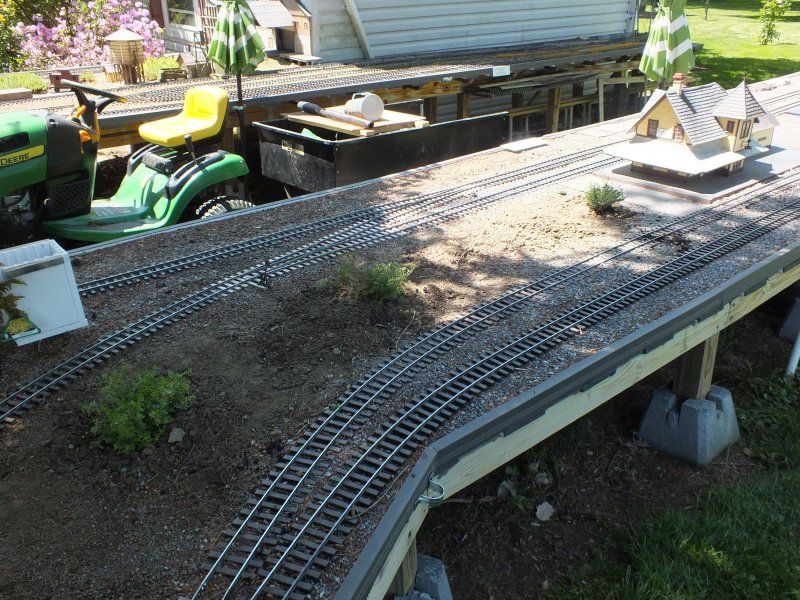
Ground covers, like these here in the Delores area, are planted directly in the dirt. No pot or planter box is under these.
After 2 years of being planted this way, they are doing good. (Of course there's an irrigation system installed to keep them from drying out, but more on that later.)
I have had a few plants that didn't make it, but I've had that happen when they're planted in the ground. So far this method seems to be working.
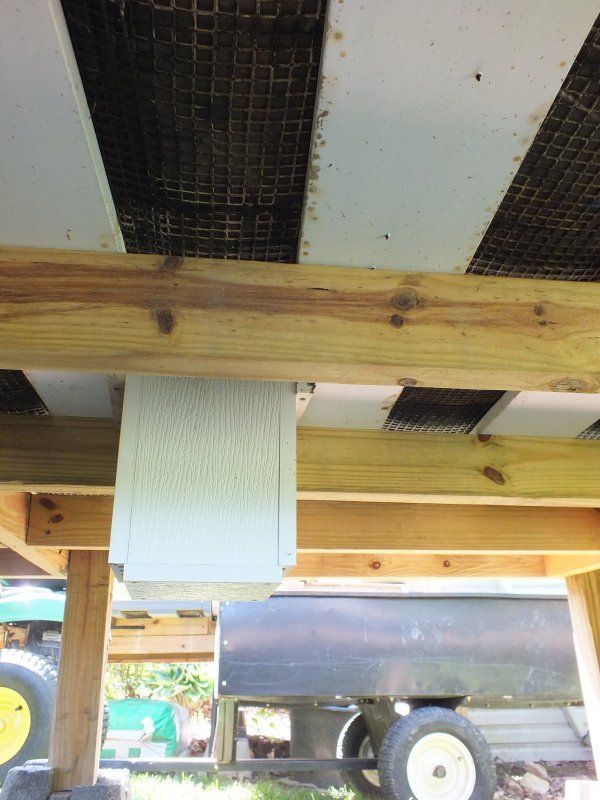
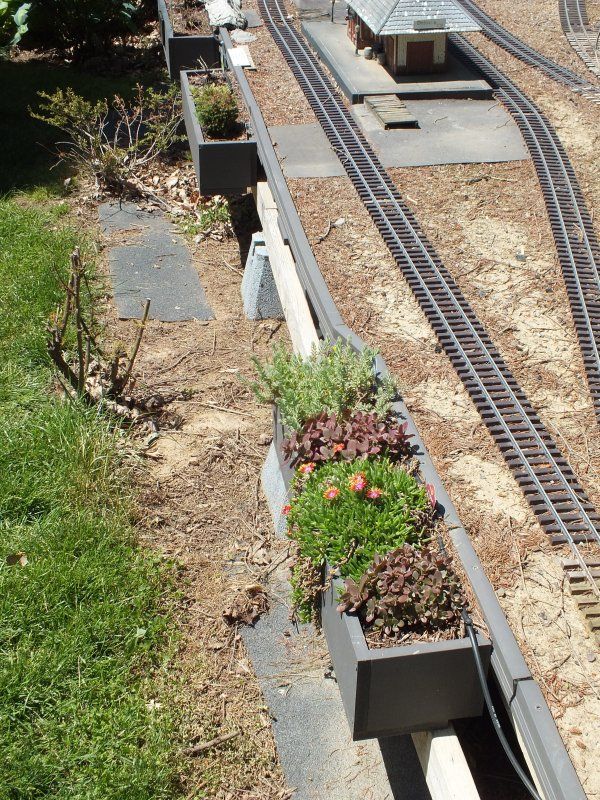
On the higher, elevated tables, I get a bit more elaborate. First thing is to locate a spot between the cross members, then cut a hole in the screen.
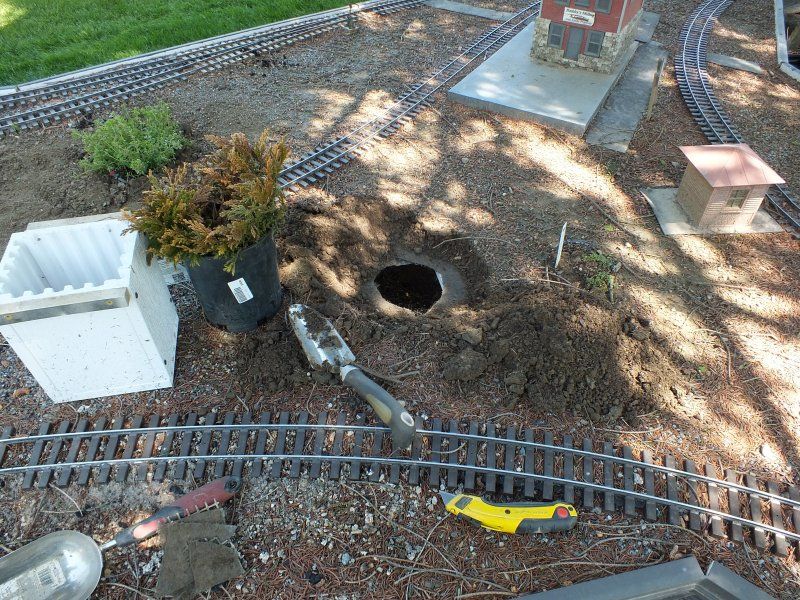
The planter box on the left will be attached to the cross members under the layout directly under the hole. But first I line the box with weed fabric and fill the box about halfway with soil.
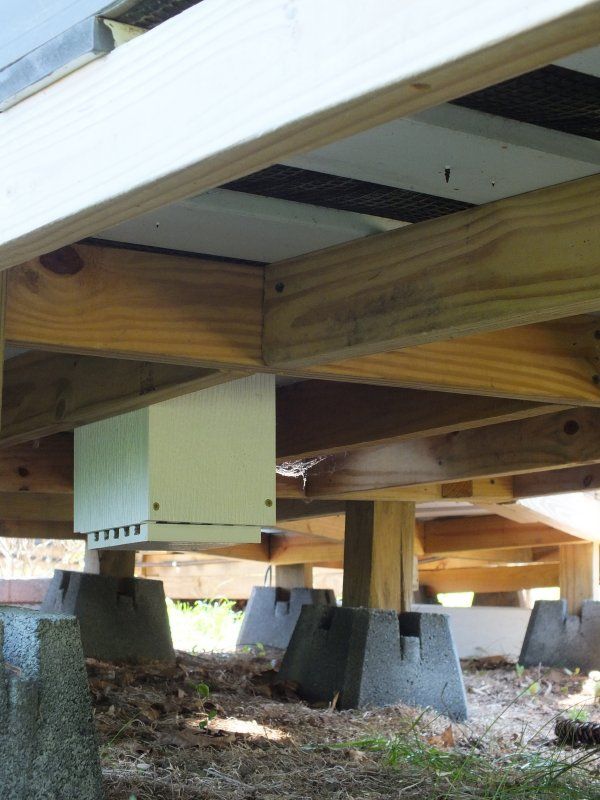
Then it's just a matter of planting the shrub in the box and back filling around it.

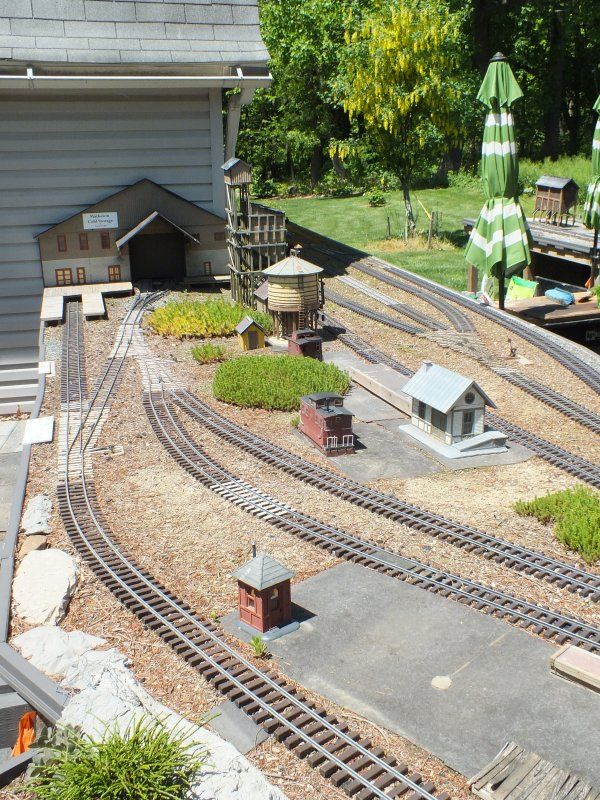
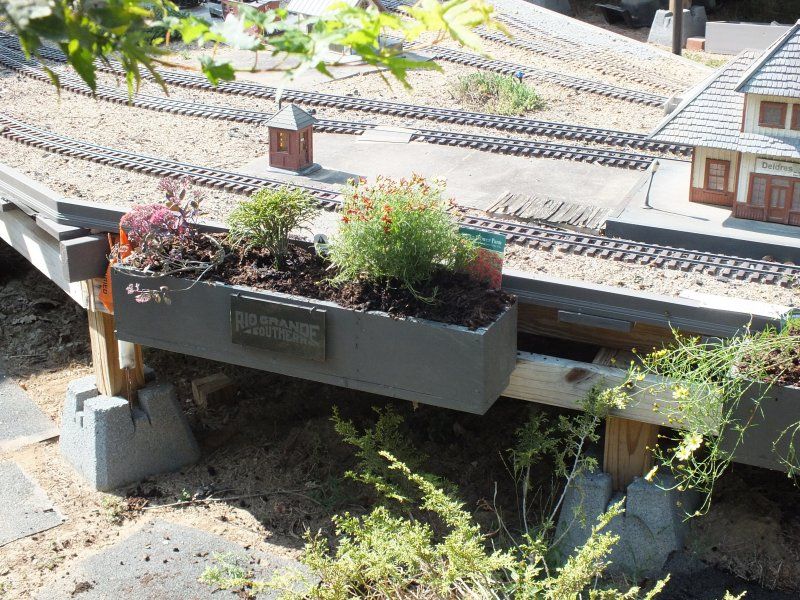
Some of the larger potted ground covers I've done in a similar manner, mainly because they were a bigger plant and came in a much bigger container. I wanted to keep as much of the root ball as I could.
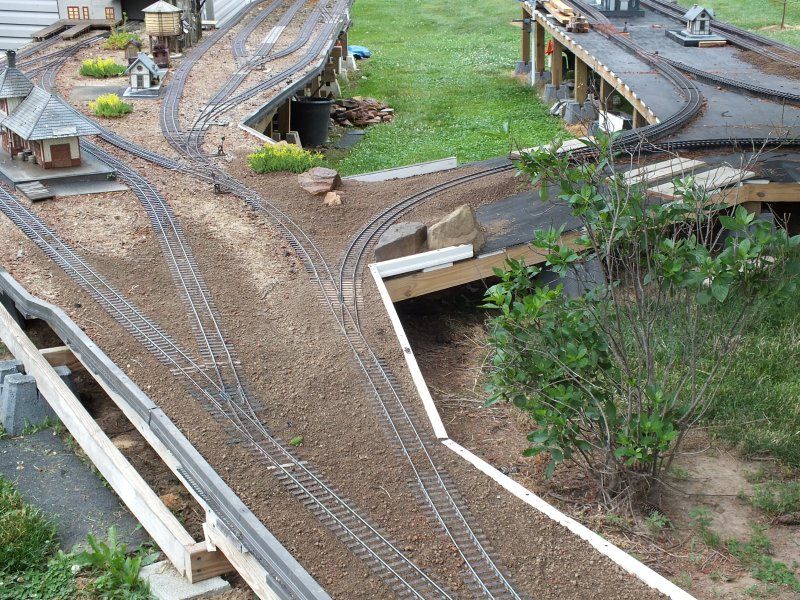
On the outside of the layout I built larger boxes to hold multiple plants.
This is done mainly to hide the table structure and add some color.
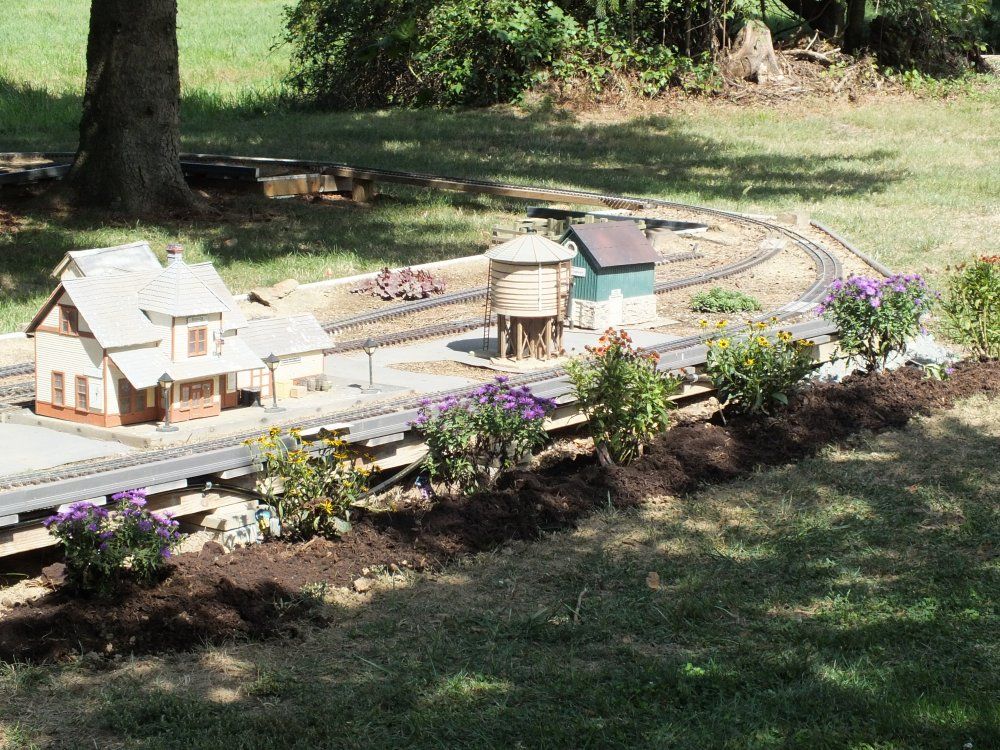
I've also started planting some directly in the ground in front of the lower modules.
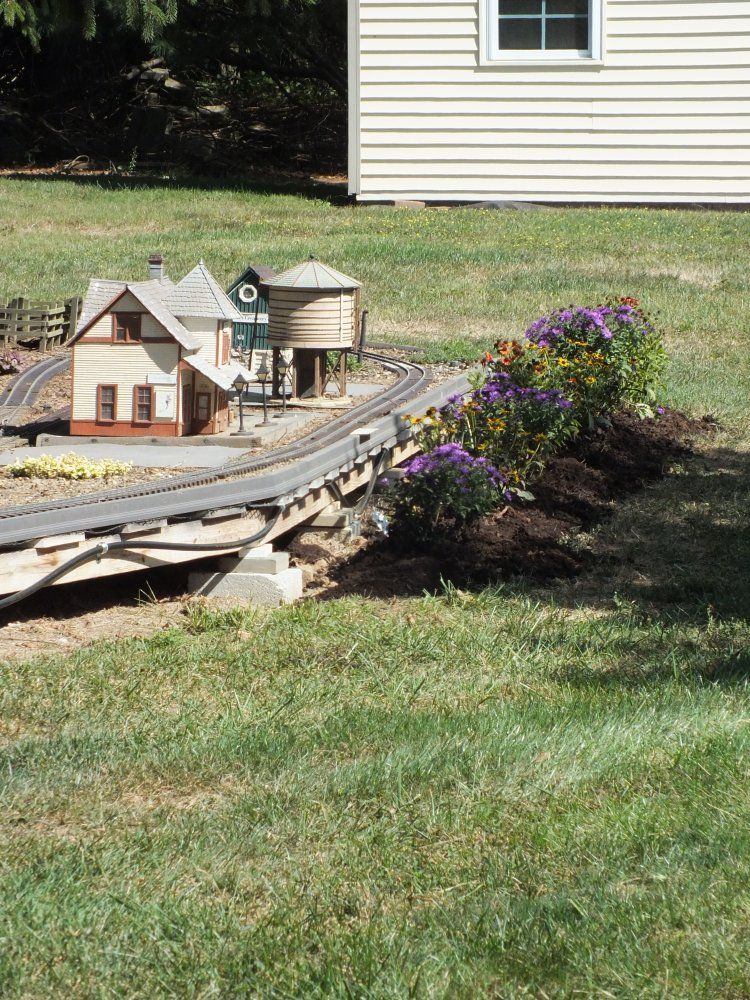
This may or may not be a good idea, since it limits access to the layout, but if they're spaced far enough apart, it shouldn't be a problem.
Since the layout is only cover with about 2" of soil and drys out rather quickly, an irrigation system was added. I found a quick and easy solution to that at the local Lowes.
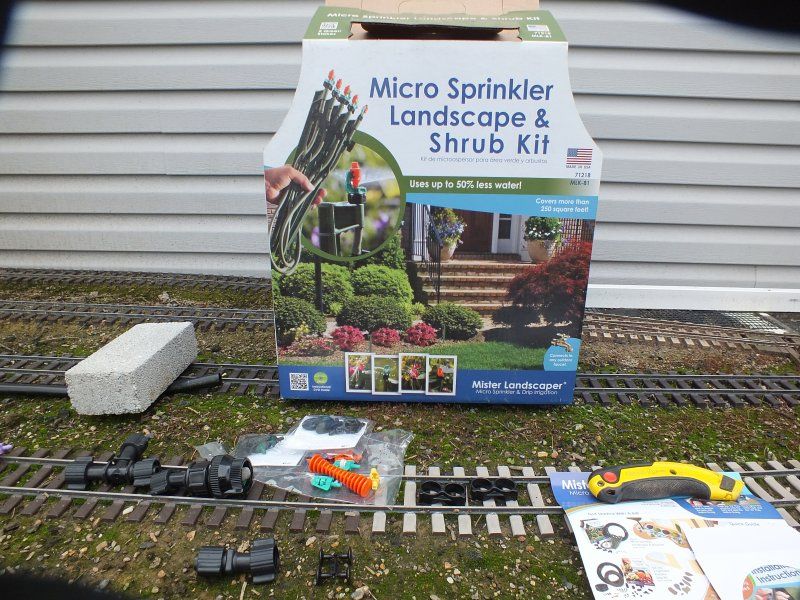
It comes with 25' of 1/2" tubing for the main line, 25' of 1/4" tubing for the emitter heads, and enough fittings to get you started. A brochure and DVD are included to explain how everything works.
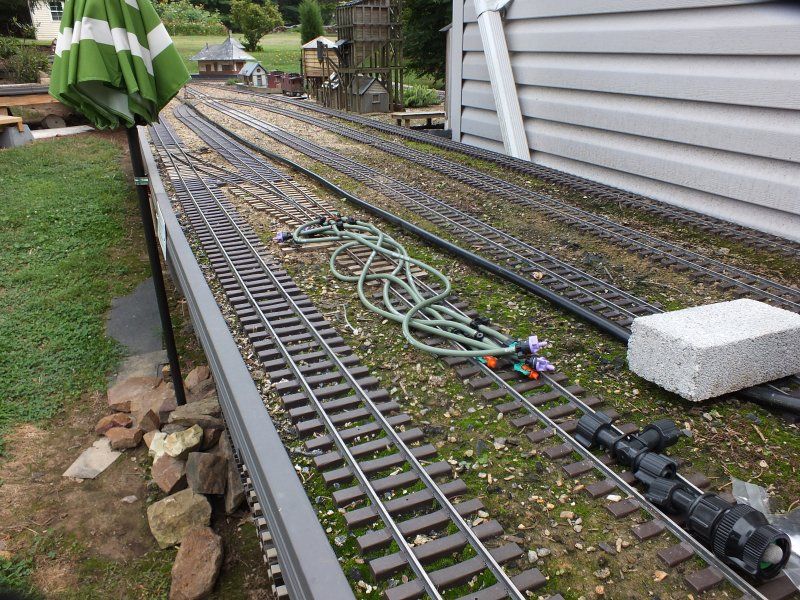
Since the layout sits so far back from the house, the first thing I needed to do was figure out where to start the line so it was easily accessible. The table where Delores sits seemed to be the best place. After a brief discussion about this system, it was found that a restrictor would most likely be needed to limit the water flow. Fortunately Lowes had them as well.

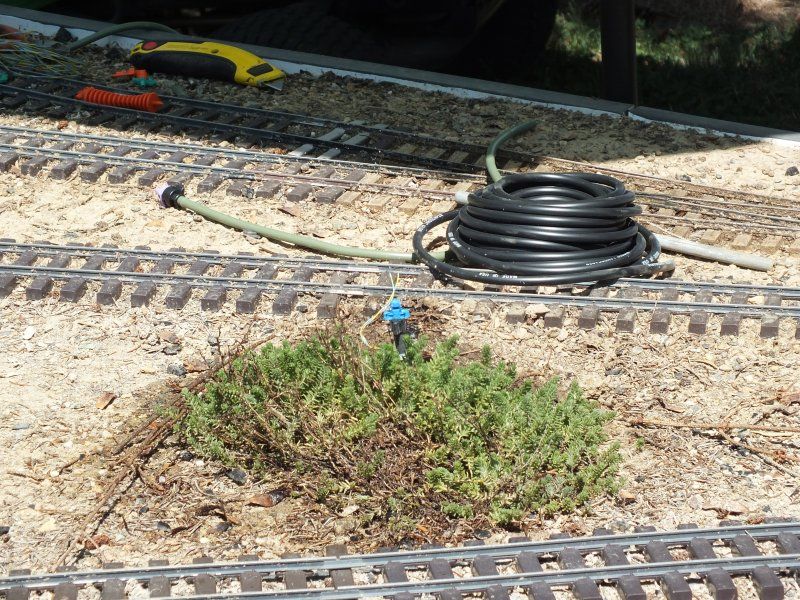
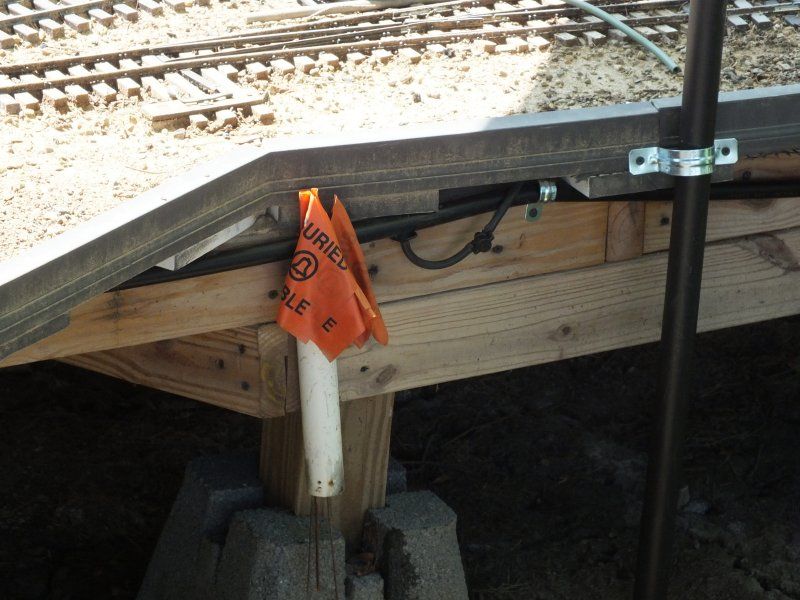
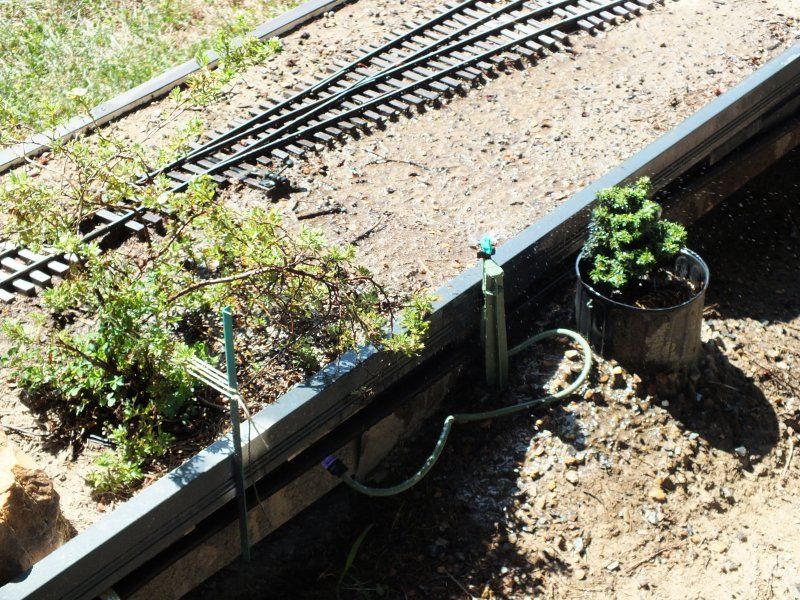
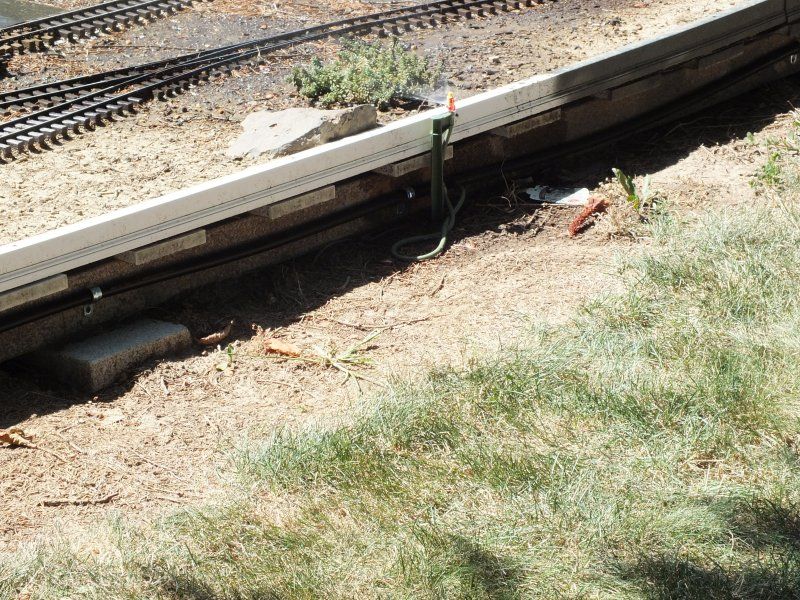
Under the raised portion of the layout I ran the piping under the layout and brought to emitter heads up through the table and connected it to the main. I used drip emitters in this area. This photo shows the spray heads which I eventually changed.
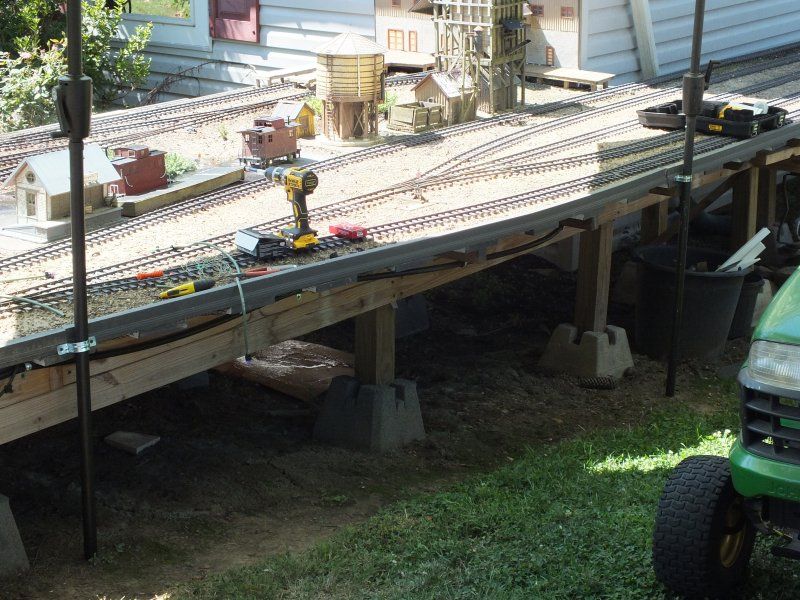
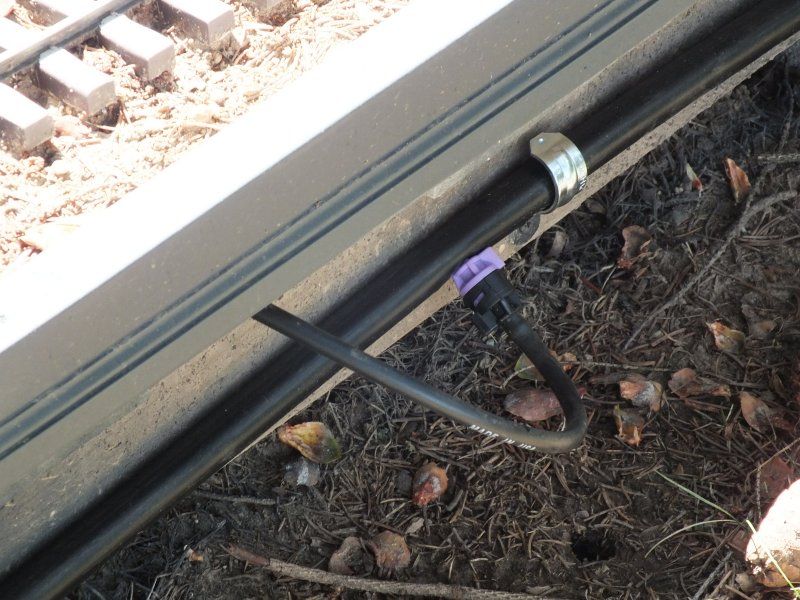
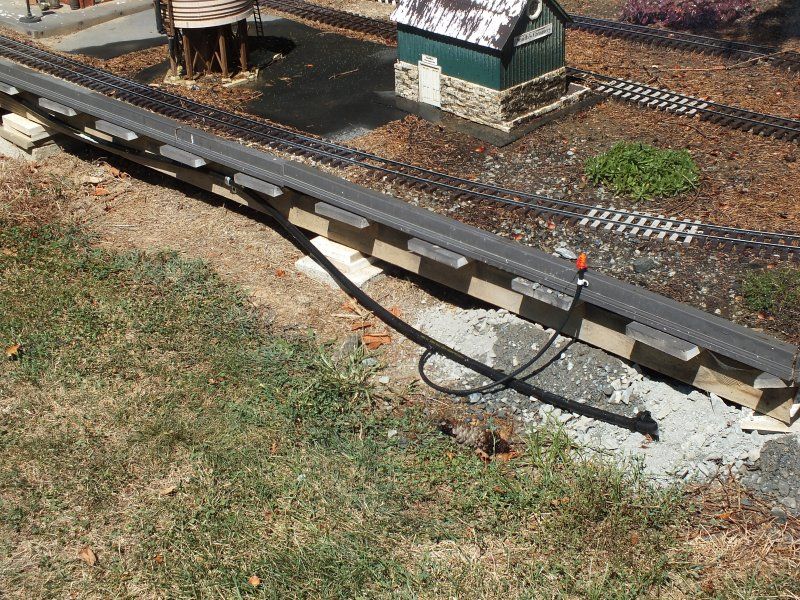
I ran the main under the table to the other side and from there, attached it to the outside of the layout to make it accessible.
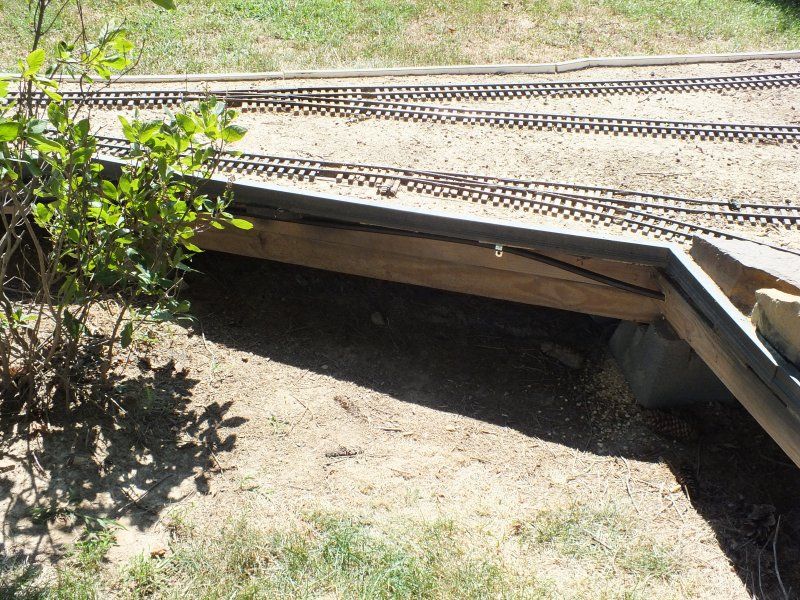
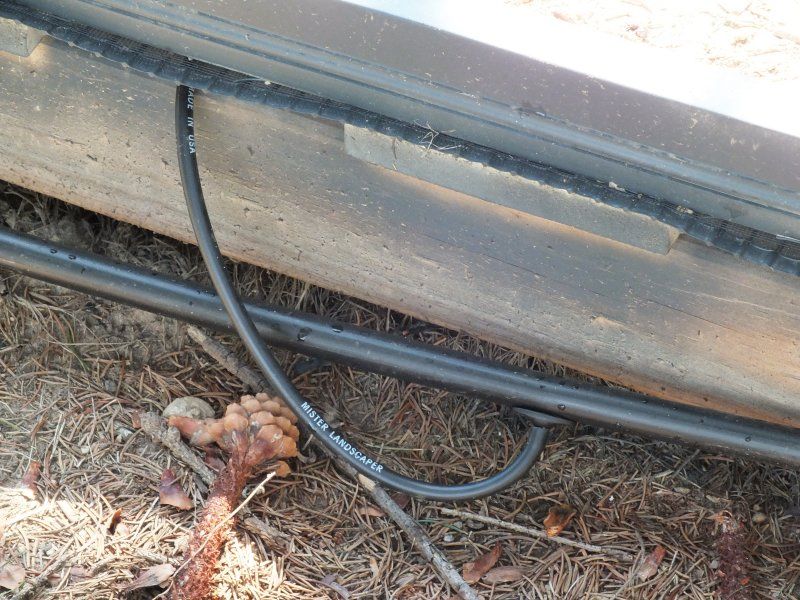
On these lower modules I ran the tubing between the cross members to get to plants on the other side of the layout.
Inserting a stiff piece of wire into the 1/4" tubing helped with getting it across.
The tubing for the emitter heads are connected to the main with these fittings which just pop into the 1/2" tubing.
The emitter heads come in various spray patterns. 90, 180, 360 degree. The 180 will cover 2 or 3 plants at a time such as here.

On the Mancos module I ran the main on both sides of the table. For this I needed needed a fitting to get to other side.
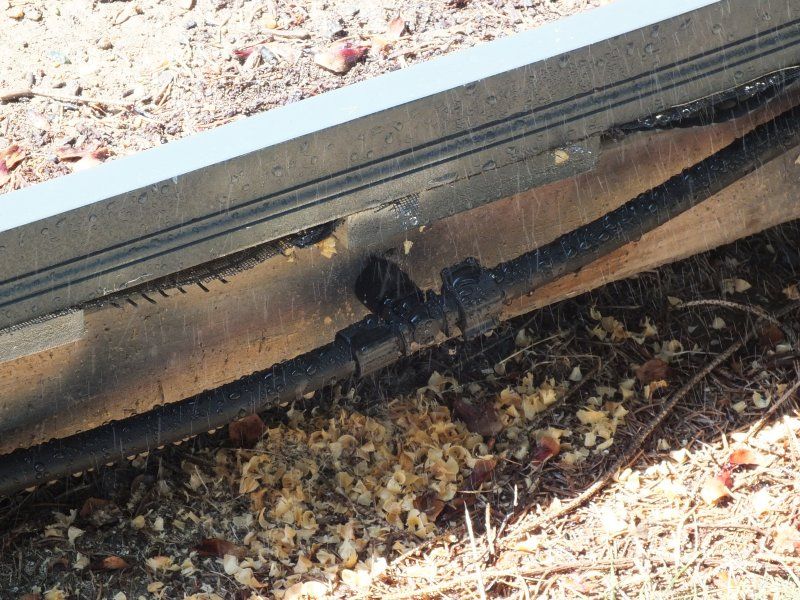
Instead of an end cap they provide a fitting with a double ring to slip over the end of tubing, fold it back on itself, and slide the empty ring over that.
Very simple system that's easy to add onto.