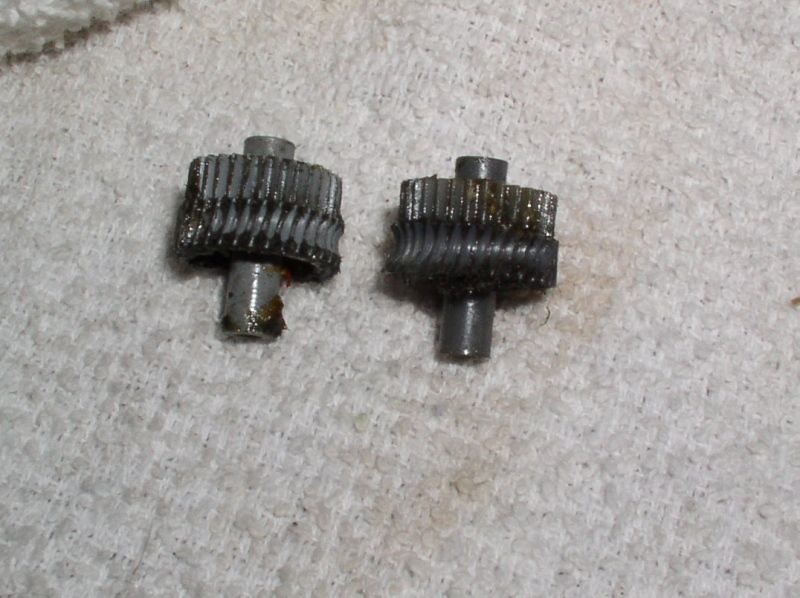
Something like 2 months ago John sent me new idler gears. I’m sure he’s probably wondered what’s takin me so long to get off my lazy backside. The simple answer is “stress”… Anyway, this is what he sent, It had stuff like axles I couldn’t use, but the idler gears and pins that I did:
(http://i397.photobucket.com/albums/pp52/steamnut1917/2013winter/PC190002_zps1ec346ea.jpg)
In case any of you ever need to do this, I took several photos. The idlers are on pressed pins. They’re a pain in the butt to drive out, and nearly as much fun to drive back in.
(http://i397.photobucket.com/albums/pp52/steamnut1917/2013winter/PC190003_zps08cb7652.jpg)
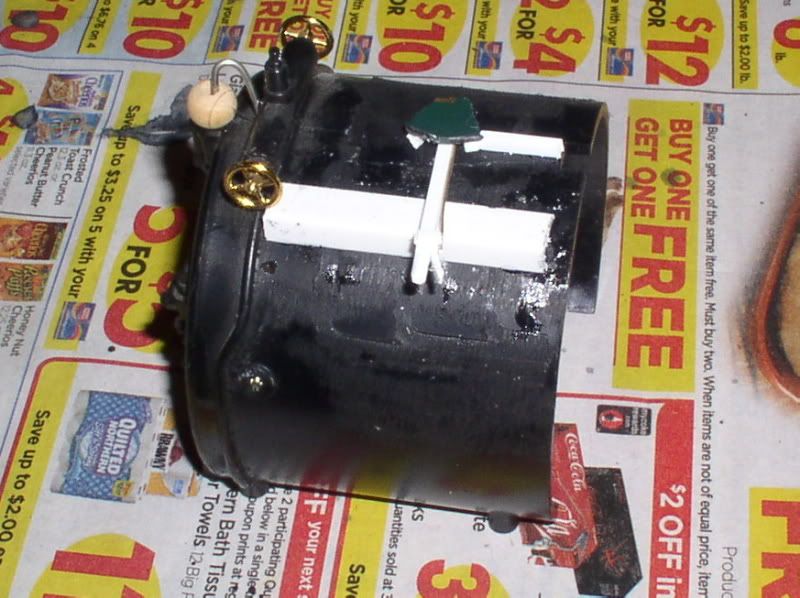
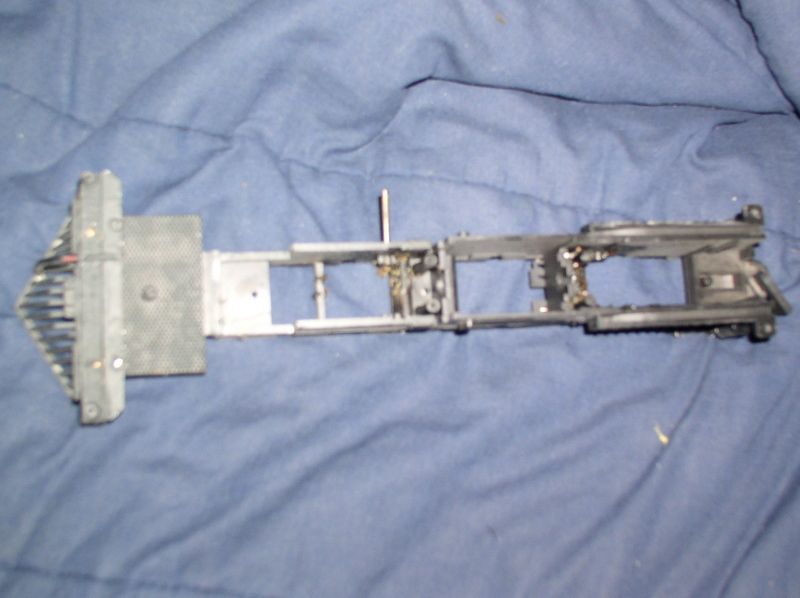
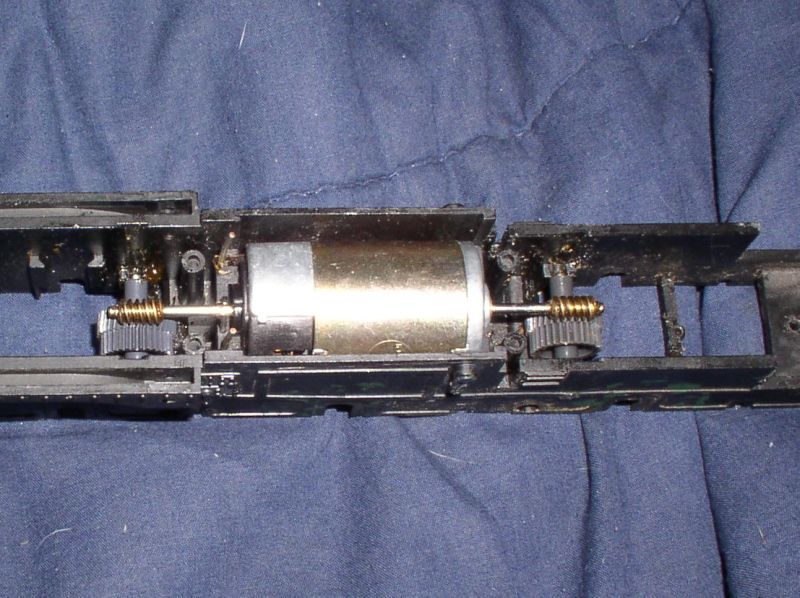
Motor and idlers installed… it was also time to oil the idler pins and motor bearings… very, very, lightly.
(http://i397.photobucket.com/albums/pp52/steamnut1917/2013winter/PC190004_zps2c705560.jpg)
Then I re-installed the cylinders, and the top covers… mostly just to make sure the motor stayed put!
(http://i397.photobucket.com/albums/pp52/steamnut1917/2013winter/PC190005_zps216b9977.jpg)
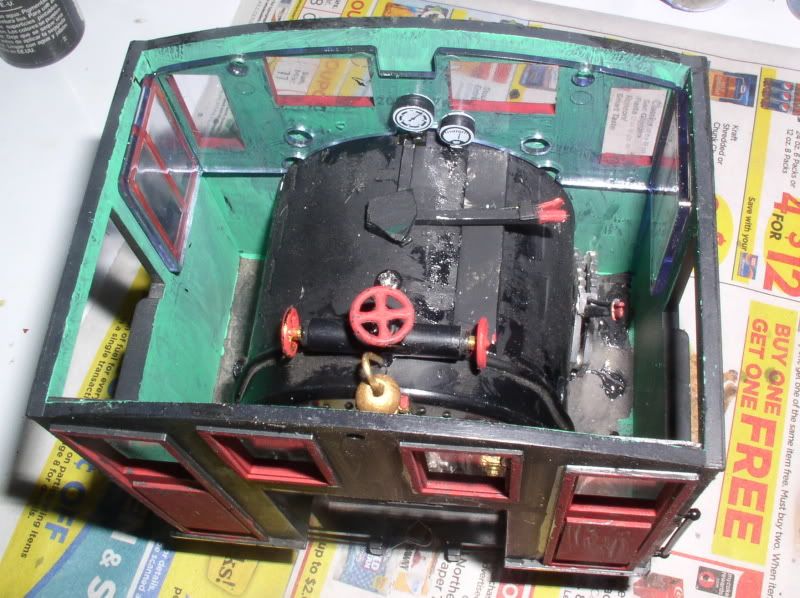
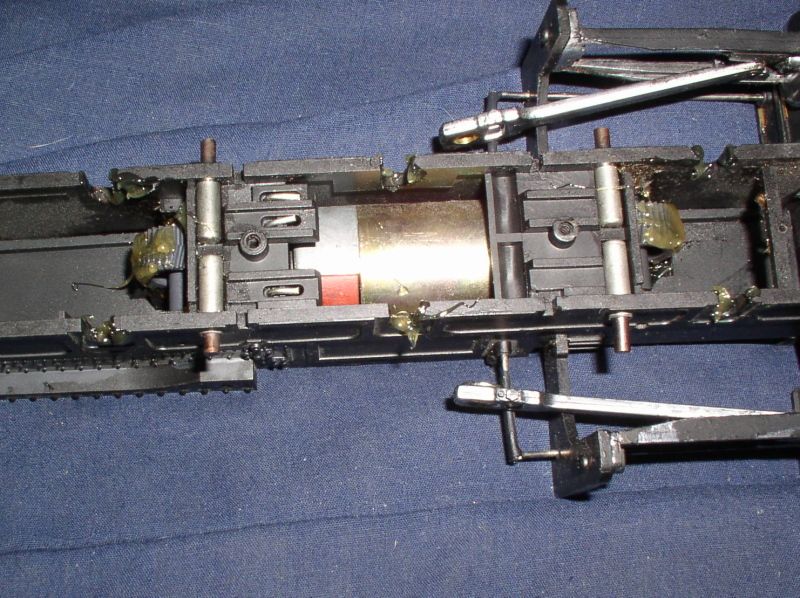
Next was to lube the gears and axle journals before installing the wheels. Did you ever forget to install the brushes?.. durrrrr
(http://i397.photobucket.com/albums/pp52/steamnut1917/2013winter/PC190006_zps5a895b8b.jpg)
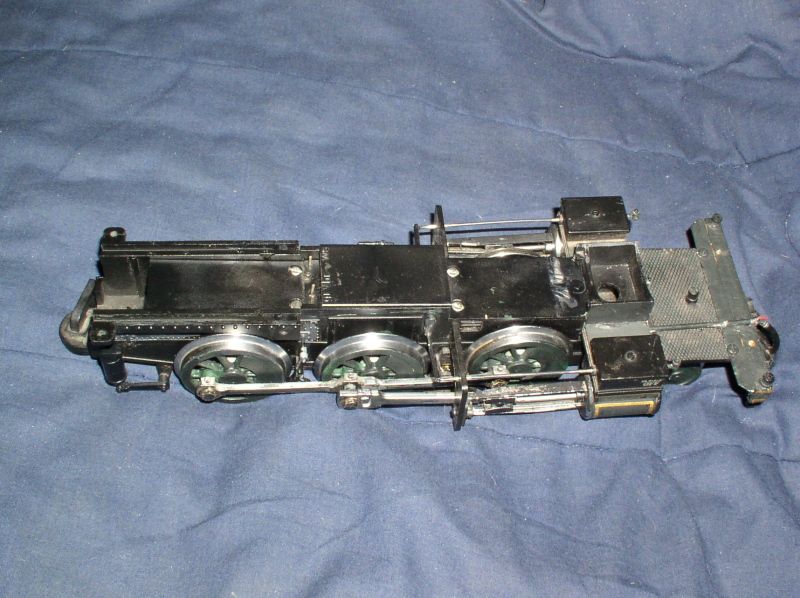
The drive wheels have to be timed perfectly, one tooth off either way will create just enough of a bind to cause excessive wear - even though the rods are pretty sloppy. The easiest way is to set whichever side you are looking at to one of the 4 cardinal directions. I got lucky, it only took me 3 tries. If you’re not sure, just remember they gotta be parallel with the rail head, put the bottom cover on and measure… I also put on a brand new traction tire while I had things apart. If anybody else needs one, I have spares. Anyway, here we are with the wheels and buss bars in place.
(http://i397.photobucket.com/albums/pp52/steamnut1917/2013winter/PC190007_zpseb0e6683.jpg)
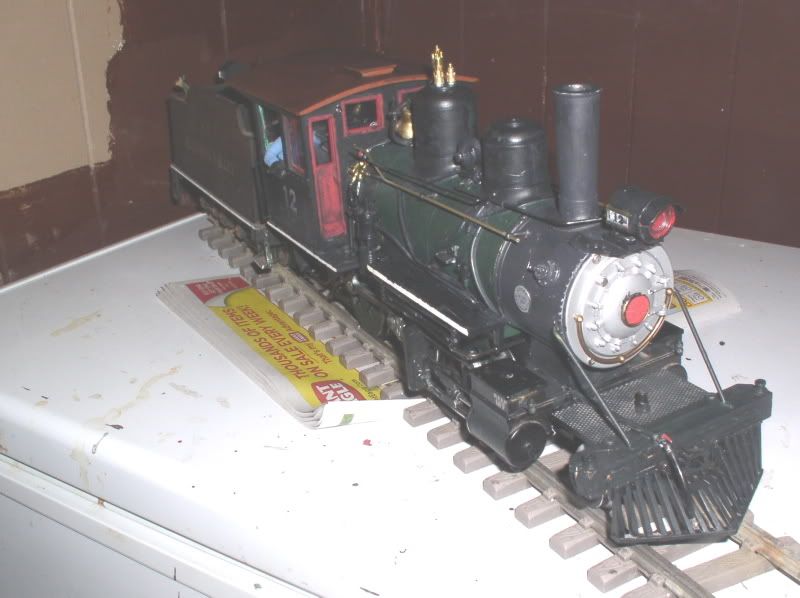
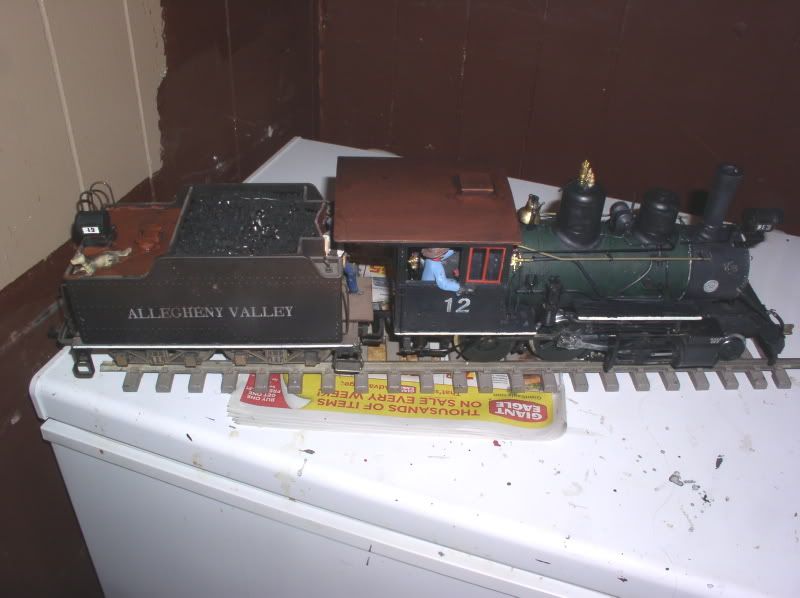
Aaaaaaand all buttoned up. It runs very smoothly, even at very low speeds, with only a tiny bit of gear noise. This should fade as it runs in, I hope.
(http://i397.photobucket.com/albums/pp52/steamnut1917/2013winter/PC190008_zps5a9c4ee2.jpg)
Re-assembly to the superstructure will have to wait until I get some wiring stuff.


