Well, I have 4 of the LGB 2 bay EBT hoppers. I put the Bachmann (not Spectrum) Vulcan truck side-frames onto the LGB bolsters, so they would look right to my untrained eye. I like the 2 bay hoppers, and learning that they were (possibly) unstable, explains why I like them. (http://largescalecentral.com/externals/tinymce/plugins/emoticons/img/smiley-wink.gif)
I just received a call from Robert at Accucraft today that they have arrived and if I was still interested in my pre-order that it would ship today. (of course I was still interested (http://largescalecentral.com/externals/tinymce/plugins/emoticons/img/smiley-wink.gif))
Another good bit of news for many is that they also received an additional 200 or so and that because of this they ordered a second series of car numbers. For anyone modeling the Acorn herald era this will be great to complement the cars you may already have.
Just wanted to pass along the good news. Order up gents! (http://largescalecentral.com/externals/tinymce/plugins/emoticons/img/smiley-smile.gif)
Ah, good to know. Thanks for the heads up
Direct only or are dealers like Robbie going to be selling them?
Sorry John, never saw your question. Not sure about that I just went direct on my pre-order. I would imagine that they would be happy to work with dealers on this release.
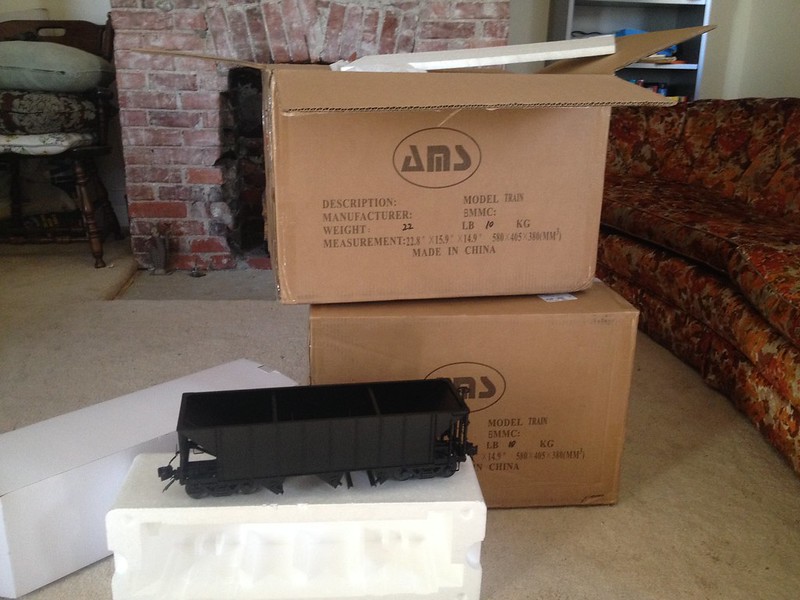
Well, they came on Friday! It was a real first for me because to date the most cars I have received at once is three. Eight is significantly more! Two big boxes with four cars each. First off, I noticed that they did not come in the usual flashy read and yellow packaging. I’m not sure if this was due to them being two bulk packs as opposed to individual cars. This didn’t bug me at all because I really didn’t like the ole clear plastic vacuformed insert that used to cover the one side. It seemed to scratch the side of the car some. These were just wrapped in tissue then a thin sheet of plastic and inserted in the foam protector with another sheet of eps foam to cover the exposed side.
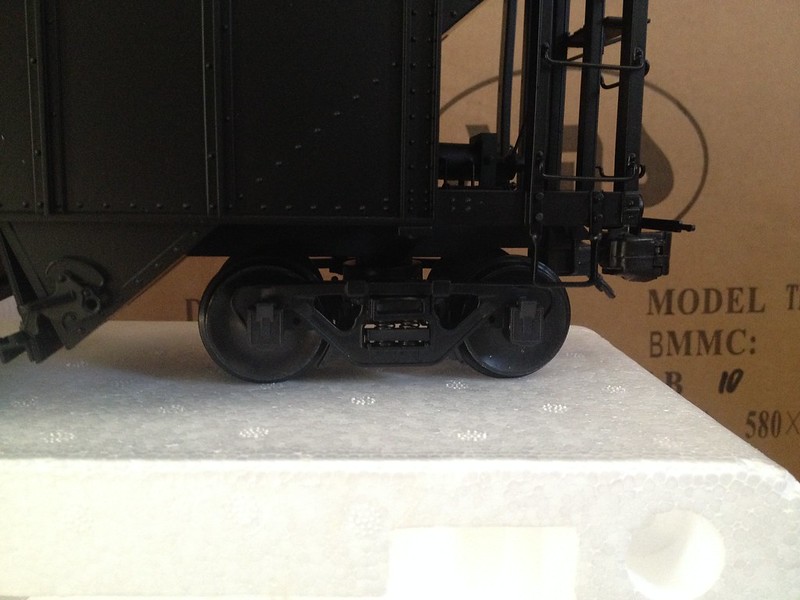
One change I really liked was the use of blackened wheel sets in the trucks. They look much better. The only other thing I would note is that about 30% of the trucks had an issue where one side or both were stuck in a compressed state. I was able with a bit of wiggling to get one side unstuck and popped back in to place. I didn’t have time yet to look at it closer to see what is causing this and to fix all the others, but I don’t think it will be a big deal. Over all I’m very pleased. Now I really need to get back to Mik’s challenge.
Cool! Glad to see they’re back in production. If I recall, I still owe you pics of how I “lowered” the bolster on mine. I’ve got one sitting on my workshop shelf right now awaiting some work to bring it “up to code” for my railroad, so I’ll have to work on that.
(One can hope the next shipment might have some 1:32 couplers… I’m down to my last two pair.)
Later,
K
Yes Kevin, I’m very happy to have a nice fleet of these now. Robert at Accucraft did tell me they have some 1:32 couplers “on order” but are having difficulty nailing down a commitment from their supplier/manufacturer. They do know we want them and I believe they are sincerely working on it.
Yeah, If you could share your “secret recipe” for hopper lowering with me, I’d still be very interested Thanks! I’m actually going to take ad vantage of this gorgeous 50+ degree weather we are having this weekend and do some steaming out back today.(http://www.largescalecentral.com/externals/tinymce/plugins/emoticons/img/smiley-smile.gif)
How to Lower the Bolster on the Accucraft Hopper Car
Here’s the stock bolster:
It’s essentially a strap of styrene, screwed onto the hopper at the very ends by really small (often stripped) screws. Remove the screws on the ends to remove the plastic bolster strap.
Cut the bolster pad from the wings which extend off the sides.
Replace these wings back on the car, and glue them to the sides of the center beam. If you don’t want to glue them use some black electrical tap or something thin to hold them in place, but–let’s face it–you’re not going to be disassembling these cars, so glue will be just fine. (That, and the screws strip really easily anyway, so you may want to glue the other ends as well.)
Now, place the truck back on the post. A few things. First, the post has a very slight taper to it (could be paint), so the truck may not go down all the way to the center beam without a little help. You can take a countersink bit to knock off the edge of the mounting hole. You may find you need to drill or file it out just slightly. (Use a “V” or “W” sized drill if you have them.)
Now, if you were to replace the screw onto this, the truck would have some vertical slop on the post. I’ve got one hopper with this, and it tracks just fine. You could just replace the screw and be happy. But where’s the fun in that? Instead, we want to fill the void around the mounting post so the spring holds the truck firm to the center sill.
Remember that square bolster pad you cut the wings off of? Pick it up off the floor, because you’re going to need it.
Trim the corners off and file it around until it fits easily into the void. It will be flush with the surface once it’s in place. Then just replace the mounting screws and mount your couplers. If you’re using the Kadee or Accucraft 1:32 couplers, you can use the same mounting hole on the bottom end of the center beam that the original coupler screwed into. That puts the couplers at a scale 24" centerline (or close enough, given the soft nature of the truck springs). It also sticks the coupler pocket out far enough to be prototypical. It’s up to you whether you want to fill the “shelf” above the coupler draft gear and the end of the frame. A little block of wood painted black is all you need.
One thing to watch out for when lowering the car on the trucks… the air brake lines may rub against the wheels on the brake end of the car. You can probably just apply a little gentle pressure to bend this up and out of the way. If that doesn’t get it far enough up, you can take a file or sanding wheel on your Dremel to knock off the bottom of the “T” joint casting.
(the picture is sideways; that’s the center sill running top to bottom.)
And that’s it. It took all of 10 minutes to do one car, and that includes me needing to find my stupid phillips-head screwdriver at least three times in the process.
Later,
K
Isn’t it amazing how tools will run and hide right in the middle of a project?
That’s cool. I wonder why they made such a great model, but didn’t have it at the correct height.
Fantastic Kevin! I think I’ll be doing this to my cars before too long. The gap between the bolster and end sheet has always bugged me and this would also provide a good opertunity to fill that. We’ll see if I’m able to resist fixing the brake plumbing at the same time.
That mounting post definitely has a taper designed into it. I realized that when I was trying to flip the truck bolster to lower the car. A and W size drill bits, I’m impressed you have those!
Thanks so much for sharing your process. You’re right, it’s pretty simple. Crews at the Rocky Ridge loading tipple have been complaining about clearance issues so this will squelch that.
Are the wheelsets any better on these cars? It’s my only complaint about the accucraft cars. Aside from that they look great and it’s awesome to hear more product is being produced for largescale let alone 1:20!!!
T
Hey Terry, Not quite sure what you are wishing was better about the wheelsets.
The originals (1st run) were heavy steel (very magnetic) and had a shiny polished finish. The flanges were not fine scale but also not ridiculously deep like some that are out there. I felt is was just the right compromise. About the only thing I didn’t like on the originals aside from the finish was that they scale out a bit too large for 24" wheels that the EBT used.
The new (2nd run) wheel set are identical in every way except that they now have a very nice blacked finish which will make weathering them much easier. If you wanted to model a brand new truck out of the shop You might get away with not doing anything to it.
Did that answer it?
Randy a bit too large as in…? They should be 1 3/16th across the treads, for 24 inch wheels in 1:20.3.
David Maynard said:
That’s cool. I wonder why they made such a great model, but didn’t have it at the correct height.
There are some other peculiarities with this car as well–minor, and easily overlooked by anyone who didn’t spend a whole bunch of time climbing over, under, and through these cars, but peculiarities nonetheless. They asked me for my input when they had the pilot model available, and I gave them photos of details I thought should be changed, and correct artwork for the herald and car data font. They used some, didn’t use others. (Oddly, they used the correct artwork for the herald, but not the car data.)
In all practicality, though, none of this really detracts from the model. When Bachmann’s 2-bay first came out, I bought one and meticulously went over it, correcting all the little things they got wrong.
(Link to directory of photos showing modifications, etc.)
It wasn’t too long before I had another Bachmann hopper, and when I looked at both of them out in the garden, I couldn’t tell one from the other! While frustrating on one front that they (and likewise Accucraft) didn’t follow the prototype as faithfully as they could have, the net result is that it’s not remotely a dealbreaker. That was the only hopper for which I did an extensive re-work. I think my first 3-bay from Accucraft got the “C” channels replaced with lengths of rail and the air pipe run along the outside. The rest just got repainted with new lettering and weathered. I decided that it wasn’t worth the time futzing with stuff that I didn’t stand out when comparing one to the next.
As much as I poke fun at Accucraft for its similarities to the Bachmann 2-bay hopper, both models are very close to the prototype overall, and the similar details between the two make mixing them in a train very easy. Neither stands out from the other, which is as it should be.
Later,
K
Sadly, they will not be coming to yUK.
This is nothing new, folks.
tac
Mount Disappointment and Lake Gloom RR
Sounds like an excuse to travel to this side of the pond tac!
Steve, as you know all too well, we’ll be over in March for the York show, but my baggage allowance would definitely NOT stretch that far.
Already mrs tac is muttering about me signing a promisory note NOT to buy ANYTHING train-related while we are there. She’s one HARD woman, I tell ya.
tac
CdF Mont Miserie et Lac des Larmes
tac Foley said:
Already mrs tac is muttering about me signing a promisory note NOT to buy ANYTHING train-related while we are there. She’s one HARD woman, I tell ya.
Well just make sure Ig has his allowance money with him and he can do the shopping for you. (http://www.largescalecentral.com/externals/tinymce/plugins/emoticons/img/smiley-laughing.gif)
David Maynard said:
. . .
That’s cool. I wonder why they made such a great model, but didn’t have it at the correct height.
Nice photos Kevin.
I recall when Geoff (Ringle) and I got our sets we did replace the wheels - Geoff is a stickler for scale appearance and he got a deal on a bulk purchase. We also found the trucks needed removing and inspecting, as Randy found they aren’t always assembled correctly. We found a few loose screws, etc.
We lowered them by sanding down the top of the truck bolster on a belt sander, while we had them off the car. Having an RYM brass hopper sitting next to them made it easy to compare them.
Finally, one last piece of data to complete Randy’s info about the 2-bay hoppers. EBT bought the original 2-bay hoppers from PSC and they came with archbar trucks. However, they were longer than the latter 2-bays modelled by bachmann, but shorter than the EBT-made 2/3-bay hoppers. (Haven’t got my book handy to tell you the difference - Kevin would know.) When EBT started making them at the long size, they were unstable so they added the 3rd bay in the middle to drop the CoG a little.
See I didn’t know that. I thought all of the EBT hoppers were PSC cars. And I didn’t know that they had shorter 2 bay cars. So maybe the LGB cars aren’t that wrong after all. Except of course that they have the latter hearold on the older 2 bay cars.