How to Lower the Bolster on the Accucraft Hopper Car
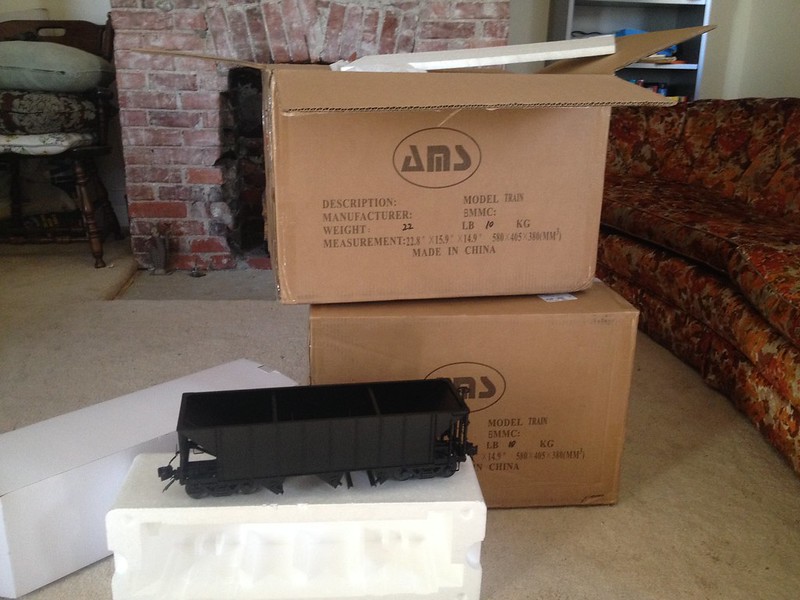
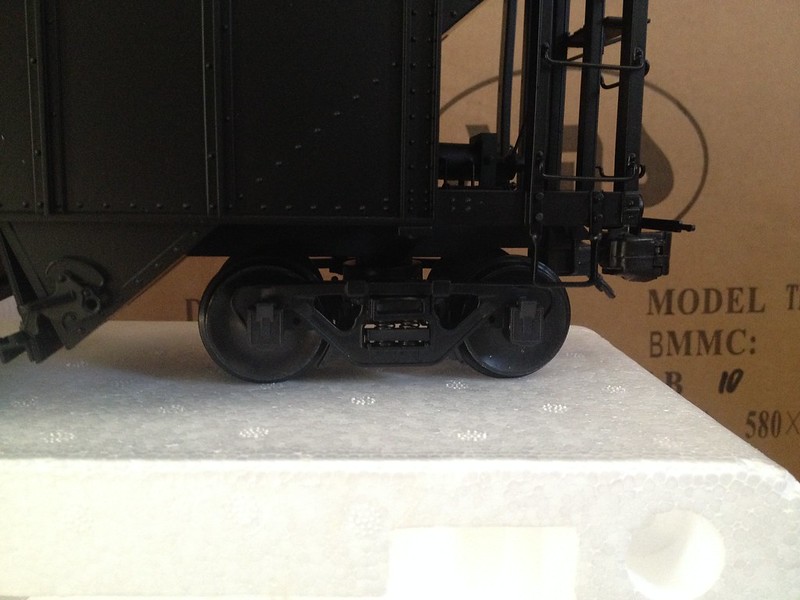
Here’s the stock bolster:

It’s essentially a strap of styrene, screwed onto the hopper at the very ends by really small (often stripped) screws. Remove the screws on the ends to remove the plastic bolster strap.

Cut the bolster pad from the wings which extend off the sides.

Replace these wings back on the car, and glue them to the sides of the center beam. If you don’t want to glue them use some black electrical tap or something thin to hold them in place, but–let’s face it–you’re not going to be disassembling these cars, so glue will be just fine. (That, and the screws strip really easily anyway, so you may want to glue the other ends as well.)

Now, place the truck back on the post. A few things. First, the post has a very slight taper to it (could be paint), so the truck may not go down all the way to the center beam without a little help. You can take a countersink bit to knock off the edge of the mounting hole. You may find you need to drill or file it out just slightly. (Use a “V” or “W” sized drill if you have them.)
Now, if you were to replace the screw onto this, the truck would have some vertical slop on the post. I’ve got one hopper with this, and it tracks just fine. You could just replace the screw and be happy. But where’s the fun in that? Instead, we want to fill the void around the mounting post so the spring holds the truck firm to the center sill.
Remember that square bolster pad you cut the wings off of? Pick it up off the floor, because you’re going to need it.

Trim the corners off and file it around until it fits easily into the void. It will be flush with the surface once it’s in place. Then just replace the mounting screws and mount your couplers. If you’re using the Kadee or Accucraft 1:32 couplers, you can use the same mounting hole on the bottom end of the center beam that the original coupler screwed into. That puts the couplers at a scale 24" centerline (or close enough, given the soft nature of the truck springs). It also sticks the coupler pocket out far enough to be prototypical. It’s up to you whether you want to fill the “shelf” above the coupler draft gear and the end of the frame. A little block of wood painted black is all you need.
One thing to watch out for when lowering the car on the trucks… the air brake lines may rub against the wheels on the brake end of the car. You can probably just apply a little gentle pressure to bend this up and out of the way. If that doesn’t get it far enough up, you can take a file or sanding wheel on your Dremel to knock off the bottom of the “T” joint casting.

(the picture is sideways; that’s the center sill running top to bottom.)
And that’s it. It took all of 10 minutes to do one car, and that includes me needing to find my stupid phillips-head screwdriver at least three times in the process.
Later,
K
![]() )
)


