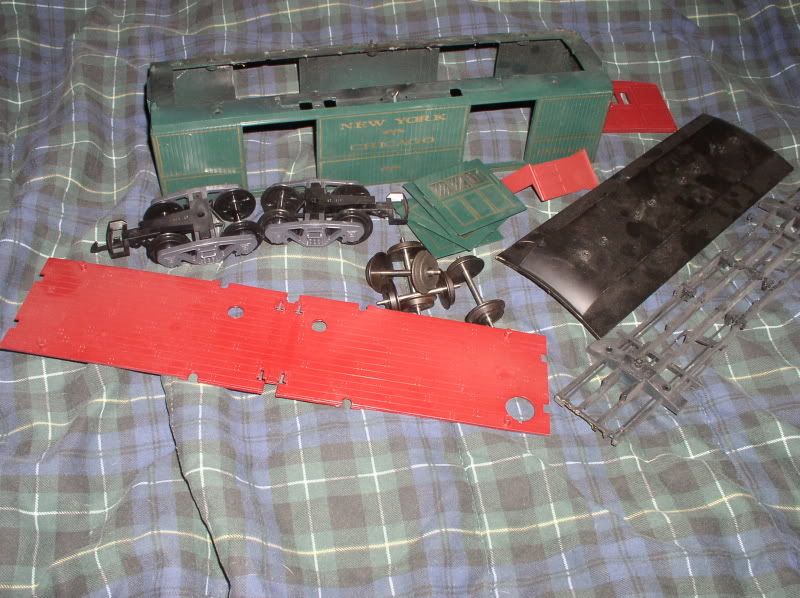
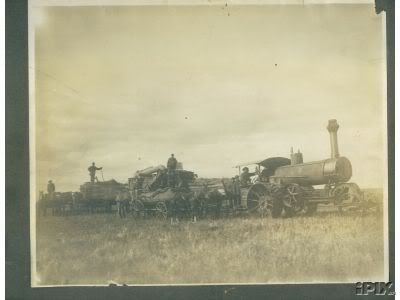
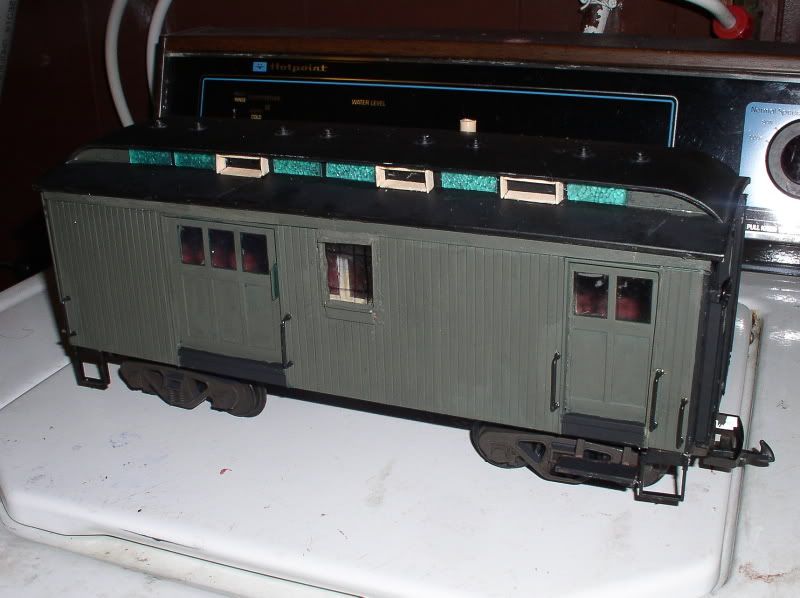
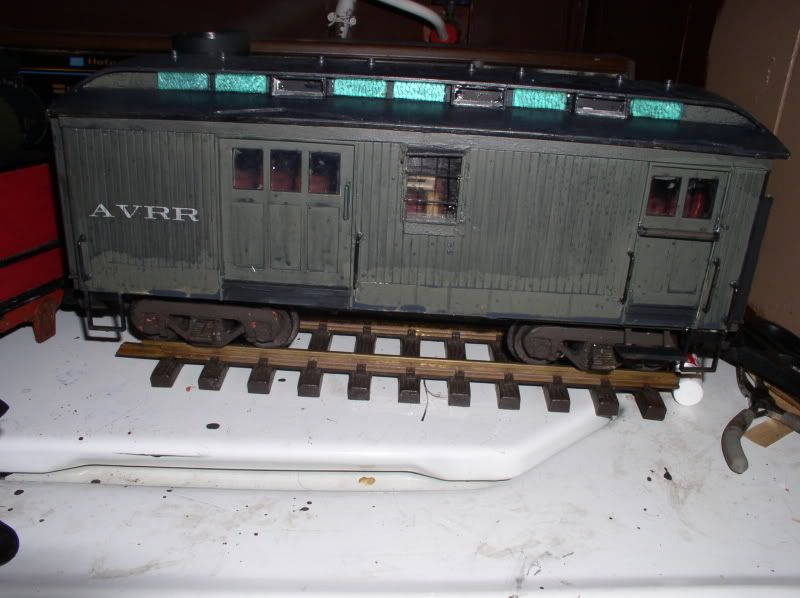
Some progress to show: I decided to summat try to work from this photo for adding details. Even though it’s not a model of a D&RGW car. Since it was for use by the US government a lot of things would be more or less ‘standard’ on RPOs throughout the country.
(http://i592.photobucket.com/albums/tt7/tigerlillie06/His%20Stuff/mail10.jpg)
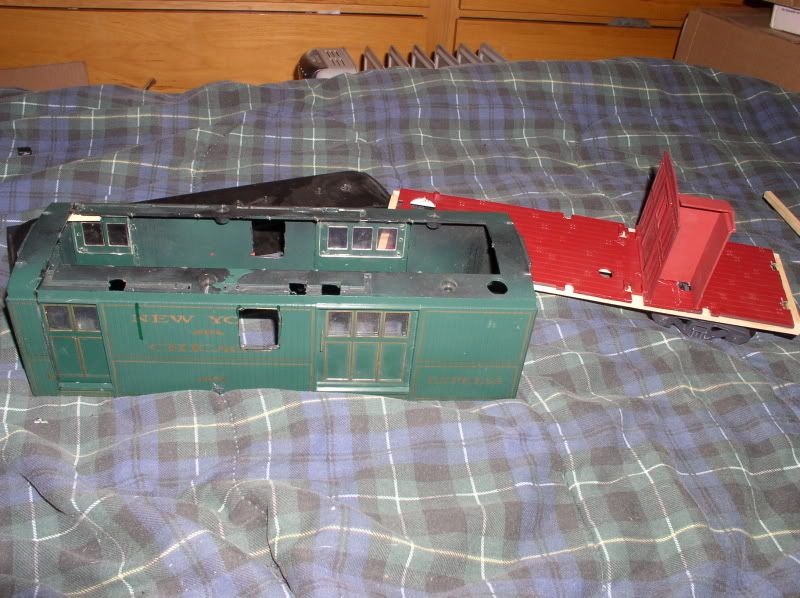
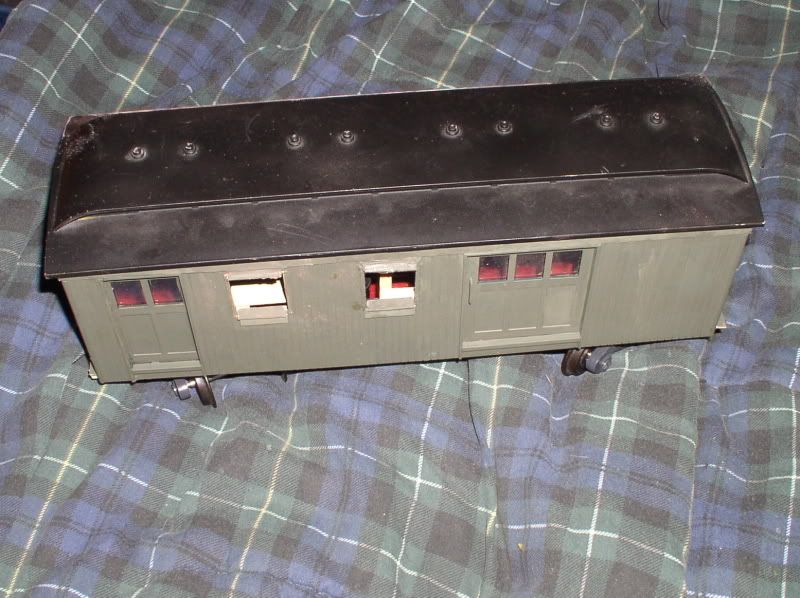
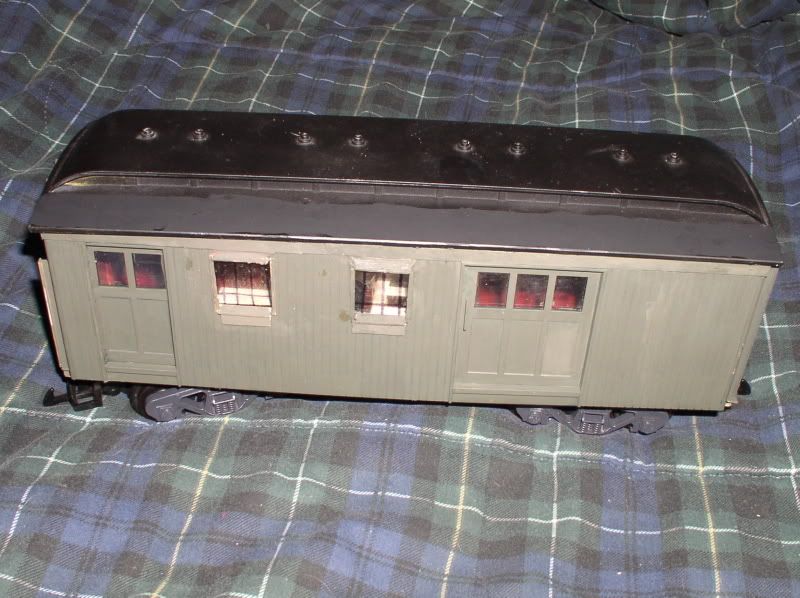
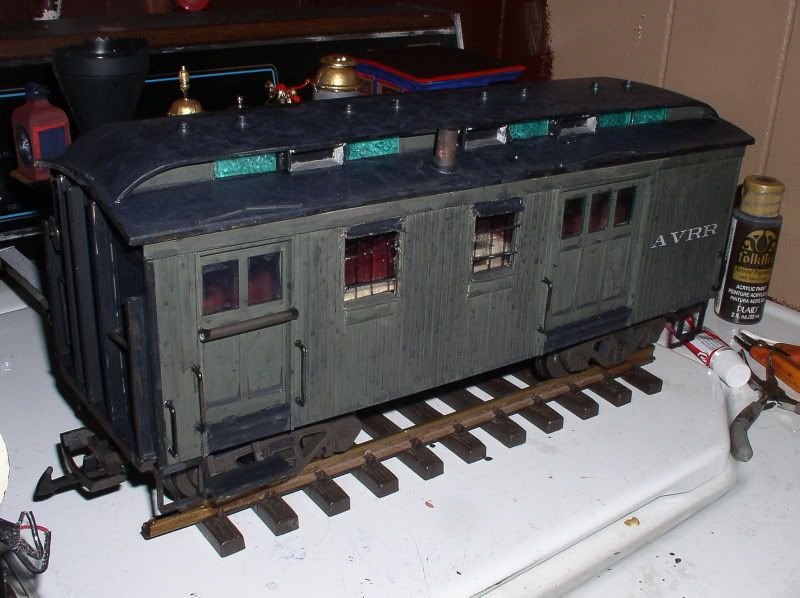
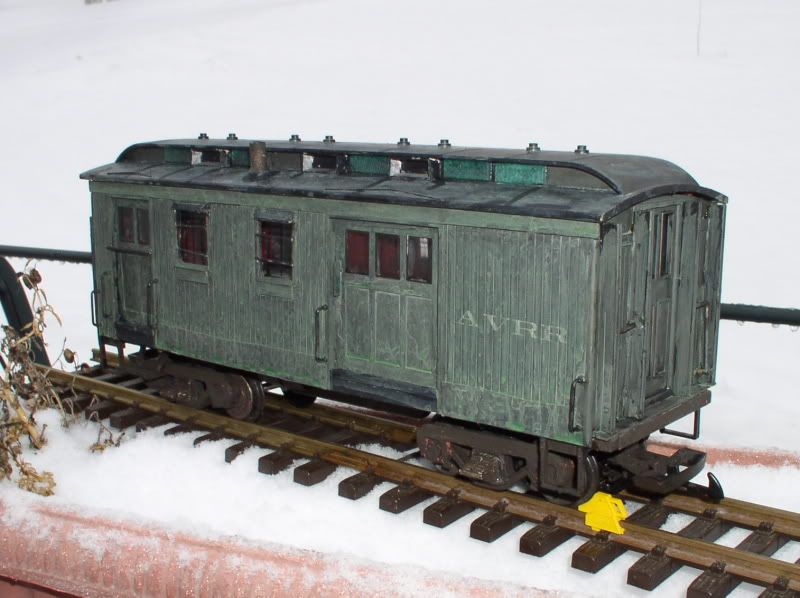
First I added vents in place of about half the clerestory lights, handrails and steps. the green clerestory glass is Bachmann. I worried about them being too dark on the black plastic, so I put silver paint behind them… I shouldn’t have bothered, now they nearly glow under fluorescent lights or flash. I’ll have to wash them with grime or something.
(http://i592.photobucket.com/albums/tt7/tigerlillie06/His%20Stuff/P1010020-1.jpg)
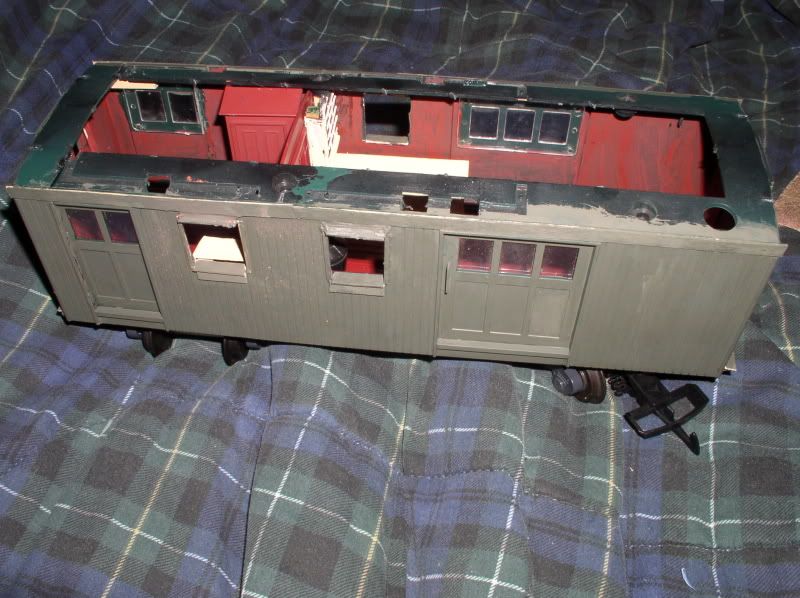
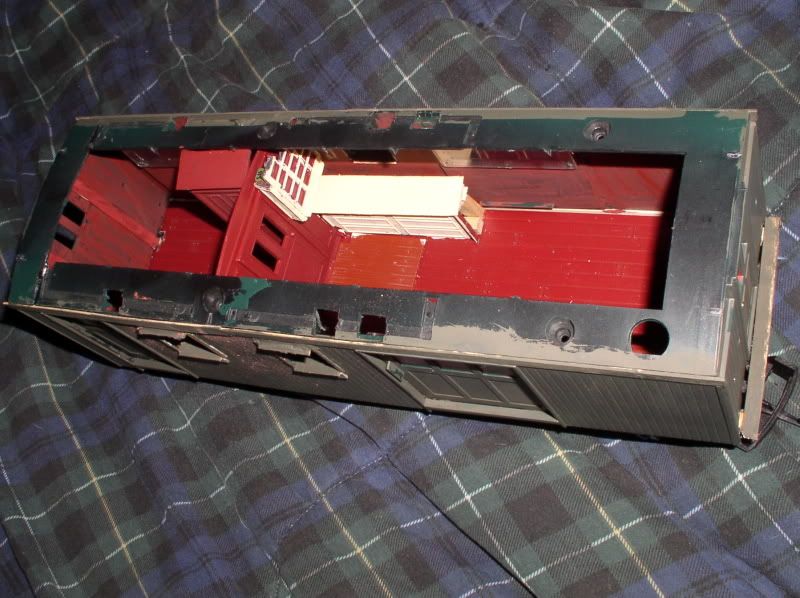
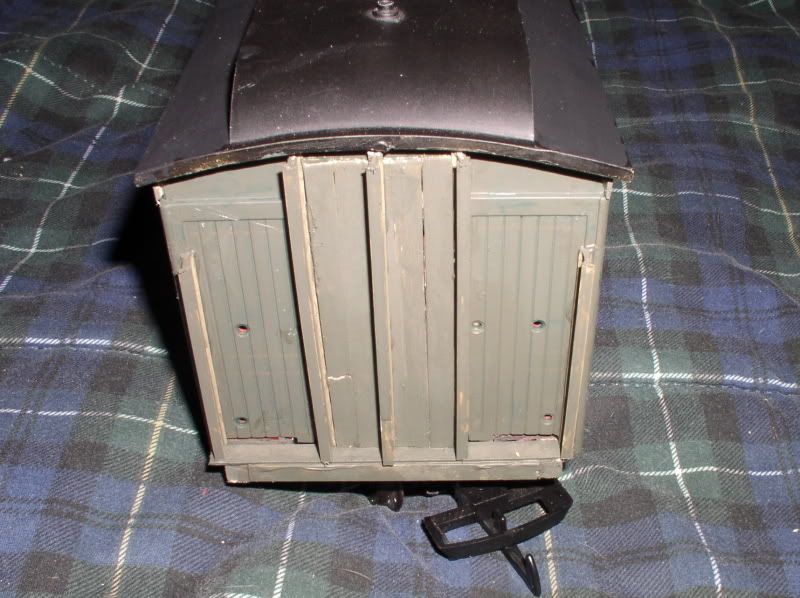
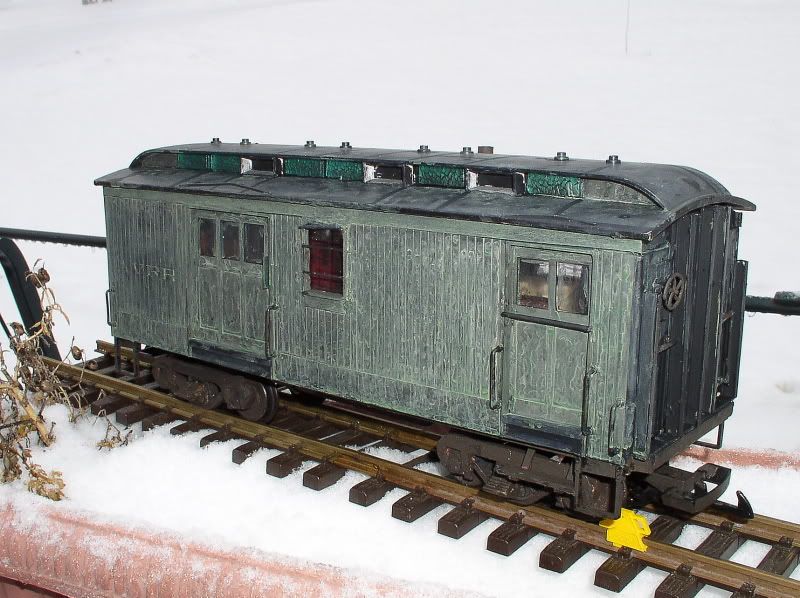
Added the rain gutters and the bar accross the mail dor. The plastic sprue pieces I used for those are just too fat. They’ll get replaced as soon as I find a bit of wire. Since decals for “U. S. MAIL RAILWAY POST OFFICE” would put me over budget, it’s being presented as a MoW tool car recycled from an RPO after the end of mail service. The .030" bars on the windows I fully expect to go AWOL the first time the car is run.
(http://i592.photobucket.com/albums/tt7/tigerlillie06/His%20Stuff/P1010023-1.jpg)
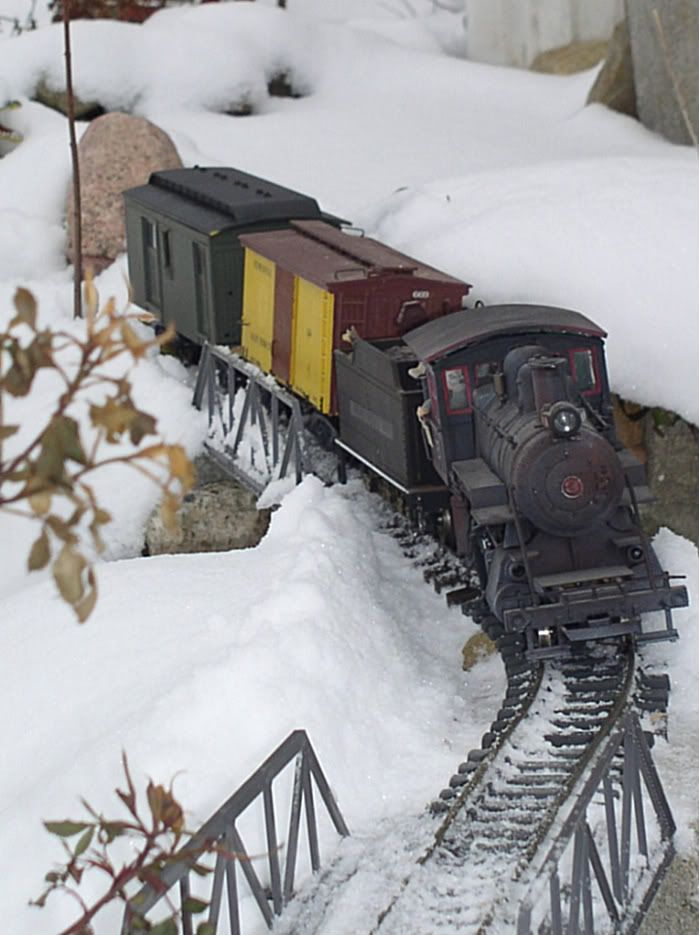
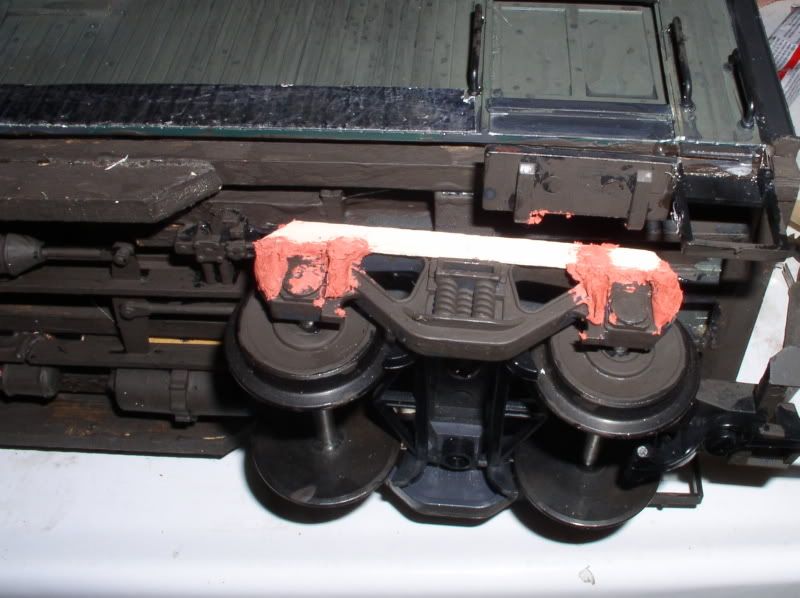
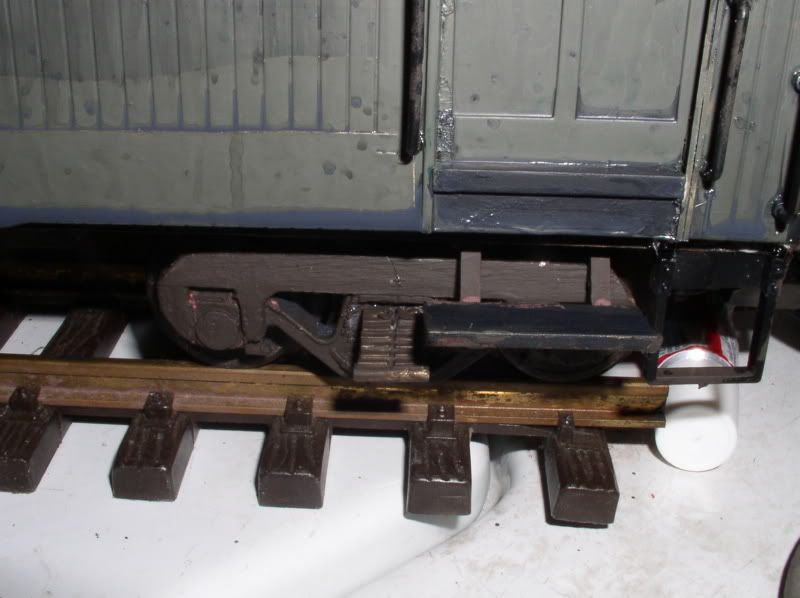
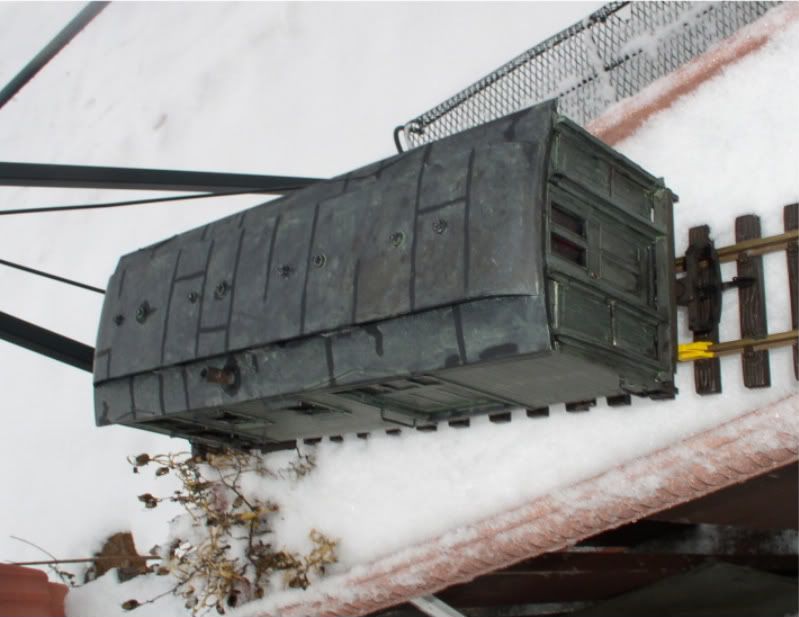
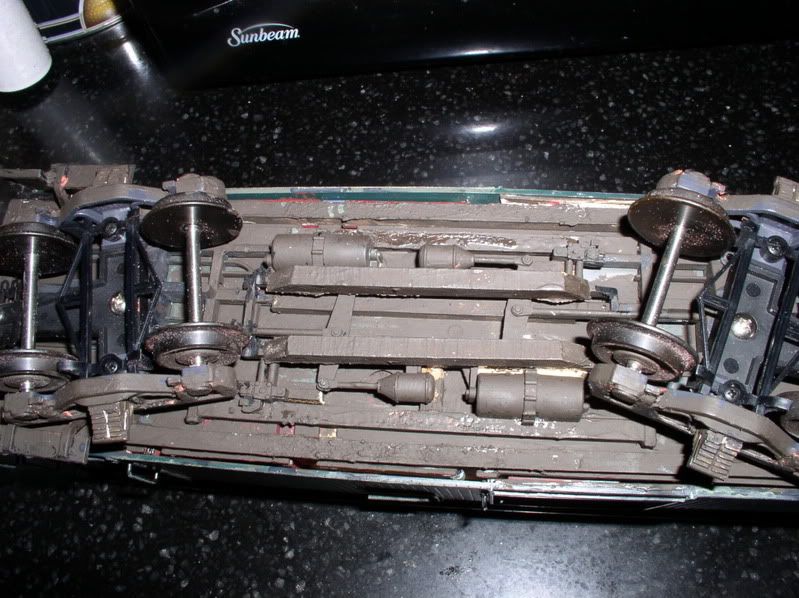
Next up is the undercarriage. Backwards of what most folks would do, but I had been debating on how to do it. I finally decided that it would be an older wood car rebuilt on a steel frame as an attempt to comply with the 1912 law without going to the expense of buying a steel car… on that note, if you look at the Grande car, you’ll see it has sheetmetal panels about a foot tall along the bottom edge - possibly because the body started to rot out. I’ll probably add that feature as well, once I figure an easy way. I’m thinking aluminum furnace tape might do it?


