Large Scale Central

A little spring project: Trackside Planter

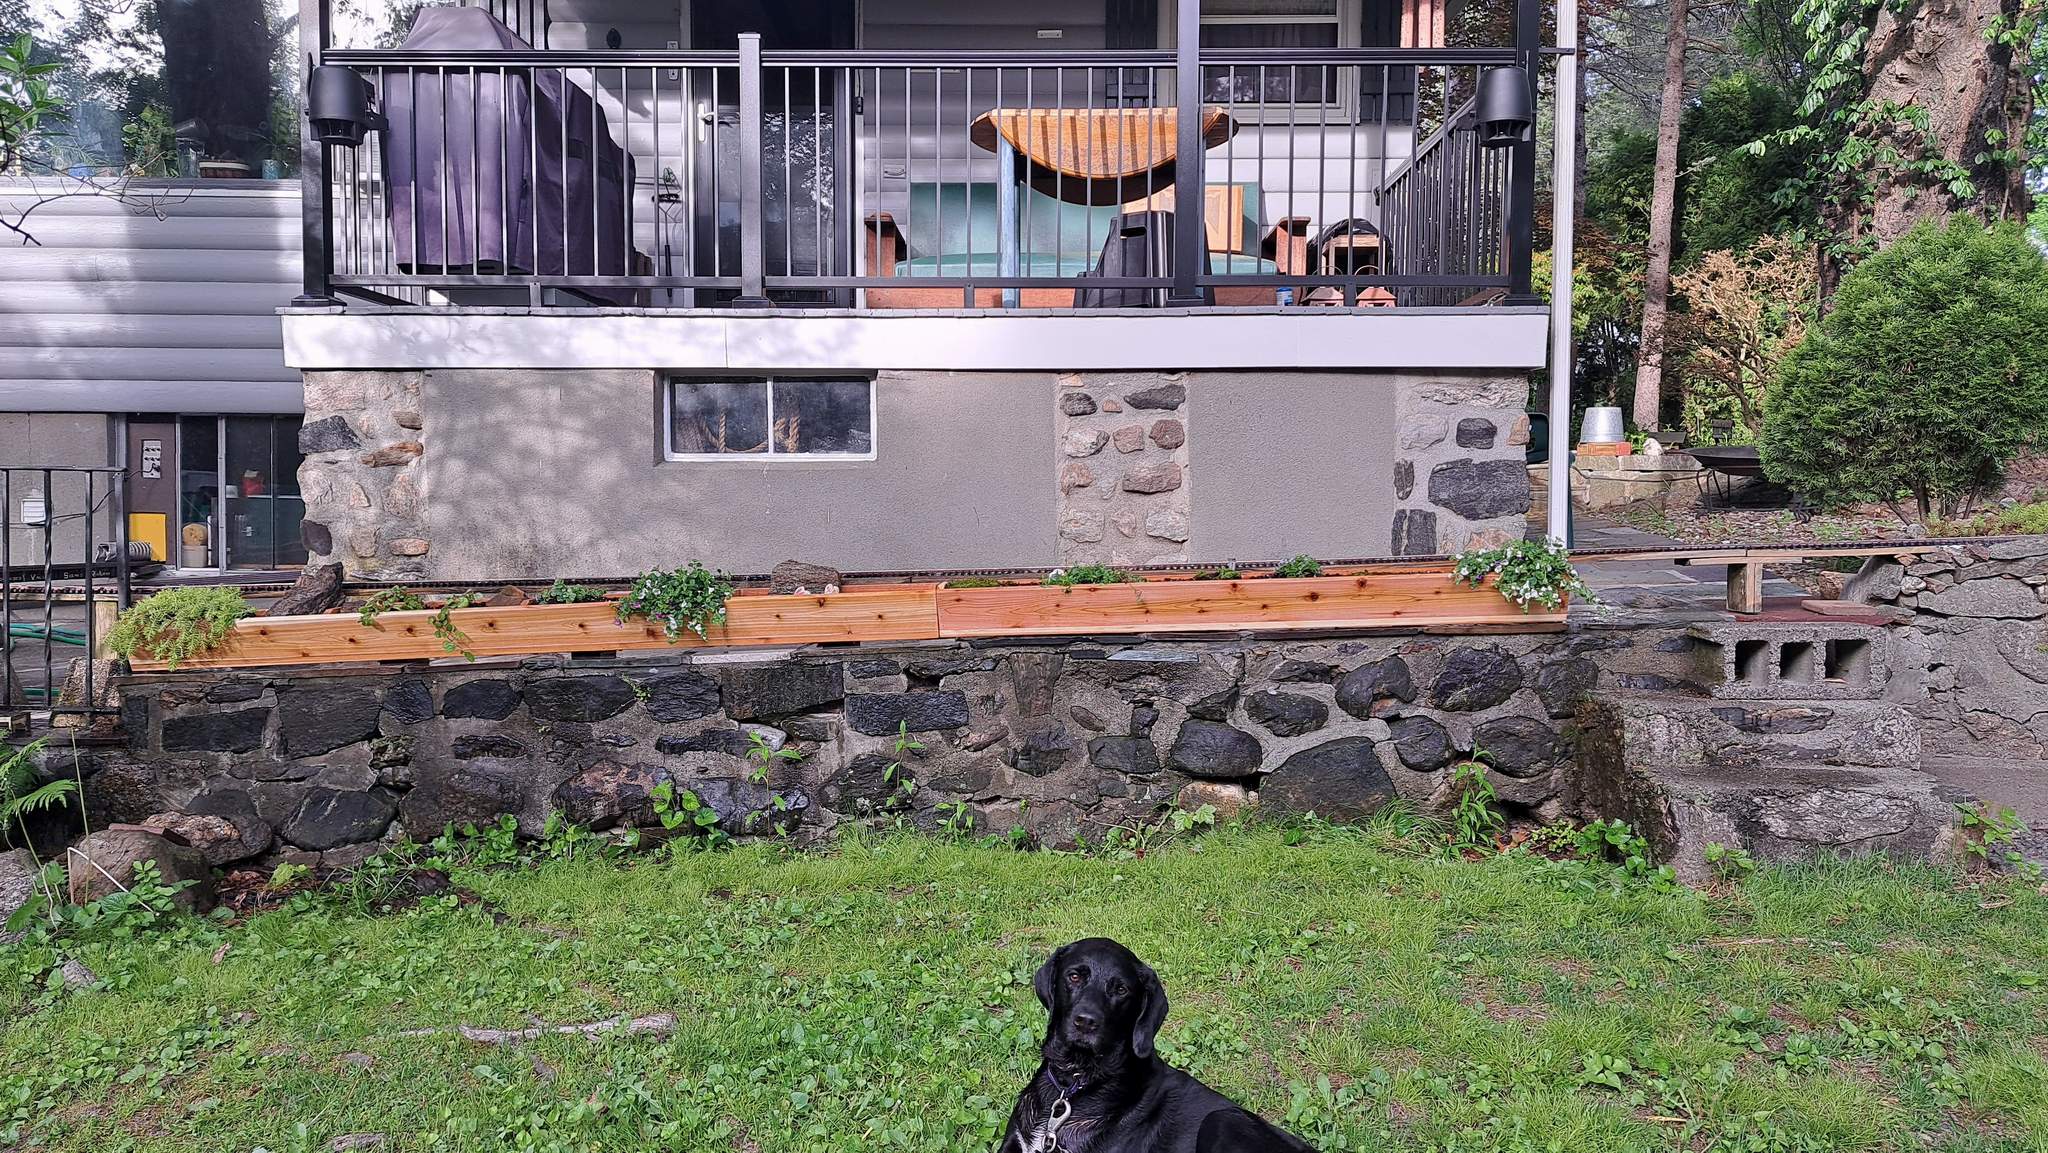
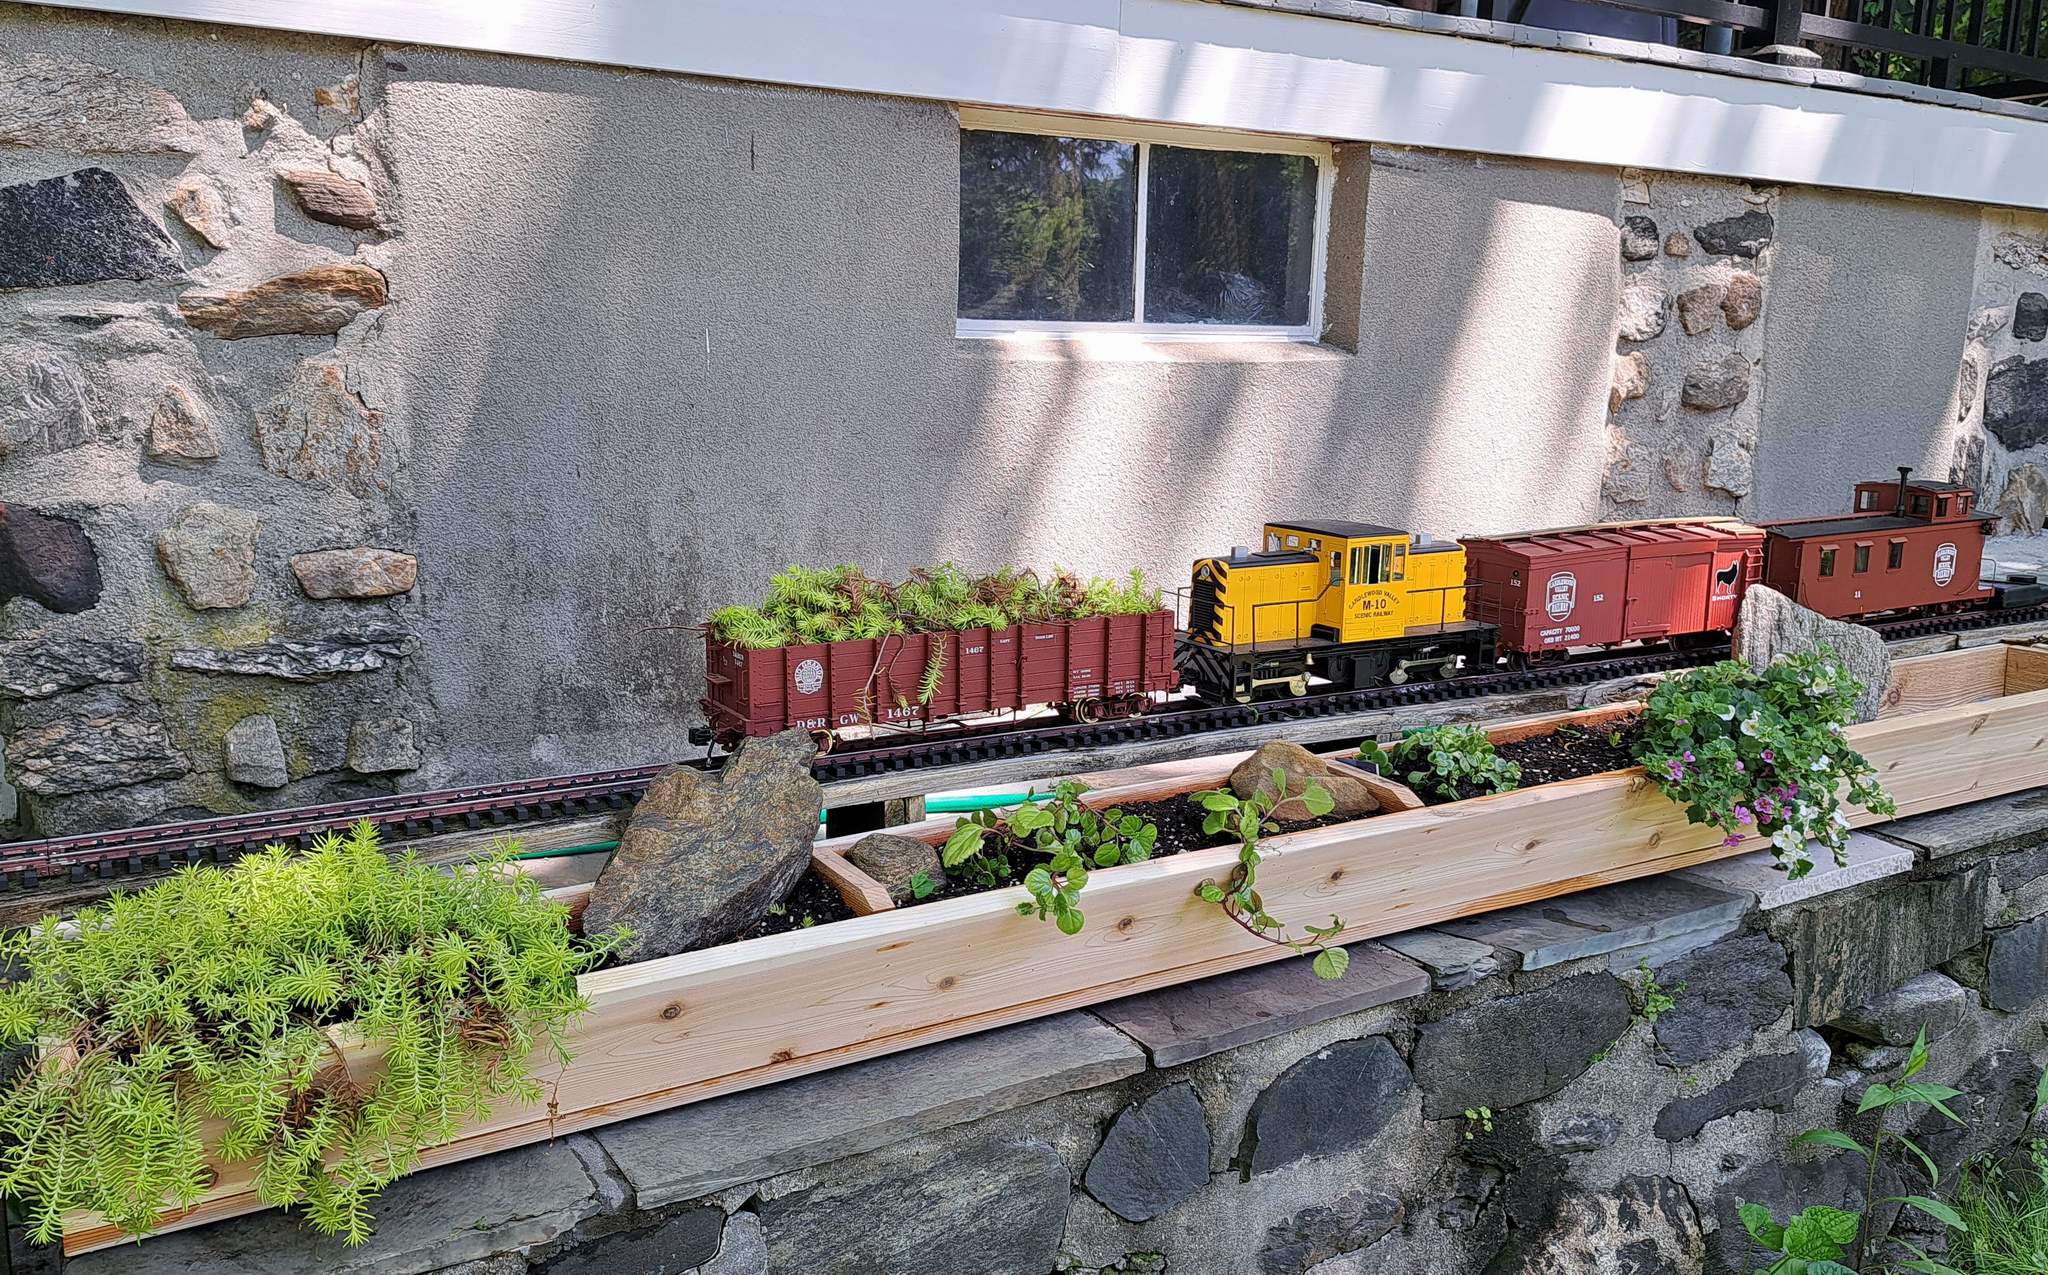
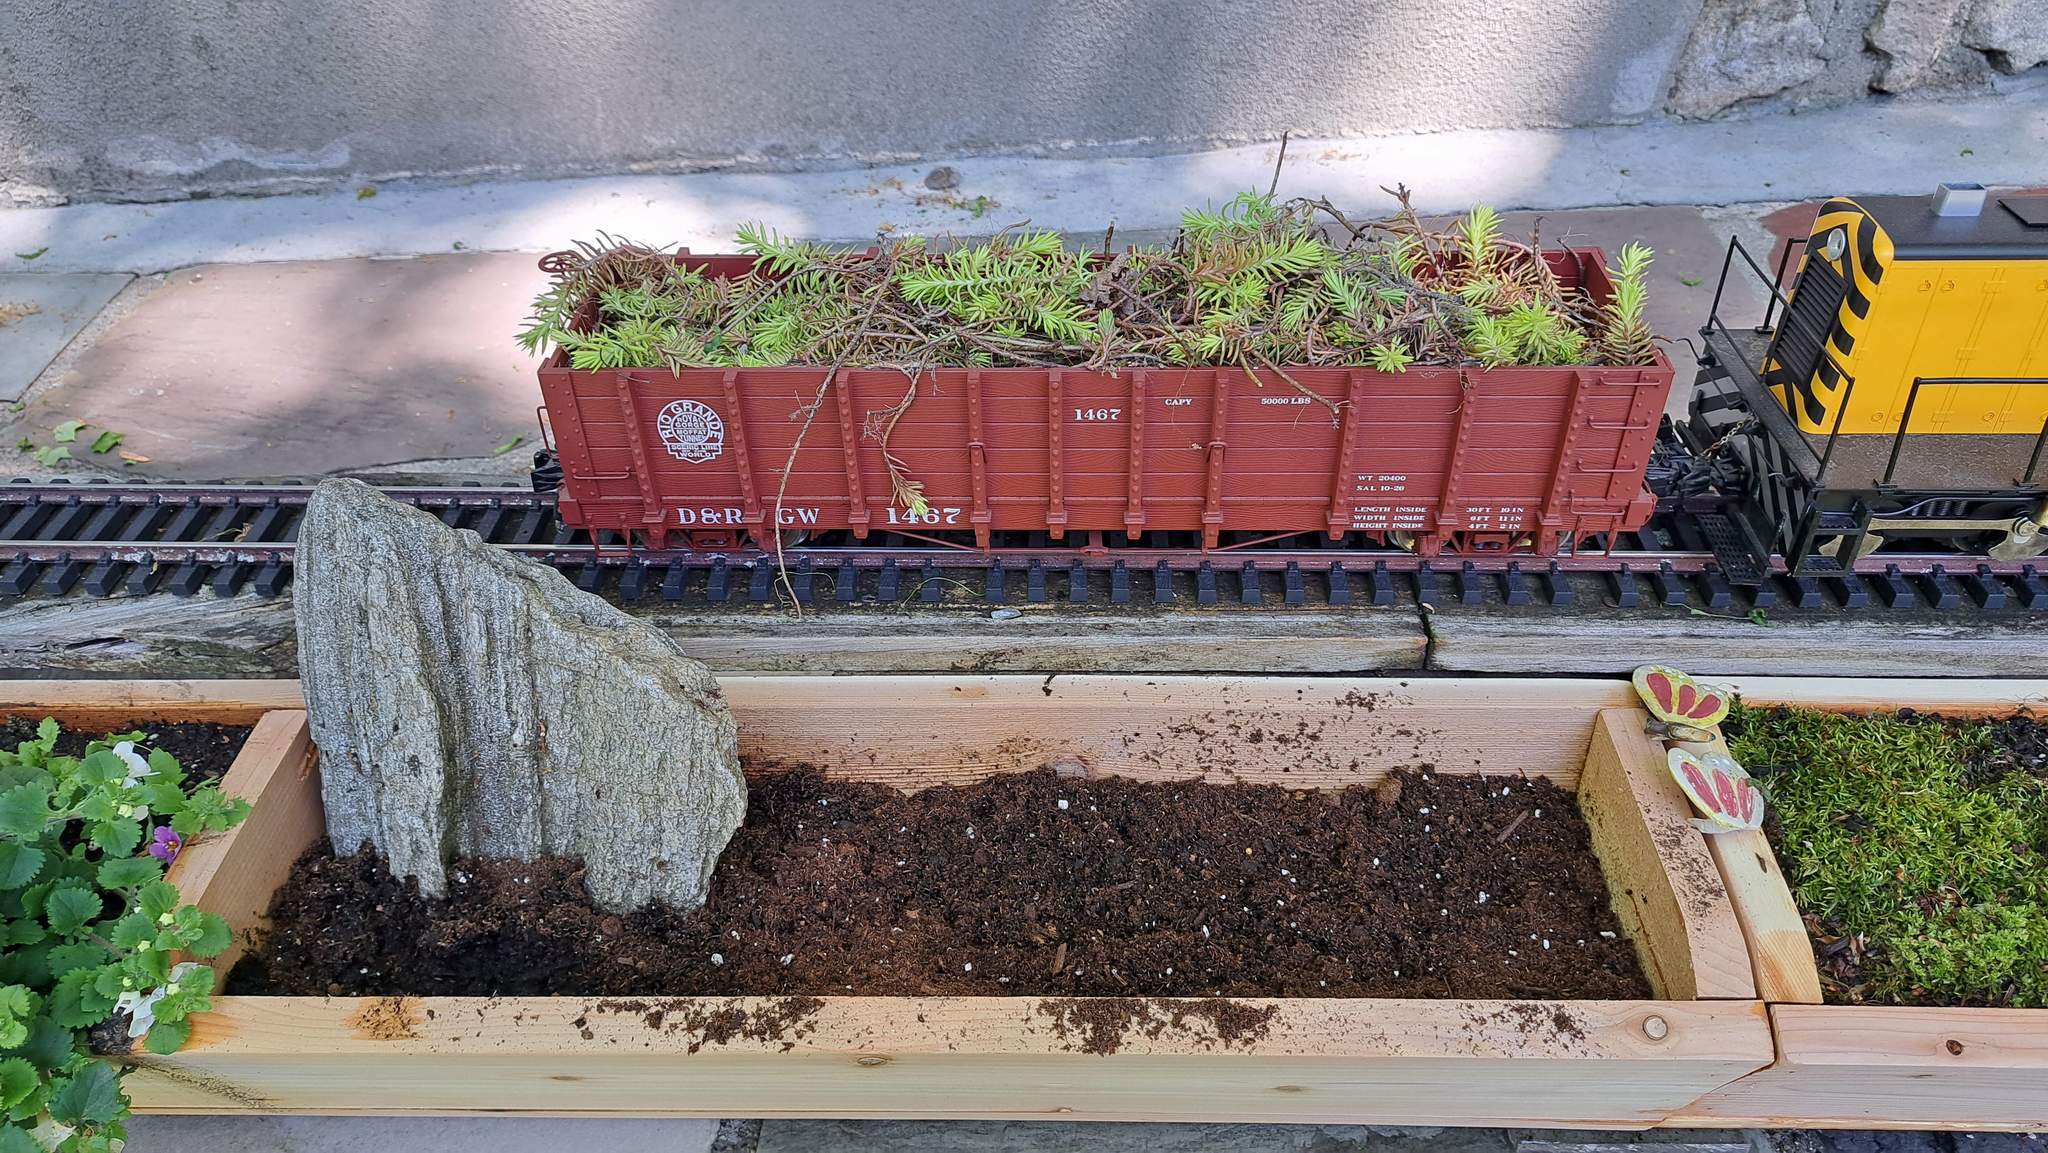
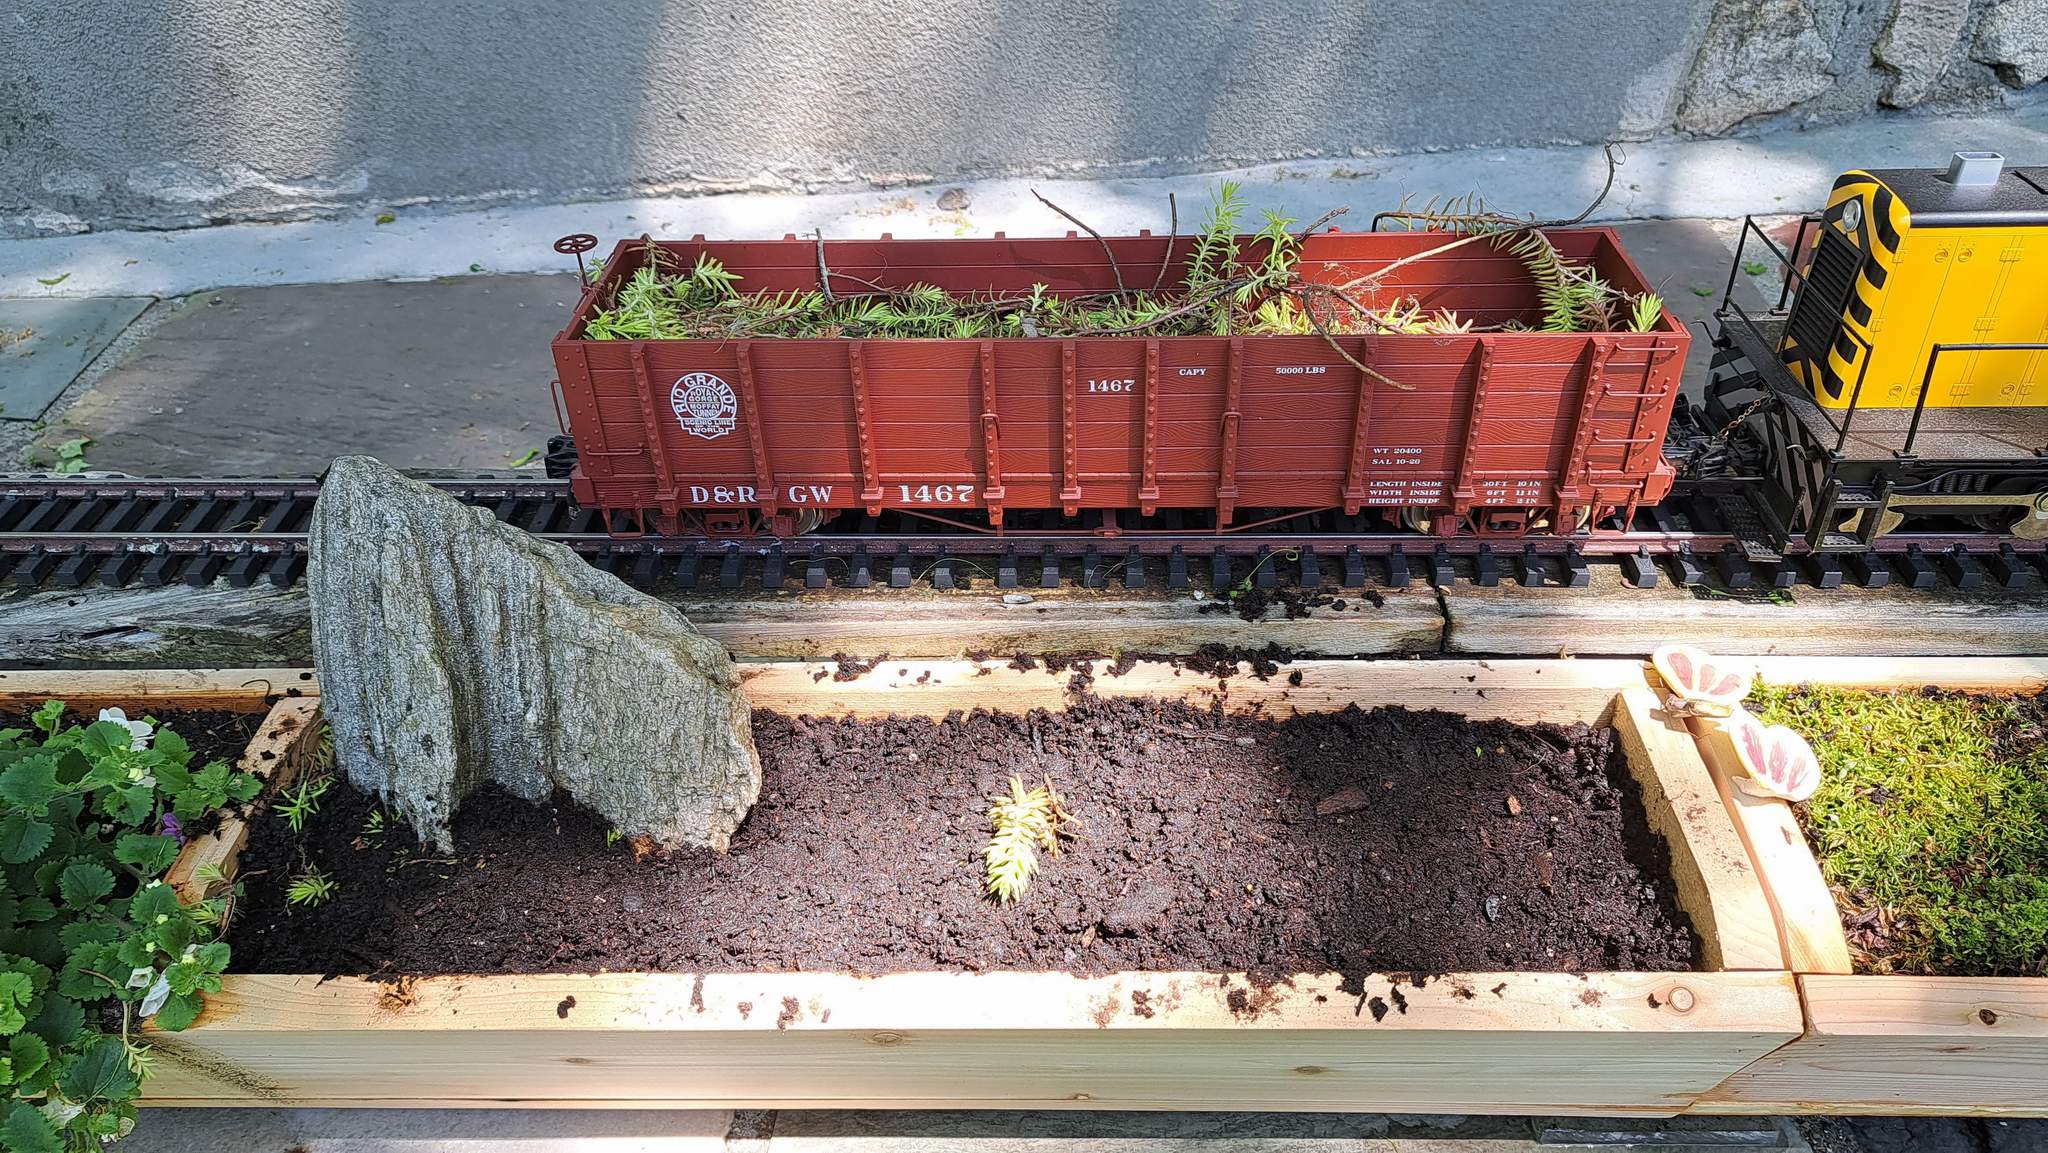
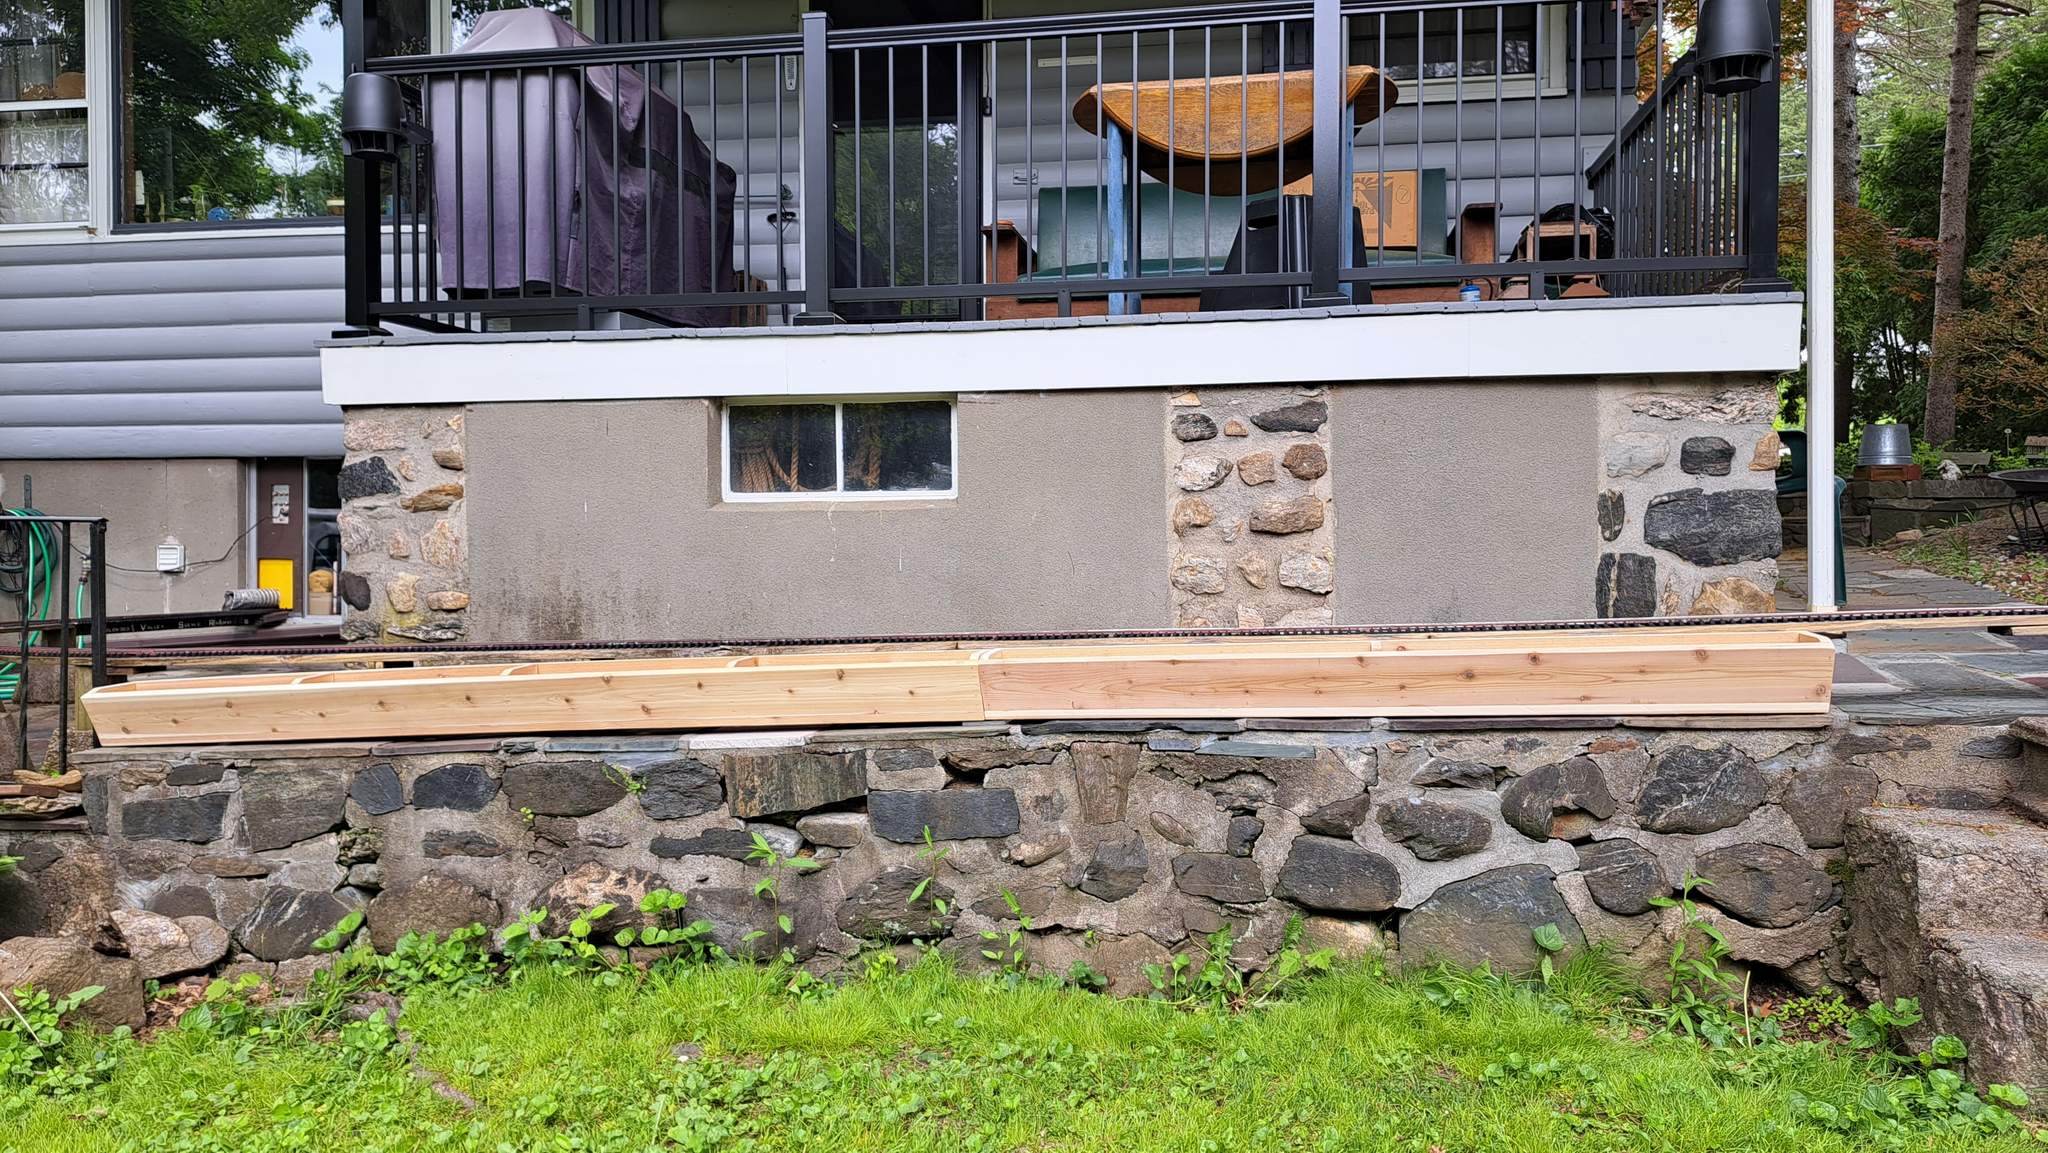
Last spring I brought home a bunch of plants from Ken’s railroad. They made the trip well and thrived in some temporary planters using plastic window boxes left over from Back Porch 1.0. Shown here with Back Porch 2.0 finished late last summer…

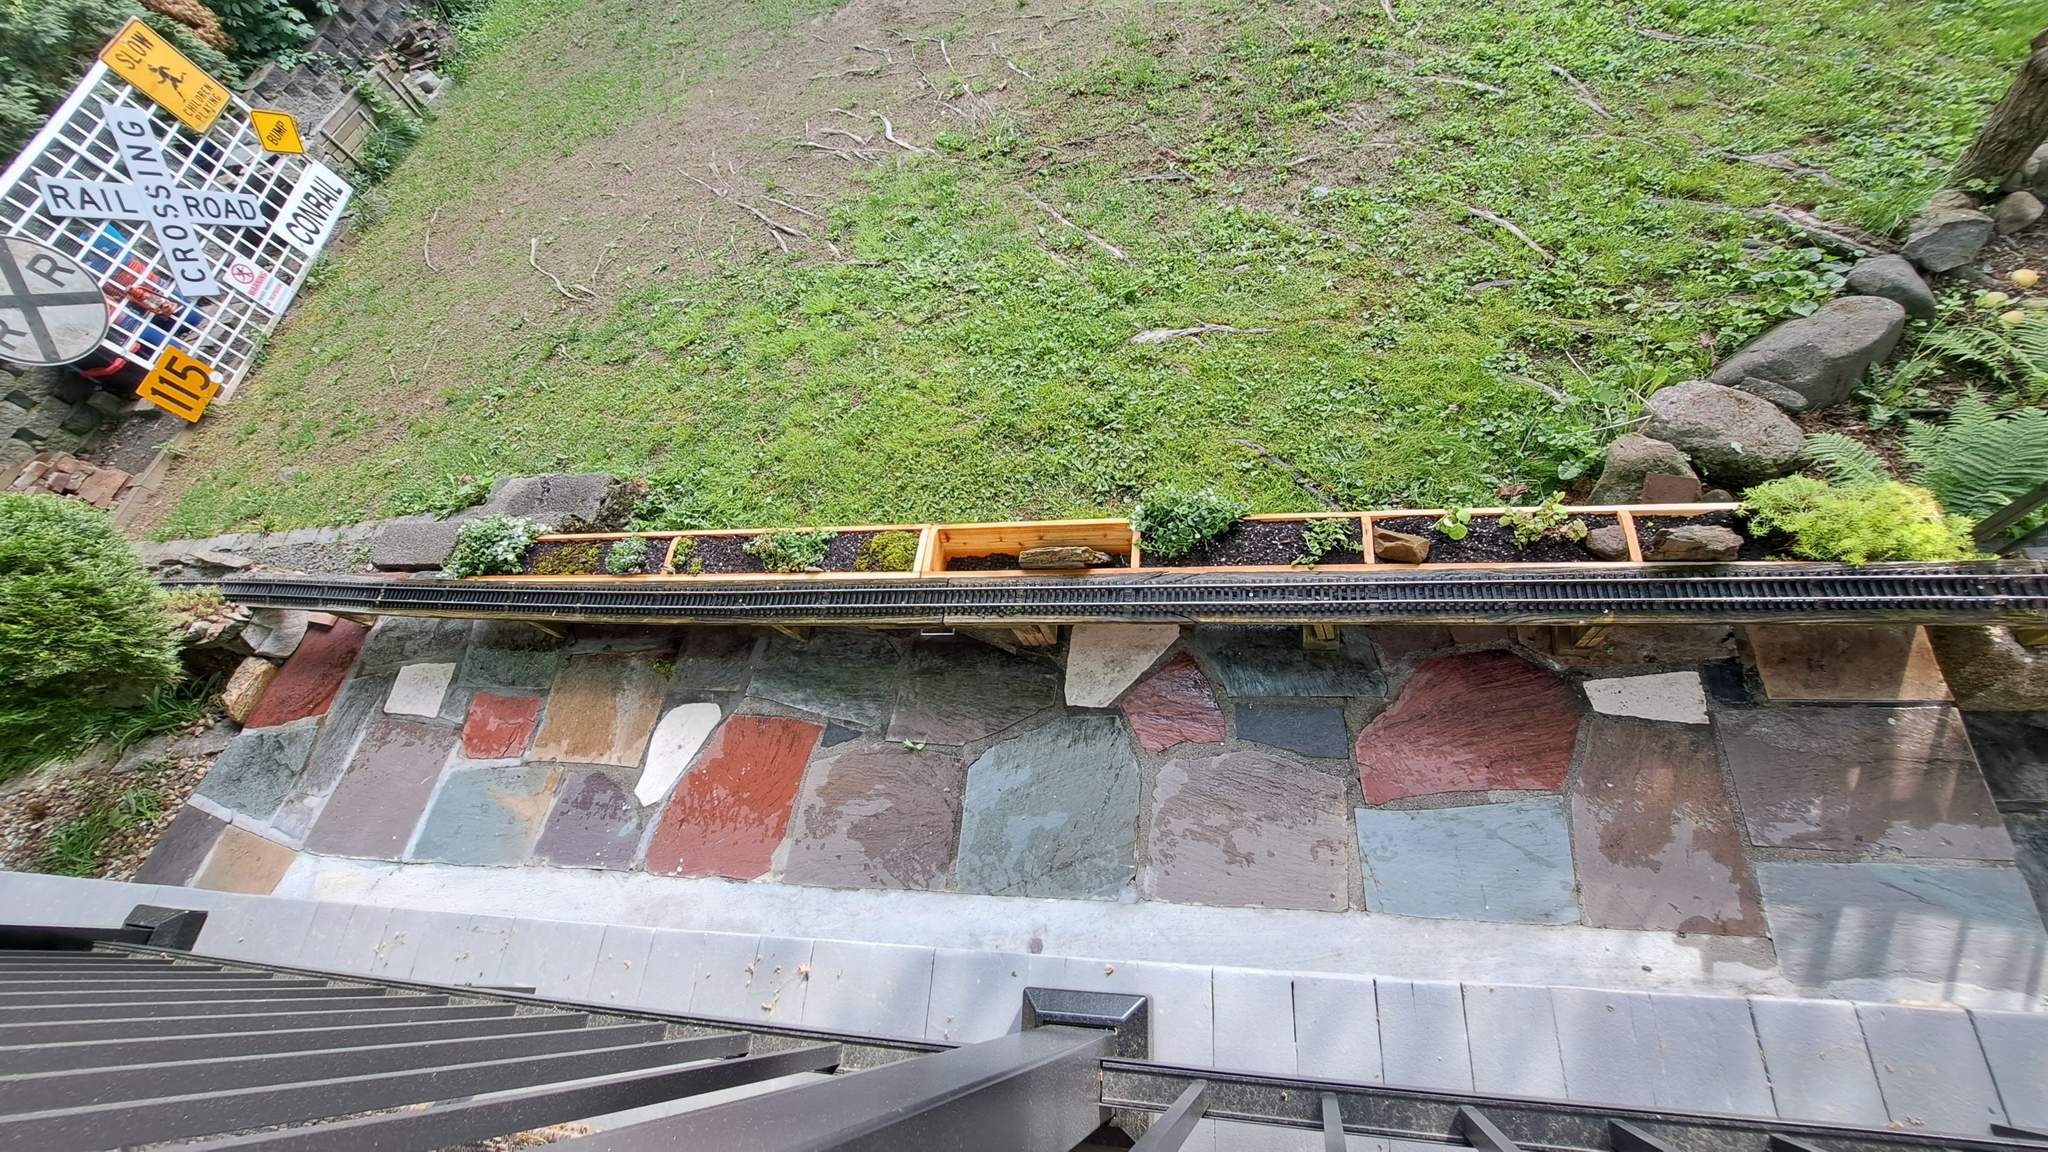
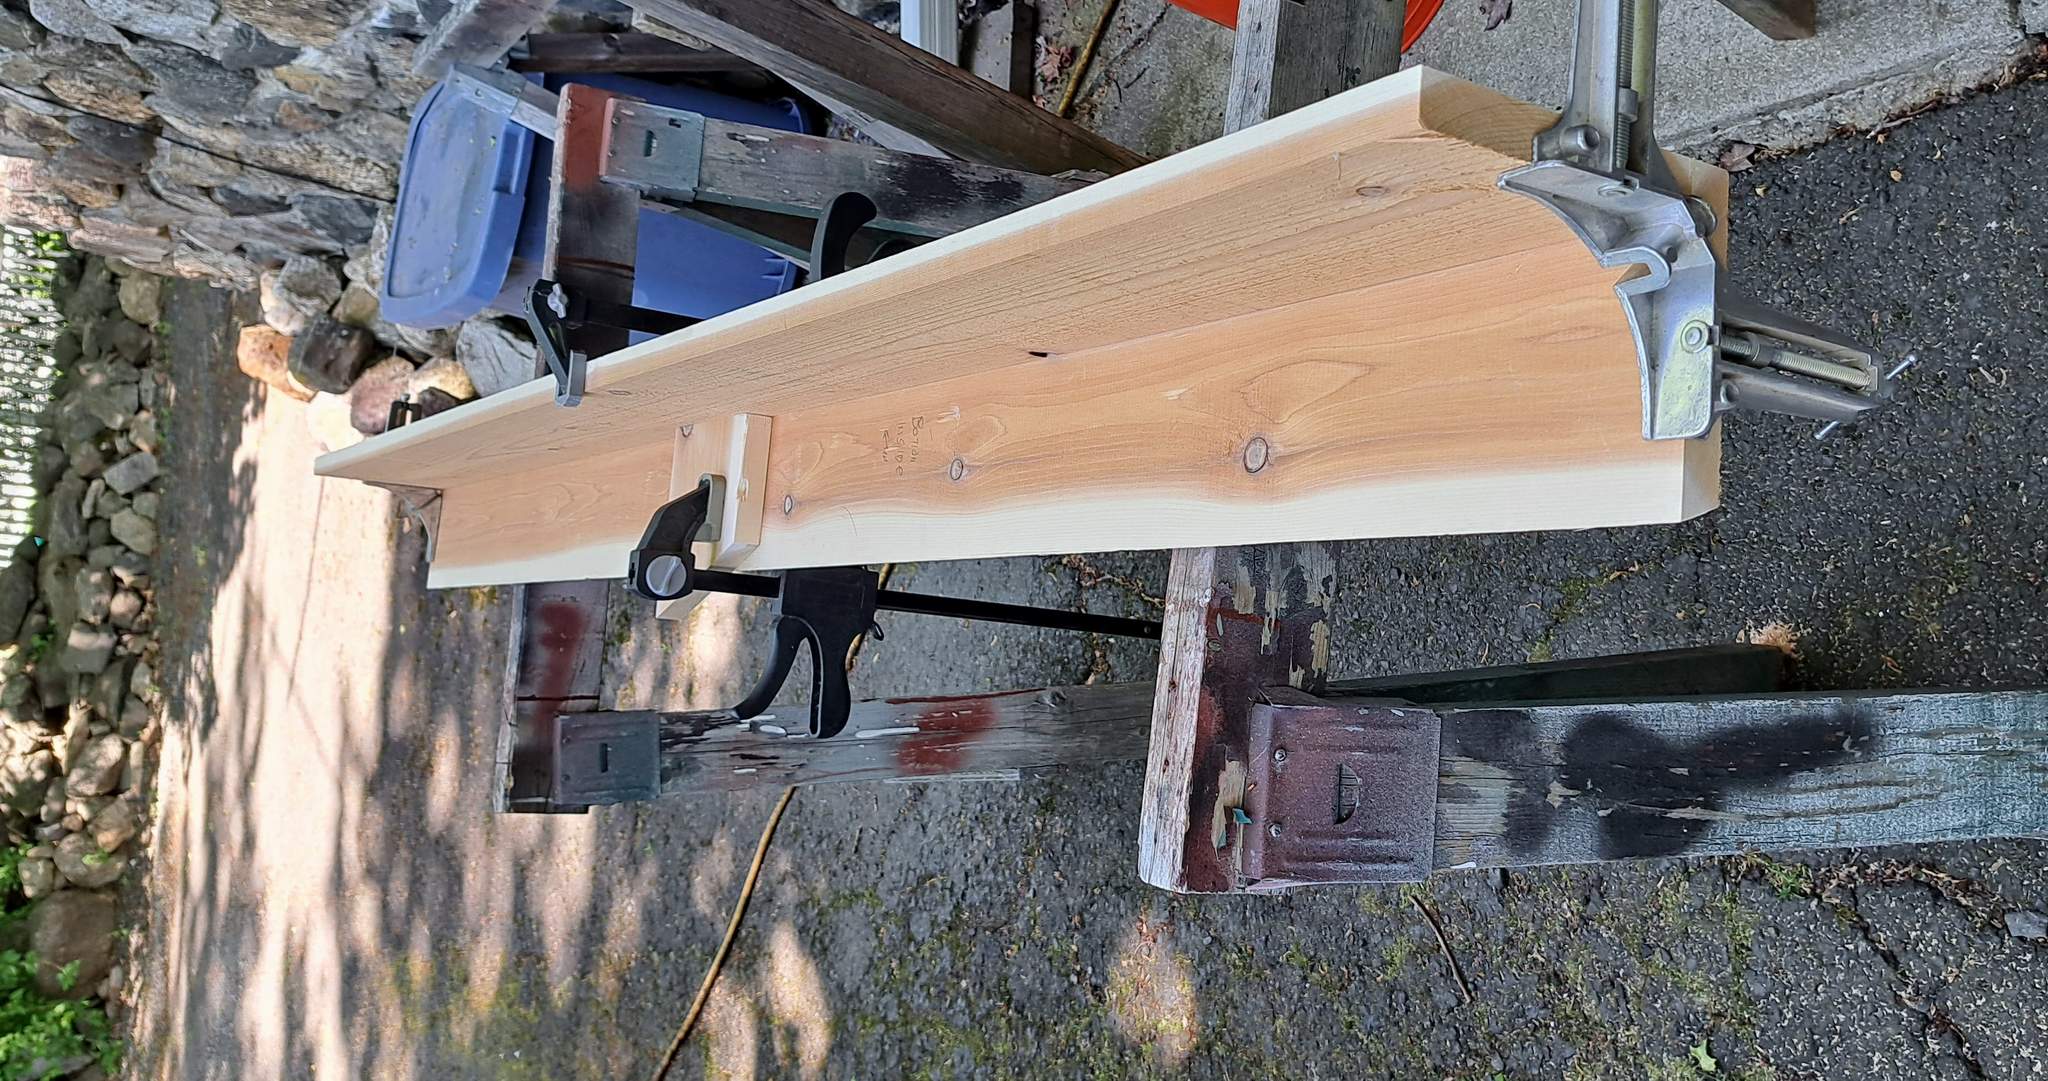
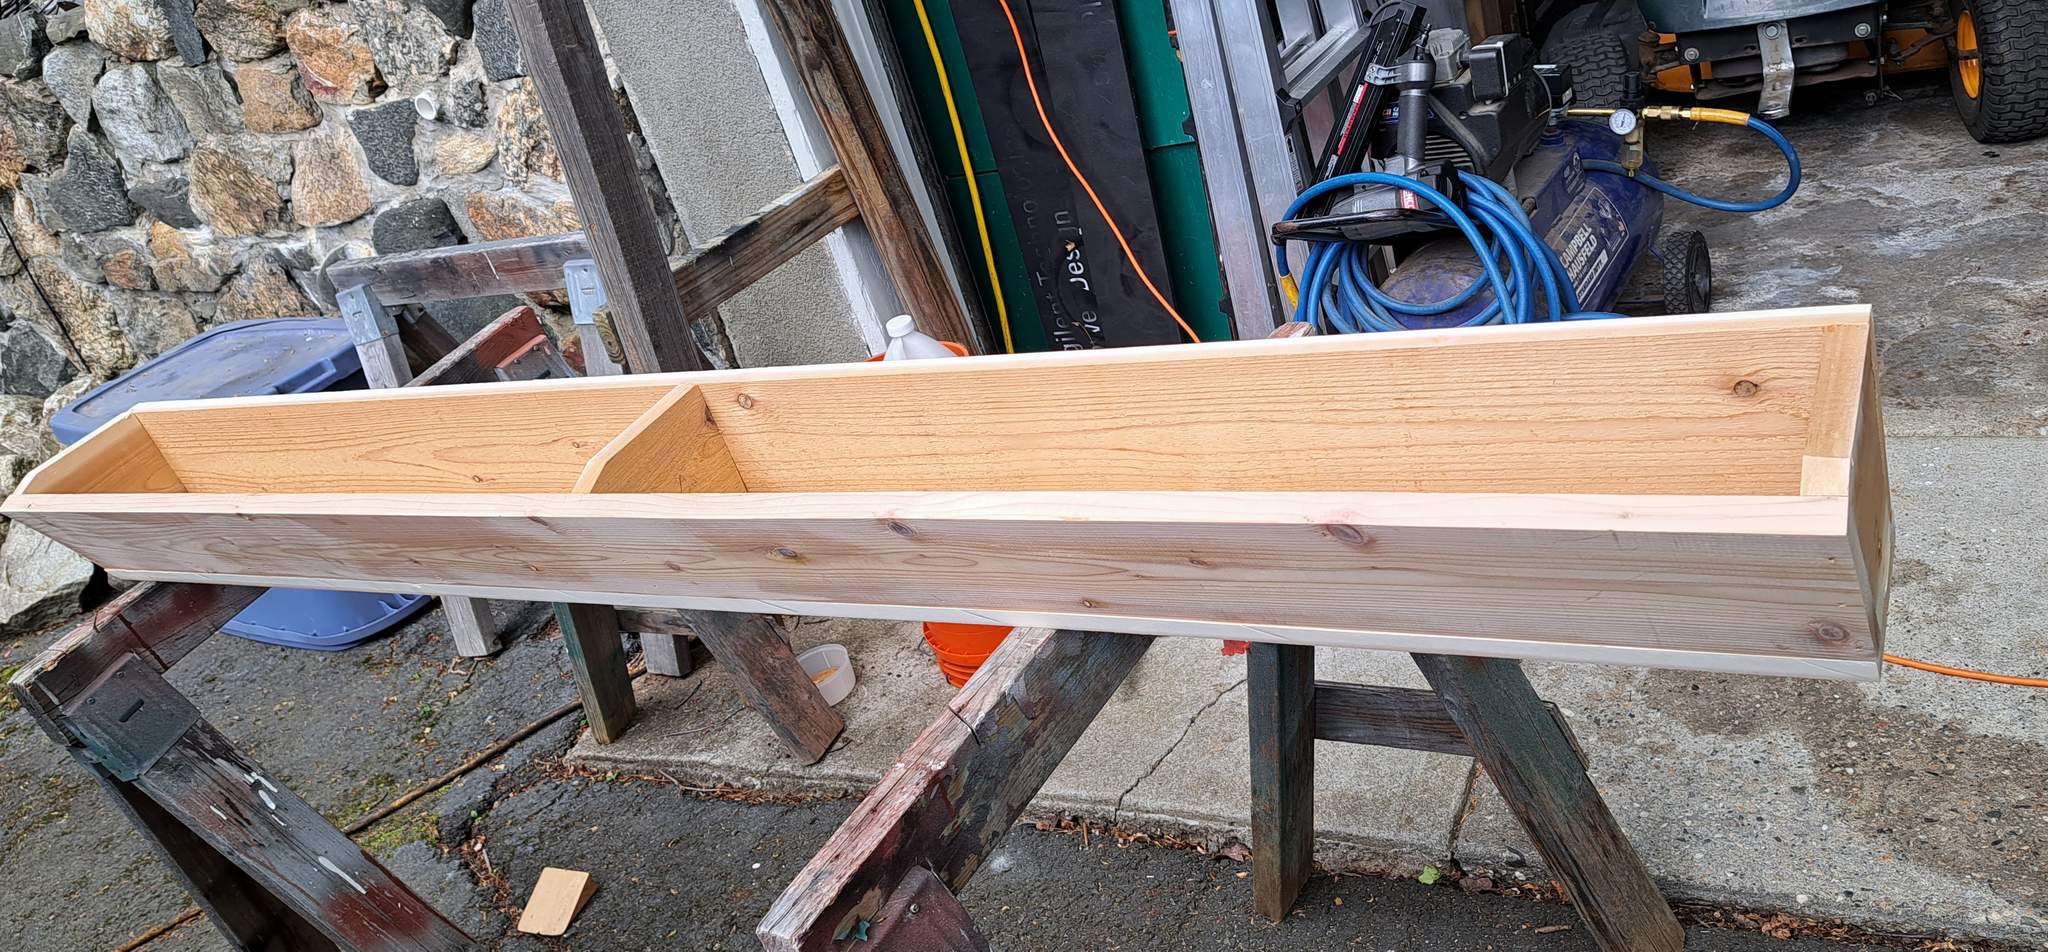
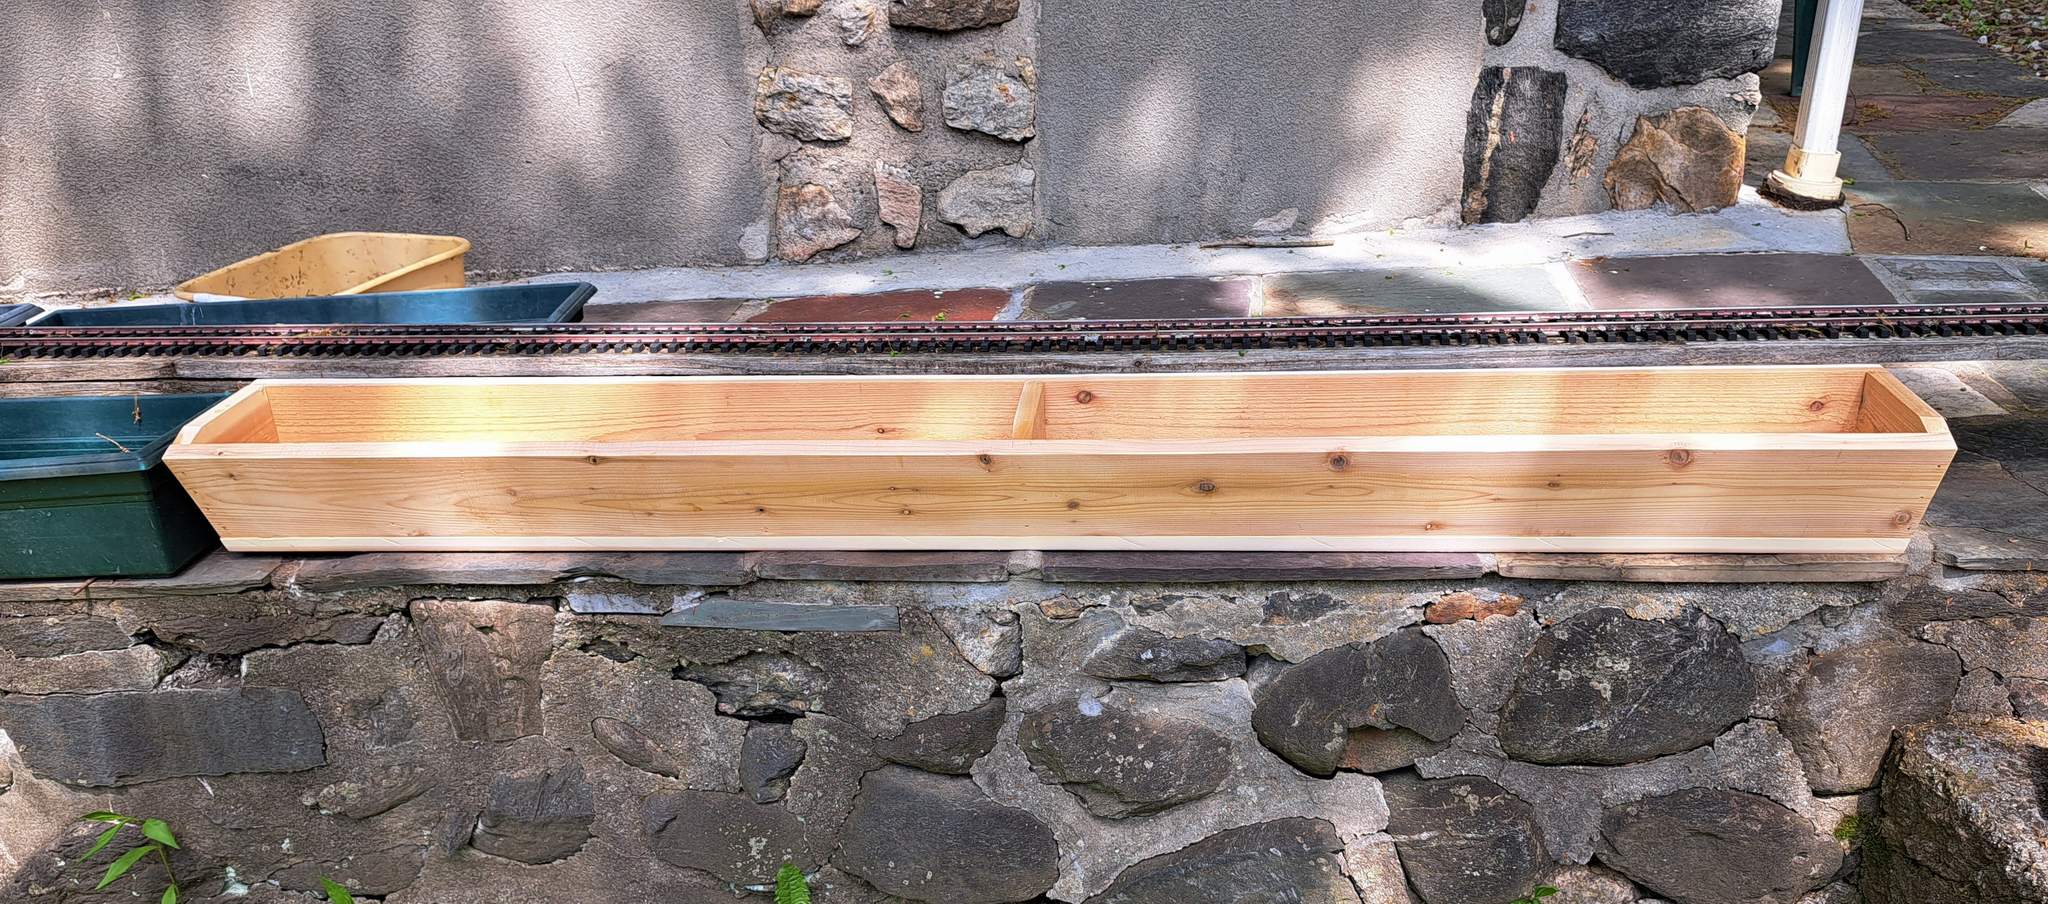
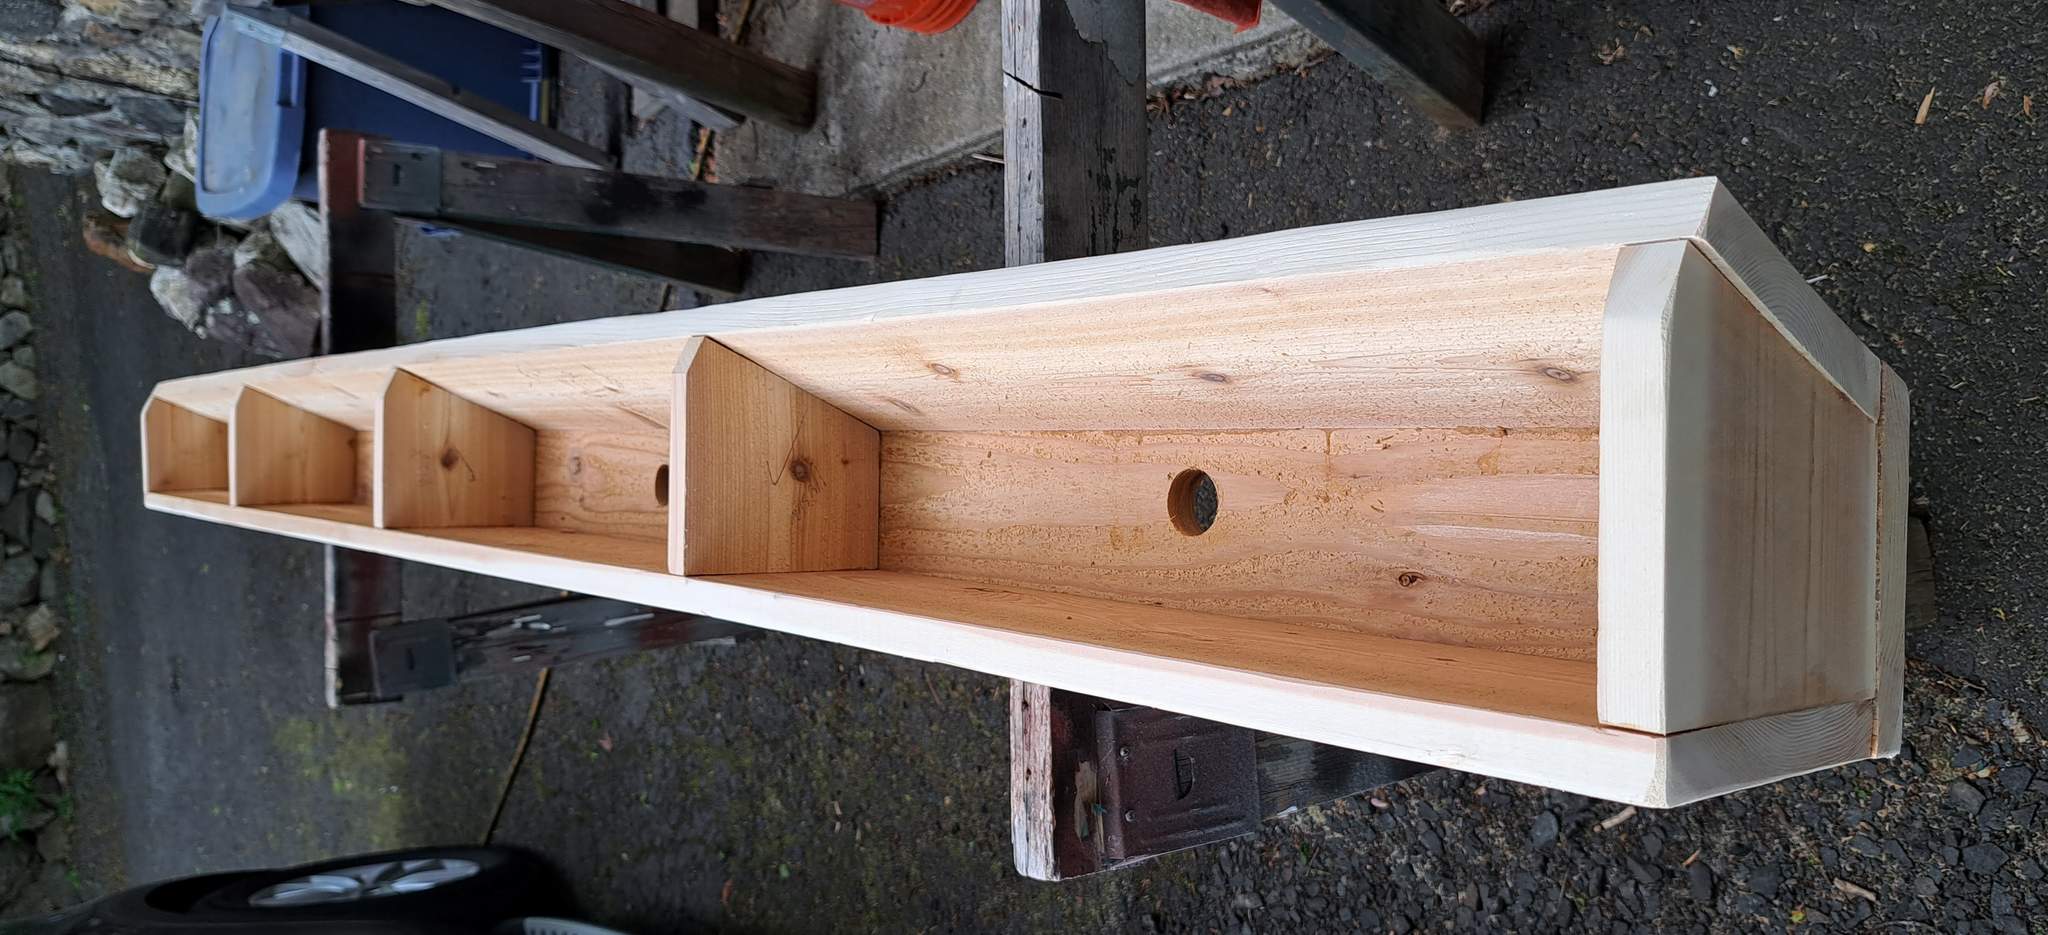
I brought them in for the winter, but sadly, the Sedum on the right hand box didn’t survive. Not sure how I killed it, but it’s history. The rest did make it and need to go back out soon. I don’t like the look of the plastic boxes, so I laid in a supply of Cedar boards to build a 15 foot long planter box to hide the PT roadbed on the viewing side.

I won’t bore you with my crappy CAD drawings, but will post progress pics when there is some.

2 Likes

Awesome that some things of his will LIVE on. Never met him, but we chatted on Facebook a couple of times.

I laid in the Cedar boards for this weeks ago, but other commitments, other projects bad weather and a bad knee have delayed my starting. Today I figured out the end shape and finalized a simple drawing and a bill of materials / cut list. My miter saw at home won’t handle the board size so I’ll cut the ends at work tomorrow. I’ve planned one 8 footer and one just shy of 6 foot with an end profile like this…

Your drawing is neither boring nor crappy, Jon. :smiley:

It’s great you’re doing that. I have a number of items that always remind me of Ken, I imagine you do as well, in addition to these plants.

No pics today. I cut the ends and center supports at work today. When I got home around 2 the weather was great and I was motivated to get something done. Getting my table saw dug out from under piles of stuff needing organization took over an hour, but there is less mess with it put back now :slight_smile:

I beveled the edges of 4 boards. Well really 5, because I screwed up and let it drift from the fence on one. Maybe I’ll see if I can make a small planter from the good parts.

As usual, my CAD drawings are never quite right. The ends will need to be adjusted a bit to fit, but it’s an easy straight cut.

Tomorrow I decide between assembling this, or installing our window AC units.

Good progress today, and pictures!

Assembling in the driveway using Titebond II and 2" brad nails. Started by attaching the back to the bottom…

After trimming the ends to fit, they were attached. Glad I saved those 22.5 degree wedges from a long ago project…

First of two sections done including repair of a few mistakes…

And temporarily placed out on the layout…

I got started on the second section before breaking for lunch. Hope to have these loaded with soil and plants before the weekend is up…

Marilyn asked if I was going to paint of seal with polyurethane. I was planning on letting them weather naturally, but I do love the look of Cedar. Opinions?

That’s looking fabulous Jon!

Don’t know what’s the best long term coating to preserve the look of the cedar, while not itself yellowing and flaking… perhaps a marine grade epoxy? Jerry B (naptowneng) does a lot of wood refinishing for his sailboat, might ask him.

The longevity of the wood might be helped by elevating it slightly above the masonry, like with acrylic shims or stainless bang-in feet or whatever. And maybe some overflow or drainage holes if you feel like it.

Beautiful work,
Cliff

Jon,
I assume that you will be filling these with soil for plants that need to be watered. Any kind of sealant or coating placed on the outside will fail because of the water penetration from the inside. The Cedar boards will weather gray on the outside eventually if left natural.

If I was doing it I would use an oil based stain either natural/clear or Cedar colored and hit them with it again every 2-3 years.

I’m sure you already know all this, but what the heck, it’s always nice talking at ya :smiley:

Thanks guys :smiley:

I managed to finish #2, which is longer at nearly 8 foot (#1 is 6 ft.), before dinner. I also power washed the slate that it will sit on. Tomorrow I’ll set them both out and fill with garden soil.

Here is #2 after finishing…

The plan is to cut some 6mm PVC strips about 1.5" wide for it to sit on. As you can see above, drainage holes were thought of. With the box sitting 1/4" above the slate, the slate will drain under it and the box itself can easily drain and not be sitting in water.

That’s kind of what I want. I have a Cedar post holding up my mailbox. It’s been out there for probably 10 years. It still has some color, especially after I power washed it prepping for paint.

For a Cedar bridge deck I built a long time back I used black oil based stain thinned with tongue oil. It still has good color, but does not get direct sunlight.

Plants tomorrow?

i would seal the inside, the wateroutlet-holes and the outside from below.
the outer sides i would oil (clean motoroil) or wax (clear floorwax)

just a quick look up from here. :sunglasses:

I have a Cedar planter I built as a window box maybe 20 years ago. I never did anything on the inside to protect the wood. We picked it up and moved it full of moist dirt last summer so we could paint the house. It was still solid. I think I may have put clear acrylic polyurethane on it when it was made. Once it weathered off, I just let it be. Marilyn wants to paint it this spring. We’ll see how well paint holds up. I give it two seasons tops.

For the new planter I’m doing noting inside or out. I’ll just let it weather naturally.

I found some plastic nail-in furniture glides in my junk box. Much faster than cutting PVC or Acrylic strips, and I won’t need to worry about them moving around…

Both are now in place, landscape fabric over the drain holes and a thin layer of gravel on the bottoms for weight and drainage. I did use one thick piece of acrylic at the transition between the two since the ends didn’t align well…

Went out for breakfast and did a little plant shopping on the way home since I don’t have nearly enough to fill all of this :smiley:

1 Like

Looks great!

And yeah, your bang-in plastic feet are just as good as my thought of bang-in stainless feet. :grin: Even better, you had a stockpile of the plastic on hand, go figure!

Looking at your overall shot, it looks like it was all designed to go together: white patio edge fascia, rock + concrete, cedar planters, more rock. All excellent.

If in the distant future you feel like the cedar needs sealing / painting, you could make it the same color as the patio edge and it would look great that way too.

Thanks Cliff. Well, I guess Porch (patio) 2.0 inspired dressing up this spot. It’s a far cry from what it looked like 1 year ago and this is after the porch fence had been removed…

All but one section planted and a few rocks added,. I leave it to Marilyn to come up with some whimsical items to hide in the plants. So far there is only the torso of the figure from Bruce’s mill planted legs up. Appears that some rodents enjoyed the head. Here’s where its at from the back yard…

And from above on the porch…

Too bad the back yard grass doesn’t look as good. The dog has just a bit to do with that. This is her ball stadium!

Need to mix up some more soil and buy a few more annuals.

Looking good Jon, I think you made the right choices for the wood.

I finished planting the last section today. A MOW train went out on the line and cut back the Sedum that grows like weeds encroaching on the right of way. Here the train has brought the cuttings to the planter…

It’s everywhere on my railroad plus it’s in a rock wall on my lot line. All of it propagated from a 6" pot given to me by a neighbor 20 years ago!

This stuff is so easy to grow. Just bury cuttings and keep moist. In a week or two it sprouts! Here I have prepped the bottom layers. About an inch of gravel followed by a couple of inches of garden soil and potting mix…

Then load in a generous helping of cuttings…

Finally, cover with a few more inches of the soil mix…

As you can see, I have plenty of cuttings left. I found a spot for them on the inside of Coal Dump curve, below track level.