No offense to Stan Cedarleaf, but I don’t like slider decals. And no offense to the guys up in Canada because they do a fantastic job on press-apply lettering, really top notch, but at $84 a sheet it’s a little expensive. And on top of it, everything has to be measured out perfectly in advance and if something ends up looking too big or small or whatever, you’re stuck with it. And it takes three or four weeks to get them, and you have to use the right adobe illustrator format.
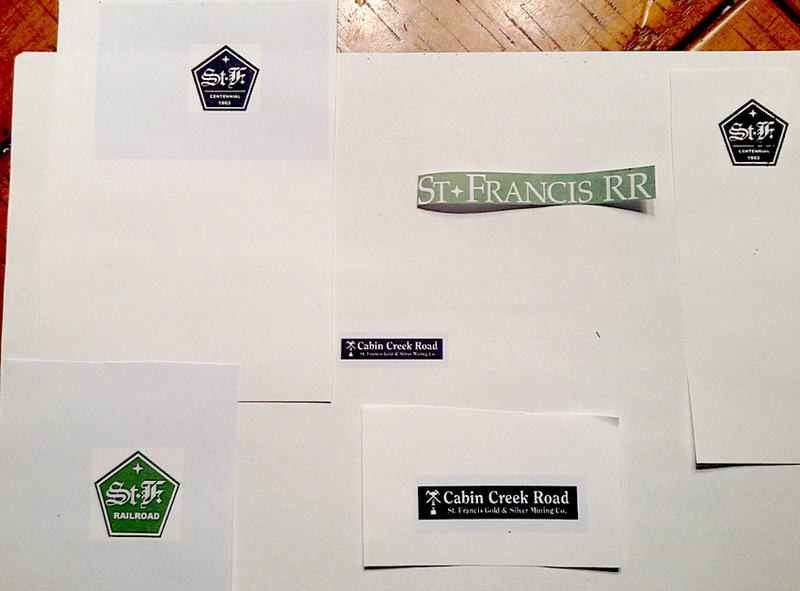
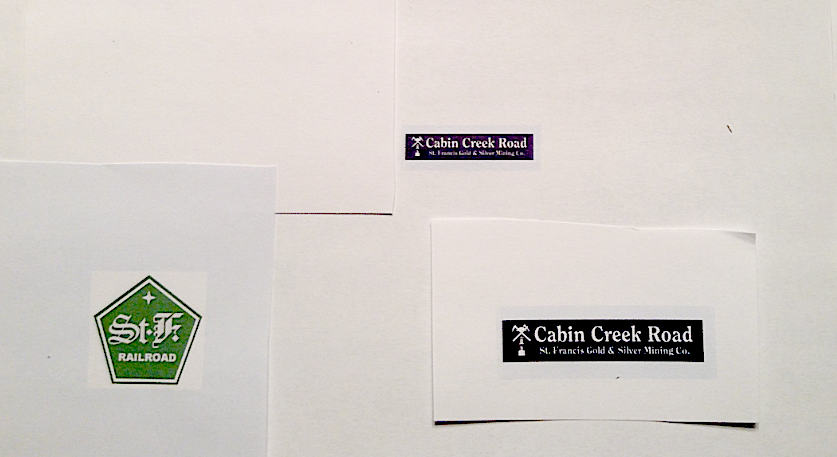
So I have been playing around with making my own decals, not really “decals” but I don’t know what else to call them, by printing them on my ink-jet printer. The trick is to get the background color to match the stock the decal will end up on, then all you see is the white. It’s easier with black of course, but matching colors isn’t all that tough. This way, it’s really cheap and if I don’t like the result I just adjust and print another, all in real time instead of guessing and waiting.
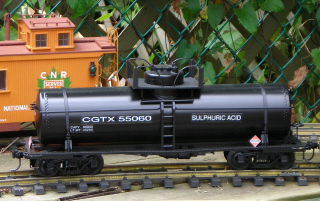
The pictures below represent my first take on it. I can tell right away that it makes more sense to mix up the color that’s going on the stock and to match the decal to the color FIRST, making the match BEFORE you do your painting and weathering. Then the weathering should bring everything together and the colors will appear to match perfectly. A better printer instead of the cheap piece of junk I use might help too.
The decals are applied with a generous backing and coating of white glue, pvc glue, and I think that should act basically as a medium and protect the ink from fading over time; it might not anyway really. A UV coat is possible if fading becomes and issue.
Like I said, this is my first effort, but I thought I’d put some pictures here and see what you all think and if you have any suggestions.


