My layout originally started out as code 332 brass track. Since then I have started using code 250 aluminum for projects and other parts of the layout. The biggest thing that kept me from doing more was the cost of the 332/250 conversion clamps. Last night at work I came up with an idea and I thought maybe a few of you would like to try it out. The process and tools are simple. I used 1/8" flat brass stock ($.99/foot) a kaydee 2-56 tap and drill set ($6.00) and (4) 2-56 screws two of which are Aristo track screws and the other two are scavenged from a B-mann circuit board tear out. The inside web lines up flush with my rail. (Micro engineering code 250) as well as flush with the 332 aluminum. I also checked it with aristo, AMS and LGB brass 332 and it lines up as well. Cut a piece of the 1/8 flat stock 1 1/4" long Drill and tap the brass. Place the rail pieces head side down so they line up and mark your holes using the brass piece you drilled (remember the brass goes to the inside). Drill the rail out with the clearence bit. The brass fits underneath the head flush against the web so the flanges will clear. I had to trim down the screws on the 332 side because they were to long. A dremel made quick work of this. Here’s what you get: Outside of the rail…
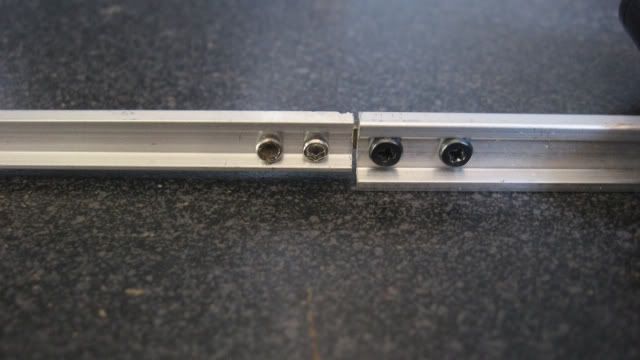
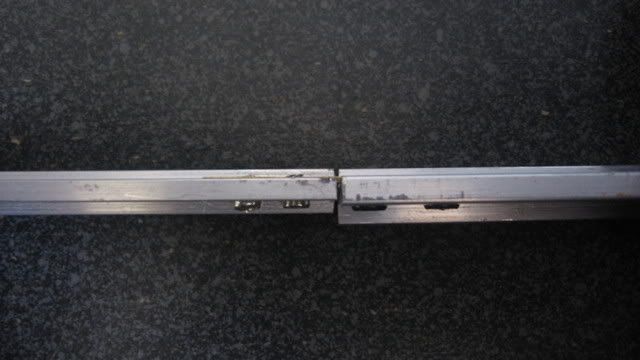
Top of the rail (don’t mind the scratches I used scrap rail)
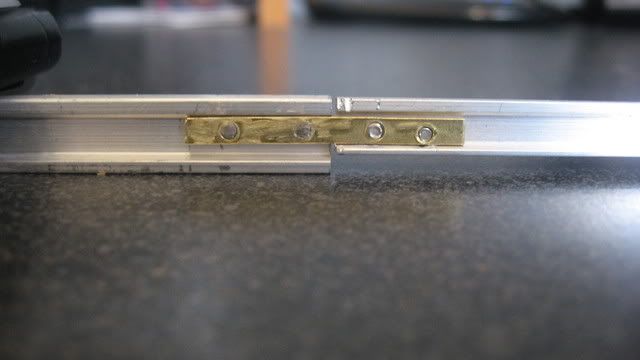
Backside of the rail…
Easy money saving stuff I thought I’d share. Take care, Terry