Large Scale Central

2021 Mik's Build Challenge Entrants Photos for Voting

PLEASE DO NOT POST COMMENTS ABOUT BUILDS IN THIS THREAD.


Post them in the individual build threads.


This thread is for pictures of the builds for voting.


Each participant needs to post his photos and comments of his finished or unfinished challenge build.

Please identify who you are, and what you built, and any other comment you would want to tell about your build. 


Please keep this thread clean of comments about the builds. 

And limit posting to the participants of Mik's build Challenge 2021.

Dave T. - 1915 Rubealattor on a Drop Center Schanabel Car.

Mik 2021 - Tin Cans, Thought that it would be an easy thing… Pondered and decided to build a Drop Center, Heavy Haul car. The year is 1915, and Mr Schnabel hasn’t yet invented his version of the car, But the back shop guys at the NMNRR Didn’t know that and went right ahead and built their wooden version anyway.

The Napkin:

And after spending 30 days and a grand total of $11.32… Here’s what I came up with:

1915 GE Model J-29P Rubealattor, For Heavy Hydro Use, transported on a 200 Ton Car.

Way Oversize Load, and Heavy… But the NMNRR said they could haul it from the end of standard Gage tracks to the new Hydro plant, and sure enough they are…

This being the first of 4 shipments, installation of the device has been subcontracted to Heath Robinson Engineering Inc.

The Original Rubealattor was a Heath Robinson original design. Construction and Fab by GE, under direct supervision of Professor T. Branestawm with technical assistance from R.G.

As the Extra train creeps along, the crew worries about crossing the High Bridge ahead…

And my most favorite shot along the way… Strength and Tuffness…

As for the cans:

2 - 2lb coffee cans

2 - 18.6 oz Campbells Soup cans

2 - Tuna cans

2 - Cat food cans

8 - Total,

To View the whole Build: http://www.largescalecentral.com/forums/topic/31217/dave-t-2021-mik-build

Thanks for looking…

When the topic was announced I was on the fence about joining this year, mainly because I couldn’t think of anything I could build with cans. finally a thought hit me and I came up with an idea that seemed simple, A Quonset Hut. Most of the buildings on my layout are named after family, so my dad (Navy) and my father in law (Marine) both gone now are the owners of this building.

the concept

the victim( base material).

extra points for using the MIK approved washer for beauty shots

Tin can I had on hand, $20.50 for the aluminum used to simulate joints on the can and for 3 feet of a trim board used for the brick/block used on the base and the chimney.

This was fun and although I disappointed some by painting it , dad and Smokey would never have let it stay that color and many expletives would have been thrown my way from them before they would take possession of it. here is the link to my build page.

https://www.largescalecentral.com/forums/topic/31231/pete-s-2021-challenge-build-log

thanks for the nice words and encouragement. It was fun this year, and as always I see things I wish were better done or different.

Vic Smiths 2021 Mik’s Challenge, Municipal water tower

Built from scraps of wood, a leftover 4x4, and from the pantry a can of Progresso soup, Stagg chili, and the porch furballs contributed a Fancy Feast cat food can.

Total investment $0

Napkin sketch:

Pics on layout:

Hey there EngineNo.98 here, or Ben if you wish.

This is my creation for this contest.

The Flat Creek Lumber & Mining Co.'s first tanker car.

This is a 1:20.3 Fn2 scale (32mm gauge in F) water tanker I built from a Bush’s baked beans can.

My BBBB: Bush’s Baked Bean Bash. Lol

Before:

After:

The trucks and couplers are 3D printed by a friend of mine.

Both have sprung parts, the trucks suspension and the coupler pin.

These are designed straight from existing 2ft stock. As 1:1 as you can get.

The coupler has the link and pin slot because I’m going to be mixing couplers.

This was intended and still is once I can get a working little valve to be a fully usable water tanker. There wasn’t exactly a real reason to have a water tanker but I just want to fill it with something that isn’t toxic LOL.

Its about 14.5’ long in 1:20.3, here you see it with my 11’ boxcar with the same couplers.

I dont have it pictured but I had to file away 2 sides of each of the coupler boxes to even make it go around the radius of track Lionel uses which is what I use as my testing curves

As long as anything I build can navigate that then it’ll be fine on my eventual fn2 Railroad, I dont plan on having anything tighter then the basic loop radius of older 3 rail.

Haven’t been able to letter it yet but thats because I dont have the name printed out in decals.

This is the first tanker of the FCL&M Co. So it’ll be lettered accordingly.

Definitely a favorite car of mine now, ESPECIALLY when I can get the details I need.

I spent basically the entire $30 allowed on parts for this car.

The can we already had, basically I bought the coupler boxes, springs and the plastic base material to build it.

I didnt go over the limit as far as I checked.

Happy I took part in this challenge. Good luck to all other entry’s!

It seems to me that no self-respecting logging/mining/wilderness/old-timey railroad is complete without a backwoods moonshine still and associated stuff. Since our theme this year is a can, it seemed like building the still out of the can would be cool. Here’s my build: [link]

The build started with a really lousy napkin sketch, as is required:

The still itself can’t be terribly big so I used the smallest tin can I had laying around:

The still was set into a little scene, complete with some good ol’ boys enjoying the fruits of their labor:

Here are a couple of other angles:

And a few shots showing how it has been placed in the garden:

My major purchase was some bronze paint (pricy at about $15/tiny bottle, but I only used about 1/3 of it). There were a few items that were 3D printed but that was on hand material. Postage was maybe another $1 (sent as part of another shipment of stuff). So I’m into this for maybe $6. Helps to have a bunch of random stuff sitting around I guess.

Though I didn’t think I had the time to do the Mik challenge this year, I managed to fit it in. It helped me see that I can continue doing this enjoyable hobby even though my time is short. And of course, the camaraderie of the participants is a great motivator.

Thanks Dave T for running a great and enjoyable event!

Once again you guys have proved that the creativity of this group is amazing. Thanks to Dave T for bringing us all together to stretch our minds and building skills.

I have been wanting to replace one of my original buildings from 2008 that had started to rot and this tin can challenge allowed me to jump on the project and create this monstrosity of a factory complex. I have many different billboard cars so this factory will produce everything from popcorn to beer to beans and rum. It will also need regular deliveries of lumber and fuel oil. Any excuse to run a train there and spot some cars.

The building has a footprint of 45"x48"x 27" high. It used approx. 40’ of 1x5x8 pine boards. I had most of what was needed for the build from glue to brad and pin nails and lots of paint choices. I did need to buy 2 more boards and the cake pans that were used to create the roll up doors so I am into this build for about $26.

The back side and far side in this photo didn’t receive as much detail since it will be up against a short wall and will only be visible by train. I did squeeze 2 more cans on the back.

Well done Gents and Happy RRing!

How about this idea for next year. We can all start off with a bottle?

What a fantastic assortment of builds this year, the imagination used to create some of these just boggles my mind and I tell you for sure my mind can’t take too much more boggling.

All I could come up with is a water tank, but I needed it for my new sawmill complex, so went ahead with the build. Everything I used was on hand so there was no expense involved for this build. I like the way it turned out and it will fit into my RR just fine.

See the build thread here if interested. https://www.largescalecentral.com/forums/topic/31232/rick-s-mik-21

The final pictures.

The obligatory napkin drawing, or in this case, shop towel drawing. Based on the popcorn can I used, I roughly worked out the gallons and weight of the tank in 1:20 scale to give me some idea of the timbering needed to support the load.

Some of the donor material, go back to the build thread to see why the can is painted black.

Here is the finished tank in it’s forever home, not much around it yet but there will be. This is the South Fork Mill yards and much work is yet to be done to complete the area. The idea of this tank is that the pump pulls water from a well and sends it to the tank so that it can gravity feed the needs of the mill complex.

A view of the tank showing it’s location at the wye that feeds into the mill yards.

Ken is having lunch on the tank top and watching the boats out in the bay.

The pump shack at the base of the tank trestle. The tank and the shed both have lights, 14 volt bulbs that will eventually be controlled by a transformer.

Looking back at the tank from the “bay”, this shows the shoring and brow log at the log dump that will feed logs into the log pond and then into the mill.

A close up view of the pump shack interior. Everything is scratched except the tool box, wrenches, and the motor out of an old VCR.

Well that’s it, sure was a fun time following along with everybody’s builds, Thanks to all for the entertainment during these times.

Rick

Ok well I am a DNF which is disappointing . But I am a winner for just having the privilege of participating. Great job to all on some very impressive builds.

So Ben peer pressured me into going down the Fn2 rabbit hole. So this build is a Fn2 compressed air locomotive. It will run on RC / battery. On an eventual 32mm gauge track which will be an addition to my existing 45mm gauge track. It will be a privately owned mining line that hauls oar from the mine to a dump that fills hoppers on the CR&N. This is where I got.

When I get home I have 10 days of recovery and will use it to finish.

My 2021 offering got off to a slow start, and I had not really got a detailed plan just a sketch…

… and some empty cans.

Joe, on the other hand had some ideas…sometimes it is good to have a brain of clay!

however, Ol’ Joe didn’t get to ride in his car much, some big stars took it over as their own.

SO…

Joe slid his ice fishing house off the river and put it on a brandy new tin chassis… so now there are two matched chariots for the guys to ride.

Please note the precision of the construction vs the initial sketch!

Joe and some of his new found, and famous friends enjoy a ride behind the little tank engine…

materials used:

1 large size olive oil can

1 small chainsaw fuel can

1 pineapple chunks can

assorted bits of brass rod and plate

1 package of Bachman large scale wheels.

bits of aluminum plate

a pinch of scale nuts and bolts

two characters worth of sculpy and super sculpy

1 ice fishing shanty (7/8" scale) made from cedar

some aluminum duct tape

1050 curse words uttered by one Ol’ Joe as other’s took over his first creation.

1 sigh of satisfaction as he got to ride in his shanty behind the little locomotive.

I think that I was able to capture the essence of the napkin drawing and embelish on it nicely to fit our railroad. Total outlay for the project was $4.30 including tax for a tube of CA.

Some final pictures and a description of how some/why some things were done.

The tile was a left over cut piece that was actually earmarked for a bank base replacement that was unnecessary. It had beem up in the loft for years and was just about the right size to contain the vingette. I wanted to use something that was thin so it could sit on the ground near flush, and I didn’t think a sheet of acrylic (also a consideration) would have the strengh without arcing over during transport messing stuff up.

Spray adhesive was used to cover the tile and playground sand, used in my Chameleon Caverns Hot Tub area, was hand sifted onto it. Once dry, a second coating of sand was added to ensure that all spots would be covered, and to add some dimensionality (bumps). A piece of granite-bearing roofing paper was cut as an approach and also received the adhesive/sand treatment.

The people, outhouse platforms, and parking curb were stuck down using Marine Goop as was the cable that feeds the slow motion motor which was stuck along the back of the tile. The parking curb is a piece of rectangular Plastruct that has had its top edges rounded out with sand paper. The sand/adhesive was first scratched off of the area before this was applied. The electrical wire for the light in the outhouse travels down this piece of plastic so I did not have to drill the tile.

The Goop reacts a bit with the spray adhesive softening it up and leaving some voids and shiny spots in the dirt, especially around the feet. After it had thouroughly dried, I mixed some Titebond III and a bit of water and used an artist’s brush to apply the mixture to these areas avoiding the shoes/parking curb. I sprinked more sand onto the glue and all of the shine (and wire along the back of the tile) disappeared.

The outhouse rooves are Plastic sheeting cut to size and painted using ceramic-bearing Header Paint, as were the cans. The rooves received an alcohol/ink mixture to make the look dirty. The rooves are held in place using short pieces of Plastruct I-beam with a bit of the web filed out. They then adhere to the cans in the same way that original clothes pins worked. This makes them easily removable to work on the interiors as necessary. Note that they are vented, as all outhouses are/should be, by lifting that portion of the roof over the door.

The piece of brass “L” catches the guy if he should happen to be falling off. But he works best a bit before this and holds his ground just fine.

A bit of action. Mr. Speedy is trying to get out of the way before the door opens on him and he gets knocked over. But it always stops just short of hitting him. The dog poop is a piece of solder that was curled then heated with a torch to get just the right look.

The “dump hose” actually works out to be about 3-1/2" diameter in scale so is not far off. The fittings are brass/copper/aluminum bits. This is actually the electrial wire for the slow motion motor.

The extension of the doorway and dump sign will hide the rotating mechanism from view when in place on the railroad.

A sign placed along the other side of the outhouse hides this side of the rotating mechanism from view. The wire that connects the rotating mechanism to the outhouse and pulls it over is actually a single strand of electral wire “teased” out of a bundle of 24-gauge. It is about 1/2 the diameter of the 10# monofilament I was using and is like working with a hair. I had to color the end loops red just to be able to see it. I also did this inside the outhouse, but the abrasion where it turns against the cotter pin quicky wore through and it snapped in short order. Maybe I’ll find some lighter monofilament for this later in time.

Pull your tongues back in your mouths…, she’s taken.

The monofilament is attached toward the bottom of the “far side” and as the side lifts, its point of attachment comes closer to the cotter pin creating slack in the line. When the outhouse tips far enough, the door “flys open” pulling out the slack. The points of attachment and placement of the girl took several trial and errors to get everything just so without rubbing. The “hooks” that hold the wire and monofilament to the door/walls are actually short lengths of 12 gauge solid wire that are curled back and forth a couple time and placed in a vice with one end between the jaws (don’t squeeze tight). The “bottoms” that stick up above the jaws are then hammered flat and become the point of attachment to the surface while keeping the hook from lying over when you CA them in place.

The lantern is an Ozark Miniature piece with an GOW bulb placed where the bead would sit. The wire runs straight back then down the back of the cotter pin so is unnoticable. The hook that holds the lantern is the same wire that I used for the wall hooks. This hook had to be glued to the very back of the bent over cotter pin and the gaps filled with CA to keep from snagging the monofilament as it passes through.

The “toilet paper” is a piece of white round Plastruct wrapped with a piece of paper that had been sliced to scale using a paper slicer. The “IN USE” sign provides a bit more animation as it swings about (always a good thing). The stands for the two signs are left over bases from the palm trees used on “The California Experience” in Mik’s #15 Build Challenge that were cut to size. Both door pulls are left over sprues from the Kadee coupler shims.

This shows how the door mechanism is attached within.

Finally, this is how it all plays out. If you copy the link into your browser, you can see it in full screen so that you can see the detail.

This is always the nerve-racking part, putting the final pictures out there!

I used two coffee cans cut into quarters and two Alaskan salmon round tins. I spent about $3.00 on hinges and about $13-$14 at the dollar store.

I’m pleased with the painting I did on this build, especially the steel-sided boxcars considering what I started with (RC Cola! and Pennsy). I dove in and learned how to cut tin and how to solder metal. Well worth the participation. I learned from the other builders; in fact, I’ve bookmaked a few pages and saved quite a few pictures.

The talent around here is amazing, true, any visitor need only look around of course, but the fellowship is important, at least to me. As I said somewhere in my build thread, I wouldn’t have started this without the great Dave Taylor keeping the tradition alive, and I wouldn’t have finished without support along the way. And, of course, deadlines are my Friend!

Thanks to everyone for another great year.

Speaking of build threads, here’s mine:

http://largescalecentral.com/forums/topic/31210/2021-challenge-caboose-repair-facility?page=1

As usual, I humiliated myself in this challenge. Being unusually busy at work and in ‘life’ didn’t help matters any.

Intent was for a small background refinery to fill a hard to reach corner of the layout.

First, the plan…which failed to survive contact with reality…

Which morphed into this:

As stated elsewhere, this is a background piece, a good four feet and some from the edge of the table. Reaching the corner to do much of anything was a pain. Given the time, I’d intended to do more - a better service balcony for the distillation tower, and smaller pipes from the tower to the processing building. As it is…well, its better than looking at the plaster.

Almost everything used in this project was scraps from other projects or out and out trash - like the cereal boxes I mutilated to make the deck for the base. The distillation tower has two cat food cans, one soup can, and a can that held ‘Sea Foam’ an automotive wonder additive. Went to cover the soup can with tinfoil, but that flopped, so it got wrapped in painted cardboard from another cereal box. The Sea Foam can did paint up nicely, as did the gas vent to the main building (damaged copper fittings). The 'main building is a 2x6 and a 4x4 covered with soda can siding that had been laying around for ages, It ran out on the back side - but unless you’re a contortionist, you’re not going to see it. I finished with a piece of plastic ‘corrugated siding’ and plopped the tower on a 1x6 covered with bits of Lemax ‘brick mold.’ (Don’t really care for that stuff because of the way it curls). The background shop is what’s left of a Colorado Model Structures kit combined with odd scraps of wood, cardboard, and tinfoil. Figures and detail items…well…they’d been laying around for a long time.

Only thing bought for the project was a can of silver spray paint that set me back four dollars and change.

Deleted at Dave T’s request.

Michael Kirrene said:

Hey Todd, I can see everybody’s pictures but yours. The video’s cool, but I’d like to see all the details too!

As Tommy Chong of Cheech & Chong fame once said to substitute teacher Sister Mary Elephant, "I gotta go to the can, man!

OK, I noted that this could be a problem with security between web sites. I can see my pics from the JBL site here, but I can’t see them on another site using Chrome. Firefox and Internt Explorer show them fine.

See the link:

http://www.largescalecentral.com/forums/topic/31204/2021-mik-build-challenge/view/post_id/415701

If you can see an icon where the image should be, right click on it and select “Open in a separate tab” or “Copy image address” and copy it into your browser for display. Like I said, some sites no longer play nice together because of security features.

“Class dismissed!”

Deleted at Dave T’s request.

Aloha!

Clan Mueller, with the help of the boys’ 1:24 scale friends, is pleased to present ka Hale Ipukukui o Haluku’ilio (the Lighthouse of Dogwallow). Unfortunately, the new navigation feature drew some scallywags to the port, requiring the strong response of the 1st Haluku’ilio Volunteers to deter a landing:

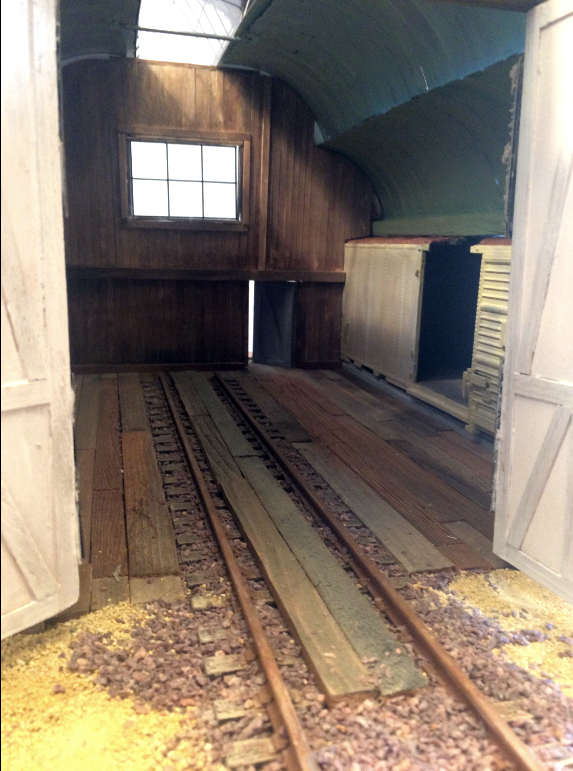
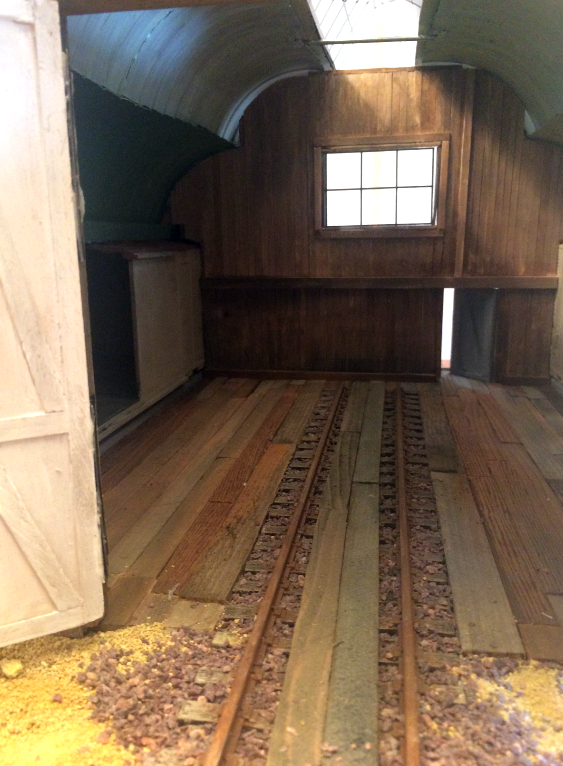
The far side of the photo may give a less dramatic but more informative picture of the final product:

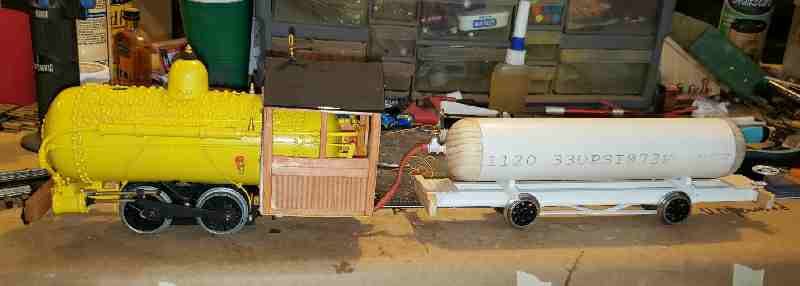
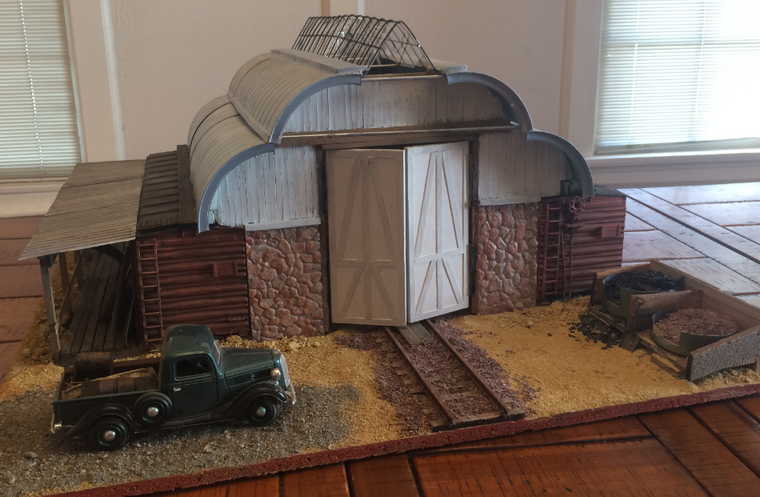
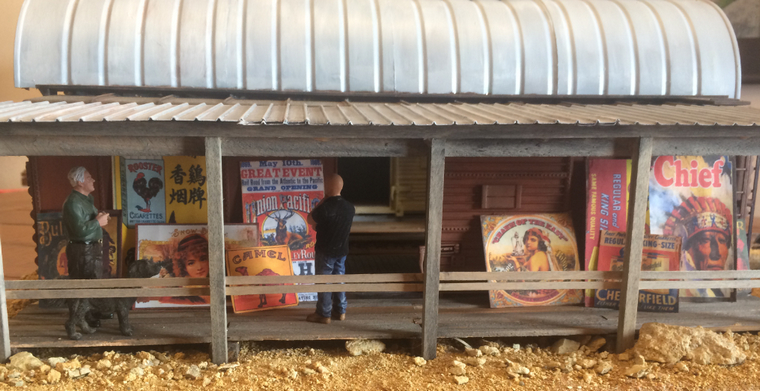
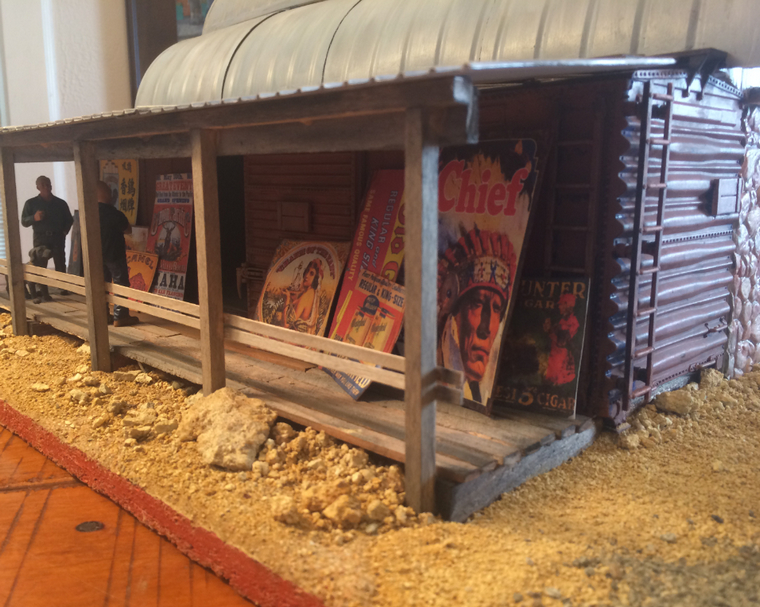
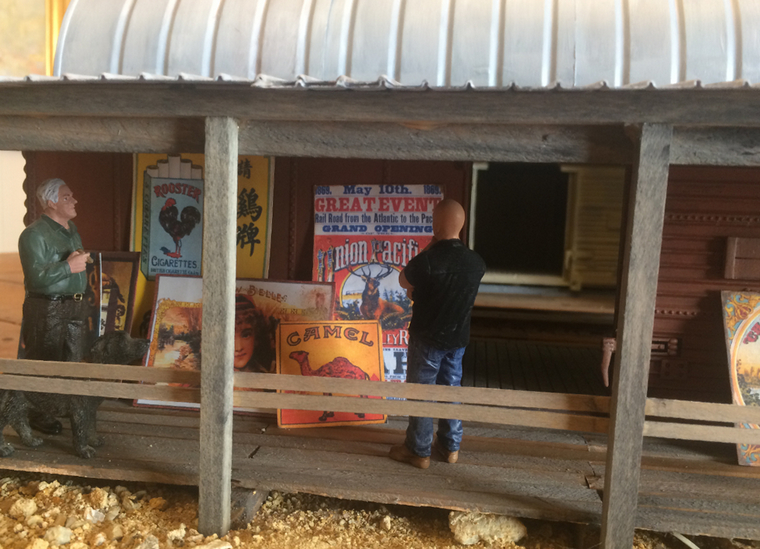
Diesel Dan, who will be bound for the shops shortly for an overhaul himself, services a work train. Being lunch time, the crew has bugged out to Mama’s Bakery No Ka Oi where Haluku’ilio Police Department (HPD) members are arriving for lunch as well:

That has exactly nothing to do with this year’s build, but I thought the boys did a good job staging the shot, and it does help tie this year’s build to a previous Mik challenge!

The lighthouse looms nicely over the town. It gives a nice vertical element that should help add to the illusion that trains go somewhere:

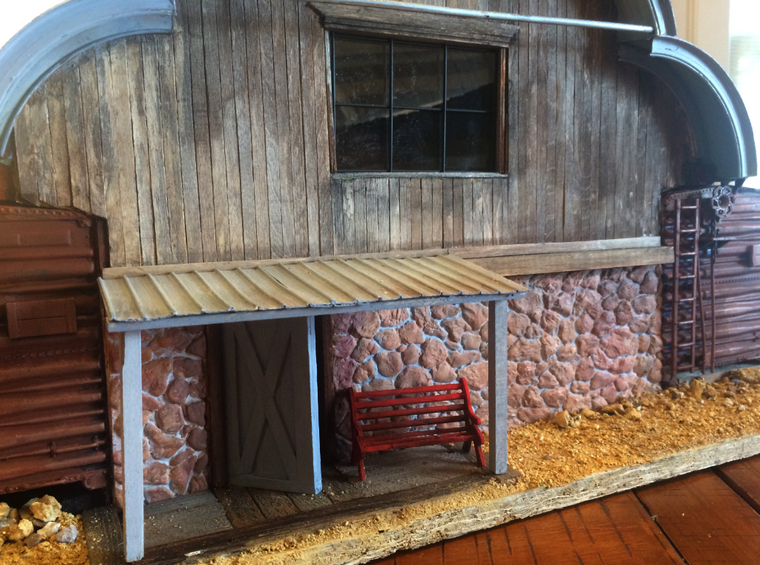
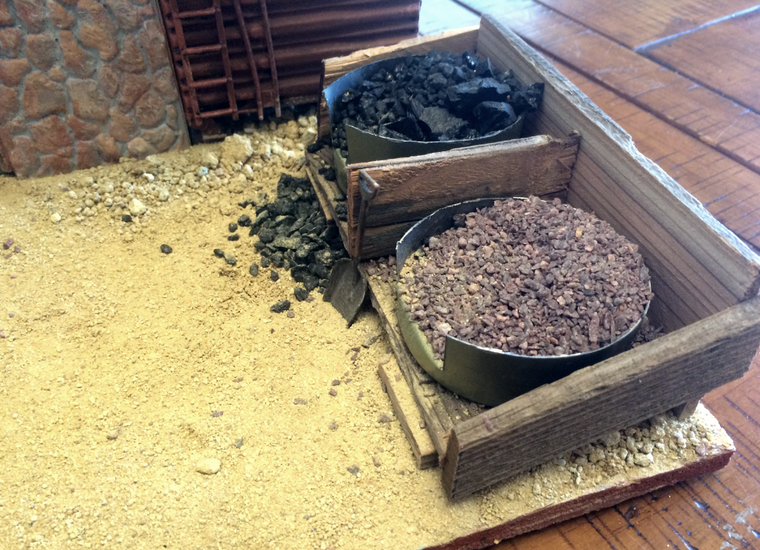
O.D. and I had to spend about 90 minutes this morning reworking some of our “boulders” under and around the ambulance to make way for the new building. We both had been trying to a achieve a dry streambed look with that portion of the railroad, and this offered us an opportunity to improve that. We applied some of our aqua-scaping tricks to again add elements of depth by ensuring the rocks rose up towards the “Dudestep Range” (Hawaiian word lost to history…) that served to separate the port city of Haluku’ilio and the mil town of Pu’u’oma’ao visually and physically. Let no opportunity to improve the railroad go to waste!

And, of course, I almost forgot a nighttime video: Hale Ipukukui o Haluku’ilio

Before closing, I have to review concept, cost, execution, and details.

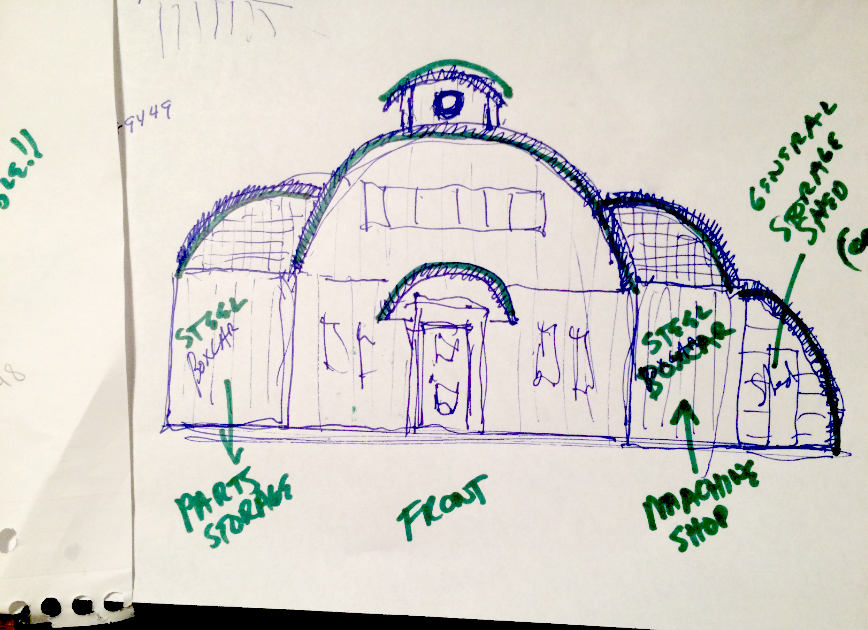
Concept, Cost, and Execution. “It cannot be just your (my) hobby!” served, as ever, as the guiding directive for the project. As such, The lighthouse combined elements from the crew’s four sketches:

The core of the lighthouse is various soup cans. We cut up foam trays for stones and painted it with white latex. I freehanded the blue stripe with acrylics. The base / keeper’s house is foam covered in concrete patch. Doors and windows are from scrap styrene. The wood is from our collection of scraps and craft sticks. The safety rail along the top is from cotter pins and jewelry chain. We had to purchase the lighthouse topper, a can of spray paint, some chain, and some cotter pins. The light itself is store bought but painted in accordance with design specs. The cost was probably about $25, with half of that being the light.

Details. I’ll highlight some key details below. I always try to move the crew towards greater independence and, at the same time, try a skill or work on one against the day I model solo.

Windows. The girls painted an interior on black plastic, which they affixed to my slipshod window frames. In all seriousness, I am OK with the frames and mullions as a first attempt at this. These are the photos I included in the build thread:

O.D. and I since touched up the paint around the frames.

Hibachi (Grill) & Door. The boys contributed these details.

O.S. did the door, largely on his how using scraps. Model building, he claims, is not his thing. I think he did OK. Kid-zilla decided the 1:24 crew deserved a hibachi. He selected some scraps and bottle caps and used Shoe Goo to hold it all together. Y.D. helped with the spray paint. He made the bench from scraps, too, using TiteBond III with a little help from yours truly.

The Roof Hatch. With everyone else stepping up to the scrap-to-detail plate, I felt compelled to do the same. I made a little roof access hatch from scraps. The pull loop is a jewelry link held in place by scrap aluminum from the mill project. I thought about hinges, but they would be out of sight.

The Light. This is a commercial product (Thanks Eric Schade for letting me know this exists!). I masked and spray painted the roof. O.D. drybrushed the bricks using acrylics and then a Sharpie to re-blacken the mortar seams:

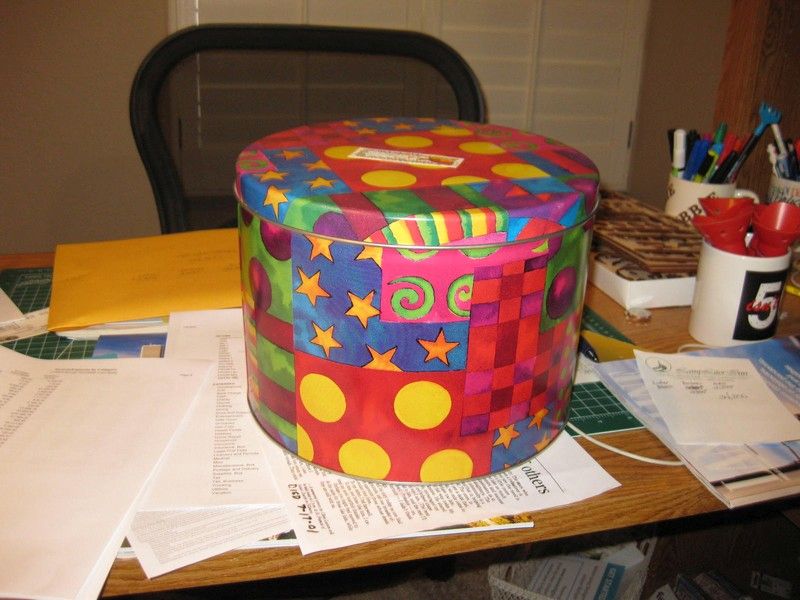
It sits on top of a cookie tin filled with foam. The foam gives a nice friction grip. The two shady characters to the right are about to discover there is no escaping HPD!

This project has been fun. I was wary of the flying buttresses, but they worked! I think we all improved our modeling and / or crafting skills, and we ended up with a finished product that strikes in that zone between toy and model. My thanks as ever to Dave Taylor for hosting this annual event! I look forward to see what evil lurks in the back corner of his mind for the 2022 Challenge!

On Behalf of Team Mueller,

Aloha!

Eric

Edited to add the video of the lighthouse at night.


Well, once again the craftsmen on this forum have out done themselves. Its amazing at the quality of models we get each year during this event and I want to thank Dave for his leadership. Without him, I’m not sure we would have this opportunity. Thanks, Dave!! Ok, now for our entry. The boys in the shop decided to build an elevated fuel tank for those engines that use fuel oil. Build thread can be found here: BUILD THREAD. Here is the original sketch put together by Chief Engineer, R.E. Mington.

We took an old tank car and put it up on two newly constructed trestle bents and constructed an adjoining pump house and all the piping to get fuel in the tank and fuel in the engines. Enjoy.

And finally, Remington looking over our masterpiece!!

Total cost on this project was $8.36 in resin for the 3D printed accessories and piping. All other materials were already on hand. I really enjoy this event each year. I always learn a few tricks from all the other entrants and this year was no exception. I never knew there were so many models that could be built from a simple can.

EDITED: To add link to build thread!!

I am almost embarrassed to post my pictures. There are so many better and more detailed builds this year. At least I followed Rule #1 - I had fun.

I had this 5 liter can of root beer for a few years and wondered why I was saving it.

I was encouraged NOT to paint it, so it limited its possible uses. Keeping with the current restrictions, we could only build a Drive-up Window. Here is Wanda with the appropriate maskage.

And I found a thirsty forklift driver.

I had to include an outdoor beverage area with a table made out of the pizza protector.

Well, back to work. I admit this was not very complicated or detailed, but “What you see is what you got”!

At least I used something that has been sitting around for a few years. Oh yeah, total expense was $0.

Lou