Large Scale Central

2019 Mik's Build Challenge Entrants Photos for voting

PLEASE DO NOT POST COMMENTS ABOUT BUILDS IN THIS THREAD.


Post them in the individual build threads.


This thread is for pictures of the builds for voting.

Each participant needs to post his photos and comments of his finished or Un-finished challenge build. Please Identify who you are, and what you built, and any other comment you would want to tell about your build.

PLEASE limit the number of photos to not more then 15 total, in this thread.


PLEASE identify if you are a "first time entrant"  this year.  Special prize for 1st timers.

Please keep this thread clean of comments about the builds. 

And limit posting to the participants of Mik's build Challenge 2019


Devon

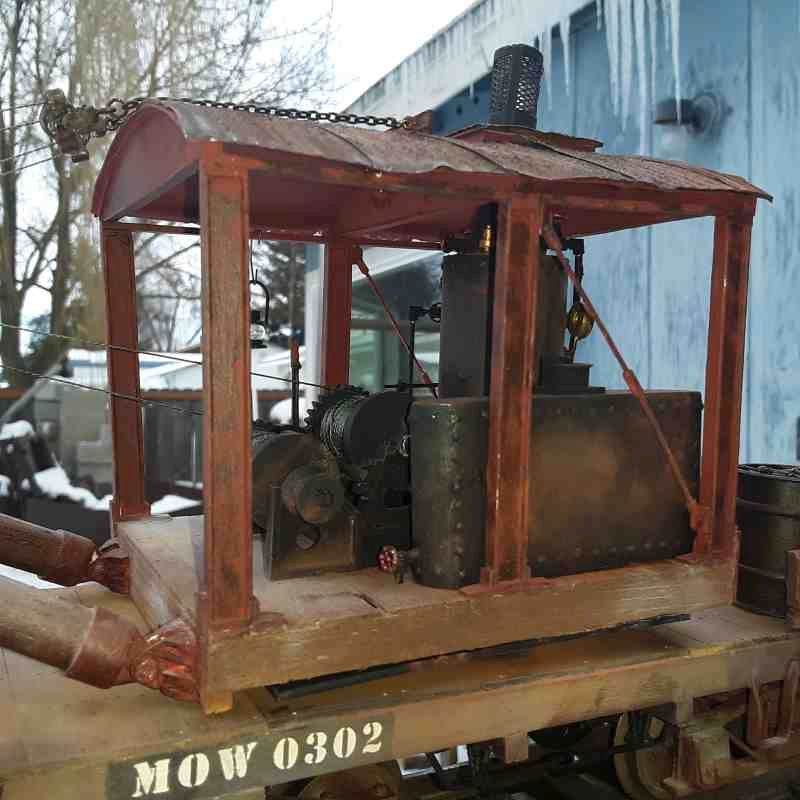
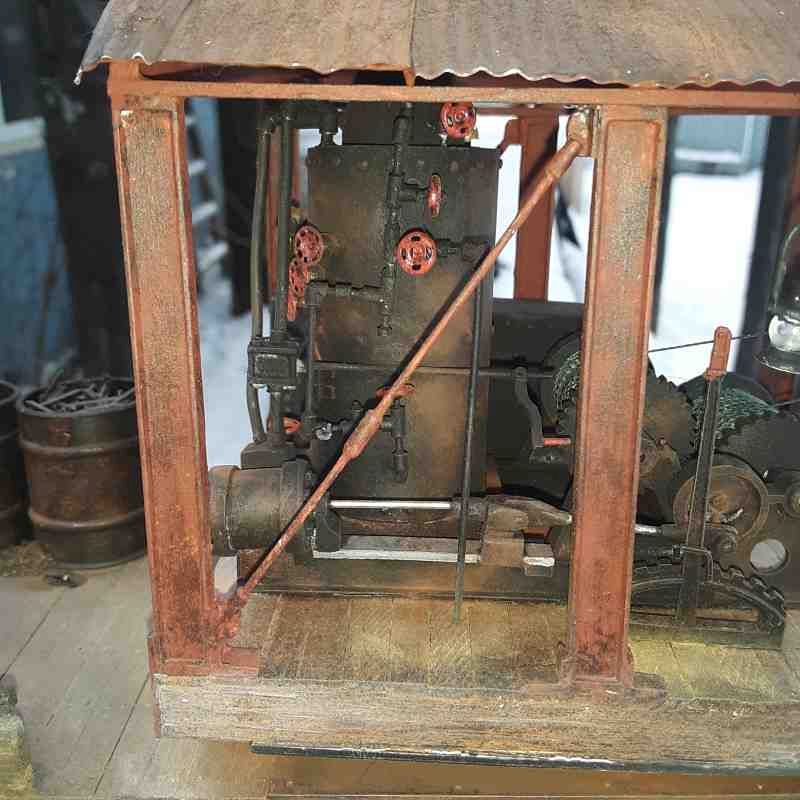
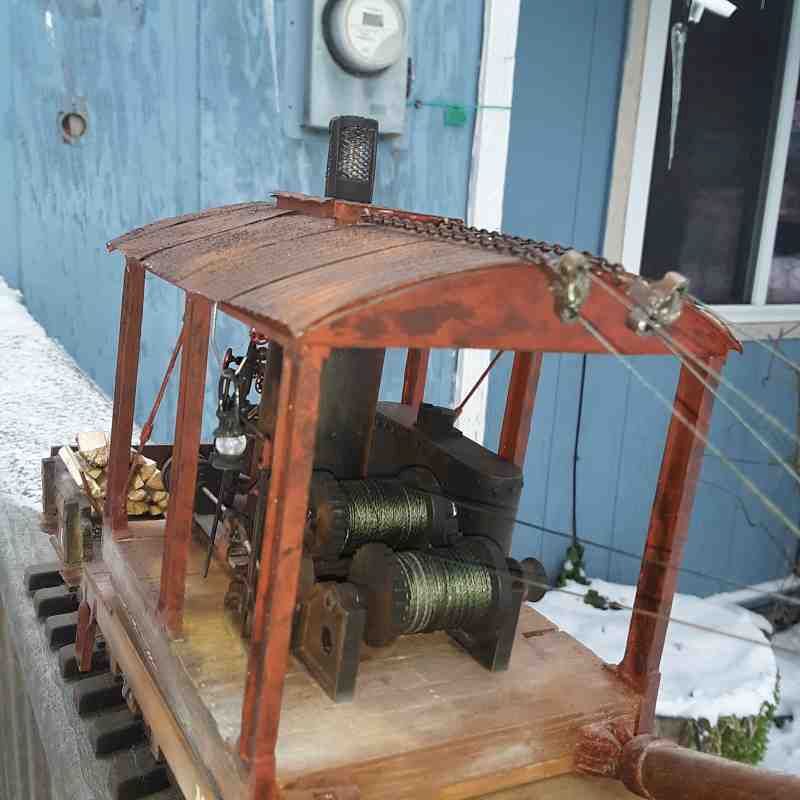
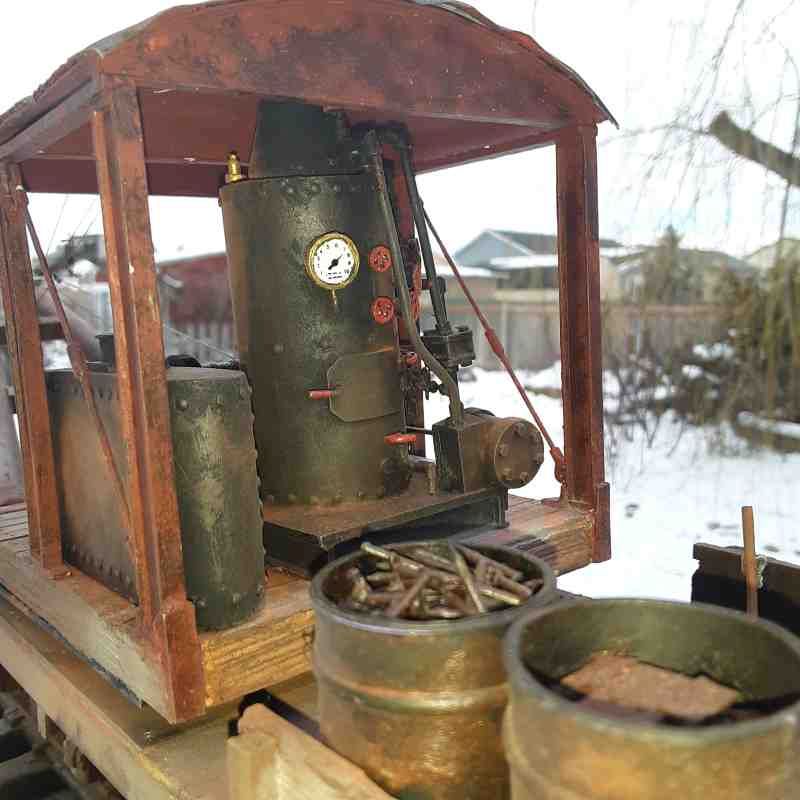
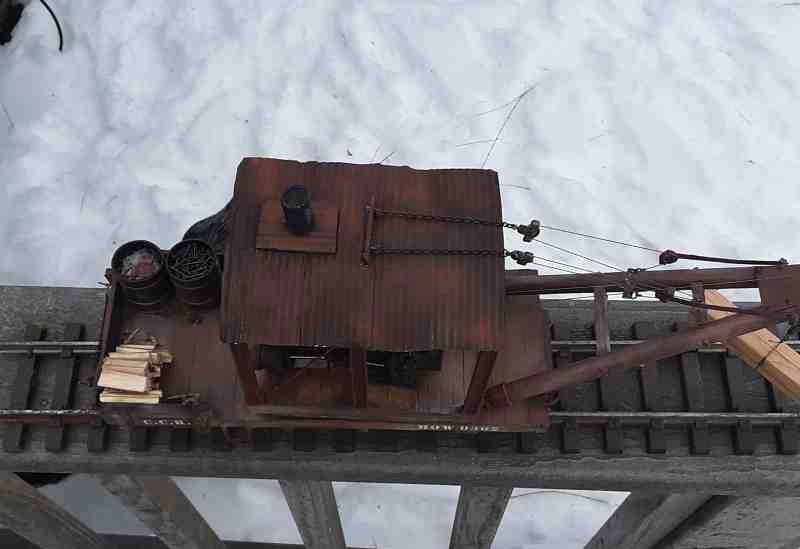
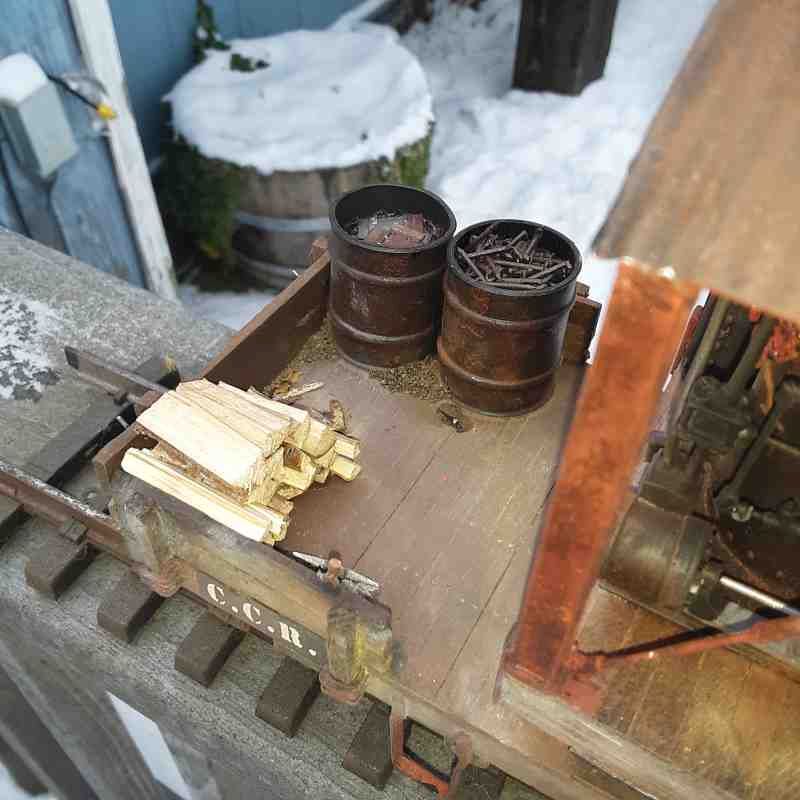
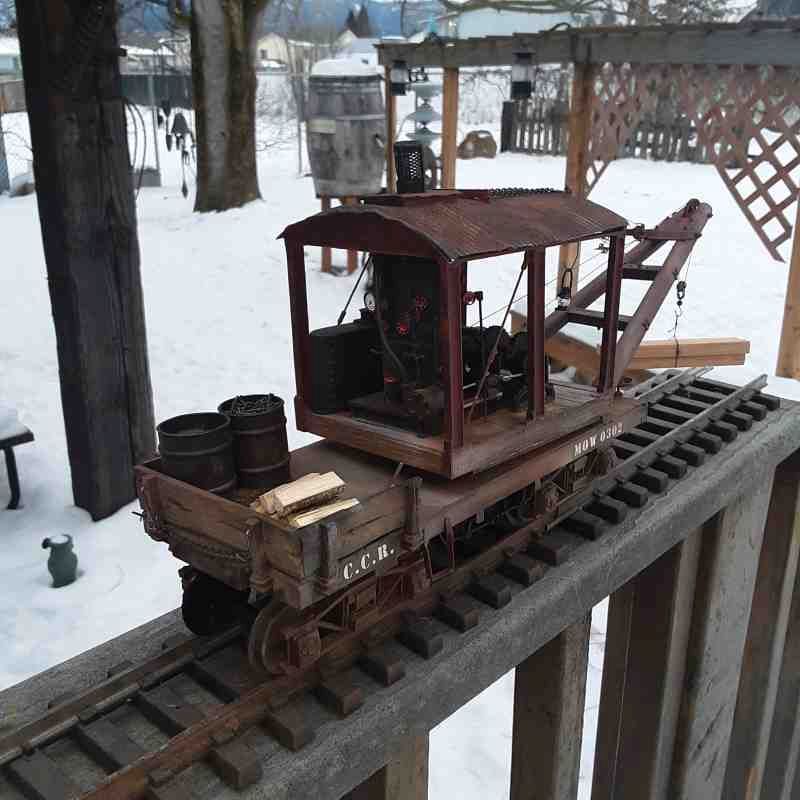
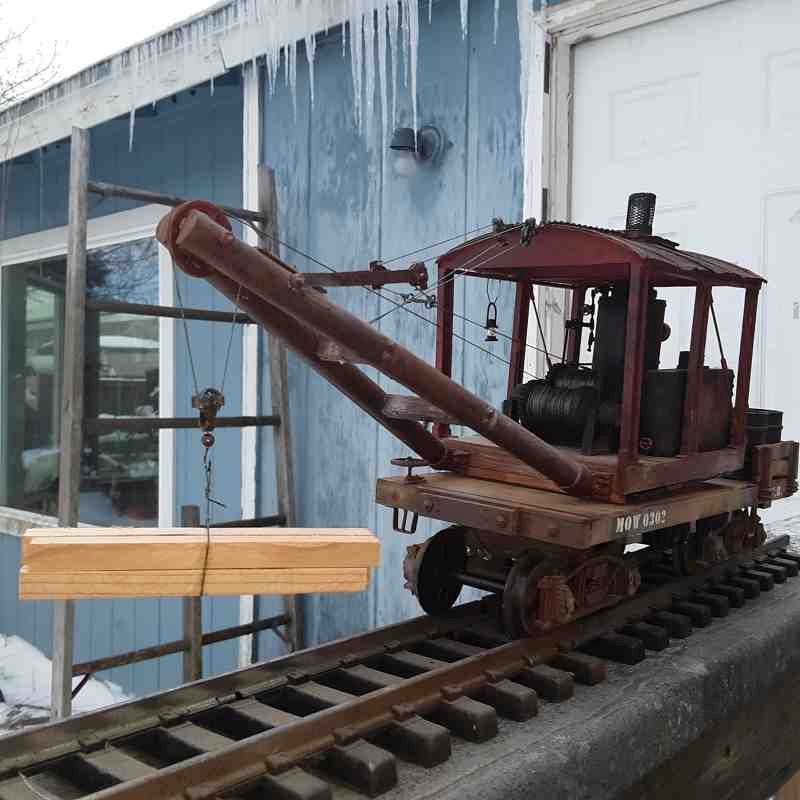
I guess I will go first. My build this year was to build a small steam crane for my backwoods railroad the Canyon Creek Railway. This was a real line that owned no equipment. It was immediately leased to another narrow gauge line. I won’t bore you with the details. But I have decided to make an entire work train for this more or less fictional line. It started with a foreman caboose that would double as an idler car for the boom of a crane. So this year I decided to build the crane. For this line I am modeling in 1:24 specifically to be a middle ground between narrow gauge and standard gauge. In other words it will fit anywhere. I wanted a shop built, small crane, on a small recycled flat car. It need to be used but not overly abused. It is still a working crane. I also wanted to make as many parts as I could from scratch and have them be operational as well. So without further ado: The Canyon Creek Railway MOW 0302 Crane.

I don’t have exact figures in front of me but I about $7.00 bucks on hardware (actually a lot less but I bought extra and don’t feel like breaking it out), a $1.00 on superglue, $2.00 on chain. That’s about it. I would also like to give a big thank you to Dan for printing the side frames for the trucks. He and I worked together to come up with a side frame that I could make these wood bolster archbars. He also printed the queen posts for this build. Edited to say I forgot the biggest cost. $11 dollars and change for couplers that are not yet installed. Miscalculation in design forbid me from using the 906s that I had for the project. I had to order sill mounted ones and they wont be here until later this week.

Its been an incredible challenge as always. Some great models were made. Thanks again Dave for keeping this going. Thanks to all who participated. Thanks to all those looking in.

Miks Challenge 2019, the Silver Fish railcar and Toot’s 13-1/2, inspired by the cartoon Porky’s Railroad.

Costs: $3 tissue, $8 doping glue, $3 wiring, $8 spray paint which failed, and Porky Pig figurine…here I blew the budget, Porky was $10 + 5 shipping, but I had to act as ebay sales are transitory and I really wanted this particular figure as it’s of the same era of Porky cartoons of the 1930’s, so theres $15 right there. So total budget: $37, meh, no regrets.

As I’m not going to be able to take any pics outside this week, I’m reposting finish photos from my build log:

Silver Fish railcar

and Toots 13-1/2

As Porky would say

This is my first time in the build challenge. I have watched for a couple of years but decided to give it a go this year. My building,“P.J. MORVAN’S PRODUCE”, is named after a good friend of mine who gives me veggies out of his garden. I found a picture on-line and used that for inspiration. I tried some techniques I saw here that members have used and they worked really well for me. I utilized a mash of parts from stuff that was piling up on my workbench. I used plastic, wood, metal, and alum cans. As well as a discarded freezer basket for parts. Total cost for my build was $10.66 for a can green spray paint and some black ink. Building will be added to my railroad.

towards the takeout window

lunch is served

other quests

at the counter

drawing

looking towards the kitchen

kitchen roof

vent fan

Bill Barnwell’s diner

1st time entrant, road side diner from old train car. I call it “standing room only” Have less than $10.00 in the project by utilizing pieces parts and lots of junk, just no wood nor metal as they don’t hold up in Florida, every thing is a plastic product. There is an actual Diner(café) in Ormond Beach, FL that my wife and I frequent weekly where like “cheers” everyone knows your name, just old time good food, prices and services, thought I would honor it with a place on my railroad, Coquina Falls. Thanks everyone I had a bunch of fun.

fronttake out endout back

Scott Johnson said:

This is my first time in the build challenge. I have watched for a couple of years but decided to give it a go this year. My building,“P.J. MORVAN’S PRODUCE”, is named after a good friend of mine who gives me veggies out of his garden. I found a picture on-line and used that for inspiration. I tried some techniques I saw here that members have used and they worked really well for me. I utilized a mash of parts from stuff that was piling up on my workbench. I used plastic, wood, metal, and alum cans. As well as a discarded freezer basket for parts. Total cost for my build was $10.66 for a can green spray paint and some black ink. Building will be added to my railroad.

Scott, like most of the builds this year yours is way over the top, great looking building

Devon Sinsley said:

Devon

I guess I will go first. My build this year was to build a small steam crane for my backwoods railroad the Canyon Creek Railway. This was a real line that owned no equipment. It was immediately leased to another narrow gauge line. I won’t bore you with the details. But I have decided to make an entire work train for this more or less fictional line. It started with a foreman caboose that would double as an idler car for the boom of a crane. So this year I decided to build the crane. For this line I am modeling in 1:24 specifically to be a middle ground between narrow gauge and standard gauge. In other words it will fit anywhere. I wanted a shop built, small crane, on a small recycled flat car. It need to be used but not overly abused. It is still a working crane. I also wanted to make as many parts as I could from scratch and have them be operational as well. So without further ado: The Canyon Creek Railway MOW 0302 Crane.

I don’t have exact figures in front of me but I about $7.00 bucks on hardware (actually a lot less but I bought extra and don’t feel like breaking it out), a $1.00 on superglue, $2.00 on chain. That’s about it. I would also like to give a big thank you to Dan for printing the side frames for the trucks. He and I worked together to come up with a side frame that I could make these wood bolster archbars. He also printed the queen posts for this build. Edited to say I forgot the biggest cost. $11 dollars and change for couplers that are not yet installed. Miscalculation in design forbid me from using the 906s that I had for the project. I had to order sill mounted ones and they wont be here until later this week.

Its been an incredible challenge as always. Some great models were made. Thanks again Dave for keeping this going. Thanks to all who participated. Thanks to all those looking in.

Dave Taylor said:

PLEASE DO NOT POST COMMENTS ABOUT BUILDS IN THIS THREAD.

I present to you, on behalf of Waverly Southern RR, Brown Dog Timber and Lumber Co’s much awaited work caboose. The original inspiration came from a build Tac Foley shared with us several years ago. Thanks Tac. A link to his build can be found in our build log found here: Build Log. This is our first foray into rolling stock construction but we had a great time and learned a lot of new skills, realized we didn’t know all we need to know to accurately add brake details and had our first experience with weathering powders. Everything on the caboose except for a few tool "details’ and the wheel sets were either scratch built or designed and 3D printed including the truck side frames. Total costs for the build was $15.80 and that was for some of the tool details mentioned before, brake cylinder and reservoir and a brake wheel. The caboose itself still needs to be weathered but it will have to wait for another day. I want to thank all those that provided comments and feedback during the build. That’s what makes the Challenge so great. I also want to thank Dave Taylor for keeping the Mik Challenge going each year.

Ok, without further adieu, our work caboose.

Thanks for following along. Looking forward to next years Challenge.

EDIT: One thing missing is logos and lettering. I want to give a big shout out to Stan Cedarleaf for taking care of that little detail for me. Spoke with Stan late yesterday afternoon and logos and respective lettering (5 pages, no less) were put in the mail to me this morning. Thanks, Stan!! Keep an eye on the build log for updates on that.

There are so many great builds this year and it is going to be tough to pick the best so I would like to proclaim that everyone that rose to the challenge as winners. Hugs and Air Kisses for everyone and World Peace for the rest.

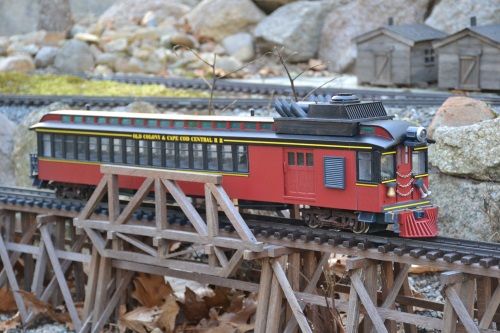
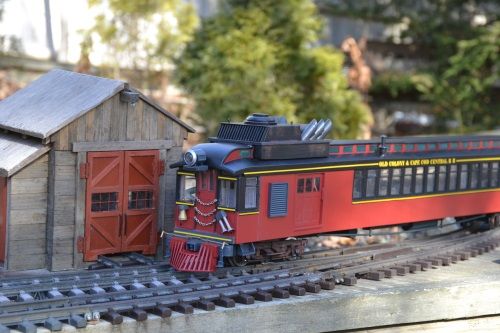
On my RR the boss was considering purchasing a Doodle Bug but the crew convinced him that they could build one just as good as bought and with Mik’s Build Challenge they were given the go ahead to get scratching and bashing, robbing and rummaging and we are very pleased with the results. The total cost of the “Doodle Bigger” was approx. $17.

And since this is a powered unit here is a video of the DB in action.

Compared with the entries posted thus far, mine is utterly pathetic.

Last year, my indoor layout reached the ‘next level’ - 19 inches above the lower level, and much of it a mere 10 inches below the (sloped) ceiling. Additionally, the ‘next level’ was rather narrow, being entirely built on shelves. I have a town/switching puzzle at the top of the grade, but it was just tracks on bare wood a mere two inches from un-plastered sheetrock. I decided to try to remedy this with the Mik Challenge. I built a series of flats - most of them too thin to be termed ‘facades,’ along about a 10 foot stretch of wall. They include a kind of cartoonish station with a dangerously narrow platform, an industry built from the mangled remnants of a ‘Colorado Model Structures’ kit, plus a business district, and suburbia, with quality ranging from ‘adequate’ to ‘maybe nobody will notice.’ (the grade crossing was an especial disaster). On the other hand, they are a definite improvement over the raw sheetrock.

Total tab was $7 for a bottle of glue (which vanished in a hurry - do they price this stuff by the drop?)

Because there is no good overall photographic vantage point, I went with a short flatcar video instead of pictures for the finish. Anyhow, for comic relief…

https://www.flickr.com/photos/138006591@N08/albums/72157677975585748

Though I have watched and enjoyed the Challenge Build for several years this is the first year that I have entered and I am glad I did. It has been a great pleasure to be part of the comradery and fun of the Challenge, hope to enter again next year if time allows. There is so many incredible builds this year, wow, good luck to everyone trying to pick a favorite.

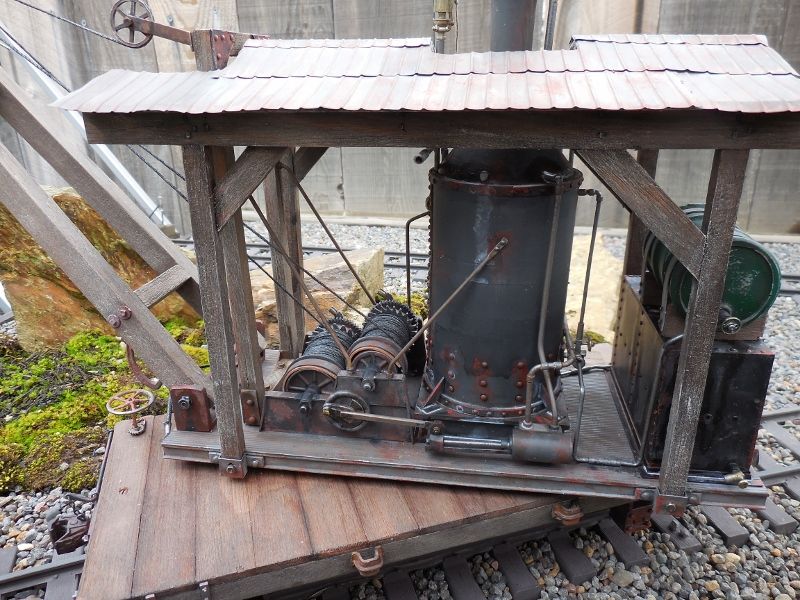
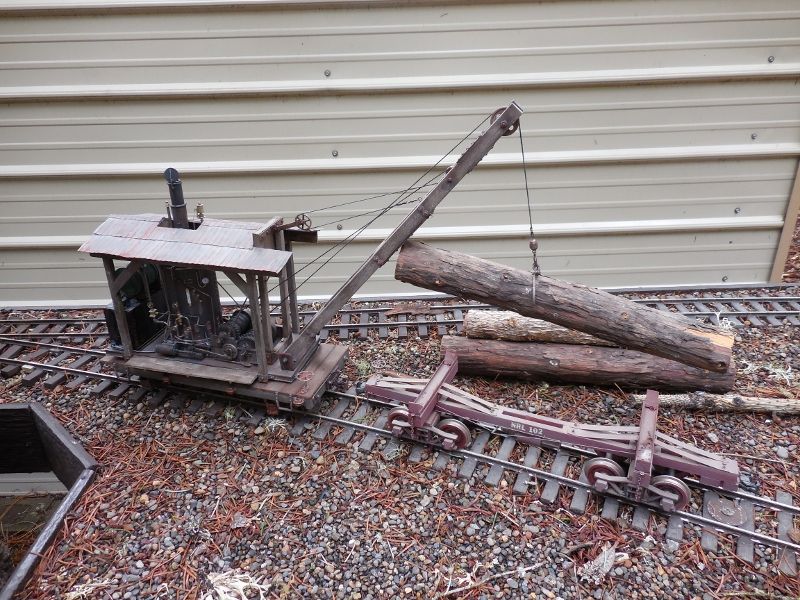
Deciding on a small 4 wheel steam crane I made a napkin drawing and started digging through junk boxes and parts bins seeing what was available. As it turned out I had everything on hand to complete the crane. I did however end up using some craft sticks that I bought, so pro-rating out the cost of them I have to confess I am into this build 32 cents.

My original intent was to build the 4 wheel steam crane as a yard crane for the Shasta Pacific’s shops, but as the build began it occurred to me that I already have a MOW crane for my short line but my logging line, the South Fork Timber Company, can always use more equipment. So in mid stream I changed to a Heel Boom Loader from a crane.

At changing to a loader I should have went with trucks instead of single axles because of load capacity but at that point I was into the challenge of using the Shay journals and LGB wheels and it does make it rather unique.

Builder’s photos

The paint and weathering, if interested, was done with Rustoleum automotive gray primer, Polly scale weathered black, Krylon Matte clear. Then washes of black leather dye/alcohol followed by dry brushing metallic colors of craft paints were applied. Next brown and red oxide craft paint was used as washes and sponge on rust detail. After all that was dry; washes of black, Payne’s gray, burnt umber and white oil paints thinned with turpentine was used to finish up. The wood was soaked several times with the dye/alcohol mix then dry brushed with sandstone color craft paint.

How a Heel Boom was used

Heel Boom loaders were much more common in the truck and tractor era of the logging woods but were used on railroads as well. They got their name from the practice of grabbing the log off center with the tongs and allowing the short end to rest against a steel or wood surface on the boom. This gave far better control of the log while in motion during the loading process. Also 1 or 2 men weren’t needed for tag lines to direct the log, less risk of injury and smaller payroll (a loggers delight).

Thanks to everyone, it’s been a ball.

Rick

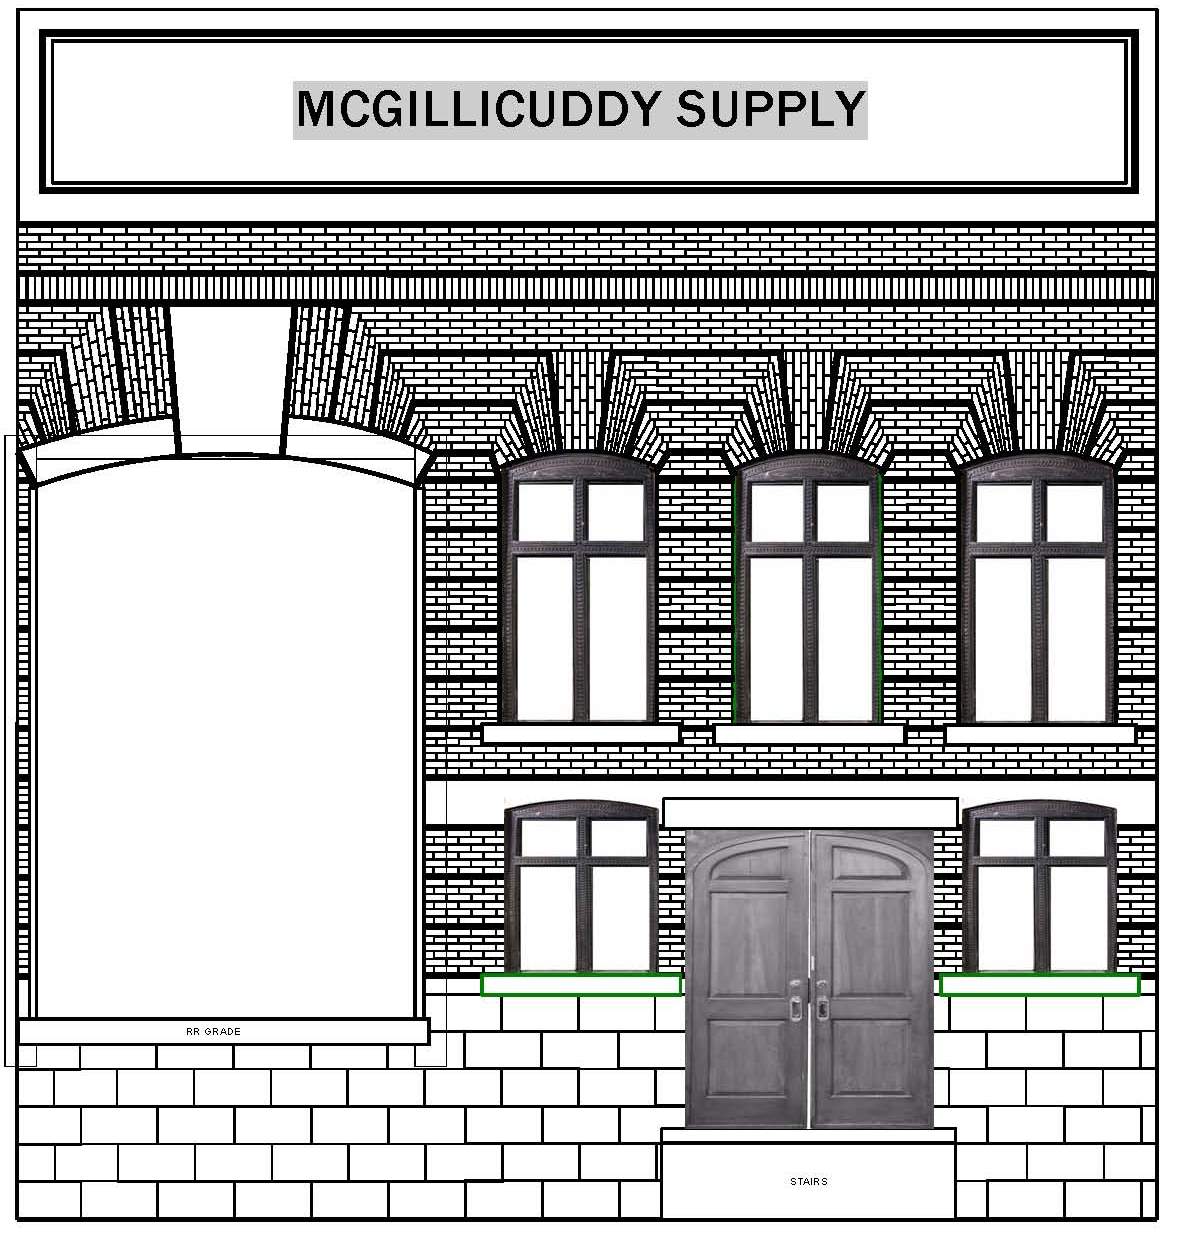
I wasn’t going to post my project as I decided to withdraw after I realized that I was putting the cart before the horse - I couldn’t build the flat until I was sure of final track alignment. Now that I am a few weeks further along in that respect I am already planning changes to the building design, so it’s good that I DNF (Did not finish). Since I got so many great ideas and encouragement from those who followed my build thread I thought I should at least acknowledge them by posting what I got done.

As Devon so delicately put it - “Is your project a real facade or a very fancy computer mock up. (http://www.largescalecentral.com/externals/tinymce/plugins/emoticons/img/smiley-tongue-out.gif)” As it turns out, it was just a fancy computer mock up and some great ideas for interiors and exterior finishes. Here are a few photos from the high points. The Mock Up…

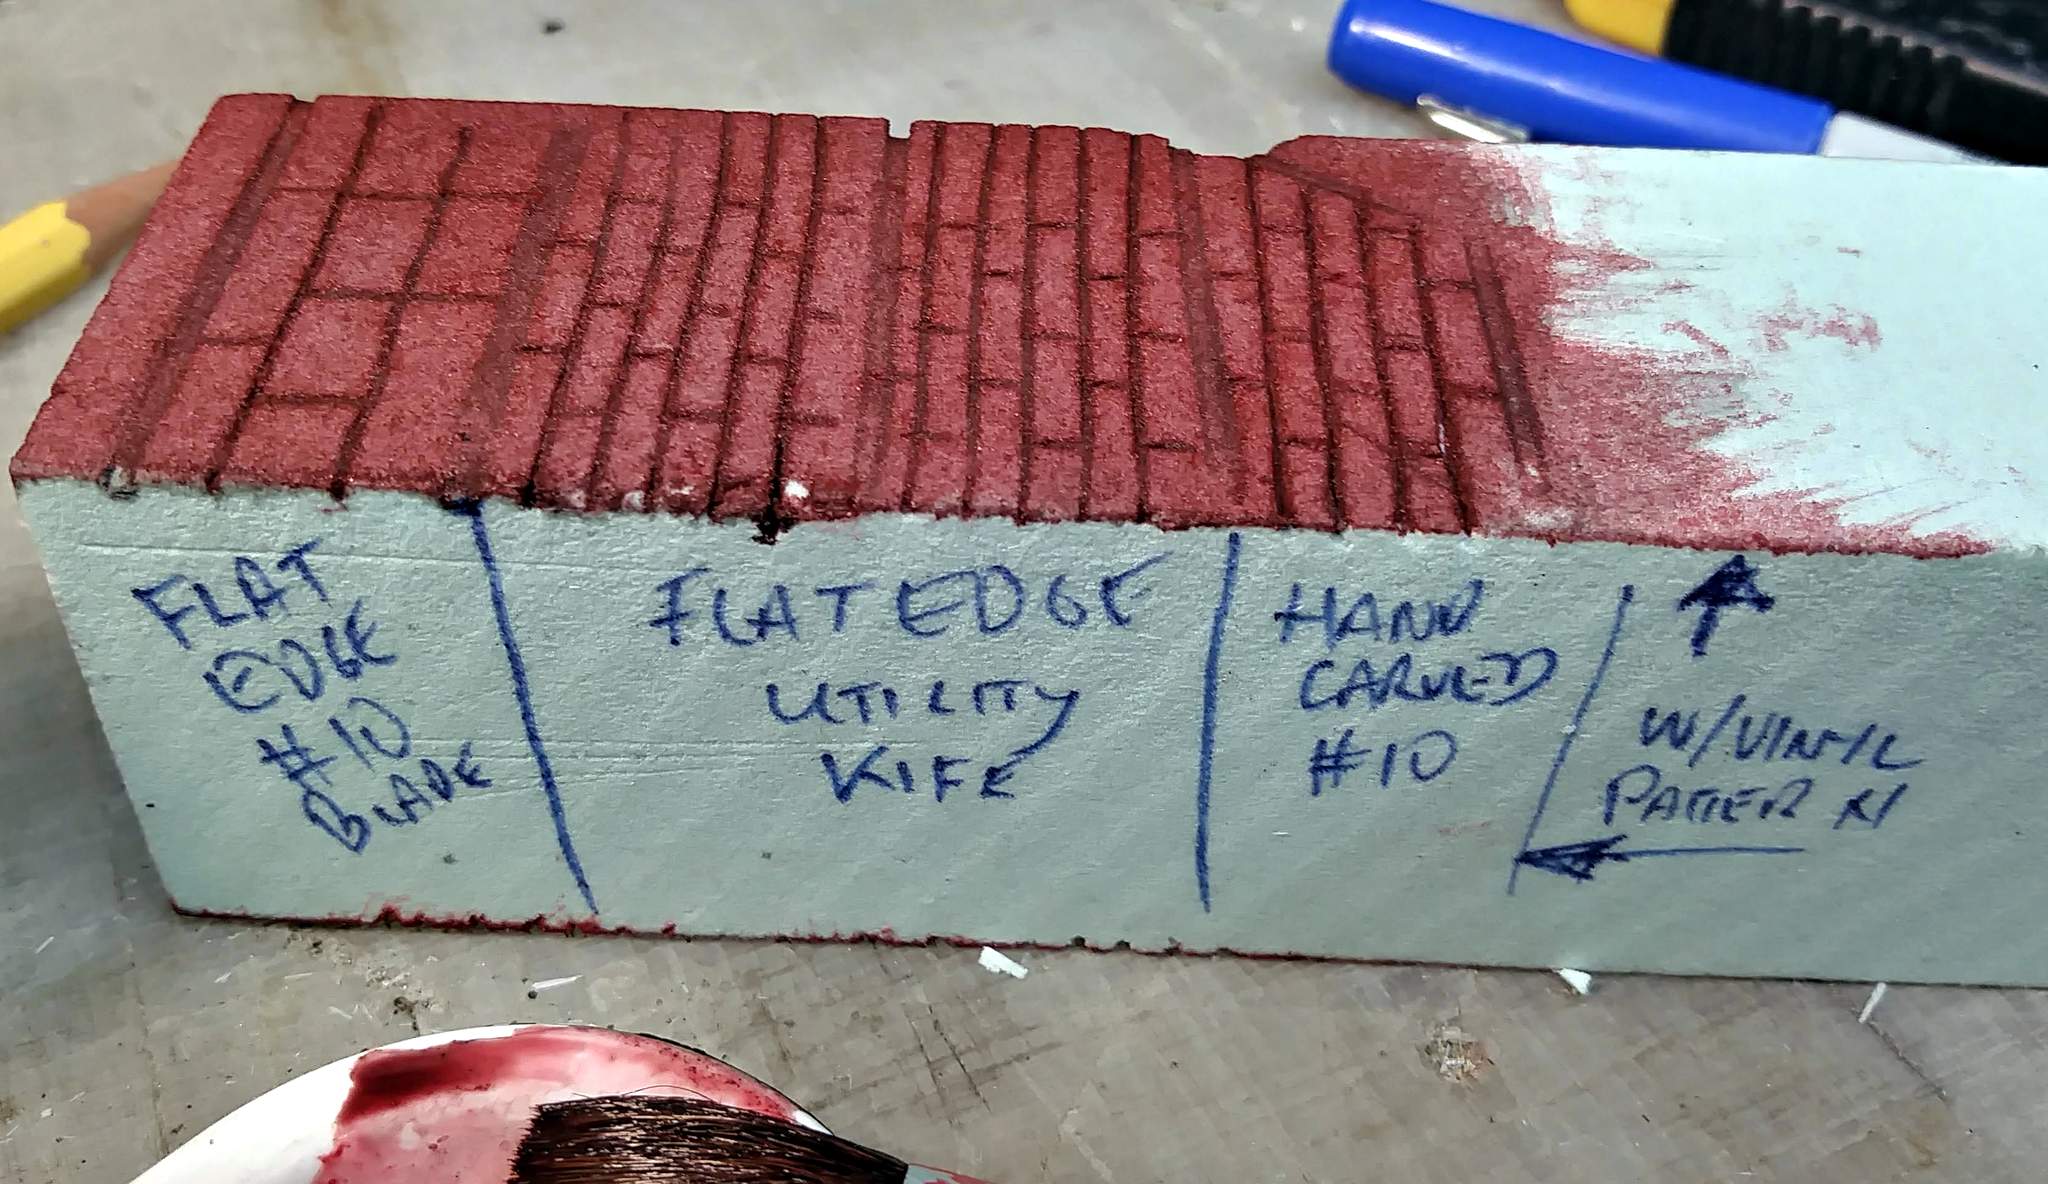
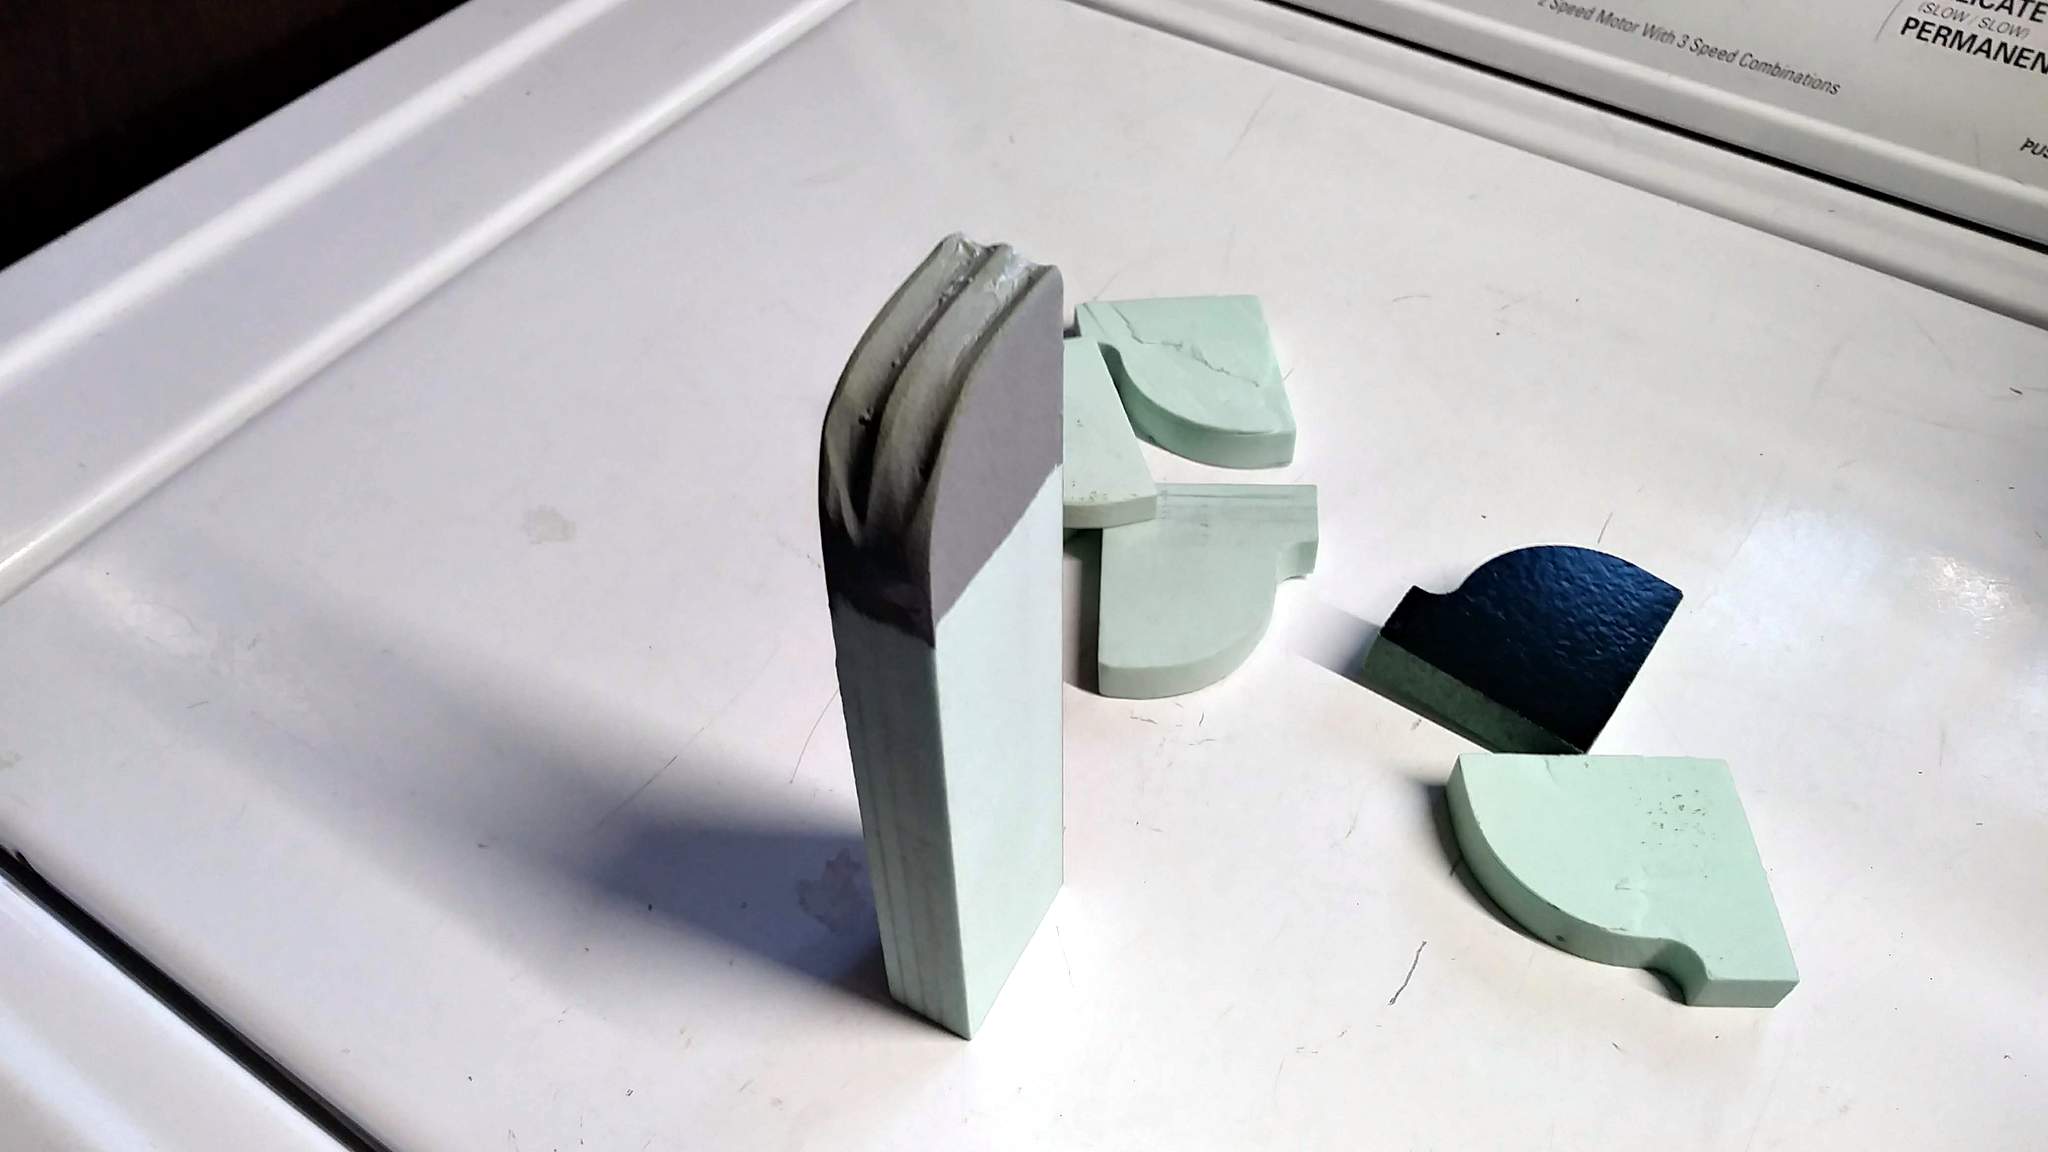
Some of the foam experiments…

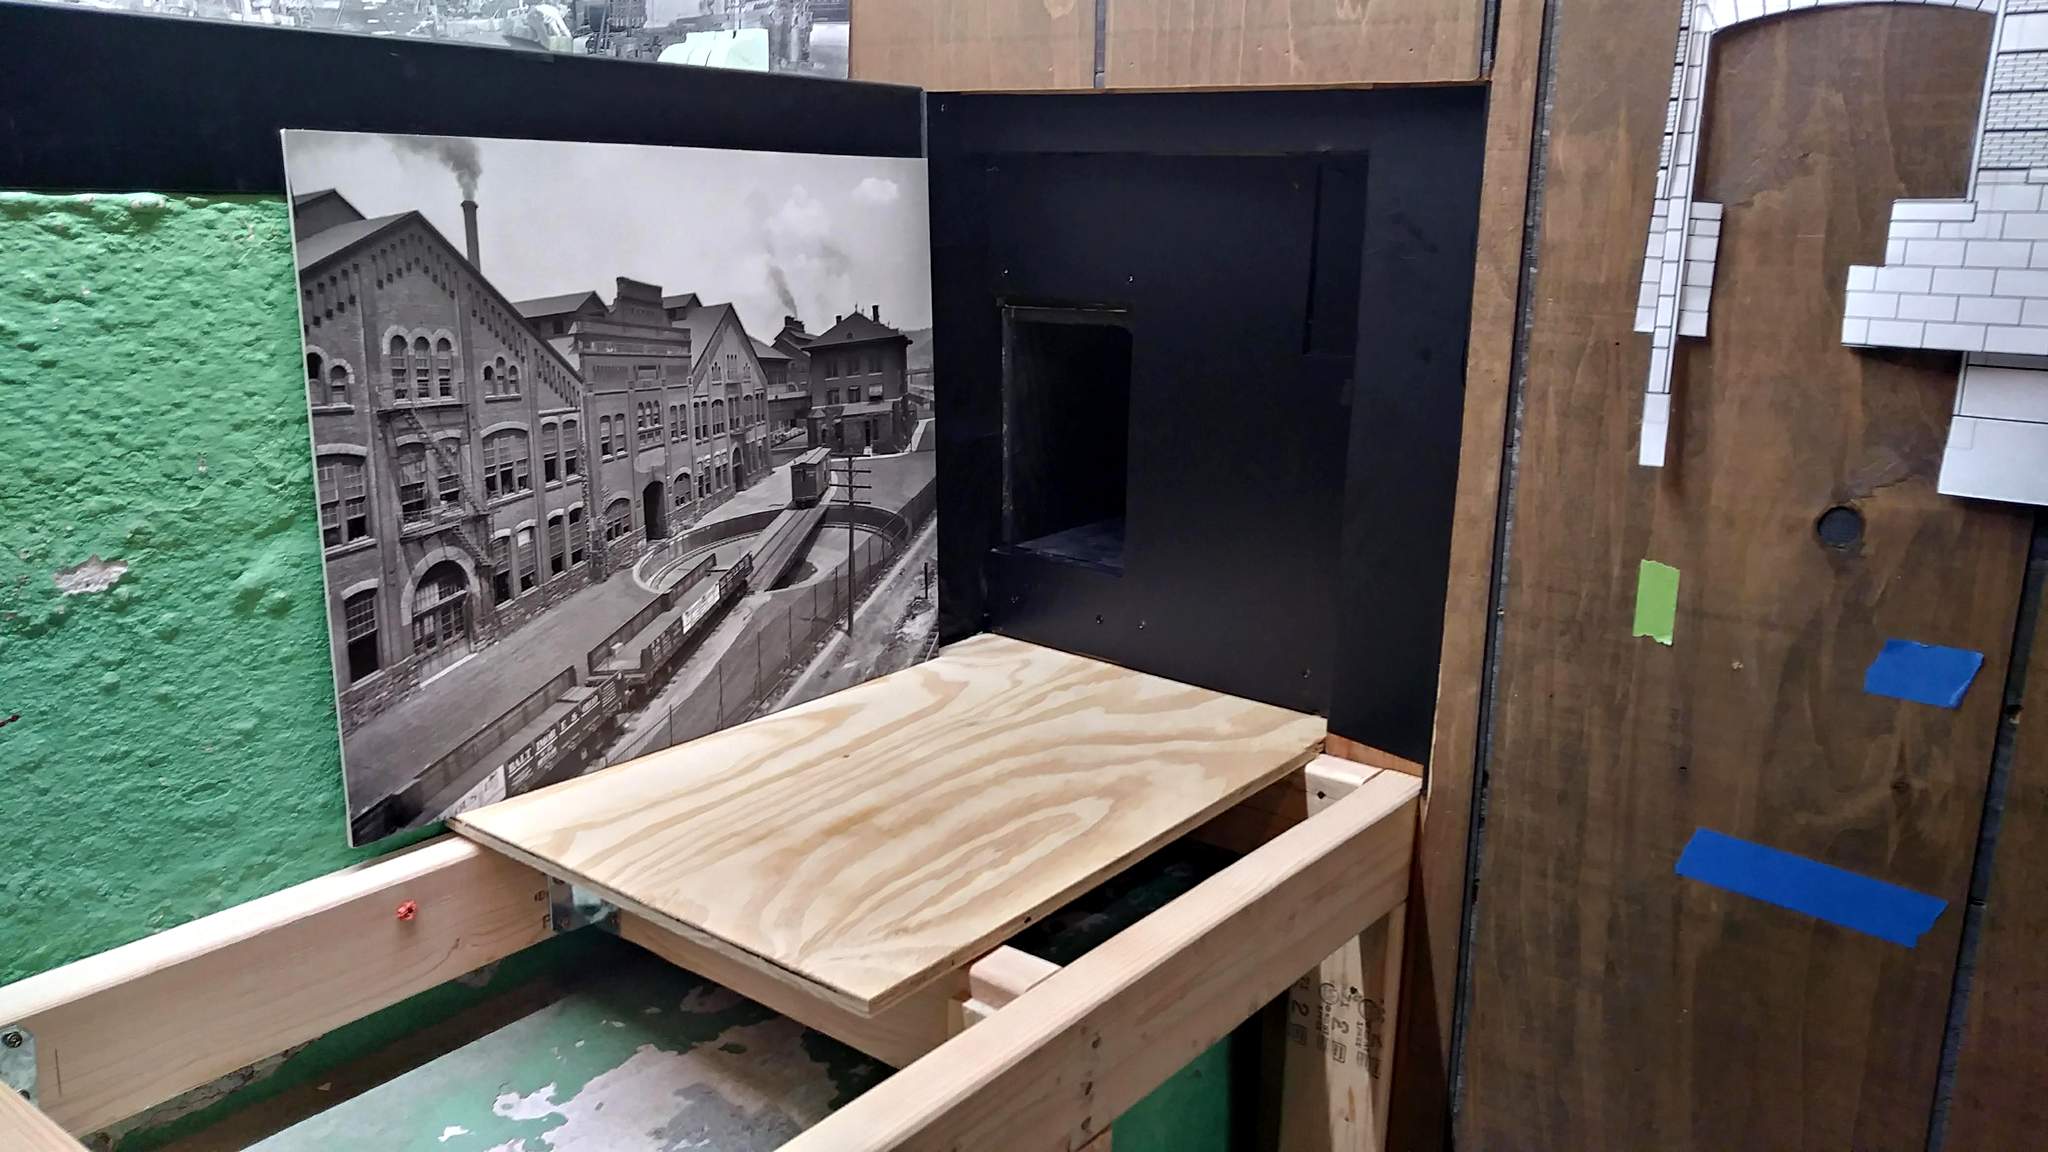
And last, but not least, Prep work for behind the flat…

Thanks to everyone who participated in this year’s challenge. It doesn’t matter if you are a builder or a follower - everyone contributed to making this year another great Mik Challenge. Special thanks to Dave Taylor for continuing to carry the ball and keep it going!

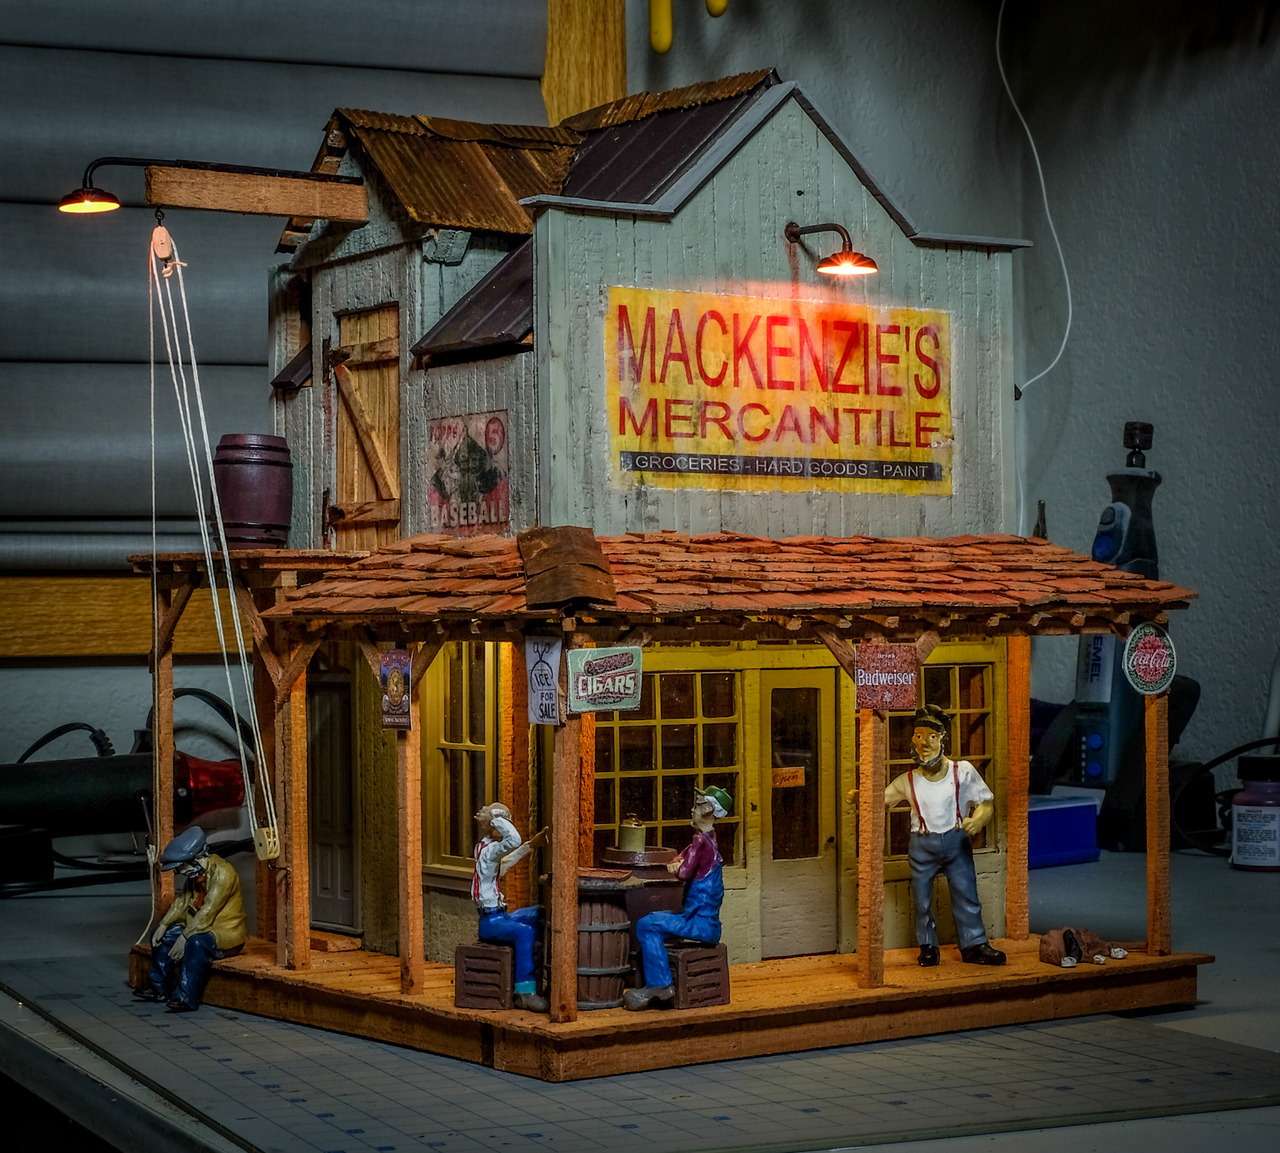
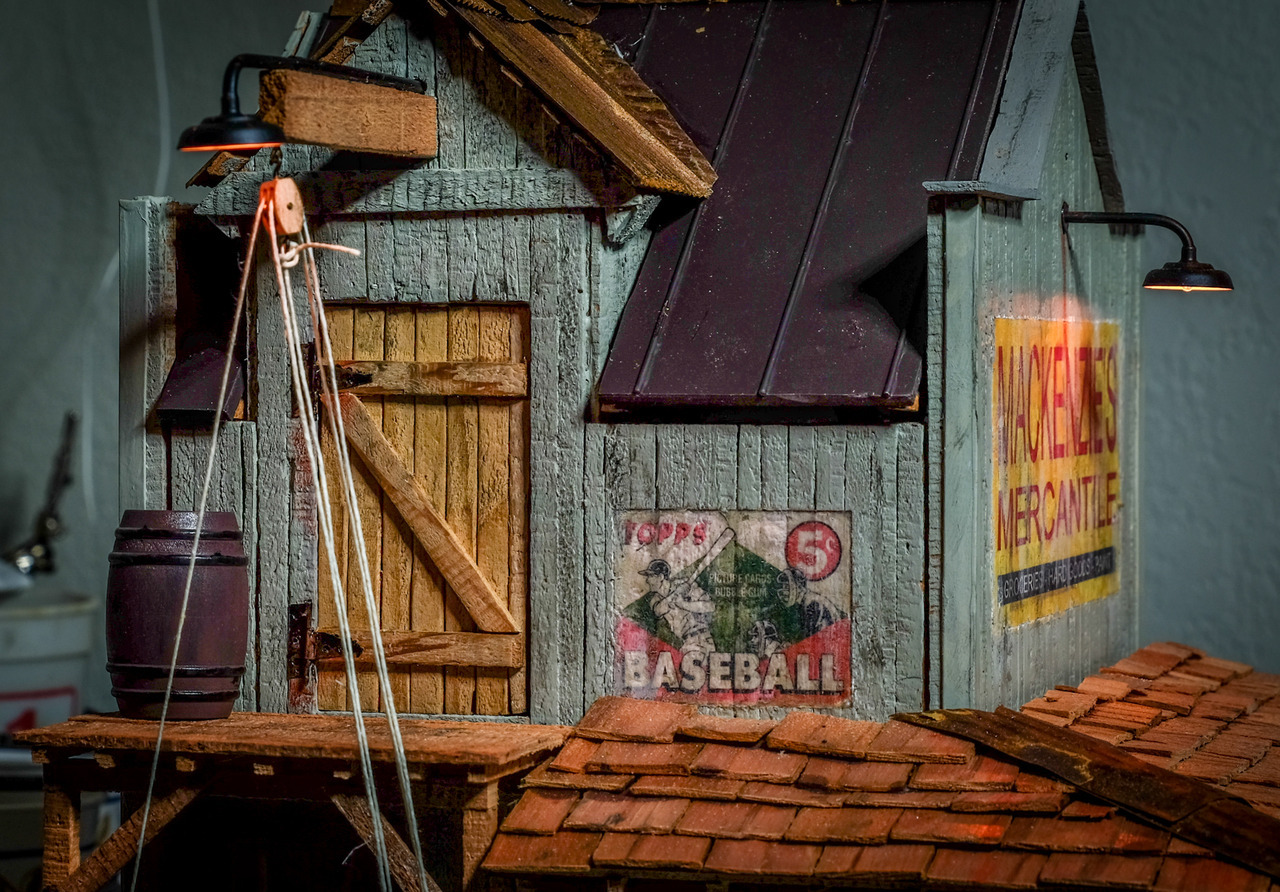
My project for this challenge was a general store with upstairs storage [link to build]. I started with this inspiration photo, found by perusing contest winners:

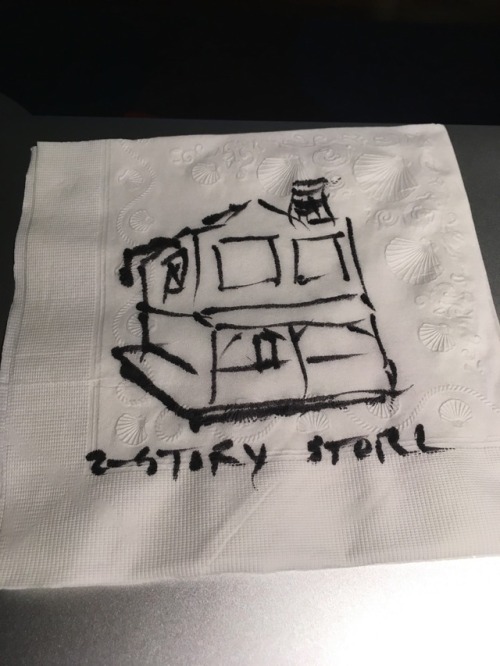
Which led me to this unbelievably bad napkin drawing:

After a lot of fiddling around, here are some final photos (sorry for the indoor setting… rain!).

The view that most will see when this is placed in its final spot on the layout (near my Jail):

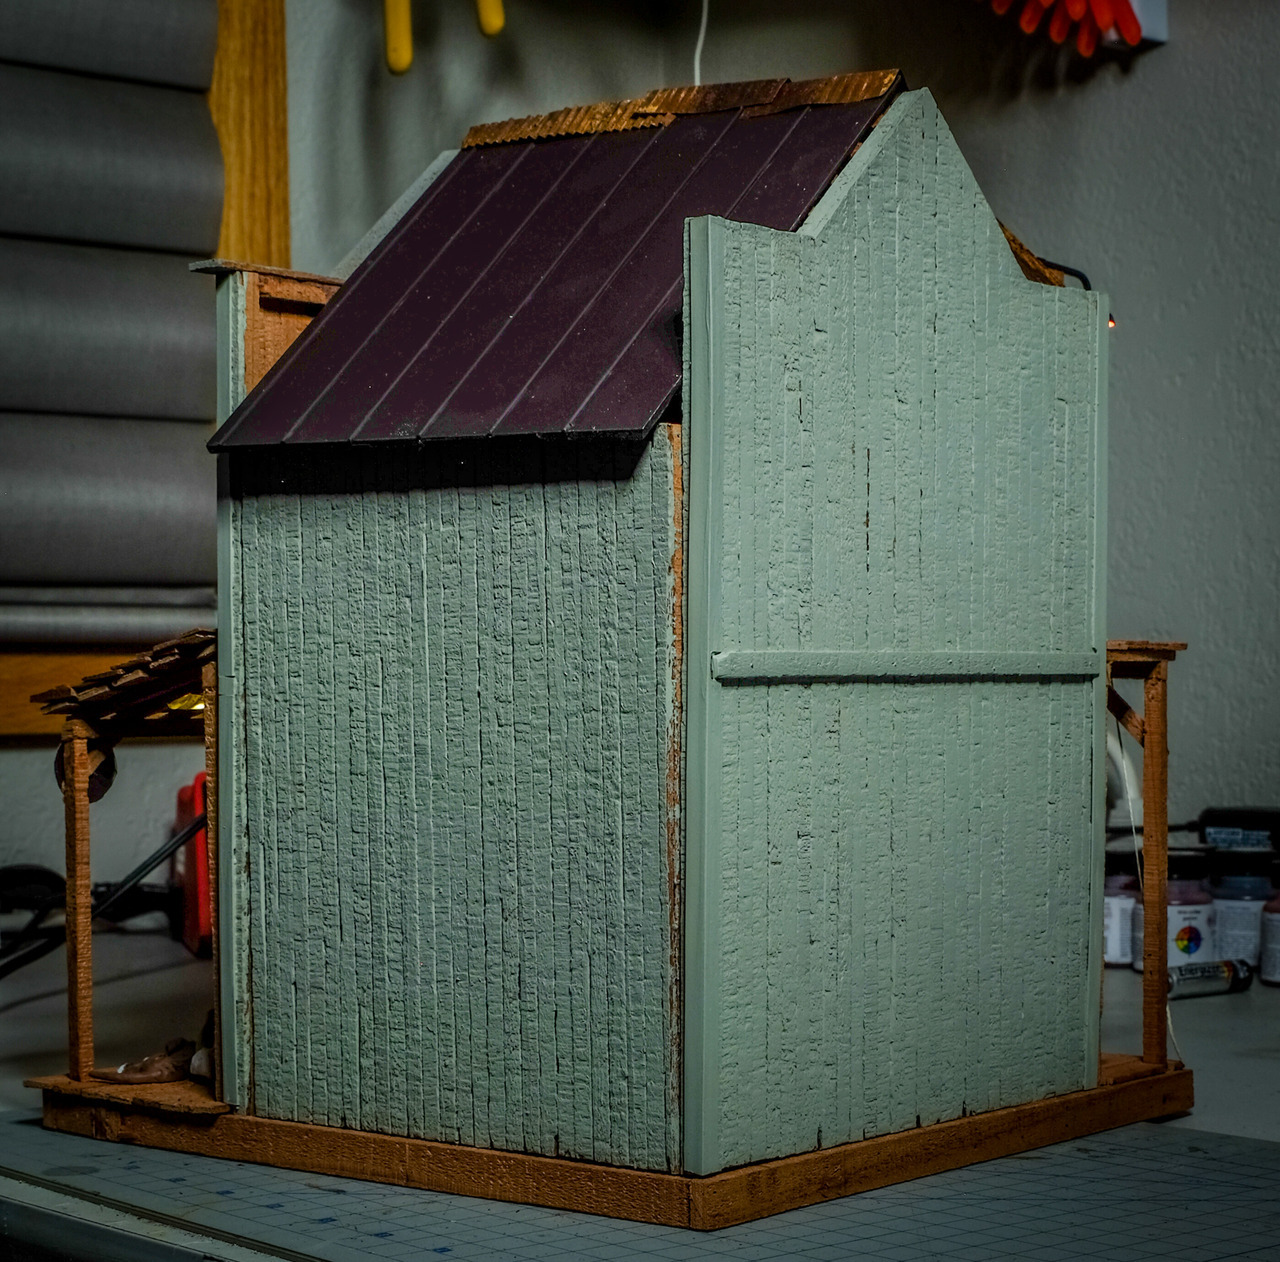
And the back (which no one will ever see, hence how boring it is):

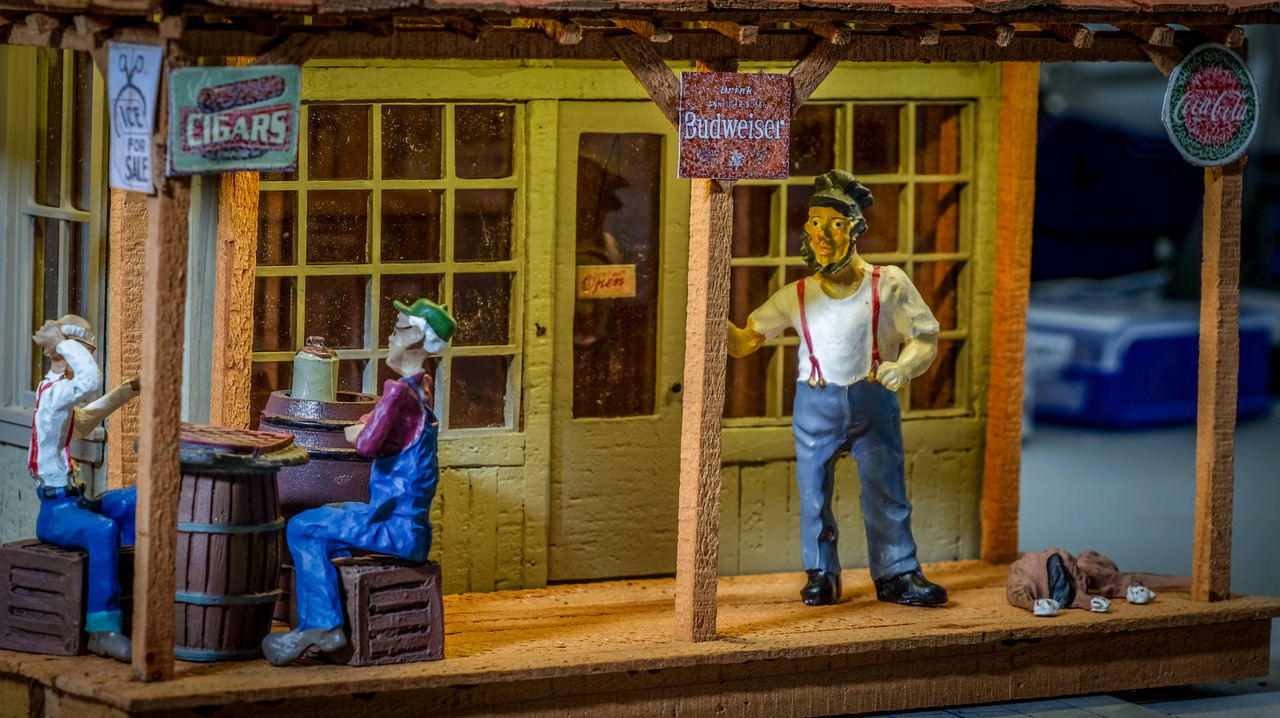
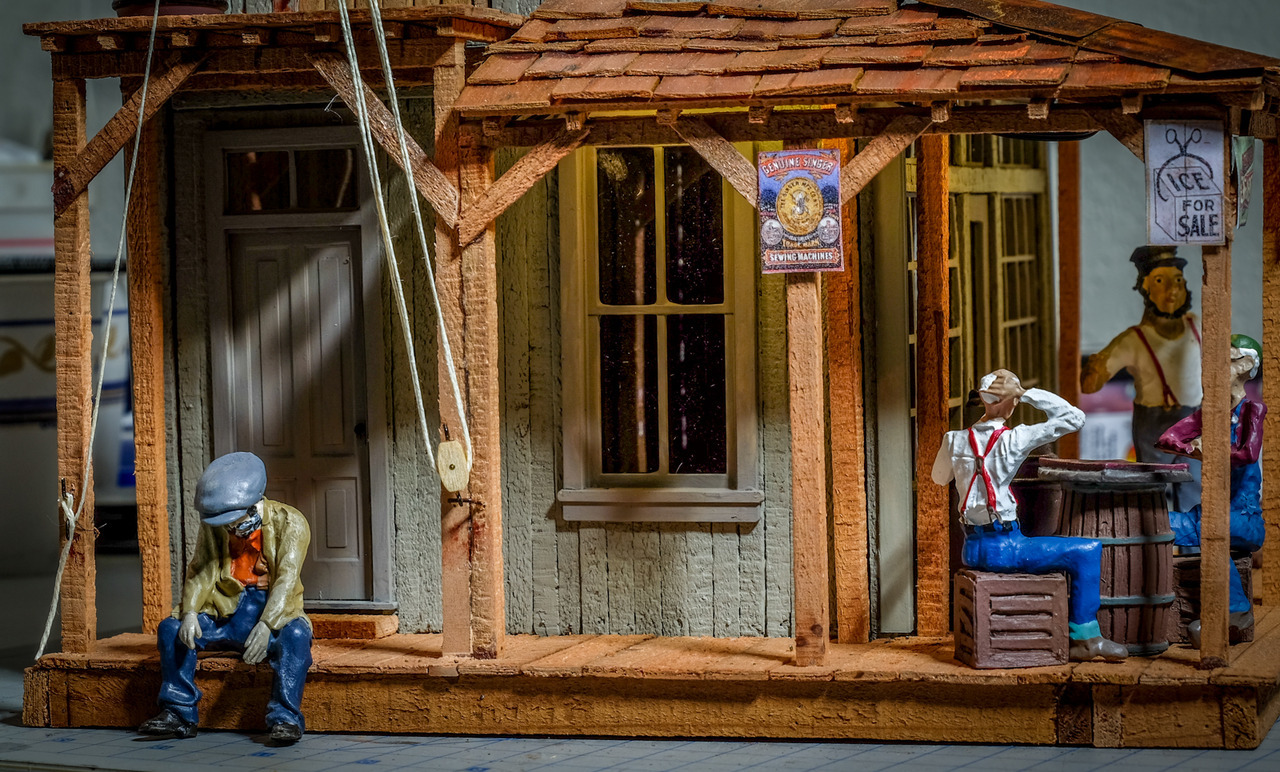
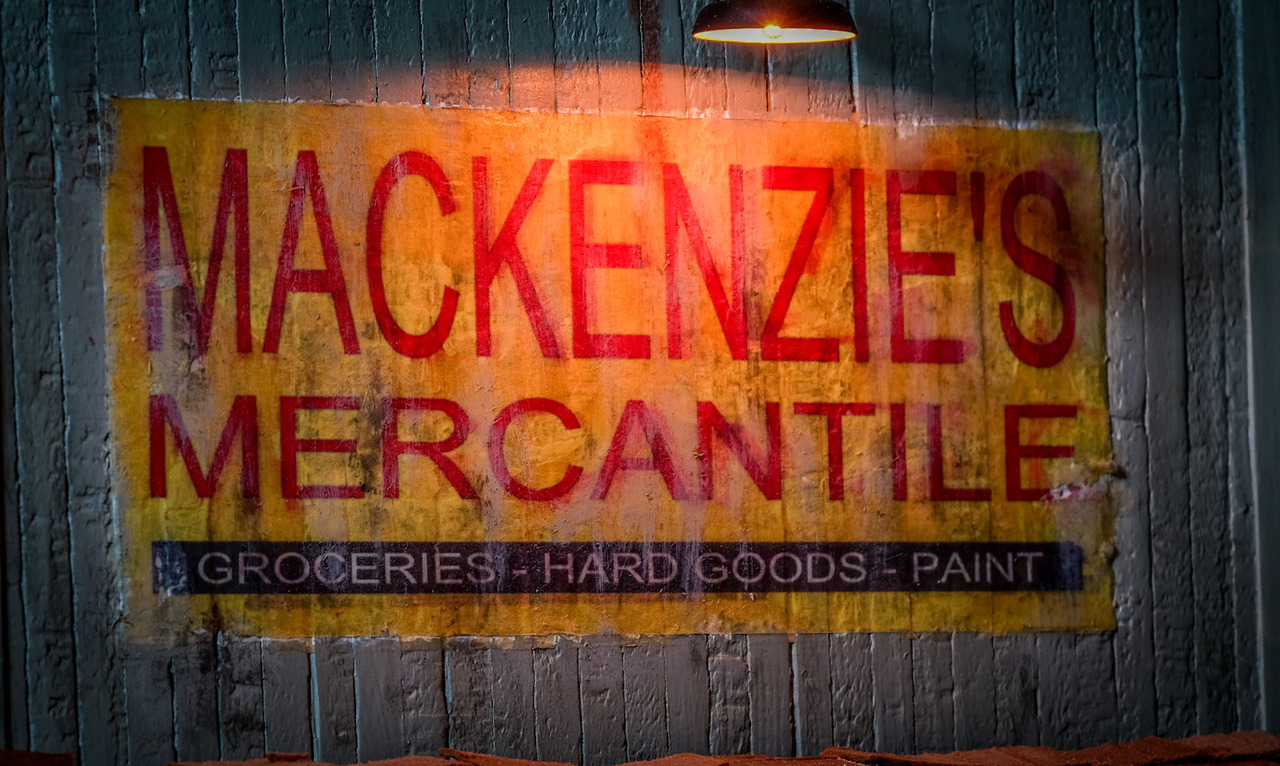
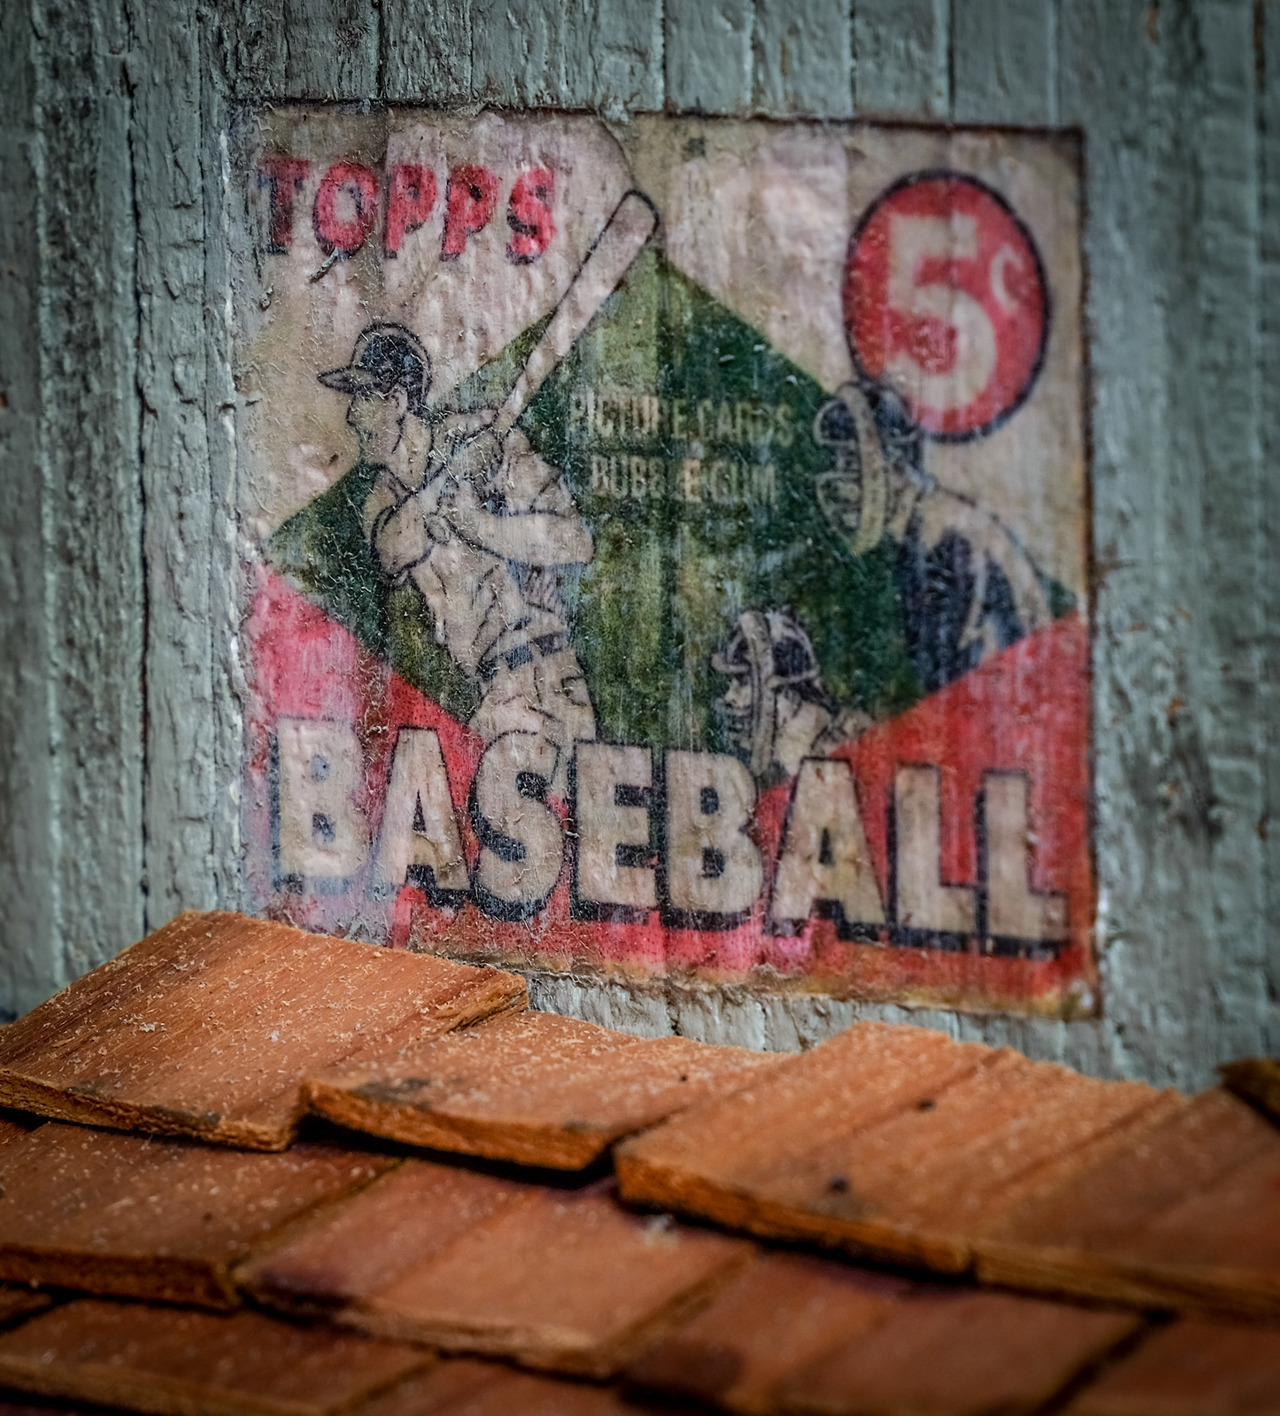
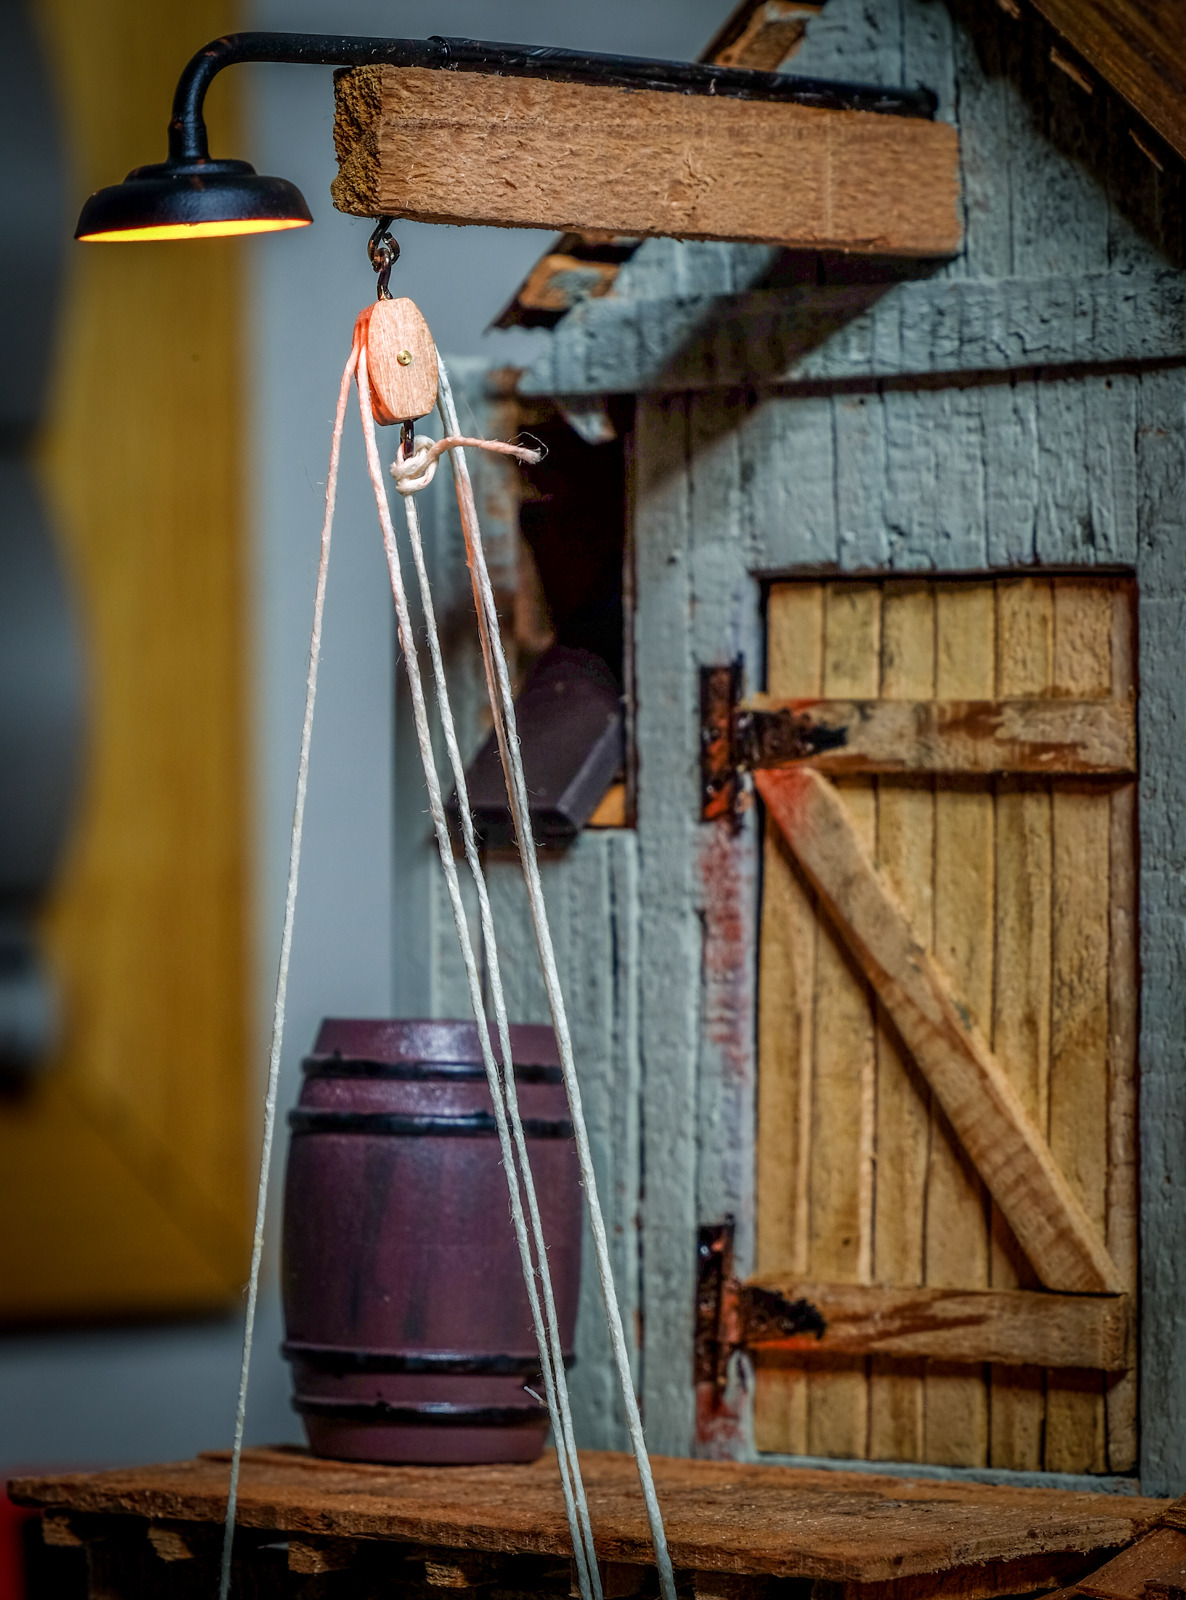
Here are some detail shots:

I spent maybe $15 in odds and ends, mostly very small %'s of larger purchases such as paint, hemp string, and acrylic for windows.

I learned a ton along the way, including how to transfer images directly onto wood, how to make metal roofing, 2 story structures, dormer construction, printing directly on styrene, building windows and doors, and modular construction (this thing can come pretty much completely apart but is still fairly sturdy).

Thanks for all the comments and encouragement along the way. It is a pleasure to interact with all of you here. And thanks to Dave Taylor for keeping this tradition alive and well.

Happy Miking!

[edited to add costs and things I learned]

Ladies and Gentlemen:

Clan Mueller is pleased to offer our “ka’a wa’a” (double hulled sailing locomotive), Wahineokaalahao (Lady of the Iron Road), seen below receiving her ki leaf blessing as she enters into service on the Triple O:

The kids’ school (K-6) uses Hawaiian studies to anchor its anthropology curriculum, which inspired their choice of project. I follow CINCHOUSE’s mandate, “It cannot be just your hobby,” and I parlayed their interest into chance to combine their school work with the hobby. On a personal level, it was a fun way to develop latent (or non-existent) skills, to include the all important ability to see opportunity in "junk.

For those who’ve not followed the build log, the chassis is from a thrashed Big Hauler, the hulls are hollowed garden tool handles, the decking craft sticks, the timbers other craft project left overs, the spars and railings shishkabob skewers, the lashings twine, and the canvas a stained T-shirt. I had to buy some stain, a Dremel bit, some brushes, and a dowel for the mast for about $18. The design, obviously built to PLAYMOBIL scale, is intended to evoke Hawaiian voyaging canoes in appearance without burying it in details to the point it would be no fun. The wa’a (canoe) comes off the deck for adventures at sea.

The photos below show Wahineokaalahao on the docks at Haluku’ilio (Dog Wallow), and, being the products of Oldest Daughter, provide much better sense of size and color:

We had a lot of fun, and I, for one, learned a bit about how to correctly apply my thumb to a tool!

Aloha,

Eric & Crew

OK here it is , as Tim said , compared to the other builds presented mine was a total flop, and I contemplated not showing the finished product for many reasons, including I never really had time to do anything to a higher standard than the proverbial 15 to 20 ft rule, I do not have any junk drawers/ scrap piles/ leftover parts to add to the finished building to detail it. Also work seemed to do its best to keep me from devoting any time to getting it done to a satisfactory level. Ok is that enough excuses or do I need to add i made a halfway attempt of cutting my index finger off an the last weekend to further delay things.

Anyway with a lot of embarrasment to show this next to all these fine examples of model building I present Eli Industries Warehouse facade.

Hope to score some points for Mik like washer/dryer presentation, its raining all day here is Peoria, AZ, I built this using coroplast signs, the plan was for an awning over the railcar, but time ran out so that will be added later, along with many details. The rail door is a corrogated piece of beer can, framed in Ipe hardwood scraps, same for the truck dock roll up door on the side. I took a piece of 2x2 pine and cut the steps, but have not made railings for them yet.

the truck dock plate is a flattened out piece of corrogated aluminum pulled straight to give it some texture and folded to represent a dock waiting for the truck to back in, also some rubber plugs were cut to make the dock bumpers

one of the scrap pieces I did have to use was from my bridge build using a deck from a milk crate, the side pieces were trimmed to use as windows, cut to fit into the openings and then using some hardware cloth ( who ever gave this stuff its name is a sadistic person, this is the sharpest, stabbyiest cloth I have ever been around!) to represent the panes,and some plastic to make “glass”.

View of the dock looking through the box car. I am going to add some lights and other things to make this more appealing , at least to me.

the sign was a last minute addition taped on for pictures, I used a scrap of coroplast, and paint pens to do a quick temporary sign, the huge expanse that will have the awning on it over the car was so big and blank, it needed something. Pending final approval from grandson Eli as to if this fits his idea of what his building is then proper artwork will be commissioned and added at a later date, along with a better paint color.

This Mik challenge was that , a real challenge for me this year, i lost a lot of time to work, and so things were rushed, mistakes were made, but as always I enjoyed the process and congrats to all the great builds . Thanks for looking, Pete.

Total expenditures are about $23.00 for glue and spray paint to paint it. Also a whopping 1.66 for some hardware cloth included in the total.
My goal was to add a building to our 1950s city that would add some whimsy while still being true to an actual building from back in the day. I found a photo of The Coffee Pot diner, and decided to model that. I’m a first timer.

Here’s The Coffee Pot diner (photo probably from the late 1940s).

And here’s my model:

Dave Taylors Mik 2019 project.

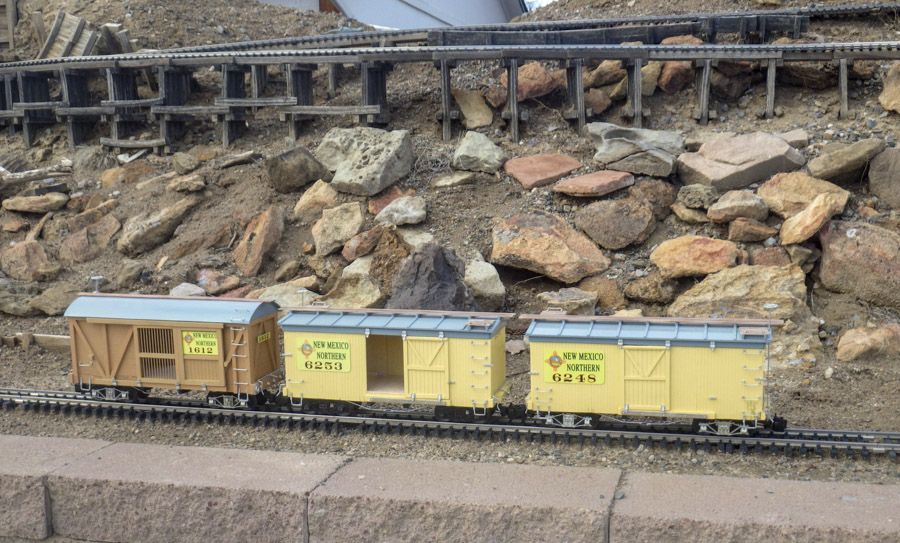
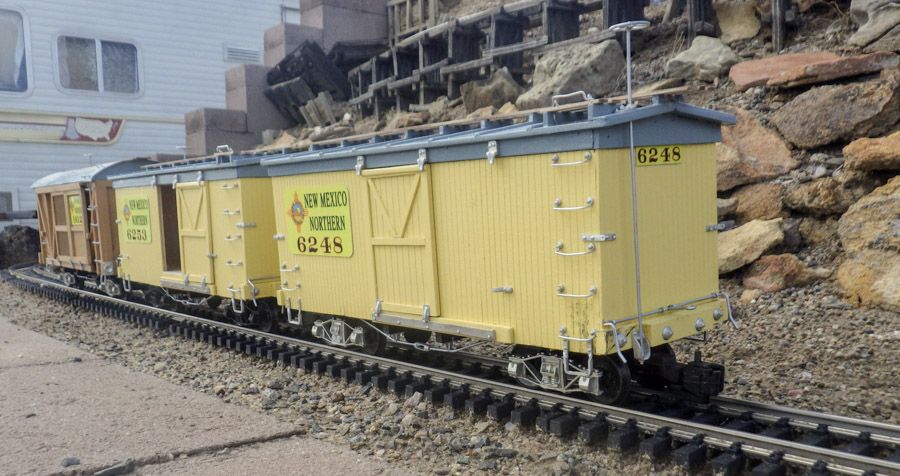
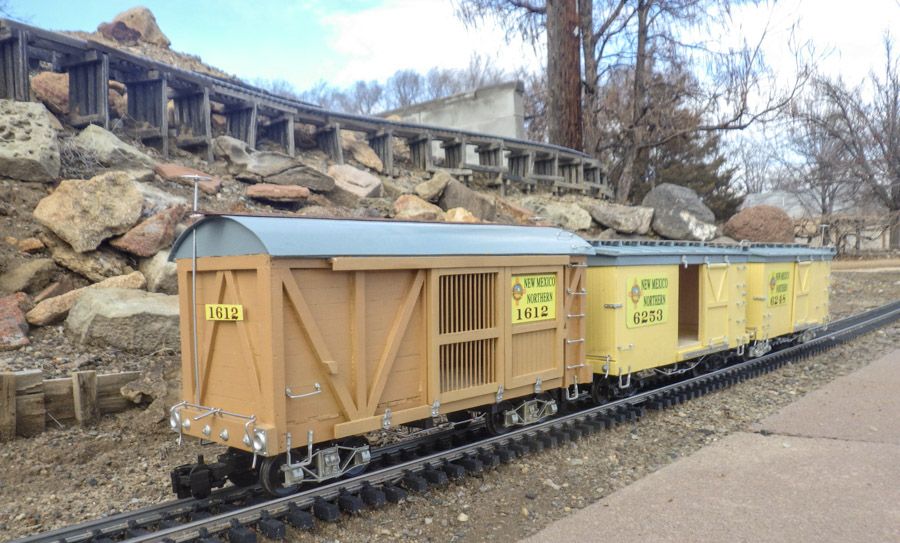
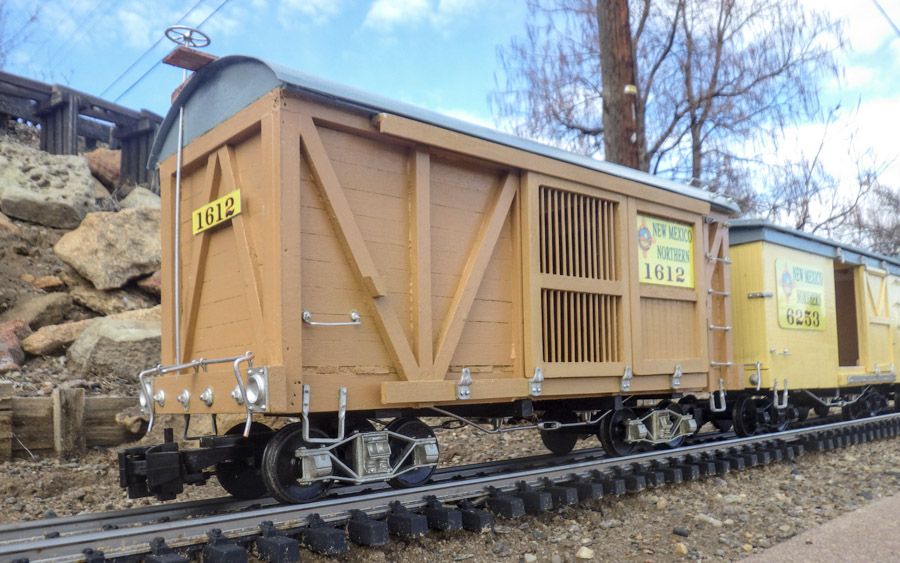
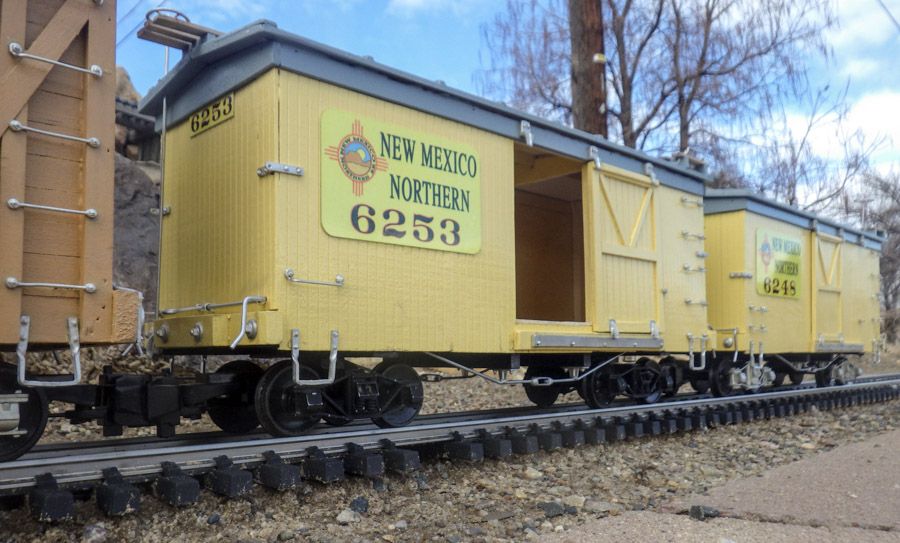
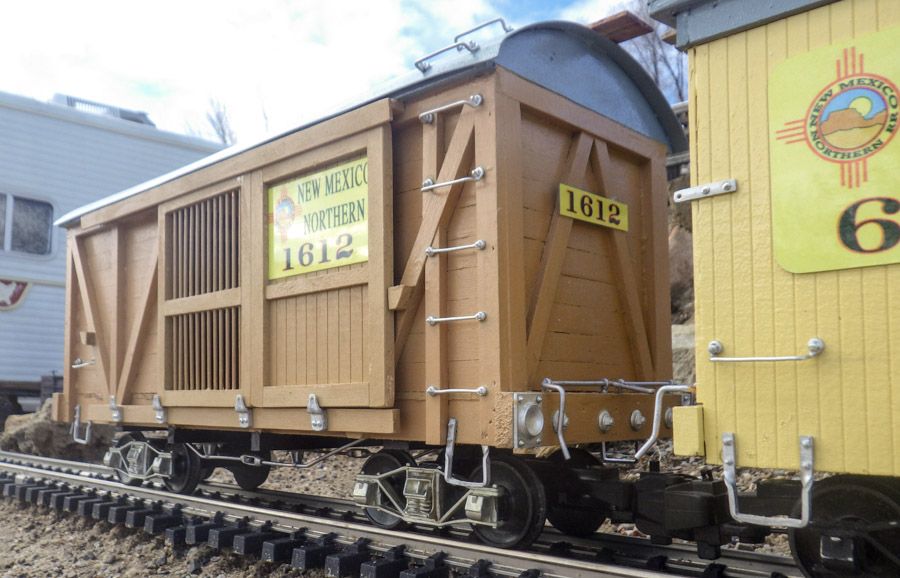
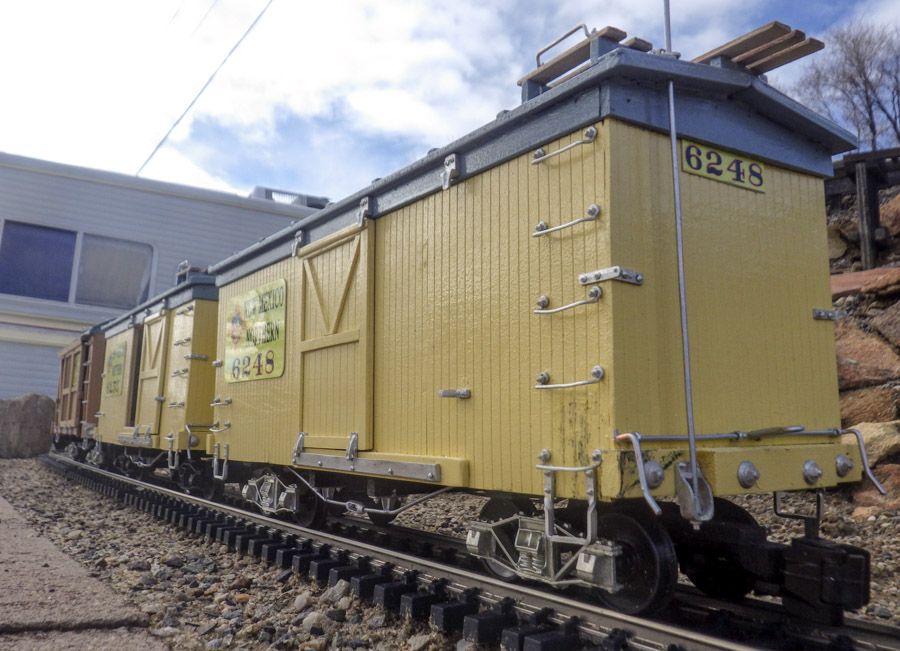
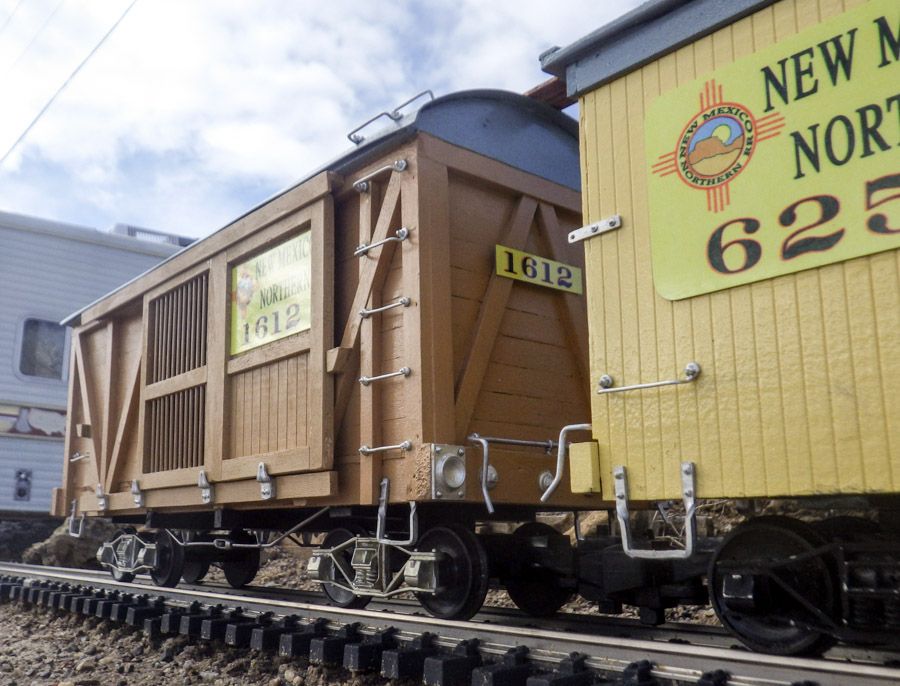
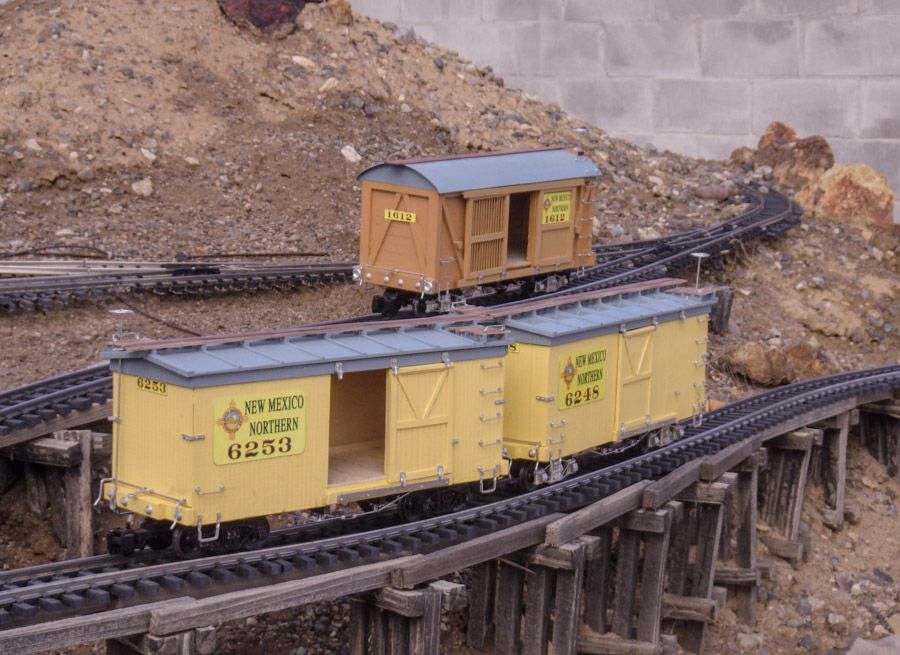
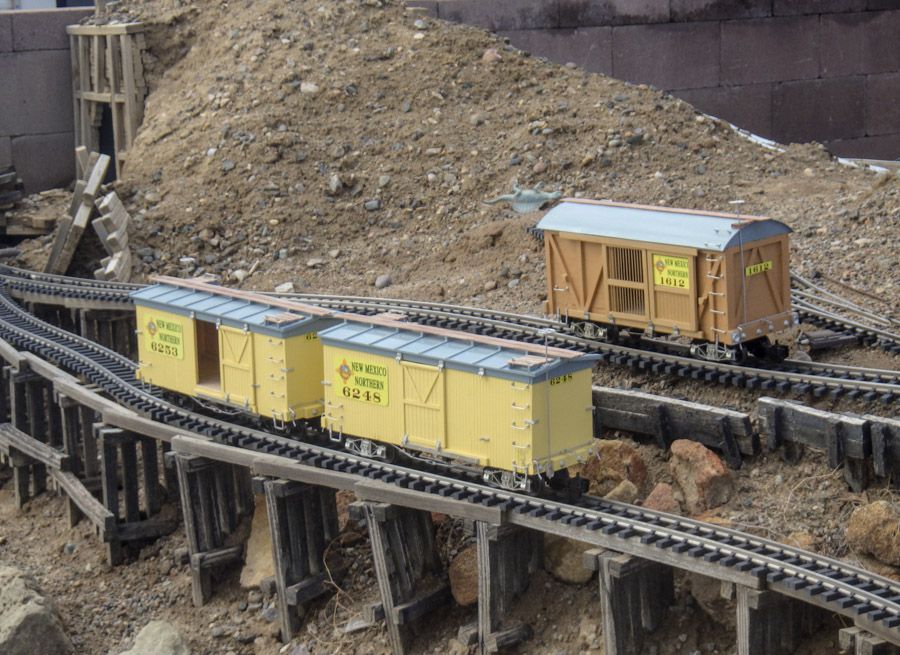
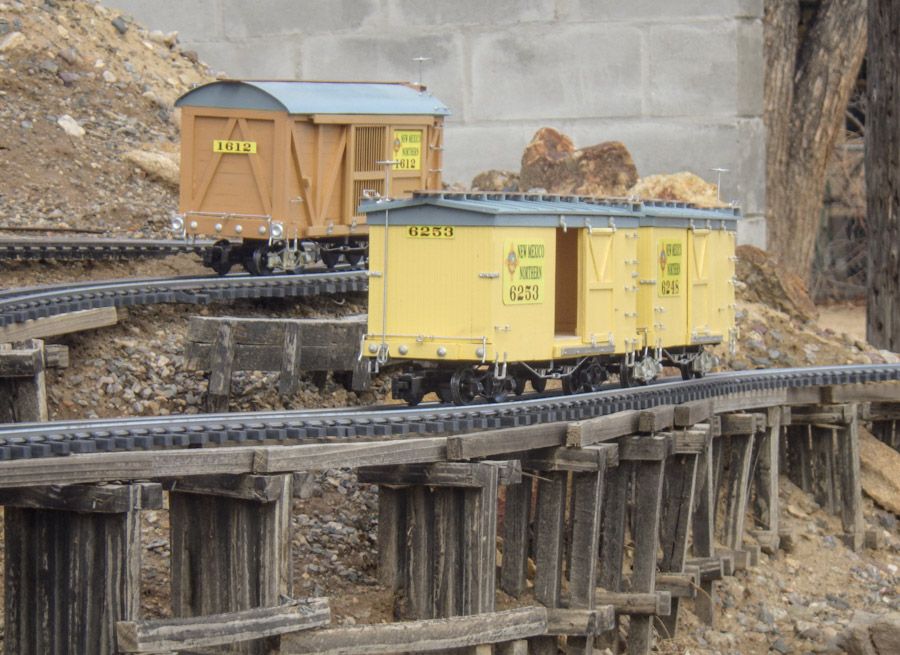
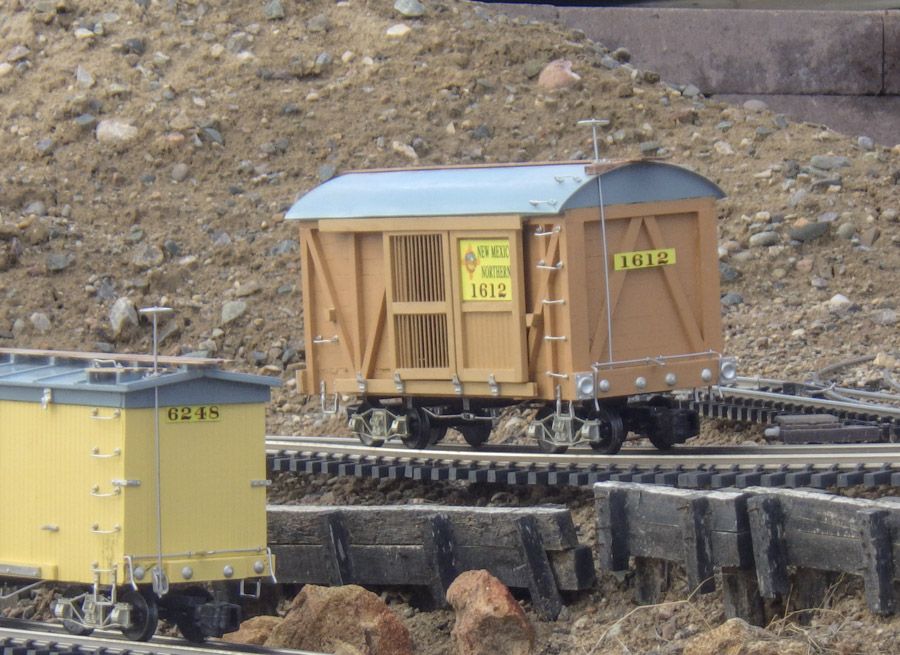
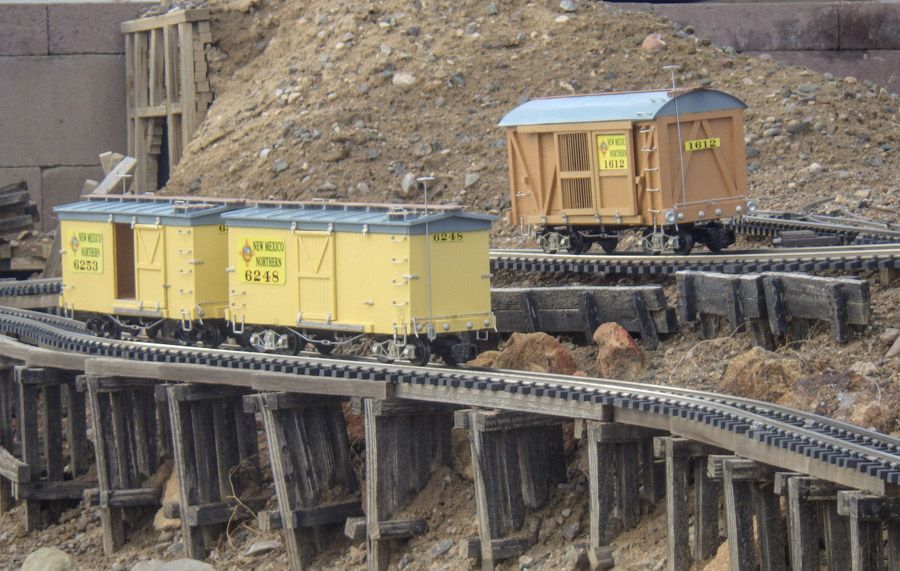
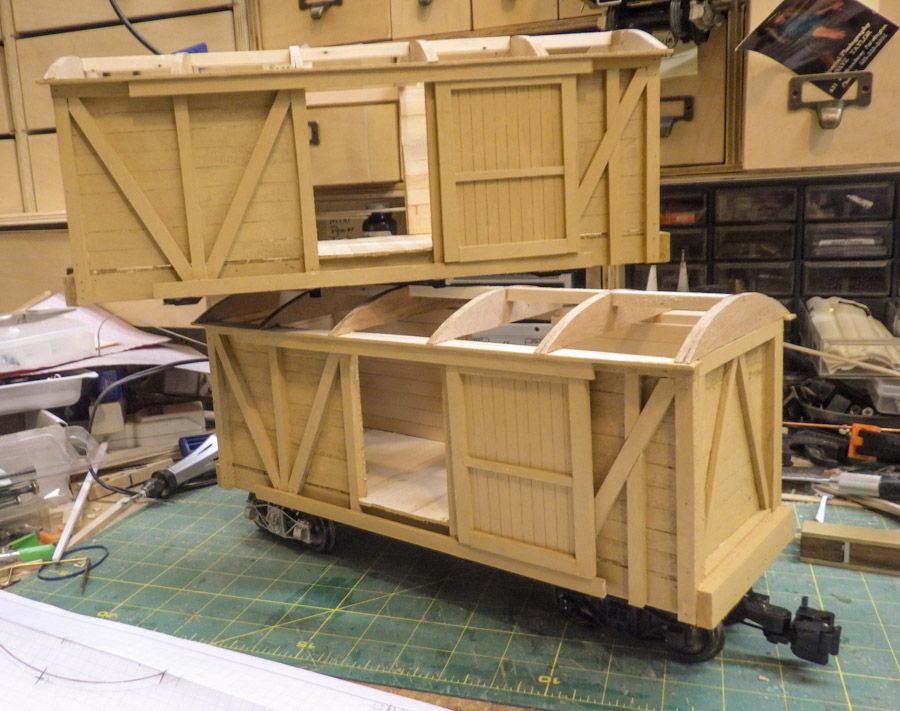
I needed boxcars on my pike, so this year was the perfect opportunity to build a couple of NMNRR’s standard boxes. While waiting on glue to dry, I hade time on my hands, and decided to build an older style ( 1880’s ) outside braced Ventiliated Wagon top boxcar along with the two for the challenge.

With out further ado here are the finished cars.

Since I got these three done and had a day and a half till the finish time, I started two more of the wagon top outside braced boxcars to even out the herd.

These two don’t count words Mik 2019… But I’ll be putting the roof on them tonight.

Thanks

Dave

I dont know If i should post anything as it wasn’t really done as part of the challenge but it does fit the profile…

it started with an imaginary napkin sketch

I never did draw anything before cutting my first stick of wood. But the Napkin is kinda fancy! nice contrast with our well loved dining room table!

I used three packs of craft sticks to make a little building. could be a little flag stop station, maybe a garden shed, or even an out house with a view but no interior. These two guys built it in a few days. beyond the craft sticks, some previously made windows and shingles were used.

a fun little project!

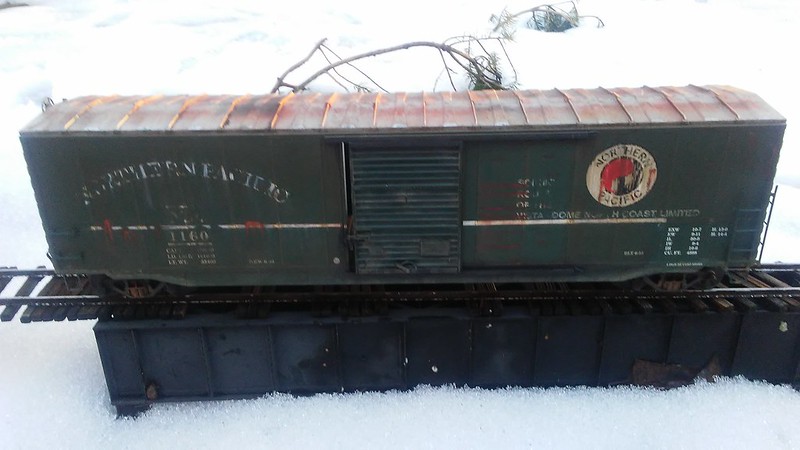
Too late for the official posting, but this is what I ended up with.

As compared to this clean car…

More photos posted on the build thread located here