David Russell said:
Wait …who’s the babe?
Oh fer chris sake…that’s supposed to be a picture of the mine from the entrance. I must have mixed up the source numbers on my website after I made the posting. It’s Whistler’s Mother, not a mine entrance!
David Russell said:
Wait …who’s the babe?
Oh fer chris sake…that’s supposed to be a picture of the mine from the entrance. I must have mixed up the source numbers on my website after I made the posting. It’s Whistler’s Mother, not a mine entrance!
I figured by the age of the building it was the Yankee Woman mine, when the wind blows you can hear her whistling.
John
John Caughey said:
I figured by the age of the building it was the Yankee Woman mine, when the wind blows you can hear her whistling.
John
Ha! Good one ![]() … you’re a sly dude, John C.!
… you’re a sly dude, John C.!
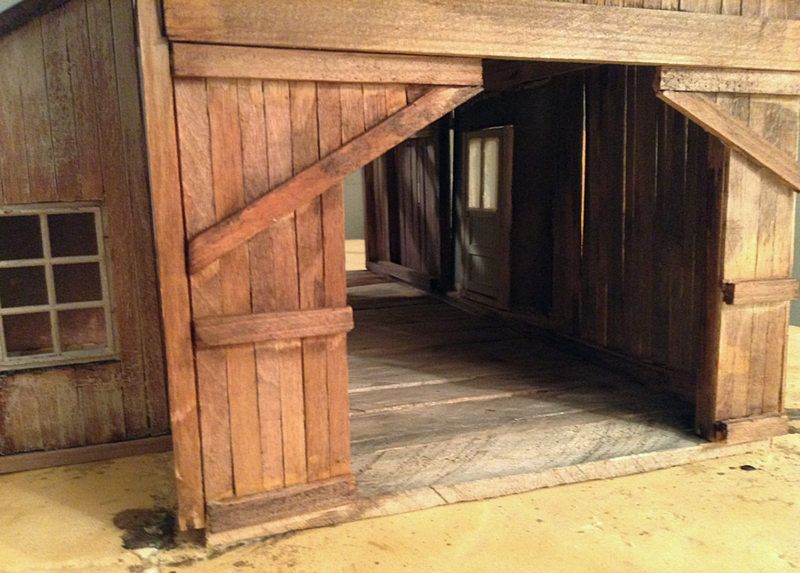
The end is in sight! I just might make it under the deadline, might! I cut a hole in the base to represent the mineshaft and boarded it on its insides. I put a floor in the mine structure, then I stained the plank sheathing of the outside. I got a couple more windows in!! Yay! (My downfall.) I need to do some more tin roofing and weather it. I got half-way through the ridging using Dave’s flashing. I started installing the outside bracing, but I am struggling with the proportions of the main bracing in the front. Too heavy, too thin, wrong angle, etc etc…it has to look right, and so far I haven’t found the right proportions. I’ll keep at it though until I get it right, I hope. All in all, I think I’ll finish this build. Hooray.
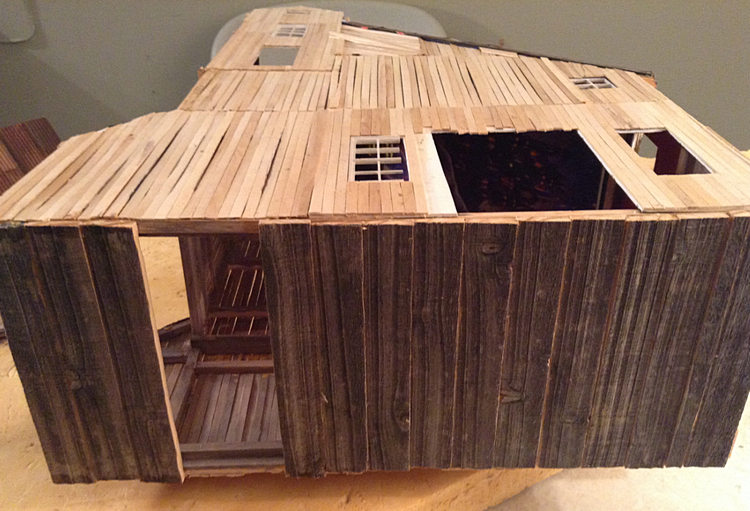
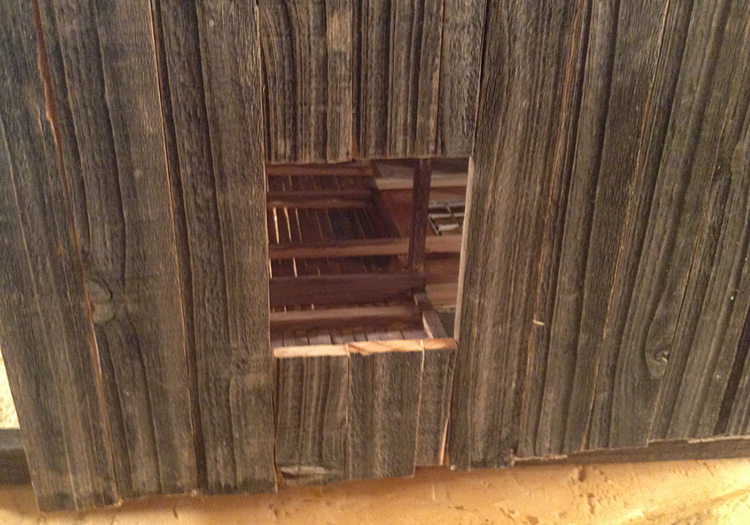
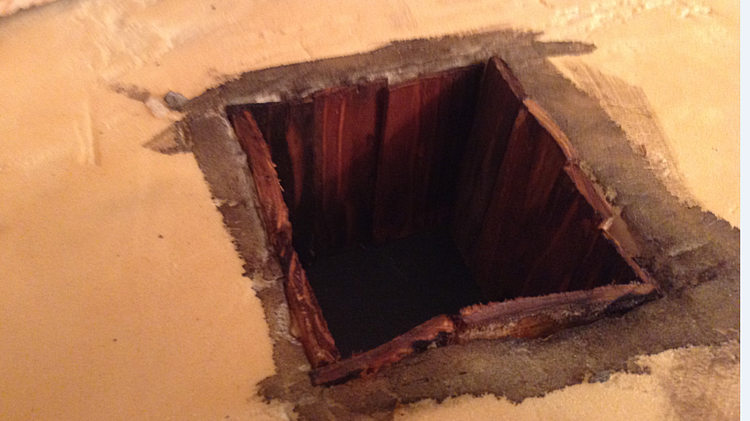
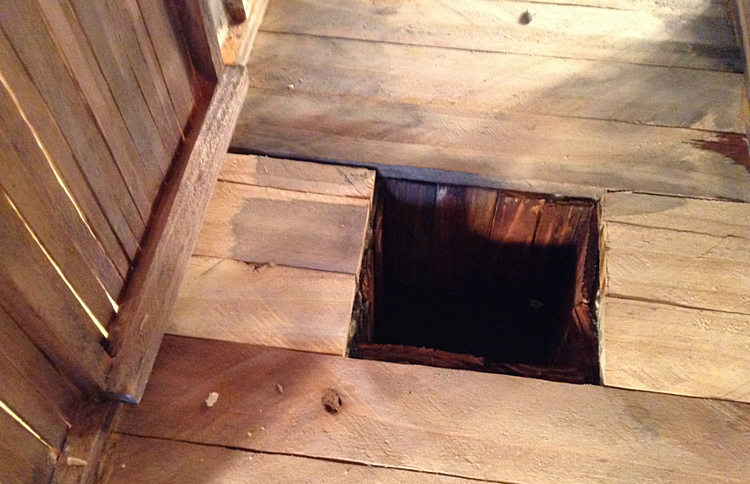
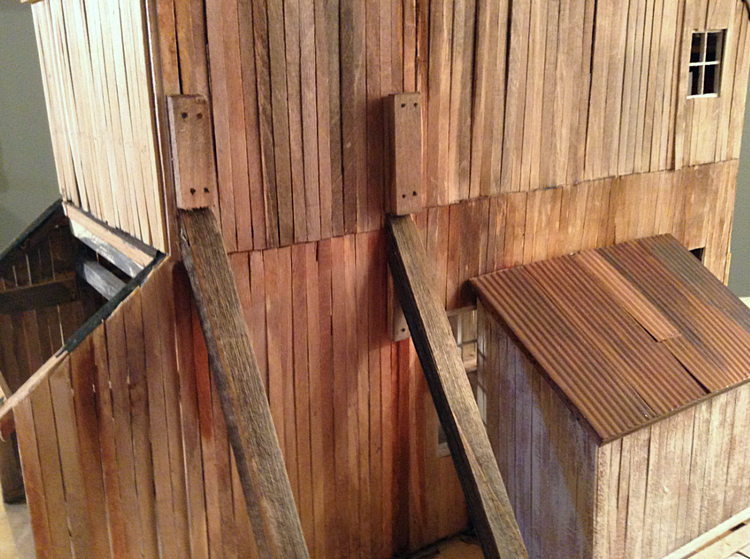
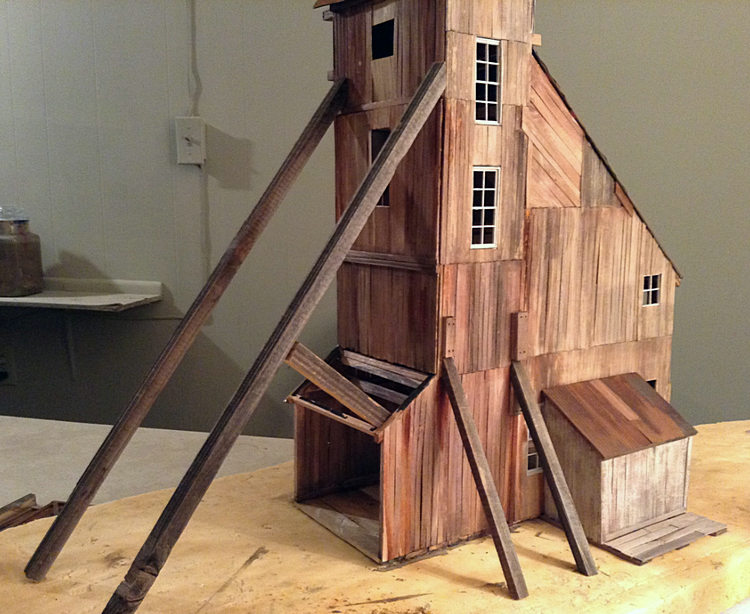
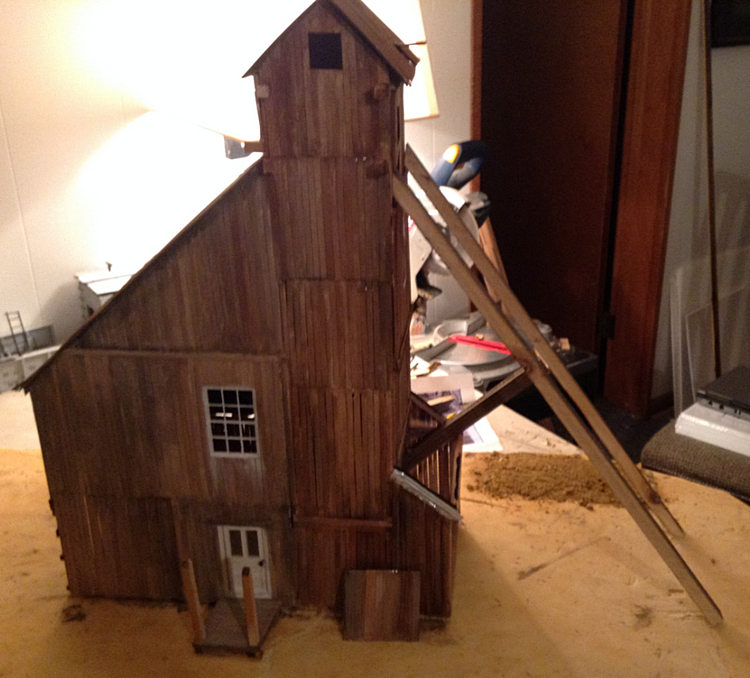
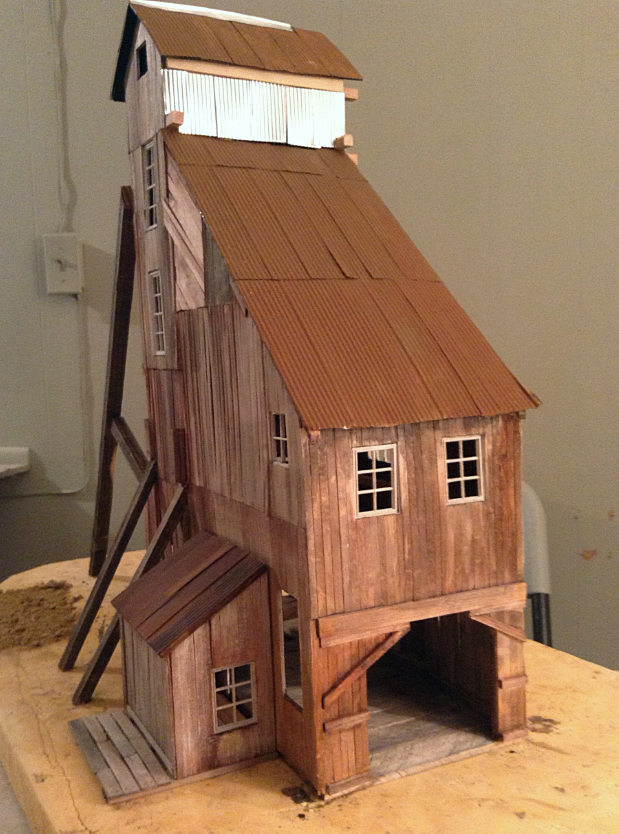
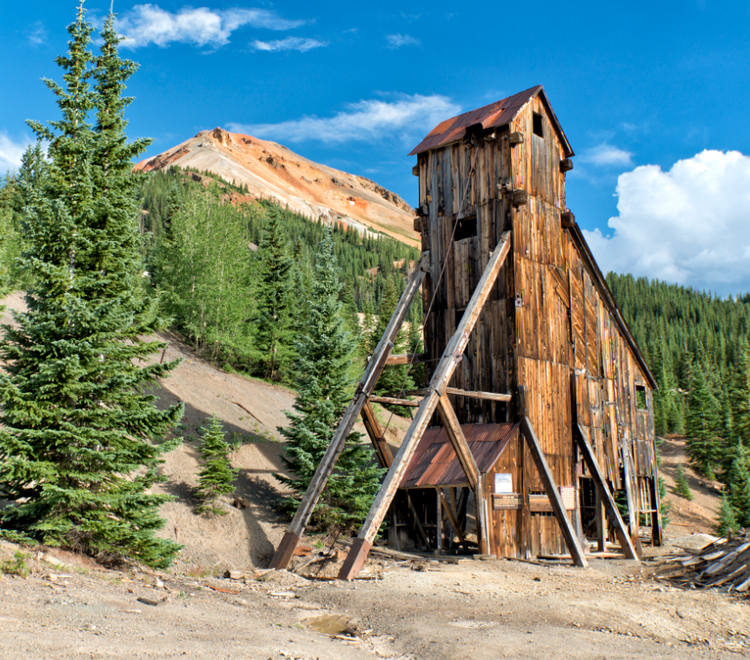
I think this picture here probably gives the best sense of proportion for the outside bracing in the front. I’ll go for this:
You’re doing great, I’d rather see what you do next than to make feeble suggestions (http://www.largescalecentral.com/externals/tinymce/plugins/emoticons/img/smiley-embarassed.gif)
John, the sly.
Awesome
The mine looks great!
Thanks everyone, I’ll keep working.
Tomorrow is a day off…if I didn’t know better, I’d think Dave planned the last day of the Challenge to come on a holiday!
Holiday for some, but not for others.
Homestretch, rounding third, last lap, final round, the fat lady is warming up…I can’t think of any more sports phrases for “almost finished”!
I took some pictures of the colors I’m using for the weathering of the tin that I am doing. These are colors strictly for old tin. The second picture is the base coat, then I take it from there once it’s dry and I’ve had time to look it over. As you can see from the pictures, I added the porch roof on the side of the mine.
There’s a pile of removed old tin next to the porch.
And…I FINALLY got the proportions of the external bracing right (I think) after about five tries. Cut, toss, cut, toss. All the wood comes from discarded fencing that I cut up myself, so I didn’t spend a dime on wood.
Now all I have left to do is the roof over the entry, put the doors on the back, flashing on the upper roof, and some signage. Oh boy. I don’t know if I’ll have much time for extra detailing or how much landscaping around the mine I’ll be able to do…like Maynard said, today’s a “holiday for some, but not for others”!


Thanks for taking a look and if you have any suggestions, let 'em fly.
John Passaro said:
Homestretch, rounding third, last lap, final round, the fat lady is warming up…I can’t think of any more sports phrases for “almost finished”!
2 minute warning, no timeouts left…(http://www.largescalecentral.com/externals/tinymce/plugins/emoticons/img/smiley-wink.gif)
This gives a whole new meaning to “cutting room floor.” And it’s actually a lot worse than it looks. Man, do I have some cleanup to do tomorrow.

Sports Phrase? “it’s not over until it is over”
That is a mess!
Why not take some of the scrap from the floor and make piles of scrap wood junk to place around the mine and your RR?
I wish my shop floor was that clean. I cant see it anymore for all of the stuff down there.
It was a late night, but I finished, or at least as finished as it will get given the deadline. I’ll take pictures today as soon as I can and get them into the final build thread.
I’m looking forward to seeing all these great builds pictured in one place.
That is a lot of sticks! Sure did turn out well. Did I miss the actual dimensions of your model? It looks BIG.
Great job.
John, that really turned out nice. You’d be hard pressed to tell the model from the real thing. The coloring on the tin & wood is perfect. That’s going to look really good on your layout. Are you going to model all of the support structures for the mine as well?
Thanks Bruce…it is big. It’s 23 inches tall. I tried to build it in 1:24 scale and estimated the actual dimensions from pictures. I didn’t have time to drive down there and measure it! Although I have been there years ago. It was a LOT of sticks (and a lot of cutting) indeed! More than once I questioned the saneness of building it stick by stick, but for the most part I like the results.
I’ll post the final picture tomorrow morning, didn’t have time to get to it today while there was daylight.
Hello Randy, and thanks for the kind words. I don’t know how many support structures I will add. It will depend on where it goes on muy layout and how far along I want to take a mining scene/town. Maybe I should have thought of that BEFORE I chose this for my build???
I’ll definitely model the strange and interesting hoist mechanism that shows in Dave’s pictures. I had intended to include it in this build, but time ran out on me. It was a satisfying build for me, and a I really enjoyed watching all the progress on all the other great builds this year.