Large Scale Central

2016 Build challenge Entrants Photos for voting

PLEASE DO NOT POST COMMENTS ABOUT BUILDS IN THIS THREAD.

Post them in the individual build threads.

This thread is for pictures of the builds for voting. Each participant needs to post his photos and comments of his finished or Un-finished challenge build. Please Identify who you are, and what you built, and any other comment you would want to tell about your build. PLEASE limit the number of photos to not more then 6 total, in this thread.

Please keep this thread clean of comments about the builds. And limit posting to the participants of Mik’s build Challenge 2016

Please mention also if your a first time builder.

I’ll jump in.

Devon Sinsley

Build is 1:24 two bay engine house. It will be for my eventual indoor layout which is the SML&M Co. or Sinsley Mountain Logging & Mining Company

Travis Dague 1 /24 th scale fire house. Built for indoor use from cedar and Luan plywood frame. All items except for the Tin roof, Barrel, and door hinges were scratch built.

Shawn Viggiano 1:20 scale. Clove Church.

(http://oi63.tinypic.com/se9fn9.jpg)

(http://oi66.tinypic.com/1zd3rqo.jpg)

Vic Smith, 1/22.5 scale, cliff hanger outhouse for the Weda & Hechawe RR pizza layout.

Total costs $0

Matt Kirichok, 1:29 (ish), log cabin for outdoor layout (Blue Stone RR), spent: $5.00 for chimney rocks, $10.00 for watch batteries for lanterns (used only 4 of the 10 batteries purchased).

(edited to add one missed photo)

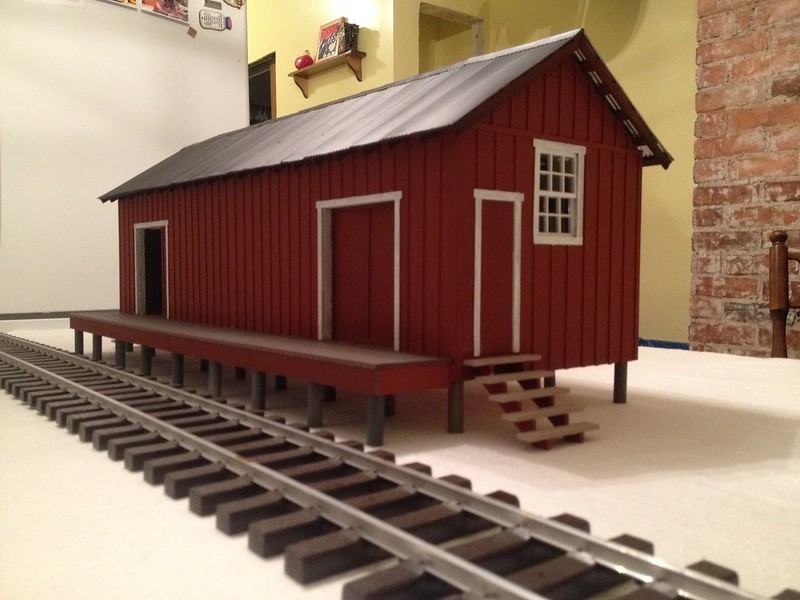
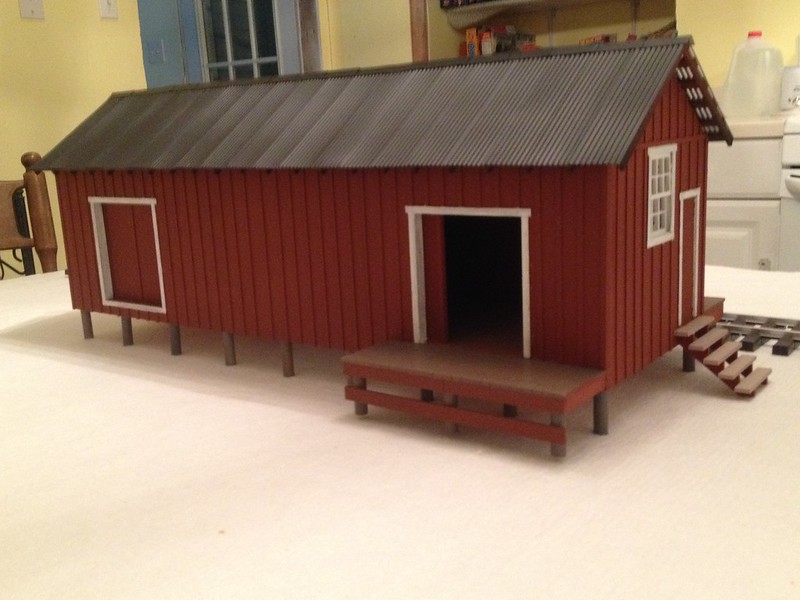
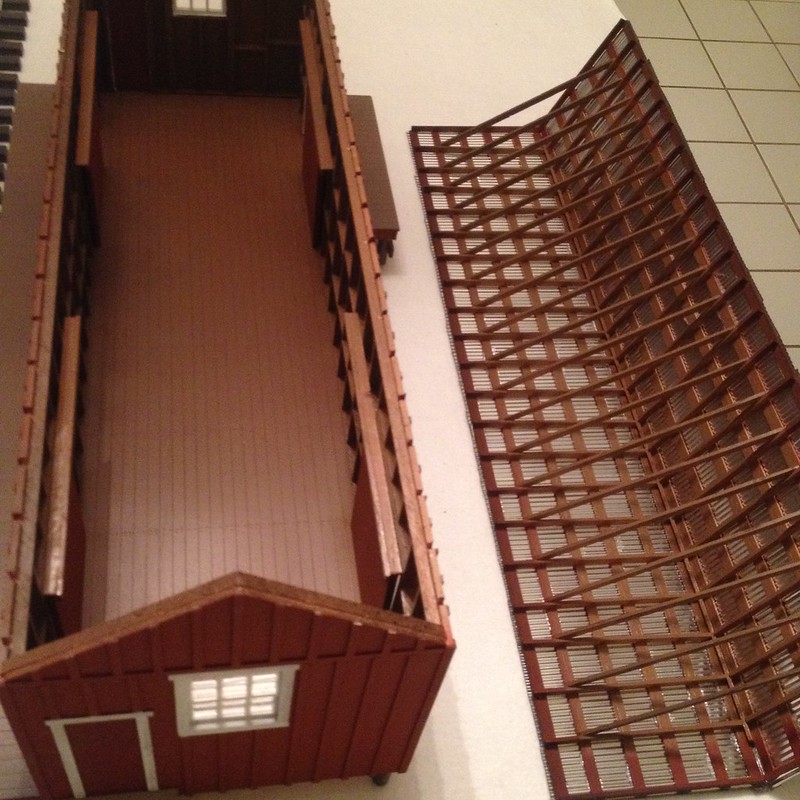
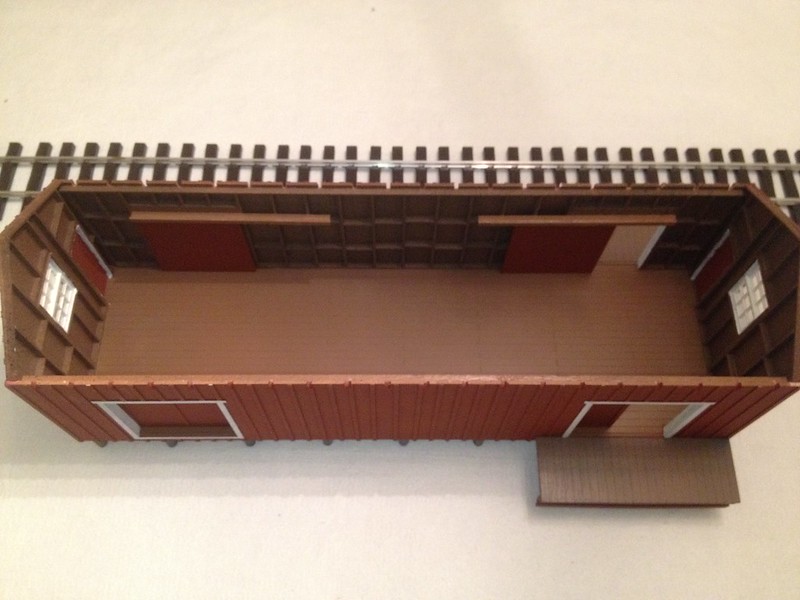
Randy Lehrian, First timer, 1:20.3 Scale replica of the East Broad Top Freight House located in the Robertsdale wye.

Total spending: $19.45 for two rattle cans of paint and three 3/8" pvc pipes for the pilings.

Finished Freight House

Finished Freight House

Finished Freight House

Finished Freight House

Finished Freight House

Finished Freight House

Thanks for all the fun!

Doug Arnold, 1/24th scale, Two holer for Dirty and Dusty Railway

Did not finish

Did Not Finish …

A whale’s Tale

Old Tymer Desert Rat.

Got carried away with the swing…when weather and life weren’t taking my time.

At rest it’s benign …

The power core is a cheapo $10 screwdriver impulse buy from years ago. Originally it was fueled by 2 Duracell 1.5v AAA, but to sell tix we had to reduce the Power.

Wire, all brass and switch in the good junk box.

The castle turret was it’s case turned upside down and sheathed in pure Tin Taylor Tin! The dull silver on the turret is a Silver Metallic Sharpie.

2 Enloop 1.2v rechargeable batteries took over … Finial; $3.34. Subs were collected over the year, aquarium props. Chain; $4.50 Michaels.

Just like the Beatles, one is different… the backwards one.

There will be more walk ways connected, but first I’ll need to allow for fresh batteries! As it came up to speed, it’s a friction drive, I had to move the tin back…

I apologize for not finishing. Heck I couldn’t even include the Colossal Fossil because it’s too heavy for me to carry back here and this display was built on my dolly!

Me napkin let me down! That’s my story.

John

Eric Schade’s section house…I spent about $15 on the aluminum blackener from JAX … actually I purchased it in December but as I used most of it up, I guess I should count it. the wood was scrap spruce and pine and cedar shingles made from small logs on my band saw. the windows are teak scrap from Mystic Seaport’s build of the schooner “Amistad”

I had a great time with this project! Thanks for load of roofing and the kick in the back side Dave!

My building is a combination of two buildings at the WW&F Railway in Alna Maine. The first is a weathered old tool shed which houses the tools we use to build our track. the building is actually original to the railway surviving the closure as a lawn shed in Wiscasset before heading back to Sheepscot where it served as a flag stop station after the original burned. The second inspiration is a new built replica section house. my building is a liitle smaller than the section house but is based on its look and layout. the weathering, paint and inside clutter is based on the tool house.

Lets go in…

My wife and I took a trip to Ireland in January and in our travels visiting family and friends we spent a night with a old school chum of hers. They operate a beef cattle farm and this terrific barn was built by her husbands father. It was perfect for this years build challenge. Sheila, Dermodt and their kids are going to get a real kick when I send them the photos of their mini barn.

The cost of this build was about $15 plus a donation to the DT Tin Works. Thank you Dave. The ivy I bought at a craft store and who knew that fake flowers were so much money but luckily they were having a 40% off sale that week. $6 went to a tube of glue. The pallets were hand made using bits of wood and coffee sticks and the rolls of hay are actually spray paint can caps wrapped in a black trash bag. The Ivy is wired vine by vine to a piece of hardware clothe and this can be removed from the building by loosening one screw.

In the Spring the barn will find a permanent spot on the RR. There is a patch of real ivy that is currently still under snow that this barn and its growth will look good next to.

All in all a good and fun challenge.

Waverly Southern Railroad
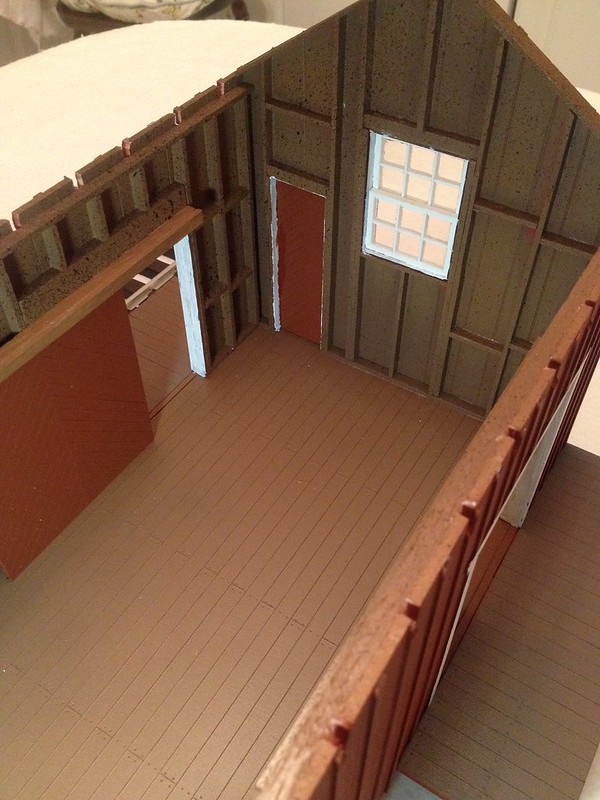
Engine House Build, Mik’s Challenge 2016

Dan Hilyer

1:20.3
1st Time Participant

The WSRR recently acquired a new locomotive from the Oregon Lumber Company. The RR owner, B.C. Paws decide he wanted a new engine house to keep the locomotive in when not out on the rails. He engaged the services of R.E. Mington, the RR’s chief engineer to design and construct said structure. Over the last month, Mington and crew have diligently been working to complete the engine house by Mr. Paws’ deadline. However, due to many outside influences, the crew was unable to get the structure 100% finished. The photos below show the current stage of construction. Although not completed, the building does give its on lookers a glimpse at how a building is put together. I hope all our visitors enjoy the photos.

The building is constructed from red oak, white oak and the windows are made from black walnut.

Final Costs:

Items on hand as of Jan 1:

Wood
Brass track
Glue
Rail spikes

Items provided for Challenge:

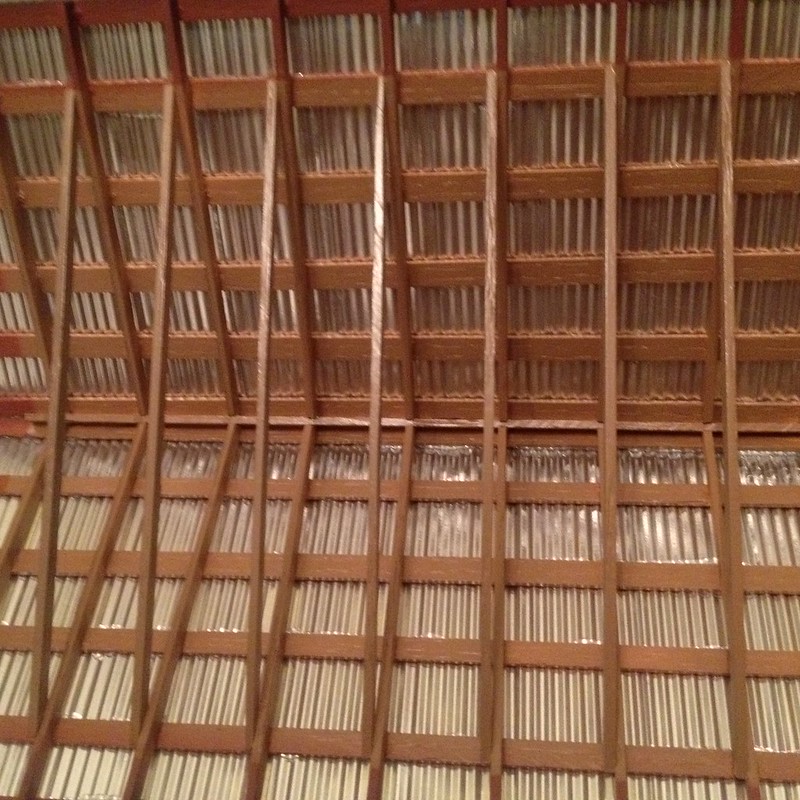
Tin

Items Purchased:

23 ga Pins - $3.23
Ink - $1.58
Paint - $1.50
Al. Blackener -$12.48

Total Cost $18.79

Hello,

My alias is Daktah John, and this is my first time here at Challenge Builder’s Anonymous. Yes, I have some modeling and scratch building experience, but I have not participated in this group before.

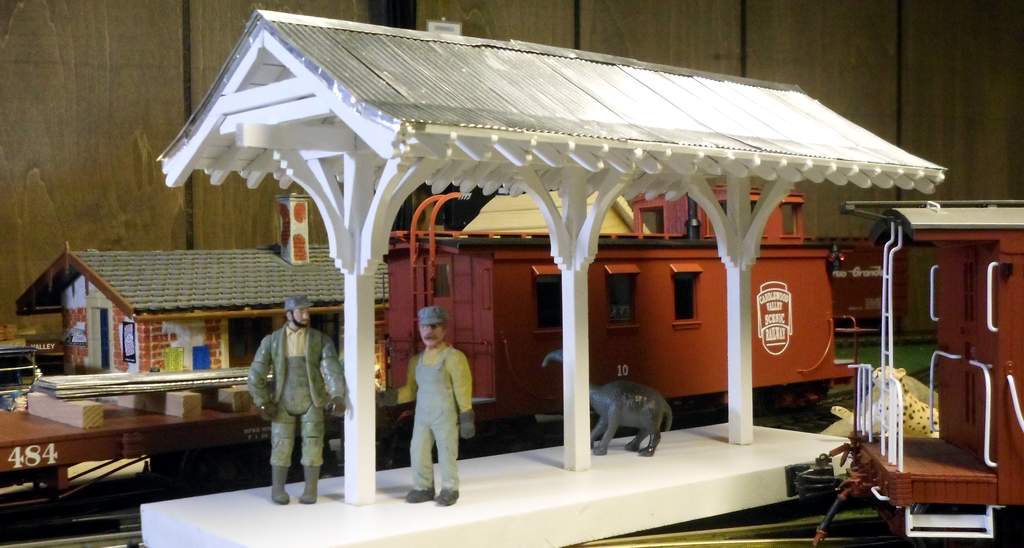
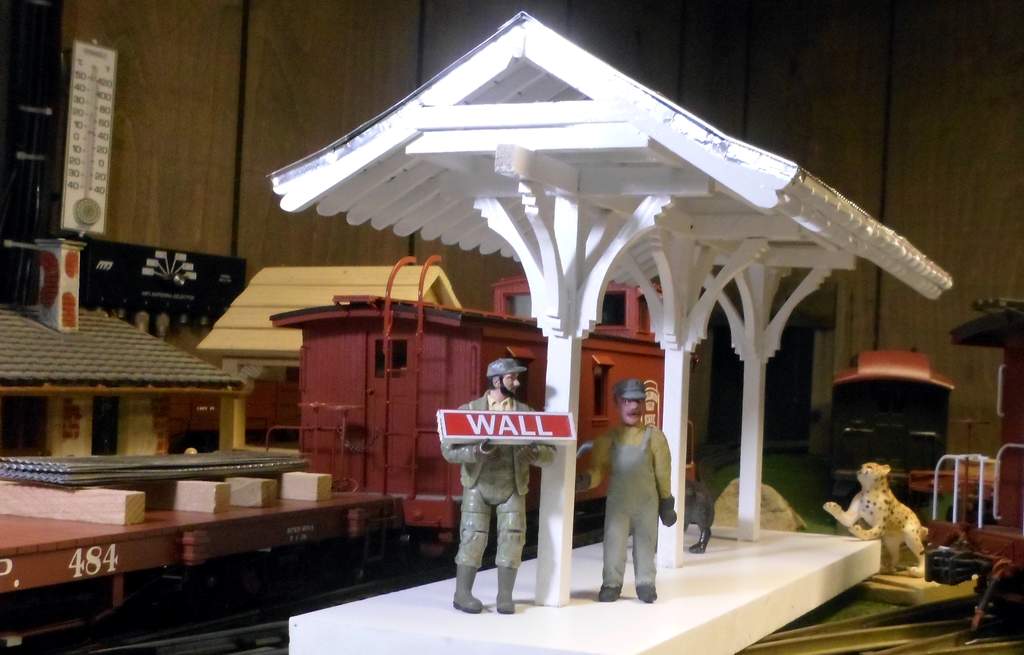
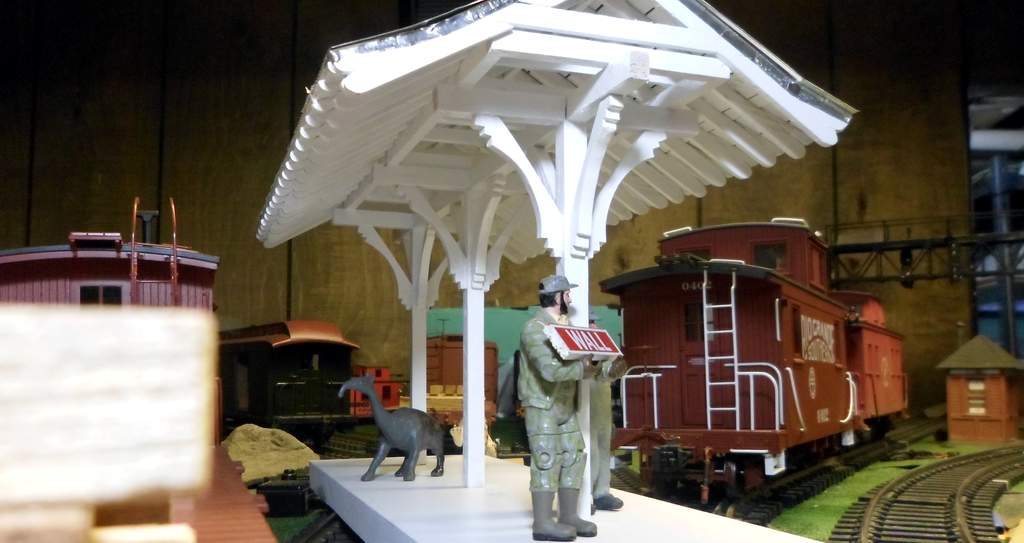
For my Mik Challenge, I chose to build a Passenger Shelter to go with the small station on my railroad at Wall. The structure, with the exception of the PVC base and Aluminum (tin) roof , was built entirely from Clear Cedar cut from post scraps. Sorry, not true. The braces are made from modified slices of crown moulding purchased for the project. My cash outlay was $21 which also included paint and glue.

The shelter structure is based on the shelter at the Danbury Railway Museum in Connecticut. Prototype photos can be seen in my build thread located here: http://www.largescalecentral.com/forums/topic/24879/mik-2016-buld-log-daktah-john-cvsry

Enough chit-chat - Lets take a look. Here it is, on it’s temporary base sitting in a temporary location on my indoor track…
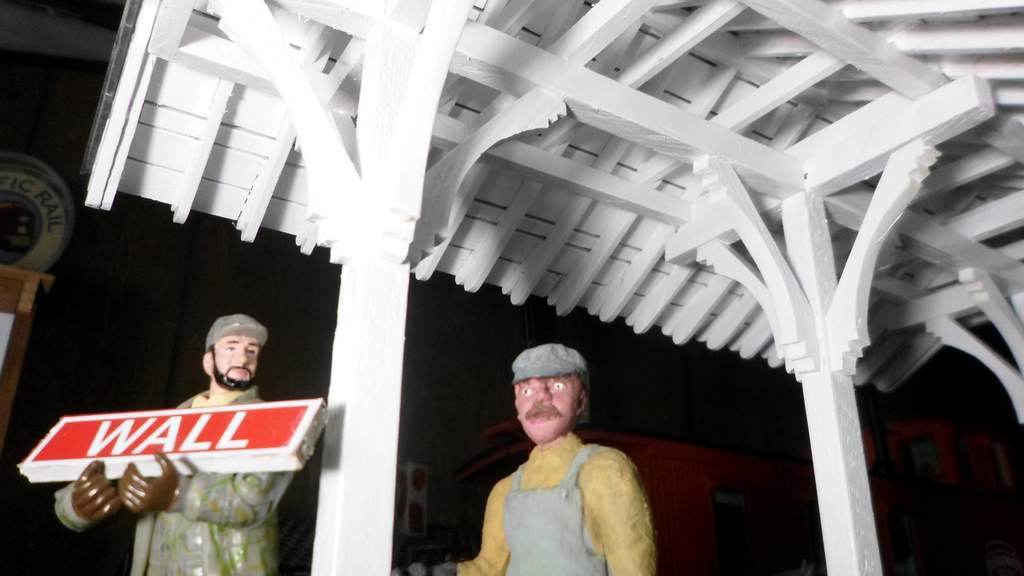
Here Sven holds up the sign that he was supposed to hang last night before sunrise. I went to bed and left him to it. I should have known better…
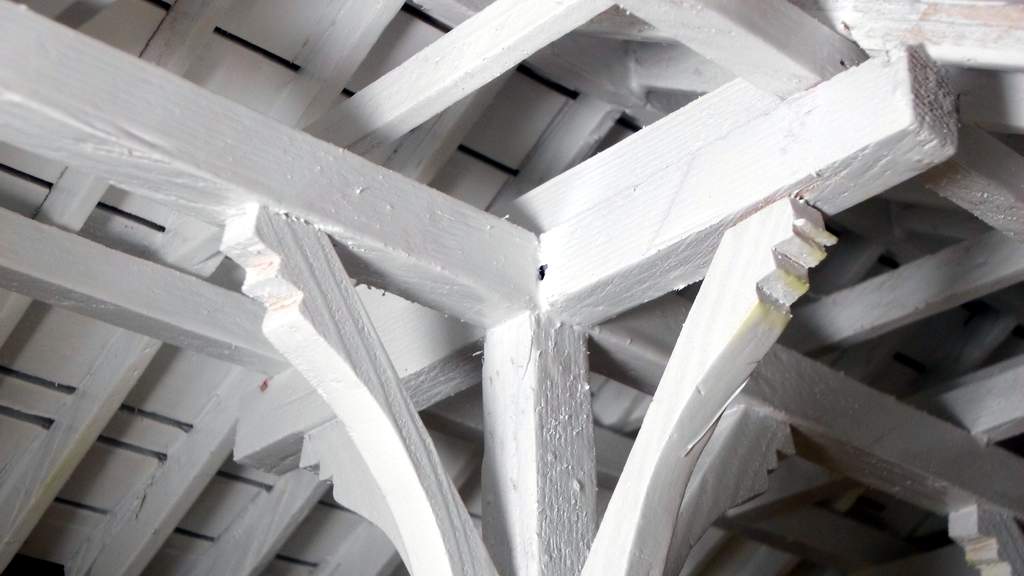
I love this detail shot…
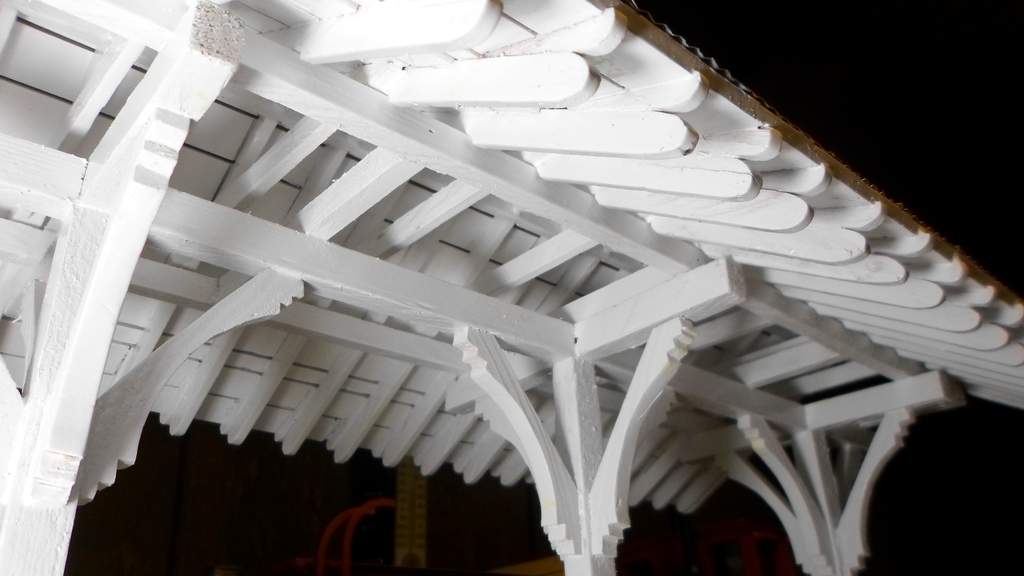
A longer end view. The remaining tin sits on a flat ready to be delivered to the next job site…
So there you have it. I’m really glad I decided to participate this year. It gave me interest in closely following everyone’s builds and, as usual, I got lots of great feedback from LSC members as my build progressed. It was the most fun I’ve had in the dead of winter in a long time. Rule #1 accomplished (http://www.largescalecentral.com/externals/tinymce/plugins/emoticons/img/smiley-cool.gif)
Finally, I just want to give a huge thank you to Dave Taylor for keeping Mik’s legacy alive and managing this challenge year after year.

My project entry is an oil well. Since its going to be an outdoor structure I try and keep fragile details to a minimum. I usually build to 1:24th scale, but since the pick up I am using as the power source is a 1:32nd scale truck, this building was built with a rubber ruler to about 1:27th scale. All materials used I had on hand, including the broken truck, and spoked LGB plastic wheel that became a pulley on top of the derrick. So, total cost was $0.00

This Build is NOT for Judging. I went way over budget( start with 4 tubes of GOOP), and was forced to build big.

I needed a factory for my pike, and this was the best chance to get it done. Since I hand made all the corrugated panels for the challenge, naturally I needed a Tin Factory to make the tin in. Now a Tin factory that ships all over the country just couldn’t be only 800 sq. Ft. I set out to make a simple rural factory, something that you just might find most anywhere outside of town. Time around the 1920"s

I didn’t get it all finished in time. Yet to do, Lights inside, and dock lights outside. Details all over. I need to make some kind of front entrance and steps. Lighting for the signs also.

Glazing for the windows need to be cut and installed. It ended up being 35" long 16" wide and 21"tall.

As Head honcho of Mik’s Build Challenges, I want to say Thanks to All that carry on in Mik’s traditions. This crazy hobby we all love, needs more Mik’s.

Make some fun, and go build something.

Dave (the Tin Man) Taylor.

Sorry it took me so long to get pictures up, but I had an unavoidable task yesterday that took priority (can’t stand it when life gets in the way of railroading, boo). I hope I’m not last in line!

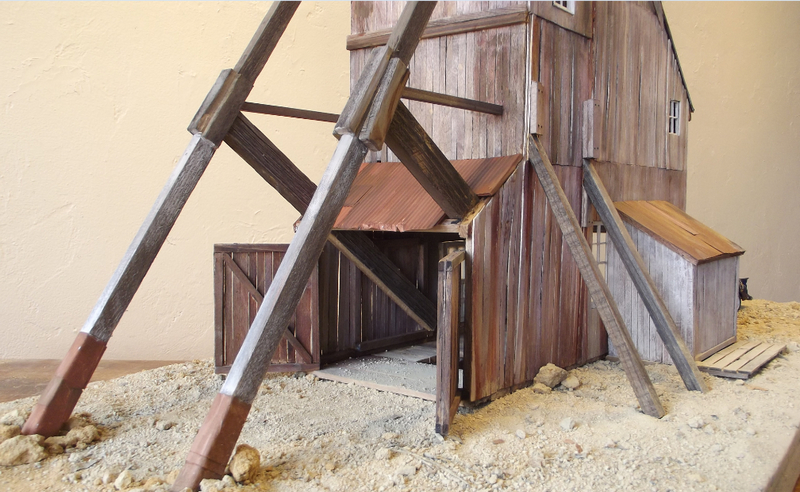
The Yankee Girl Mine is 24 inches tall, 26 inches lengthwise, and about a foot wide if you take into account the shed and porch. I spent $3.99 plus tax on glue. To say that I enjoyed making the mine and that I really really enjoyed the fellowship and good spirits of our LSC community this year would be an understatement. The builds are outstanding and everyone’s process over the last few weeks has been fascinating to watch.

I don’t know how great these pictures are, but here goes nothing. (I think I’ll put a few more in the build thread.)

For Larry Brewer NOMNM.

THIS BUILD IS NOT FOR JUDGING, Only for Rule #1.

Larry is having trouble getting photobucket to post so I’m Posting for him. I had asked Larry to help me get a couple of buildings for My Pike and then I talked him into doing the challenge. I gave him some custom cut tin, and told him that I wanted a trackside “Oil Shed” This is what he came up with. BTW He did have advanced notice on what the challenge was for this year. In the past Larry was my “Beta Tester” for the car kits.

You may have noticed that I built a 4’ by 10’ loading dock extension so 1:20.3 cars etc. will not hit the new tin roof. I also decided to put a set of stairs to allow workers to access the shed with ease. You can place the extension on any of the three sides you wish to have adjacent to the siding.

Larry P.S. I also bent and installed the ridge tin…

Also note: the boxcar is a custom built by Larry of a shorty boxcar kit I put together, Again a Beta Tester of the kit.

I look through these pics and am once again amazed at all the amazing builds!! My entry was not finished as it was time to go back to the mission field, but I really enjoyed being a part while home, and do plan to finish next visit! But for those of whom are interested, here is where it stands now, if the lumber crews had stopped all the shenanigans it may be done hahaha

I thought I had more pics, but here is a link to the build thread that shows where it was going

http://largescalecentral.com/forums/topic/24891/mik-s-build-challenge-2016-loyet-lumber-co

Thanks again for another great winter of fun :slight_smile: