I started with a green unlettered AMS J&S combine. After removing the body shell from the frame, I removed the AMS incandescent lights and 6 volt regulator circuit. I also removed the electrical pick-ups from the trucks.
I replaced the stock AMS couplers with Kadee 901s.
After separating the plastic floor from the metal floor, I carefully removed the seats, pot belly stoves, and bathroom wall partitions from the plastic floor. I painted the plastic floor and wall partitions with Rust-Oleum® Painter’s Touch® 2X Ultra Cover satin Nutmeg spray paint. I painted the stoves with flat black. I reattached the seats, stoves and wall partitions to the plastic floor with GO2 adhesive.
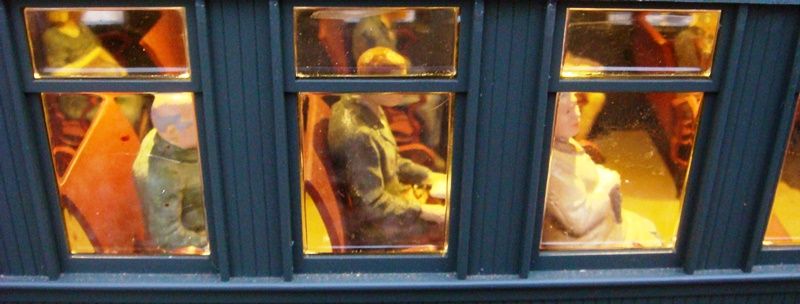
I purchased a set of twelve 1:25 scale seated figures from Amazon and painted them with hobby acrylics. These are slightly undersized for 1:20.3 scale, but look fine as passengers. I glued them to the seats with GO2 adhesive.
Here’s how the passengers look through the windows.
I built the lighting circuit to illuminate the combine and also to supply regulated 12 VDC to additional following coaches. The circuit consists of a 2600 mAh Li-ion battery pack, an ON/OFF toggle switch, a ½ Amp fuse, a high efficiency ½ Amp 12 VDC buck voltage regulator, and three connectors. I mounted three 3mm, 60° dispersion, 3.2 volt, 20 mA warm white LEDs under the roof of the passenger compartment. The three LEDs are in series with a 150 Ohm resistor. The regulated 12 VDC runs under the frame to the rear of the combine for connection to following coaches, if needed. Since the voltage regulator contains built-in over current and thermal shutdown protection, the fuse is probably not needed. However, I’m an “old-school” type of guy and tend to put fuses in just about everything I build.
Here is the circuit schematic:

J1 / P1 is a 2.1 mm power jack / plug connector. To charge the battery, plug P1 is unplugged from jack J1 and the battery charger is connected to jack J1. This connector is easily accessible by sliding open the right side baggage door. The toggle switch is mounted to the floor with the handle protruding beneath the floor on the right side near the front truck. Connector J2 is a power jack connector to the combine interior lighting. It mates with P2 before the shell is attached to the frame. This allows the shell to be totally separated from the frame for maintenance on the interior. Connector J3 is a 2-pin power jack under the floor at the rear of the frame. The mating 2-pin plug would be on a following coach. Connector J3 is stowed behind the coupler pocket when not in use. The battery pack and the voltage regulator are secured to the plastic floor with double-stick tape.

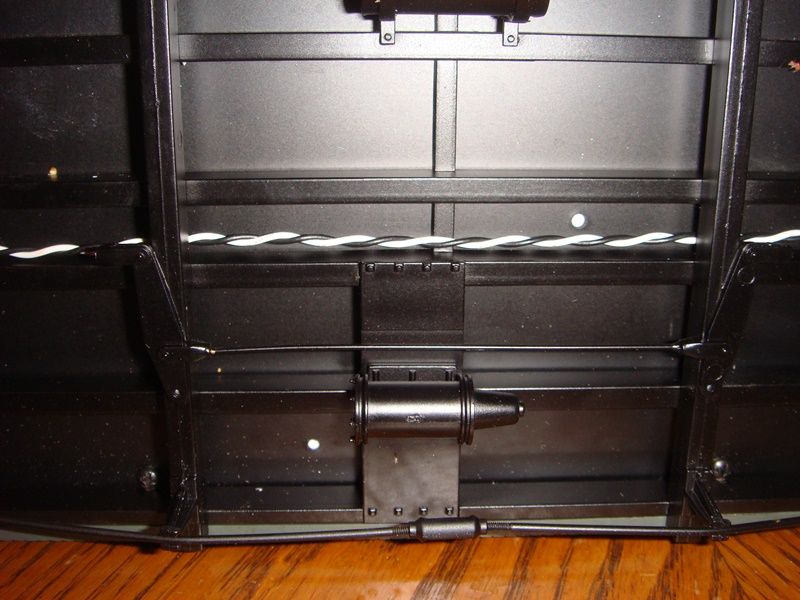
Here is the wiring under the floor that runs to the J3 connector at the rear of the combine.
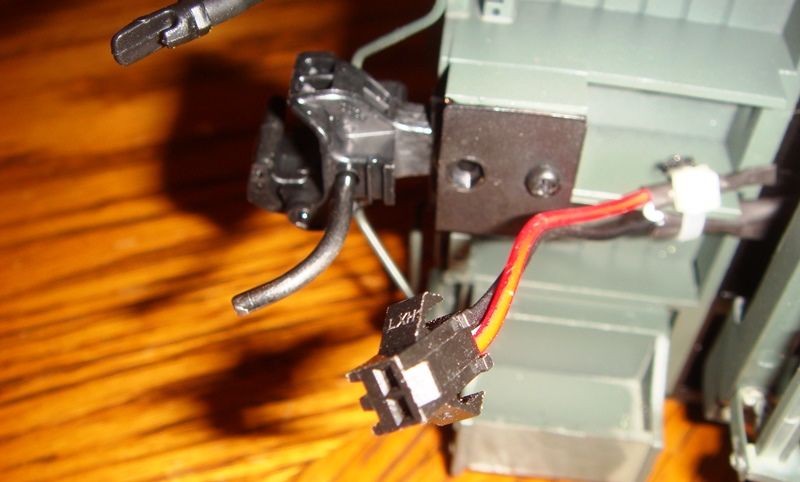
And here is the J3 jack that connects to a following coach. The jack is stowed under the frame behind the coupler pocket when not needed.
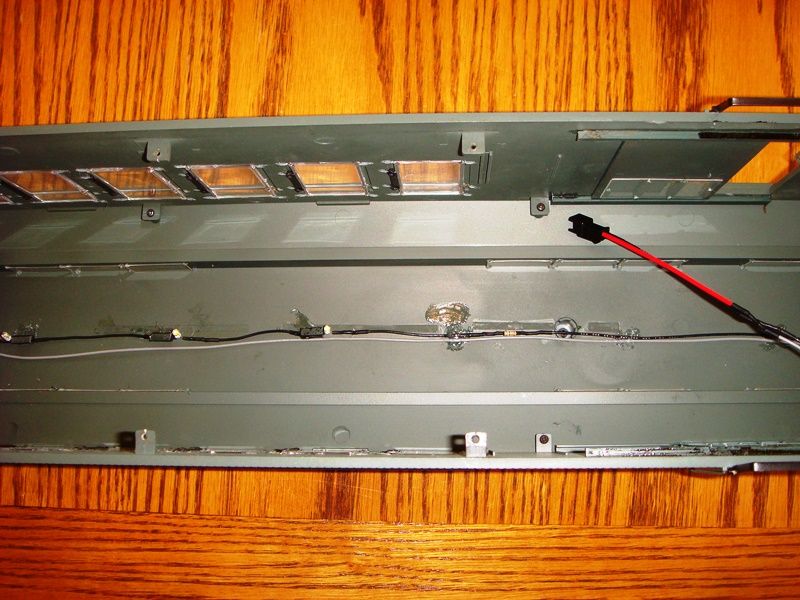
Here are LEDs #1, #2, and #3 mounted to the underside of the roof with silicone.
I generated the lettering on my computer with Microsoft PowerPoint and printed it on regular 8½” x 11” bond paper with an inkjet printer. I used a green background block behind the lettering that approximated the color of the combine. I brushed the lettering with six thin coats of matte medium, allowing each coat to dry before adding the next.
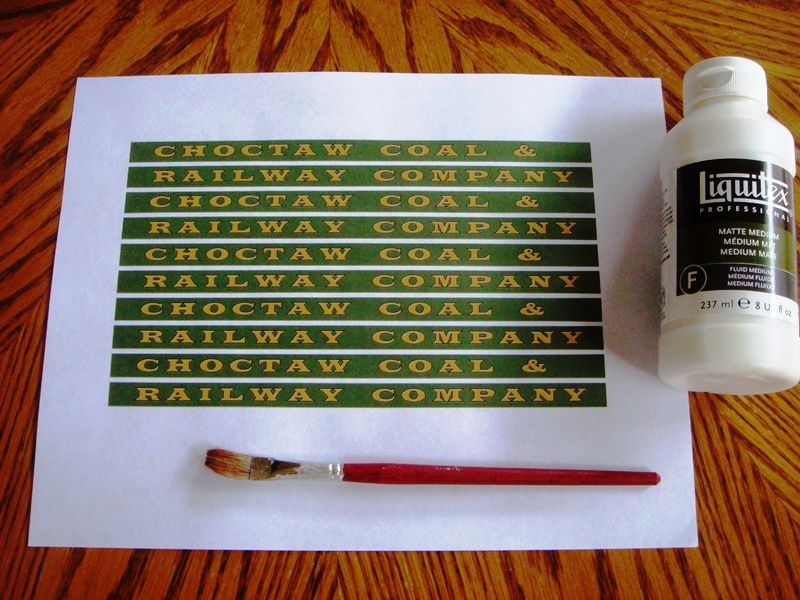
I cut out the strips of lettering and soaked them in lukewarm water for about an hour. Here are two of the strips soaking in a bowl of water.
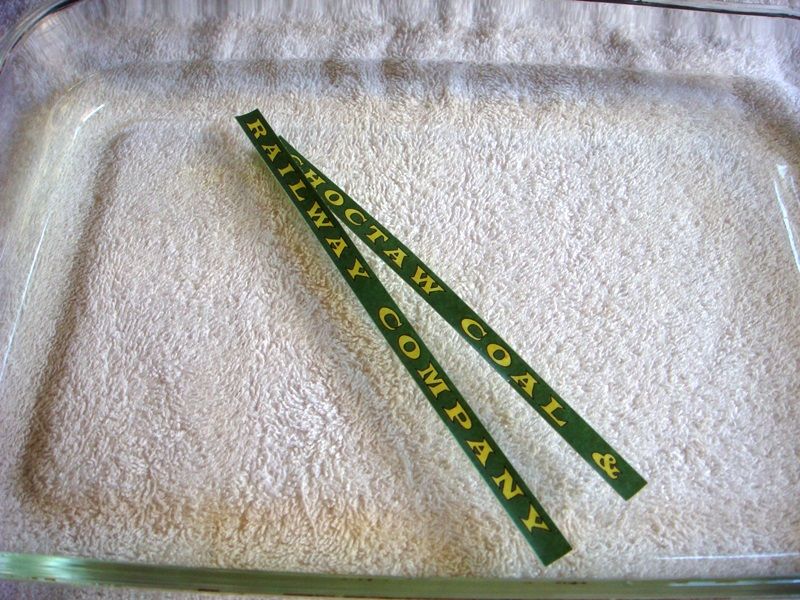
I rubbed off the wet paper from the back of the strips with my fingers and applied the lettering to the coach with more matte medium. For previous posts that describe how I use paper to make signs and lettering, see:
http://largescalecentral.com/forums/topic/22740/using-paper-signs
http://largescalecentral.com/forums/topic/22883/general-store-update
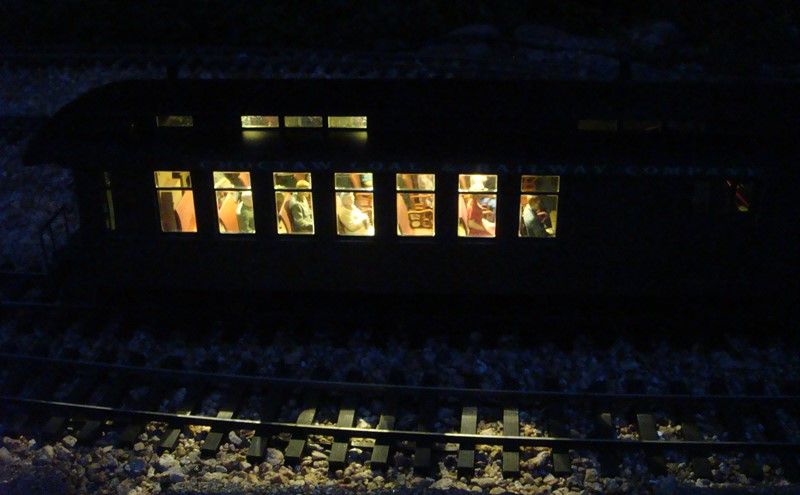
Here is the new combine out on the layout during the daytime.

And here it is at night.
It was a “quick-and-dirty” project, and – other than the cost of the combine – a relatively inexpensive one.
Until the next project strikes,
Bob