Thanks Stan and everyone else for your comments. Off work so today I am heading to my local hobby shop today to pick up more supplies to finish this car .
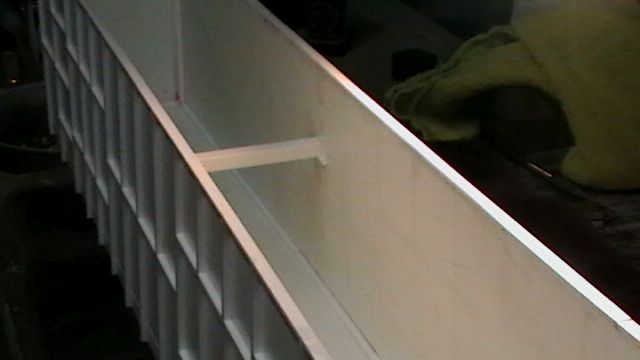
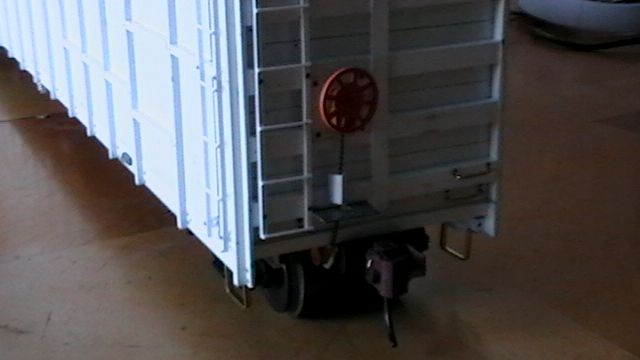
Here is a couple more photo’s of the car. The first shows the end of the car . The pointer is touching a piece of Evergreen #127 plastic that covers the exposed end of the aluminum backbone of the car . The other photo is a inside brace of Evergreen #255 . It only needs one as the load will also help stiffen the car . Off to the hobby shop ! 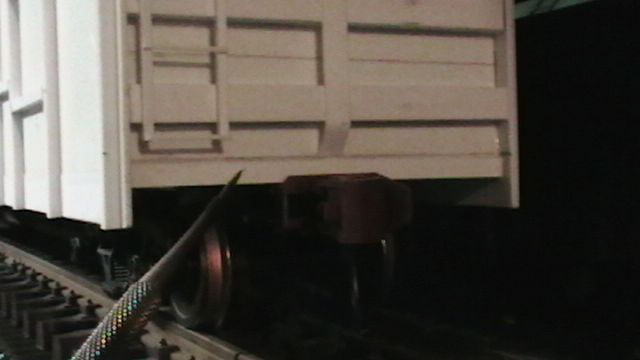
While i’m waiting for some brake parts for this car i’m getting the little things done . A tack board is made with a real thin piece of wood framed with Evergreen HO scale 2 x 4’s and the rivets are done with JB Weld and a toothpick. All the ladders and grab irons are also done. Since it take 24 hours for JB Weld to cure I can only do one side of rivets a day . Here’ a quick snap shot of today’s progress . 
Very nice job Mike! Love the rivets. Do you drill holes for them or are they just sitting on the styrene?
Will you be adding a cover?
Hi Dan , the JB Weld is carefully applied with a toothpick directly to the plastic . If I mess up I wipe it away with a q tip and try again . I don’t have to wipe as many away as I used to . I have a couple of options for the load and the tarpaulin is one of them . I saw a couple of video’s on you tube that looked interesting on how to make a covered load with tissues and white glue.
Fascinating. I really like this build.
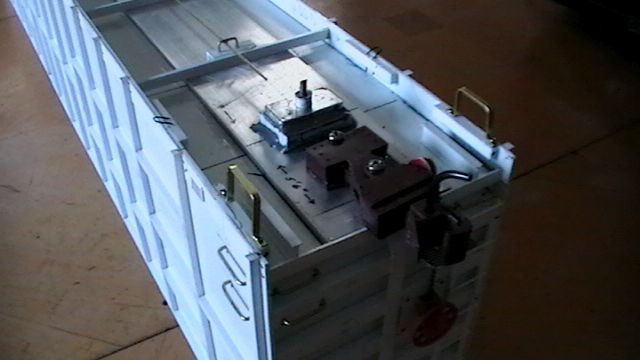
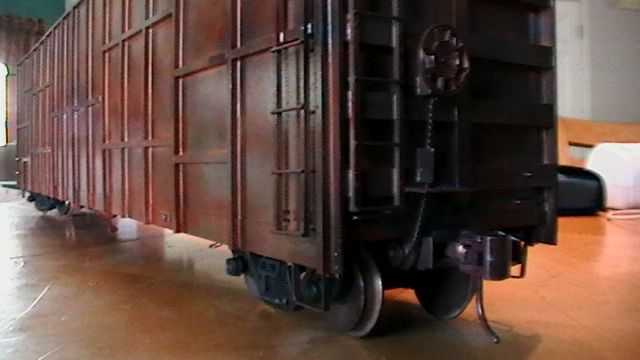
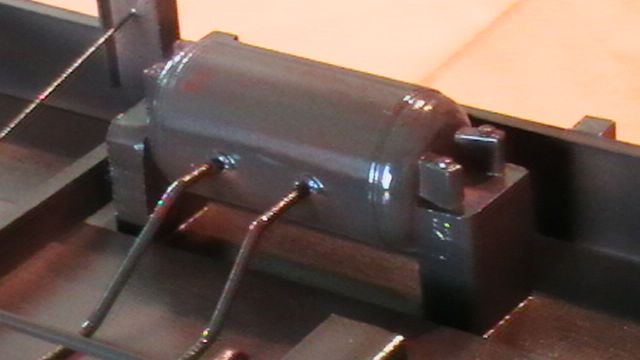
I have been busy weathering six O scale freight cars for a friend and that put this project on hold for awhile . Well they are finished and boxed up so that allowed me to finish building this car. Since my last post I installed the brake equipment on the end of the car and under the car . The brake parts are off a USA stack car I ordered from Charlie Roe . I forgot to order the air brake actuator so I made my own from some aluminum tubing and a pen cap. Most of the build was finished at my last post and only the brake stuff needed to be done. As I go along building I seem to always find more stuff to add such as “I” beam ends that show in the photo"s etc . The brake parts are probably not accurately positioned but I again don’t worry about it as I was going for that “busy” look you see when looking at the car from the side. All the plastic part are directly glued to the aluminum strip after the metal has been rough sanded and cleaned with alcohol . Next its on to the paint shop . I will be doing the hairspray weathering technique on this car and attempting my own graffiti .I’ve been practicing on some paper so we’ll see how that goes . Anyway here’s some pictures , thanks .
Here’s a few pictures of the car with the rust colors applied and a clear coat painted over it. Next i’ll spray a layer of hairspray over this and then the top coat color. 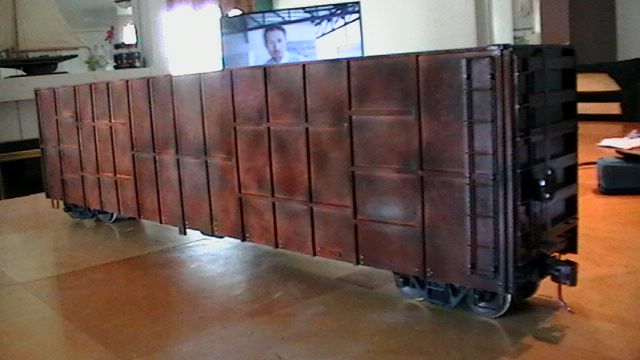
I airbrushed liquid hairspray over the rust colors and then painted the car a light blue color yesterday and today I started the weathering . I have been practicing some freehand graffiti on paper and got the courage up to actually paint it on the car. I did a test under the car using a fine tip marker pen and then filling the letters in with some acrylic paints thinned down alot. I like the hairspray weathering to get rust effects . I have been using 70% alcohol instead of water to soften the paint because it works much faster but you have to be real careful because its real easy to over do it. I like to work in small areas one panel at a time. This is real time consuming work but i’m having fun doing it and that’s what its about. Here’s a couple of photo’s from tonight .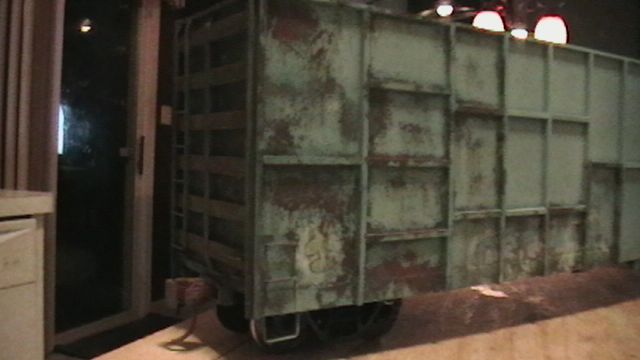

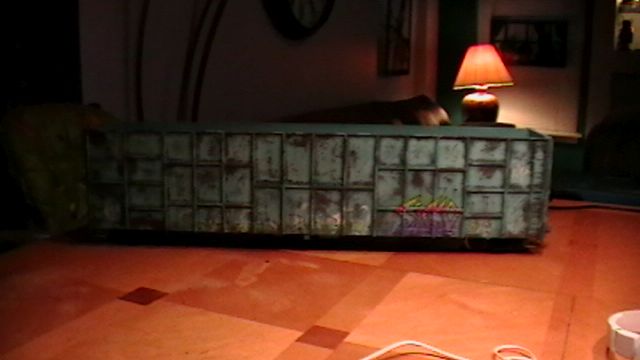
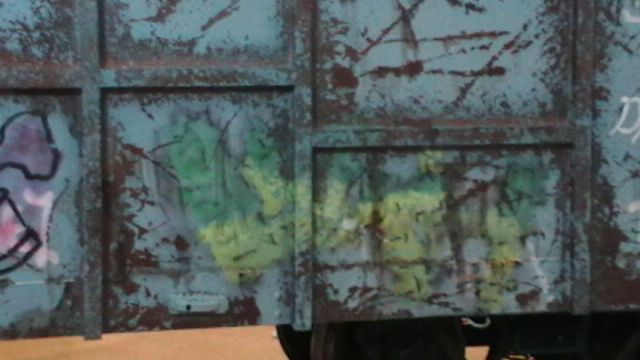
Finished the weathering and graffiti on one side today. I still have to paint the black patches for the data and reporting marks. Here’s a couple more pictures. 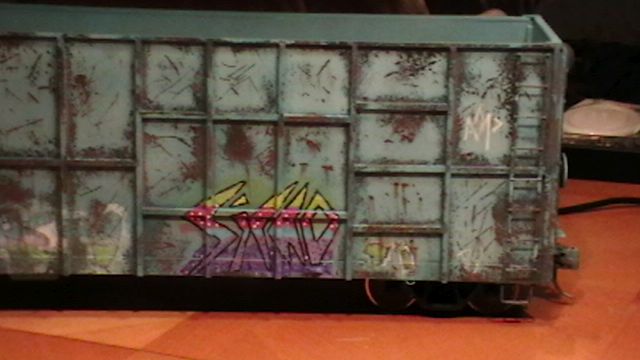
I will have to remember that trick about alcohol the next time I chip some stuff. Looks good.
The method that seems to be working pretty good on removing the paint and exposing the rust color goes something like this. First using a soft 1/2" inch brush dip it in the alcohol and put it on the area you want to weather. You have only one shot at getting it wet because if you go over it again you could remove too much top color where you really didn’t want to. Next I randomly make scratches with a toothpick . You have to apply feather light movements or again you might make the scratches too big. Then I take a 1" brush and stipple the whetted area using a strait up and down motion. I like to use a hairdrier when i’m doing this as the paint gets a rough , grainy feel and isn’t smooth anymore. 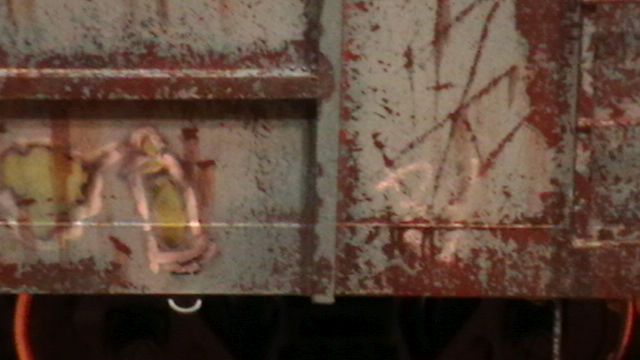
WOW …
best yet!!!
I had to look twice at some of those weathering photos
That is really nice work
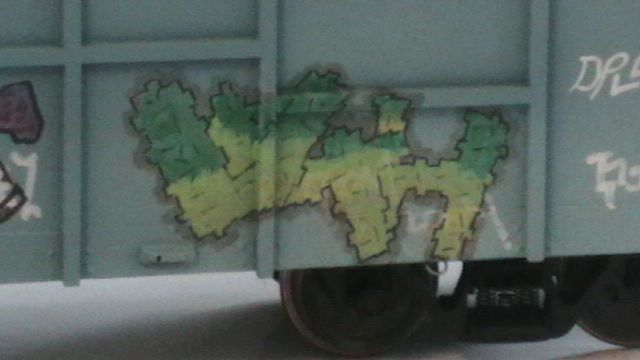
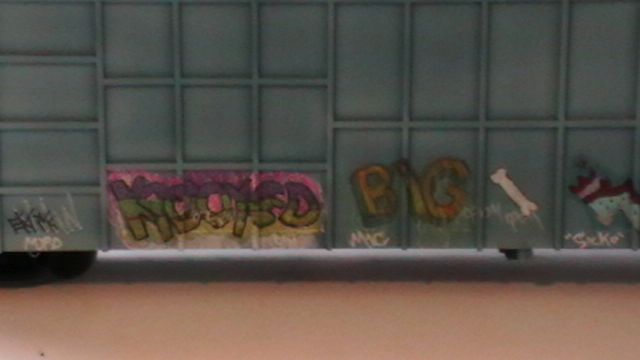
Thanks guys ! Here’s some photo’s of the other side I started this morning . The first thing I do is draw the outlines of the graffiti with a fine tip marker pen and add all the little “tag” markings. I’ve been “googleing” graffiti to get examples of the real thing. Then I paint the graffiti with a variety of acrylic colors filling in between the pen outlines. I’m not real worried about the paint being uniformly applied because after I weather it it will all blend together. I’ve found its better to let some of the alcohol evaporate before starting to remove the paint. 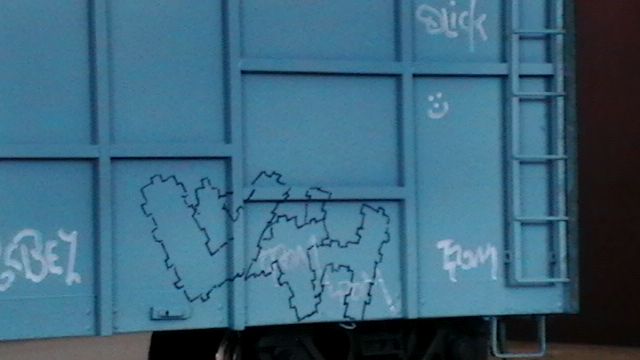
Mike,
That car is looking amazing. Very nice work you have done.
Chris