So if you want to model it right, find your self some O scale glad hands to represent the MAI glad hands, and turn them the correct way. That’s what I’ve been using on for my GP9. It looks great when you see the size difference between the MAI glad hands, and the train line glad hand.
I’ll do that
Here’s a decent picture that shows the air hoses connected.
(http://i184.photobucket.com/albums/x218/MFJ_album/WSOR%20engines/WSOR%204053/7-8-09018.jpg)
I got my O scale hoses and glad hands from P&D Hobby Shop.
You’ll want to get the regular O scale train line hoses, not the O scale MU hoses.
I think it was part # PSCO4649
(http://farm8.staticflickr.com/7387/9249766783_6bbaef1c3b_c.jpg)
Left to Right. USAT trainline molded plastic hose, USAT molded plastic MAI hose, my O scale hoses with flexible tubing, note that the Main Res. hose is slightly longer than the AI hoses. The nuts above the hoses are a bit over sized, but it was what I had on hand at the time. The nuts represent where the MAI hoses screw into the hard piping. Far right is the brass castings from P&D. The glad hands will actually connect together, but I have not permanently MU’d any locomotives together so I leave them alone.
Edit: I don’t own any yet so I can’t say if they are the correct size for 1/29 (even though they are for 1/32) but the Proto-Hands http://www.oldirondesigns.com/ might work as a good replacement for the trainline glad hand.
It would be nice to see those glad hands in comparison to both the USAT molded glad hand and the O scale ones that I have.
See this thread: http://www.largescalecentral.com/forums/topic/18664/anyone-tired-of-non-working-glad/view/page/3
Dave Marconi said:
A couple of questions for those with the knowledge:
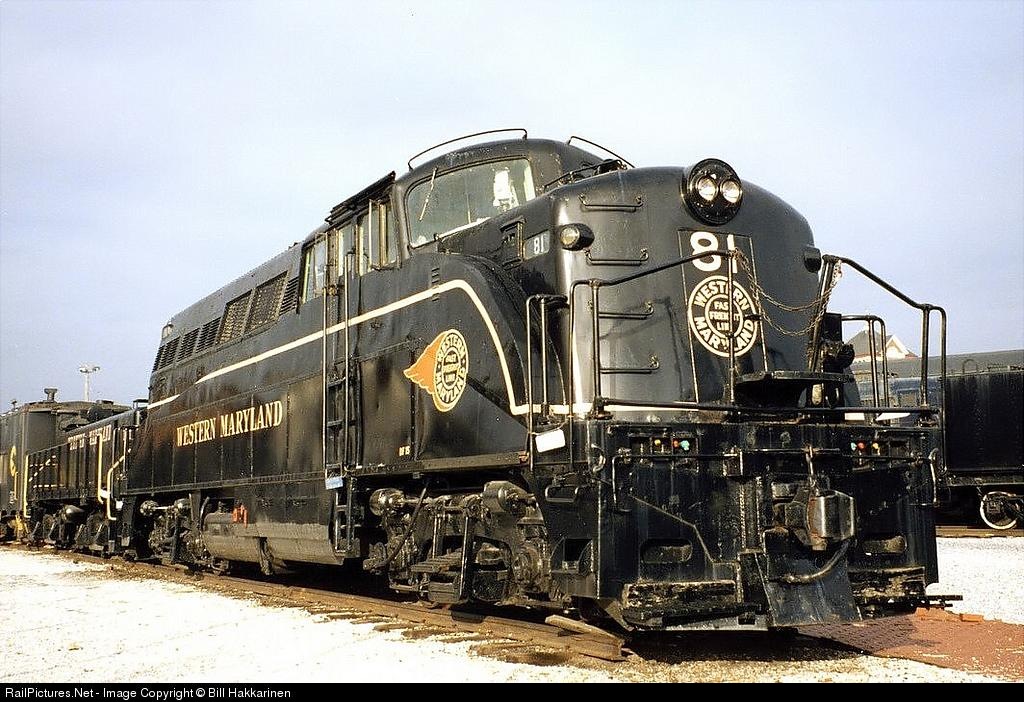
What I’d like to know comes from this pic
(http://www.railpictures.net/images/d1/9/1/1/5911.1145761200.jpg)
There are 5 hose connections on each side of the pilot.
Model like the pic with no hoses !
Dave the extra lines maybe because of the slug
Richard
With most of the main body parts cut and ready for final shaping, I started on the cab area to get it ready for assembly.
I needed to fill a space between the two side pieces.

I also needed to close off the nose section.

Note the small glovebox? and access door etched into the pieces. These will both get a bit more detail before the cab area is closed in
There is also a rear wall at the side door which contains the electric cabinet and two doors to the engine compartment.

Again this wall will get some small details added before final assembly. A couple gauges and door handles.
I also needed to hollow out the cab area roof line

Back on the outside I located and cut in the front number boards and class lights. And I drilled out for the headlight


Smile added, as some have said it looks like a sad pup.
This loco does have a few rivet details, for the counters out there, so I made a few strips for use.


Sand hatches were made and fit to the body.


And a piece of 1/2" pipe was cut for the headlight
I also remembered I needed two doors for cab access.

Shop time has been catch as catch can, but I’m still plugging away at it as time permits
Richard Beverly said:
Dave the extra lines maybe because of the slug
Richard
I also thought of passenger service Richard, as it was used for both.
Hollywood, nice work… It’s looking great…
Is it done yet?
Now we’re even!
Womens work!
I think OSHA might have given him notice that the shops were too hostile an environment to work in until it cools down some.
Nice work so far Dave. I’m really impressed how you and Rooster mix wood and styrene as building materials.
This is coming out really cool Dave.
Nick
I want to thank everyone for their comments.And yes it has been hot in the shop, but I had to give my brother a hand on his house this past week and that heat took all my energy every day. So not much done.
I was going to get a day of shop time in today but wound up chasing a ghost mining line up in Roosters stomping grounds. Had a great day with him, his son, and his sons buddy.
I did get a couple pieces cut out, but not much else.
A pic of both doors ready to go

Pilot side pieces cut and ready.

and I managed to get the cab steps ready for install when I get that far


So until next time.
1 Like
I started work on the pilots.

The hose area had to be sectioned and small boxes on the back side.

Then came the center plow section and the coupler pocket covered.

Which on further scrutiny I noted did not extend out far enough, so this will be removed and reshaped.
Looks like I should get some time in this weekend for a bit more work on the build.
Nice work!
Nice build.
Did I miss it? What glue is used to hold plastic to wood?
Ric Golding said:
Did I miss it? What glue is used to hold plastic to wood?
Same glue I have been using for years> Where have you been!
Nice answer, yard bird, us old folks can’t remember yesterday and I’m suppose to remember details like this? 3M Emblem Tape?
Yard bird (http://www.largescalecentral.com/application/modules/Chat/externals/images/smile.png)good one Ric !