Large Scale Central

2021 Challenge -- Caboose Repair Facility

This has been the most challenging Challenge I’ve participated in. It’s the most time consuming for sure. I’m used to working kitbashing stuff, making things out of wood and foam, some plastic, but this is the first time I’ve tried anything involving metal, cutting metal, soldering, etc. The good news for me of course is that I’m expanding my modelling options…that’s IF, a big IF, it all fits together!

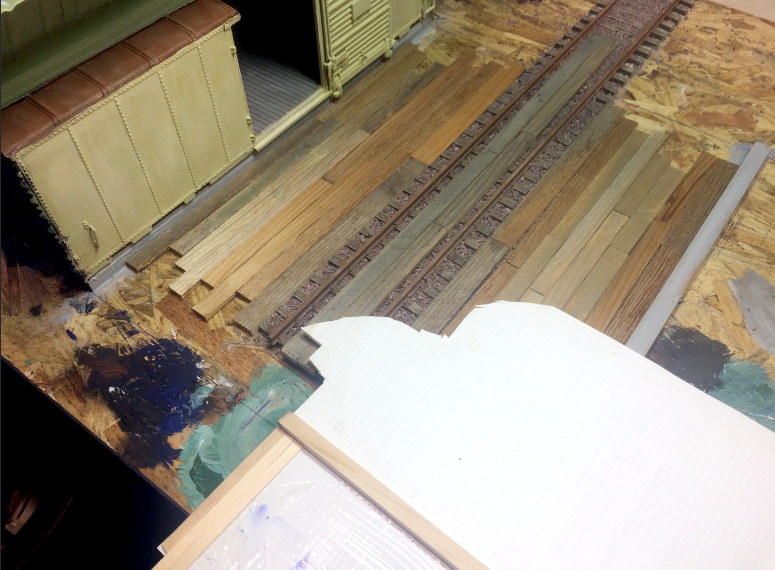
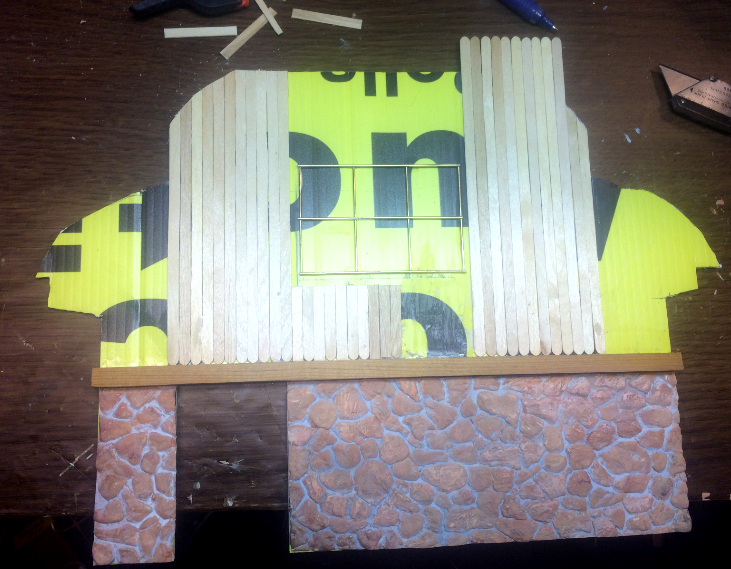
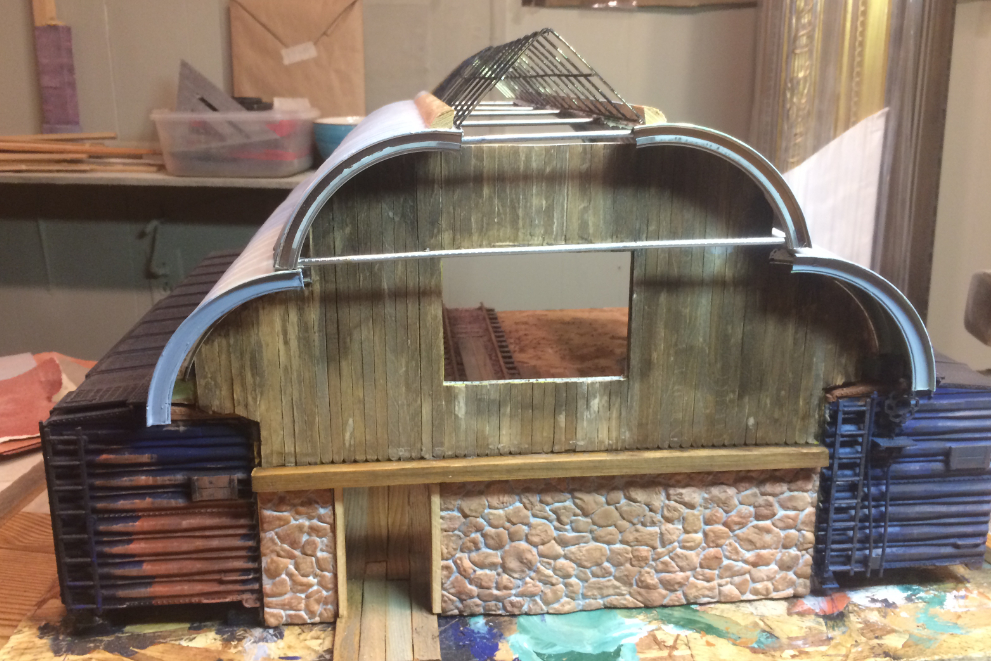
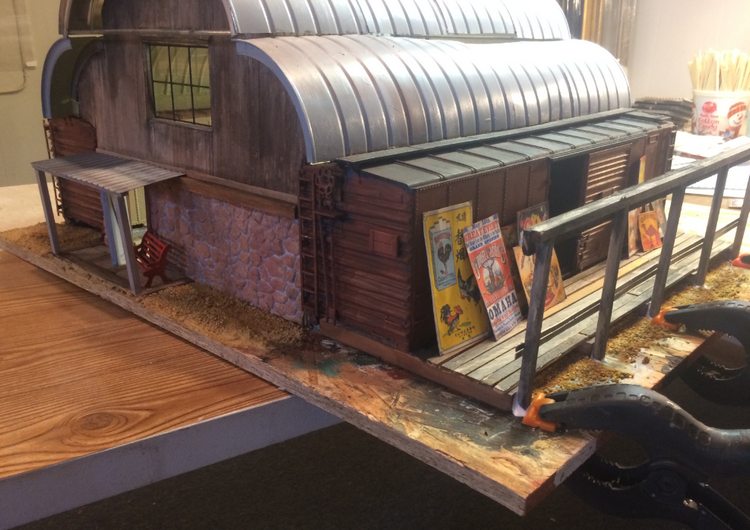
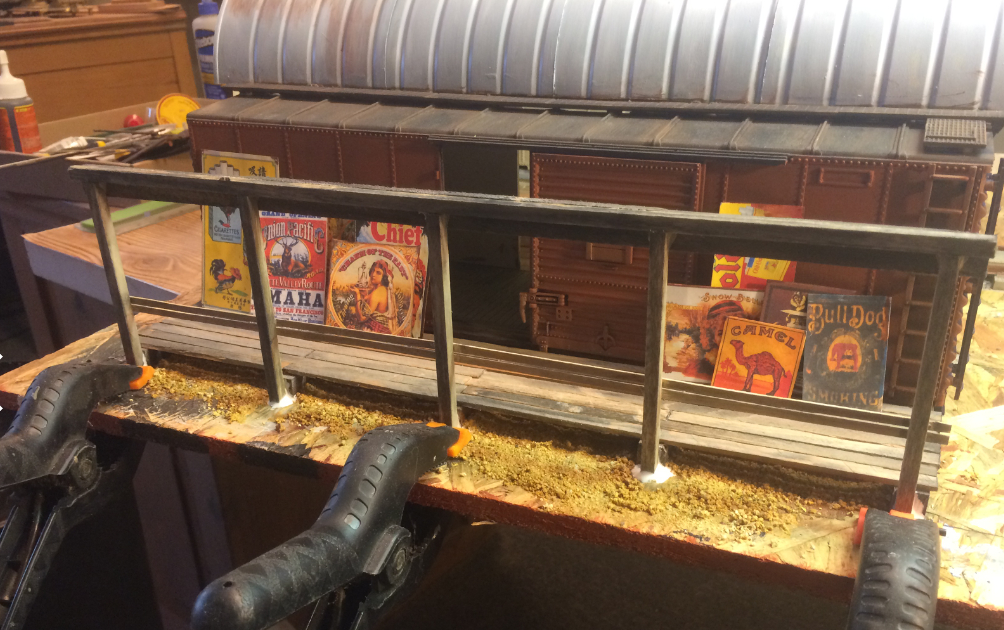
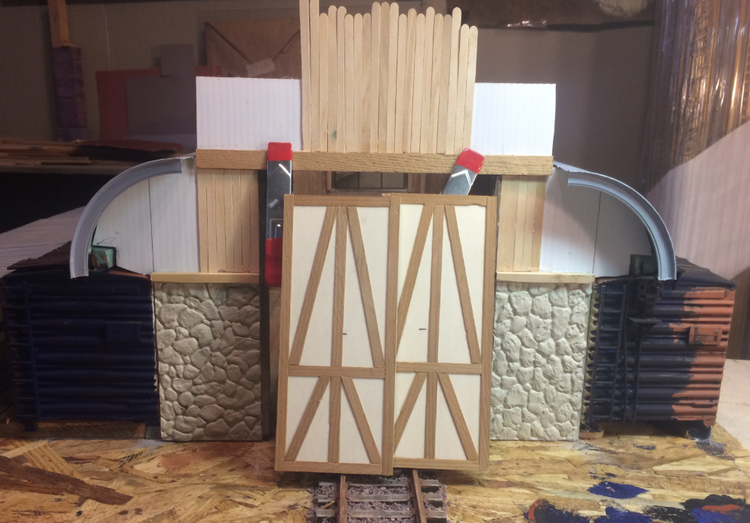
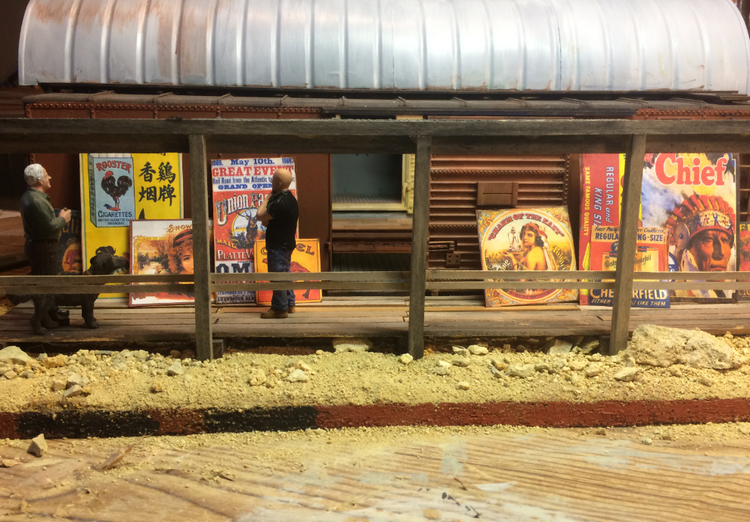
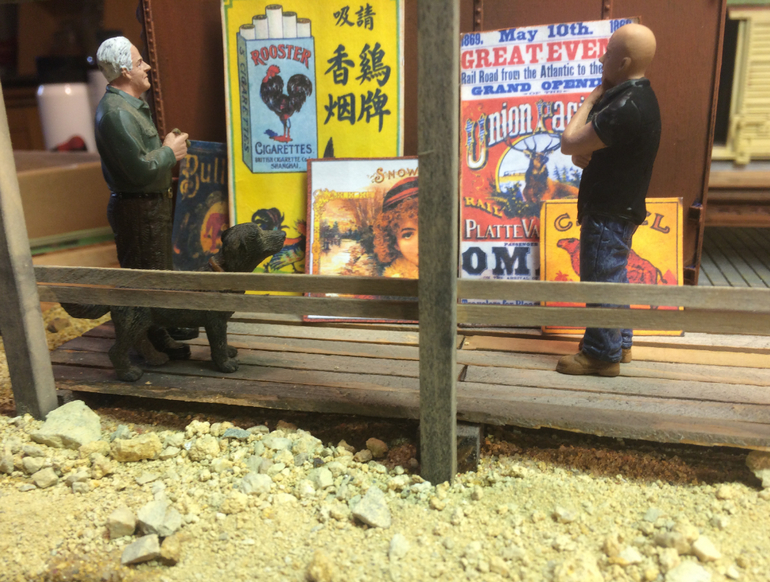
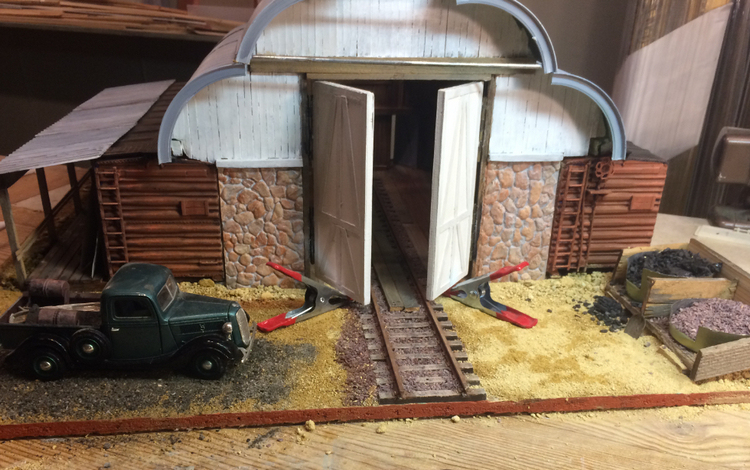
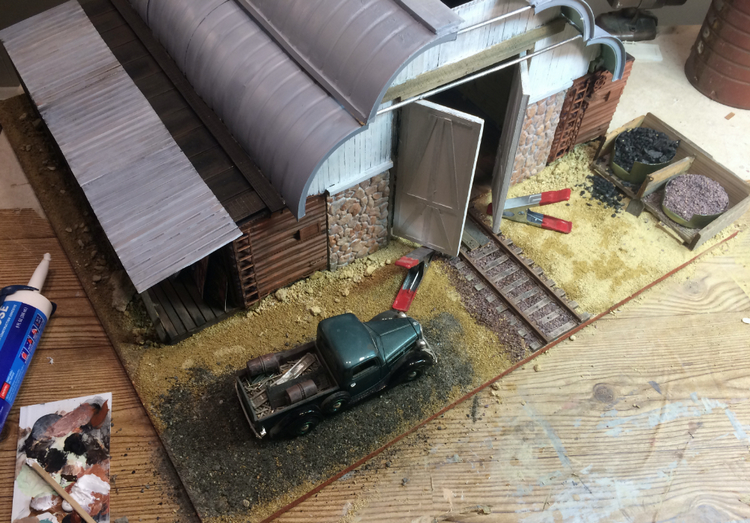
The place needed a floor, weathered track and ballast (I’m going with ballast in the repair shop because when it gets all oily and messed up I can have the boys replace it with fresh ballast), and I’ve been working on the back wall, surfacing the political signs inside and out. I’m using the H-shaped supports that come with the political signs as the supports for the roof. I like the idea of making use of the whole sign, very satisfying somehow, like Indians using the whole buffalo (okay, maybe that’s exaggerating a bit).

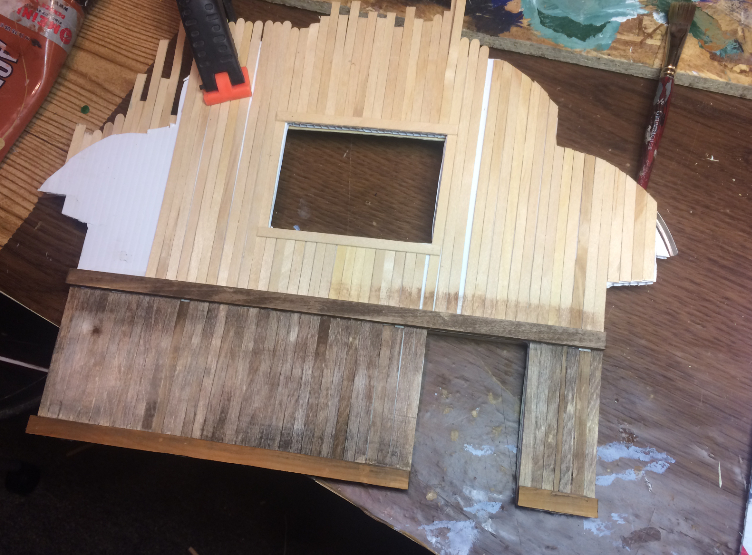
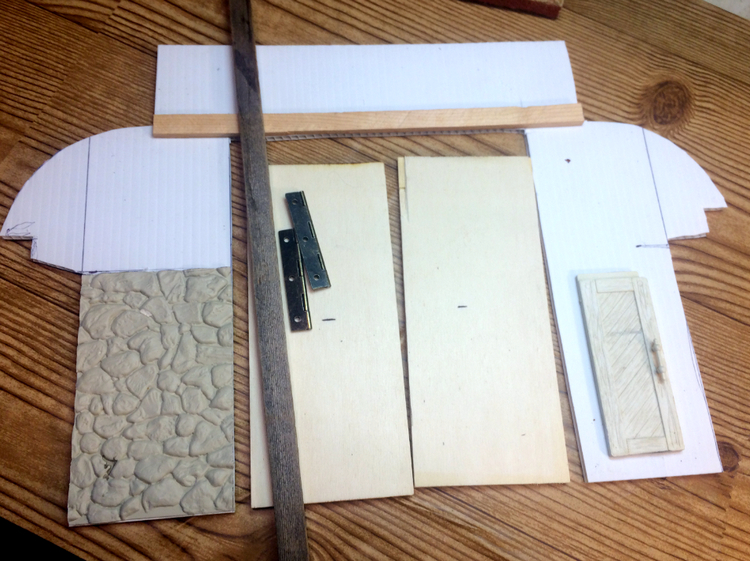
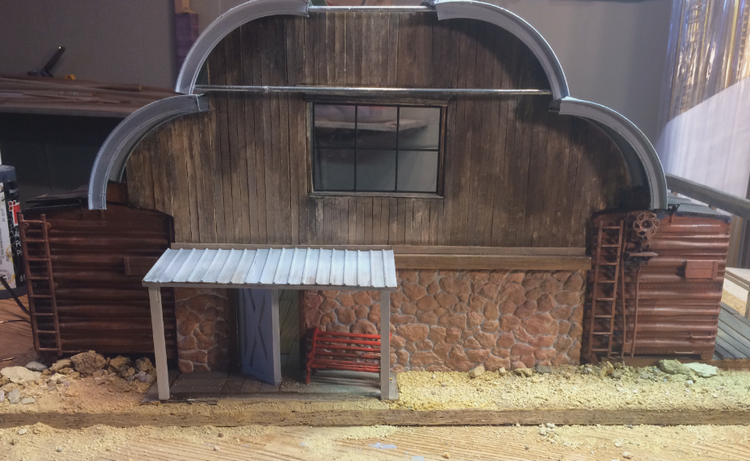
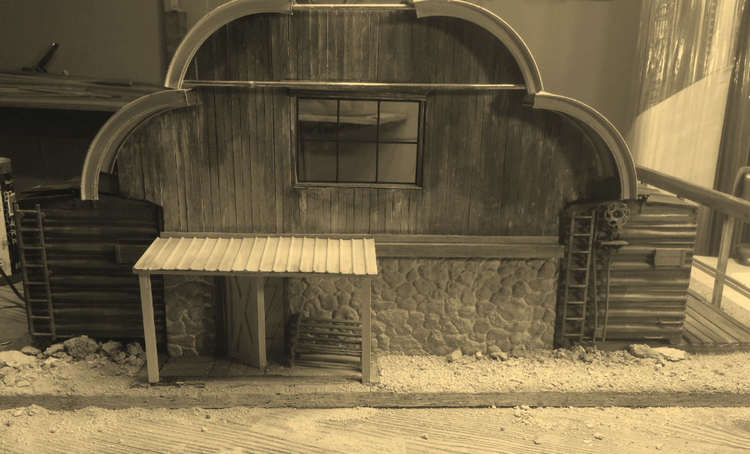
Here’s a few pictures of the back wall, but not to worry, I won’t bore everyone to death for the hundreth time about how I paint “stone” and weather wood.

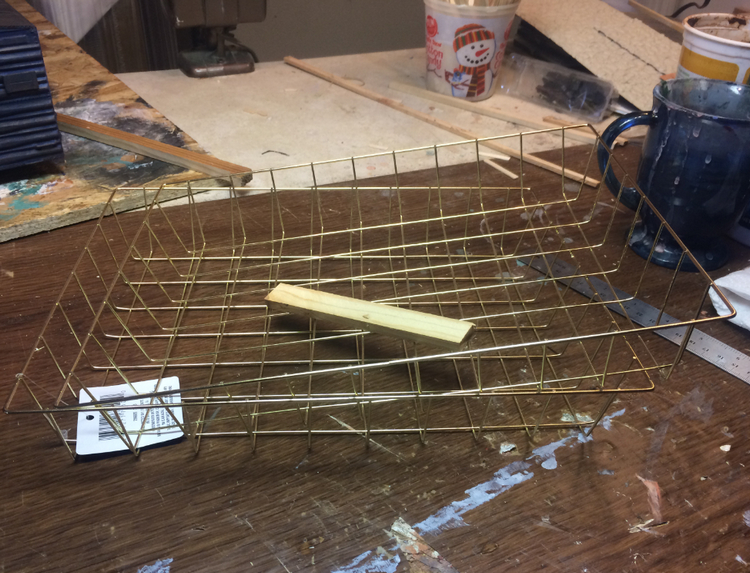
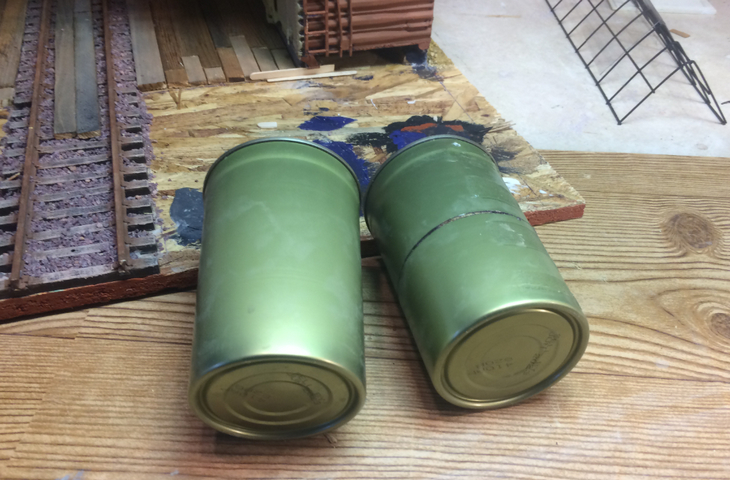
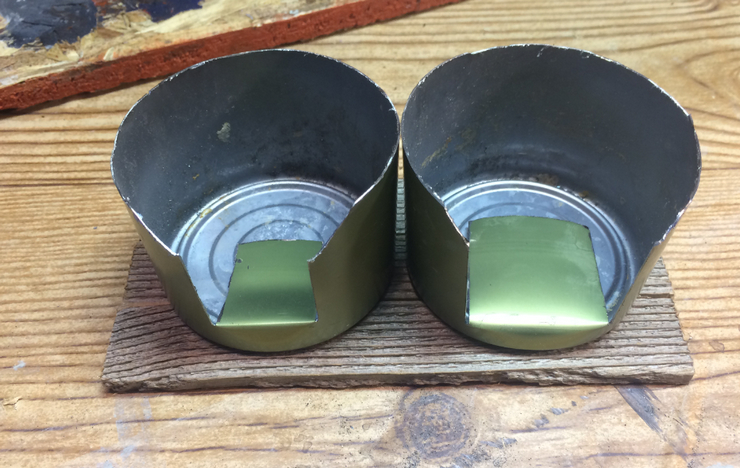
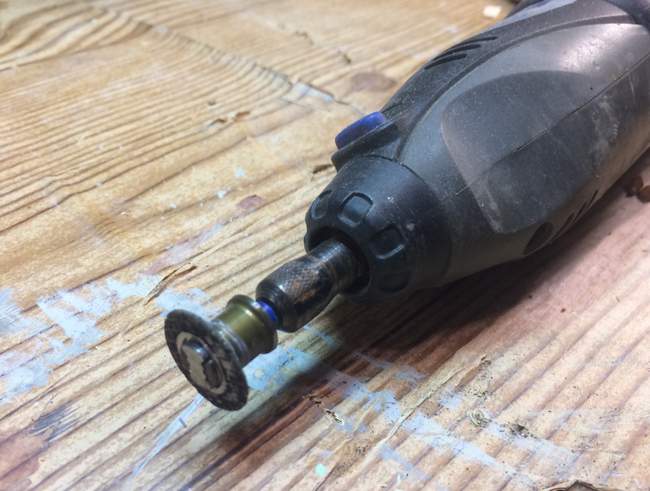
Finally, at the Dollar Store (aka Covid-19 store) I found some wire metal in-boxes, in-baskets, I don’t know how else to describe them, but I’m cutting them up…whoever invented the Dremel tool is a genius…and I haven’t wrecked mine yet like that Pete Lassen guy (!!), although I feel that Pete and I are kindred modellers this year, using many of the same materials and dealing with some of the same issues. I’m cutting them up to make the glass top of the structure (not as fancy as the Paris train station!) and the big picture window high up on the back wall. That’s been my only out-of-pocket expense so far, like five bucks plus tax.

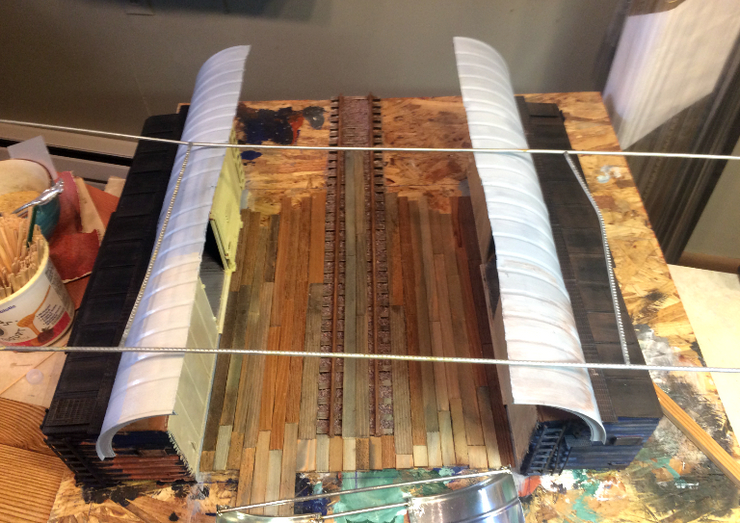
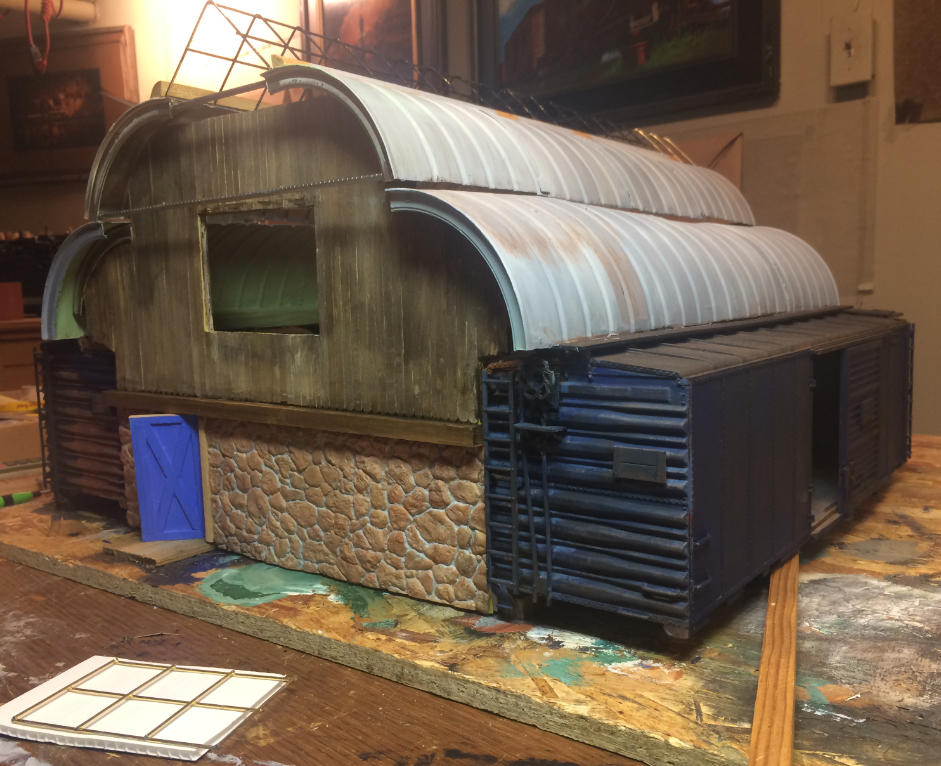
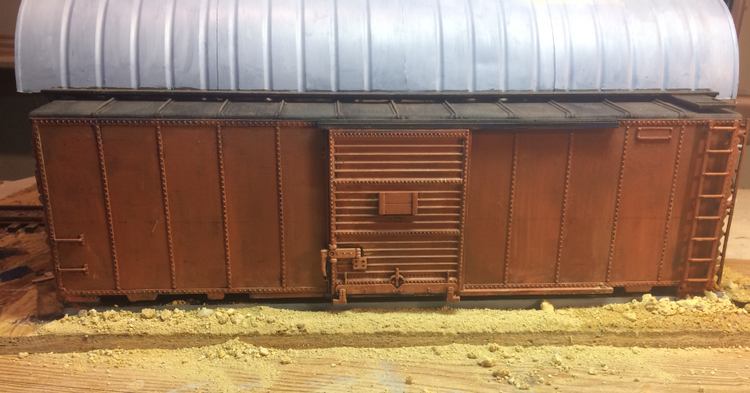
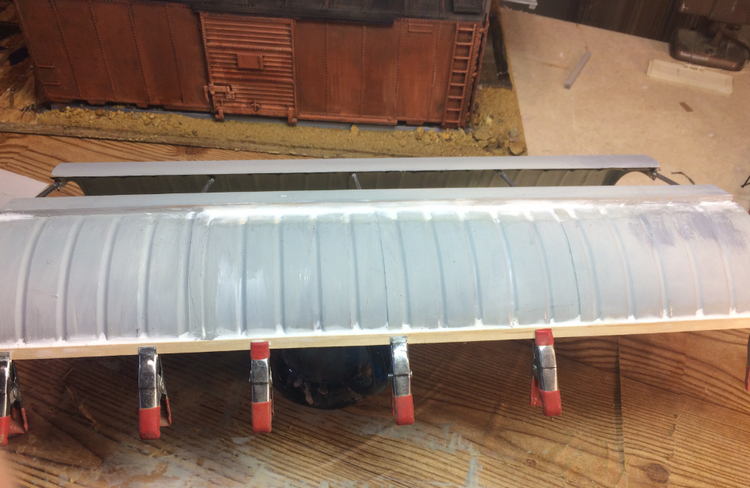
I killed off the green on the outside and painted it a light grey with some warmth and I’ll see how I do the finish weathering. I’m not happy at all with the color of the steel-sided boxcars. The interior colors look okay to me, but the blue doesn’t seem right on the outside so maybe the red.

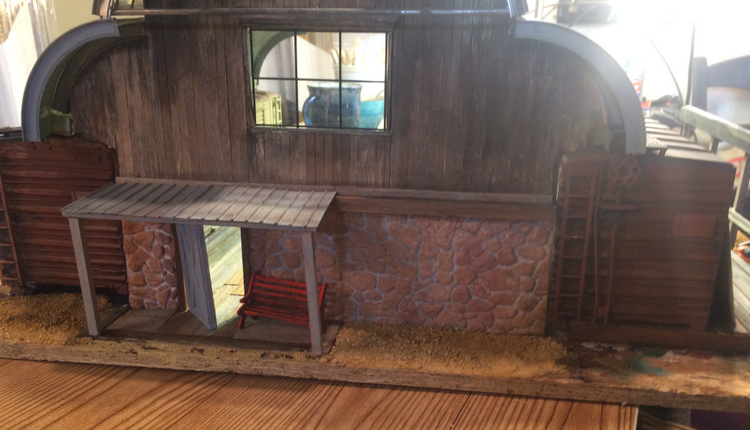
The last picture is the side that will have the shed.

That’s it for now. It’s back in the ring this afternoon for another round, like Joe Louis ha ha ha.

Thanks for looking, and, please fellas, if you see something that doesn’t look right, let me know straight up, no kidding around.

GREAT CALL ON THE SKY LIGHTS !!!

The quarter round at the base of the skylights looks way to large and overpowers…

Dave T.

This is just a great build. I love it. I do agree with Dave that the 1/4 is a bit big. But its not horrible. If its what you have it works.

But as for the rest of it it is a very cool building and a great adaptation of the challenge

Double post

Dave Taylor said:

The quarter round at the base of the skylights looks way to large and overpowers…

Damn it, you’re right. I’ll pry them off and try again. I cut them myself anyway.

Love it all. I am a sucker for a build that combines lots of different materials. Somehow makes it more real. Wood floors and walls, ballast, metal roof and skylight framing, glass. Terrific.

John, this may your best build yet. Your ability to utilize different materials and make it all work is amazing. I admire your artistic imagination and in this build your architectural ability. Great work!! I assume you will add a piece of trim at the bottom of the upper wood panel on the rear wall where the wood meets the stone. The wood planks do not have a square cut end. Maybe that’s for ventilation, I don’t know, but it stood out to me. Looking forward to seeing the presentation photos.

Dan Hilyer said:

…The wood planks do not have a square cut end…

Sharp eye, mister…I forgot that one. Trim on the way!

Some of the builds this year are unbelievable…could be these months of frustration are finding a creative outlet. I don’t know about anyone else, but I’m enjoying this year’s Challenge more than ever.

I’m working my way around from the back to the front of my build, and, probably unwisely, saving finishing the roof for last. My goal is to get everything finished by Sunday morning so I can take Sunday and clean up all the details. It may be a long long night Sunday night! Nothing new there for me of course!

Now it’s back to work. Yikes.

Those are some sweet posters! Nice work all the way…

just an awesome build John. looking better with each passing photo.

Looking forward to seeing all the finishing details, John. The roof over the door is a huge improvement to me for some reason. I know its not much but it just changes the whole look and feel of that end of the building. Maybe it provides a little relief from the large, relatively flat end wall, I don’t know, but it certainly changes the look for the better.

Dan, I agree. Thanks. Besides, there is no drinking, smoking, chewing, or spitting in the facility…so this gives the manager a place to sit and smoke his cigar with a little protection from bad weather.

Glad to see you are thinking about the hard working employees, John (https://www.largescalecentral.com/externals/tinymce/plugins/emoticons/img/smiley-laughing.gif)But no drinking … you’re going to put Jim’s boys out of business before they get started good (https://www.largescalecentral.com/externals/tinymce/plugins/emoticons/img/smiley-wink.gif)

Came out very nice. The cans fit right in.

What a great looking building. It looks so old timey like something a backwoods barely making it RR would cobble together.

Very clever, John. When you started, I thought the boxcars were temporary to hold the roof up. But it makes sense that the cheap thrifty railroad guys would use scrap boxcars like that.

Well done, err, almost well done, err, well almost done. Dang good job there!

I’ve been working, oh boy have I been working. I’m putting the finishing touches starting from the back and working my way around. I included pictures from a couple of days ago of how I started the front including the big doors to allow cabooses and rolling stock in. This is not an engine repair facility, strictly rolling stock.

I needed a break so I took some pictures and I’m putting them on here.

I have to be totally honest and tell you my attempts to cut tin were maybe okay at best, and there was no way in hell I could get all the edges to match up exactly, so you’ll see that in one of the pictures I’m filling gaps with caulk and straightening up edges with trim. I don’t think there’s anyting I can do about it but make it look as good as I can.

The last pictures are of the caboose facility manager (the white-haired guy with the dog) trying to get his best cash price on some of the signs he’s collected over the years. He’s pushing a hard bargain and the guy on the right is giving it a good think!

Back to work for me. My youngest son is trying to talk me into going over to the golf course club house for some food and watching at least the first half of the football game, but I say Nay Nay!

Looking really good. As usual, you have a keen eye for colors and realistic weathering. No surprise there. Those doors look like they will be wonderful!

Three hours to go and all I have left to finish is the skylight, which is 90% there…whew! (And it’s a good thing, too, because as you can see from the last picture my last Dremel disk is down to 1/8" left and there are no hardware stores open this late on a Sunday night, no.

The place needed a coal bunker for the heating stoves, and a bunker for replacement ballast…so, since this is a tin can build…here you go.

Once the door hinges’ adhesive dries, they will be working doors I hope, unless something got stuck that wasn’t supposed to get stuck. I got the hinges at the hobby store for $2.99. I spent I think $12 plus tax at the dollar store on goofy stuff, so I’m at about $16 total out of pocket for the build.

Then, now, as soon as I finish the skylight, I’ll post pictures, and if nobody objects, I’m outta here!