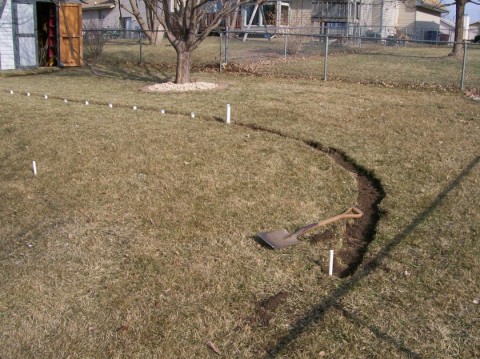
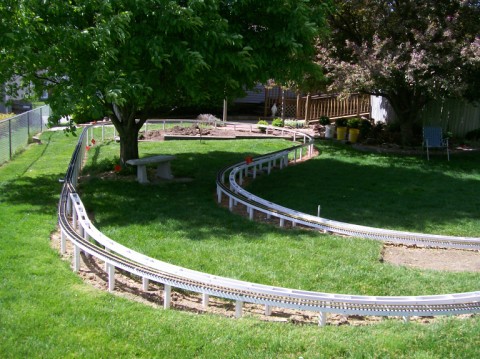
Shelley, Cut a minimum radius template, then use a garden hose to lay out where you want the track to go. Make sure all the curves are at least min. rad. Use El Cheapo garden stakes to mark what you decided you like, since you know the min. rad you can guesstimate the other radii and starting at the wide end, tighten the radius until it fits. Double check with the min.rad. template whenever in doubt. While you’re at it, real railroads use transition curves to have the track “flow”. They don’t use that because it looks better, they use it to get better trainhandling track. The Big Spaghetti Monster in the sky be praised that I have CADrail and other software for layout planning! Apart from ending up with good track geometry it also helps to figure out exact coordinates if one needs to or has the urge to know a tad more. OK enough said/written; I now go back to my cave since layout planning is strictly for those who a) understand the concept and b) are not averse to the notion that “things” can be done “properly”. Cheers Gang Shelley, samples of “flowing” roadbed
(http:///P1/LadderTrack19_s.jpg)
(http:///P1/LadderTrack32_s.jpg)
(http:///P1/LadderTrack38_s.jpg)
Oh yeah the track is Llagas Creek Code 215 (corresponds to the size used on the RhB proto), no pre-bending necessary. Assemble three length of flex at a time, place and bend as you go (by hand!!!). The last picture shows the center point post of that return curve. If you’d like to see how things look with a train running http://www.vimeo.com/6621176 http://www.vimeo.com/6629888 Now back to the regularly scheduled program i.e. get something productive done.

