<laughing uproariously, barely holding on, gasping for breath>
Cliff, you crack me up.
<laughing uproariously, barely holding on, gasping for breath>
Cliff, you crack me up.
mansion hold-down cables
that is something new for me.
was that against stealing, or against storm?
btw storm - in northern Germany, between Baltic sea and Northsea we had a saying:
don’t call it a storm, if the sheep’s hair is still curly.
Yeah, but there are things like this project that are pretty close!
Hi Korm,
Yeah, the “Washoe Zephyr” came howling down, with the nice box of a mansion trying to hold it back. So they used cables, the posts (or bollards?) of which are still present, though the mansion is gone.
Similar to the house held in place in the movie/book “The Shipping News.”
The vinyl siding is now on the model:
And the prototype for the lights is done. These will screw into holes in the “ceiling” of the enclosure, with a 3d printed housing and nut. There will be 8 of these, with all components sprayed black.
The reason for this housing is to a) hide / recess the lights into the ceiling, while b) being able to point and replace them from above the ceiling (and not risk damage to the model below).

Once again ! What else can anyone say other than you need a hobby but I believe that has been said as well numerous times!
Howdy friends, thanks so much for all the ‘likes’ and complimentary comments Really means a lot.
This weekend has been all about the cover for the model. It’s purposes are to keep little hands from taking souvenirs, keep the details intact, and keep the dust at bay. The cover has to be shipped flat, go together without major hiccups, and be very strong and dust-tight when assembled.
To be sort of dust-proof, it needs a roof, and therefore also has to have its own lighting devices. I’m very grateful that those are essentially done (except for a final topcoat).
I did a lot of cutting & prepping of the cover components, this being the roof (which will hold the light fixtures).
The windows will be 3/16 UV-treated polycarbonate, looking something like this.
Another panel will cover the ceiling assembly, to make things dustable from above.
I hope the PC panels will be ready this week; they’re coming pre-cut from a local plastics house. To make the fasteners and corner connectors work, I’ll need to route and drill the panels. This is the lasered (in multiple pieces) routing / drilling template for the end panels, which I also used to mark and drill the plywood backing for them.
The outer polycarb sheet will have back vinyl sheet applied to make those black shapes. I didn’t want to get into masking and spraying them, so maybe this will work. The profiles match those of the inner plywood backing panels, with I’m using to strengthen the whole thing and to assist with the ceiling and other joints.
BTW, those corner clips are totally UNIQUE on this planet: a chrome commercial product, bead-blasted by Brutha Roosta, and locally powder-coated. If all works according to plan (please Lord!) the PC panels will have routed notches to receive these clips, and produce a perfect (  ) line-to-line and dust-proof joint. Well, that’s the goal.
I hope, this next week, to get the wood cover parts painted, the PC parts received and routed/drilled, and the assembly underway.
Cheers,
Cliff
Datum went that way 
One suggestion for the vinyl on the covers. If you haven’t planned on coating the inside, I would suggest it. Little hands love to pick at vinyl edges 
Ooohhh… good point, I should have remembered that… Dangit Jon…
With all the parts cut, maybe a deterrent is in order? Cayenne pepper in the adhesive? Model T spark coil wired to a mesh overlay? Retired gym instructor with a paddle?
Or… send the model with a spare roll of vinyl…


Fascinating! That’s the first time I’ve ever seen a house tied down to prevent it doing a “Wizard of Oz.”
I haven’t posted in a bit, because the project work is kinda boring. Prepping materials for the cover and crates mainly, and working the plan and schedule for shipping & install.
We’re on a trip this weekend, near Berkeley Springs WV, and passed a big (and historic) silica mine on the way from BS to the lodge. I had to turn the car around to see this little beastie up close.
The loco is about 5’ tall. Here’s the cab interior.
And a car.
If you Google “Pennsylvania Glass Sand” and its history you’ll find out more if you want about this operation.
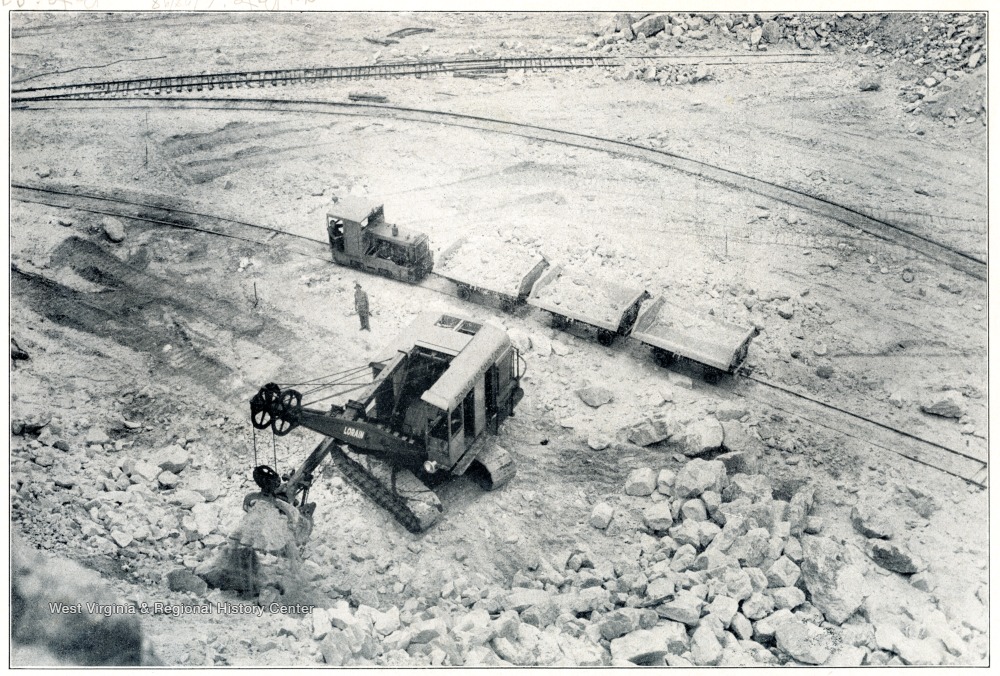
There it is in action circa 1951
If you would have kept going a bit further north into Pennsyltuckey you would have hit some of my favorite stomping grounds. Tuscarora Mountain - Wikipedia
Mind you if you get lost venturing deep into those hills and run into any locals that want to know what you are doing on their property. Just tell them you are burying a body and they will reply with “ok carry on” now get off my property! Works every time!!
Cliff, none of this thread (or project) is ever boring… 
Cheers
Neil
That’s very generous of you Neil, thank you.
Now that YellowFreight is out of the picture , from my former customer , do NOT ship via ABF , he says they are the absolute worst about damage and claims. Probably would be best to find a person with a smaller vehicle going that direction and keep it away from the big freight companies.
In case you don’t know a truck will pick it up, it will get unloaded at the local terminals d loaded onto a trailer going near the delivery , where at that terminal it gets unloaded off that trailer and finally loaded into the final delivery trailer. Dockworkers do not care about what or how fragile the freight is, just how quickly they can move it and get it to the next trailer
All good points, Pete, thanks. My options are somewhat limited… But I’m looking into Flock Freight and other non-conventional approaches. If you can think of a better service, please let me know.
Last week fam reunion, and we’re heading to SC tomorrow for our middle daughter’s graduation from Army boot camp.
Here and there I’ve been messing with details, and printed a first whack at a mule train:
I’ll probably print this train as a unit having a common base (as the 4 mules have). Some knifing away of the ballast, and the whole train should rest better inside the rails.
Kinda tricky trimming the mule supports because a leg or head wants to break off in sympathy. So I’ll probably print 10 or so, to get 2 to use and 2 to supply as spares.
Cost isn’t an issue with extra prints in this scale. About 1.5 cents of resin for this train; I lose more in drips and whatever is lost to the equipment wipe-off.
Also trying horse teams and wagons, maybe a carriage, we’ll see how time allows.
This weekend we’ll be back home, and I’ll need to focus on the cover that goes over the model.
Thanks for your interest,
Cliff
Probably the best option would be a “blanket wrapped “ company that will take it direct from you to the museum, how far away is it ?


