Staining operation…
4 Likes
Really coming along nicely Cliff
1 Like
Thanks, Sean!
1 Like
I primed the tiny printed bits this morning,

Had to dip everything, since the parts are too small to brush or spray. Per some advice on Reddit, I used Vallejo black primer, thinned maybe a third with V’s airbrush thinner.
I figured if the stuff didn’t dry down and expose the details, I’d have to reprint with sprues that permitted spraying. Which I didn’t want to do.
Fortunately the primer is laying down nicely. So, after cutting some brass rod, on to car assembly.
For the much larger figure priming (men and mules), the BD guided me to the proper Army Painter spray primer. Different story, but same diorama, so I’m glad to slowly get a handle on all these unfamiliar processes.
1 Like
Cliff,
Last year when I had very small bits to paint, I’d make a loop of tape, stick it to cardboard, then stick my pieces to the tape. Spray, dry. spray. Seemed to work ok for my level of concern. (You are a finer modeler than I, however.)
John, that’s a great technique, thanks.
I lack your patience though… 
So do I. How does that work? I mostly get distracted…
You mean like this? I actually taped down some blue painters tape at each end, with the sticky side up.
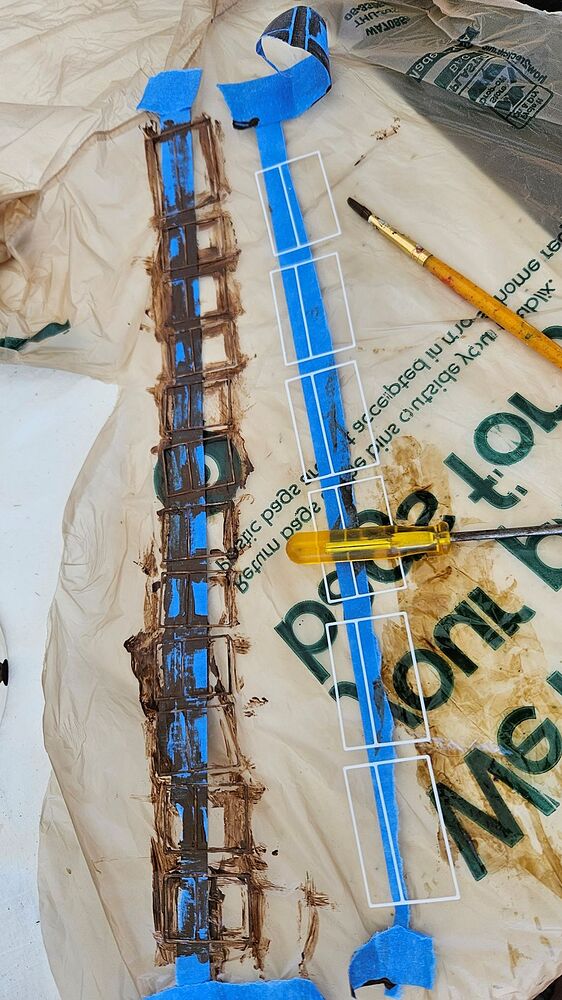
1 Like
exactly! How does taping the ends down work for you, Pete?
I was about to drill for and install some mini nails, but see they’re still too big. After a bit more looking, I found .020 shank solid brass mini nails at MicroMark. Good price, and shipping not bad. I’ll have to blacken them, but that shouldn’t be a prob if they’re truly brass.
I just realized a had a few of those from Bruce Chandler, and now I know where they came from, yay! Thank you Bruce! The ones I was going to use are on the left, Bruce’s MM nail on the right:
Smaller head and shank will go better with nailing the little car hardware parts.
1 Like
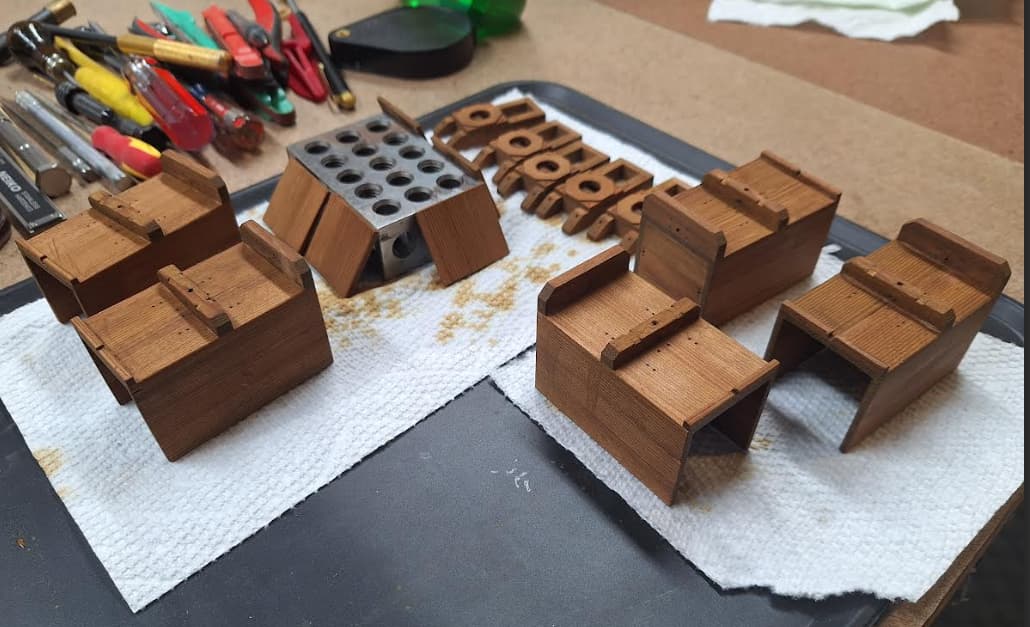
It took awhile today to measure, cut, deburr and blacken the brass (right columns), but all seems a go for starting assembly tomorrow.

3 Likes
“I love it when a plan comes together.” Col. Hannibal Smith
Works great. I’ve been doing it for years when the item is too small or delicate to place on the surface. These panel frames would blow away if I tried to spray them.
I’ve used both taping techniques, but for larger batches I think a lot of tape is saved by the taping-down-the-ends approach. For small runs, I like the loop-aronud-the-scrap-cardboard.
For batches of small parts having shanks, I either print them on sprues and leave them there for painting, or insert them into foam blocks.

I find these really useful for parts having a grabbable spot. I shove them into foam blocks. Basically gator clips on bamboo skewers, really cheap.

For the present effort though, I wanted to experiment with dipping, becauce a) I was getting impatient* and b) I thought that if dipping worked, that would be awesome for this display-only application. So far, it’s been working. The black acrylic primer I’m dipping in isn’t as robust a finish as a spray, but it’ll make the resin prints take the Army Painter paints, or weathering powder, all of which will get a flat clear final top coat in the end.
[* John, that’s why I said what I did when you first mentioned the tape  ]
]
1 Like
Finally getting into the assembly.

I started using mini nails I had on hand (since the Micromark ones will take a few days), only to see that my bag o’ nails contained 2 different head diameters… so I pulled some back out and had just enough to have 2 hoppers with large nail heads, the others with smaller. Oh well. The nicest two or three will go to Nevada, the others stay home.
There are lots more parts, so this will take awhile.
2 Likes
Cool,
How soon do you think till we run them down the tunnel and mess’em all up ? Do you need to borrow an ass? I would loan you mine (no pun intended) but it’s pretty well tagged. There is a clean ass in Jersey though.
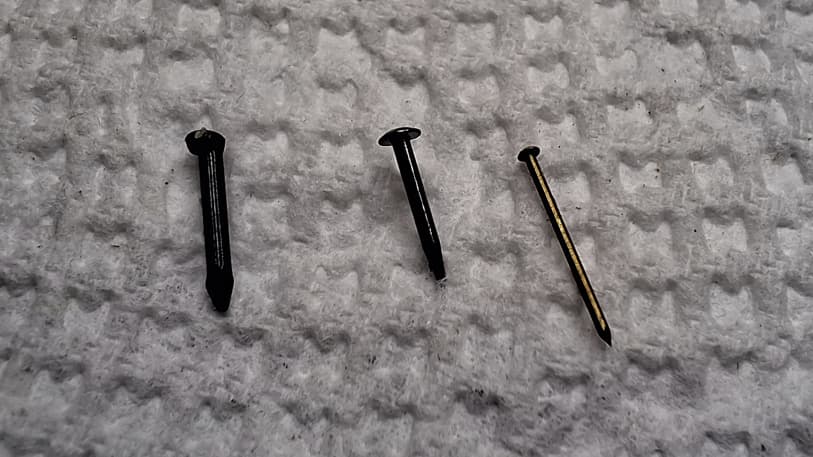
Just got the MicroMark nails in. Here they are on the left, compared with the ones I’ve been somewhat using so far.

Them’r small nails!
Guess which ones are real brass?

Out of impatience, I’ve used a bunch of the brass-plated steel ones, and don’t know how they’ll react over time, vs. the pure brass ones. If they do badly, I’ll chalk it up to “weathering.”
If someone, after looking at the model, presses the topic (which I can’t imagine, but for theory’s sake), I’ll say “Yeah, it’s amazing how corrosive mule pee can be, so I’ve tried to take that into account in the model.”
Anyway, I’m almost done with the hoppers.

2 Likes
If not exposed to the elements I can see no reason why you would have a problem with the coated nails.
Thanks Rick.
To explain further, I’ll be using Jax “pewter” blackener on the exposed metal. Brass will blacken, but the plated brass may not, and it might react to the Jax differently.
Anyway, I’ll paint on black primer over the problem nails. I just hope the steel nails don’t start rusting and making rust-pools around their heads. But, too late now.
Hence the “mule pee” backup argument…
I would think that rust stains around the metal fittings on an ore car would be a desired effect.