Richard all three of my builds have sat out since being built so a year or two? They all have enough weight with the wood framing to hold them down but they are at ground level. The coro holds up very well and I have had no warping issues with the sides at all. Now as for the roofs this summer(record temps) did warp them some but not too bad. They do get a good bit of direct sunlight though. They also sat buried under 3’ of snow this winter. I have even used it(coro) to make a radial roof for a whipped up baggage car. It’s a good cheap material and has many possibilities.
Further progress. Not much since my youngest boy flew in last week for a friends wedding and and had a nice visit.
(http://i253.photobucket.com/albums/hh58/rgseng/delores/delores006.jpg)
(http://i253.photobucket.com/albums/hh58/rgseng/delores/delores005.jpg)
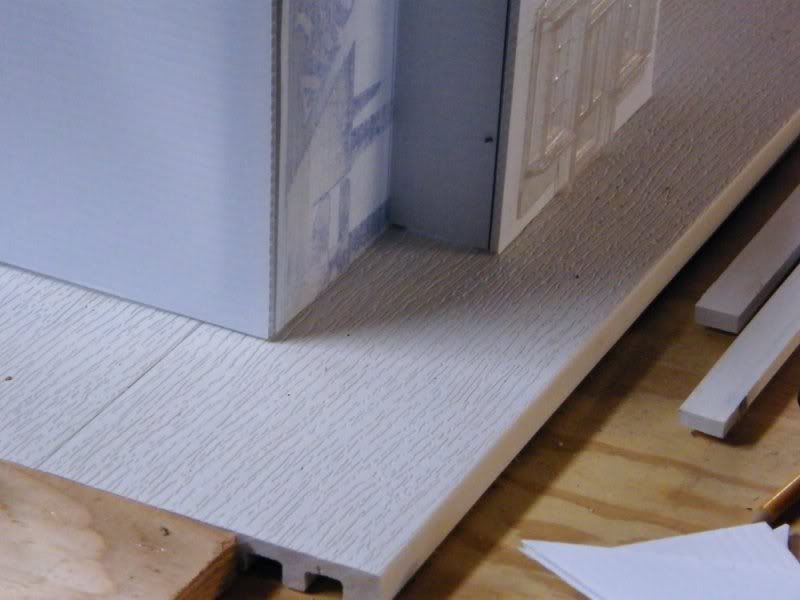
Here’s a close up of the TrimPlank I’m using for he platform…
(http://i253.photobucket.com/albums/hh58/rgseng/delores/delores008.jpg)
I take it you just glue and clamp the strips of TrimPlank? I need to track some down in California for several buildings on the layout.
If your talking about the stuff for the platform, There’s a little more to it than that Doug. The edges are rounded so I run it through a joiner a couple of times to make the edges more square.
As for the pieces I’m using for the bracing, that’s basically it.
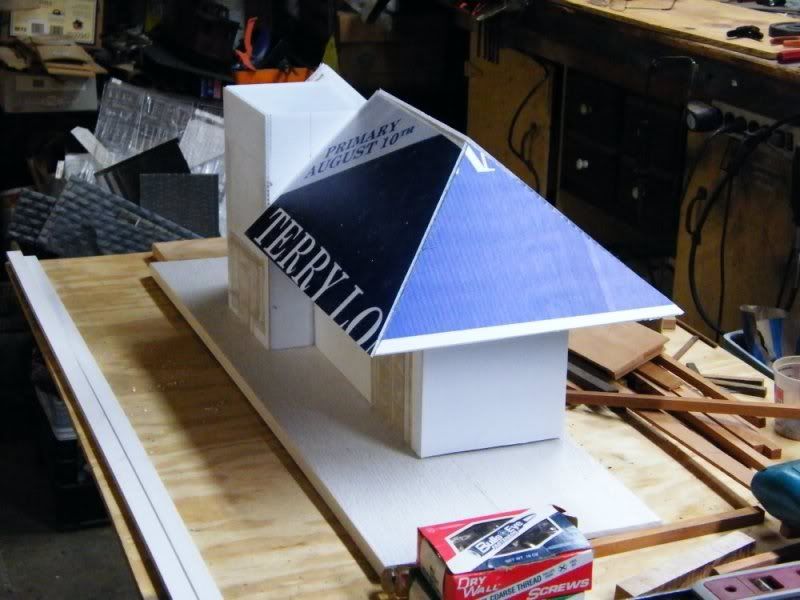
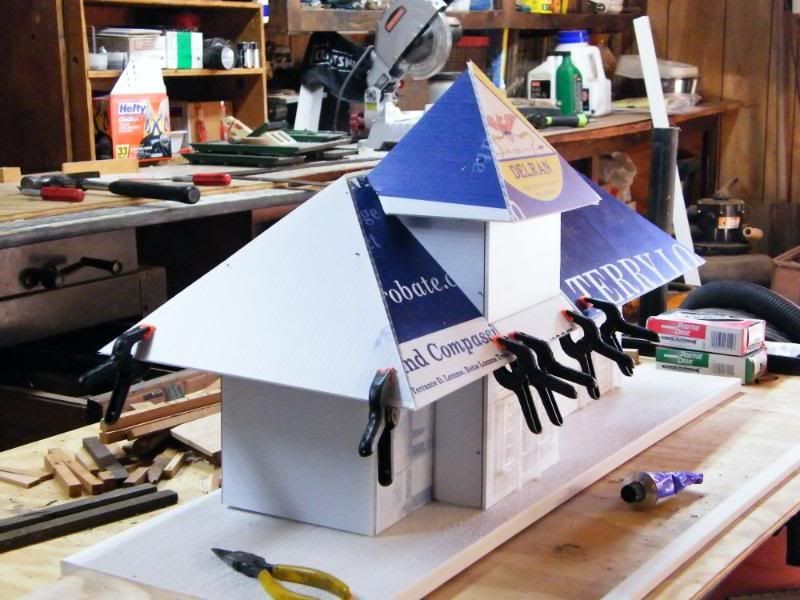
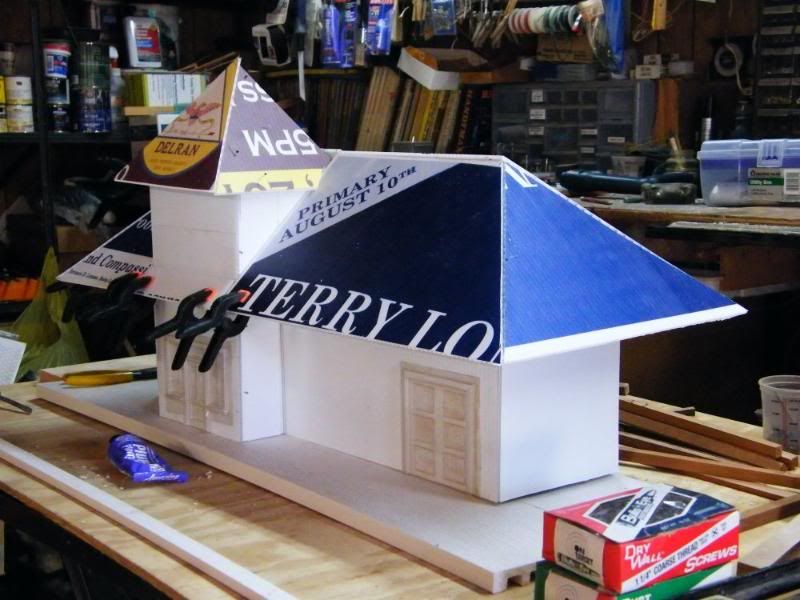
Further progress…
(http://i253.photobucket.com/albums/hh58/rgseng/delores/delores009.jpg)
(http://i253.photobucket.com/albums/hh58/rgseng/delores/delores010.jpg)
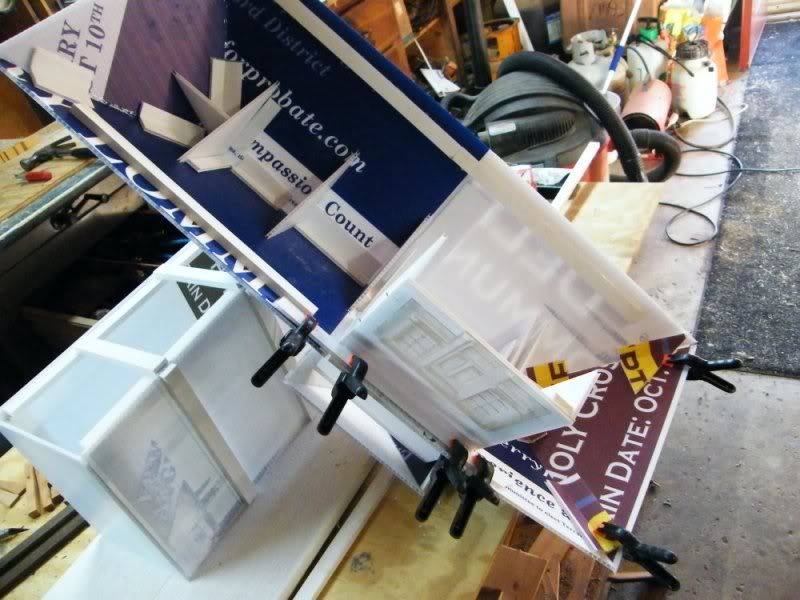
Inside the roof…
(http://i253.photobucket.com/albums/hh58/rgseng/delores/delores012.jpg)
Lookin’ great, Ken!
Me thinks it might be Beautiful, when it’s finished… 
looking good Ken.
I was useing coroplast today, I think those of you in 1/20may be able to use the individual cells as stake pockets. They scale to 3 1/2" x 7" in 1/29
Ok…I understand your plan of attack now… Are you contemplating a bit more roof bracing especially around the butt joints(with wood ) or are you gonna be a rebel and ride it out as it stands. I actually think the gussets to the ridge will be pretty strong never thought of using the coro that way but are you adding more gussets? It’s looks real good so far and I bet it will be done by end of winter 2010.
Very Neat.
Any plans for ventilation?
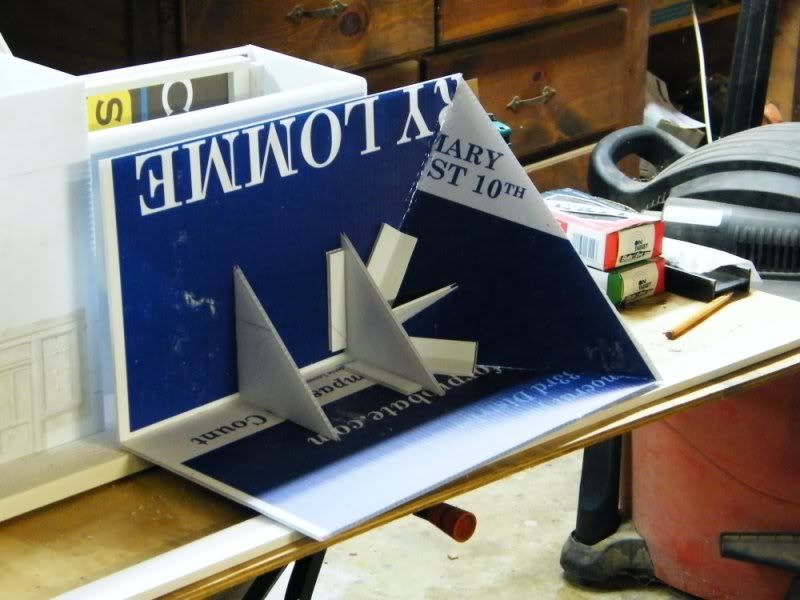
David Russell said:Well, this is all basically experimentation. I plan on adding more bracing to the joints since there isn't much gluing surface at those points and with the cells it makes it even less. The gussets are mainly there for form, for the previous reasons, not much gluing surface. Since there's plenty of scrap coro available, I'll use that to fashion any strength members. I plan on adding more trimplank strips under the roof for added strength and weight. As for ventilation, there's gaps between the wall and roof that should suffice. Ventilation's never been a problem around here, more a bee and wasp problem. Never worked with this stuff before but I'm liking it.........;)
Ok...I understand your plan of attack now... Are you contemplating a bit more roof bracing especially around the butt joints(with wood ) or are you gonna be a rebel and ride it out as it stands. I actually think the gussets to the ridge will be pretty strong never thought of using the coro that way but are you adding more gussets? It's looks real good so far and I bet it will be done by end of winter 2010. :)
Did you get a coro cutter yet?
Not yet…closest Micheal’s is in DE and haven’t ventured down there yet…
GEEEZE I fer got to show you the stuff for the corners while you were here!
Bart Salmons said:Prolly cause I fell asleep watching whatever it was we were watching............;)
GEEEZE I fer got to show you the stuff for the corners while you were here!
R/C Helicopter porn?
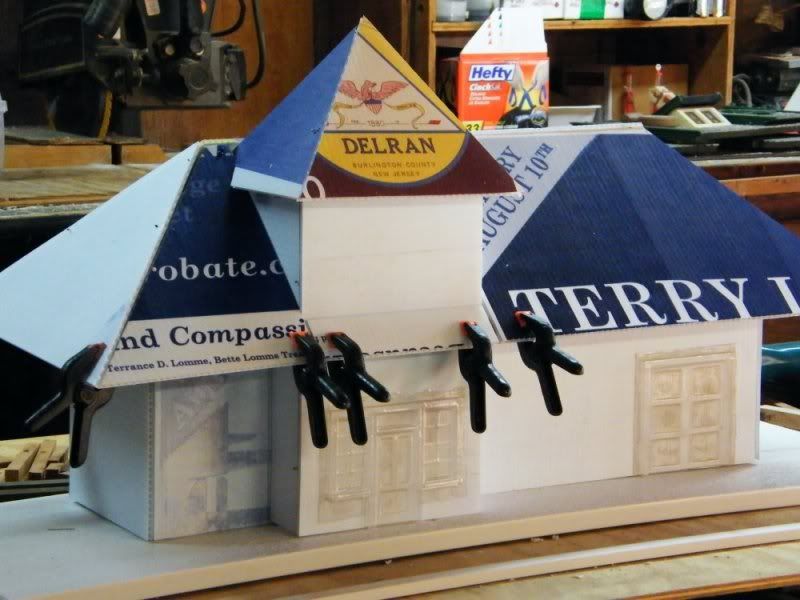
After cleaning out the leaves in the pond that had made a dam in the spillway and caused a bunch of water to run out, it’s back to the station build. Most of the roof base is in the finishing stages. Another nifty feature when working with this stuff is the use of pins to hold things together when making sure things fit and when gluing the stuff together.
(http://i253.photobucket.com/albums/hh58/rgseng/delores/delores013.jpg)
(http://i253.photobucket.com/albums/hh58/rgseng/delores/delores014.jpg)
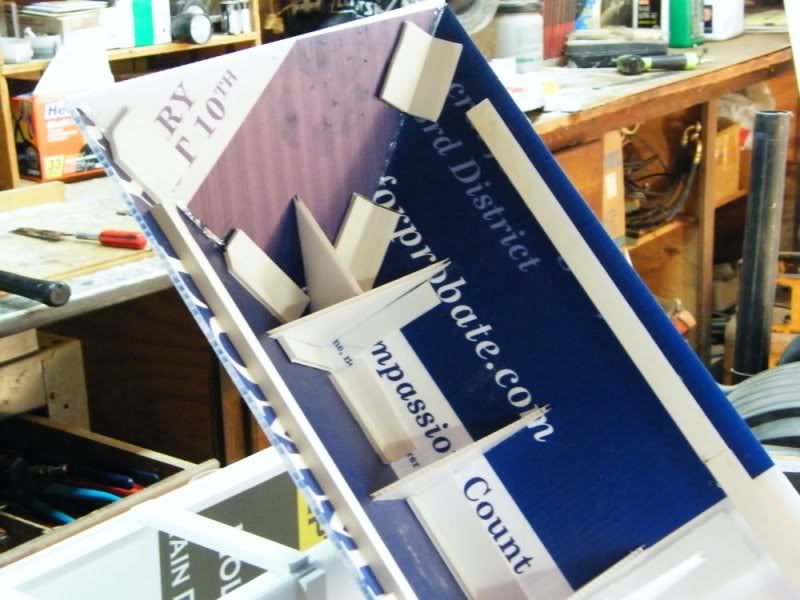
Underside of the roof details…
(http://i253.photobucket.com/albums/hh58/rgseng/delores/delores017.jpg)
(http://i253.photobucket.com/albums/hh58/rgseng/delores/delores020.jpg)
(http://i253.photobucket.com/albums/hh58/rgseng/delores/delores022.jpg)
The board and batten veneer I ordered from Caboose Hobbies came while I was at Ric’s so that should be one of the next steps in the process.
Neat idea to split the coroplast on one side and use it as a patch between the roof pieces. Im gonna steal that idea.
Help yourself…seemed to me to be the easiest way to strengthen the angle in the ridge lines…
Looking good Ken. I showed your previous progress to our Art Director who created and produced most of what you are using. He thought it was pretty neat. Too bad you don’t have a town named Delran - wouldn’t need to letter tghe station