I like that Idea a ton. With my cricut I could make up stencils easy.
I’d go with colored concrete as an Art Deco build. Getting the forming lines correct is the challenge and bricks might make it too busy.
Thanks Hollywood. Hmmm… I have access to vinyl cutters at work and we have a vinyl product that is a heavy duty mask. That might work with Bondo if you judge the cure accurately and strip off before it completely cures, while still quite soft.
I know y’all are trying to get me off the computer and at the workbench. I have been doing background work on the installation spot that is required before I can actually cut the foam. Last evening I analyzed my available material VS the spot where it will go. I may need to incorporate a horizontal seam, but I have enough material. The computer work is also a requirement on how I plan to do this…
Rather than laying out all the brick lines by hand on the material; my drawing will be the carving template. I plan on printing on full sheet self adhesive labels, then using the printed lines as my layout guide for embossing; scribing or carving the detail. Last night I got all of the angles corrected. My V1 drawing posted here was drawn over the top of a photo. the photo had a little parallax error and I have changed the window spacing to fit my space, so it needed lots of tweaking. I’m pretty happy with all the detail lines now and am working on the brick. Fortunately, Copy-n-Paste is working out well for most of the brick. That darn full sheet label stuff blew half my budget in one item!! Fortunately I won’t need much else for this as I have almost everything needed on-hand.
Don’t know if anyone has noticed, but the brick detail on the inspiration building creates an optical illusion of depth using tapered bricks running at angles. Very cool stuff that no one bothers with today.
How would this look
(http://www.largescalecentral.com/public/album_photo/0a/53/02/24eb9_481a.jpg?c=e142)
Got a few physical things done this evening before dinner. I’m planning on some open space behind the front wall to give depth looking in the windows. I may put a scaled print of a factory interior on the inside wall and light the interior. Toward this end, the plywood backer was coated with 6mm black PVC custom cut to fit the space. Obligatory honorary Washing Machine workspace pic…
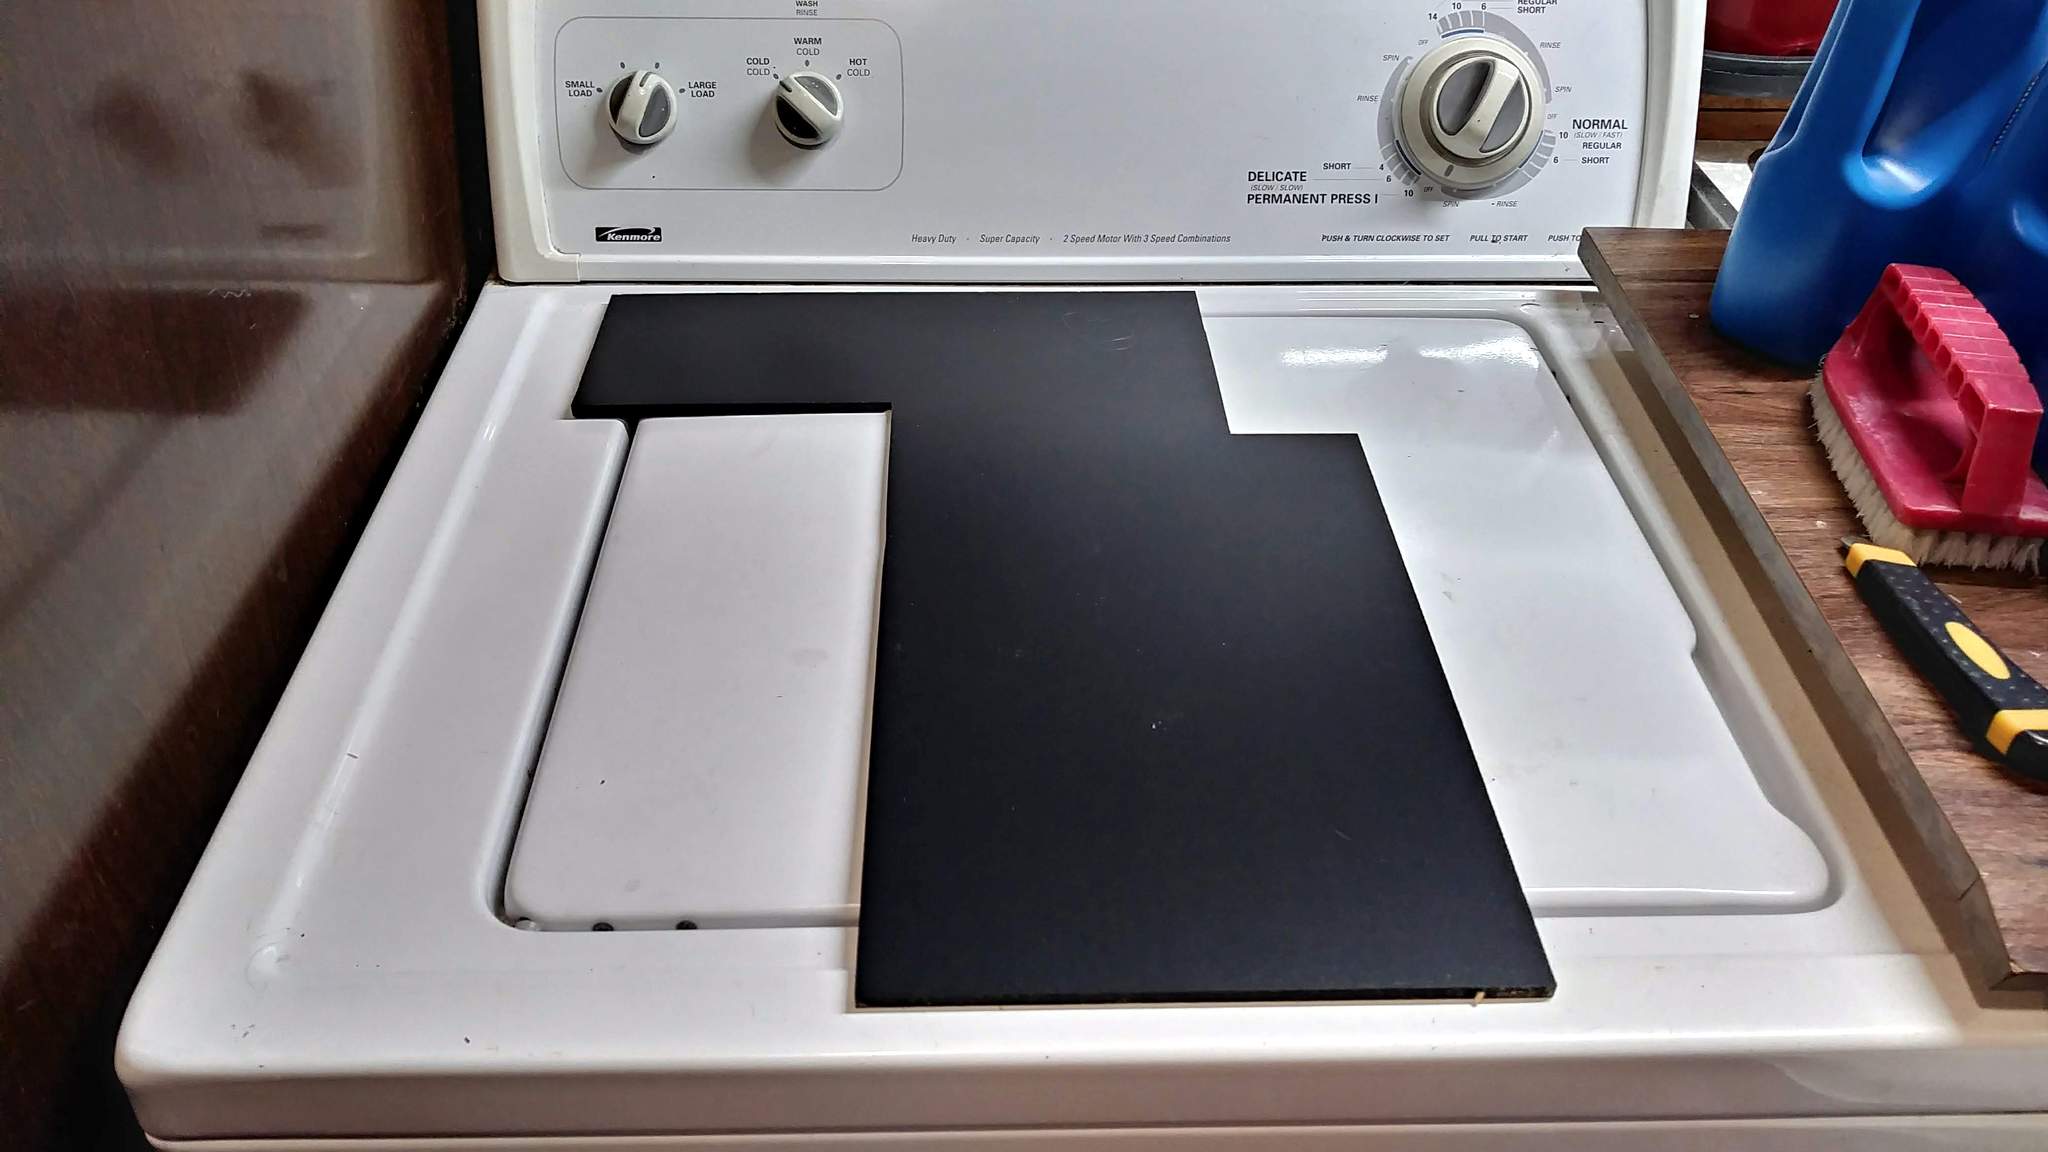
This was screwed on over the plywood. Besides creating a black background, it also brings the level up to match that small bit of bead board that is still exposed. The bead board was colored black with vinyl…

With that in place I was ready to cut the full size foam sheets. Again, posed in typical Mik fashion…

Now I need to develop my technique to work the foam. I snipped a small section of the drawing and printed it on self adhesive label…
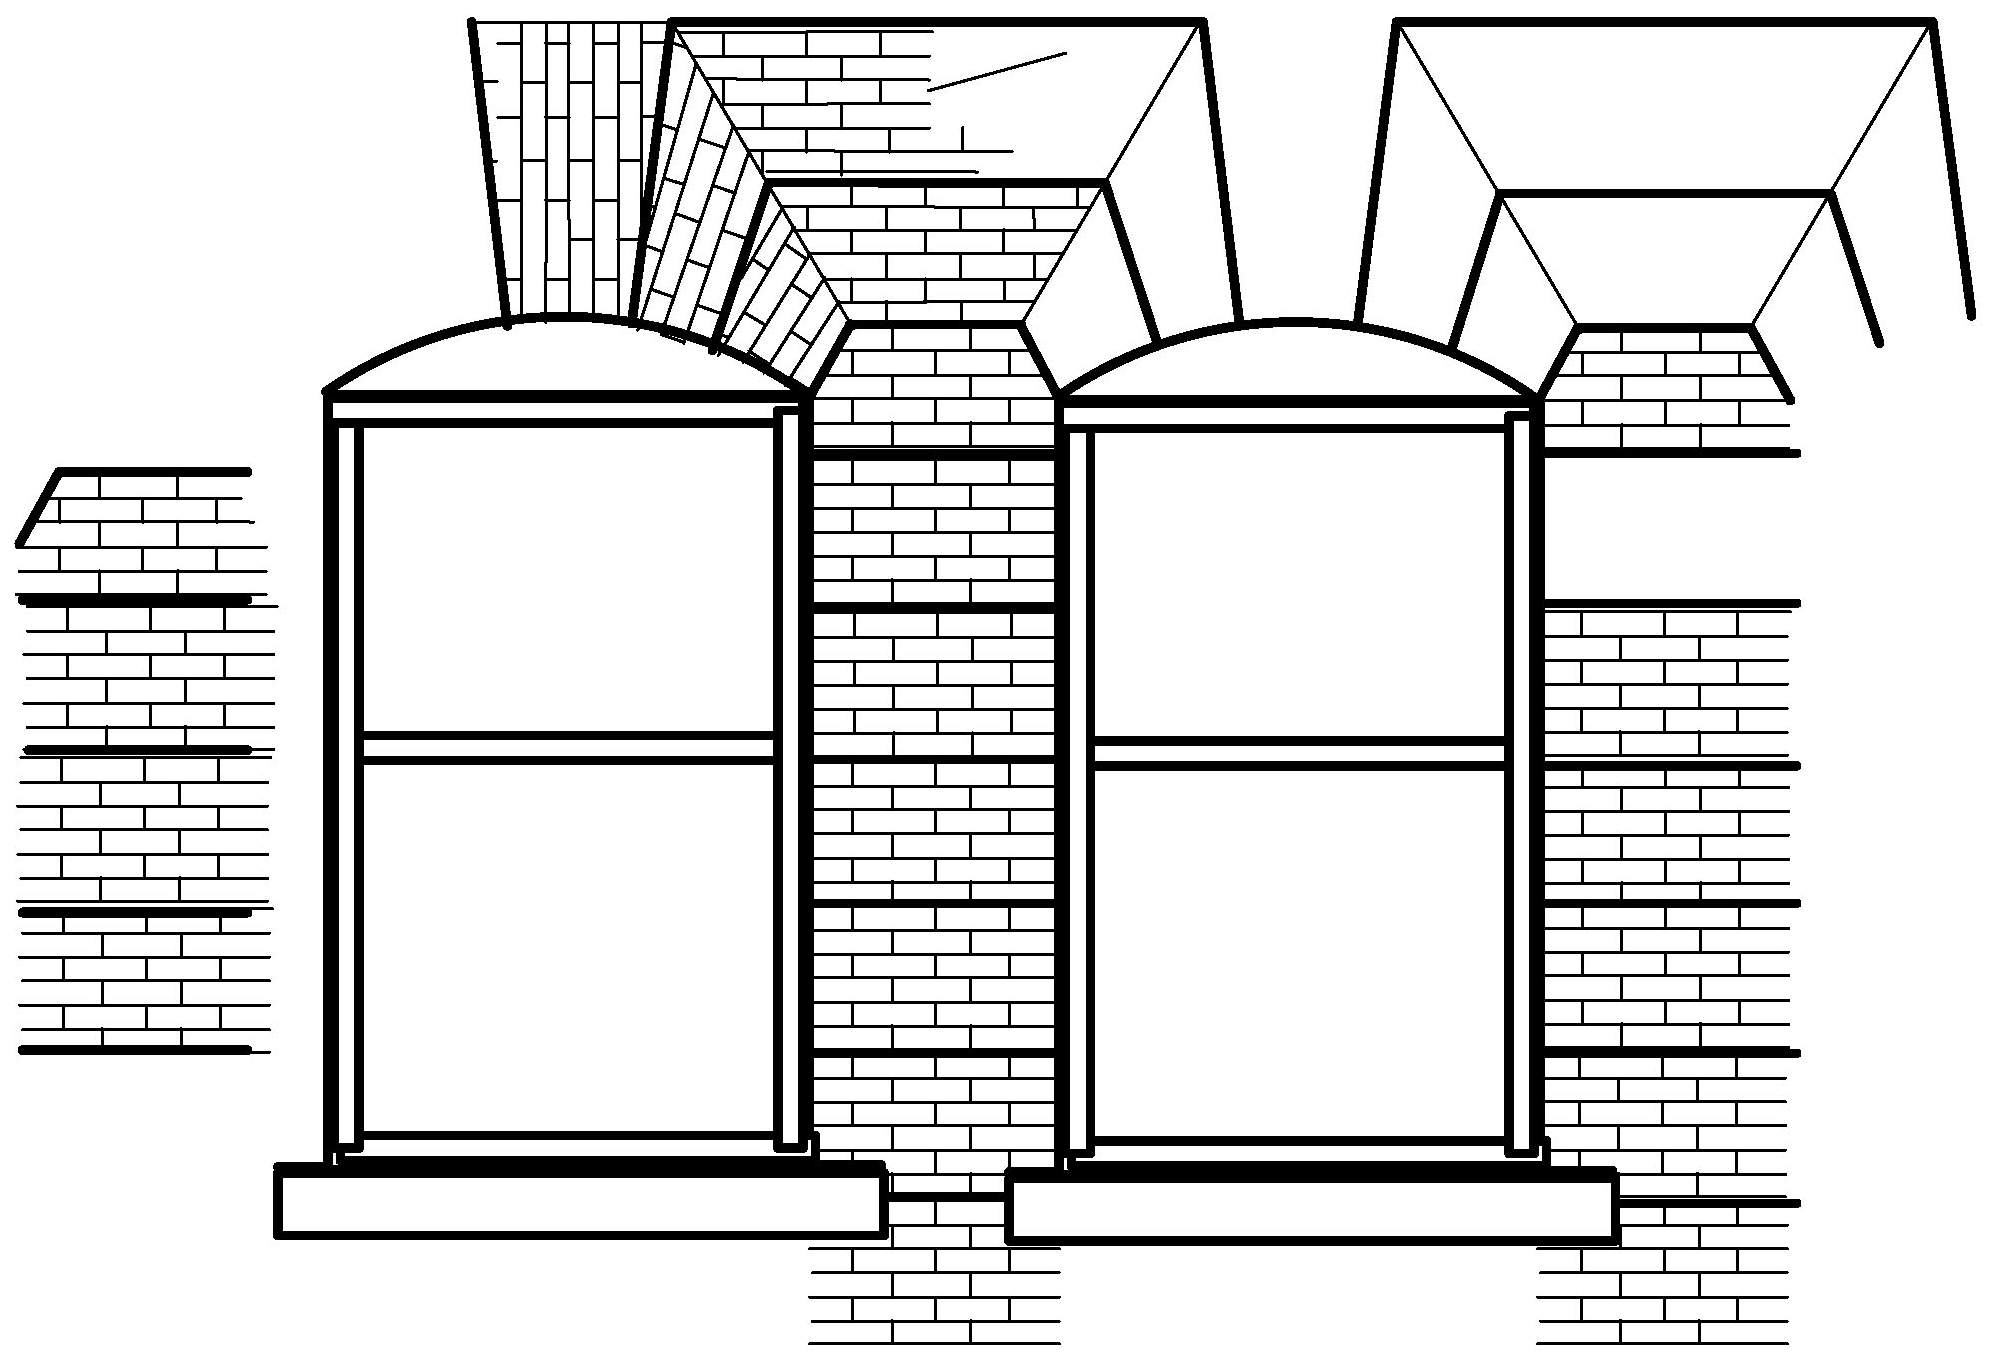
Now it’s back down to the basement to work with scrap pieces on shaping the foam.
Tried a few technique experiments. Learned some things but didn’t produce anything close to what I would accept as finished work. #1 fail was the paper label stock. Too thick, way too many fibers; breaks free and pushes into foam. I might be able to get away with printing vinyl. I’m going to take the file to work and see if I can get it printed during down time.
Here is the test piece with methods in the bottom pic. Paint was some old acrylic caboose read toned down with a few drops of black. Forced dry with a heat gun then washed and blotted with india ink / alcohol mix…
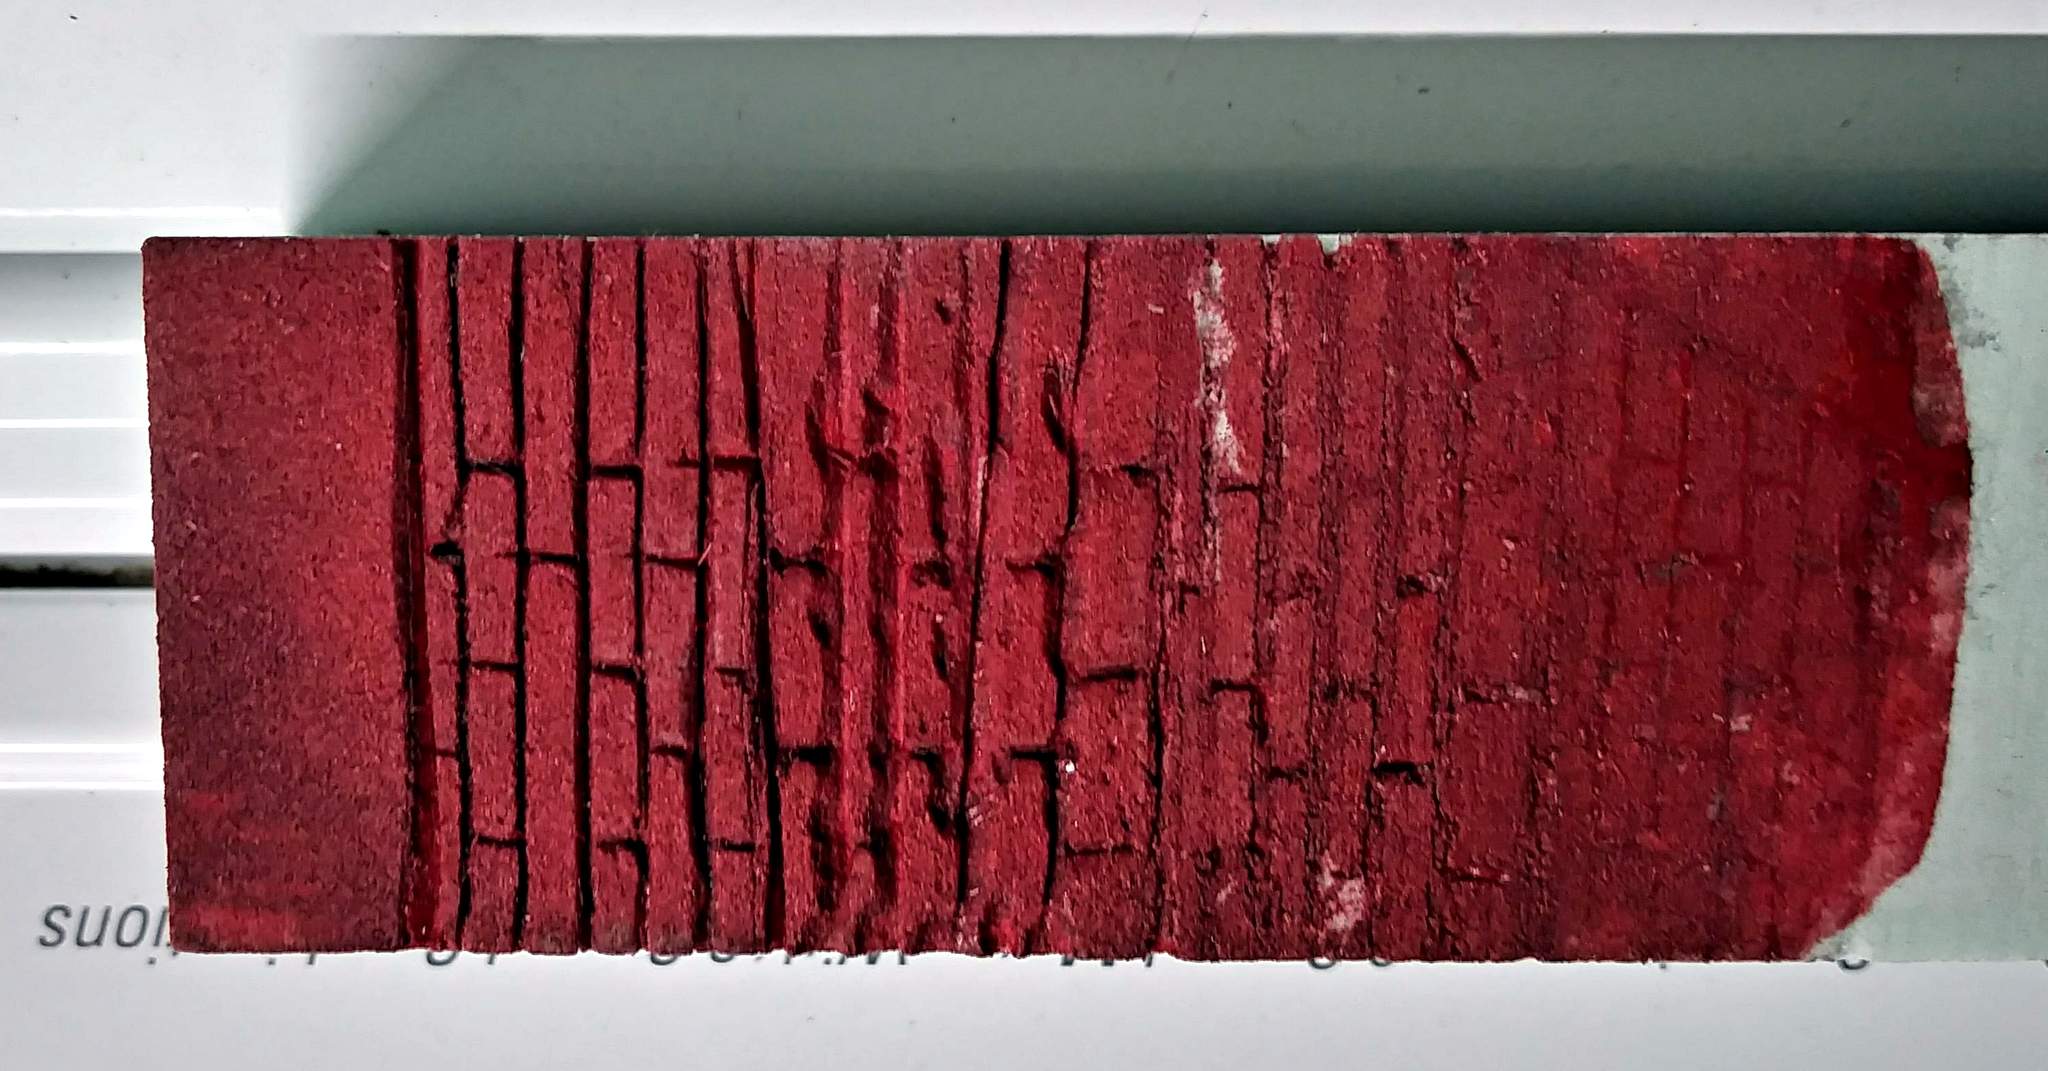

So far the hand carved with a #10 looks best but is time consuming. The dull end of a #10 went much faster and shows promise, but the paper it embedded in the foam killed the result. Soldering iron without temp control in this foam is too uneven and easily over-melts. The utility knife was the fastest, but the paint filled it back in. Should try a flipped over utility blade too.
Test #2 tomorrow night I hope.
Sneak peek at what’s cooking on the solvent printer at work…
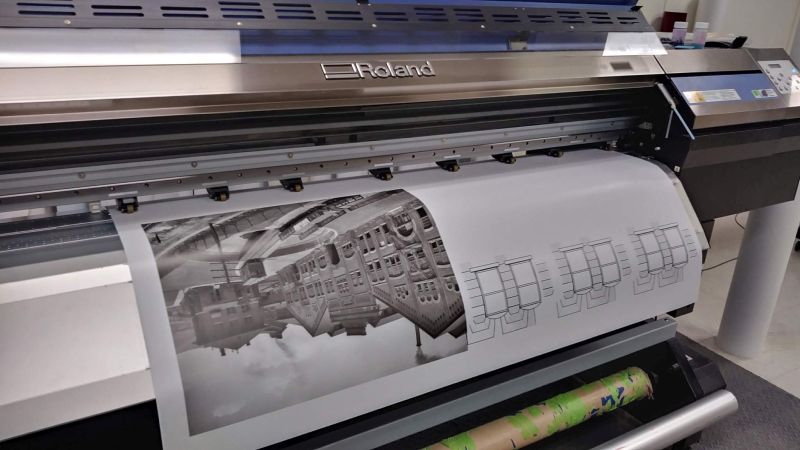
Cool (https://www.largescalecentral.com/externals/tinymce/plugins/emoticons/img/smiley-cool.gif)Now, the million dollar question: what is a solvent printer?
Dan Hilyer said:
Cool (https://www.largescalecentral.com/externals/tinymce/plugins/emoticons/img/smiley-cool.gif)Now, the million dollar question: what is a solvent printer?
Wow. You’re way ahead of me - I was stuck on wondering about the washing machine! (https://www.largescalecentral.com/externals/tinymce/plugins/emoticons/img/smiley-foot-in-mouth.gif)
Dan Hilyer said:
Cool (https://www.largescalecentral.com/externals/tinymce/plugins/emoticons/img/smiley-cool.gif)Now, the million dollar question: what is a solvent printer?
A BIG printer…(https://www.largescalecentral.com/externals/tinymce/plugins/emoticons/img/smiley-wink.gif)
Dan Hilyer said:
Cool (https://www.largescalecentral.com/externals/tinymce/plugins/emoticons/img/smiley-cool.gif)Now, the million dollar question: what is a solvent printer?
What is a solvent printer?
Solvent: This term is used to describe any ink that is not water-based. Piezo inkjet printers whose inks use petroleum or a petroleum by-product such as an acetone like carrier liquid. “Eco-Solvent” inks usually contain glycol esters or glycol ether esters and are slower drying. The resulting prints are waterproof.
David, years ago I did a engine house that I used the magic brick stencil on but used spray paint instead of plaster, a granite gray look for the mortar joints and red oxide primer for the bricks, worked pretty good, but magic brick no longer sells their 1/2" scale one but if you can make on a silhouette or cricut it would probably work good. If sticking to the foam I would suggest you try scoring with at soldering iron, goes very quick and I certainly like the sample looks, Bill
Thanks, Hollywood. I assume you also need specific print medium?
Ken, I have a BFP (https://www.largescalecentral.com/externals/tinymce/plugins/emoticons/img/smiley-laughing.gif)Matter of fact, several. But never heard of a solvent printer till today. Makes sense though.
Dan I wasn’t going too fr as the prices were the $4,000.00 - $5,000.00 type.(https://www.largescalecentral.com/externals/tinymce/plugins/emoticons/img/smiley-cool.gif)
Dan Hilyer said:
Thanks, Hollywood. I assume you also need specific print medium?
Ken, I have a BFP (https://www.largescalecentral.com/externals/tinymce/plugins/emoticons/img/smiley-laughing.gif)Matter of fact, several. But never heard of a solvent printer till today. Makes sense though.
I was kinda curious myself about what kind it was. I’ve used BFP’s too, when I was in Engineering.
Dan Hilyer said:
Cool (https://www.largescalecentral.com/externals/tinymce/plugins/emoticons/img/smiley-cool.gif)Now, the million dollar question: what is a solvent printer?
Uses inks containing a solvent that causes the ink to permanently bond with vinyl designed for solvent printing. What you see is adhesive backed. The print will go on polystyrene to be behind the track scenery and the small sections of my building will be used for more technique development.
Well,
You already win the “Spirit of MIK” you used the washing machine.
Devon Sinsley said:
Well,
You already win the “Spirit of MIK” you used the washing machine.
Wait 'till you see my paint brush !!! (https://www.largescalecentral.com/externals/tinymce/plugins/emoticons/img/smiley-surprised.gif)(https://www.largescalecentral.com/externals/tinymce/plugins/emoticons/img/smiley-surprised.gif)(https://www.largescalecentral.com/externals/tinymce/plugins/emoticons/img/smiley-frown.gif)
is a 44" printer considered a BFP, cause I have two, so I guess maybe the two together would make a BFP.
That print came home with me and was mounted on some plastic scrap. It will set the background scene. I think the door into to McGuillicuddy’s will now be above grade - second floor maybe, and the track leading in a bridge or a trestle. Scene is really coming together in my head. Now if I can just execute…
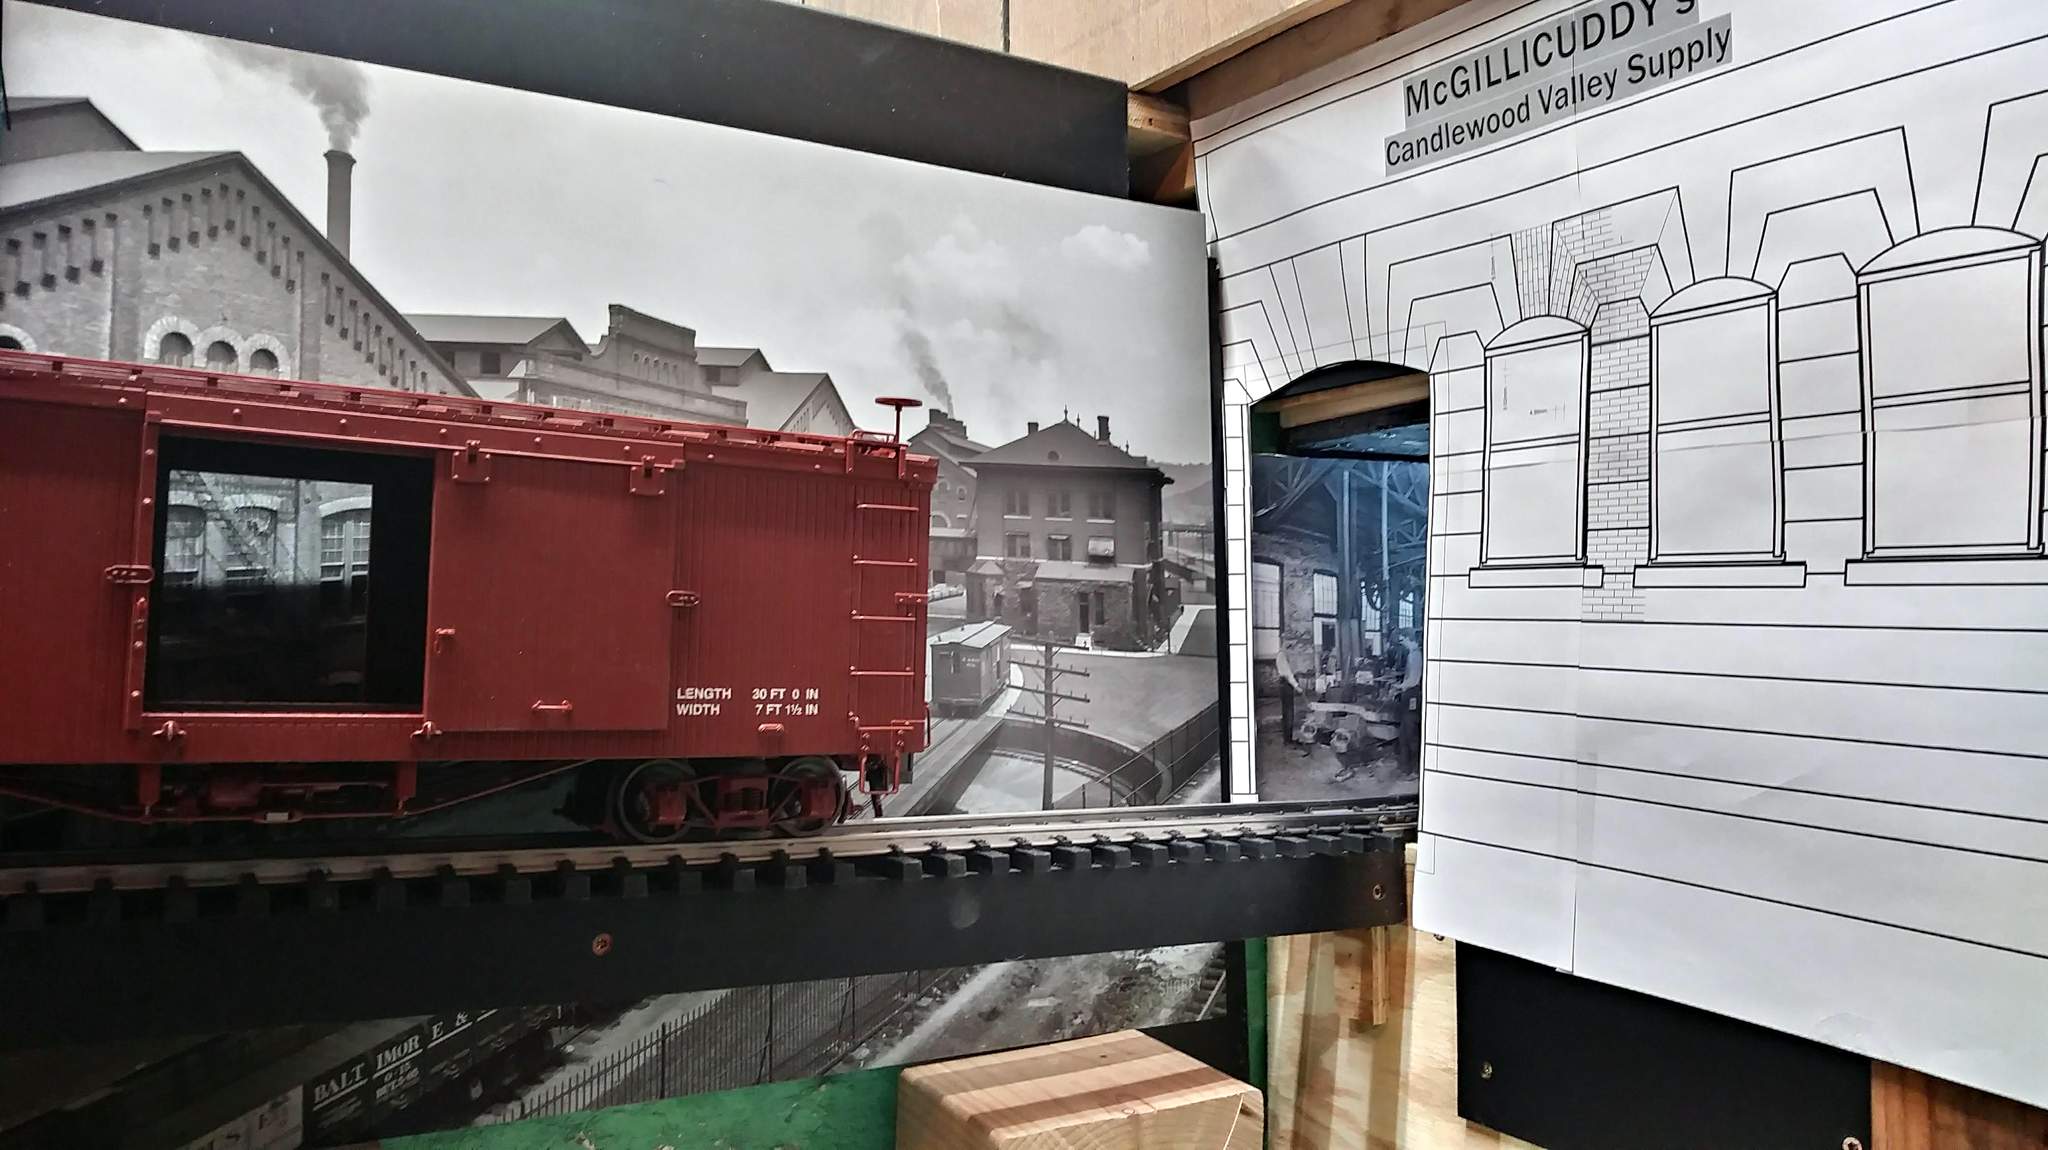
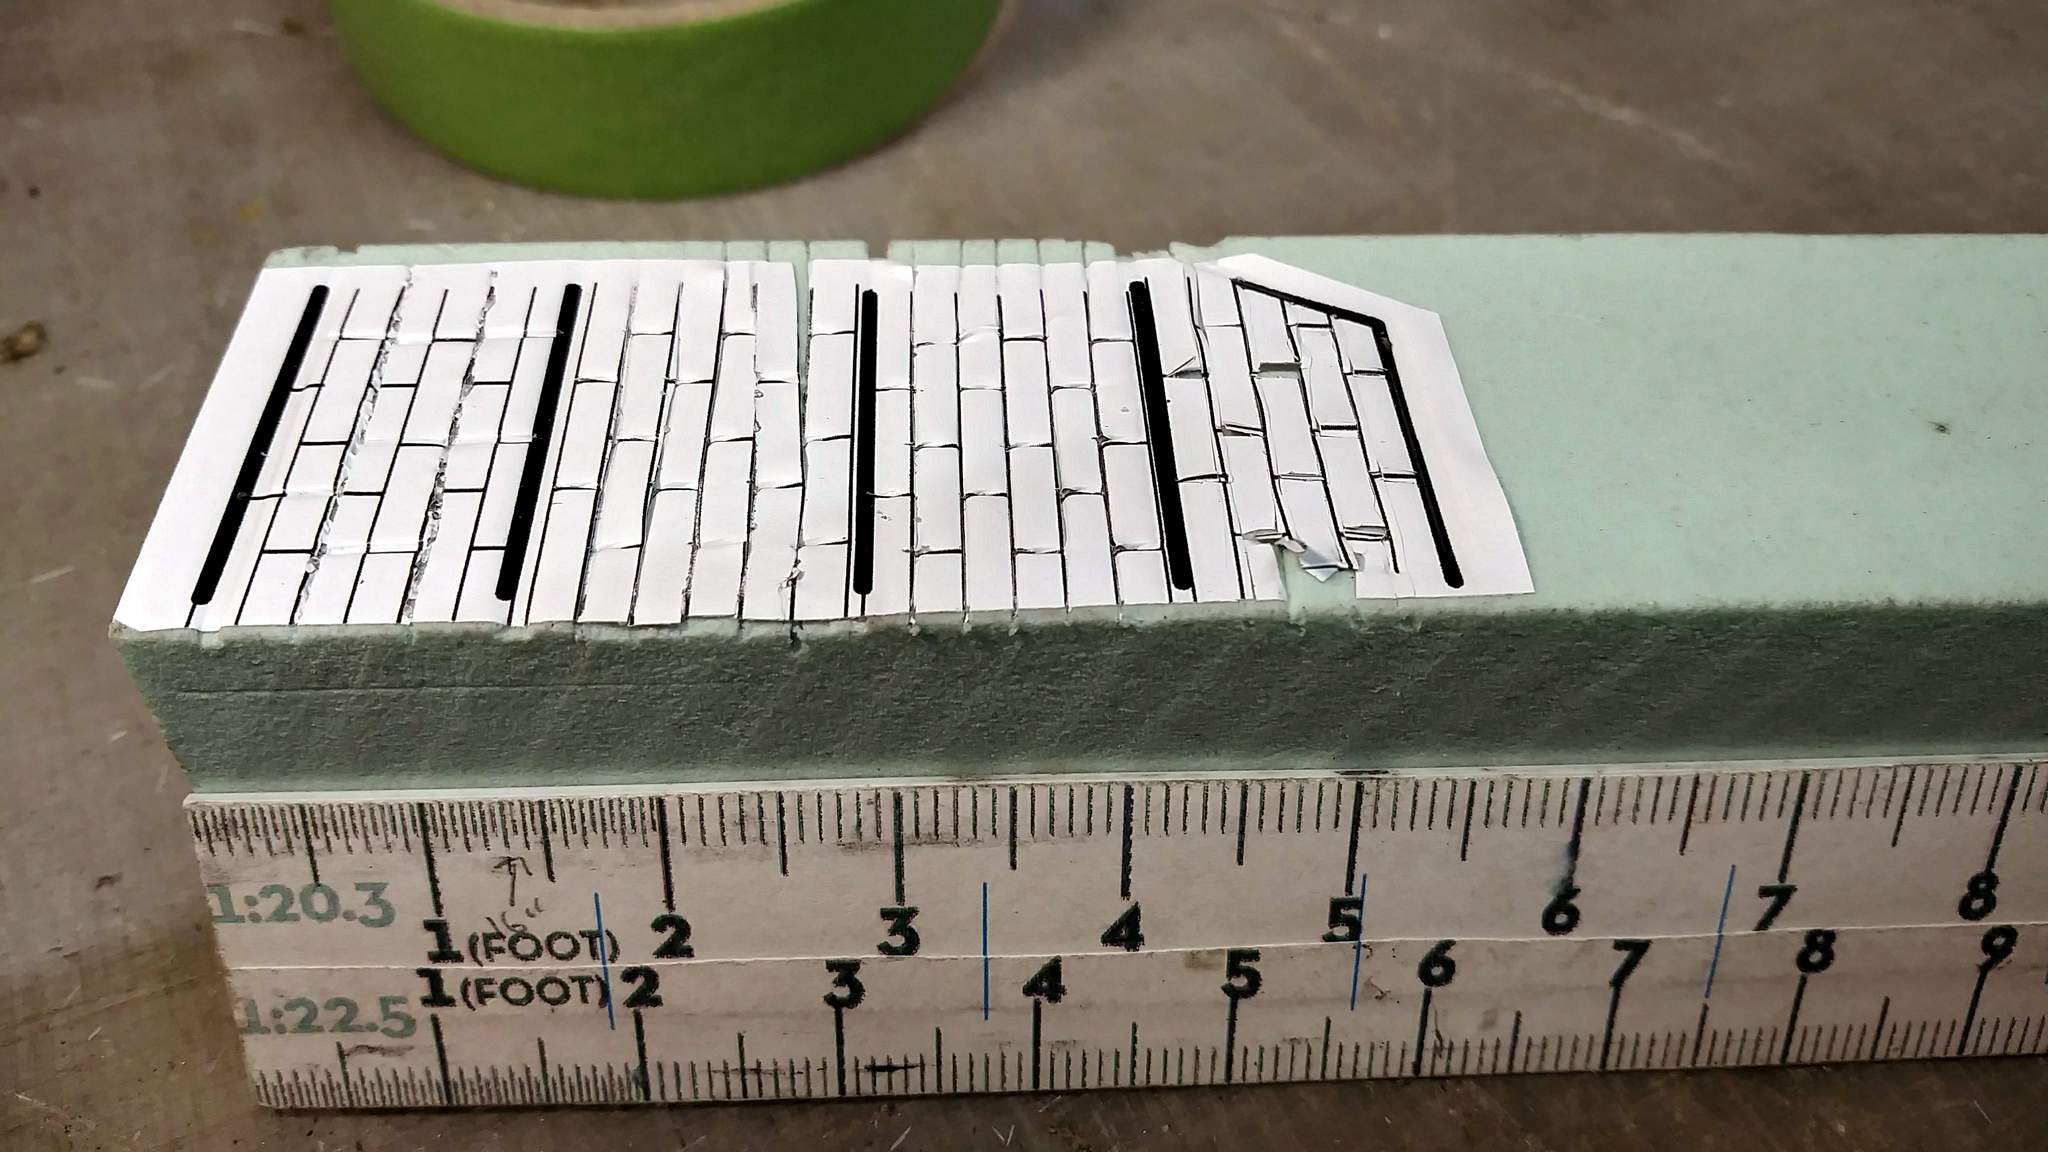
Time to stop daydreaming and get back to work. The vinyl cut pattern tests came home with me too. They work 100% better than the paper, but the hand carved is still a bear to clean up…
This time I tried something different for the paint technique. Did the alcohol + india ink wash first. Wash was made with a high proof denatured alcohol…
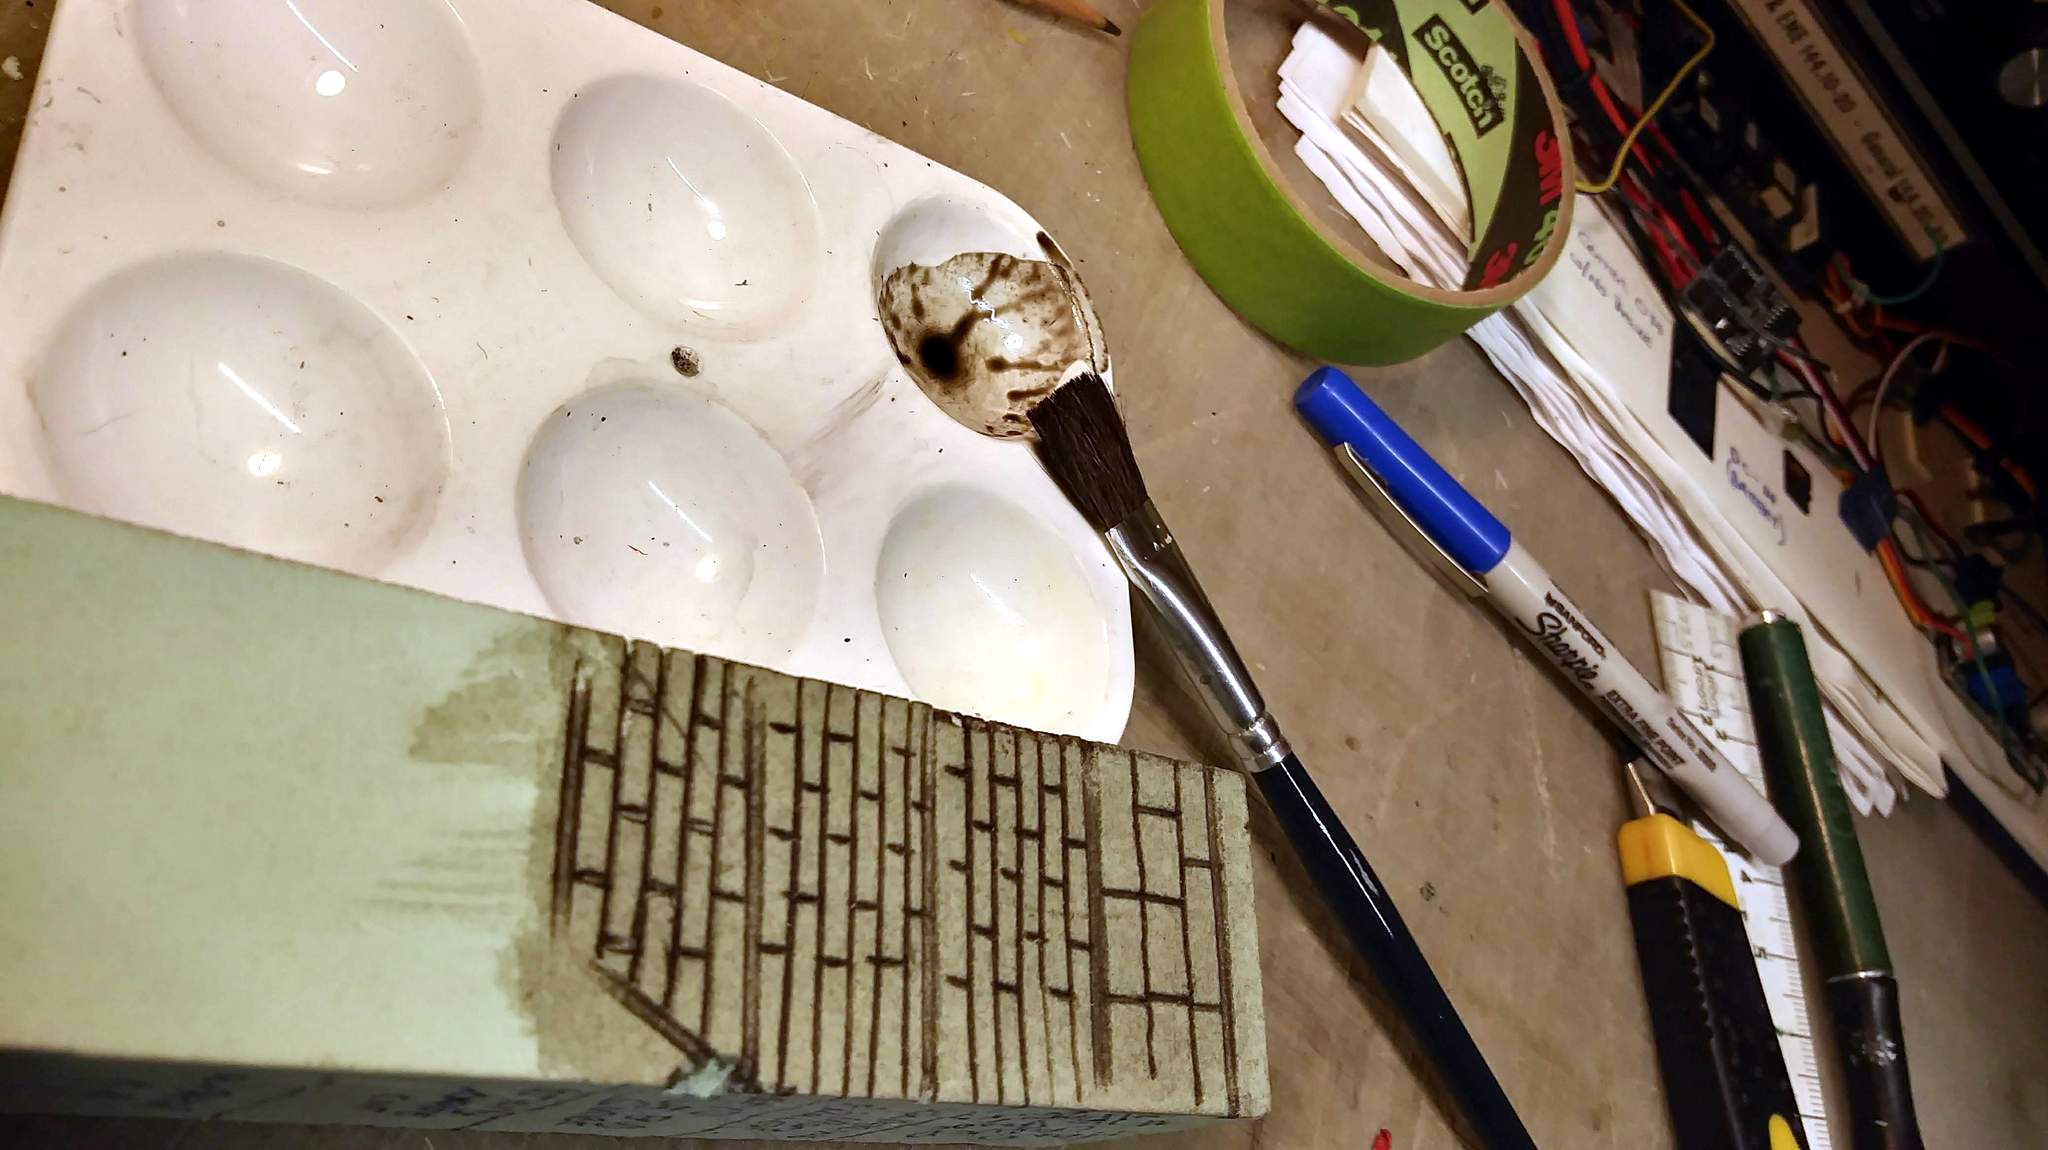
Then a bit of the caboose red was added to the left-over wash. Brushed on; blotted with paper towel and force dried with a heat gun…

Now I need to work on the block size. These look way too small to me. I have a collection of 19th Century brick, so I just measured one up along with the mortar stuck to some of them. I get a brick surrounded by mortar measuring 3.5" tall by 8.5" long. Back to Visio and compare that to what I have drawn.