Bend the spikes so they lie flat drill holes and bolt them to the doors, a good re-purposing!
Almost finished, like 95 percent. I’m lucky I have Mondays off, and, for a change, nothing scheduled. I can finish tomorrow or tomorrow night. Yipee.
I still have some touch-up on surfaces to do.
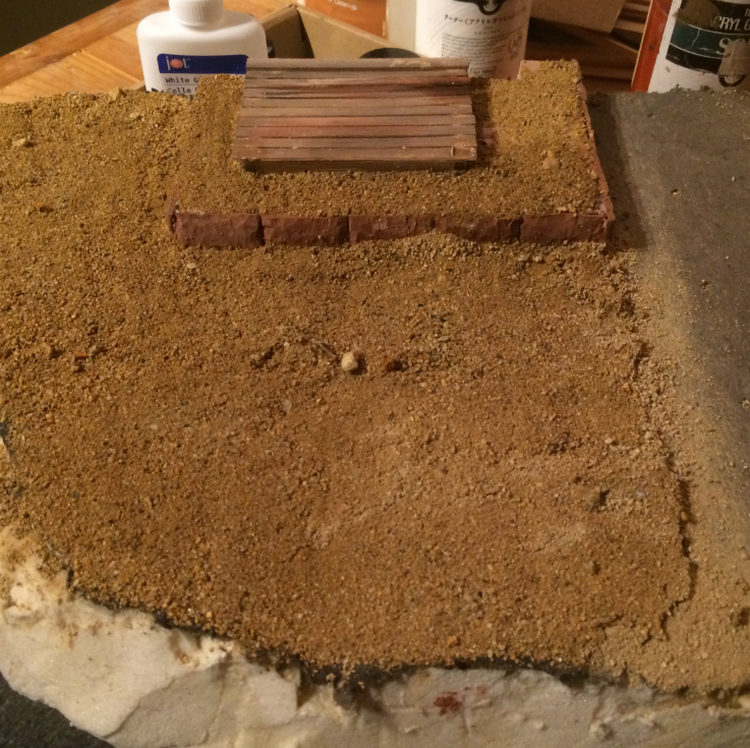
I need to find the right because I think those are European ties on the track. Those are European ties aren’t they? American ties are thinner. I know I must have some around here. Weathering and ballasting will take just a half hour or so. I think I need to put the whole build on a base and that will give me a way of extending the “ground” and “rock” out to include the rest of the track.
I still want to put a station out back for a place to clean out the smokeboxes on the locomotives, but we’ll see. I’d like to have a front porch by the front door; that should take about an hour really, no big deal.
That leaves the doors. I started with the doors and I guess they’ll be the last thing to put in place. How much time I still have left will determine how intricate I get with hinges and all. I still have everyone’s suggestions at hand, thank you all for that.
You can see I completely redid my first really sloppy job at the chimney cap. As long as I was at it, I turned the grating on the diagonal like I see in all the custom caps I researched. I think this came out much better.
Bad one:
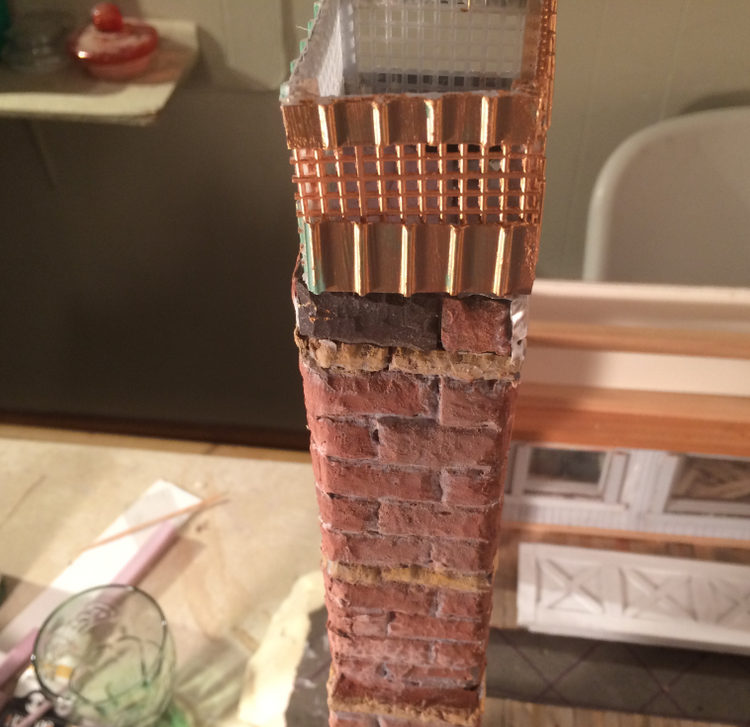
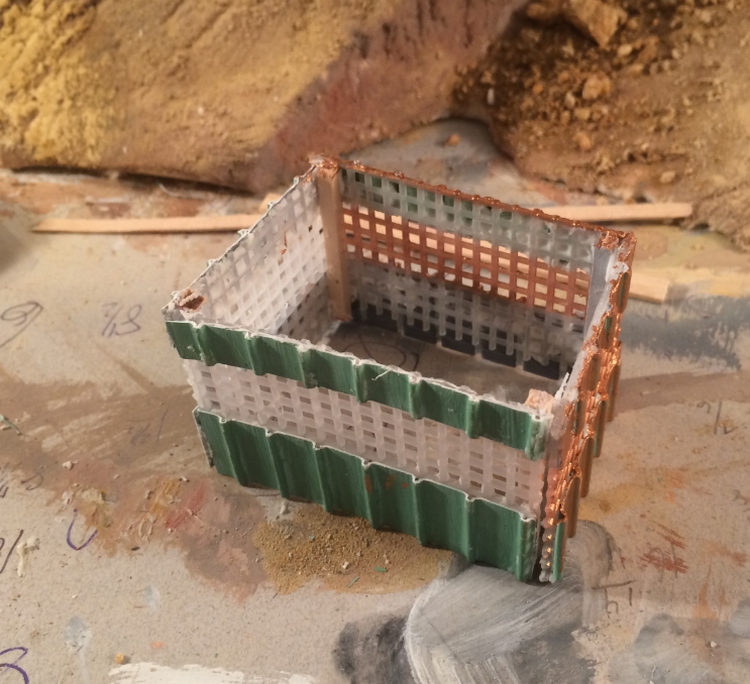
Better one: so here’s where I scrapped this out-of-square, disjointed effort and started all over:
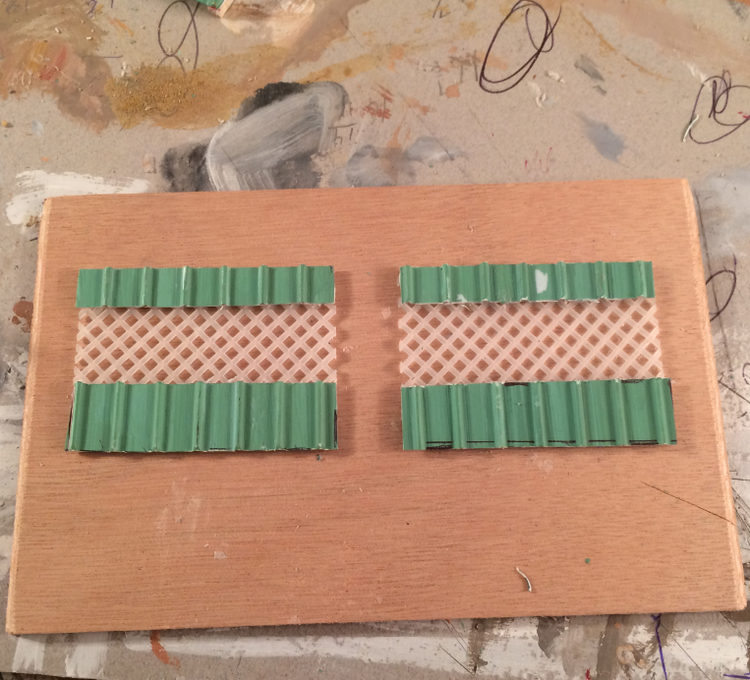
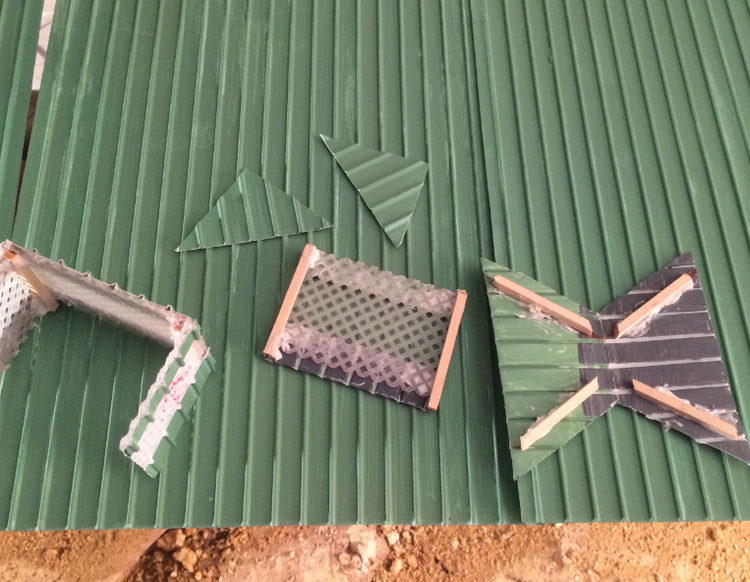
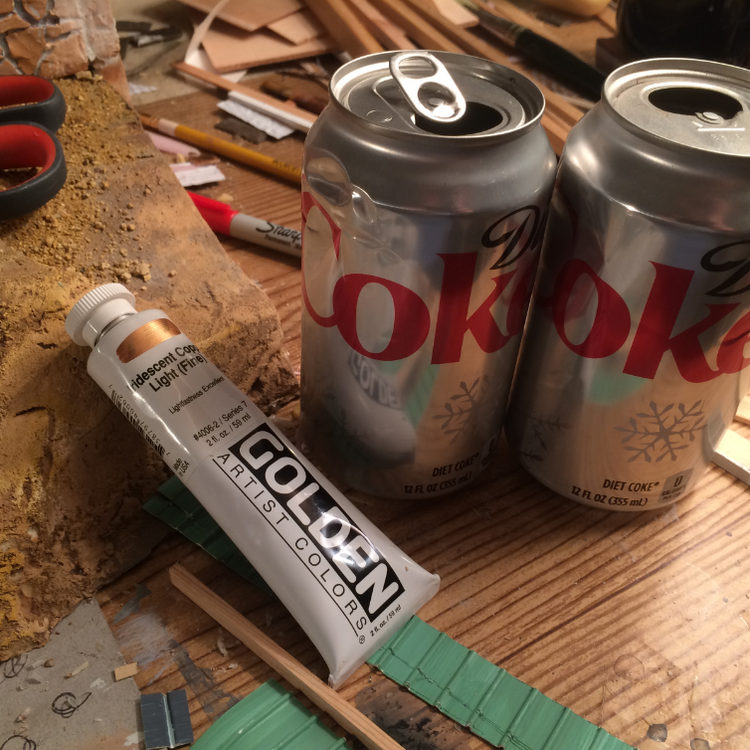
And now, drum roll please, I’d like to introduce you to Mr. Copper and Mrs. Flashing, otherwise known as Golden acrylic copper light find and tin cans from Coke.
And here’s an overview, the copper isn’t really as bright as it looks, and the lighting is bad which makes the color all wrong, but you get the idea:
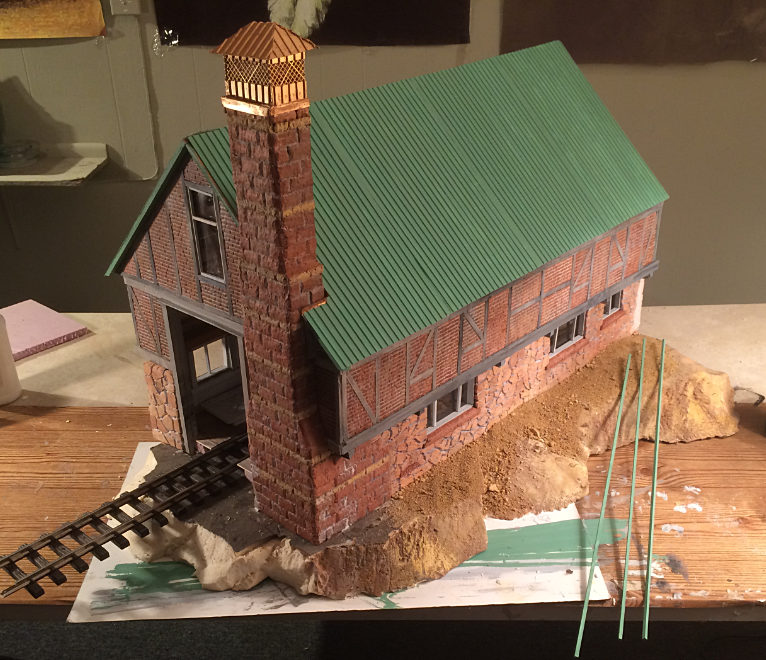
Those thin strips will get glued onto the roof to imitate the heating elements you see on these roofs some times. And I need a cap along the top ridge.
I could probably have finished today if I had planned it that way throughout the week, but, you know, Dave says we have until Midnight tomorrow night, so if Dave says tomorrow at Midnight there’s no way I’ll finish before then. Call me Mr. Deadline.
Now that is a Awesome looking engine House!! Nice Work!.
What did you use for the roof?..
OK now I loved your last years build but this is over the top. That is a stunning engine house. So many different textures coming together plus the odd architecture is just great.
Looks pretty finished to me (http://www.largescalecentral.com/externals/tinymce/plugins/emoticons/img/smiley-wink.gif)
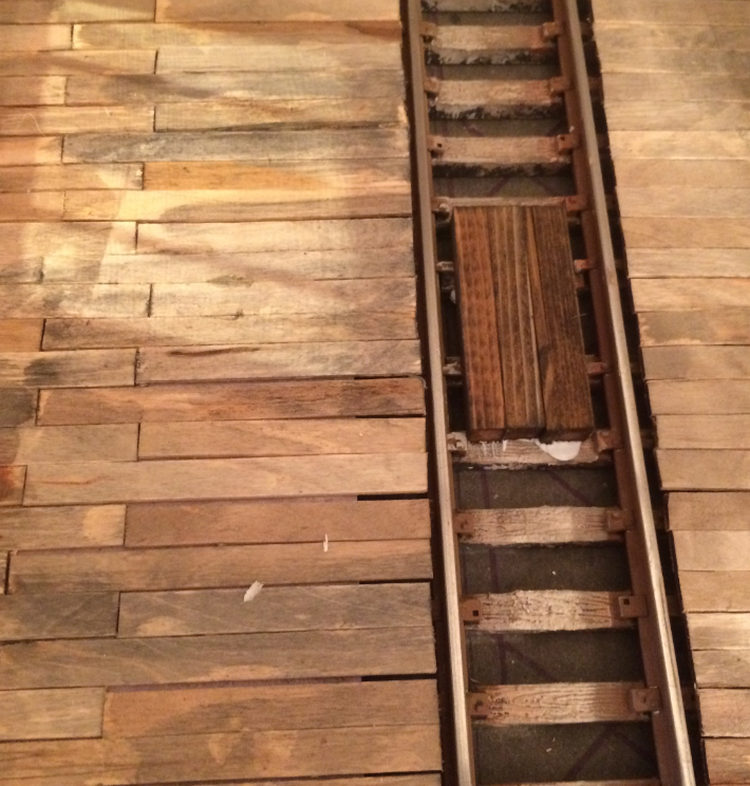
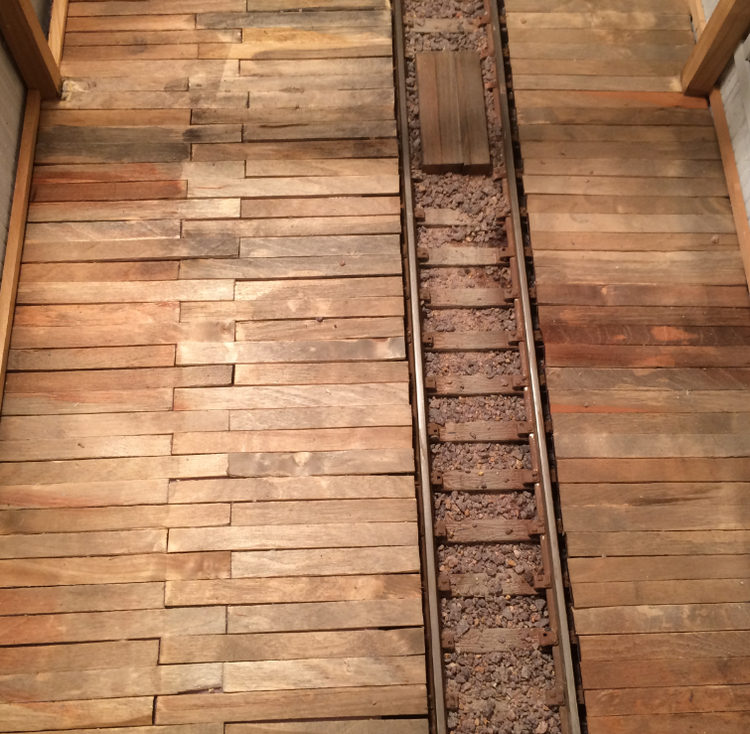
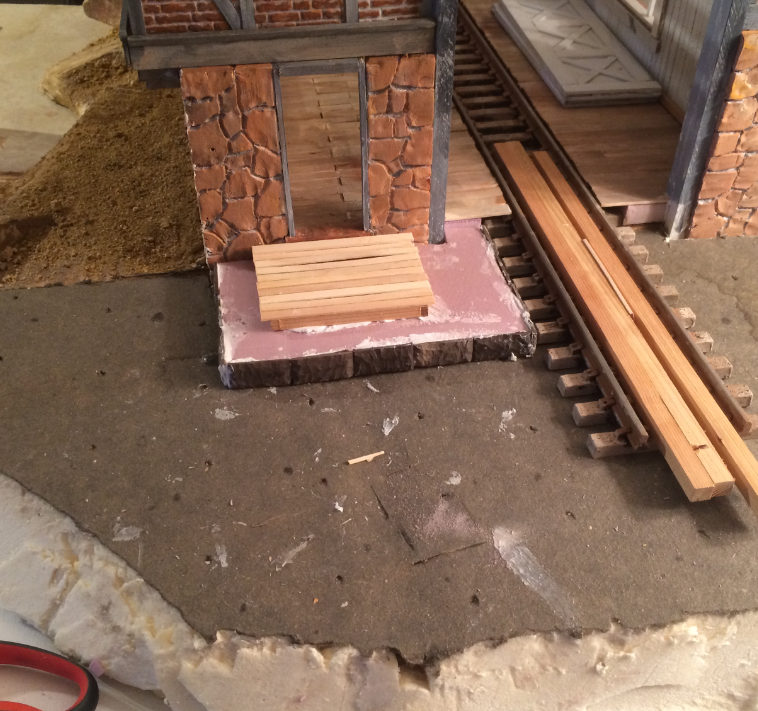
I’m finished. That’s it for me…I made a landing for the door, installed track (with safety crossovers for the workers!), and finished the roof. I be done. After dinner I’ll figure out how to get the doors on, so actually I guess that will be the final wrap-up.
Look, the plain fact is I took on more than I should have. Next year if I am involved I will scale things WAY back. I felt like quitting half-way through when I realized my idea was way too ambitious. The only thing that kept me going is two things: first, I really fell in love with the idea of imitating the two structures I chose to model, and second, and just as important, was the encouragement from all the brethren here, including watching all the other builds. This engine house wouldn’t likely have happened just me working by myself, and certainly not right now, without our community.
Now that it’s over, I will say, though, that I can’t wait to see this out on the layout.
Here’s some pictures. Tomorrow I’ll take some hopefully good pictures in good light.
Thanks.
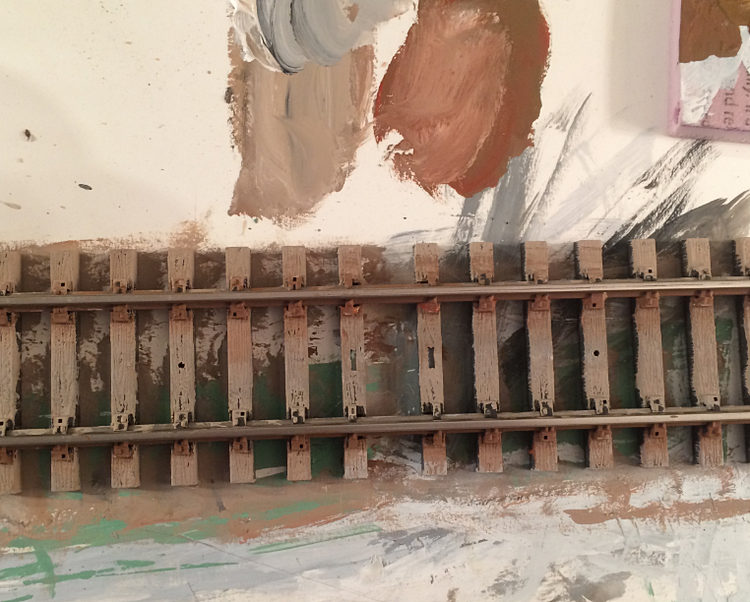
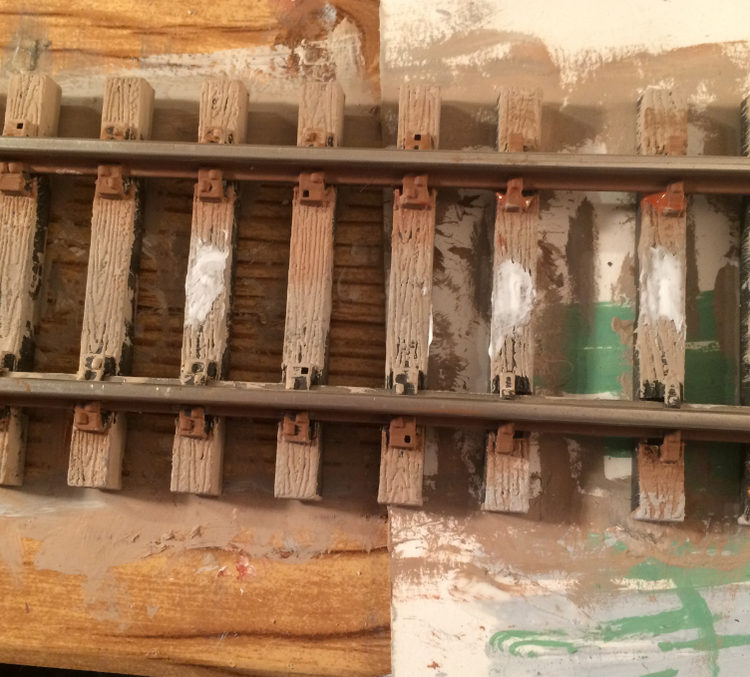
I never understood what those goofy holes in the plastic ties are for, but I fill them in.
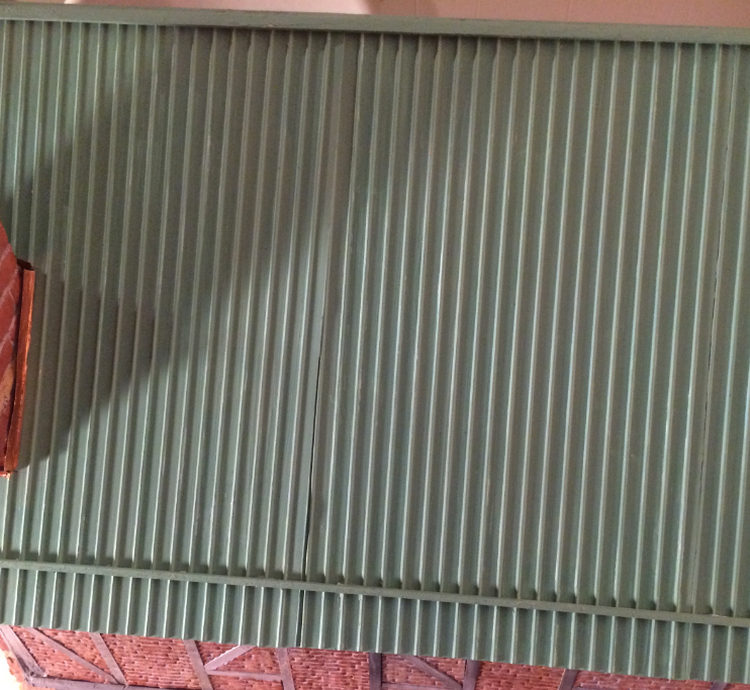
John now you know why all my challenge projects are dainty in size, they’re a lot easier to manage on a constrained timeline. Yours came out really nice whether you consider it finished or not.
Peer pressure is a bitch. But your got one heck of an engine house out of it.
Travis, when Caboose Hobbies went out of business I bought a slew of plastic architectural feature sheets. In this case, until John C. mentioned standing seam roofing, I didn’t know what the heck I had, especially since the stuff was sold to me in separate sheets with no labels. I didn’t know what I thought it was, but I bought it thinking it might come in handy some day. Last week I looked it up, in case I ever needed more, and it turns out they modellers call it Ribbed Roofing and it’s made by JTT Microscale and the product number is 97409 G-scale (1:24) 2/pk.
Devon…“peer pressure” are the words I was diplomatically dancing around. Ha!
Vic, thanks for your encouragement throughout the build, and, yes, I am now acutely aware of the common sense involved in picking the project to fit a “constrained timeline” oh yeah!
edit: JTTmicroscale has its own website.
I posted my final pictures.
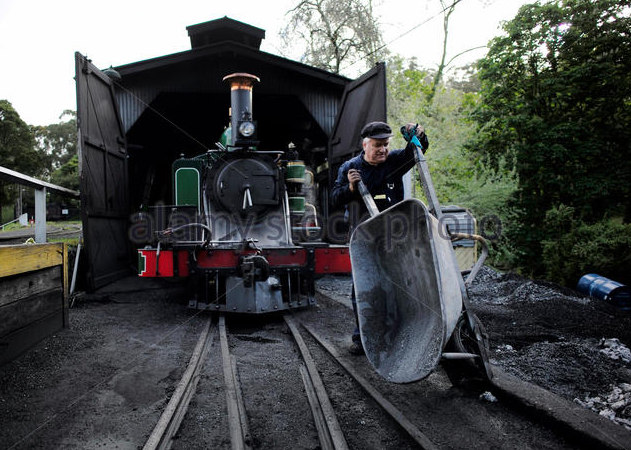
I’m trying the aerilon hinges idea some of you suggested on the doors first, sometime soon I hope. Also, I want to follow through on the smokebox clean-out in the back. Here’s the pictures I dug up for ideas. There’s plenty of material here, including a couple of those green and white barrels full of ashes, wheelbarrows, and shovels. Maybe once I get the house on the layout, that would be the best time to work on that.
See you around.
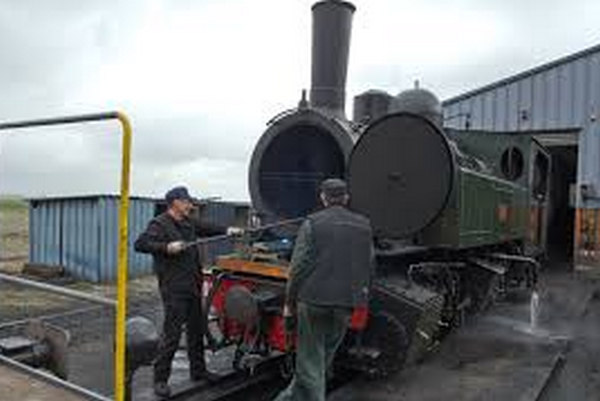
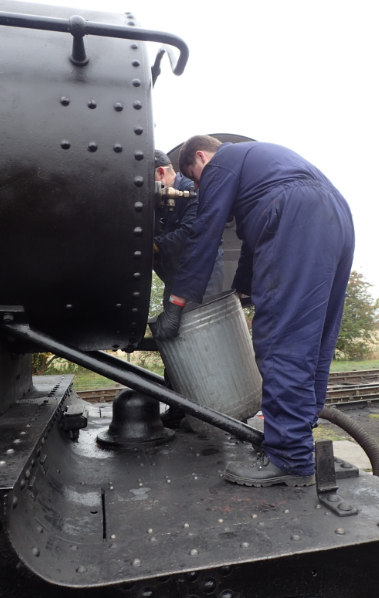
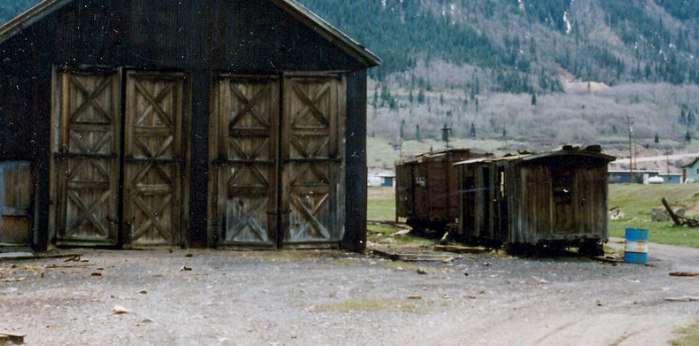
John,
Check out this free eBook from Google. Buildings and Structures of American Railroads and look at ashpits. Since your build put it on my radar I am considering one for my indoor in front of my engine shed.
The building came out great John.