Large Scale Central

D&RG 315, My week in Silverton

Have spent the past couple of days in the shop when I had the time. When we run 315 we have to do all the daily maintenance, greasing, oiling and etc. To grease the main rods, we have a “Alemite” air powered grease gun. They are very expensive, if you can even find them, really working antiques. It weighs about 15 lb. and big, like two hands full, and your helper feeds 1" sticks of grease into its hopper and shoot the bearing. We have had to lug this beast around when we have to do roadside maintenance , like we had to on top of Cumbres pass when we stayed overnight. We needed a way to protect and haul the gun and the grease and the air hoses around.

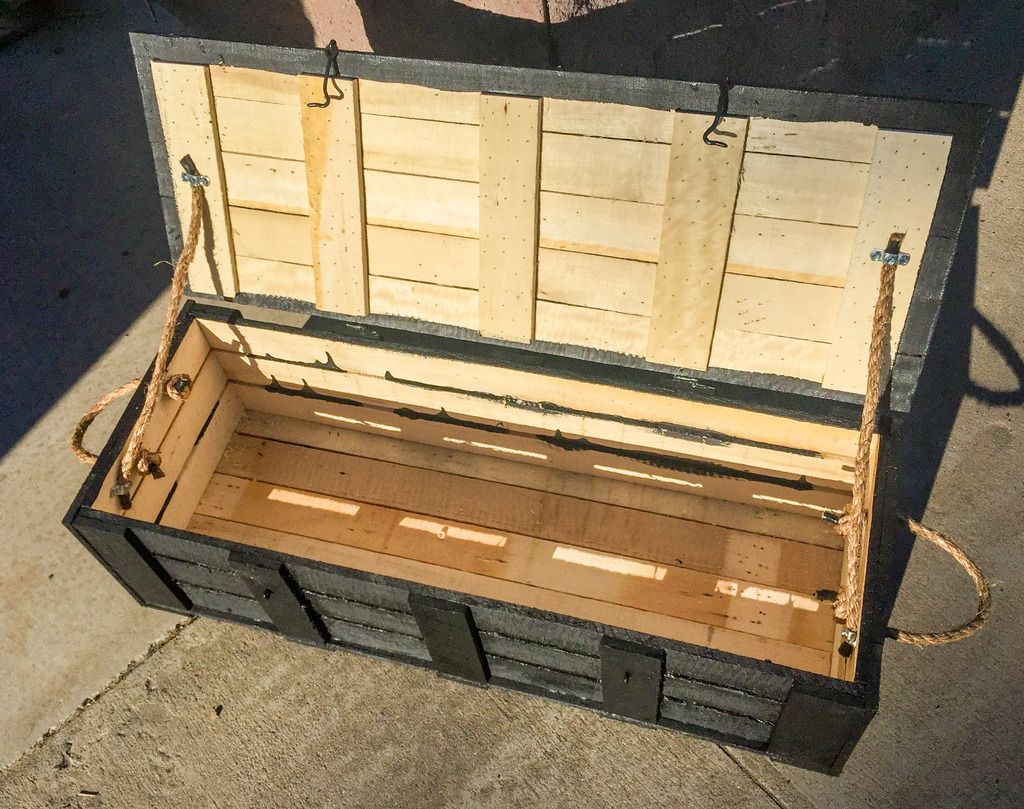
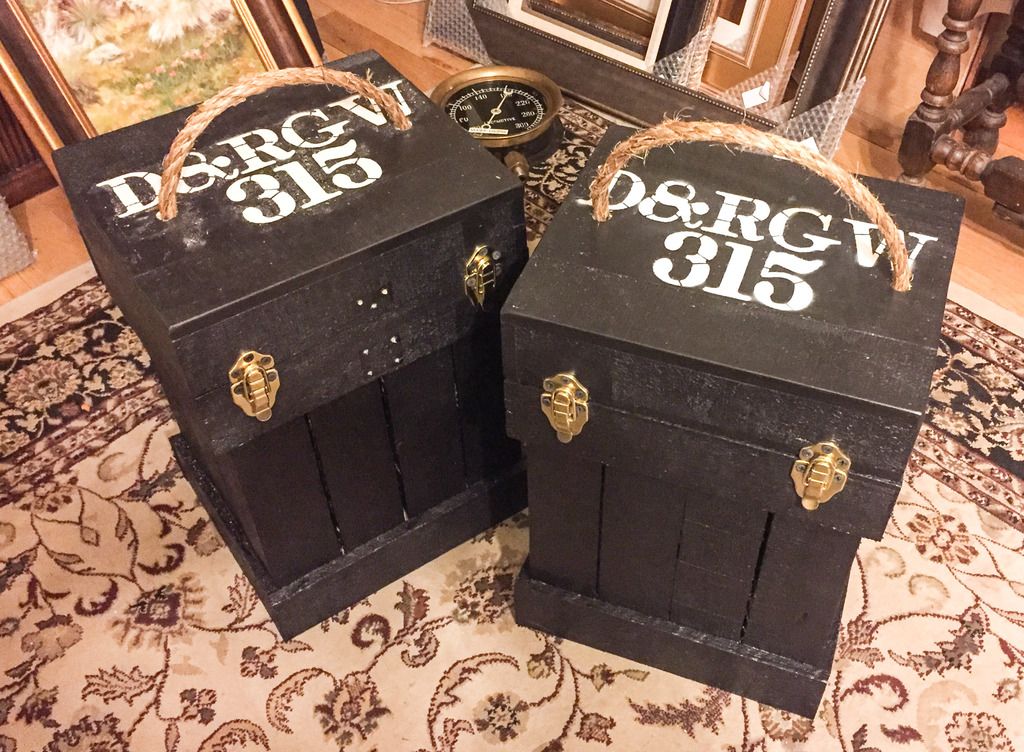
Here is what I came up with.
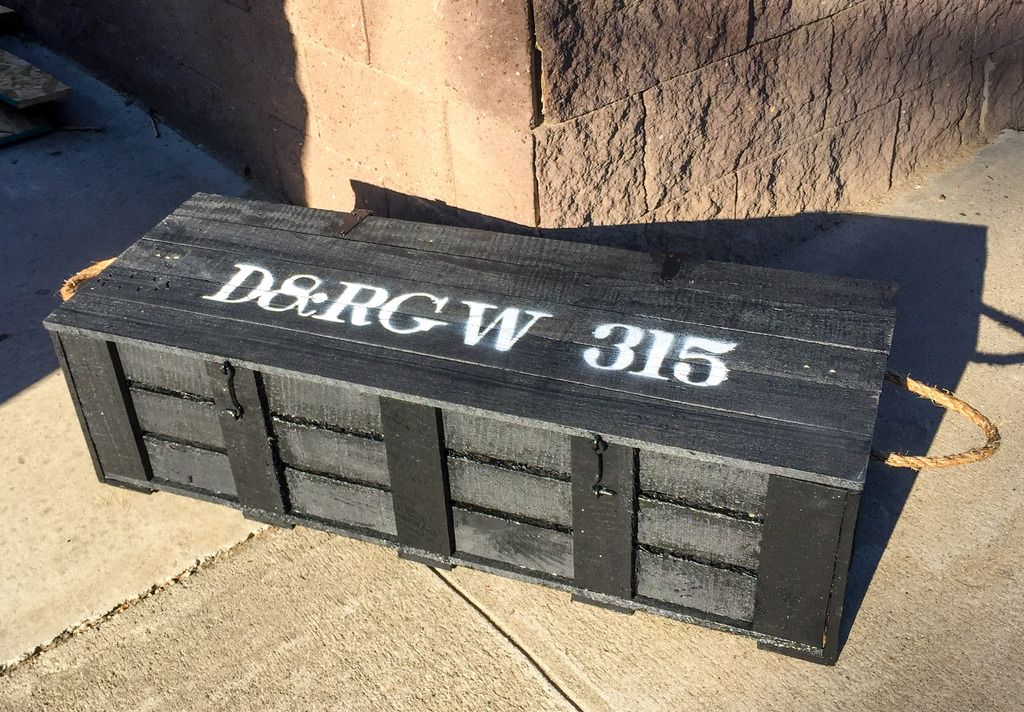
As I was free hand building from scrap pallet wood, I wanted it to look Age Appropriate for the late 30’s. Just typical old crate style. Then about 3/4 of the way thru I realized that it was the size and look of an old army ammo crate. I thought that I had seen it before. Yup, 2 each 155 Howitzer rounds. Made to fit up on top of the tender water wall legs, and still look OK in photo run by’s.

Next Up: Cases for our very rare classification lights.
Are you sure all this enjoyment is healthy for you ? (http://www.largescalecentral.com/externals/tinymce/plugins/emoticons/img/smiley-wink.gif)

So moving forwards this week to my next project.

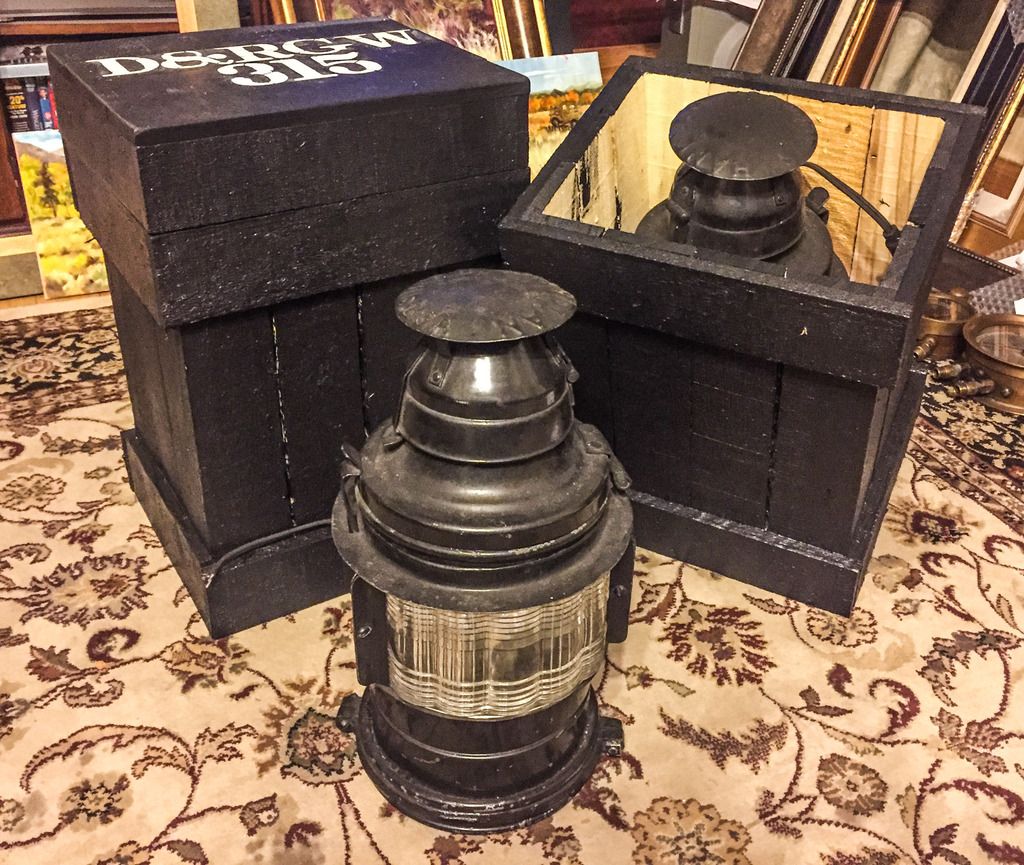
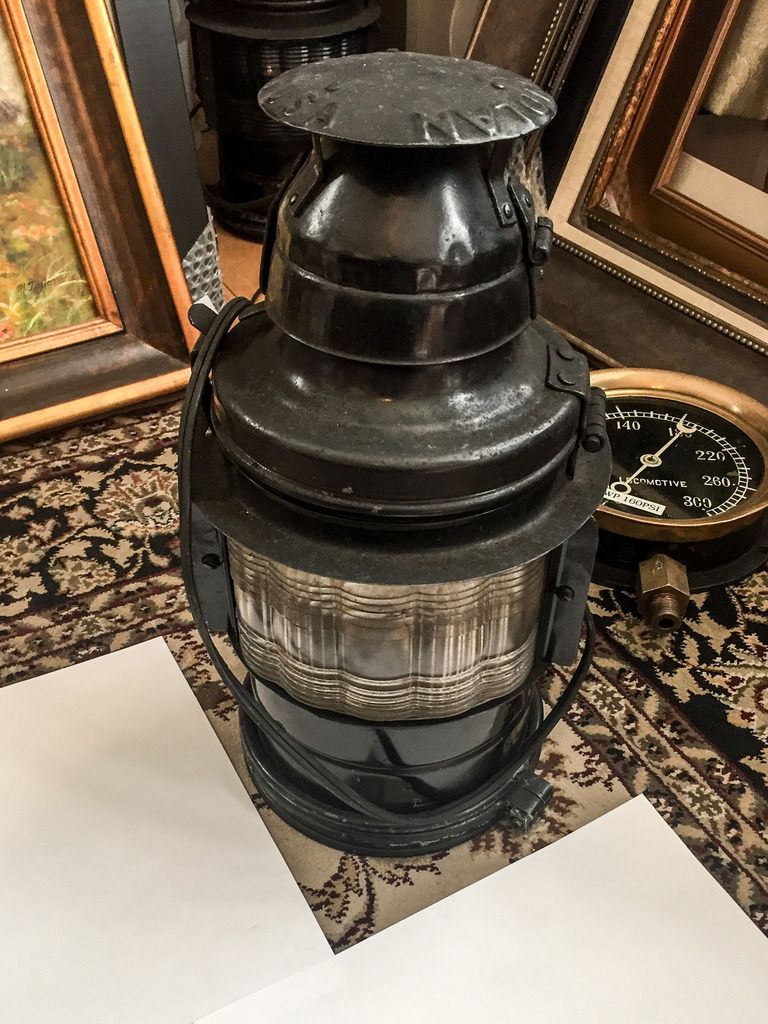
315 is blessed to have a VERY RARE set of classification lights. When we were re-building her, a D&RGW collector donated to us a working set of Radial Lens lights. Made by the Handlan light Co. of St. Louis. The D&RGW was the big user of these lights, and the Hartford RR used a rather small number. These were the ones that were used on all steam locos. They were kerosene to start with. And then they were converted over to elect. when the engine was converted to elect. To convert, most of them had the chimney removed, and the shop just made a flat top plate with a light bulb hanging down from the top. Our set has the chimney in tact.

One of our lamps:

When Steam engines were scrapped, some lights went to storage for back ups, other were just scrapped with the engine. As the D&RGW fazed out the steamers there were no need for all the lights. Some people were able to get a few, some were stolen, but there were reports of “Hundreds of them crushed for scrap”.

How rare are they? The D&S does not have a set. The C&T does not have a set. I was told that the Colorado RR Museum does not have a working set. The Friends of the C&T does not have a set. The few known ones have been borrowed for special photo excursions. The last known sale of an intact working lamp with both its glass Fresnel clear and green lens’s sold for over $5K. We take very special care of these lights, and we NEVER ever let them out of our sight. I’m building a pair of proper storage and carrying cases for them.

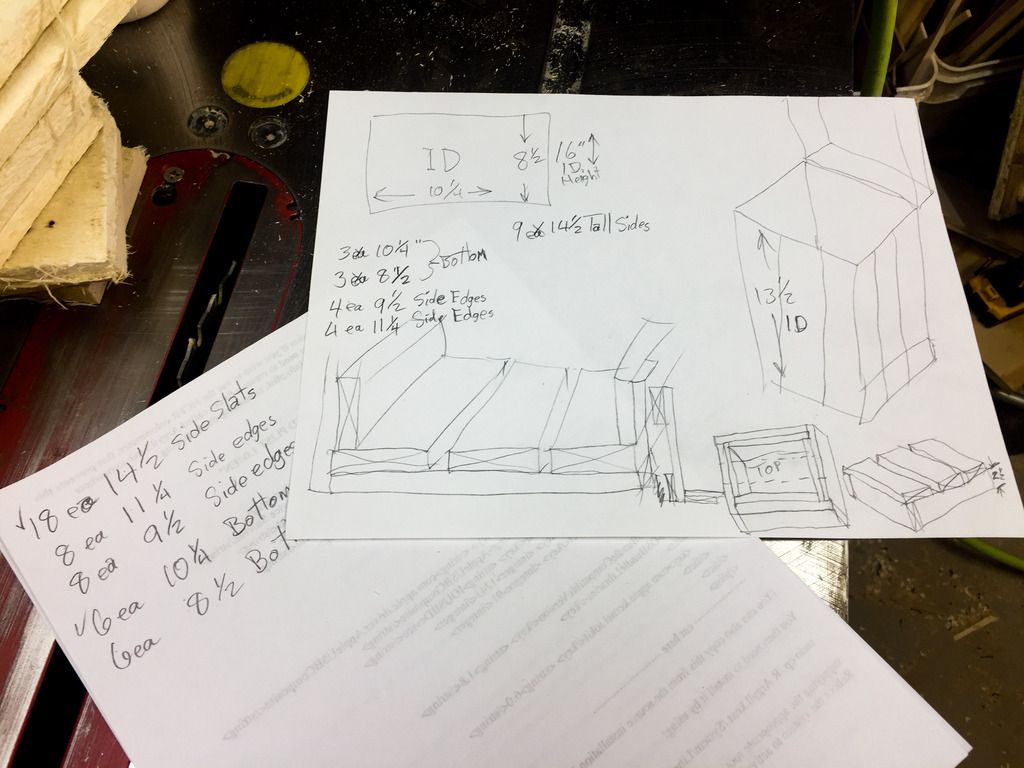
Out to the shop: Roughed out some build schetches and away we go;

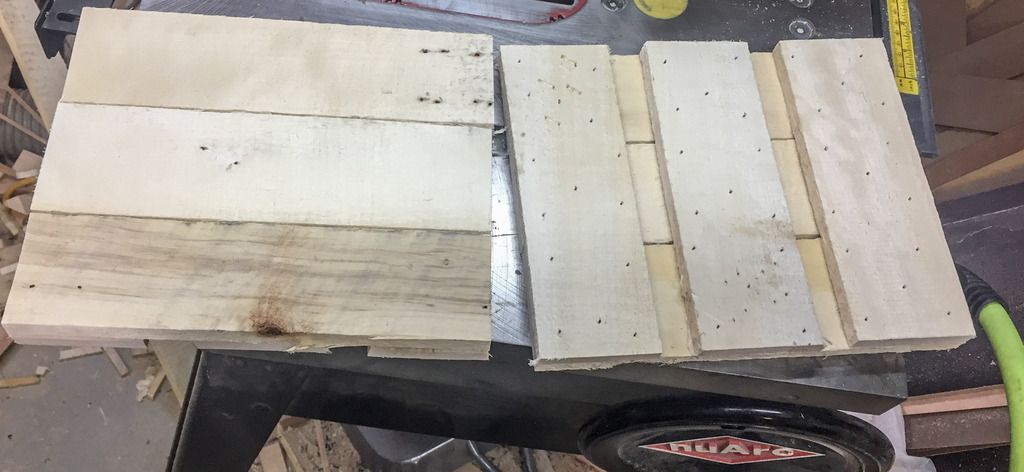
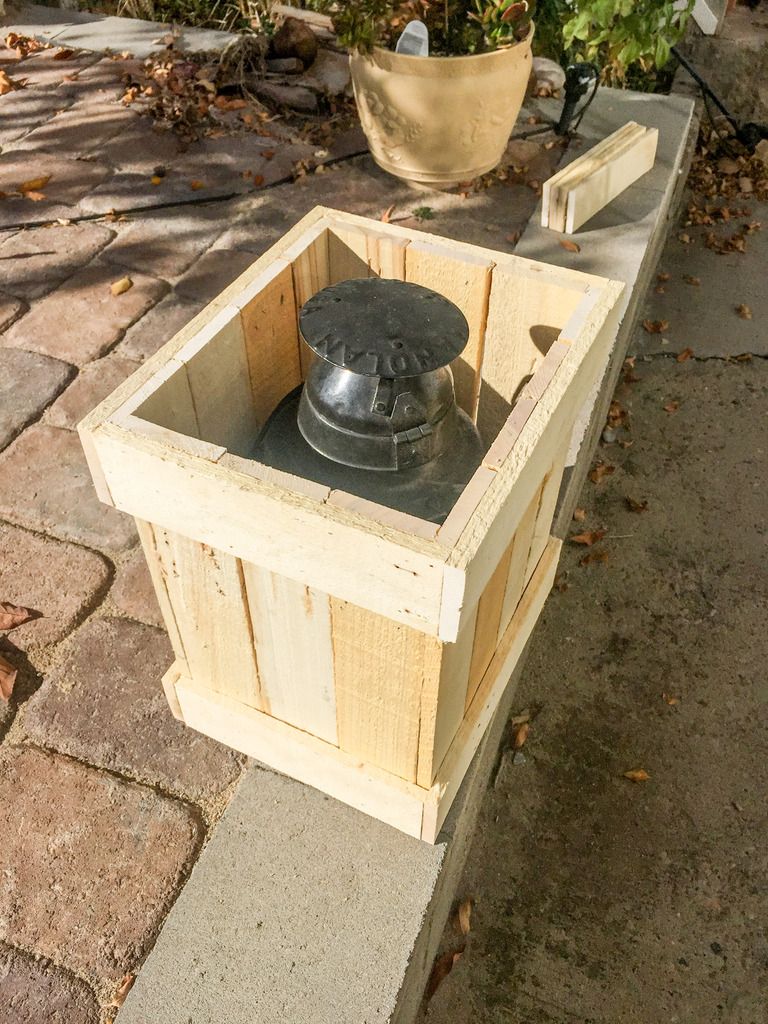
Cut some boards for the bottom base. Two layers to hold the weight. Tightbond III and plenty of nails, Rough cut wood about 1/2 inch thick.

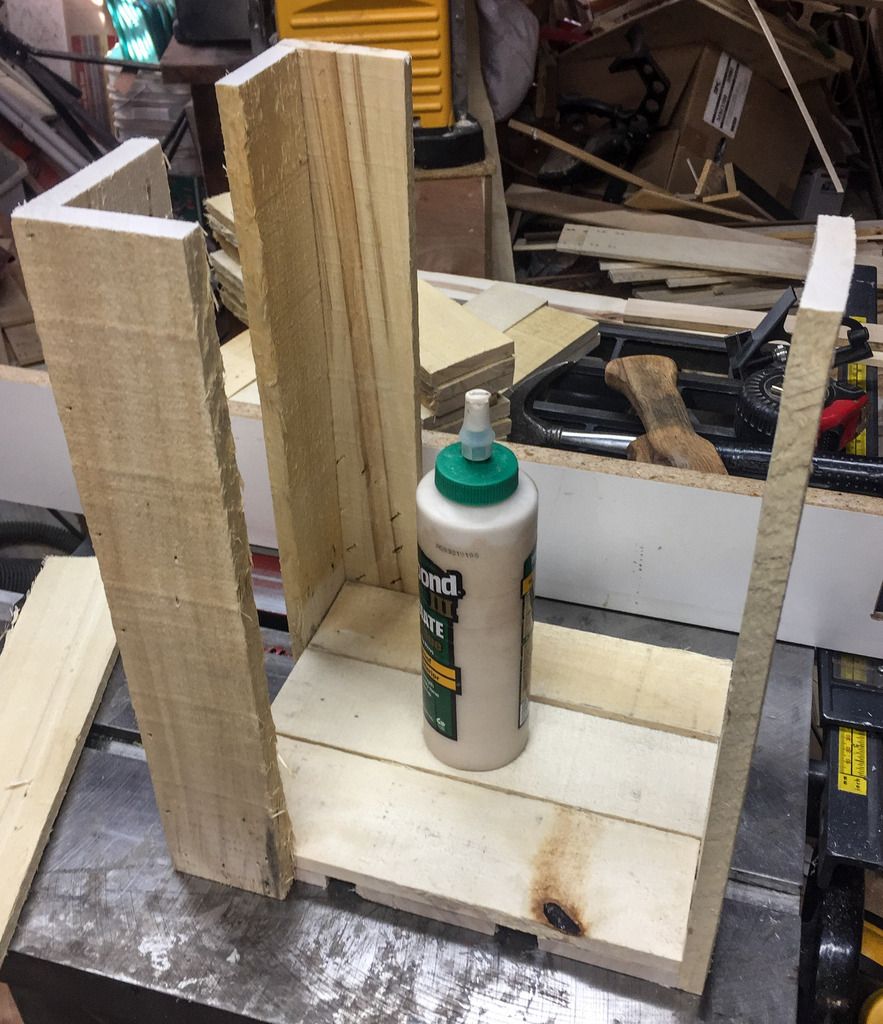
Build the sides.

And Finnish out and check for final fit.

Add two coats of semi gloss exterior paint and we now have a black box. What magic we can create now?

Up next: Stencils and hinges.

Better add a hasp and pad lock! what a great looking lamp! very cool.

Can you get the correct lock for that time frame?

The little Ol’ Box maker had a good day.

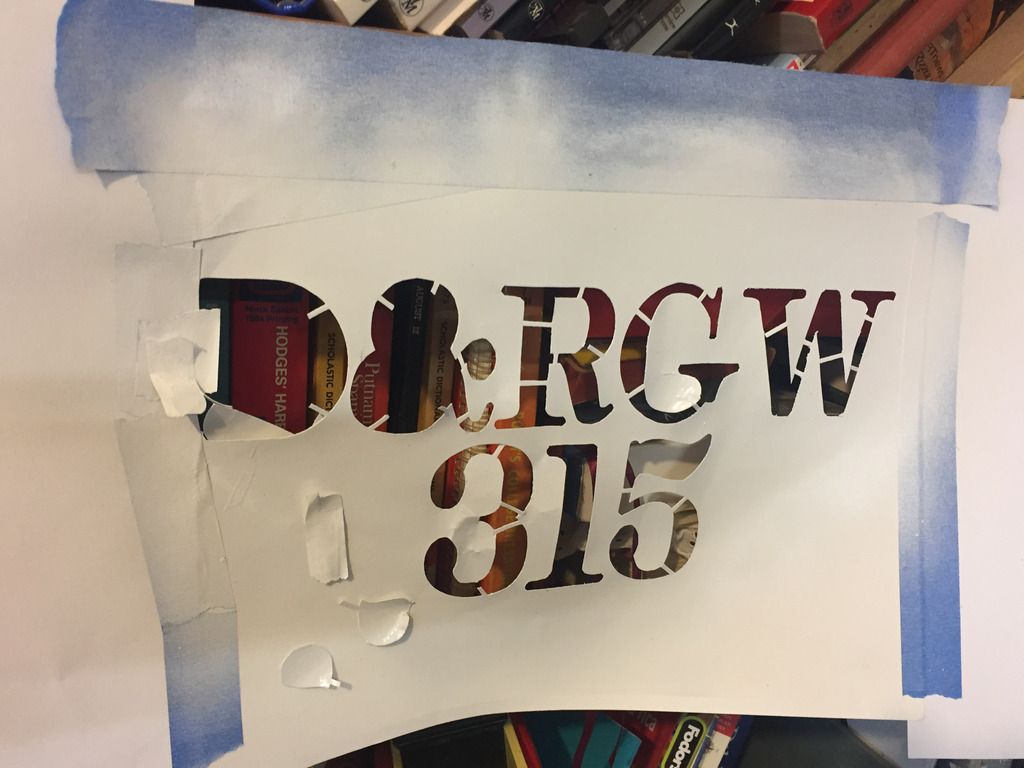
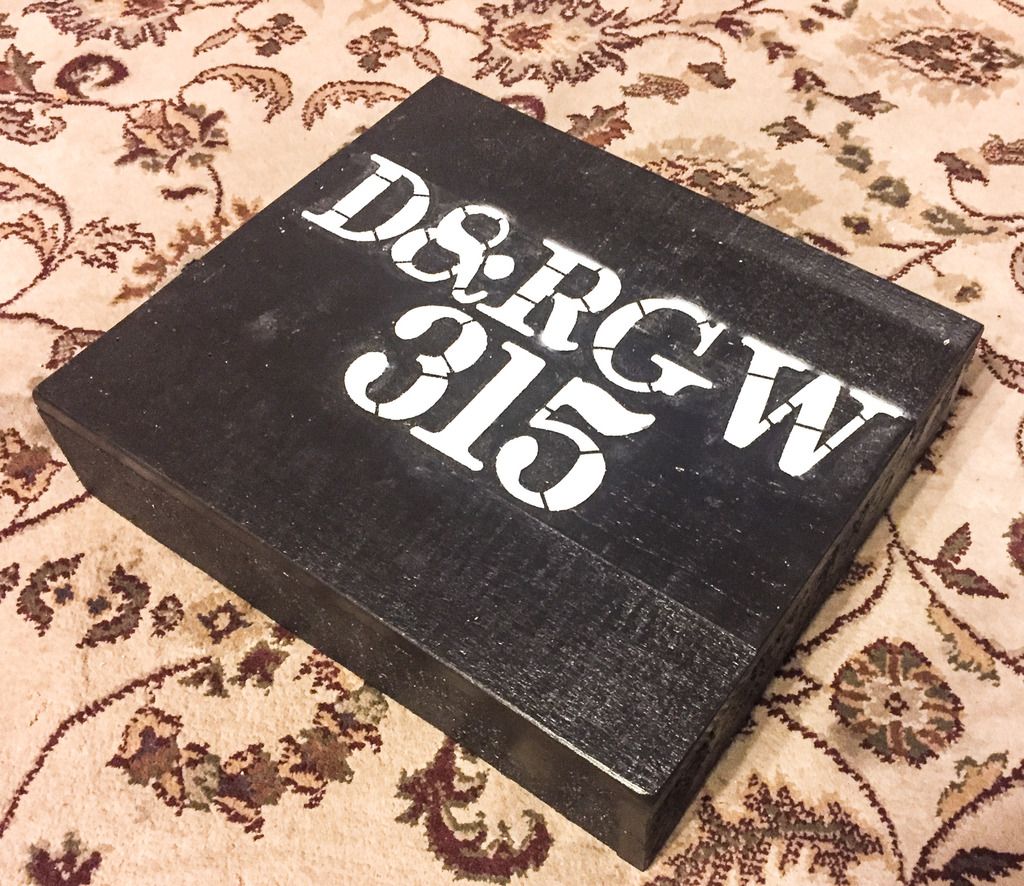
Photoshopped up a master, and hand cut out the stencil.

Damaged it removing from the second boxtops. (BTW: Font = Railroad Roman Bold )

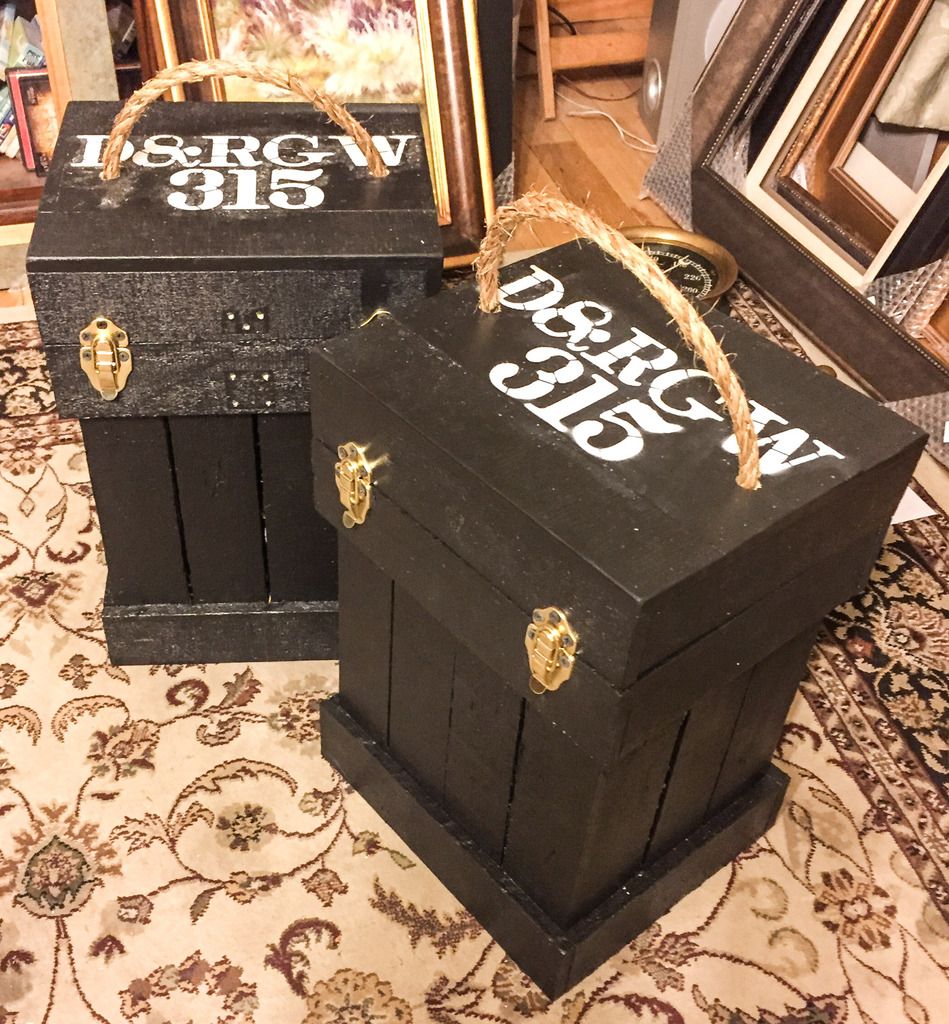
I ended up with the look I was going for:

Hinges, Clasps and a good old fashion rope handle.

Note the front of the rear box. See the screw holes from a locking hasp. I put one on, as per Eric’s suggestion, And then it dawned on me… putting a lock on the box does absolutely no good to protect the lamps, if in fact all you had to do was carry the whole box off! DUUUhhhh, I took it off.

Next UP: a case for the Gages.

Tomorrow I’m off for Silverton, we will be putting the final touches on the Stock cars and the bunk car.

Great job on those crates!

The lamps are fantastic.

See the screw holes from a locking hasp. I put one on, as per Eric’s suggestion, And then it dawned on me… putting a lock on the box does absolutely no good to protect the lamps, if in fact all you had to do was carry the whole box off!

I was thinking that when the suggestion was made. So you made the box snug enough so the lamps won’t flop around inside the box and get broken?

Looks great. Now you are building a box for the gauges? They come off too? Pretty soon you will have the whole locomotive all boxed up and ready for shipping. (http://largescalecentral.com/externals/tinymce/plugins/emoticons/img/smiley-wink.gif)

David Maynard said:

See the screw holes from a locking hasp. I put one on, as per Eric’s suggestion, And then it dawned on me… putting a lock on the box does absolutely no good to protect the lamps, if in fact all you had to do was carry the whole box off!

I was thinking that when the suggestion was made. So you made the box snug enough so the lamps won’t flop around inside the box and get broken?

Looks great. Now you are building a box for the gauges? They come off too? Pretty soon you will have the whole locomotive all boxed up and ready for shipping. (http://largescalecentral.com/externals/tinymce/plugins/emoticons/img/smiley-wink.gif)

. . . . . . . a gud “funny”. . . . (http://www.largescalecentral.com/externals/tinymce/plugins/emoticons/img/smiley-smile.gif)

Yes, we pull the gages off. They are very expensive, and there are idiot rail fans that think its perfectly ok to steal stuff like that for their personal collection. But it’s not OK for us to castrate them for doing it

@DM True story, RR related. Back in the mid 60’s as a teenager in SoCal. As a summer job I went to work at a specially cardboard box company.

Down the road in Pomona was the Wayne Street sweeper manufacturing plant. They hired a “New” shipping manager from Japan. He wanted everything Boxed up for shipping. We designed and built boxes for the special brushes that spin under the sweeper, the replacement panels and etc. They shipped the whole sweepers around the country by rail. They were having a lot of claims for damage at the back end of delivery, SOOoo… He wanted us to make boxes big enough to go over the entire unit as it sat on the rail flat. Yup… 9ft wide by 10ft tall by 18 Ft long… Huge… I have no idea of the cost each. But on a good day, a three man crew could stitch together 2 of them. To hold up to shipping, these things were made from 4ply board, about 5/8 inch thick from 10ft wide panels, it was a two man job just to pick one sheet up. Used templets to hand cut, score, fold and then hand feed into a stitching stapler to join seams

So. I do have hands on experience on what it would take to box up a loco, It could be done.

But it’s not OK for us to castrate them for doing it"

Its not? (http://largescalecentral.com/externals/tinymce/plugins/emoticons/img/smiley-surprised.gif)If I caught someone defacing/stealing parts off a locomotive like that, that I helped to restore, his, um, ah…may not be all that he ends up missing. I am just kidding of course. (http://largescalecentral.com/externals/tinymce/plugins/emoticons/img/smiley-wink.gif)(http://largescalecentral.com/externals/tinymce/plugins/emoticons/img/smiley-undecided.gif)

And I was kidding about creating up the old gal. But you are getting there…

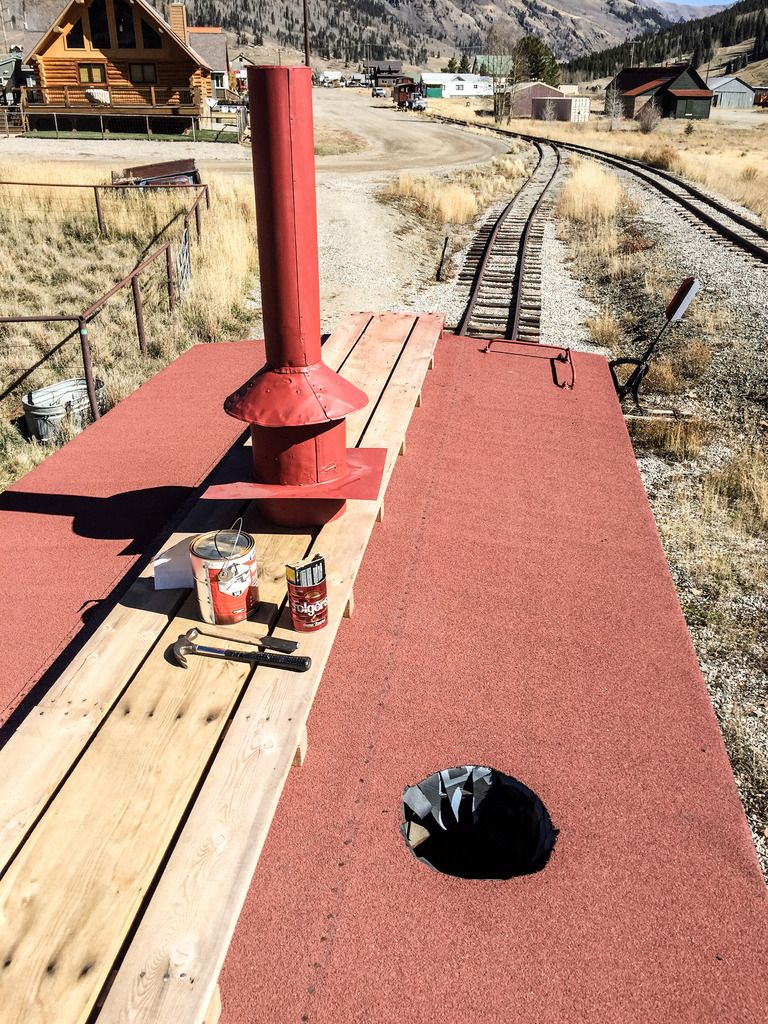
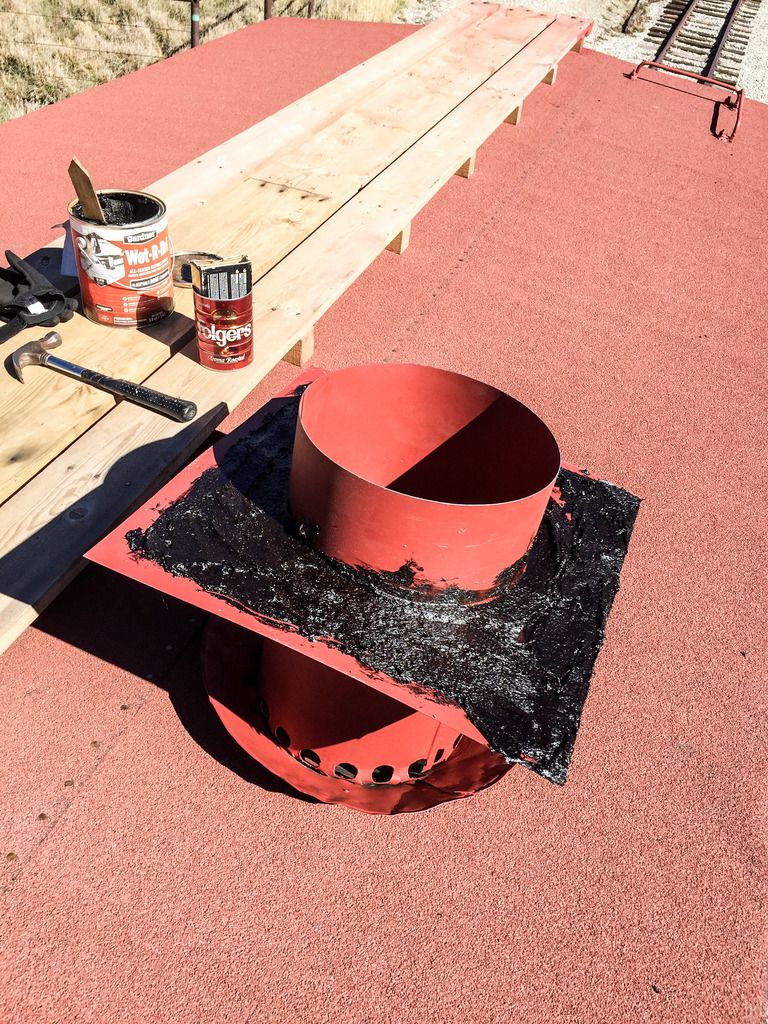
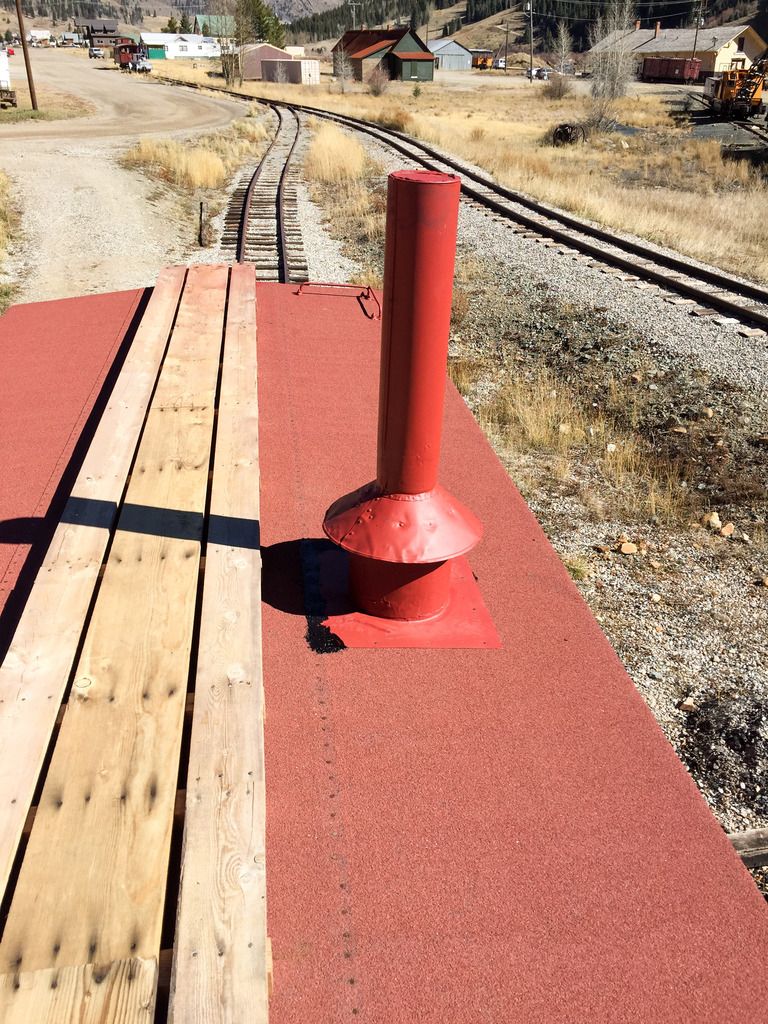
Yes, I did go to Silverton to work on the final touches to the bunk car. The last thing that was needed to finish out our restoration was to put the smoke jack on. When we put the roofing on, we left a hole for the jack thru the roof boards, but we did not cut the roofing, so as to keep it water tight.

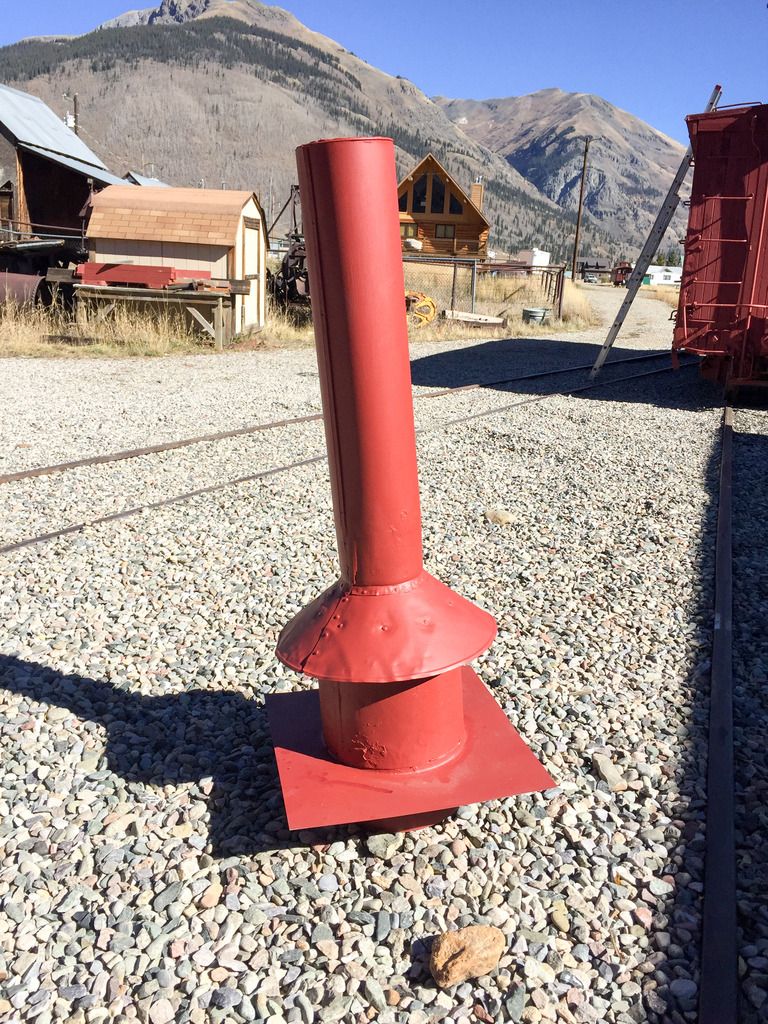
The jack that was on the car when we got it from the Georgetown Loop was not the historical one as seen in most of the photos from the 30-40’s.

Here is the correct “New One”.

Got everything up on the roof with out stepping thru the hole, Cut the roll roofing to fit the hole.

To tar it up, I stuck it in the hole, worked rather well.

Added the nails, and some tar to seal the top edge, and presto… all done.

NOTE: The stove inside is not the correct one for this kind of car, so until we can get the right one, the smoke stack is not hooked up. You can not see from the pictures, that there is a waterproof cap insert in the top of the stack, to keep all water out. Yes it would also not let any smoke out, but thats OK, as this is a working bunk car, it is also a historical restoration, and the last thing we would want to do is to burn it down from a fire in the stove. NO real fire will be lit in the stove, ever…

Lot more to get caught up on… soon.

Dave . . . great stuff. Love seeing/ reading about it. But . . . . NO fire in the stove EVER ? Aren’t you fellows going to use that car for bunking when working on projects in Silverton ? . . what about those chilly nights ? and NO fire in the stove ? . . . . . (http://www.largescalecentral.com/externals/tinymce/plugins/emoticons/img/smiley-wink.gif)

That’s what sleeping bags, thermal underwear and sled dogs are for. You heard of a 3 dog night? That’s when its so cold it takes 3 dogs to keep you warm.

David Maynard said:

That’s what sleeping bags, thermal underwear and sled dogs are for. You heard of a 3 dog night? That’s when its so cold it takes 3 dogs to keep you warm.

That “three dog night” stuff was from the aborigines in Australia . . . they didn’t sleep in Silverton Colorado . . . . I have slept in my camper in Silverton and all my water bottles were frozen solid in the morning. It gits COLD thur . . . . . :slight_smile:

No disrespect to anyone else, but Dave Taylor’s 315 posts are my favorite prototype posts.

Dave, I can see keeping it plugged if the stove’s never going to be lit. But how did they keep rain out of it when it was in use, back in the day?

@Ray Most of the stacks had a rain / wind cap on them, and our’s had a “Modern made” one on it when we got it from the Loop. All the archived photos that we have of this car, just showed and extended stack without a cap. My guess that what little rain that made it down the stack just ran into the stove, and probably dripped out onto the floor pan thru the grates, if there wasn’t a fire going.

As for warmth on the cold nights. The car is in Silverton, we typically have no work sessions in the winter months, as typically, there is to much acclimation of snow to even get the door to the engine house open. But cold nights are common in the high Rockies. Sleeping bag and a portable electrical heater.

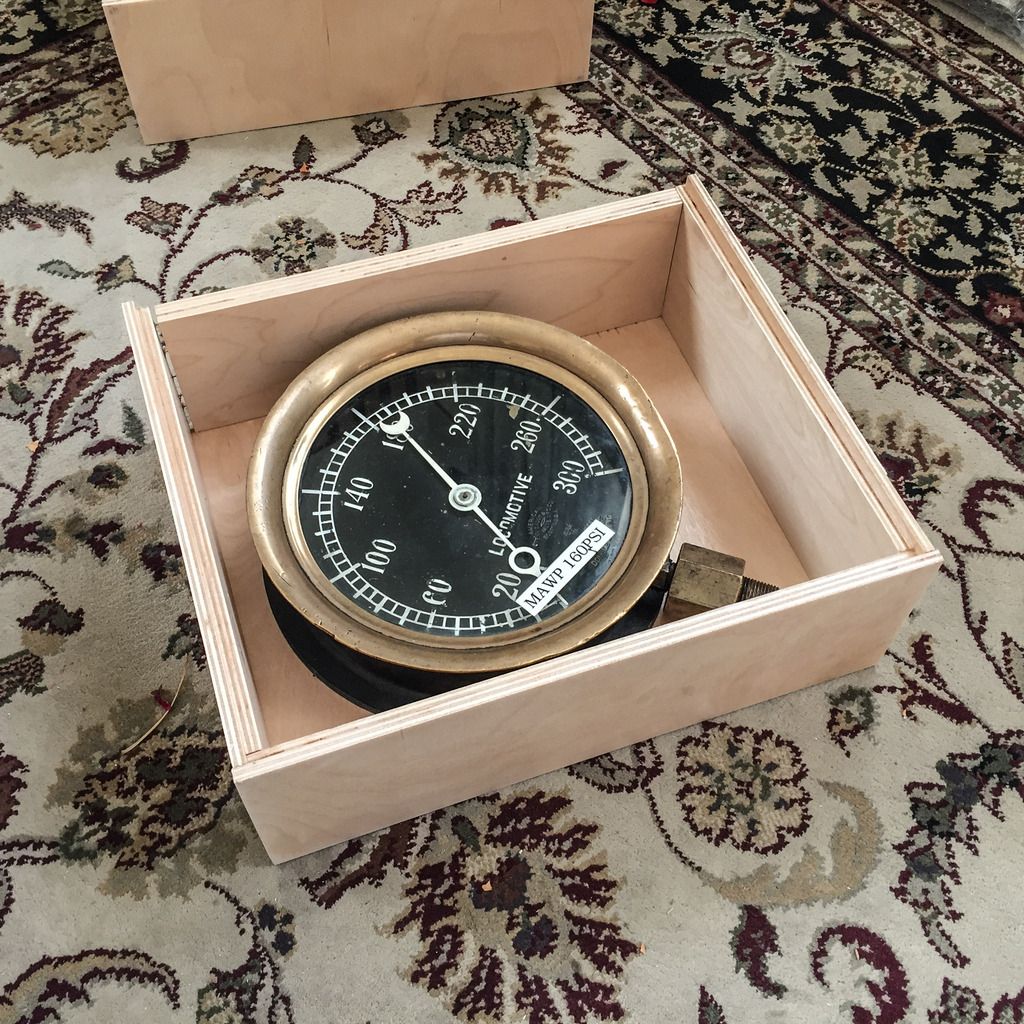
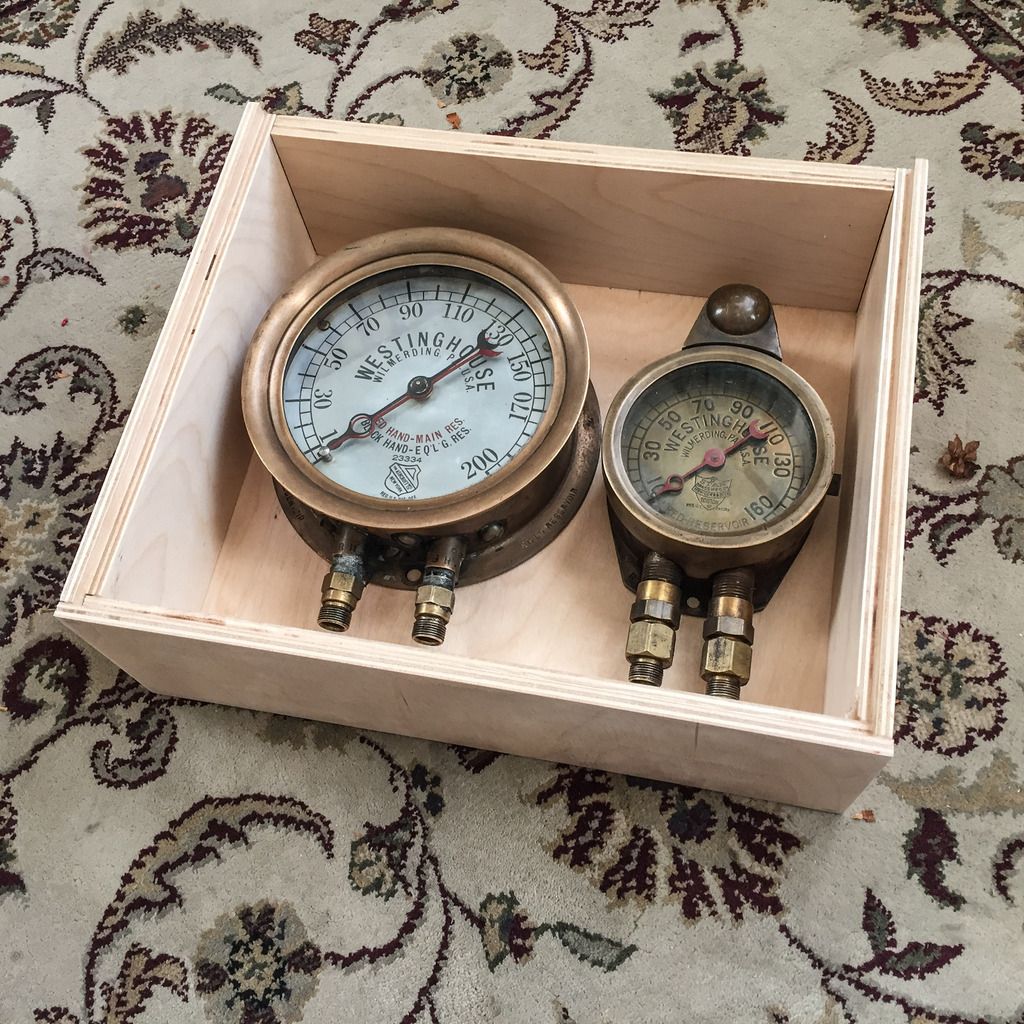
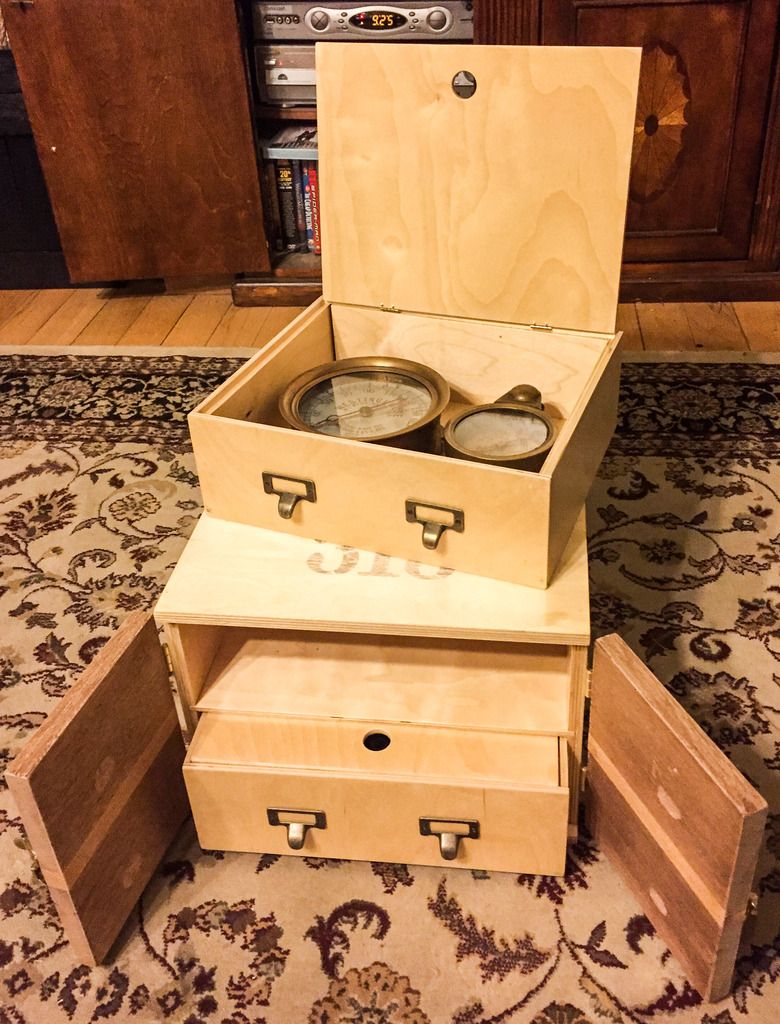
On to more adventures. When we “Winterize” 315, or have her stored for an extended time period, we remove the three antique ( read that as rare and expensive $$$$ ) gages. We also have to remove them for annual calibration and certification. I have always thought that we needed a good storage and transportation box to protect them. Since they have been laying on my living room floor for several weeks, ( BTW the wife just doesn’t see them in the same light that I do ) I needed to create some kind of box, befitting of the “Jewery” for our queen.

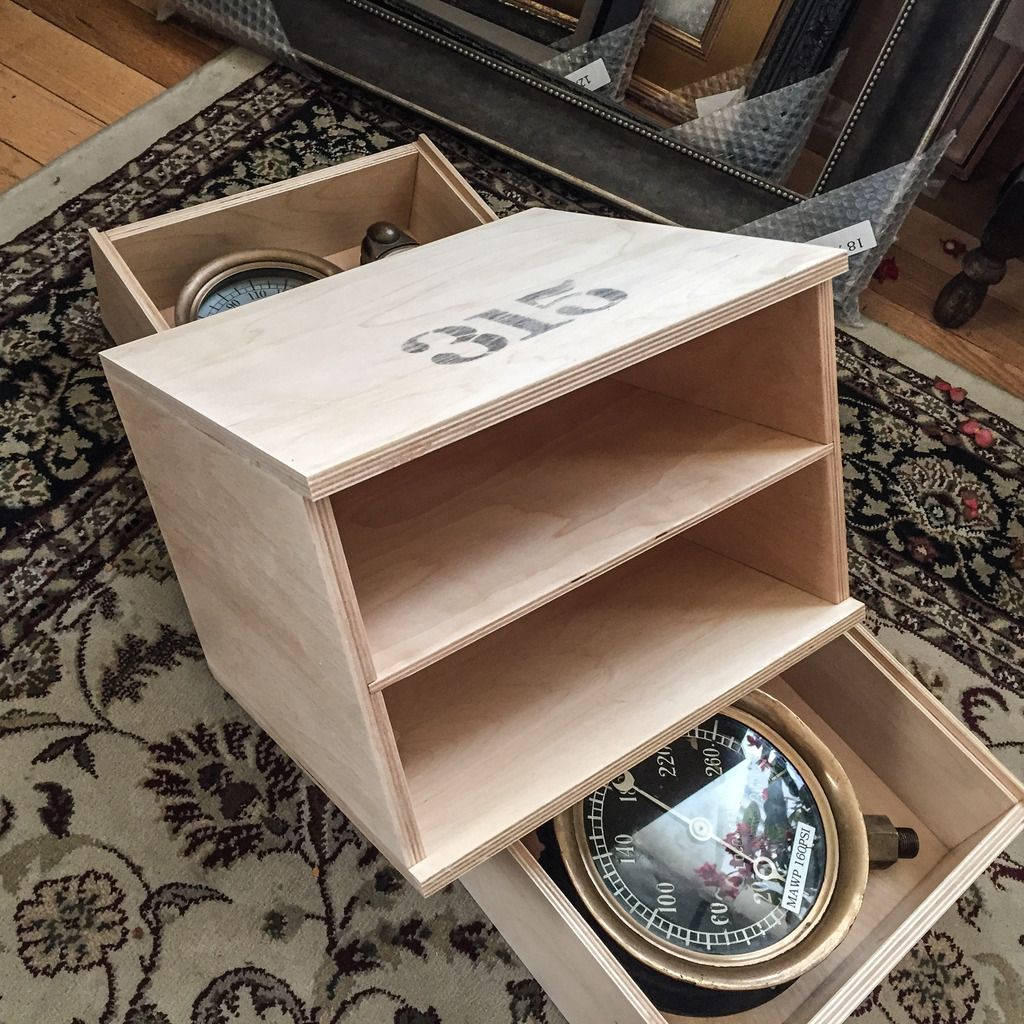
Did some measuring and drew out some build plans, two drawers, in a sturdy box.

Got the pieces all cut, Rabbits and Dados cut. 1/2 and 1/4 Baltic Birch.

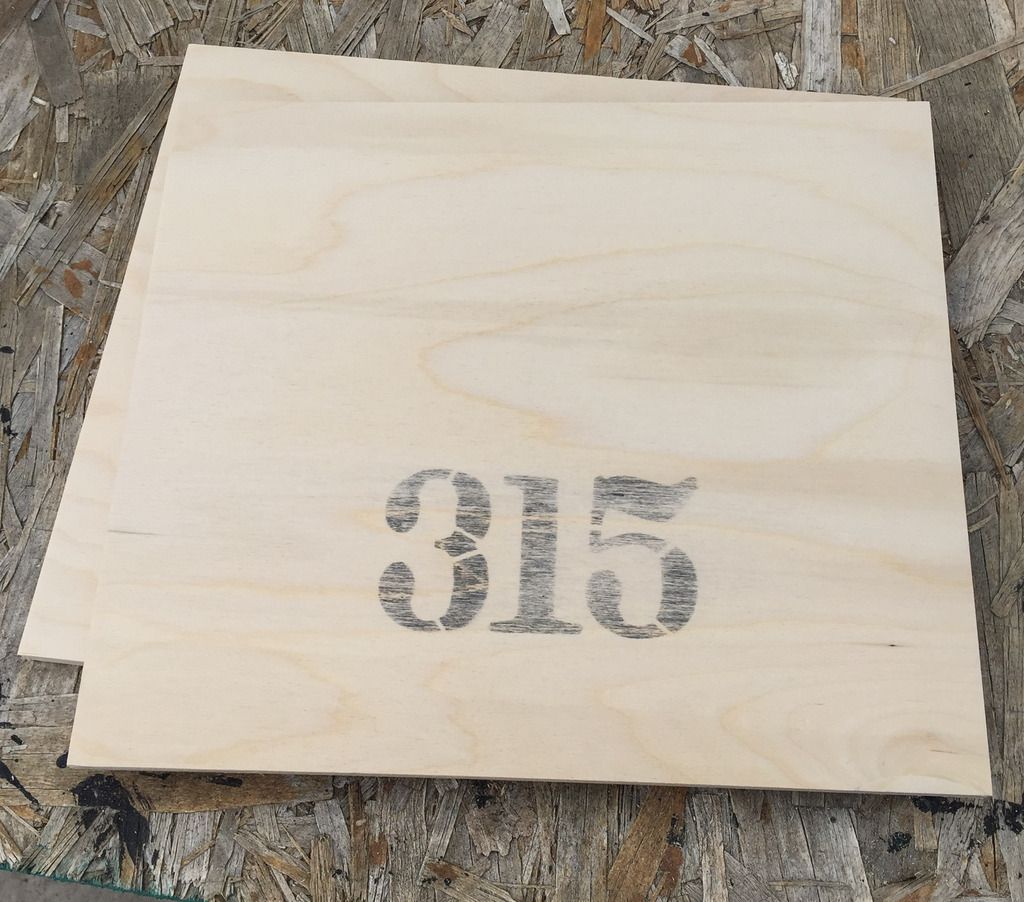
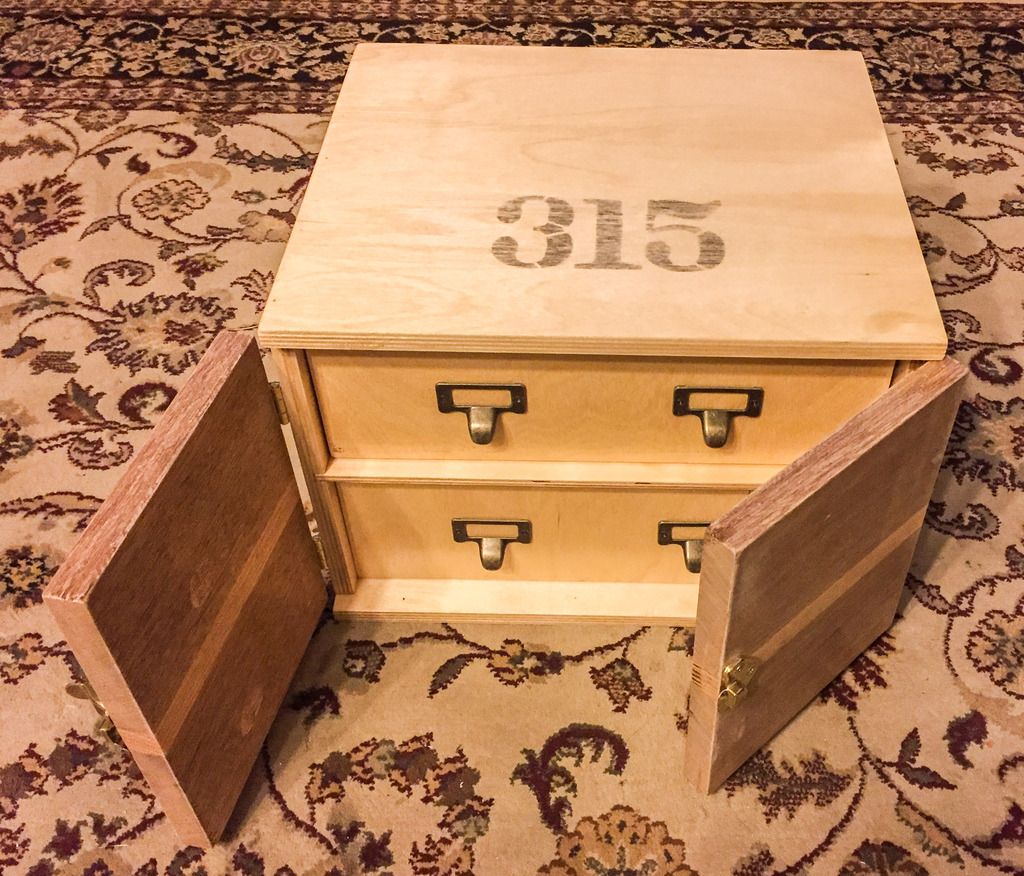
Used a stencil I cut for the lanterns to spray a light coat of black paint directly onto the top board, Sanded most of it off to leave a old distressed 315 in the wood grain. Then two coats of poly, with sanding between on everything, inside and out.

Got the drawers assembled, and checked for fit to the gages.

And fit up to the box.

And the box.

Up next, Drawer lids, and doors for the front of the box, and hardware etc. Foam to pad the gages.

Dave, . . . very nice job.

Spent some more time on the Gage box.

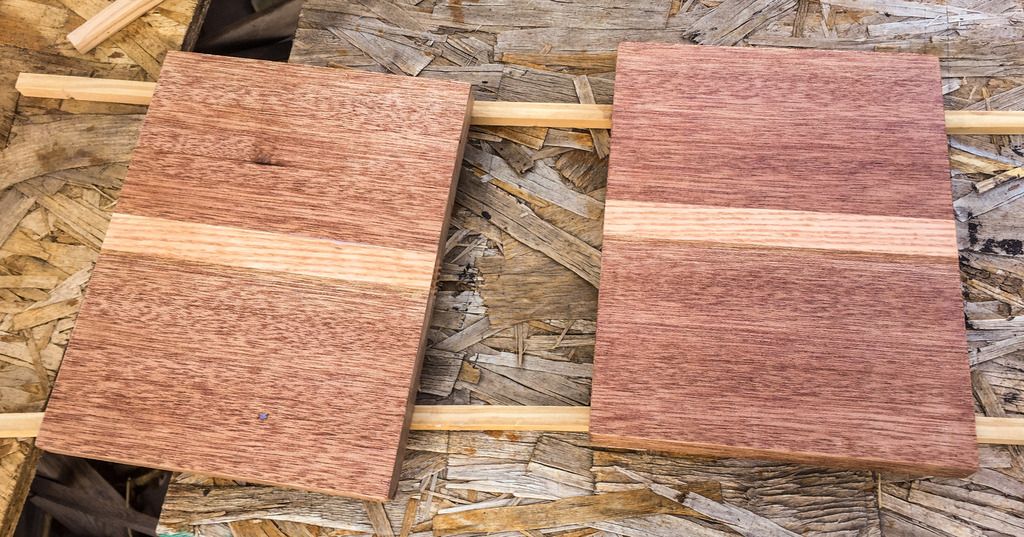
I dug around in my scrap pile for some wood for the front doors. Found some Mahogany, and I thought that it would give it a more “Cabinet” look with the contrasting color. Darn but it wasn’t big enough to do the job, so I cut a strip of Oak and played it in and glued it up. Cut it to the two door size.

Here it’s getting it’s first of three coats of poly. Good color contrast, but I had forgot how soft it was and how it sprinters so easy.

Got the front doors mounted, and the lids on the drawers. Looking almost finished with the drawer pulls on.

Notice that I had to notch the doors for clearance on the pulls. ( I really thought that they would clear ) Oh well, I can blame the engineer.

Almost done, A couple of Oak side handles, and two oak trim on the top and bottom, and I have it done.