This weeks work on the bunk car.
My job was to Finnish up the trim on the West Door. It’s never that simple. Before we could put the trim up we had to replace the top layer of the floor boards that were previously cut away to replace the deteriorated middle layer of boards in the door section.
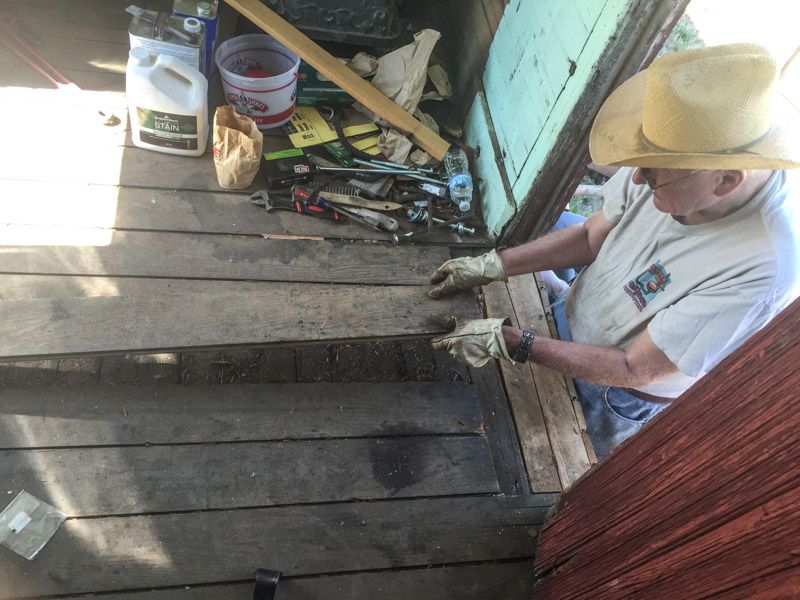
Duane D. helps me pull the 1x6 T&G boards up to be replaced with new.
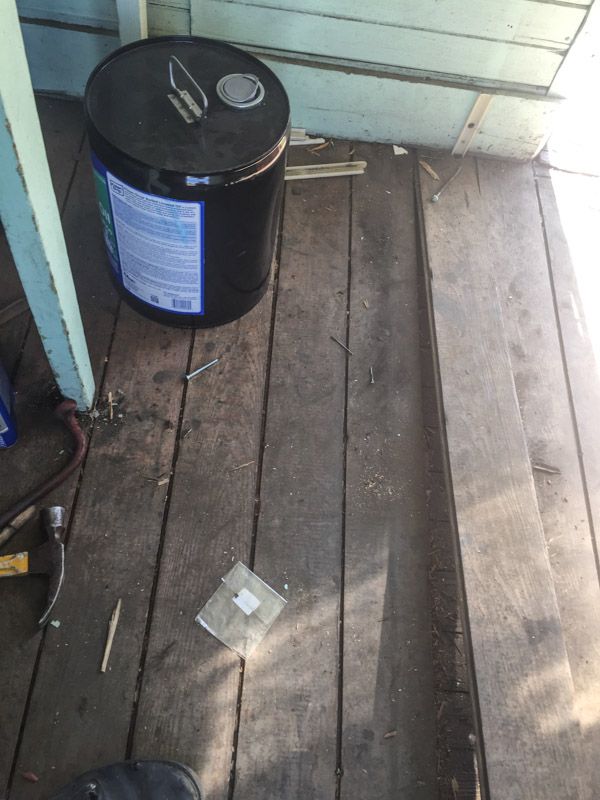
Of course they were nailed on the ends, under the floor trim. We really didn’t want to open up that can of worms of removing the trim board. Plan was to insert as far under the trim as possible using a big mallet to drive them under.
Next up was to remove the old trim. The D&RGW routinely used long bolts, and then cut the extra off with bolt cutters, mushrooming the bolt, and securing the nut from coming loose. Rather secure. But also making it rather hard to remove the nut. The grinder with cut off wheel works well, but you can’t re-use the bolt.
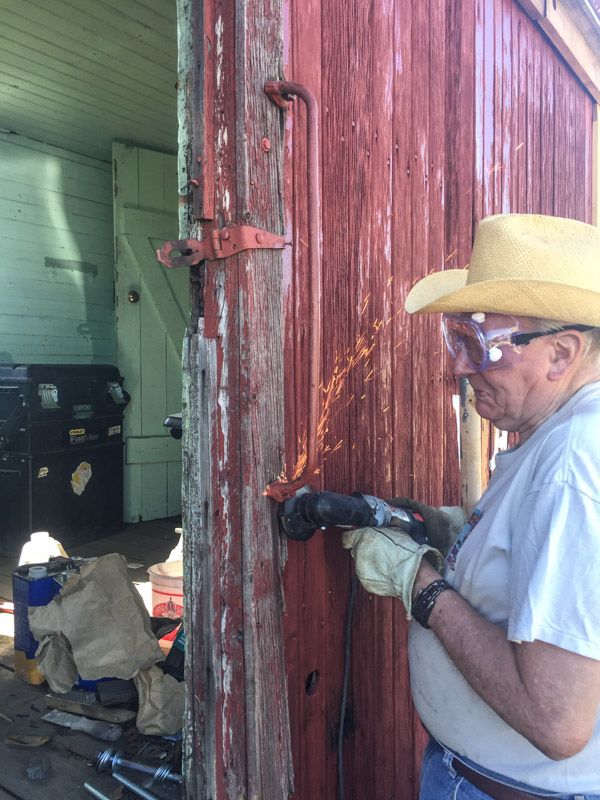
Duane removes the hand grip.
LOOK what we found under the door trim! Back to the old debate of what color was " Boxcar Red "
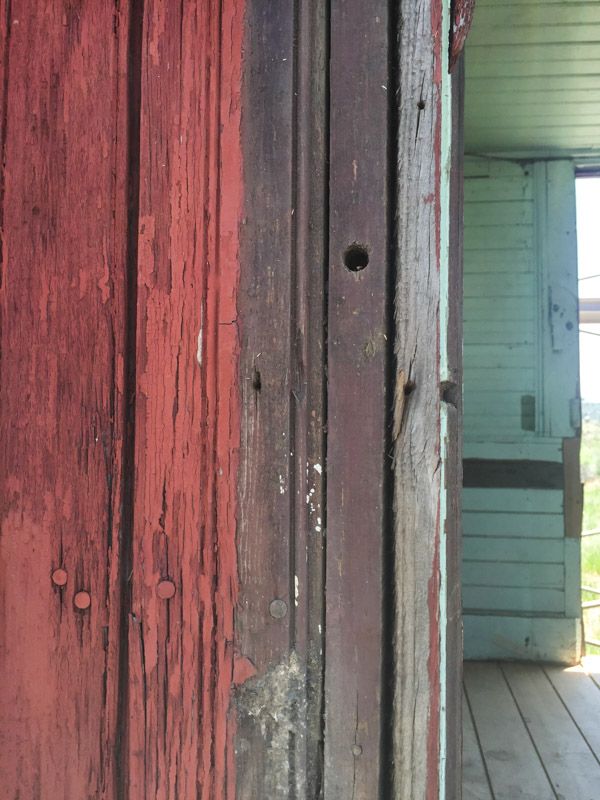
Almost everyone agrees that it was a warm brown color. This appears to be the original color when the car was converted to a work service car in 1903. Defiantly not the same tone as the latter “RED” that was used on the repaint.
Here is a B&W copy of the same photo. This is a major reason that guessing the color or tone of a car from B&W photos is useless.
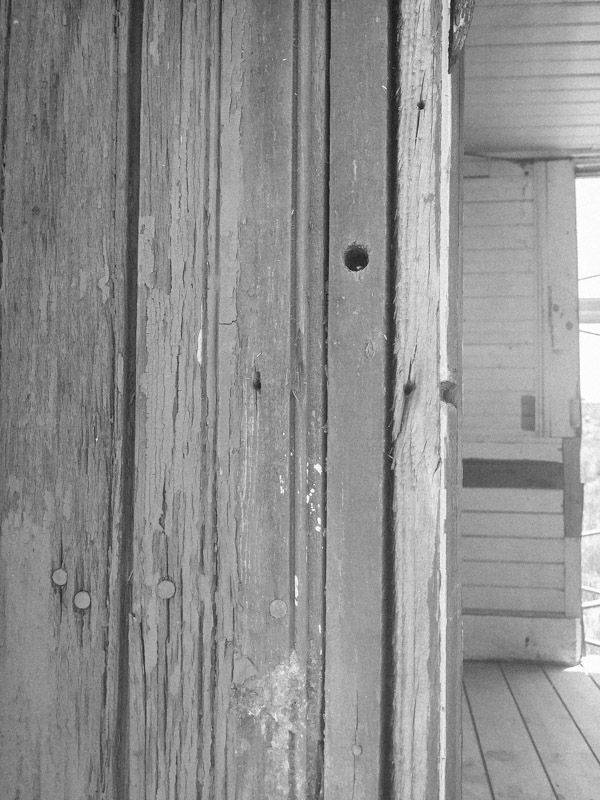
Also, is the inside walls of the car Green or White? We will be painting this car to the 1940’s color.
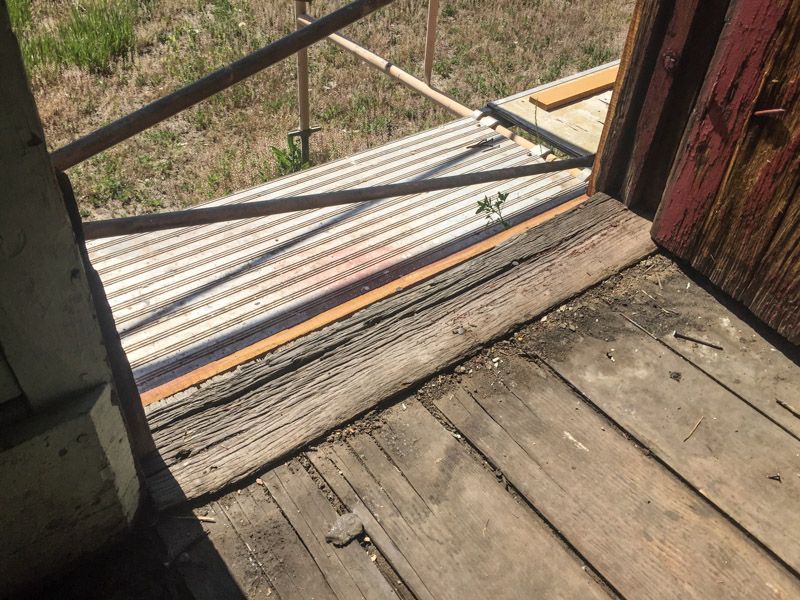
And the newly finished floor at the door.
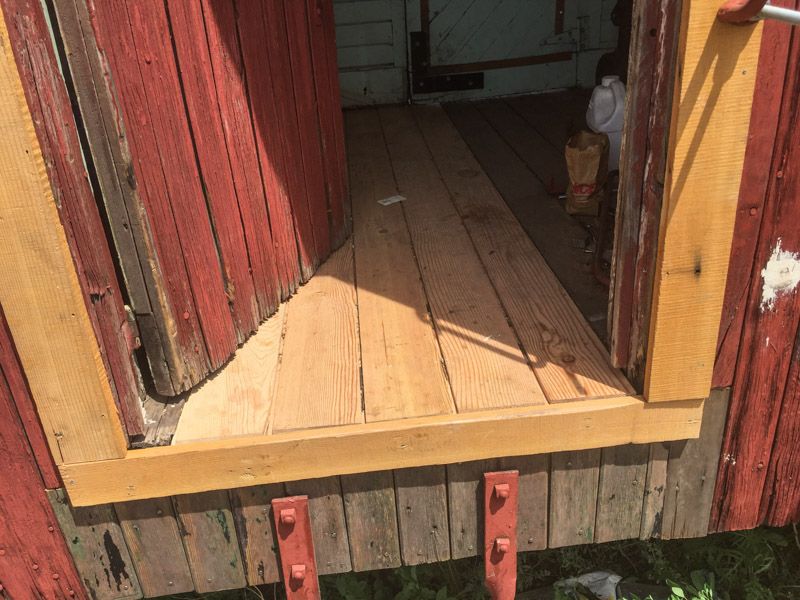
BTW: we left the T&G boards spaced apart about the same as the existing ones so as not to look to out of place.
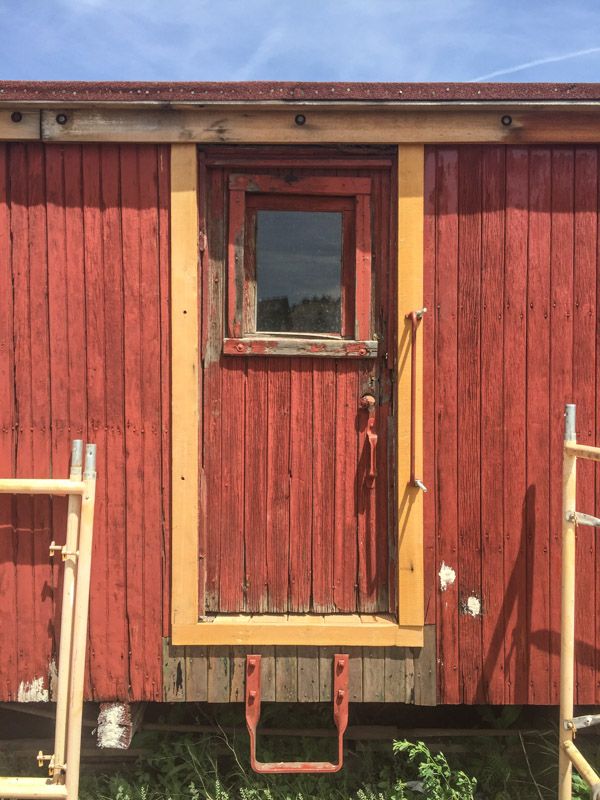
And the finished trim work. Along with the patched side boards.
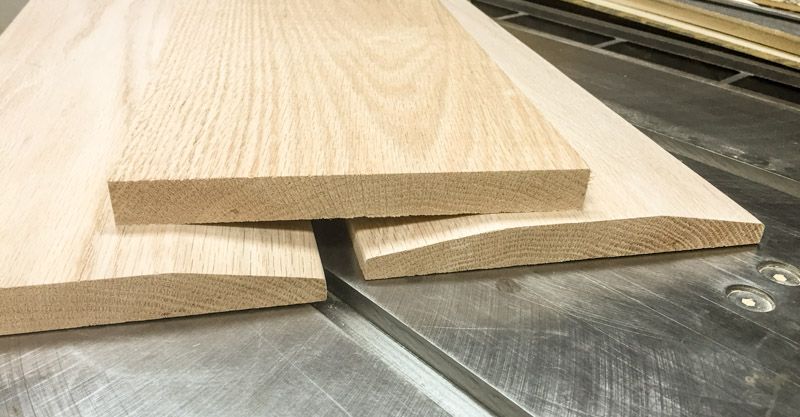
My next homework project to get done will be to make new thresholds out of oak to replace the old ones.
Our goal is to get the first coat of paint on it next week.
