Looks great! Things must have changed - I had to take a toothbrush (not MINE!) to clean the rocks. I’m very impressed.
1 Like
Well done, Jim. That looks great. Like Bruce, I was concerned the mortar would get on the face of the rocks and be a pain to clean, but I would be wrong  .
.
1 Like
I think Jim’s guess on the mortar consistency was key. If it had been wetter it may have pooled in the voids between the stones and mold, but he guessed just right!
2 Likes
Definitely a guess, Jon!
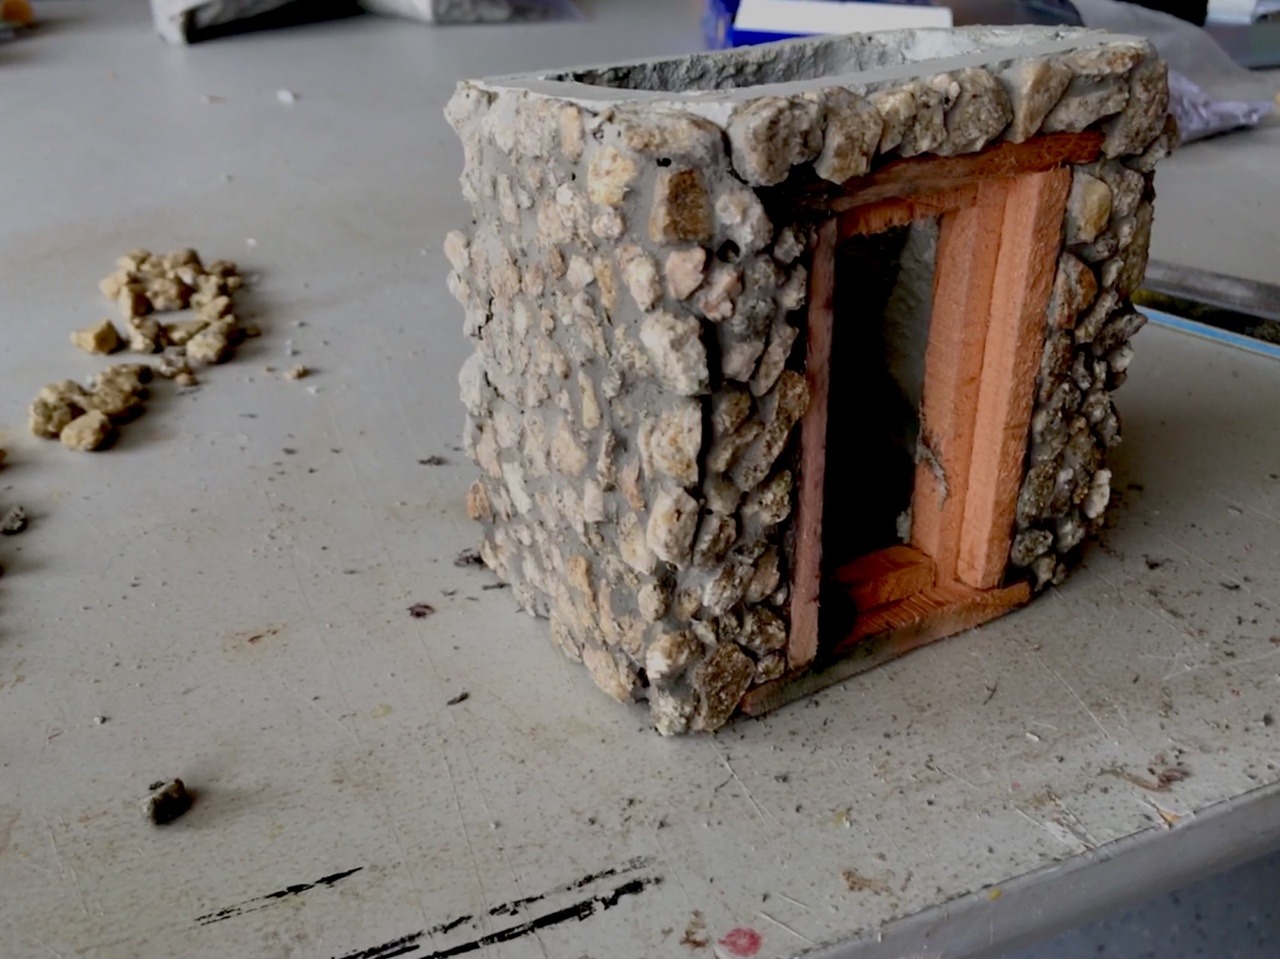
There are a few spots where the mortar made it through and looks a bit stupid (like a flat ended stalactite). That’s part of my cleanup. But I guess I didn’t get it runny enough to flood the rocks and cause me lots of problems. Lucky…
Cool stuff. What are you planning on cleaning it up with?
1 Like
Boomer helped guide me to using un-sanded tile grout when I did this before in my dynamite shack.
So I’m sticking with that because it worked well the last time.
As for removing the stactites, I’ll just break those off and fill with grout.
1 Like
FANTASTIC work Jim. I think you might be giving Ray D. a run for his money on stonework. His hand carved stuff is great, but this is real. Can’t wait to she this ‘planted’ on the layout.
2 Likes
JIm,
That looks great! Thanks for the thorough documentation of the process!
Eric
1 Like
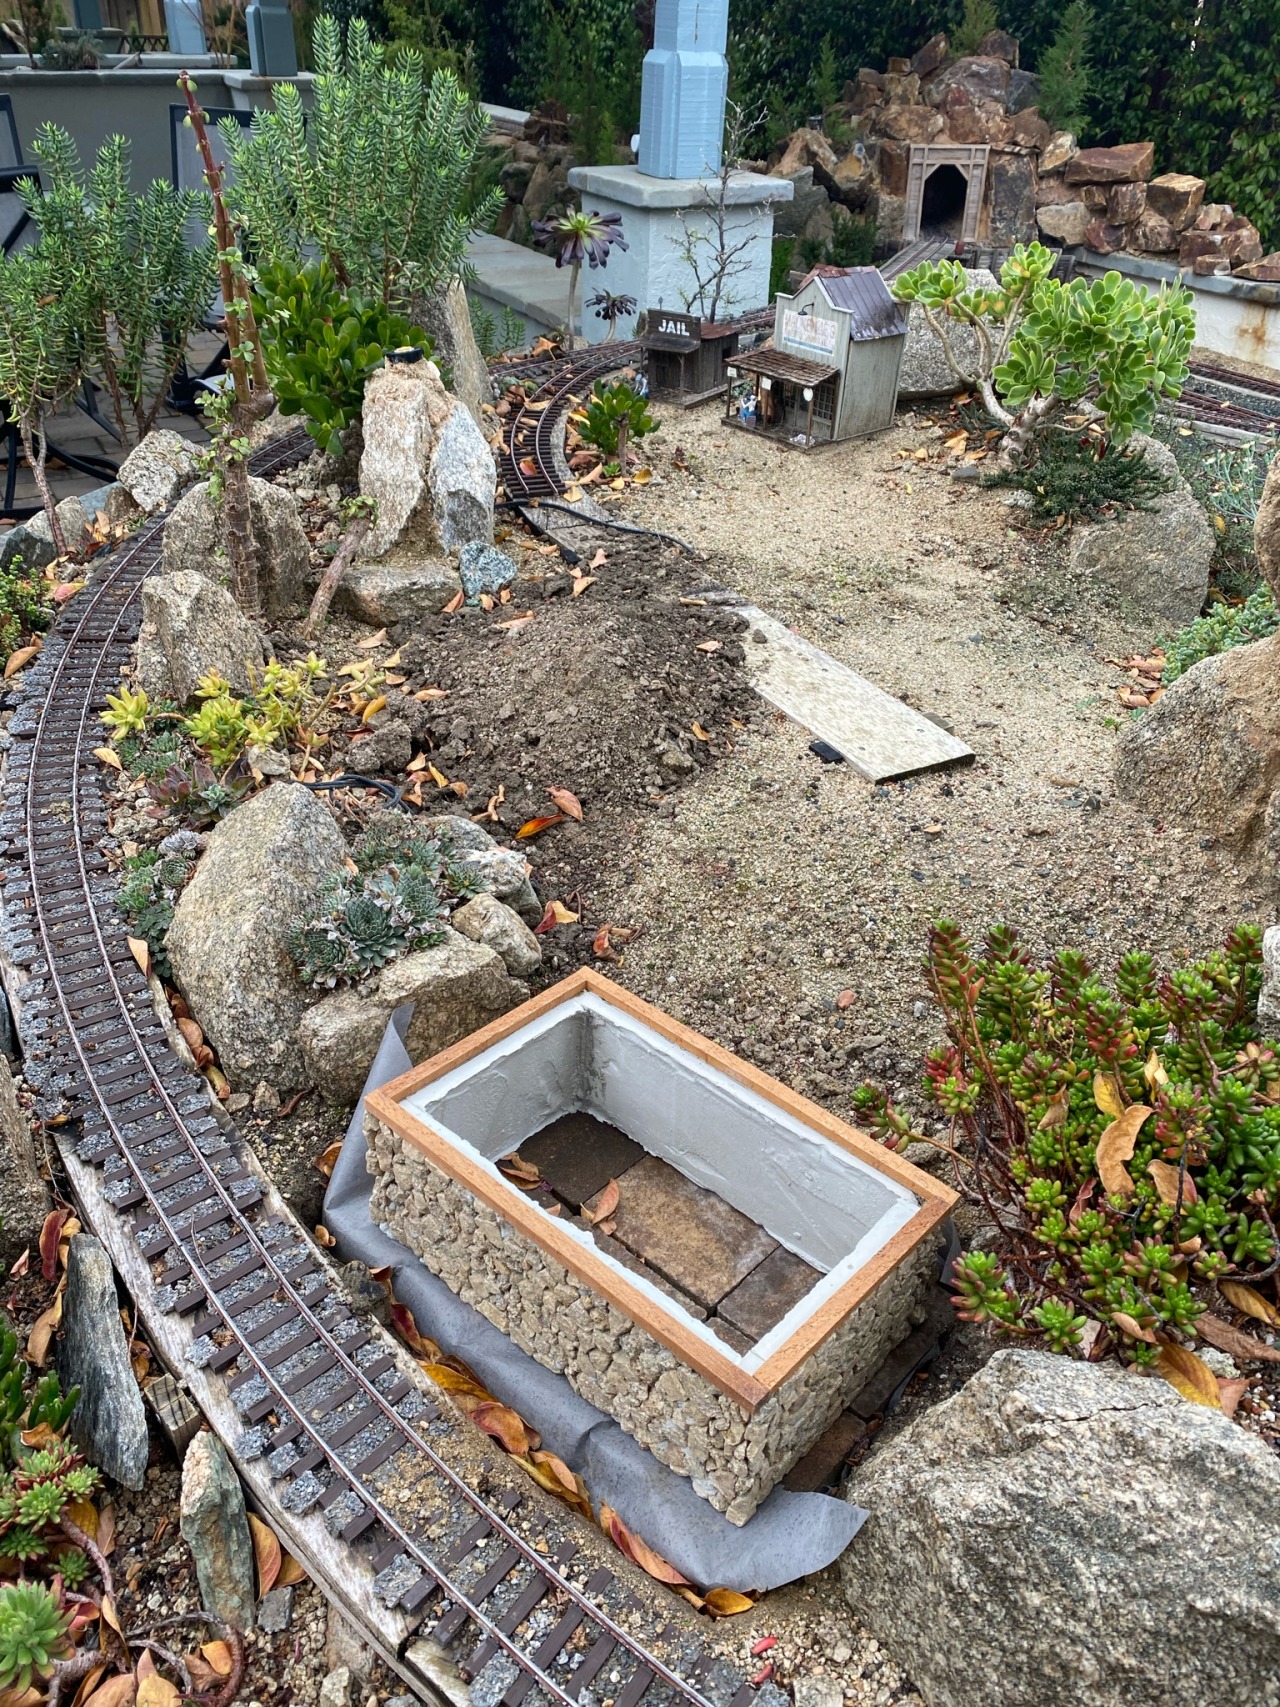
More work on the saloon: glued on some rocks, added a wood topper to make it easier to attach the upper stories, checked the fit on the layout. Then I got cold. It’s 57F today and windy. Brrrrr! 

Next step will be to add grout to make the rocks look mortared together a bit better. I may need to glue in a few more rocks on the left side too… Here’s the grout I’m using:

It fits where I hoped it would fit. Yay!
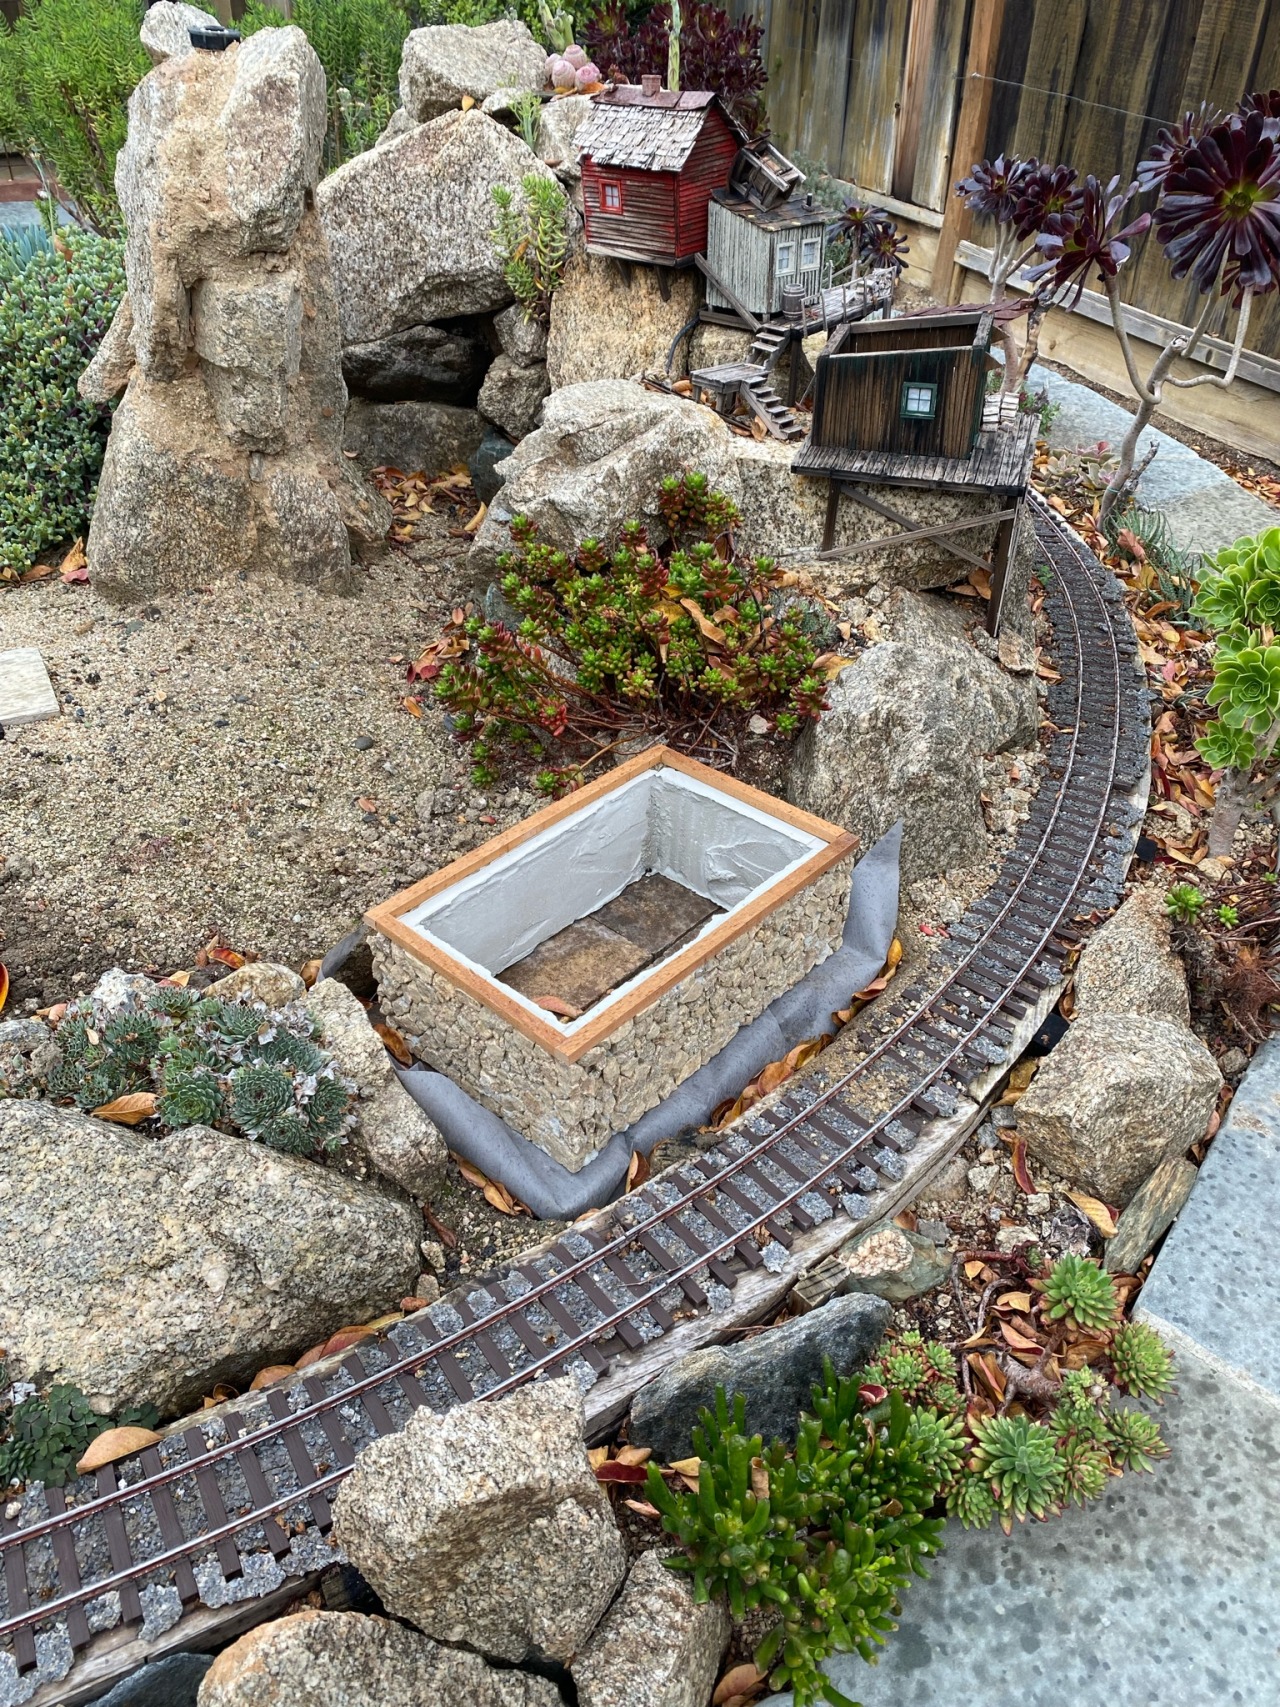
And it’s even the right height:

And level-ish!

Here’s a view showing how steep the grade is as the train runs past the saloon (this picture is a bit tilted toward the right):

Dirt will be filled in to be level with the back-top, and in the front it will be level with the roadbed.
Sorry, I have this tendency to over-photo-document…
Brrrr…
3 Likes
Jim, that looks great and the grout will only make it look better. I’m interested to see how you apply the grout. And BTW: there is no such thing as “over-photo-documenting” 
1 Like
Looks like this build is off to the races and leading the herd. Looking good Jim watching for the continuation of the build
Love the stonework Jim, just wonderful looking. The forms, mortar, tile grout, everything came out great. And good job on the site prep!
1 Like
well, full disclosure. I haven’t done the tile grout step yet! blush
I think I’ll have a train day on Friday. maybe then…
Nice build Jim
Have you tried vibrating the table the form is setting on?
That would help the cement settle between the rocks more.
One way to vibrate it is using a jigsaw without a blade.
Learned this trick from Stone Works.
Jim
2 Likes
No you don’t  Best part is, you can come back years later to figure out how you did this when you want to do it again. Looking great and I love that the foundation will be partially buried.
2 Likes
Ans. 1: Oh, I thought I saw some in the last photo. But that explains how you cleaned the grout off so well!
Ans 2: I was speaking in the prophetic past tense.
1 Like
Nice work as always Jim !
But why do the plants need to be plum and square ?
1 Like
They’re not. They’re plum and squash.
1 Like
A tiny bit of progress: grouted one wall. Got my son, and namesake for the saloon, involved again:

And some closeups. Have broken out a toothbrush (is that why the dentist gives me so many of these things?) and am trying to get some of the grout off the fronts of the rocks. Still a work in progress.


This wall will be buried pretty much. Makes it a good test wall to try things out. I think I made the grout too thick this time. We’ll see when I get to the side wall if runnier is bettier.
Cheers!
5 Likes